

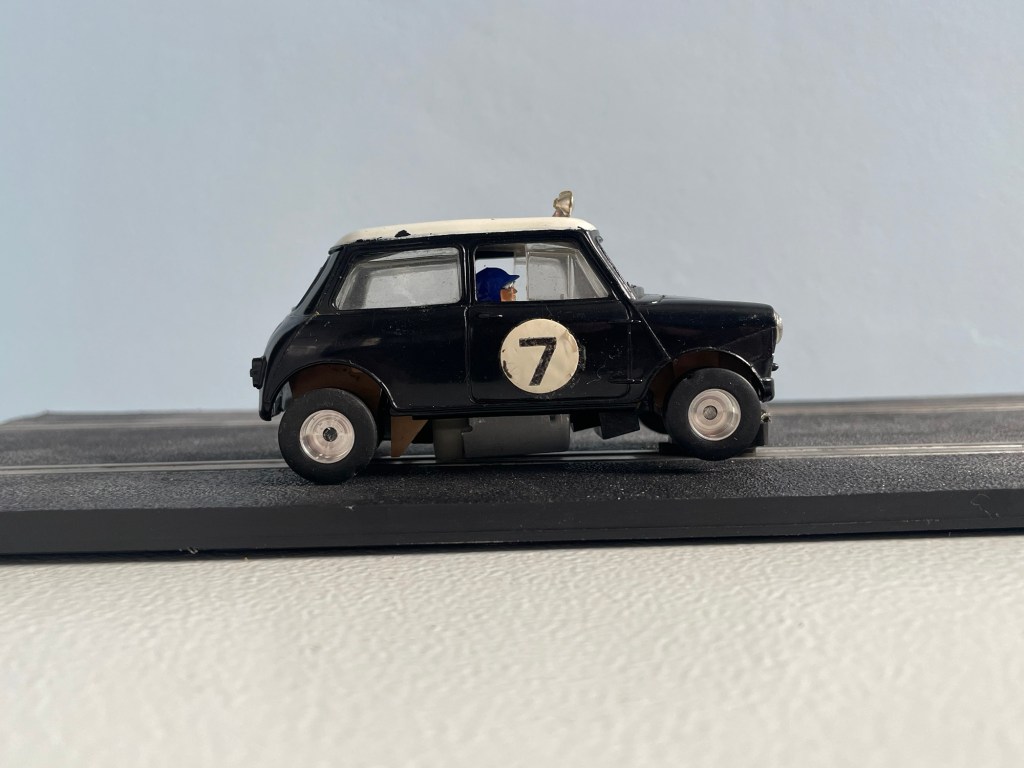
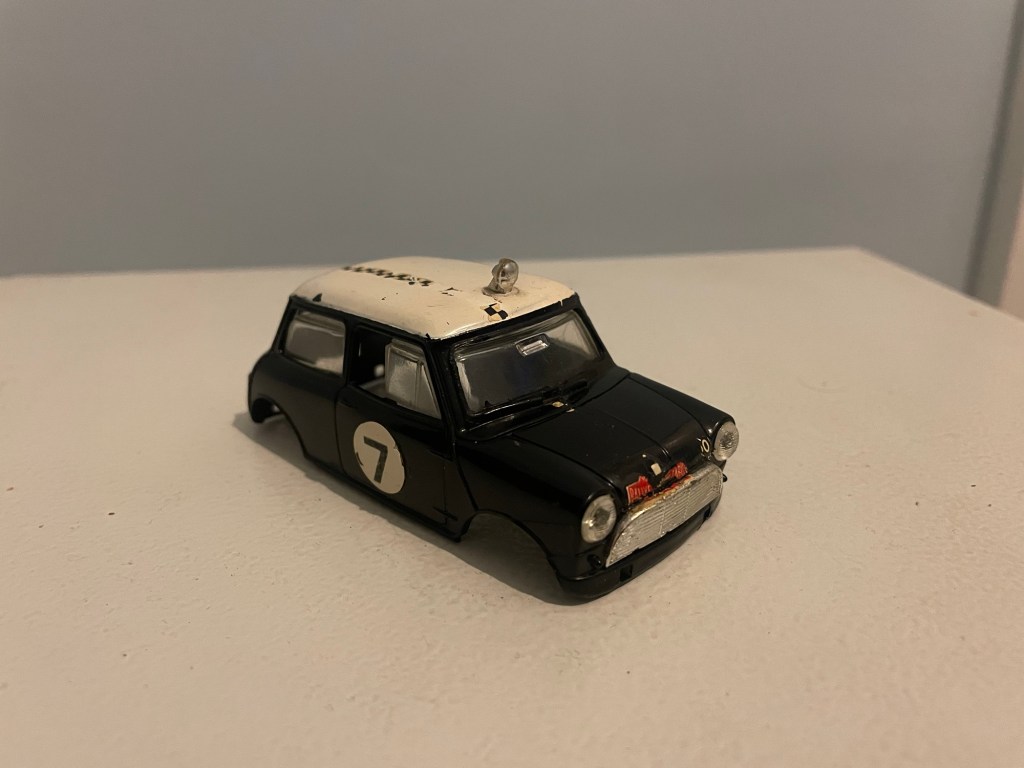
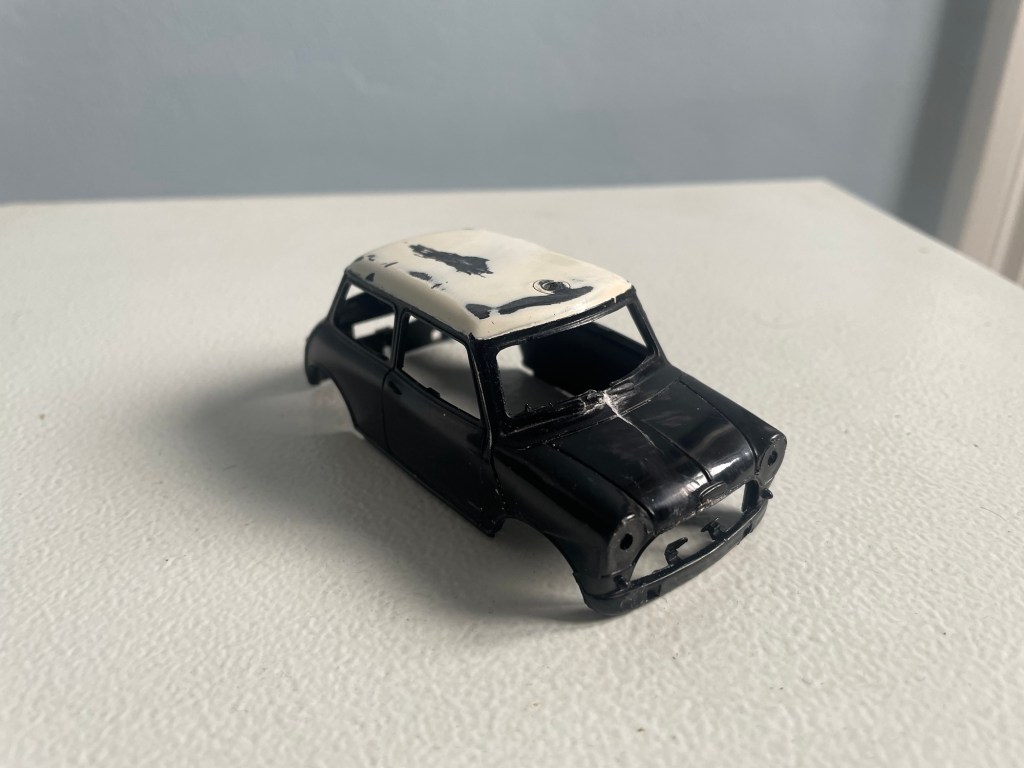
A few months back my Dad brought a very neglected pair of Scalextric Mini body shells.
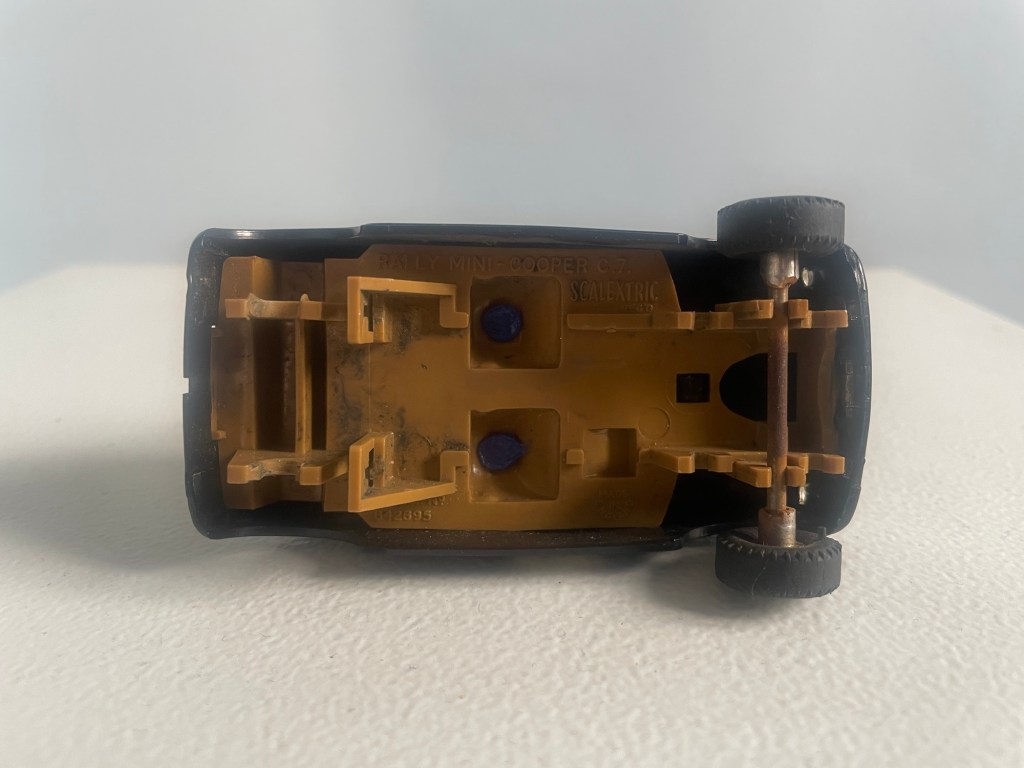
The catalogue number on these cars is C7. According to the Scalextric Collectors Guide the C7 in black was available from 1968 to 1970, which makes it the oldest car in my collection!
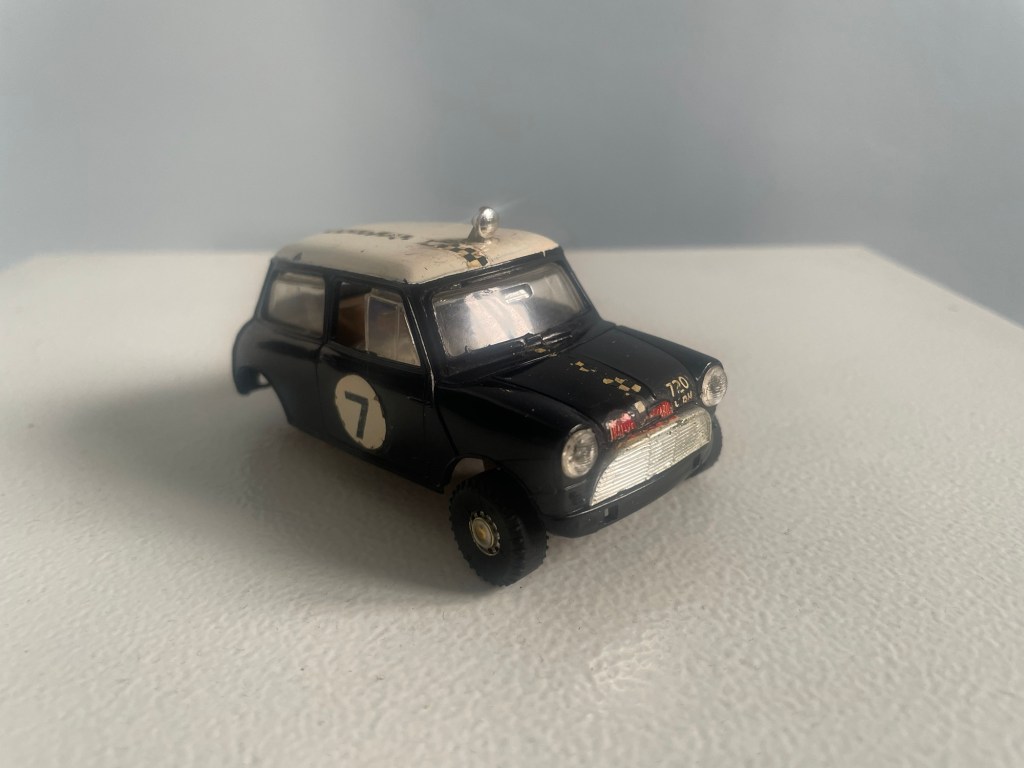
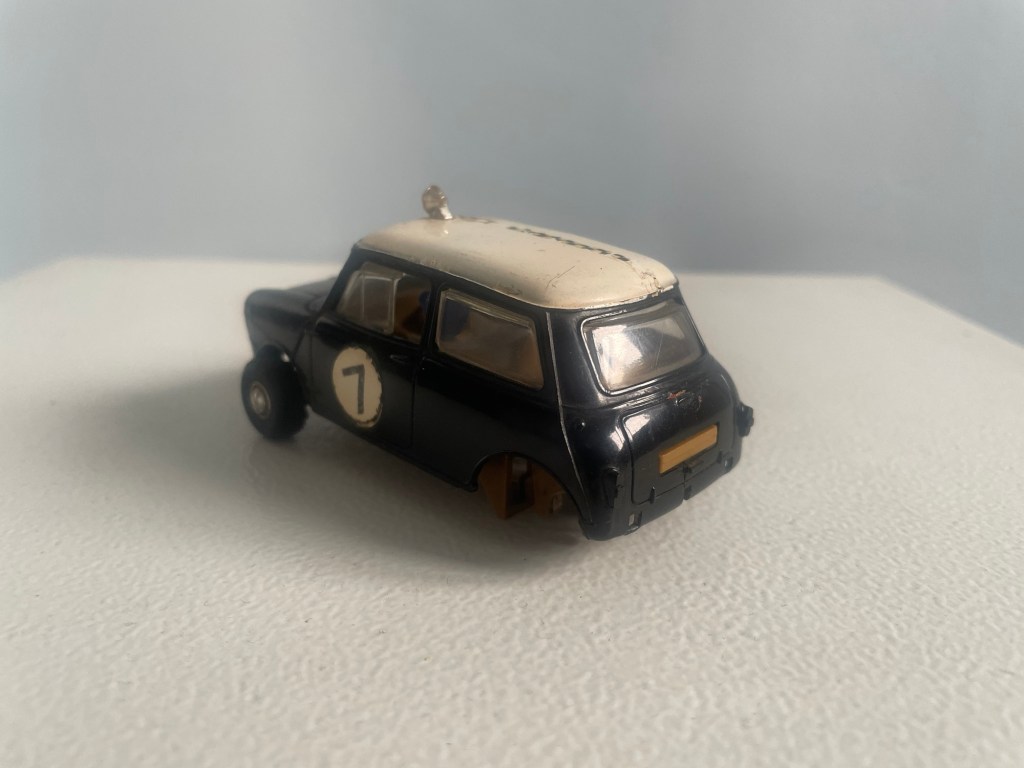
I had thought about restoring it to how it would have been originally, but it was a rough shell with a bit of damage, and the cost of replacing those parts outweighed the cost of buying a C7 already done, so I decided to go down the restromod route.
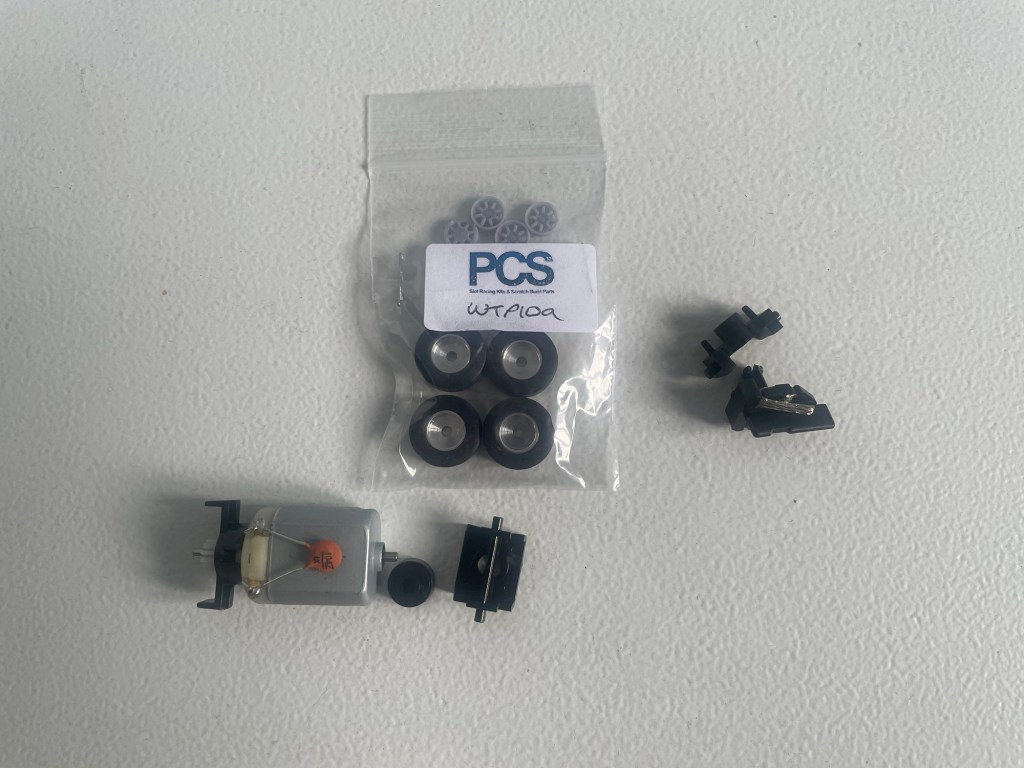
I brought some narrow 10 inch wheels with minilite inserts from Pendleslot Racing which arrived perfectly as their packages always do.
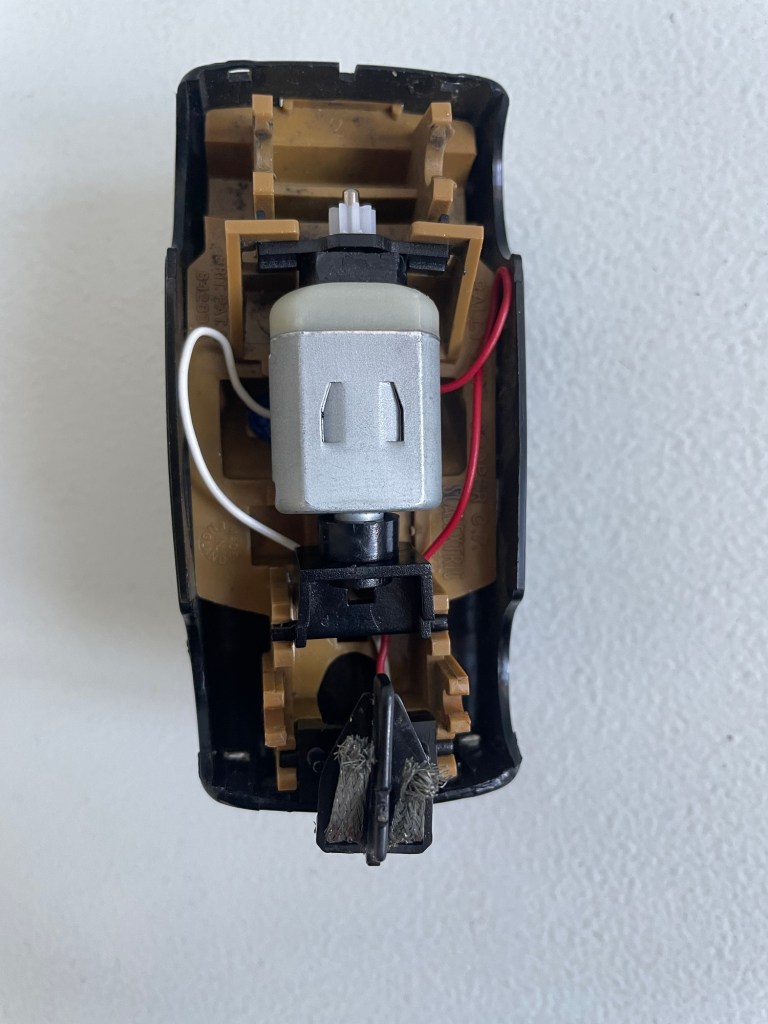
From eBay I ordered a guide mount and guide along with a Mabuchi motor and adapter kit to fit it where the old open motor would have been.
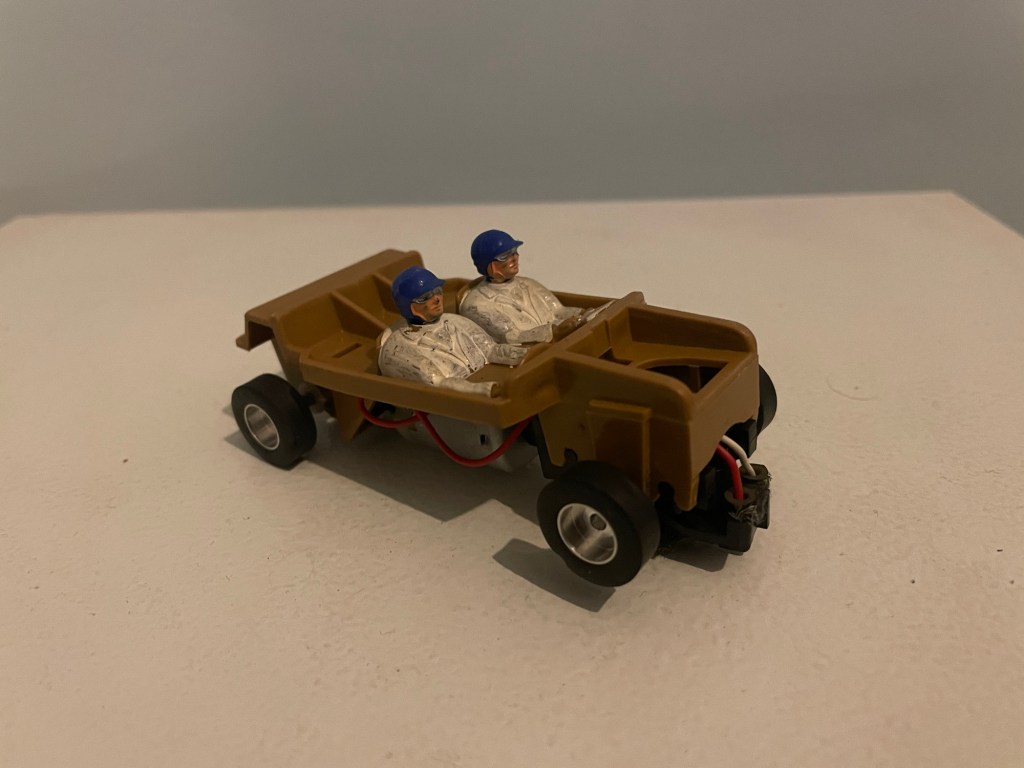
Then, unfortunately, I ordered a set of axles and bumpers from Scalextric Car Restorations along with some other bits I needed for other projects. After about 6 weeks of waiting I gave up and ordered the bumpers from eBay and this breaker Brabham to pinch the axles from.
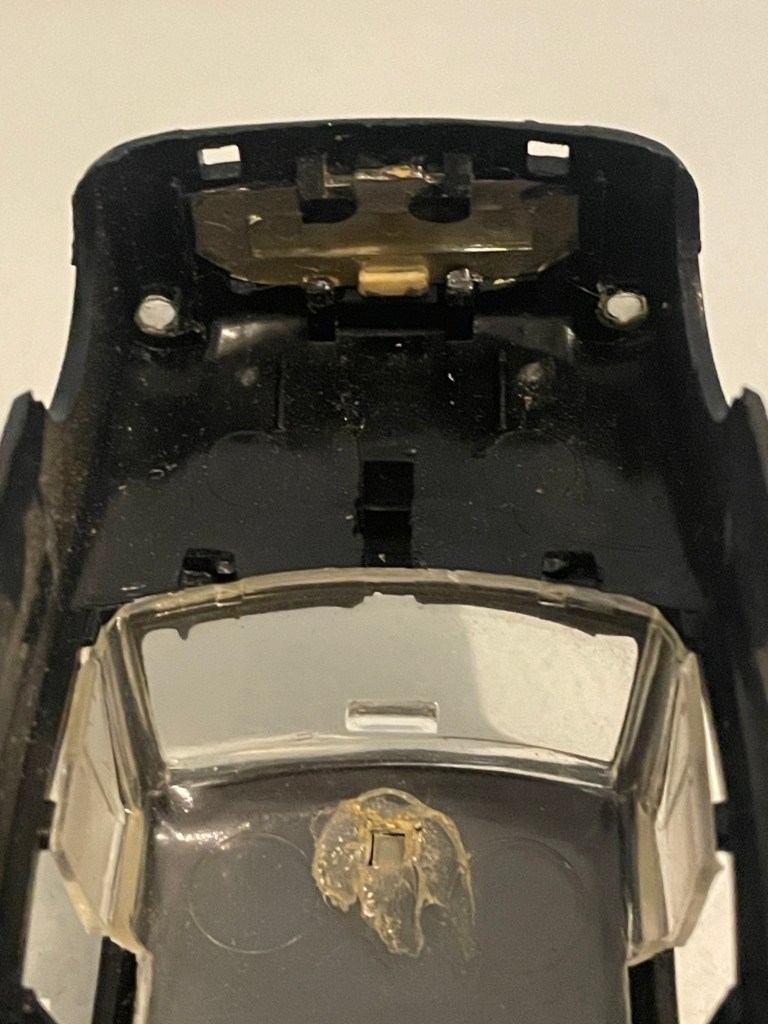
The Mabuchi and mounts were a bit of a tight fit but we made it work! The Mabuchi has tabs that the wires solder onto at the top of the motor. I’m guessing the original car must have had a different set up as these tabs were pressing against the interior of the car. If you’re doing a similar conversion, bend those tabs down as far as they can go and make sure you solder a neat, flat joint.
The axles from the Brabham were obviously far too wide. I fit them, then mark with a Sharpie where the axle should end, then I can pop them back out and saw them down to length with a razor saw.


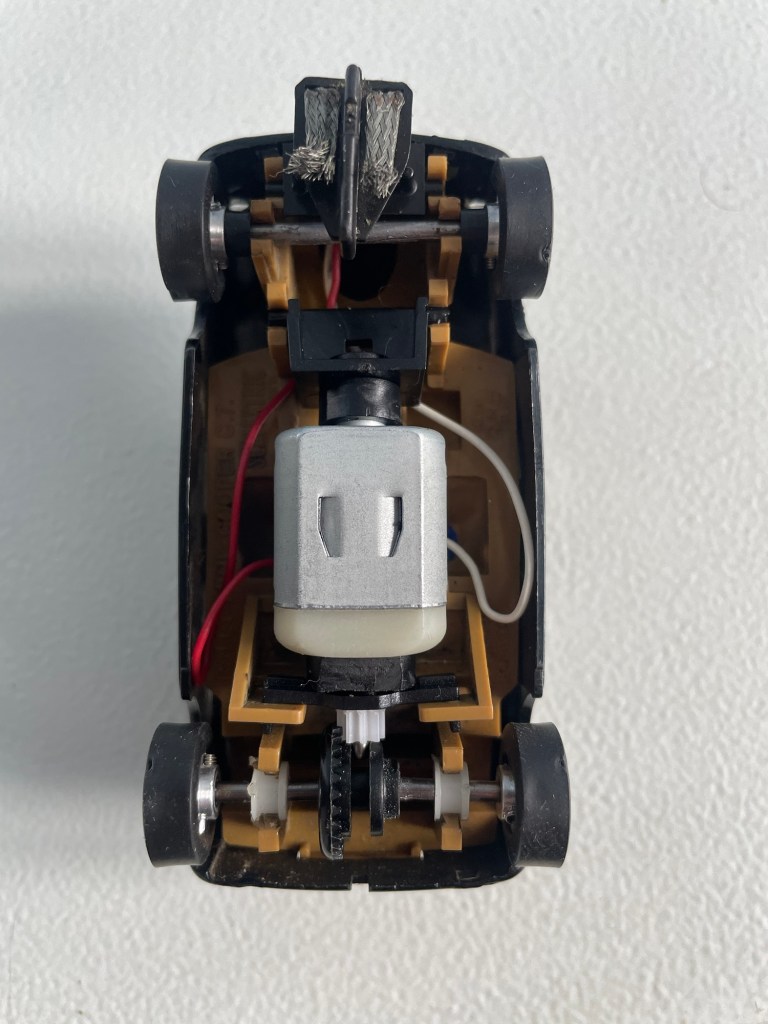
We’re getting there! With it mechanically complete I took it to my Dad’s for a test drive.
Now to start on the body!
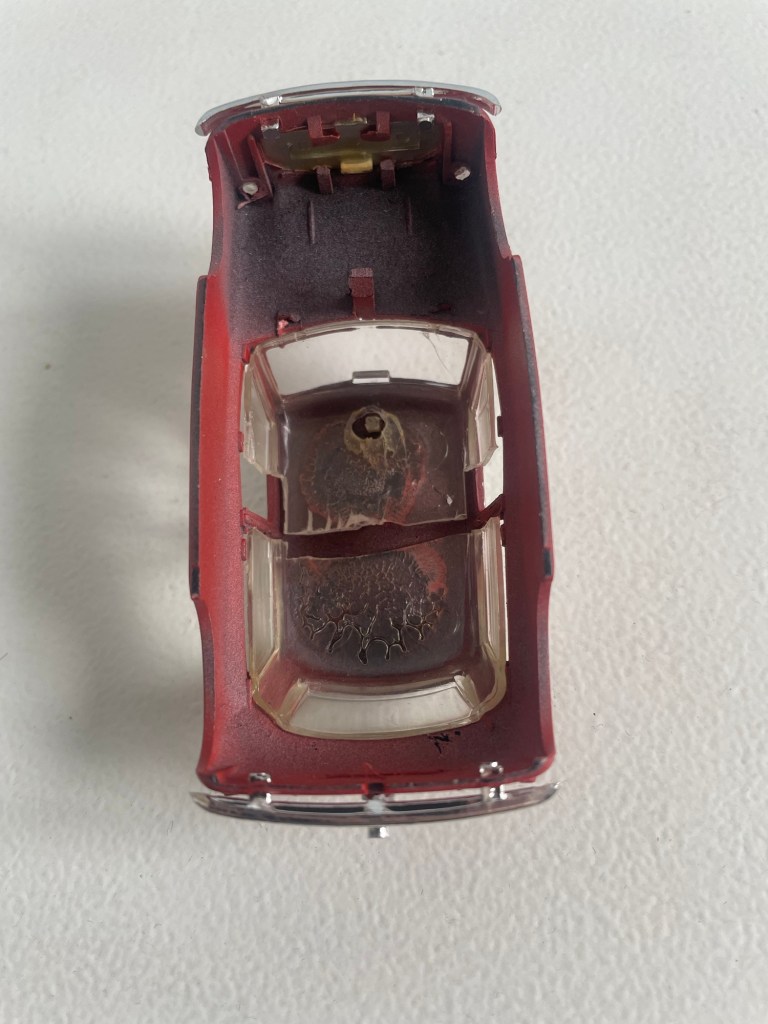
The headlights simply press out from the back. You have to pop the top of the grill out and then the bottom. The plastic under the grill where the bumper mounts is very thin and being over 50 years old, I would imagine is pretty brittle.
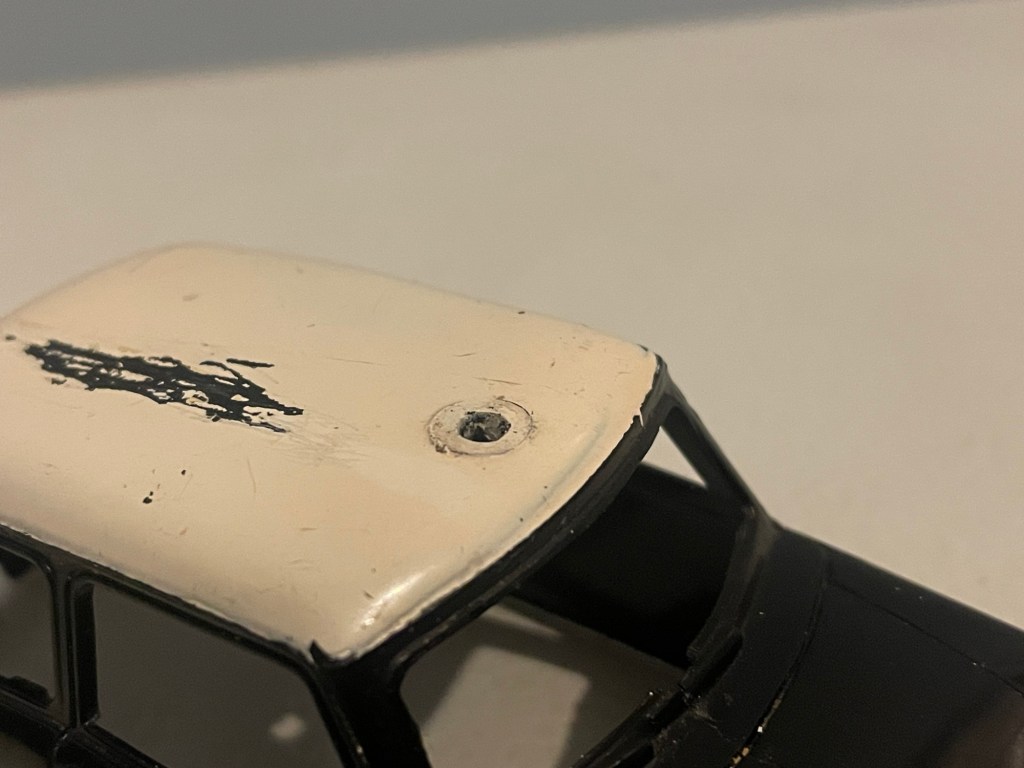
The window slides out of its clips and the little spot lamp on the roof also pushes through.
To remove the decals I sprayed them with WD40 and scraped them off with a thin flat plastic pick.

Interestingly, the peg on the spotlight is square but the hole is round. Is it an aftermarket spot lamp or did they just come like that?
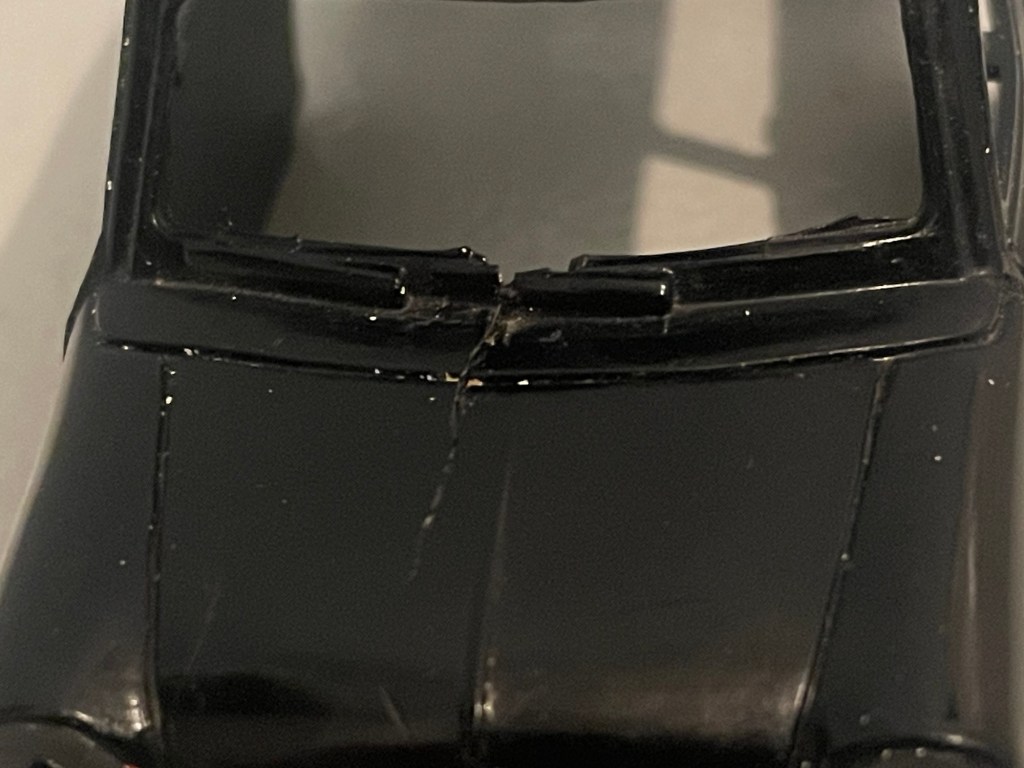
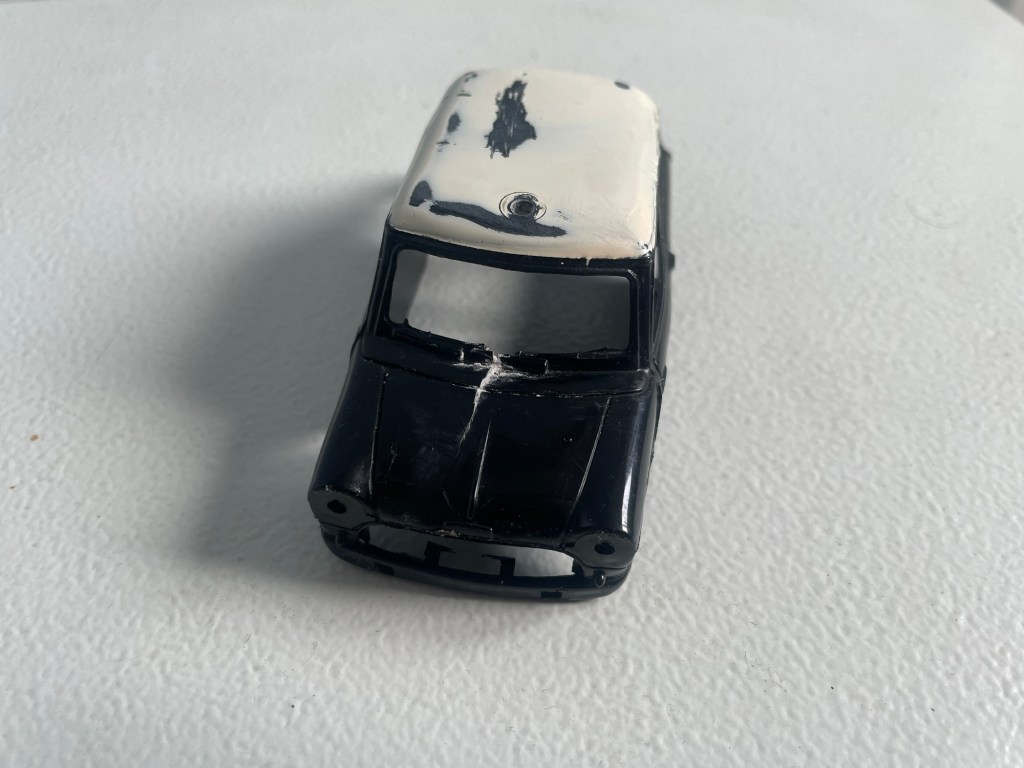
There was a small crack from the windscreen scuttle and down the bonnet that needed a little filler. When doing filler work, less is more! The more filler you use the more you’ll have to sand back to get a smooth finish.
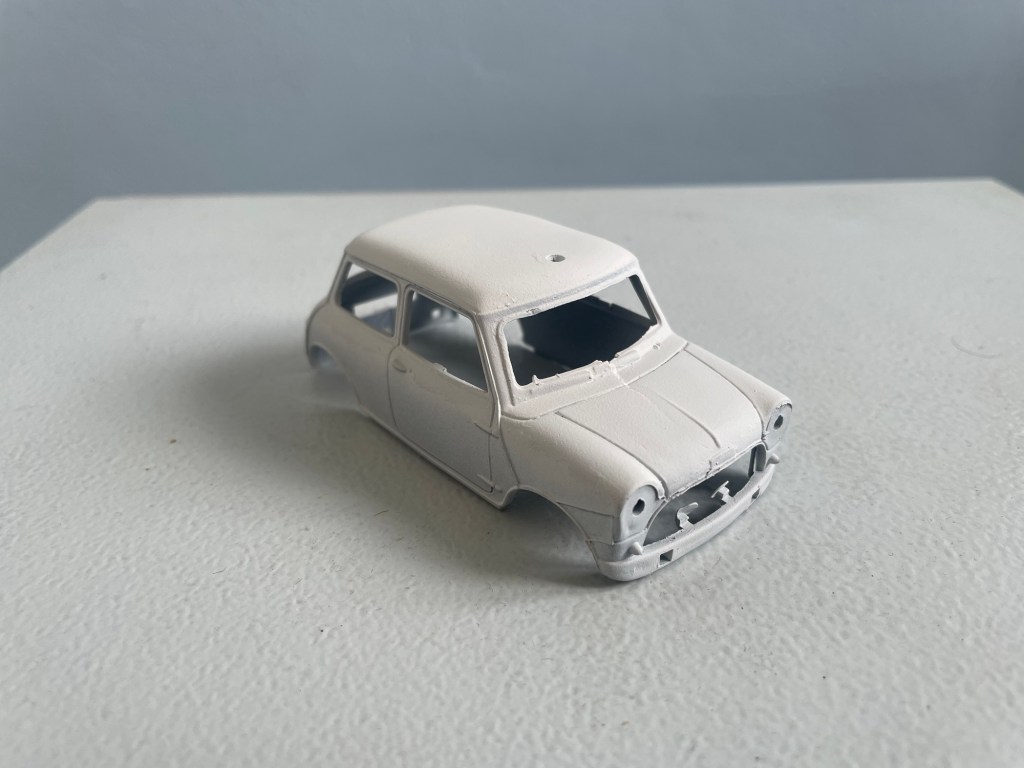
I gently sanded down any left over residue from the decals and other imperfections in the body with 1200 grit sand paper, being mindful of the raised details in the body.
Then it was time for a coat of Halfords white primer!
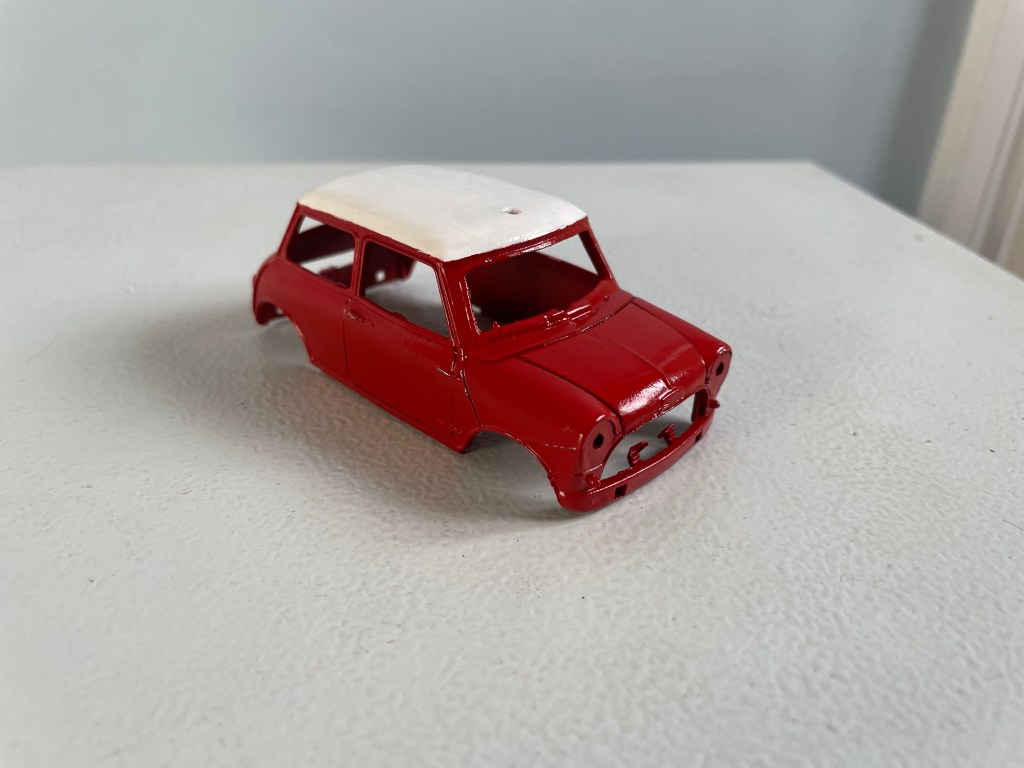
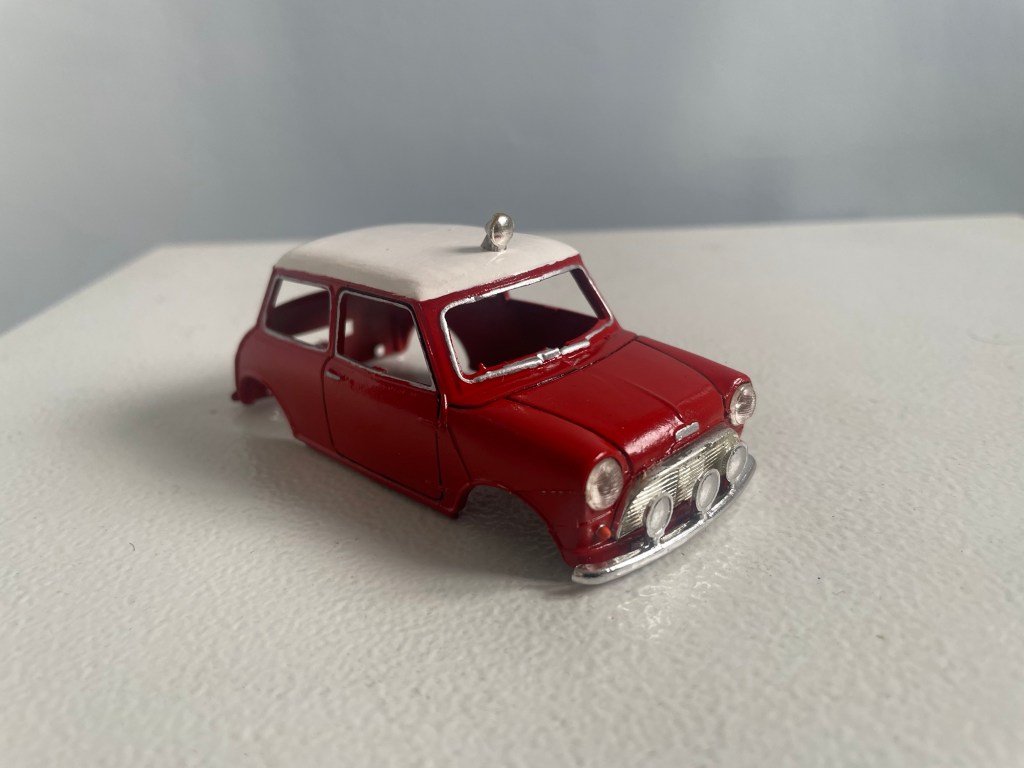
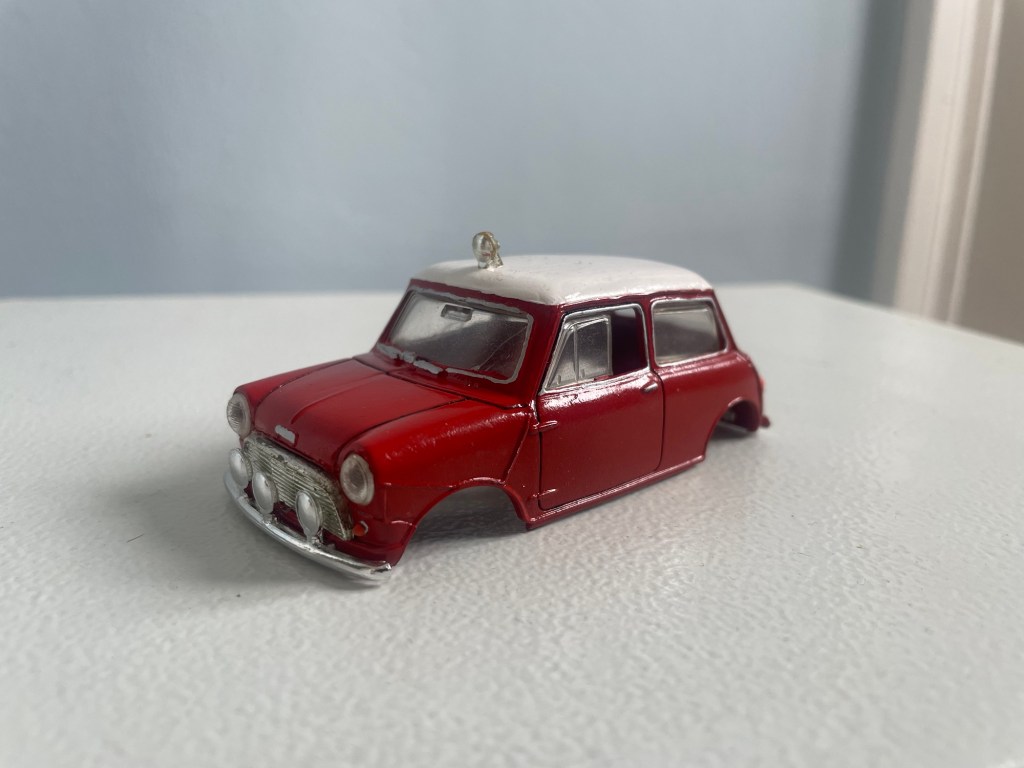
I suck at masking, so I masked off the roof as best as I could, then sprayed the car Ford Sunburst Red (it was the closest shade of red to the car I’m replicating that I could find in my local Halfords).
Once I removed the masking I then brush painted the roof again in Vallejo Game Colour Dead White and lacquered the whole body with a Halfords clear lacquer.
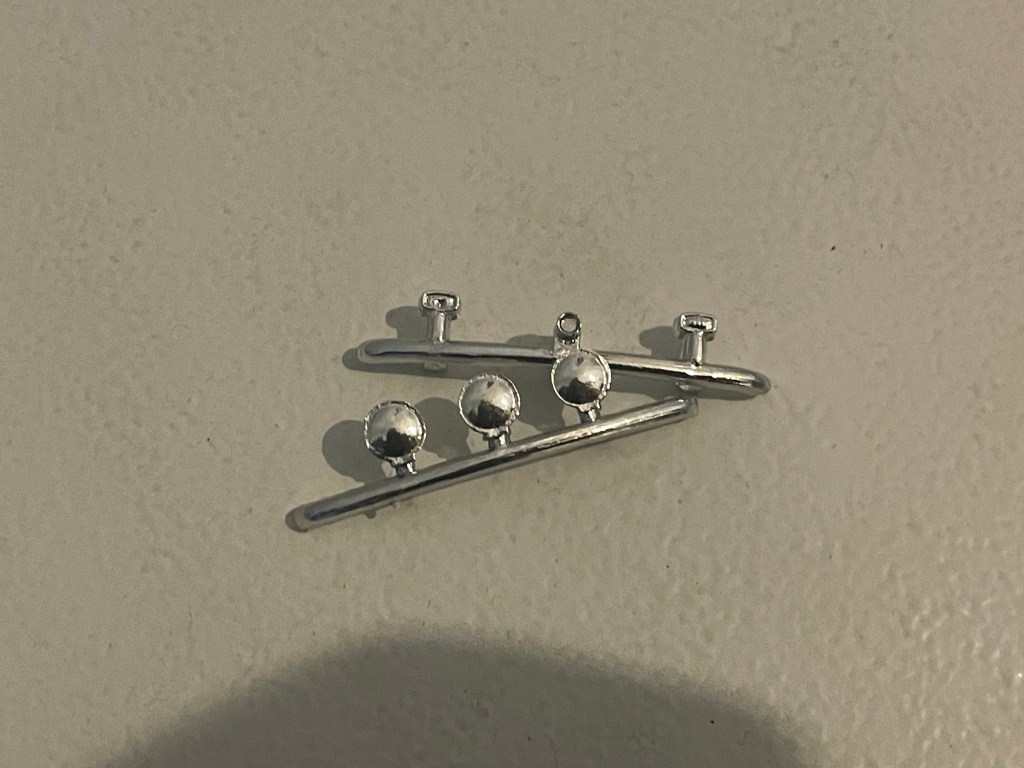
The bumpers then arrived from eBay. The C7 shares the bumpers with the later wide arched Mini, so getting replacements in nice and easy.
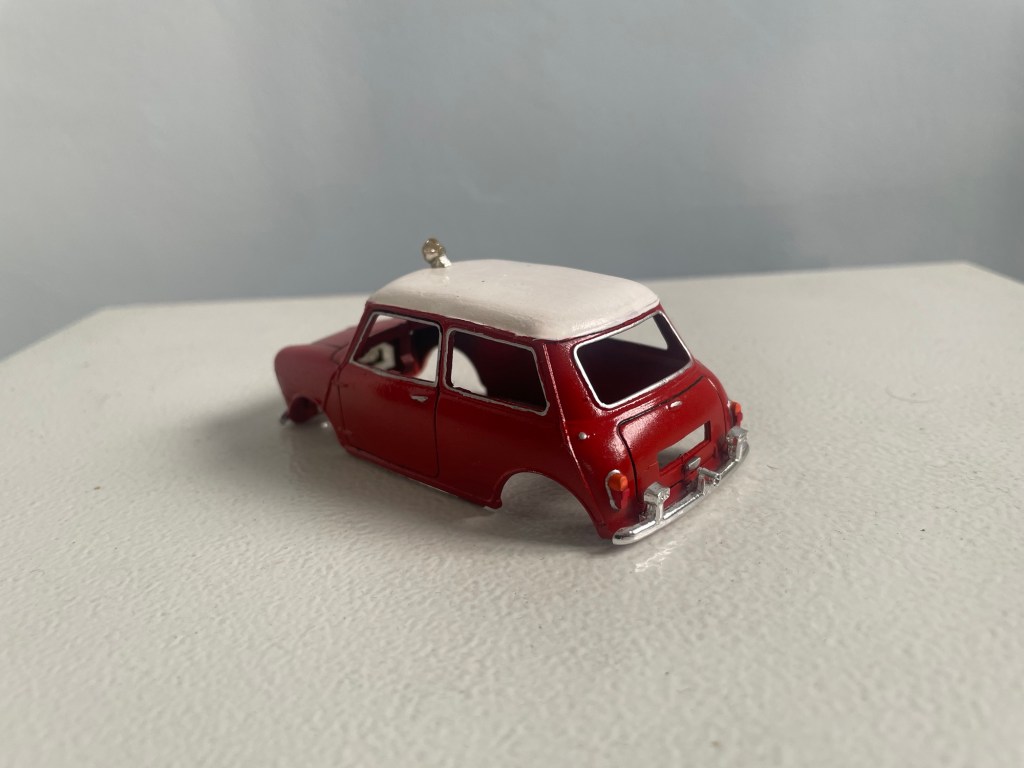
I put it all back together and painted some details.
The chrome window surrounds, handles and badges were done with Vallejo Game Colour Silver, the tail lights were done with Vallejo Dark Vermillion and the indicators were picked out with Vallejo Blazing Orange.
The one thing I was worried about with this build was the windows.
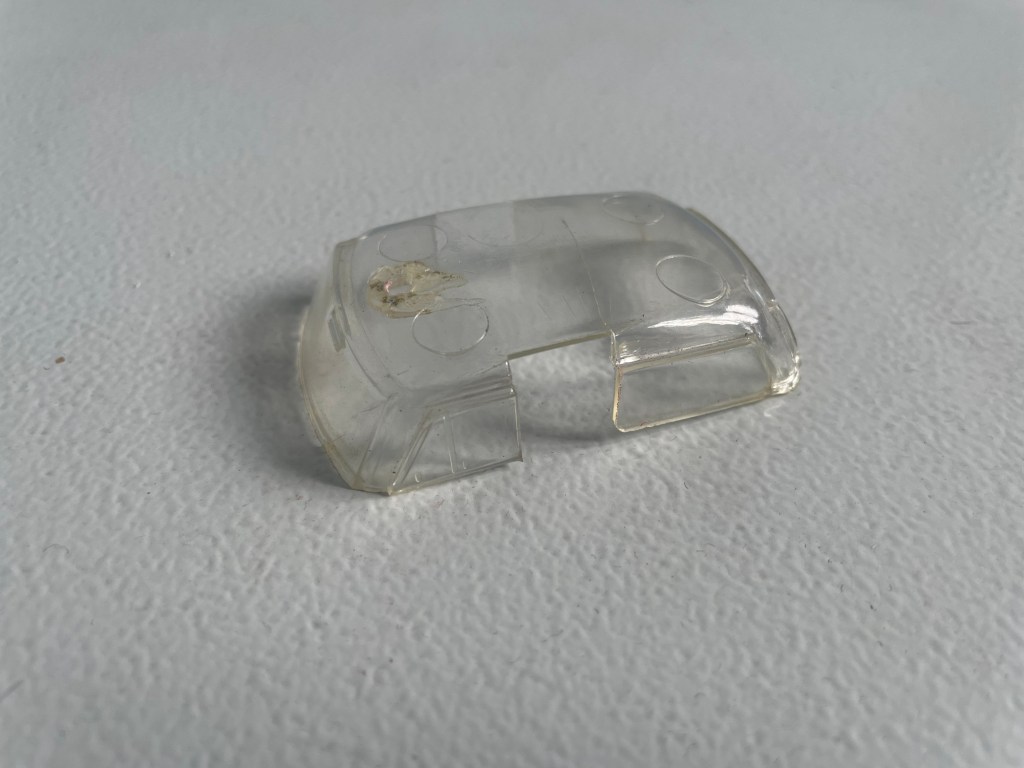
Have a look at C7 Minis on the internet. All of them look like the windows were made for a different car and sadly this one is no exception.
The front windows are the worst as they droop forward.
I thought that it might have been the pin fur the spotlight pressing the front windows down. There is a little hole in the clear plastic for the pin to pass through which wasn’t big enough. So I opened the hole up expecting it to cute it. Sadly it didn’t.
In the end I had to cut the clear plastic in half and remove a load of material then stick each half in. It’s by no means perfect but it’s better than it was.
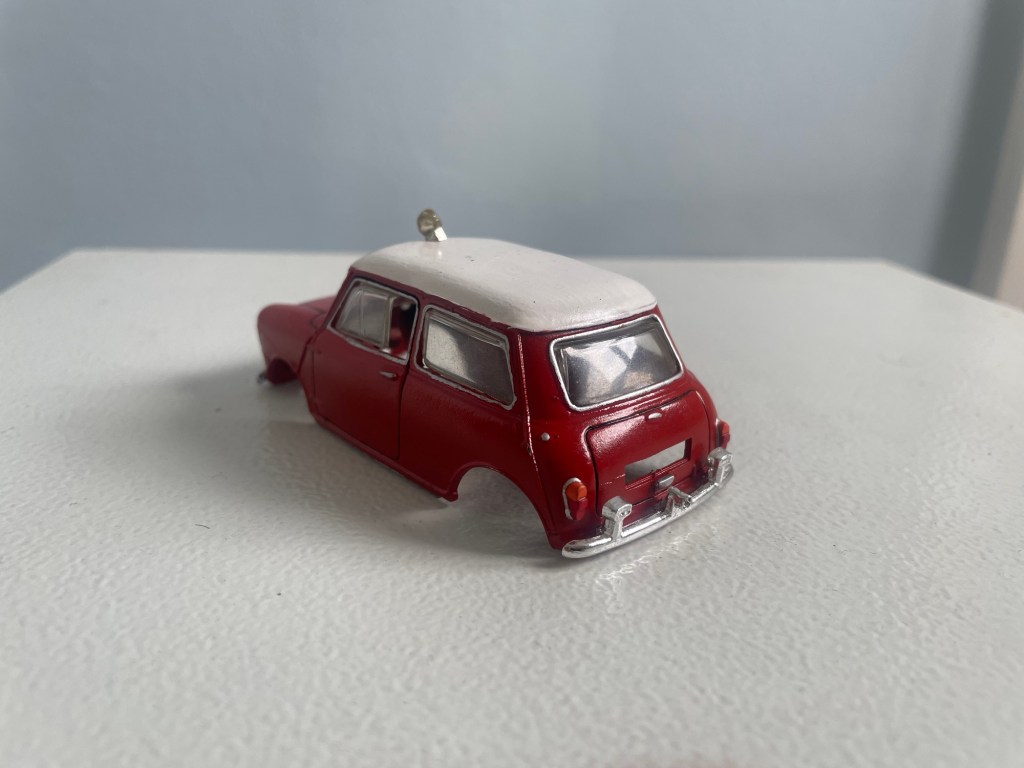
You’ll also see I added panel lines. I don’t often do this but they were so wide and visible on the body I had to do something with them. I just used a Vallejo gloss black wash on a 5/0 brush to fill the lines in and give them a little depth.
I quickly repainted the drivers and added a tiny bit of detail. I didn’t do much as the windows are only tiny so once they are in the car you won’t really see them.
Here’s a before shot.
After.


I popped the body back on and painted the centres of the wheels black ready for the inserts to go in.
The inserts are just resin pieces that slot into the metal wheels. One needed a little sanding to get it to fit but the others just slid straight in. I just painted them silver.
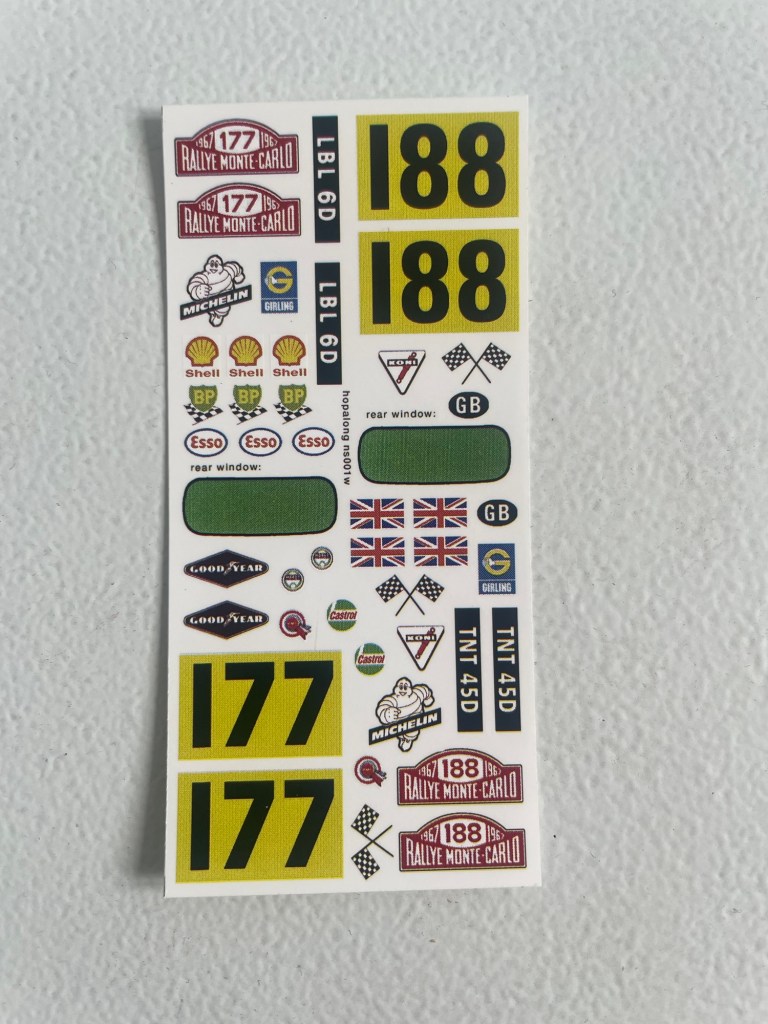
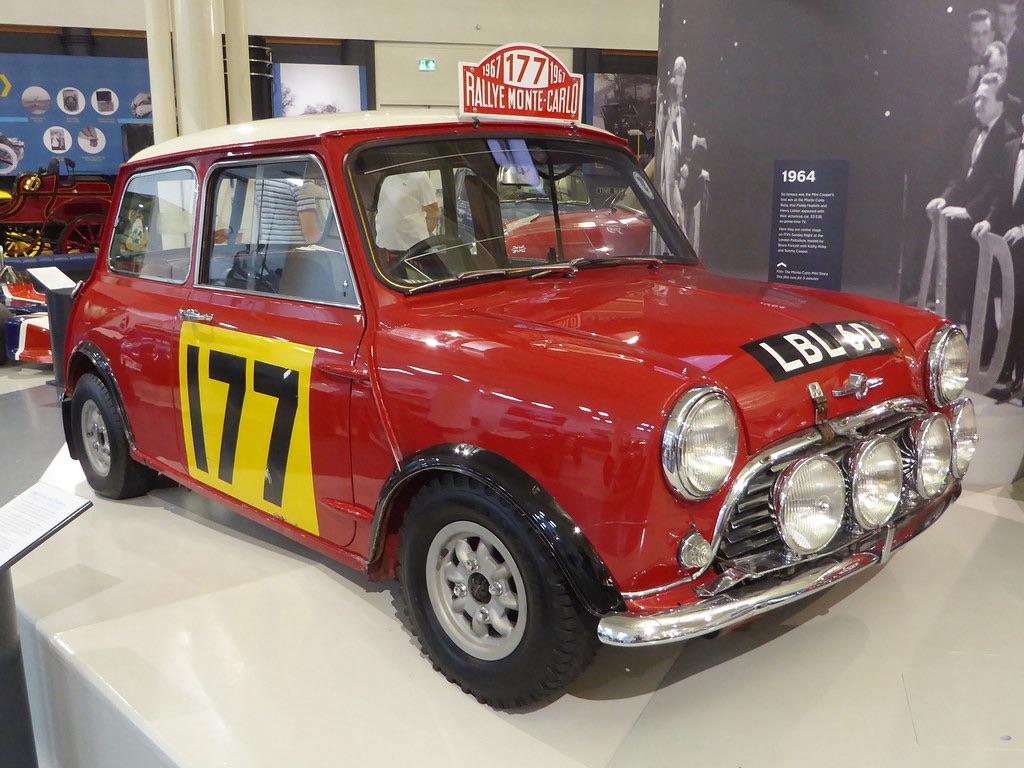
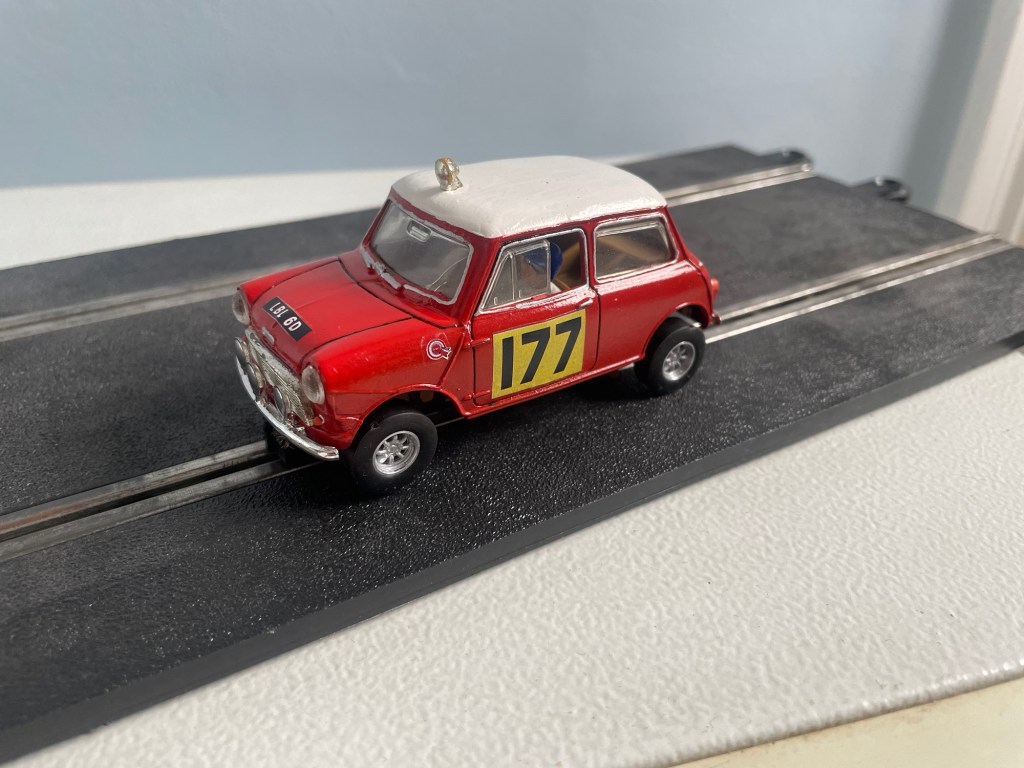
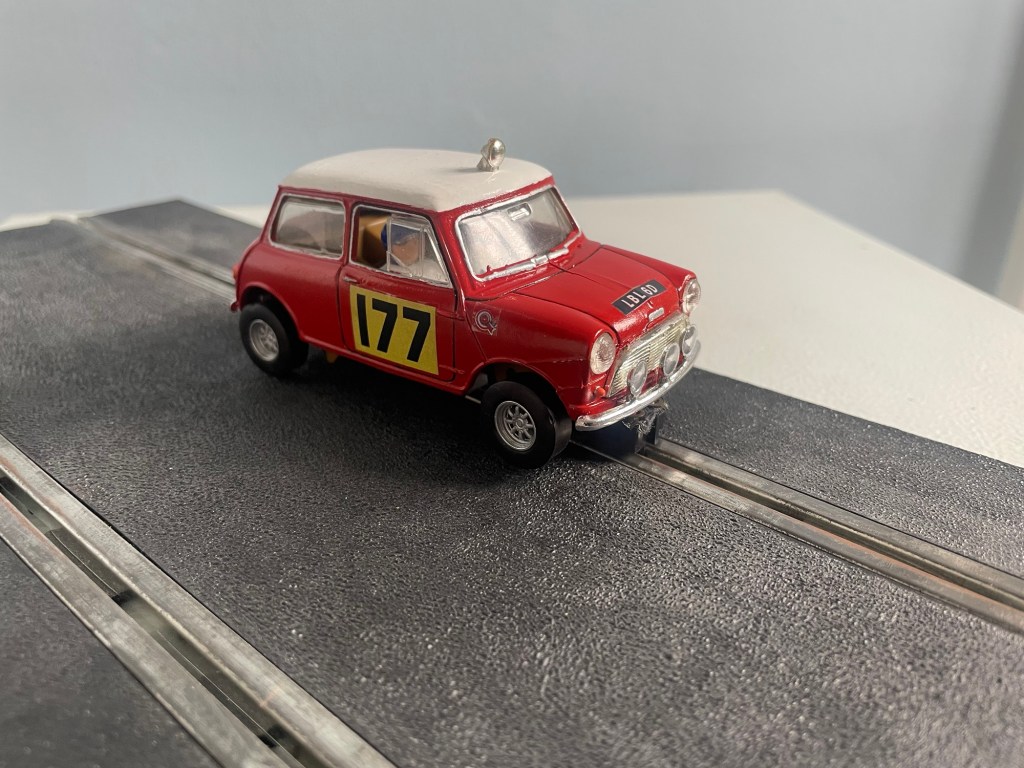
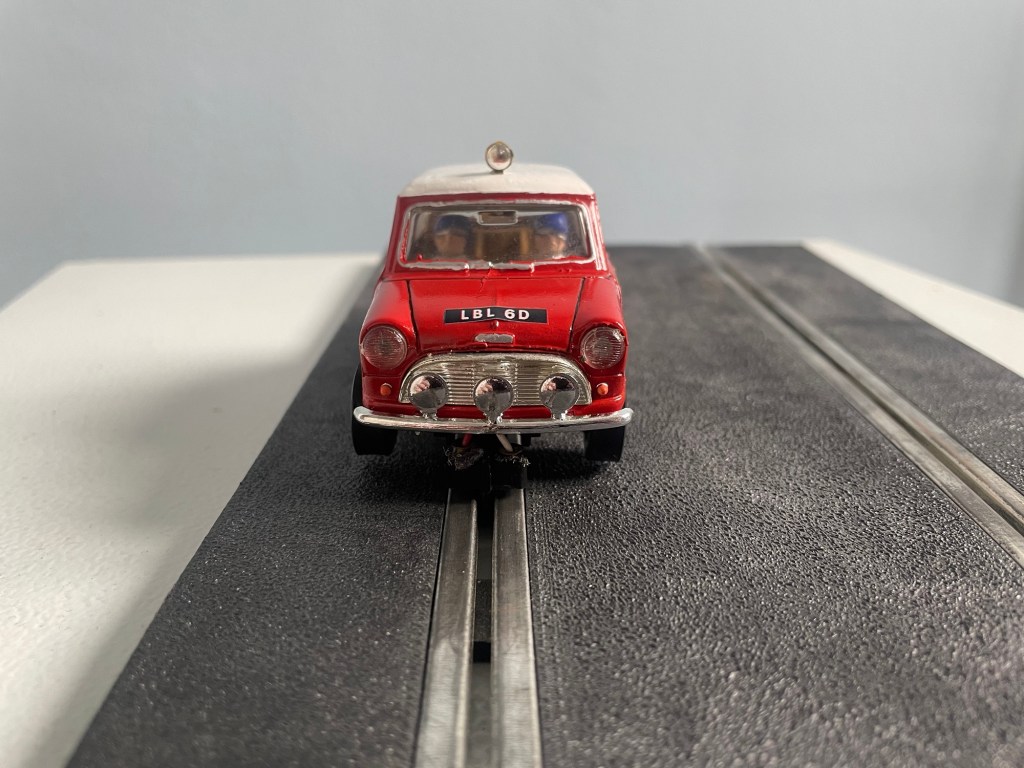
For decals I got this set of BMC Works rally team liveries. I’m going to do the 177 car which was driven by Rauno Aaltonen and Harry Liddon. It won the Monte Carlo Rally of 1967.
(Photo credit to Kerry Taylor on Flickr: https://www.flickr.com/photos/132337785@N03/50238721667/in/photostream/)
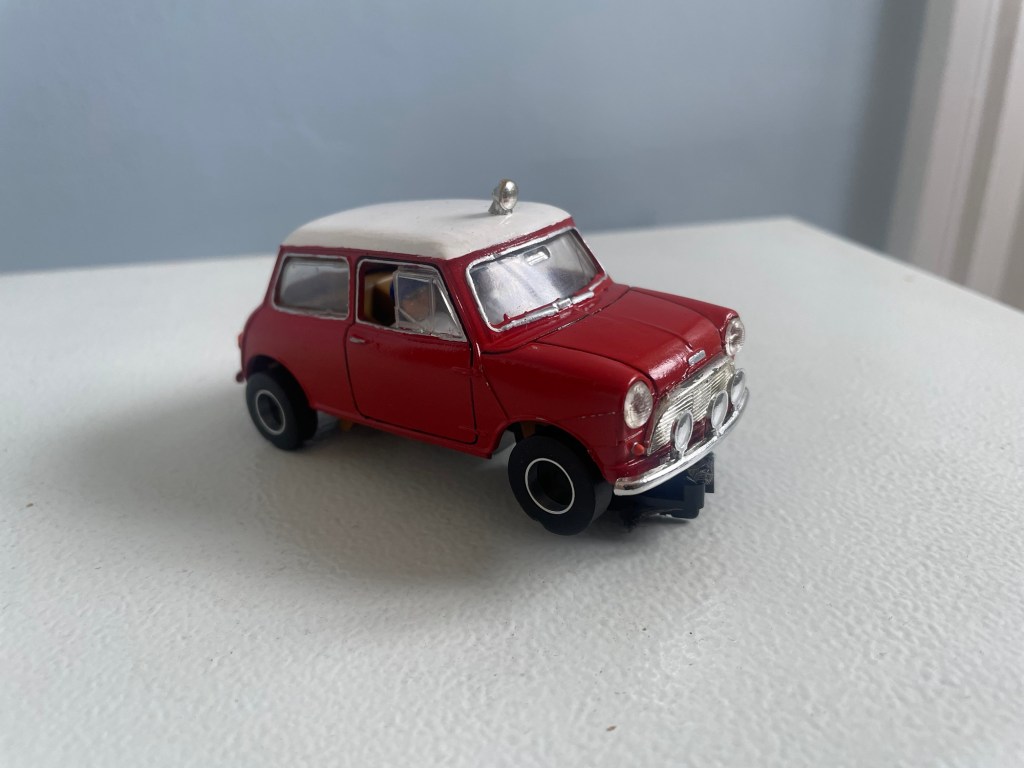
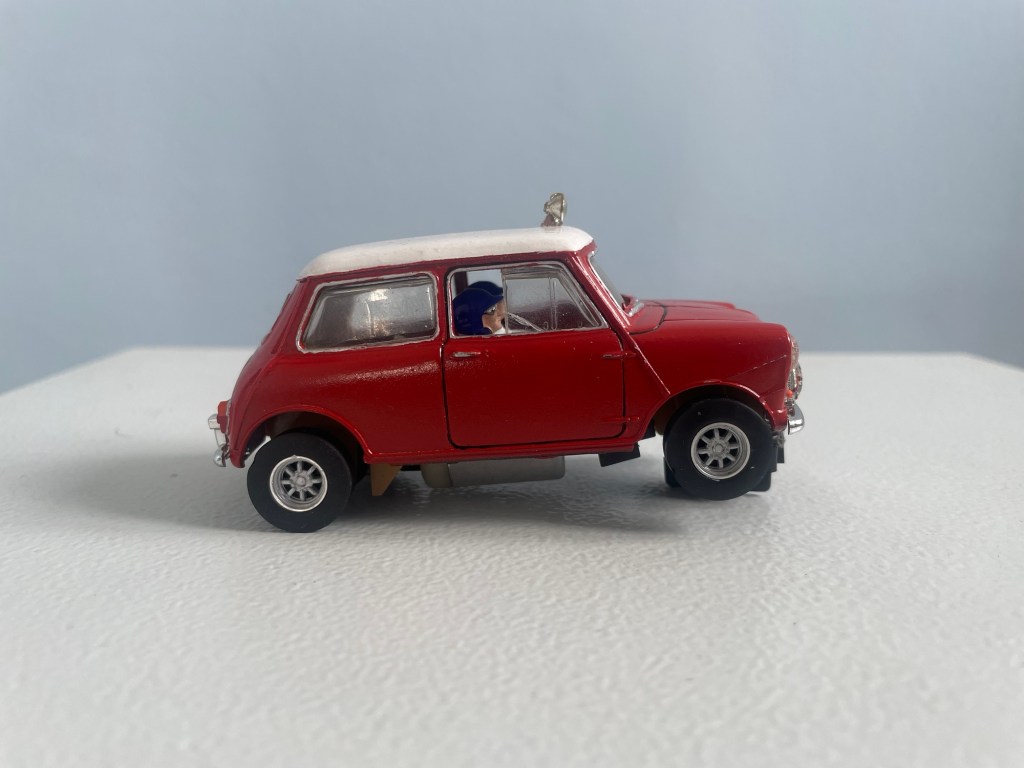
Done!


Thanks for reading! If you would like to stay up to date with all my blog posts please subscribe to the blog via email (from the box at the bottom of the page).
Follow me on the following social media platforms:
Facebook: www.facebook.com/motorsportformentalhealth/
Linkedin: www.linkedin.com/in/richard-francis-b45025137/
TikTok: @richardfrancismsfmh
Twitter: @richardmsfmh
Instagram: @motorsport4mentalhealth
Youtube: www.youtube.com/channel/UCQ-j8broFg4i2rWIBy6W82Q
By Richard Francis