

A part of your cars major service package is the replacement of the serpentine/auxiliary/drive belt. It looks like a fairly daunting task but is actually pretty simple. This blog post will (hopefully) explain how to change the belt on any Mercedes with a M112 V6. This particular car is a W202 C240 Sport.
Over time these belts can crack and fail and since they power your alternator, aircon, water pump and power steering it is best to replace them every so often. My car has done over 130,000 miles and the belt is looking a little bit sorry for itself. It’s had a bit of oil leak on the belt too which has softened it so I think it would be a good idea for us to change it!
I brought mine from Euro Car Parts. This is the link to the one my car requires which is the long belt for the air conditioning pump. If your car does not have air conditioning then you will require the shorter belt.

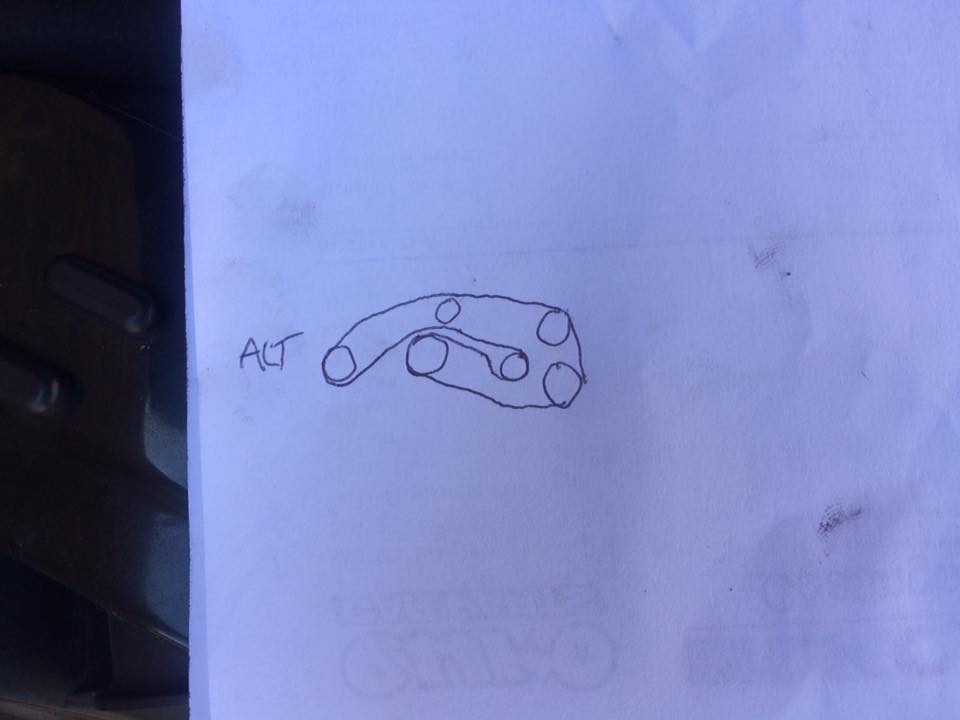
First thing to do is to draw the route of the belt. Some people might have awesome memories and the fact that the belt has a smooth side and a grooved side which collates to the smooth and grooved pulleys makes the route fairly self explanatory, but I wasn’t going to take any risks!
The belt is held in place by this automatic tensioner. There are three variations of tensioner for this engine. I believe that this is the first design. You will need a breaker bar or a long ratchet with a 8mm torx socket to move it.

Once your torx socket is on there turn the ratchet counter clockwise and you will feel the tensioner move up. Once it is up you will be able to work the belt off of it. Online a lot of people have said that you can put a nail or drift through a little hole on the back of the tensioner. I couldn’t find it though so I had to struggle without! If you can let me know where that is I would be most appreciative! This is probably super easy on the W210 as you have more room between the engine block and fan shroud.
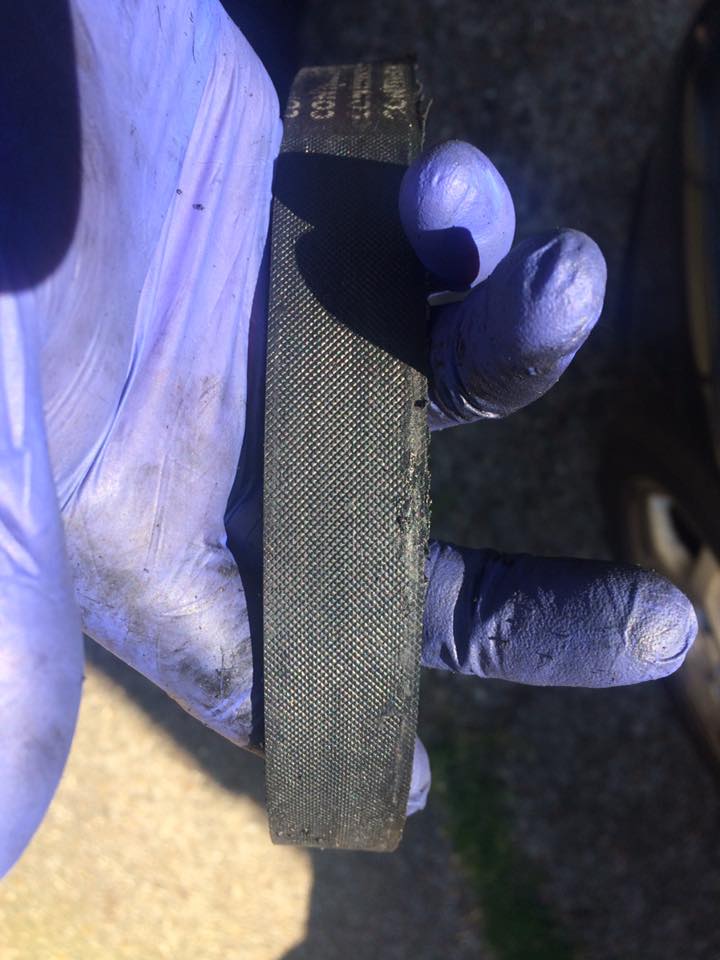
Now the belt is off you can see the wear a little bit better.
Whilst the belt is off it’s also worth checking that the bearings inside all the pulleys spin freely but don’t move from side to side. The common ones to be a problem on this engine is the tensioner itself and the little idler pulley which is the highest of the pulleys. If they move about at all swap them out!

Also could be a good idea to make sure both belts are the same length. To do that simply stretch them out. There are a couple of variations of belt for the engine as some cars don’t have air conditioning which is driven by the belt.

The new belt simply goes on the way the old one came off! As I said earlier I couldn’t find a hole to put something in to hold the tensioner up but I managed to bring my breaker bar around a hook at the front of the block (which I assume holds the plastic engine cover on) It is tight so patience is required putting the new belt on haha!

Now all that is left to do is turn it on and make sure there are no squeaks or whines! Congratulations! You have changed your serpentine belt!
Thanks for reading if you would like to see more of these posts make sure to follow this blog or follow me on the following social media platforms
Facebook: https://www.facebook.com/RFrancisGarageR/
Twitter: @Garage_RFrancis
Instagram: @motorsport4mentalhealth
Youtube: https://www.youtube.com/channel/UCNBY-2P5EuEFotY4RVjpvnw