

If you would like to help support this blog, please donate through Paypal here!
£5.00
The steering system on a W202 is linked together by a series of ball joints. They basically allow suspension parts to articulate without binding. As, say a steering knuckle moves the socket of the ball joint will move around the centre ball, sort of like how your hip or shoulder joints work.
Because a car’s suspension in the UK is incredibly overworked by the terrible conditions of our roads the ball and socket eventually wear away, allowing for play in the suspension which denotes the ball joint will need to be replaced. You can tell if a ball joint is wearing by a little bit of play left to right in the wheel or if it’s really bad by clunking as you are driving.
Replacing a ball joint is something that can be done fairly easily at home. You will need a jack, axle stands, wheel brace, a 22mm spanner, some penetrating spray, a dead blow hammer and some good old fashioned elbow grease.
You will also need a ball joint. I got a Starline Ball Joint from Euro Car Parts. If you would like to buy one please follow that link!
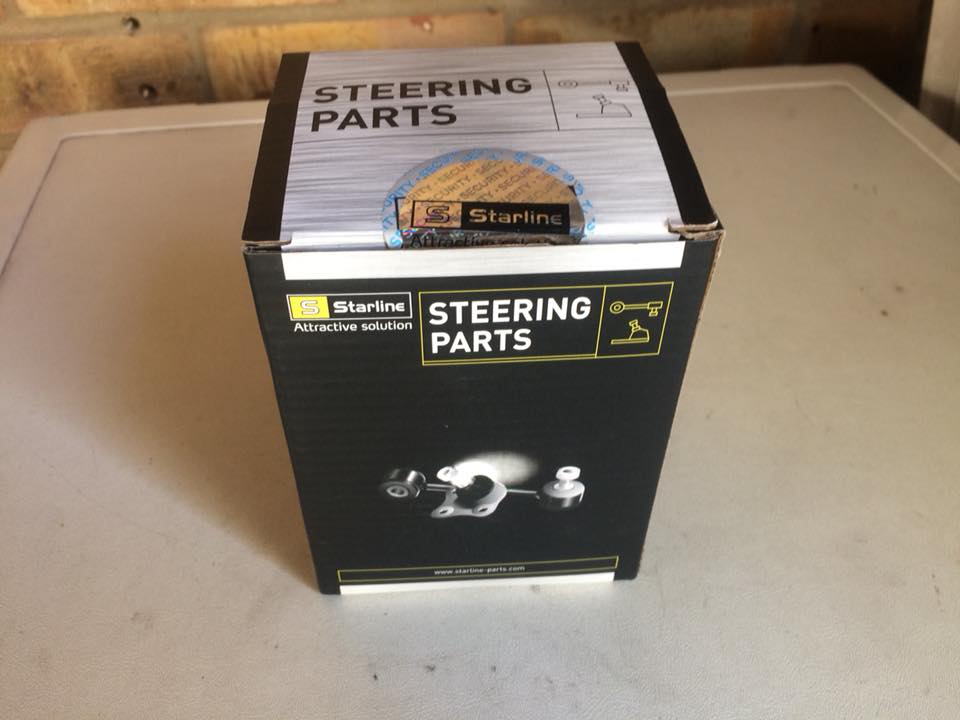
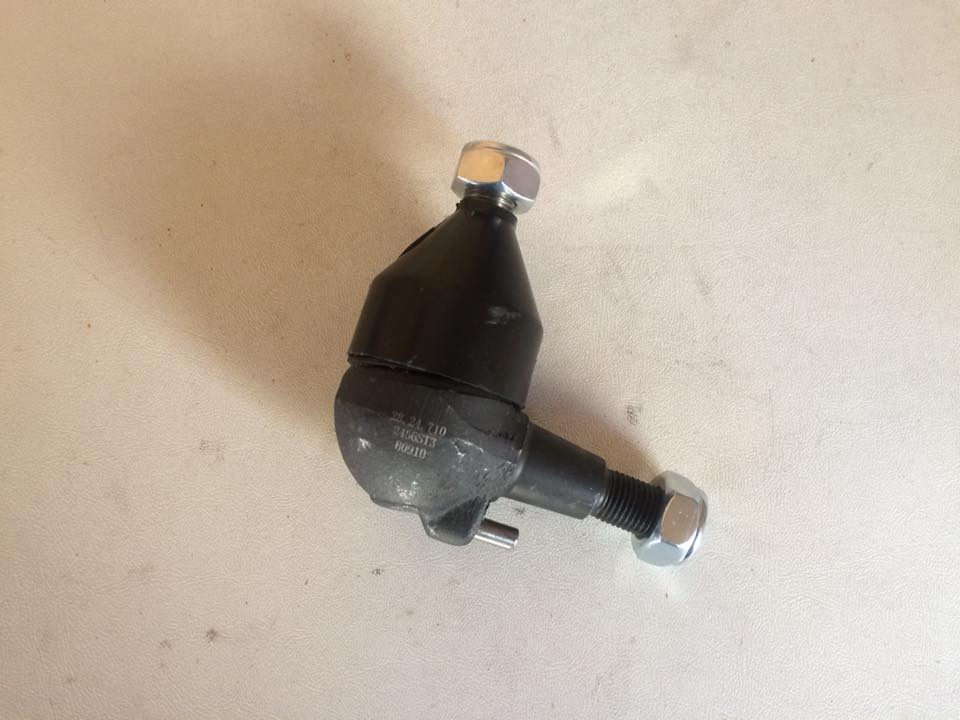
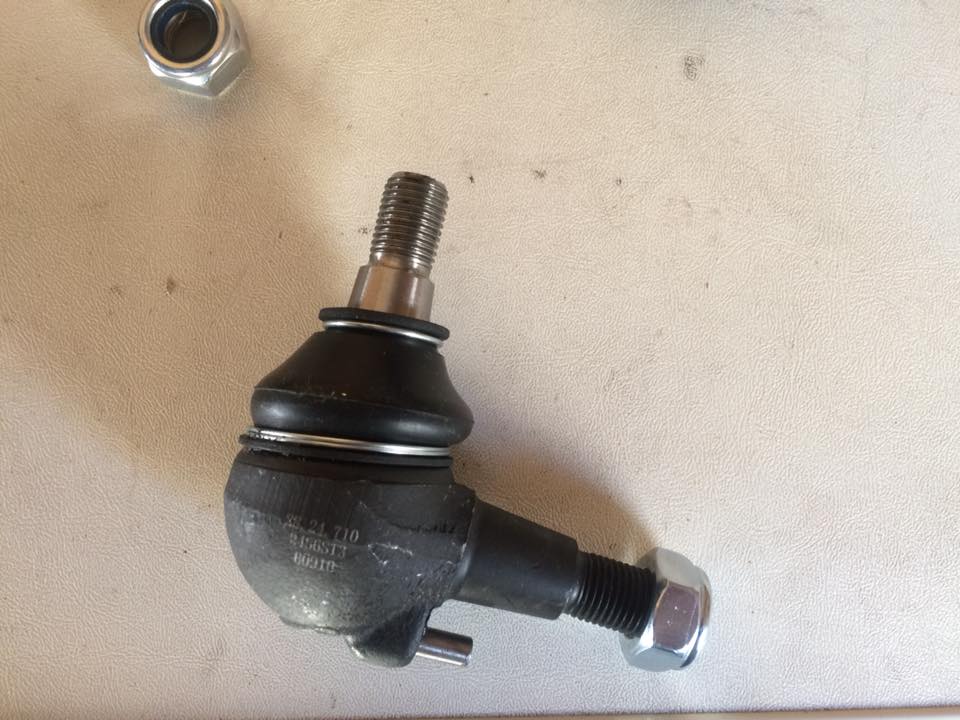
Your new ball joint will come with two new 22mm locking nuts and a plastic shield. The plastic shield will need to be removed before installation.
To start jack the front of your car up on both sides (you will need to turn the steering a couple of times so it’s easier to have both sides in the air) and remove the wheel of the side you will be working on. You will then need to turn the wheel to full lock. If your car is right hand drive then turn the wheel full to the left if you are working on the passenger side or full to the right if you are working on the driver’s side. Obviously vice versa if your car is left hand driven.
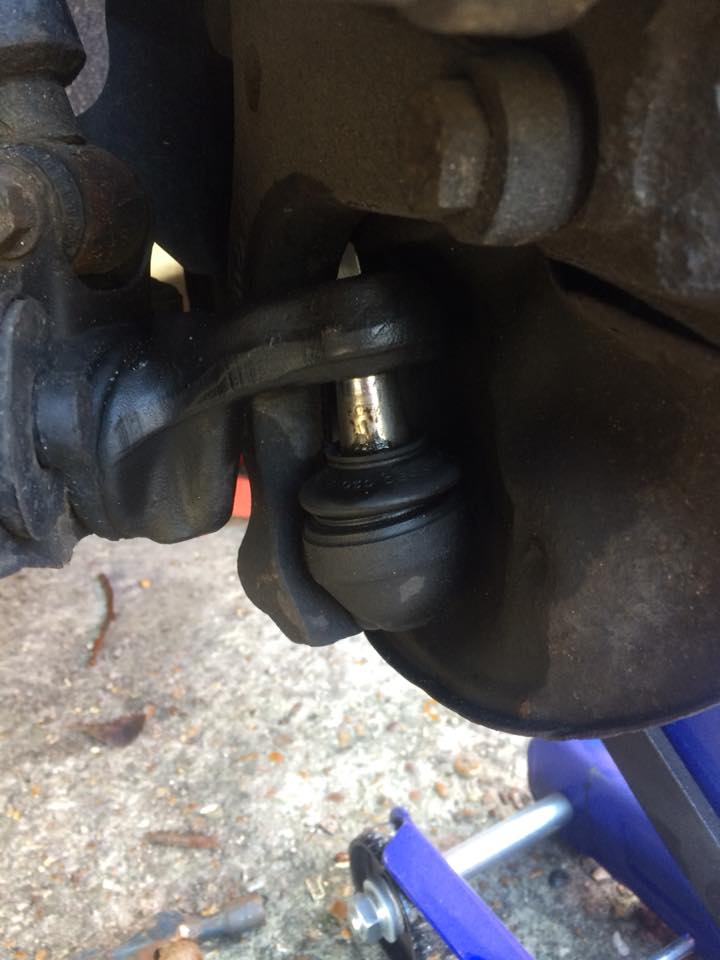
Turning the wheel will allow you to see the ball joint and access the top nut. The sphere in the centre of this pic is ball joint. The top nut is the circled visible nut and there is a second nut on the far side if the steering knuckle. We will address that later though.
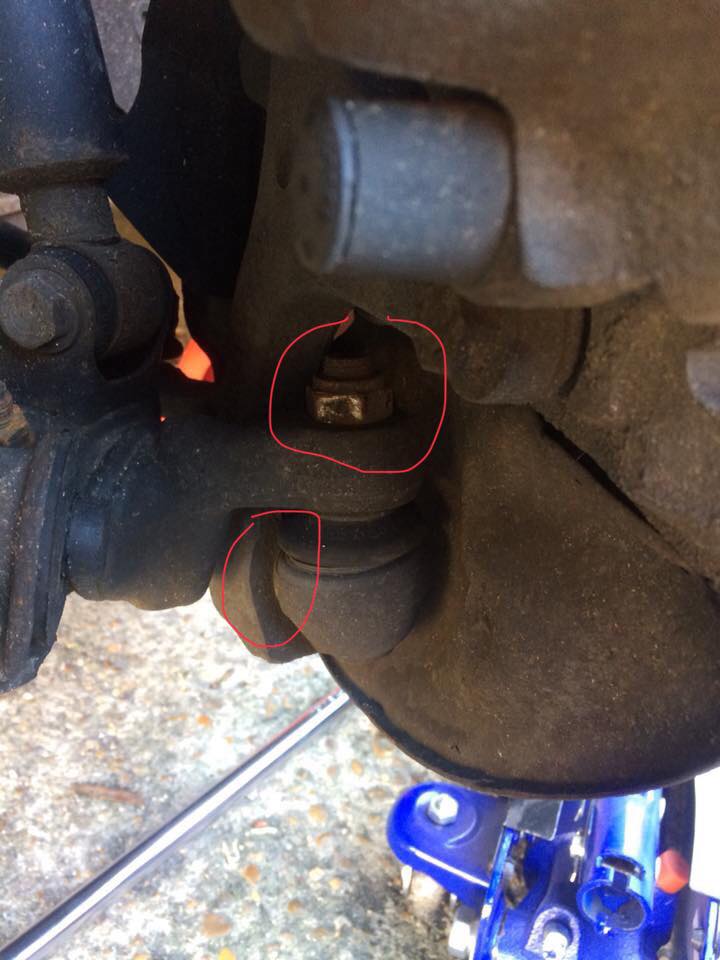
First give the nut a good covering if penetrating spray. Locking nuts take a bit of force to get off and if it’s been in the car for years it’s going to take some strength.

Remove the nut with your 22mm spanner. Start with the closed end of the spanner as it provides better grip to begin with and then as it gets further up the thread switch to the open end as there is not a lot of room between the end of the thread and knuckle.
Once the bolt is off the ball joint may still feel tight in the arm. It has been pressed well in place over the course of time. A tap with your dead blow hammer will get it to drop like so.
Now we can start on the nut on the knuckle side. Turn the wheel back straight and locate your 22mm nut.

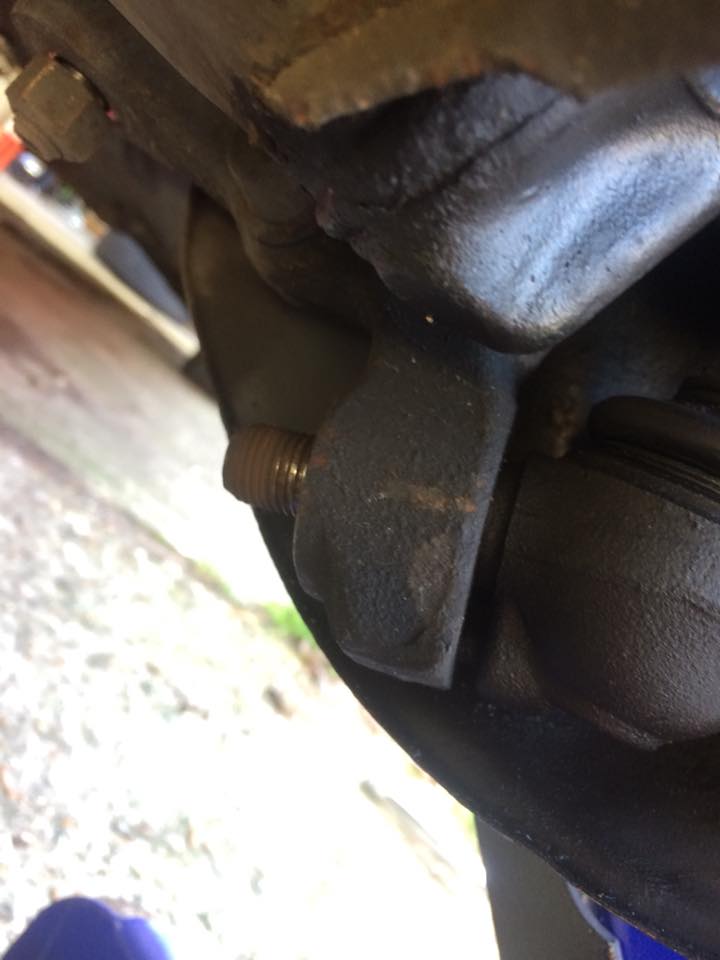
This is what it looks like from inside the arch once the bolt has been removed. Note the rust on the threads, that’s why we use penetrating spray! Although I didn’t here. Notice below the thread on the balljoint side there is a locating pin. When you tap the joint out that pin may stay inside the knuckle. That’s not the end of the world as you will be able to remove the pin from your new ball joint and reuse the one that’s in there. It’s a lot easier than trying to get it out!
You should now be able to move the knuckle backwards and forwards. With a little bit of jiggery pokery the ball joint should just drop out.
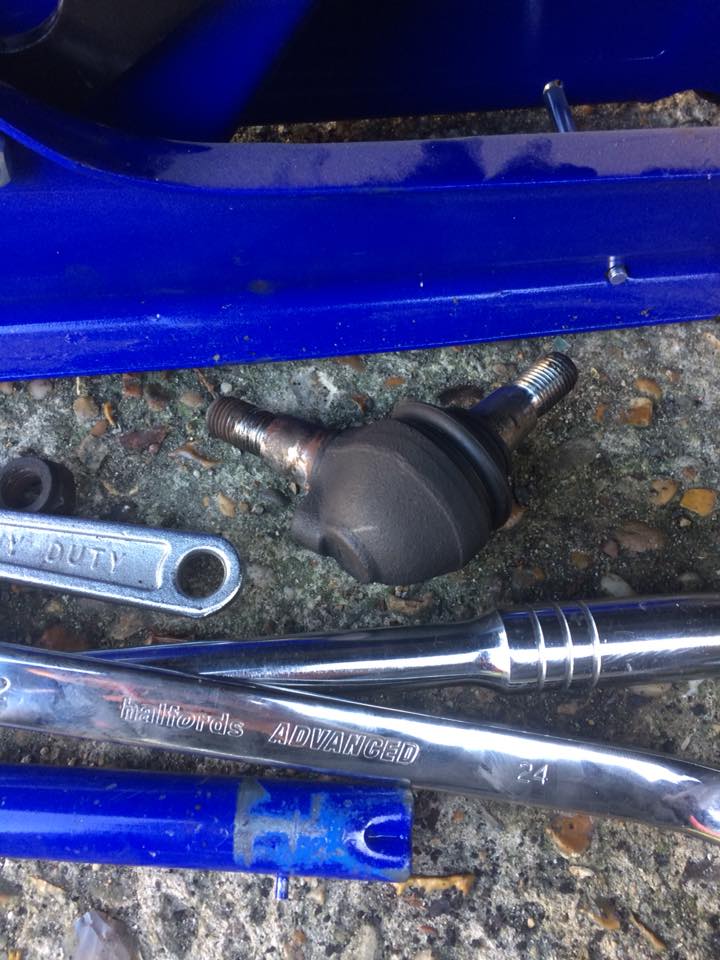
(Ignore the 24mm on that spanner. Halfords were out of stock of normal 22mm combination spanners so I had to get a closed end spanner with 22mm at one end and 24mm at the other)
Installation is much easier than removal. Put the top thread into the lower arm first and do it up finger tight then you will have to line it up with the hole in the knuckle and guide pin. This can take a bit of messing about. I found it best to lift the lower arm slightly with the jack and then slot it into place. Make sure that the knuckle and steering arm don’t get caught up in the lower arm so when the jack lifts the lower arm it lifts the knuckle too. Sounds like a stupid thing to get confused by but learn from my mistakes. Keep the two arms totally separate haha!
Once the nuts are nice and tight put the wheel back on and tighten your bolts. Give the wheel a wiggle to see if the play has disappeared. It should now be nice and tight!
Thanks for reading, I hope you enjoyed! If you would like to help me make even better quality content on a more regular basis please donate via paypal through the button at the top or paypal me directly at motorsportformentalhealth@yahoo.co.uk.
You can also join my Patreon here: www.patreon.com/motorsportformentalhealth
If you would like to stay up to date with all my blog posts please subscribe to the blog via email or follow me on the following social media platforms:
Facebook: www.facebook.com/motorsportformentalhealth/
Twitter: https://twitter.com/Garage_RFrancis
Instagram: @motorsport4mentalhealth
Youtube: www.youtube.com/channel/UCQ-j8broFg4i2rWIBy6W82Q