

If you would like to help support this blog, please donate through Paypal here!
£5.00
Remember when I built my Mardave 1300 stock car (link can be found here) that I was building it because it’s a cheap kit, they are only raced locally once or twice a month and they last a little bit longer than the bangers? Well, it turns out oval racing is a tonne of fun and so I’ve had to buy myself a banger kit. For the blog content of course!
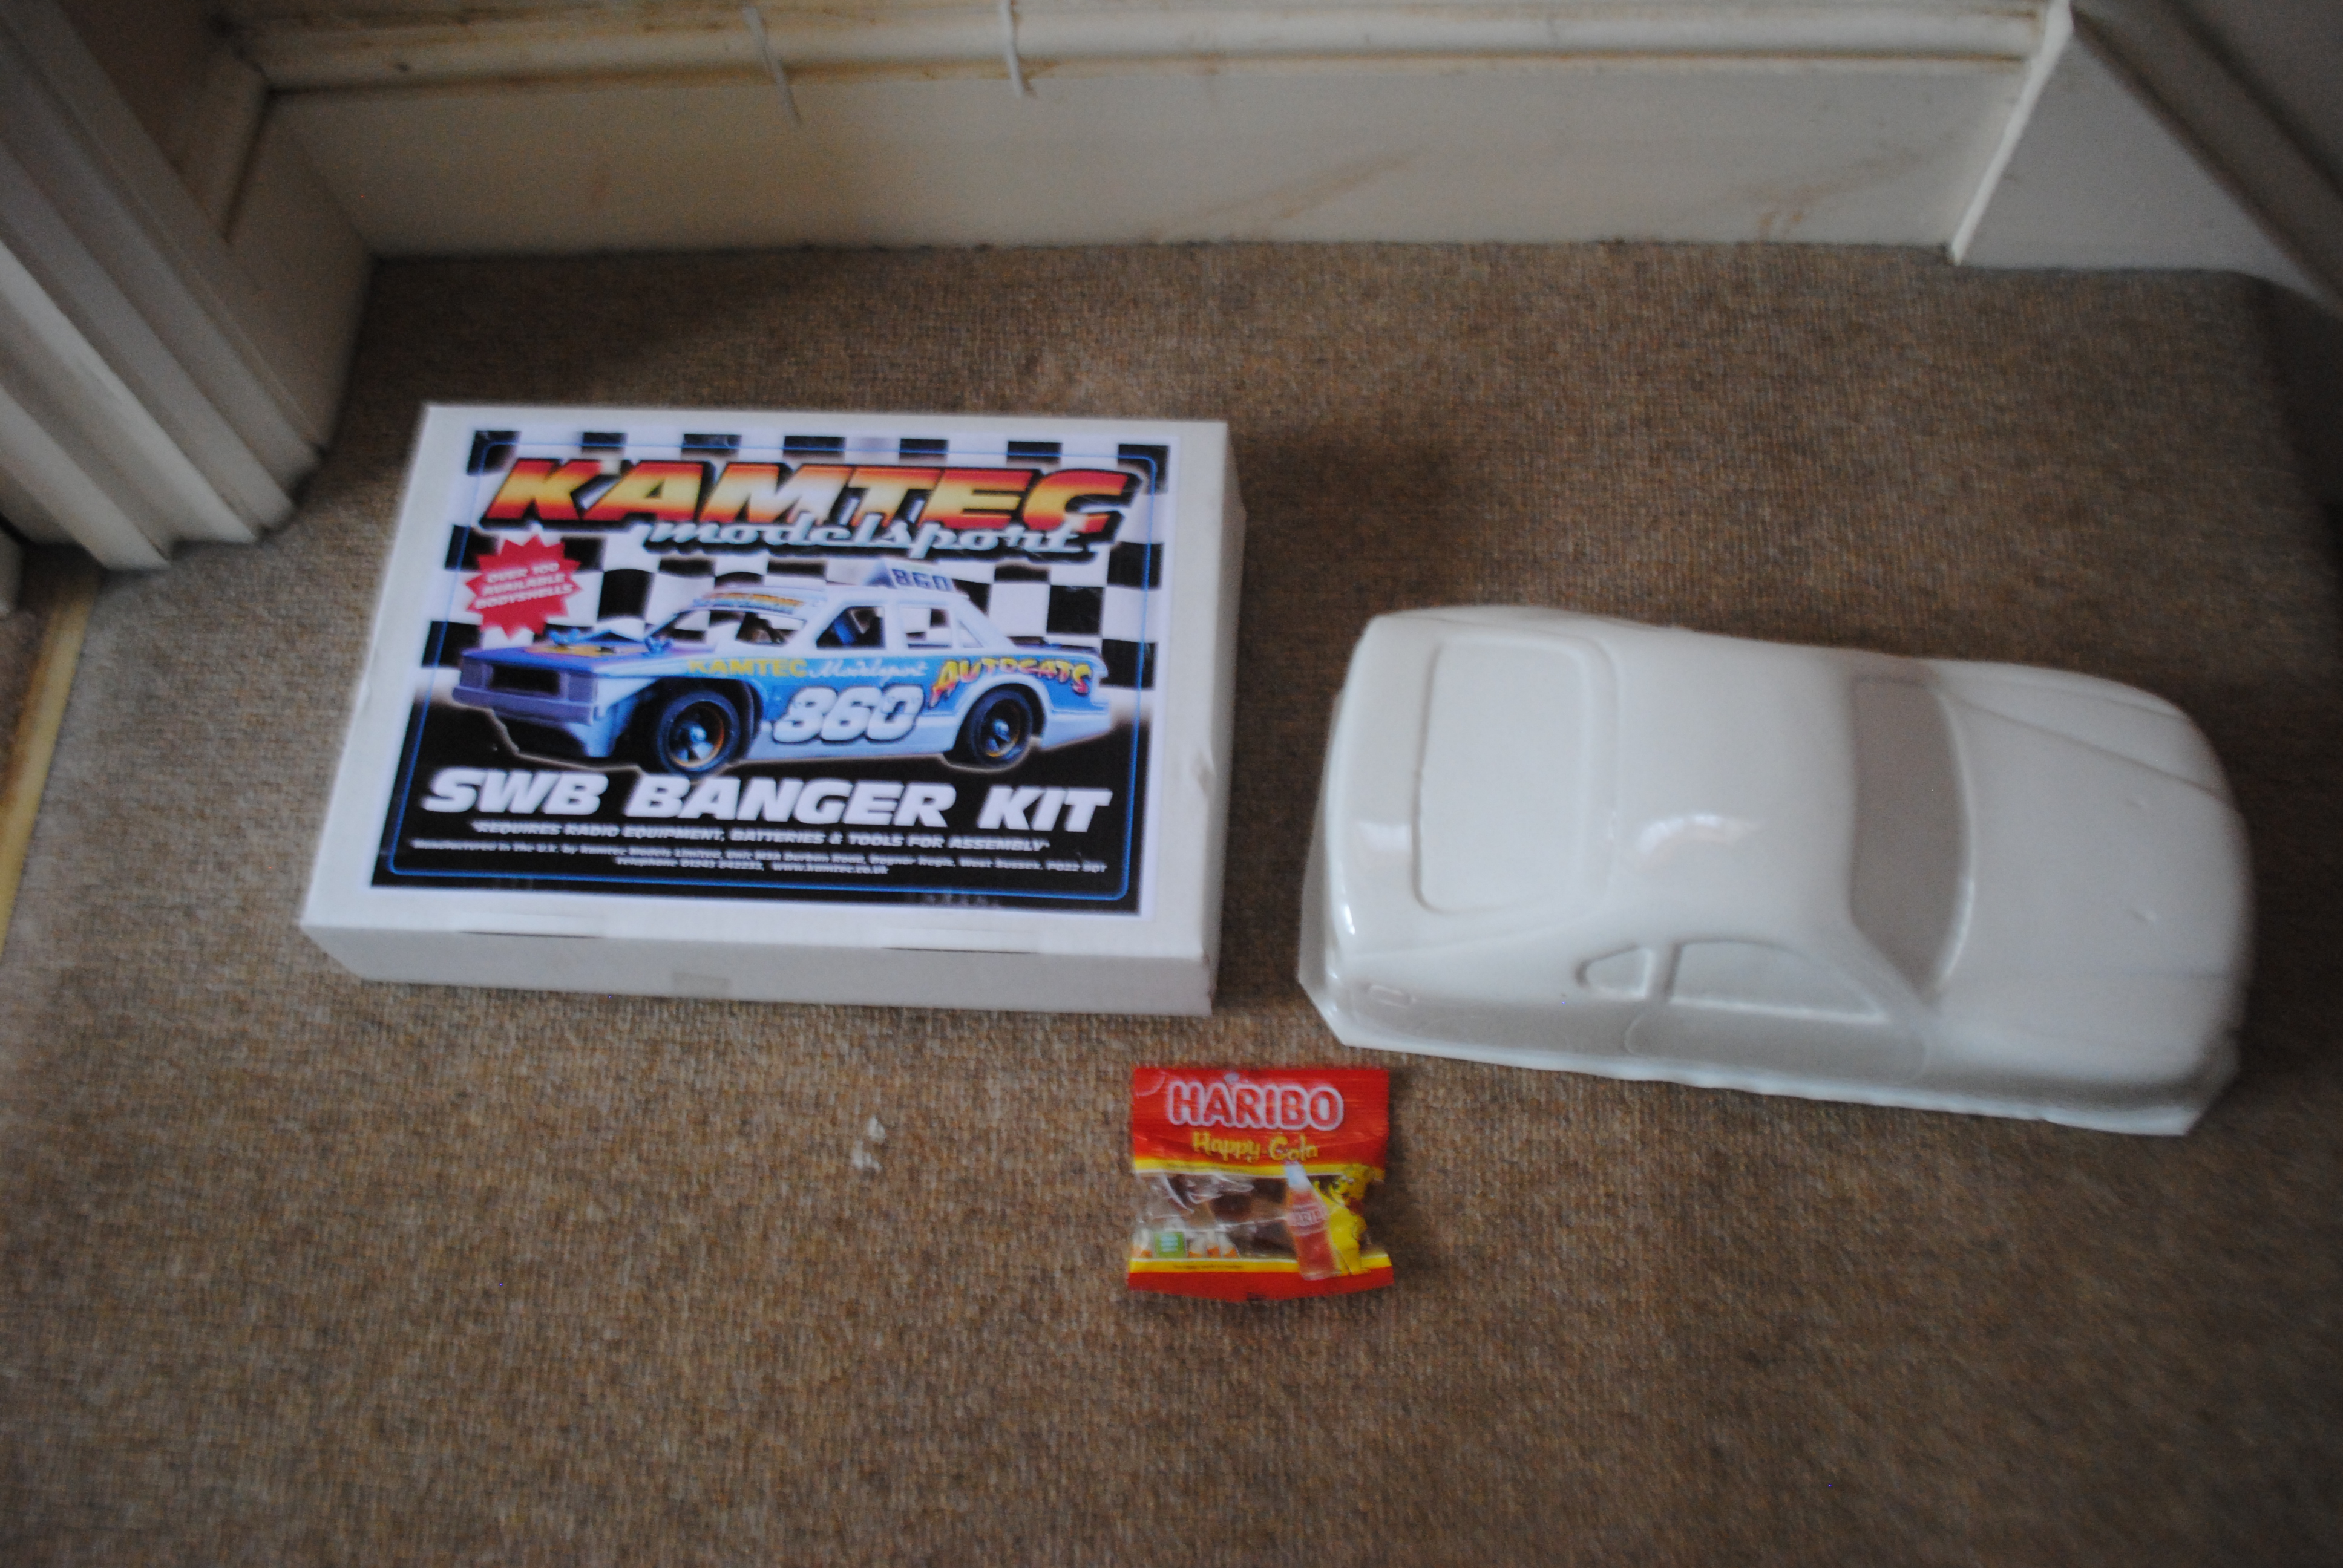
There seem to be three main companies that do RC oval kits; Mardave, who I believe were the original, Kamtec and Large It. I thought I’d give the Kamtec kit a go as it seemed to be the best value, I haven’t really had the opportunity to do anything with them before and they send free Haribo! I can always be brought with free Haribo! If you want to buy one (once you’ve finished reading this article) you can get one for £99 by following this link
All three companies build cars that are based off of the Mardave V12 platform. They all share the same simple suspension and steering set ups with the motor pod at the back which will be familiar from the 1300 build. There are some differences in the kits though, the bangers come with a metal chassis whereas the stock car’s chassis is plastic. The bangers also use a mechanical speed controller rather than an electronic ESC.
As with the Mardave kit the Kamtec kit comes with the components separated in plastic bags. I like how in both kits the bags are labelled too so should you need to order a new part you can use the labels to reference the part name and number. The Kamtec labels also have the price on the labels too. I did wonder how much of a discount you get buying the car as a kit rather than as individual components but I wanted to get on with building my kit rather than adding things up haha!

I will in places, like the next paragraph, be comparing the Mardave kit to the Kamtec kit although it’s not a fair comparison. Both are obviously 1/12th oval cars but they are built for different formulas and thus will have differences.
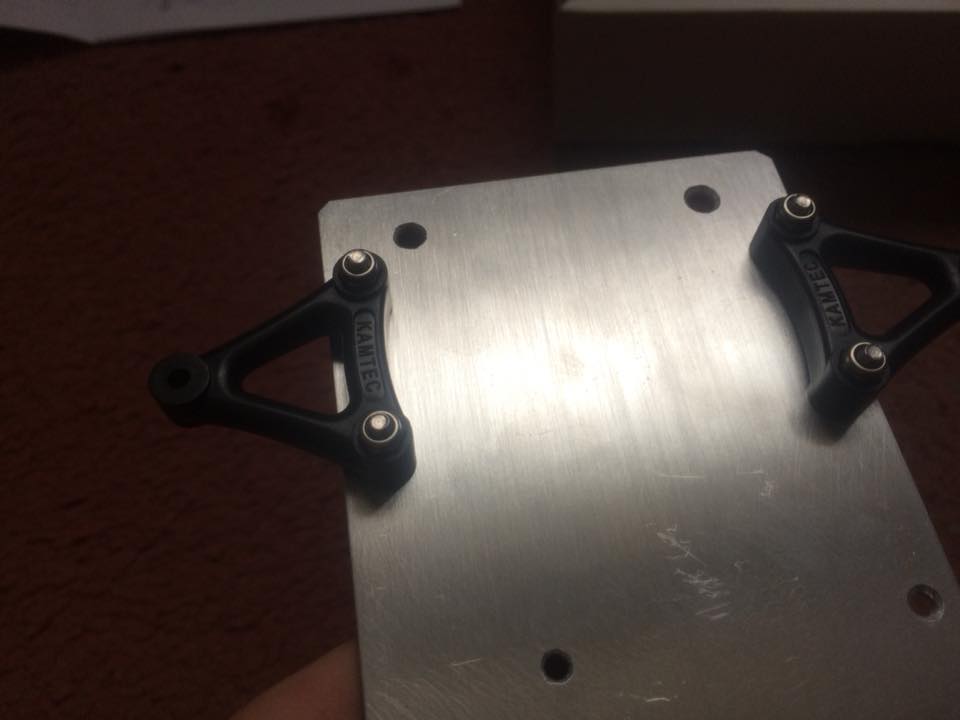
The first noticeable difference is in the front wishbones. On the Mardave kit the wishbones are held onto the chassis plate by screws alone. When you put them on you tap the thread with the screws so it’s nice and tight. On the Kamtec car the bolt goes through the centre of the wishbone and is held in place with a locking nut which sits in a cut out on the lower arm which holds it in place. I would assume the set up on the Mardave car is lighter and the Kamtec set up is stronger, since the Mardave stock car is more designed for racing and the Kamtec banger is more designed to be crashed. It might sound silly but it does feel nicer to put it together with a proper nut rather than thread through the plastic. I don’t know why it just makes the product feel more purpose made I guess.
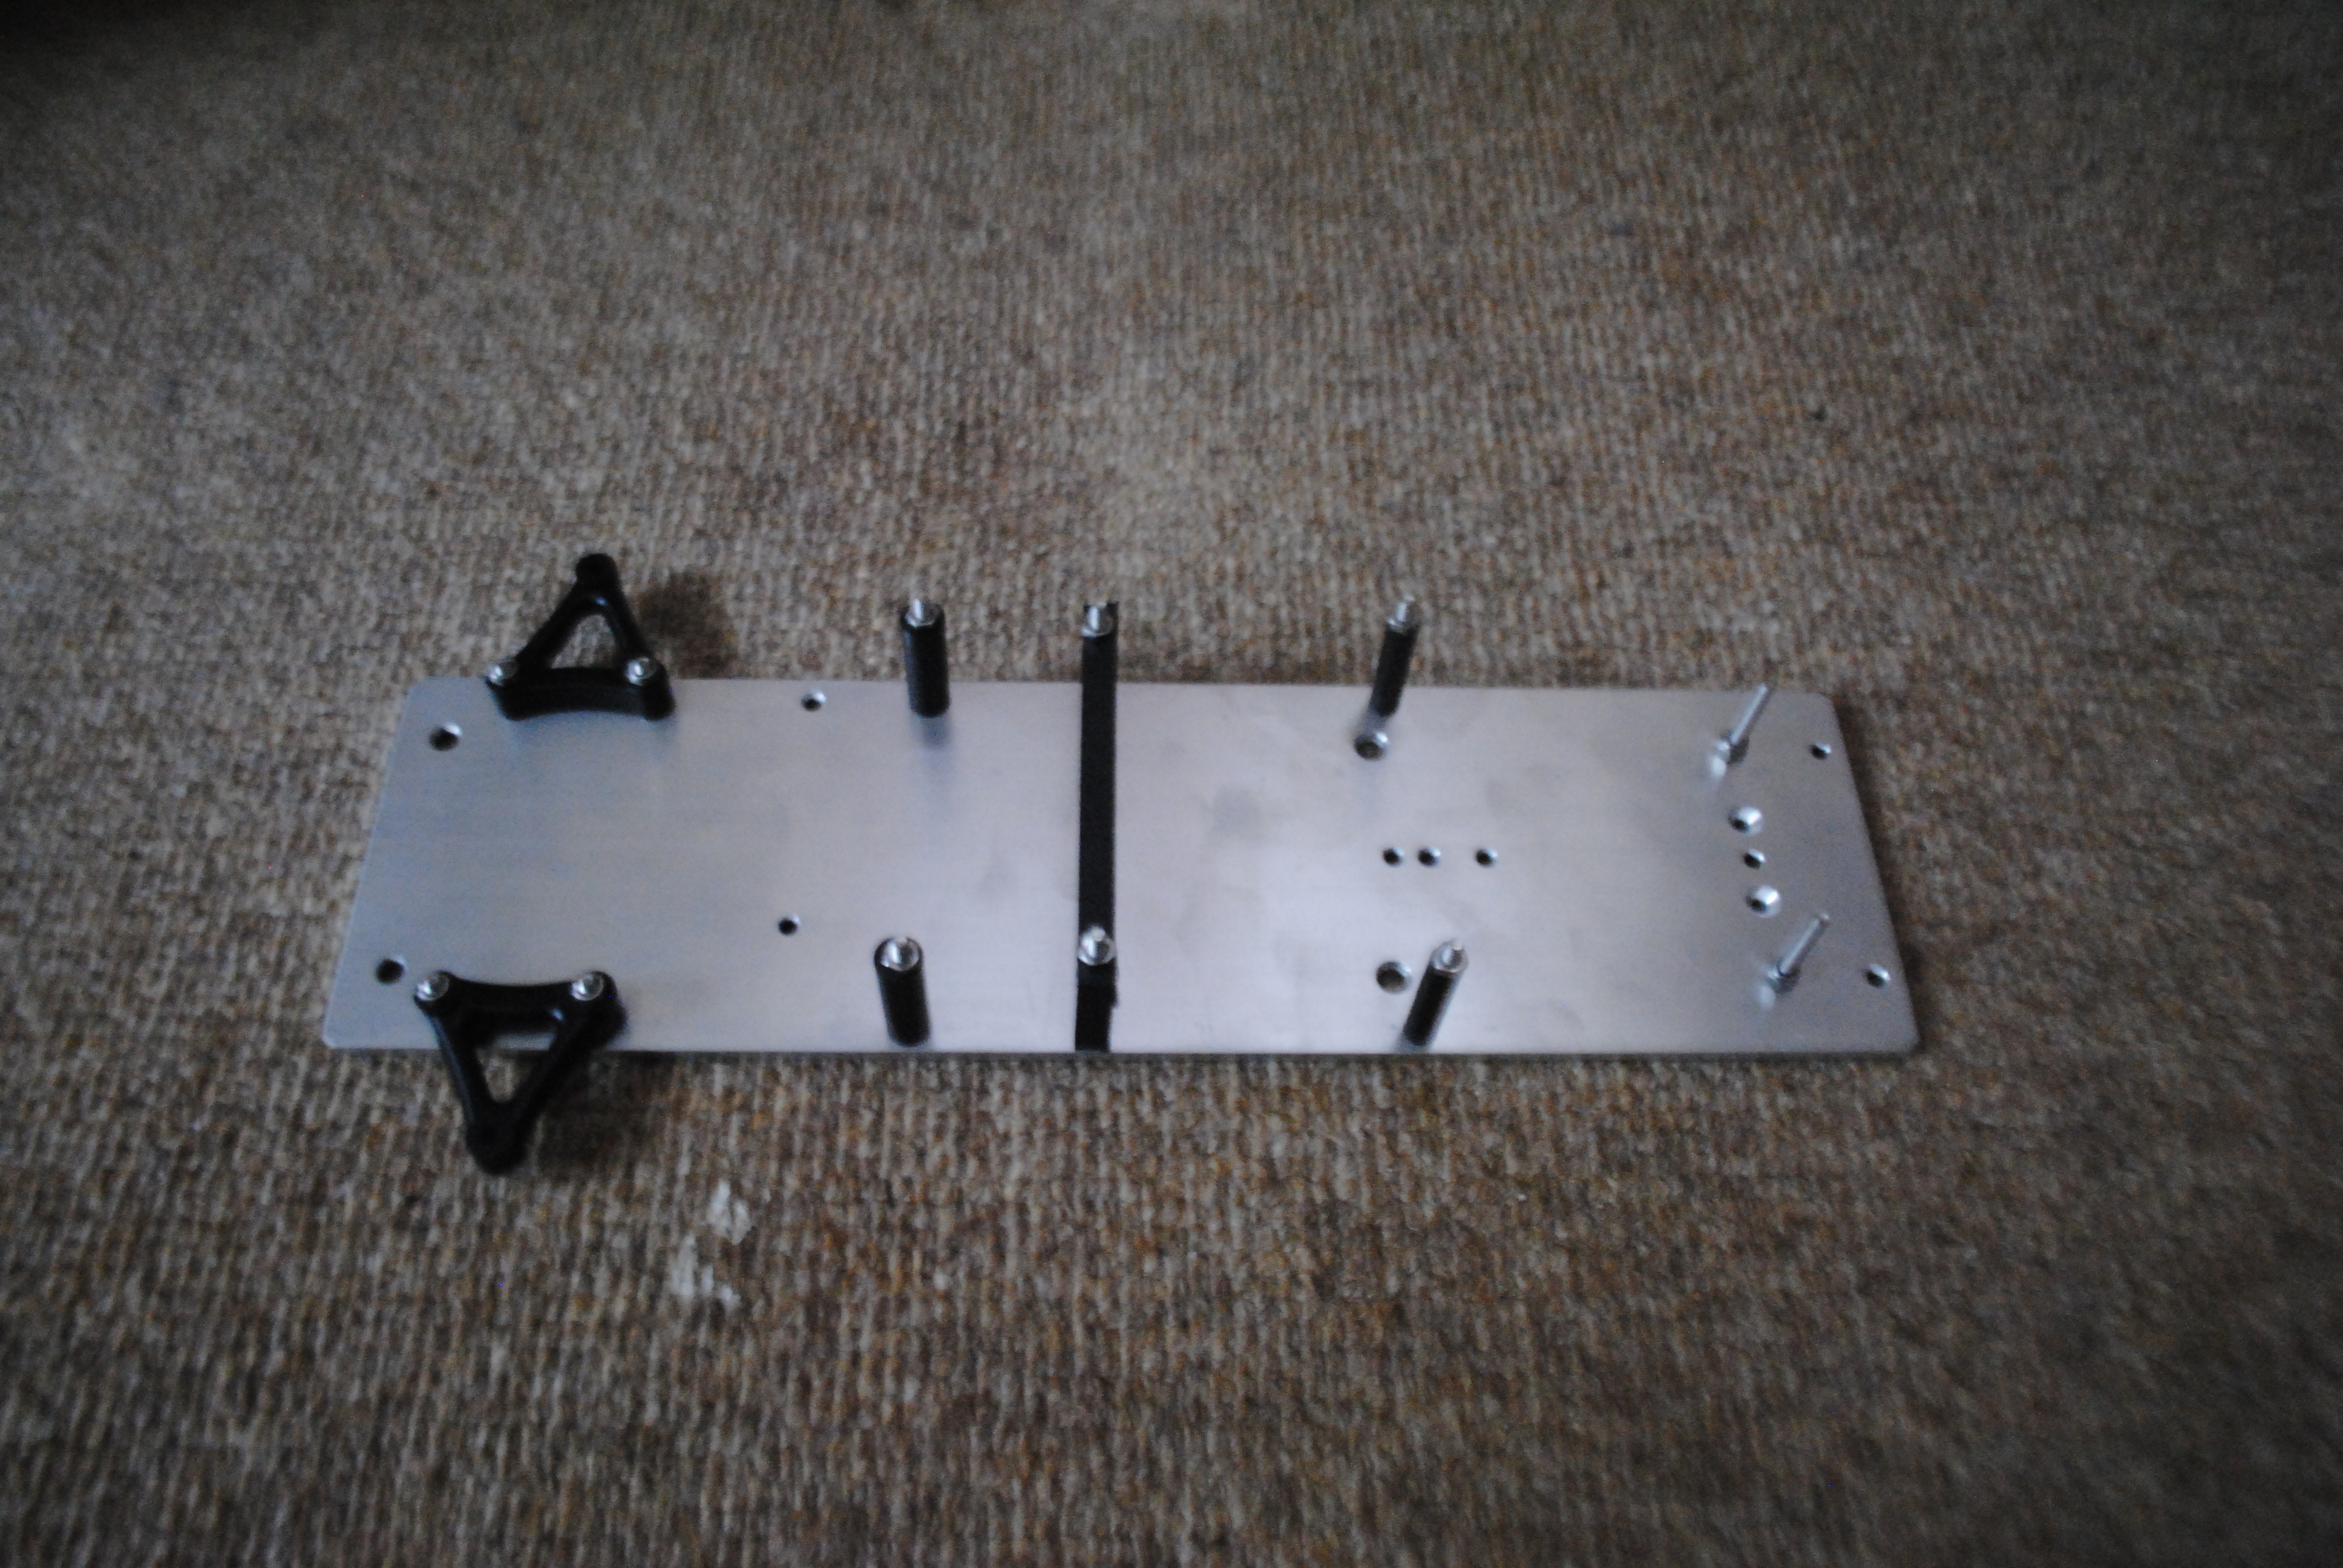
The rest of the first stage of the instructions is installing the stands that the top deck sits on. Nice and easy, they are just bolted to the chassis. You’ll want to hold them in place with the thinner nuts that come in the kit and then when the top plate is on hold that down with the locking nuts.
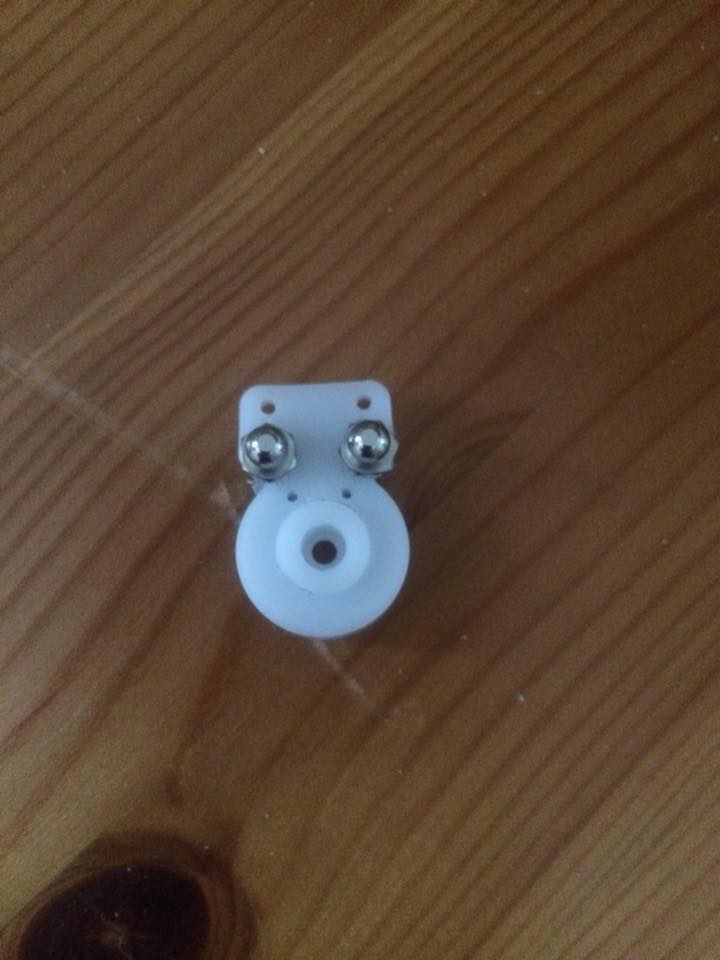
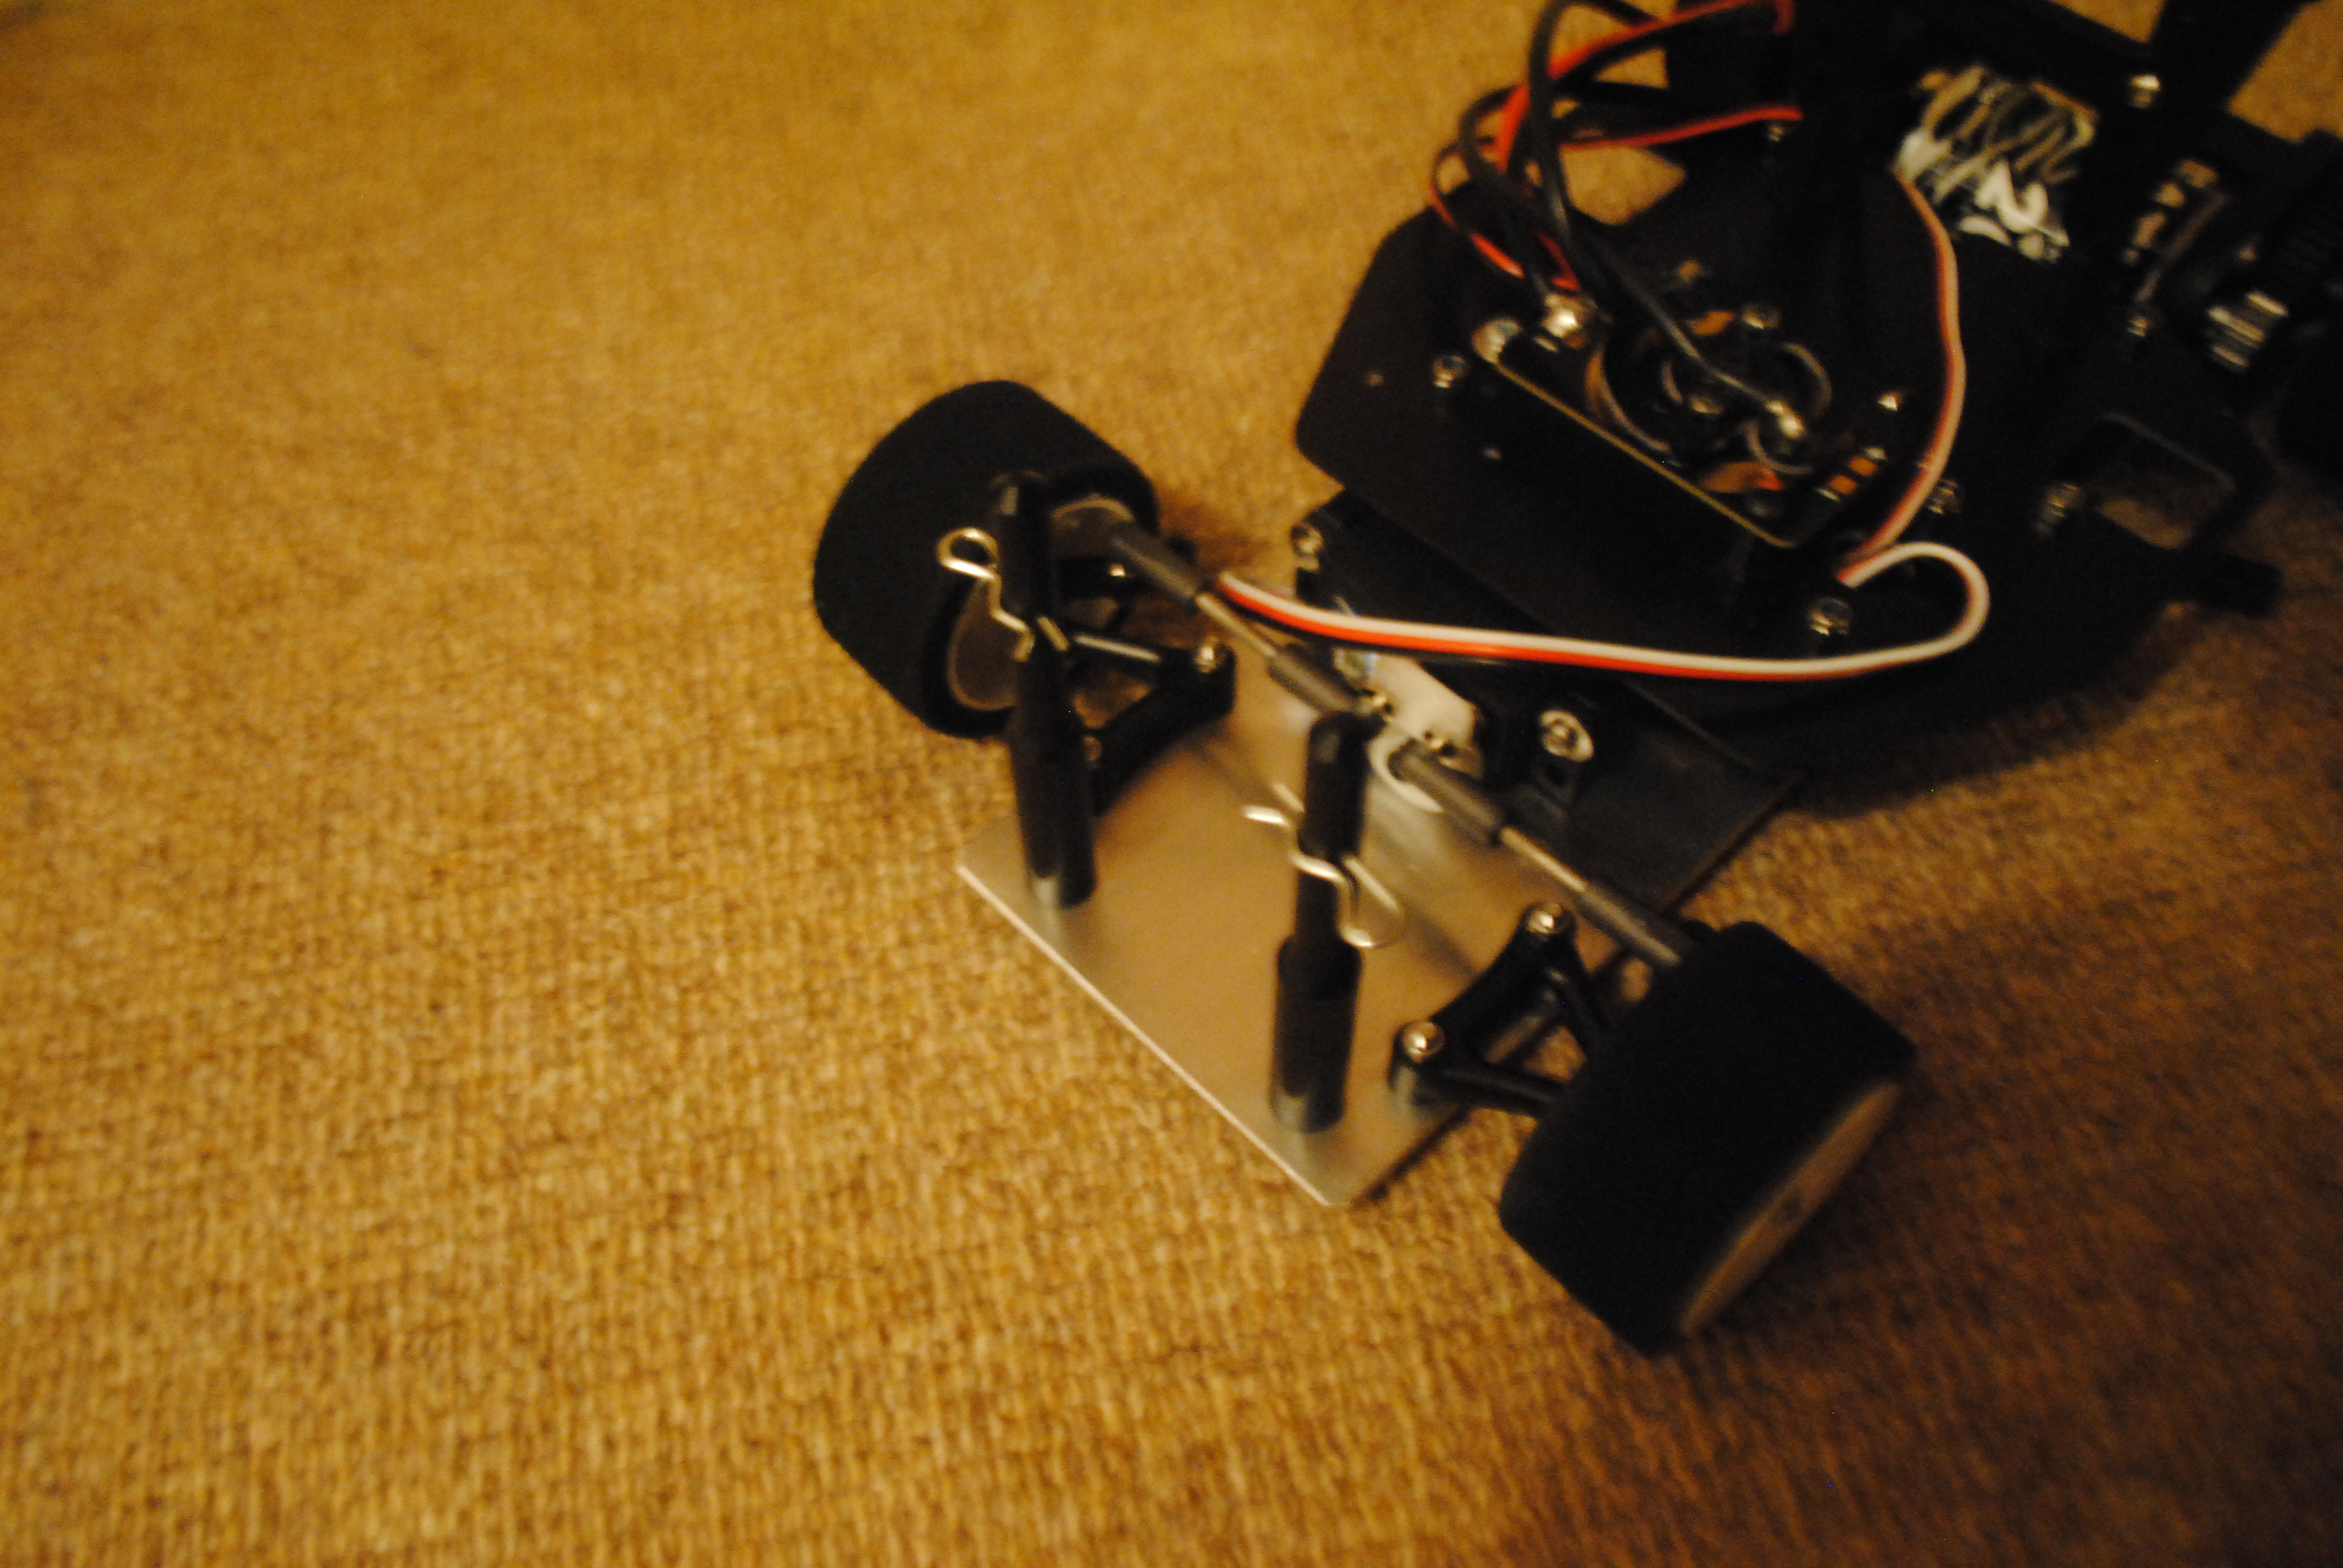
The steering is nice and straight forward. The servo sits in the centre and the wheels are pulled left and right by the track rods that are attached to the servos and knuckles. When you do this you want to mount the track rods as close to the centre of the servo and as close to the centre of the knuckle for faster steering response.
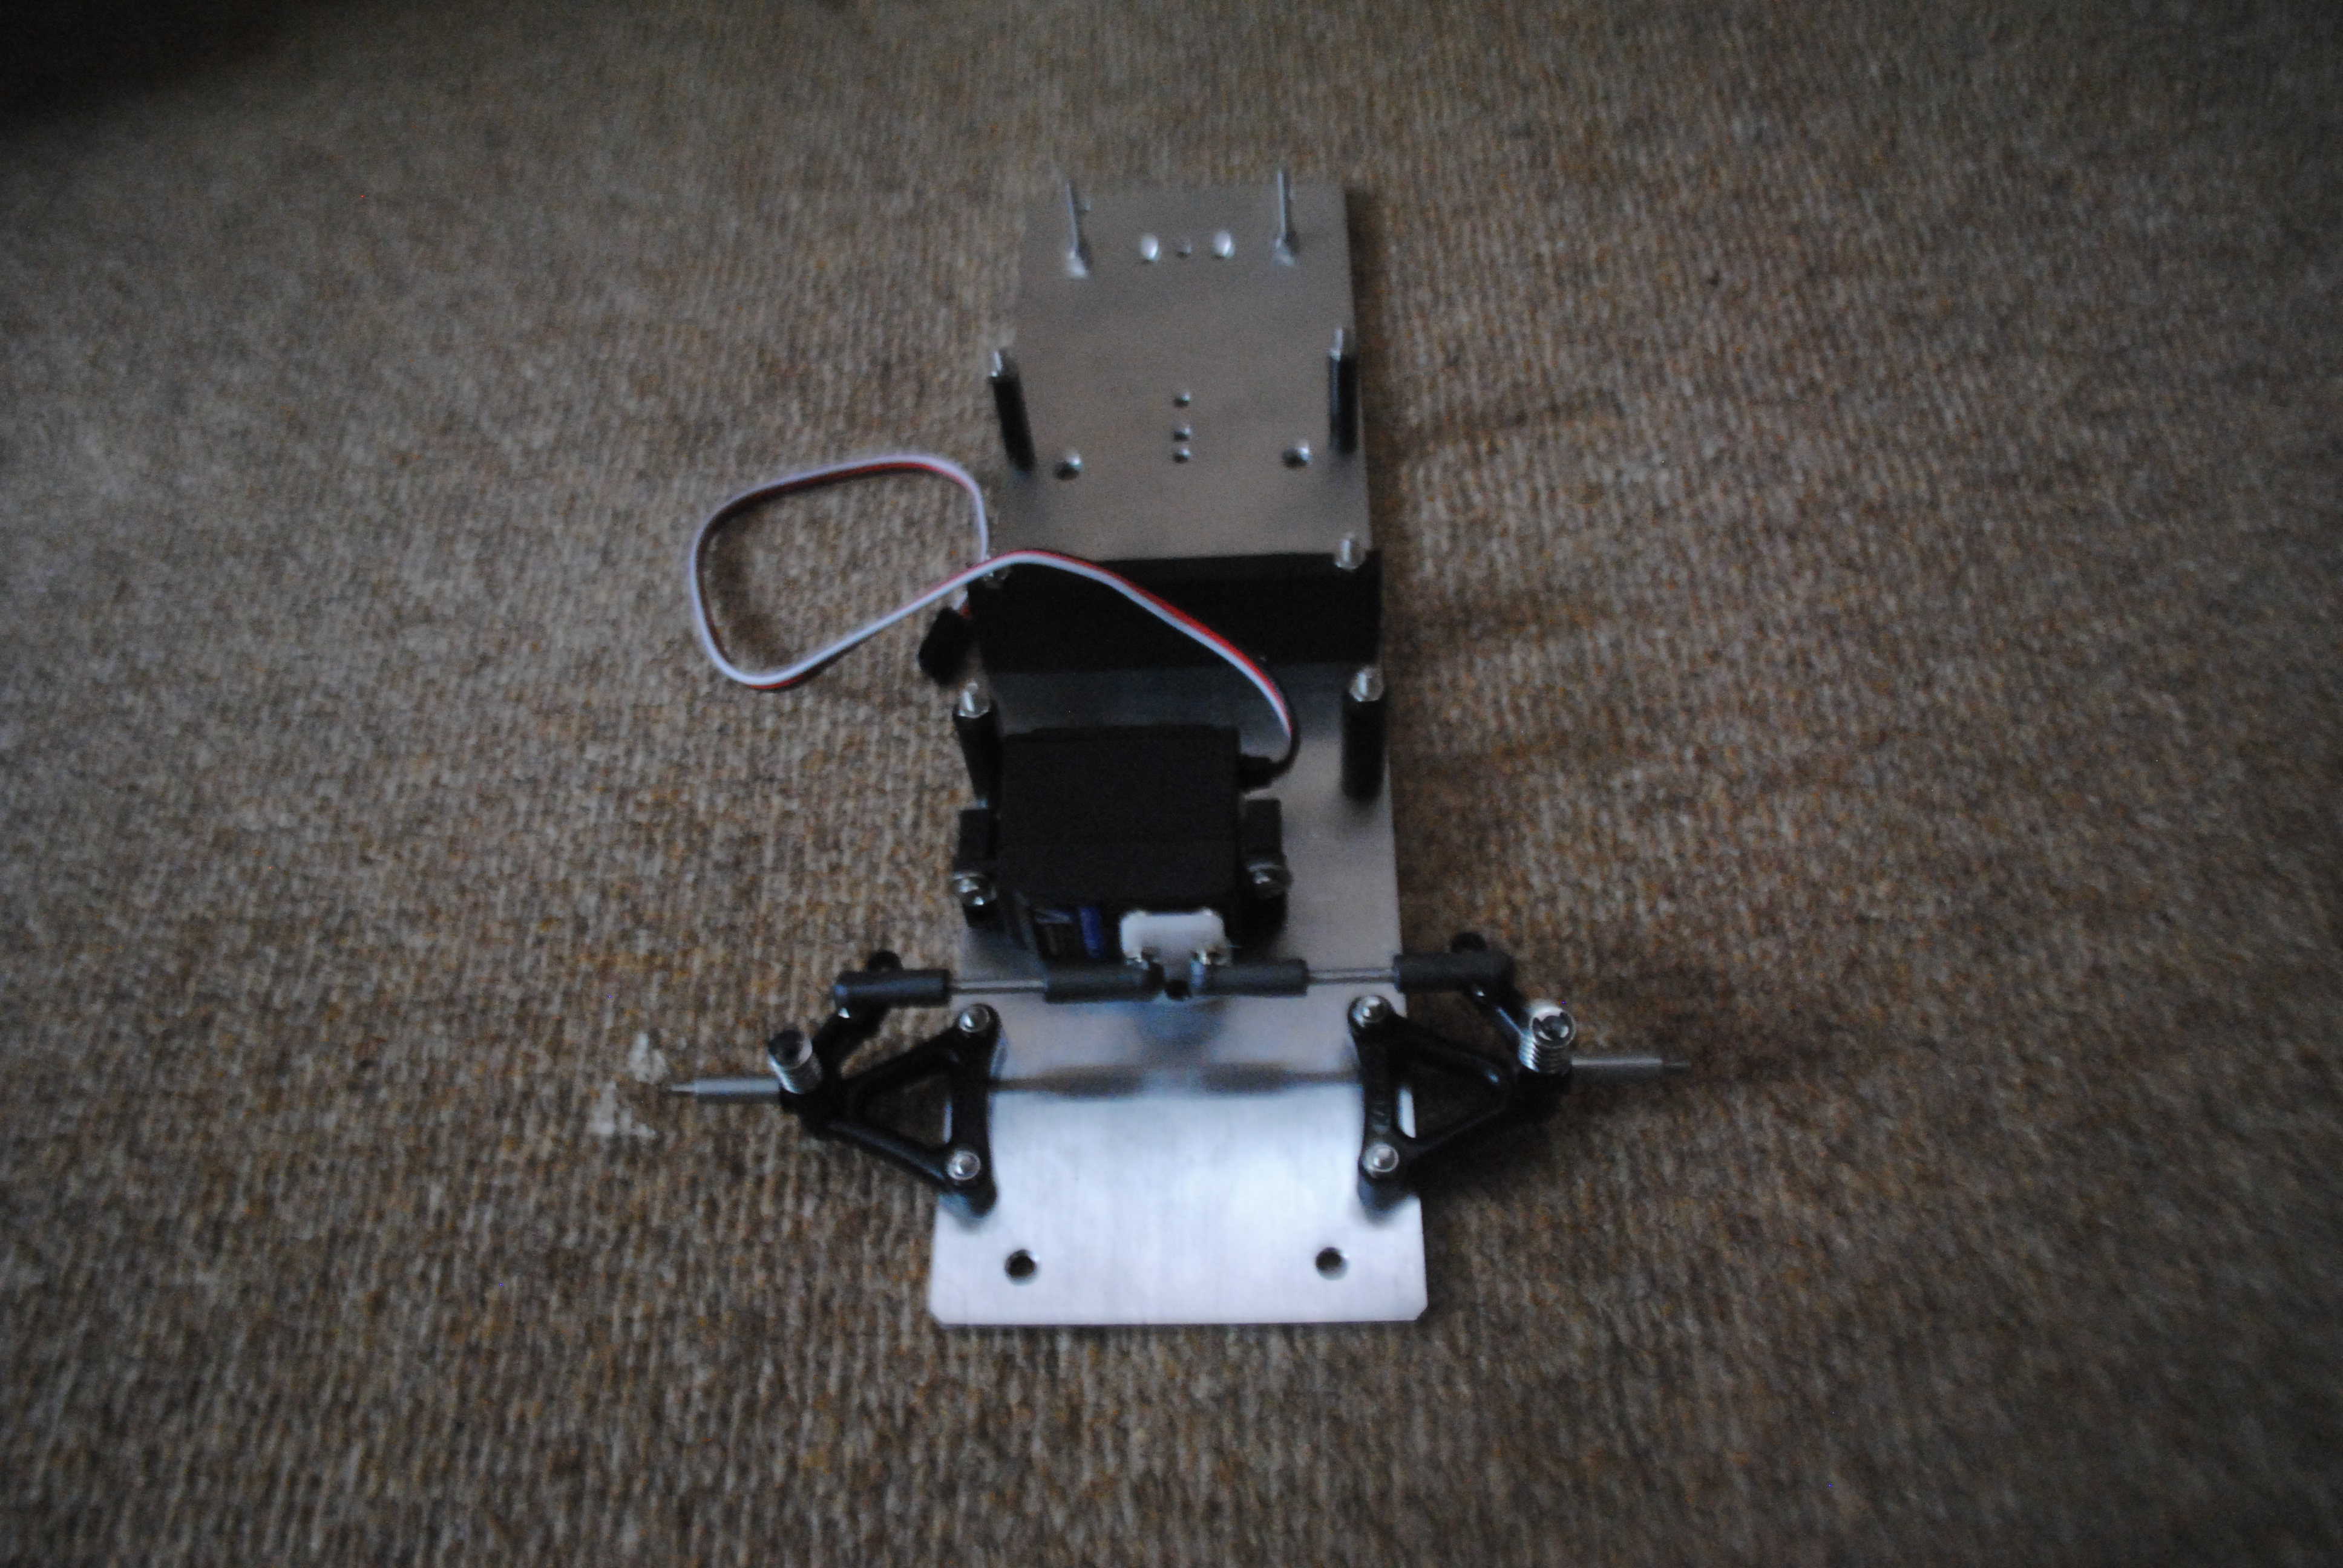
The servo saver on this car is awesome and won’t flex unnecessarily like some kit standard servo savers, Tamiya for instance, but the pre-drilled holes in the servo saver are tiny and will need to be drilled out to allow the kit’s screws to pass through them and when they are drilled out the hole is perilously close to the edge of the plastic. I would imagine with a hard hit that thin plastic could snap but we will see in time. Thinking about it, I guess it’s better to have that plastic snap than bend a track rod or damage the servo.
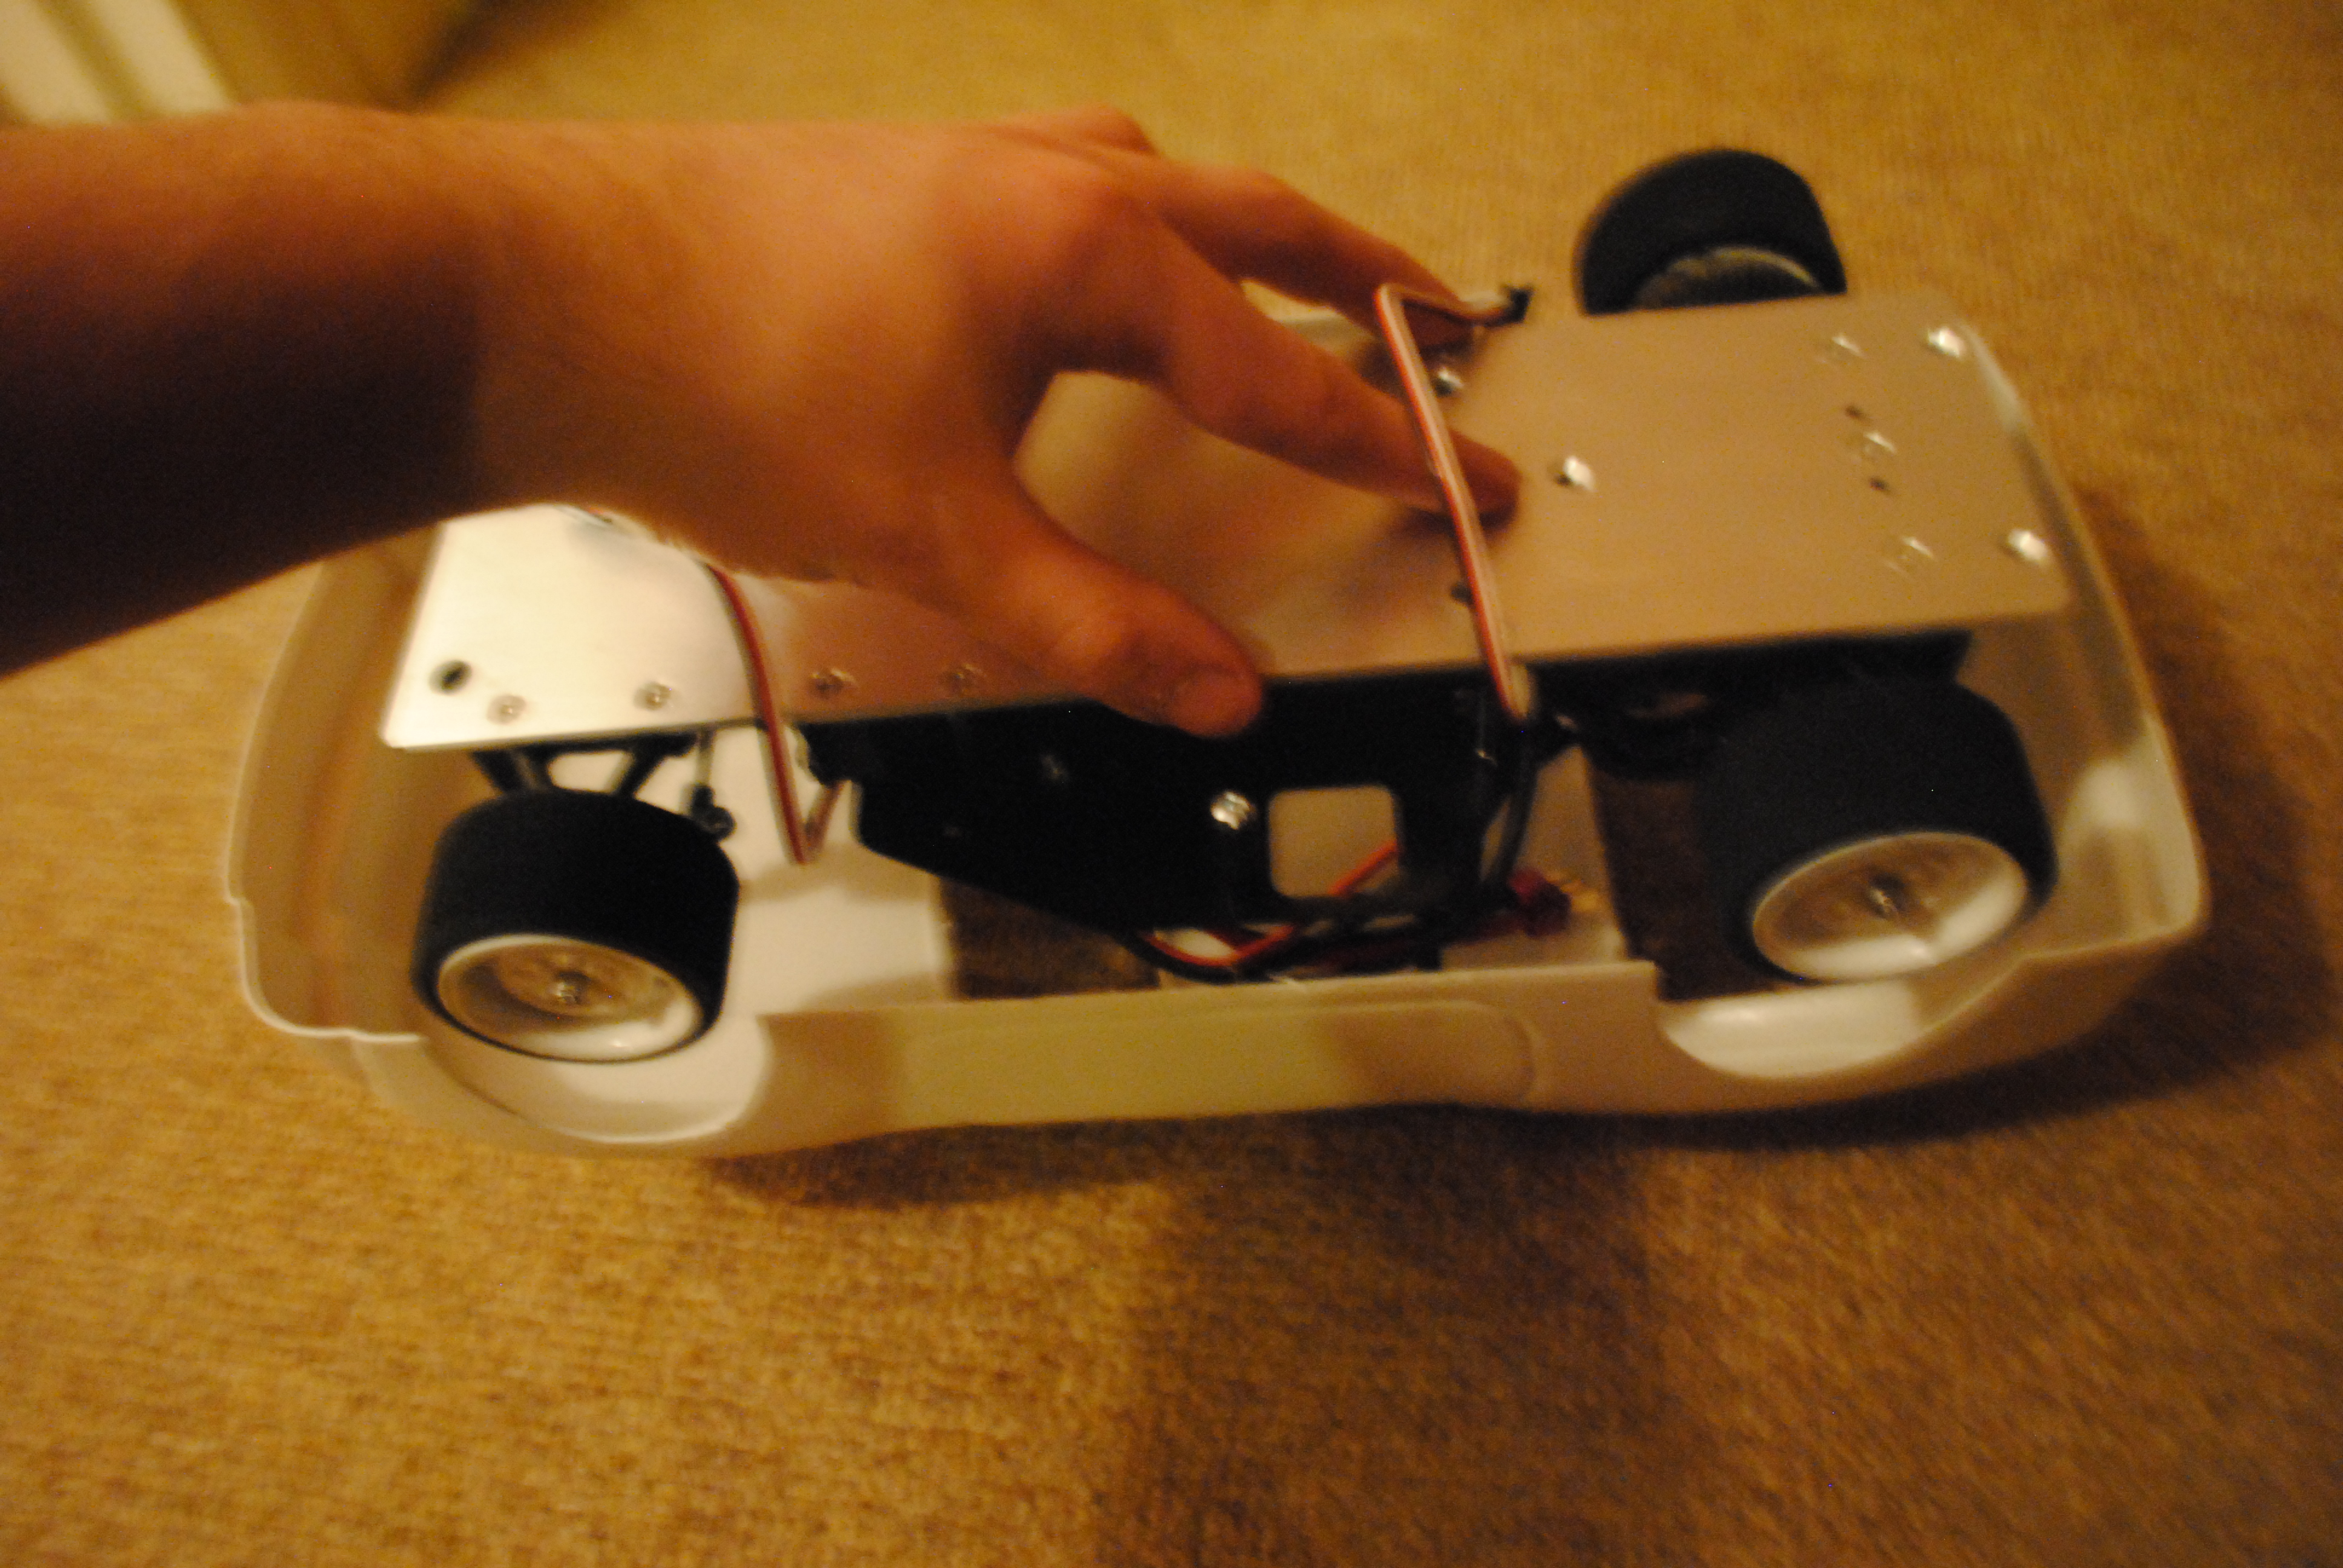
The next step is installing the motor pod, which holds the motor, gears and rear suspension exactly the same as the other car.
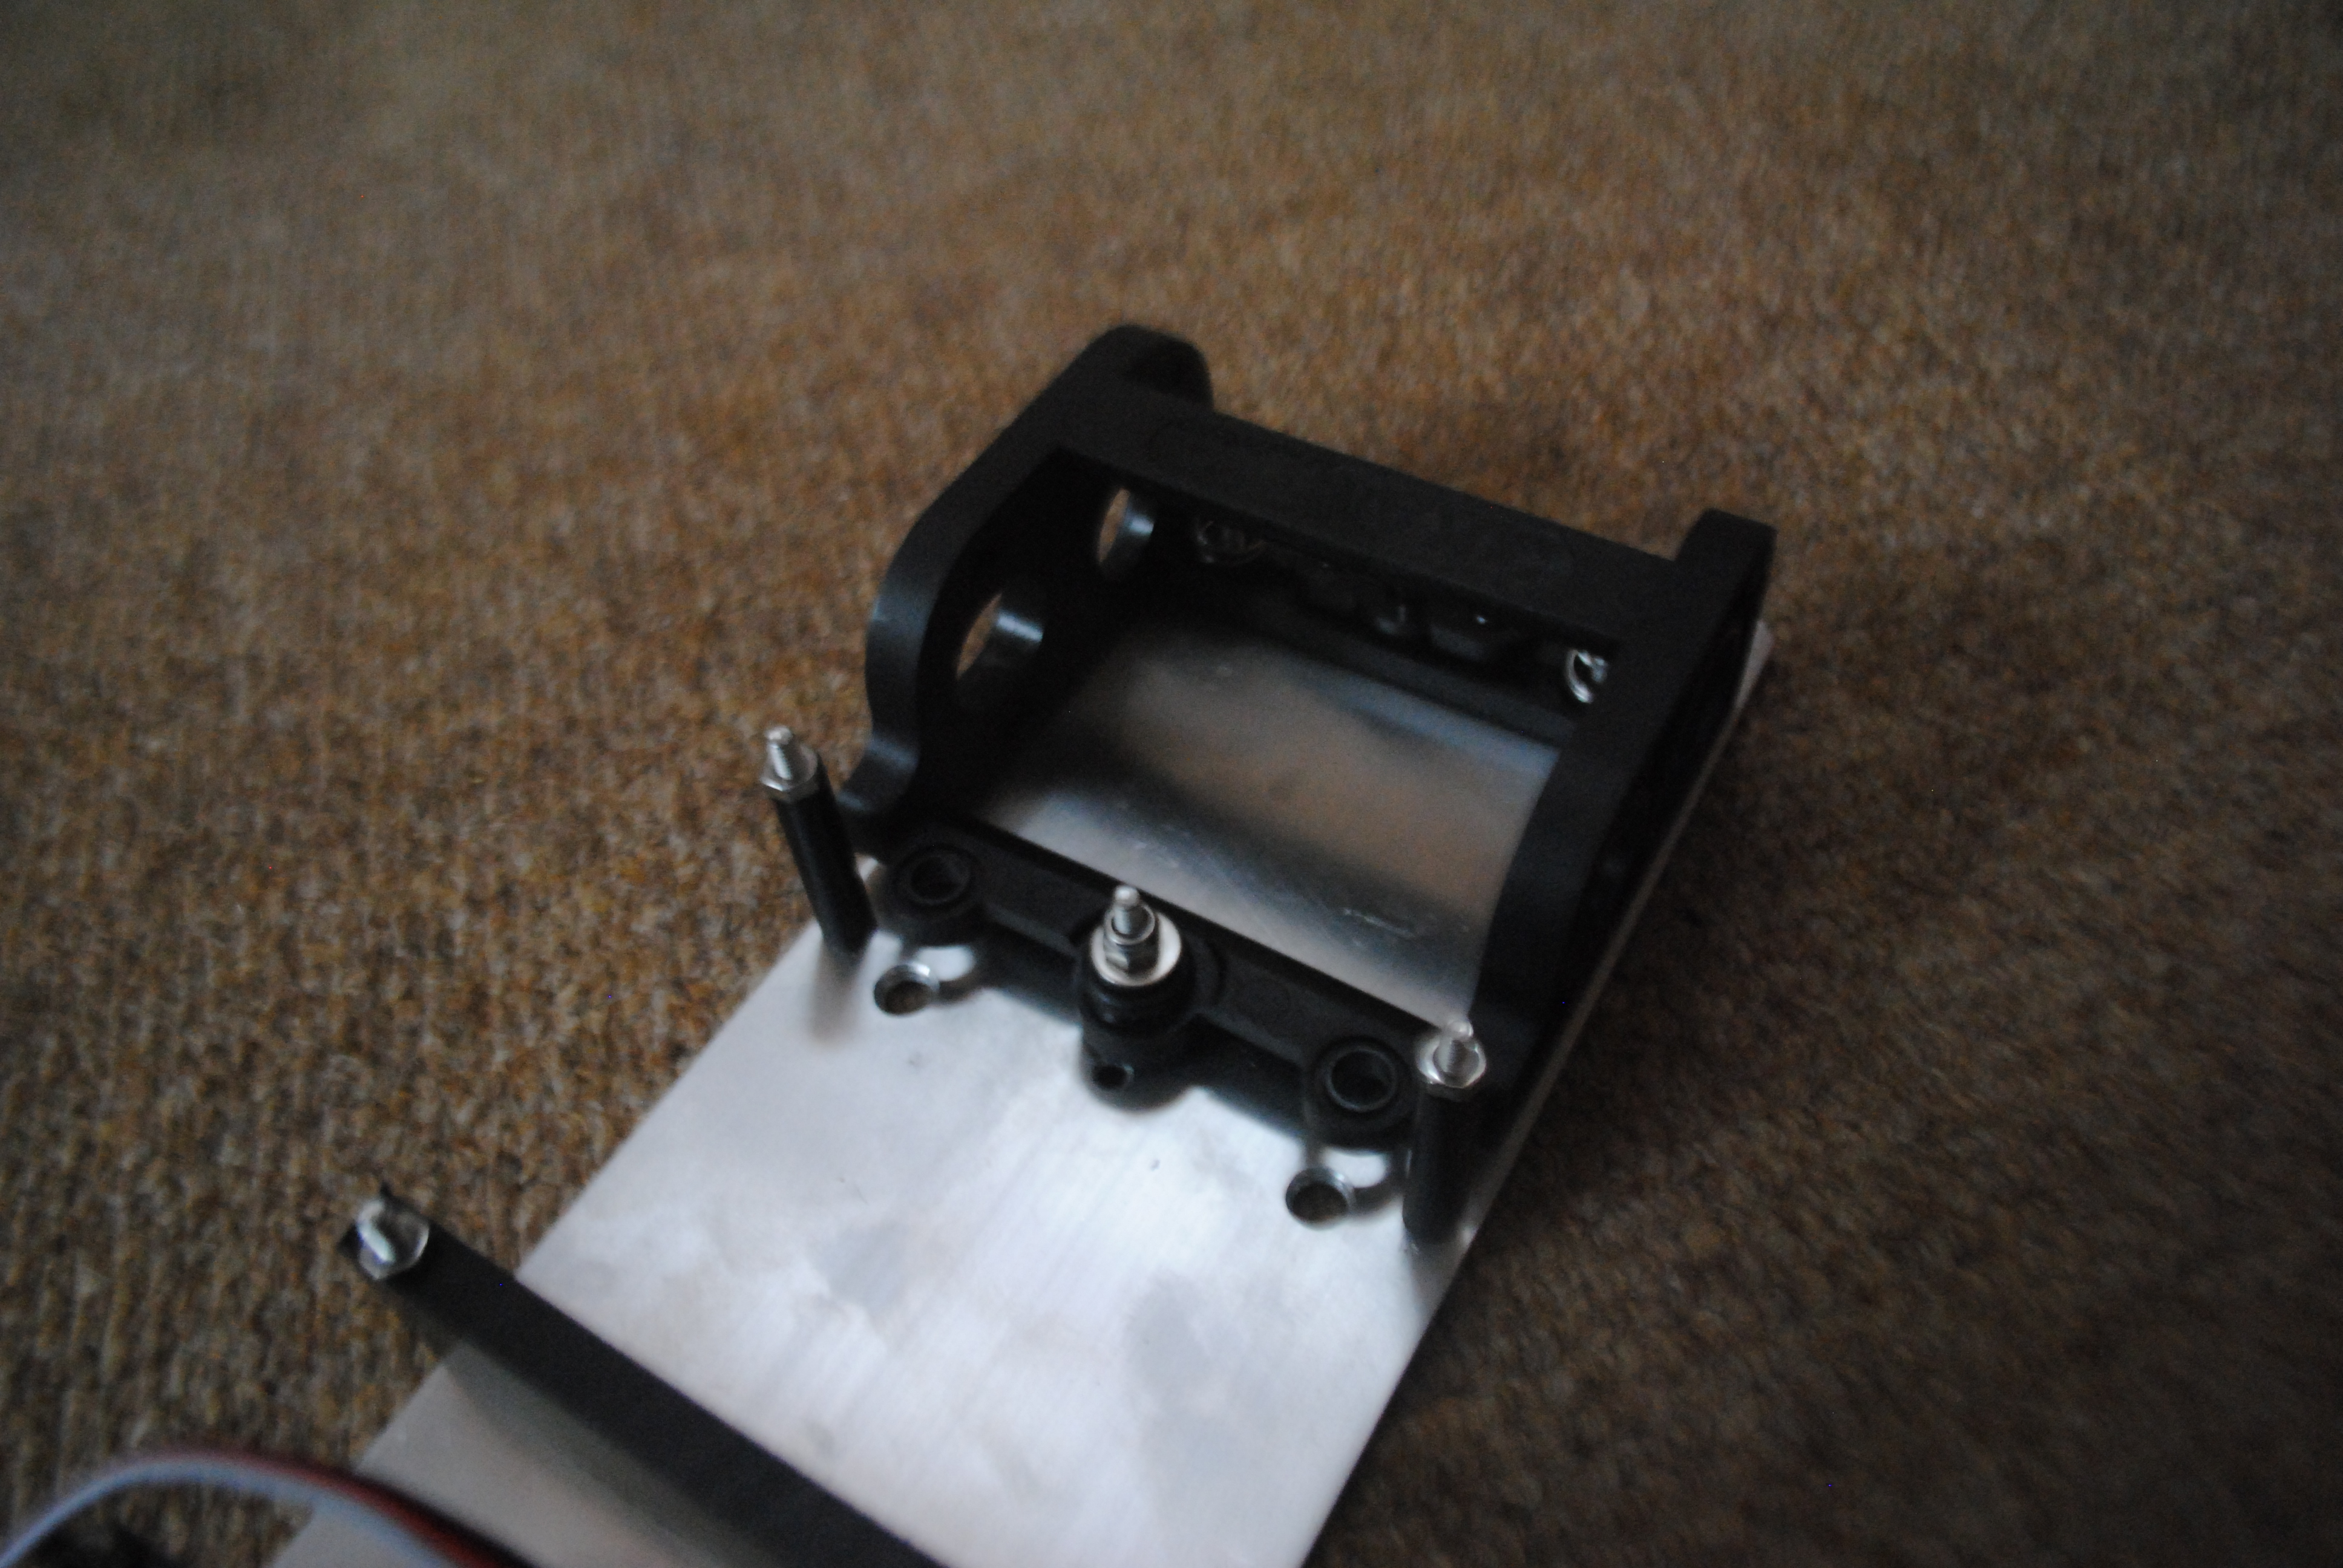
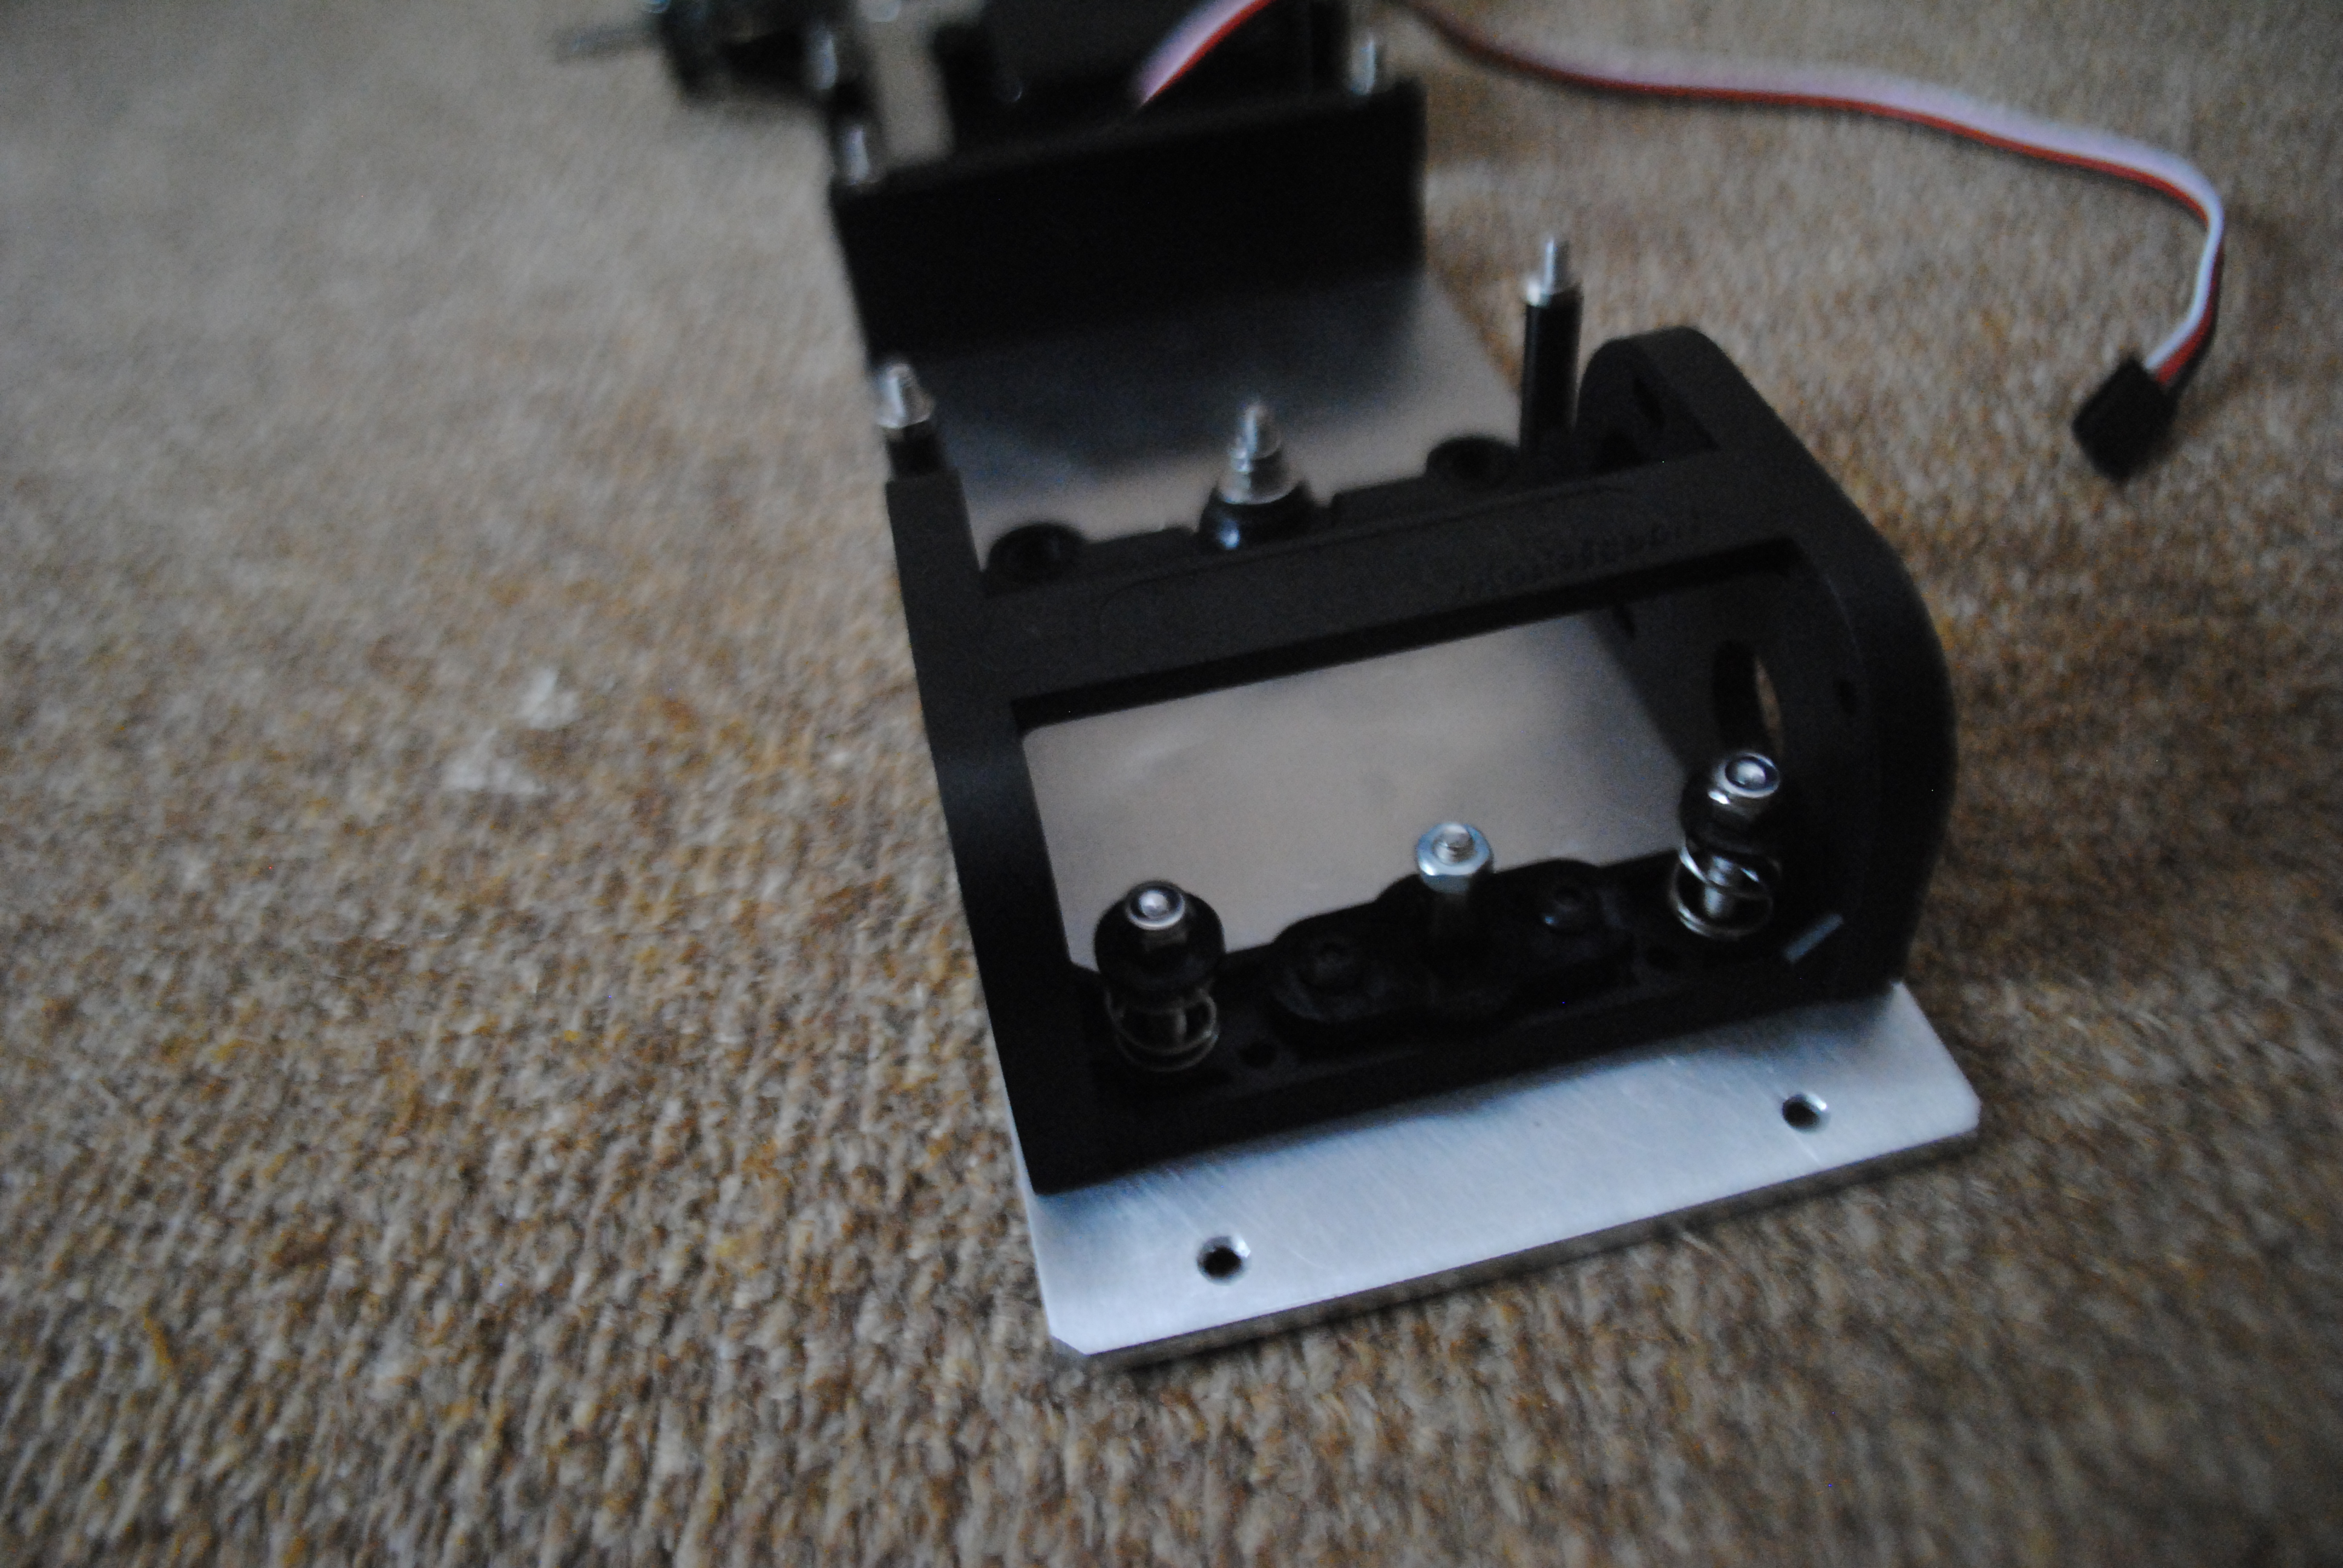
The top deck then goes on! The mechanical speed controller has to sit so high there is an upright servo that is used to move it. The servo turns which moves an arm which moves a rotary switch which determines speed by allowing a certain amount of current through a series of resistors. It sounds a lot more complex than it is haha! When you see one in person you’ll see exactly how it works! The top deck just simply bolts onto the mount with six locking nuts.

I like the little cut out at the side of the speedo for the servo wires to pass through! Nice and neat!

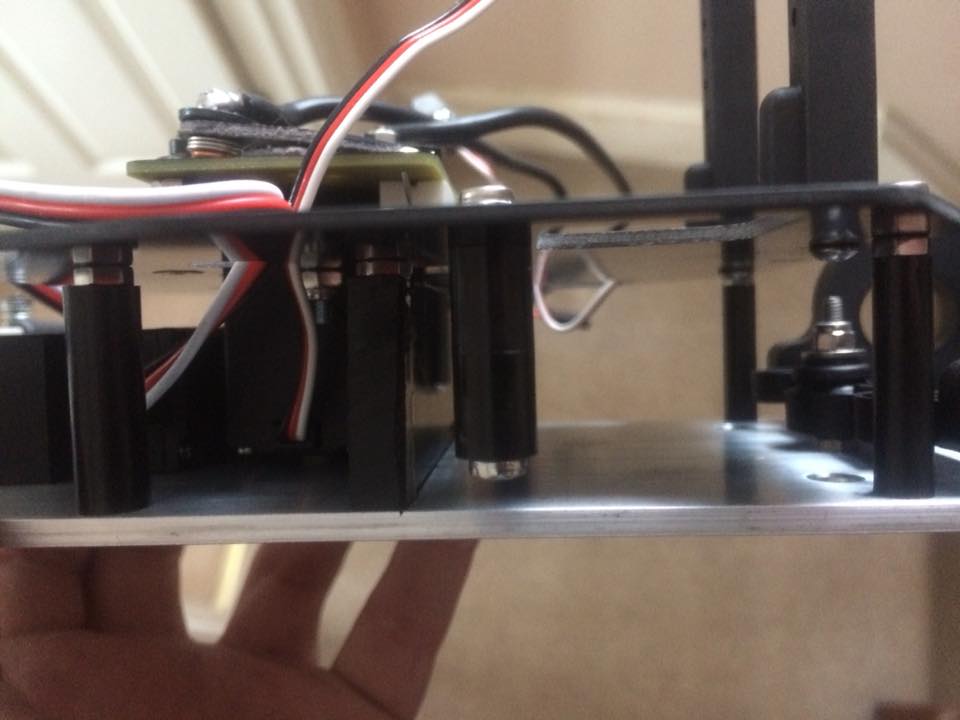
the battery sits under the top plate and is held in place by these posts. One sits on either side.
Next step is to put the motor in. The motor provided is a HPI Saturn 20T. When I was a nipper and raced touring cars the entry level motor was 27T so I’d imagine that in such a small platform this will go really well!
The tabs on the motor are already tinned too which is a nice touch. Saves a few seconds when it comes to soldering!
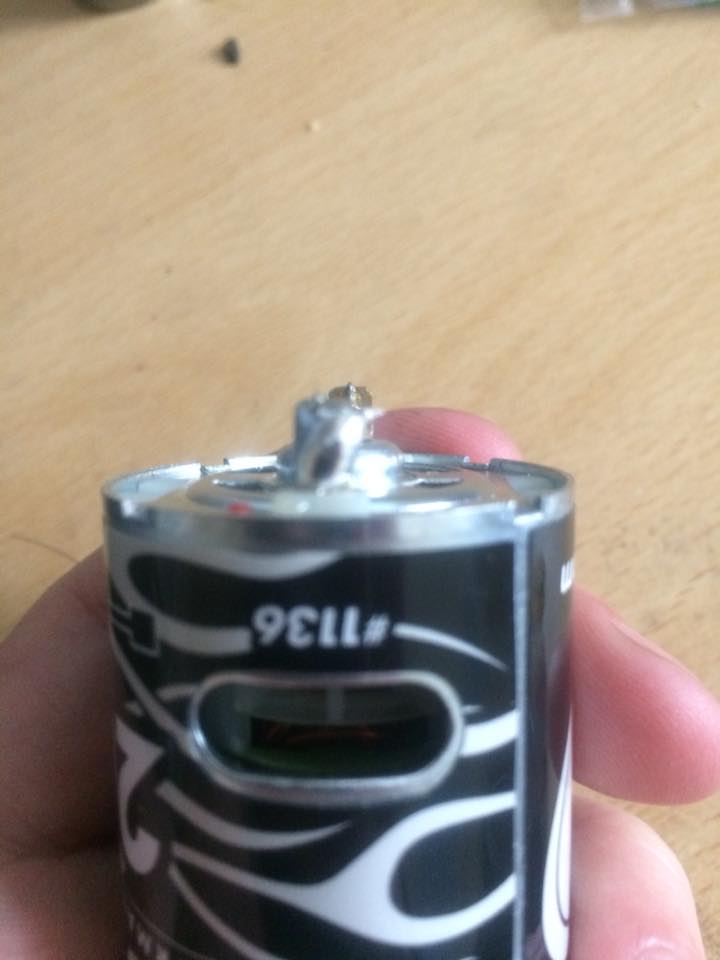
It’s only two wires that run power to and from the motor then two bolts that hold the motor to the pod. Super easy!
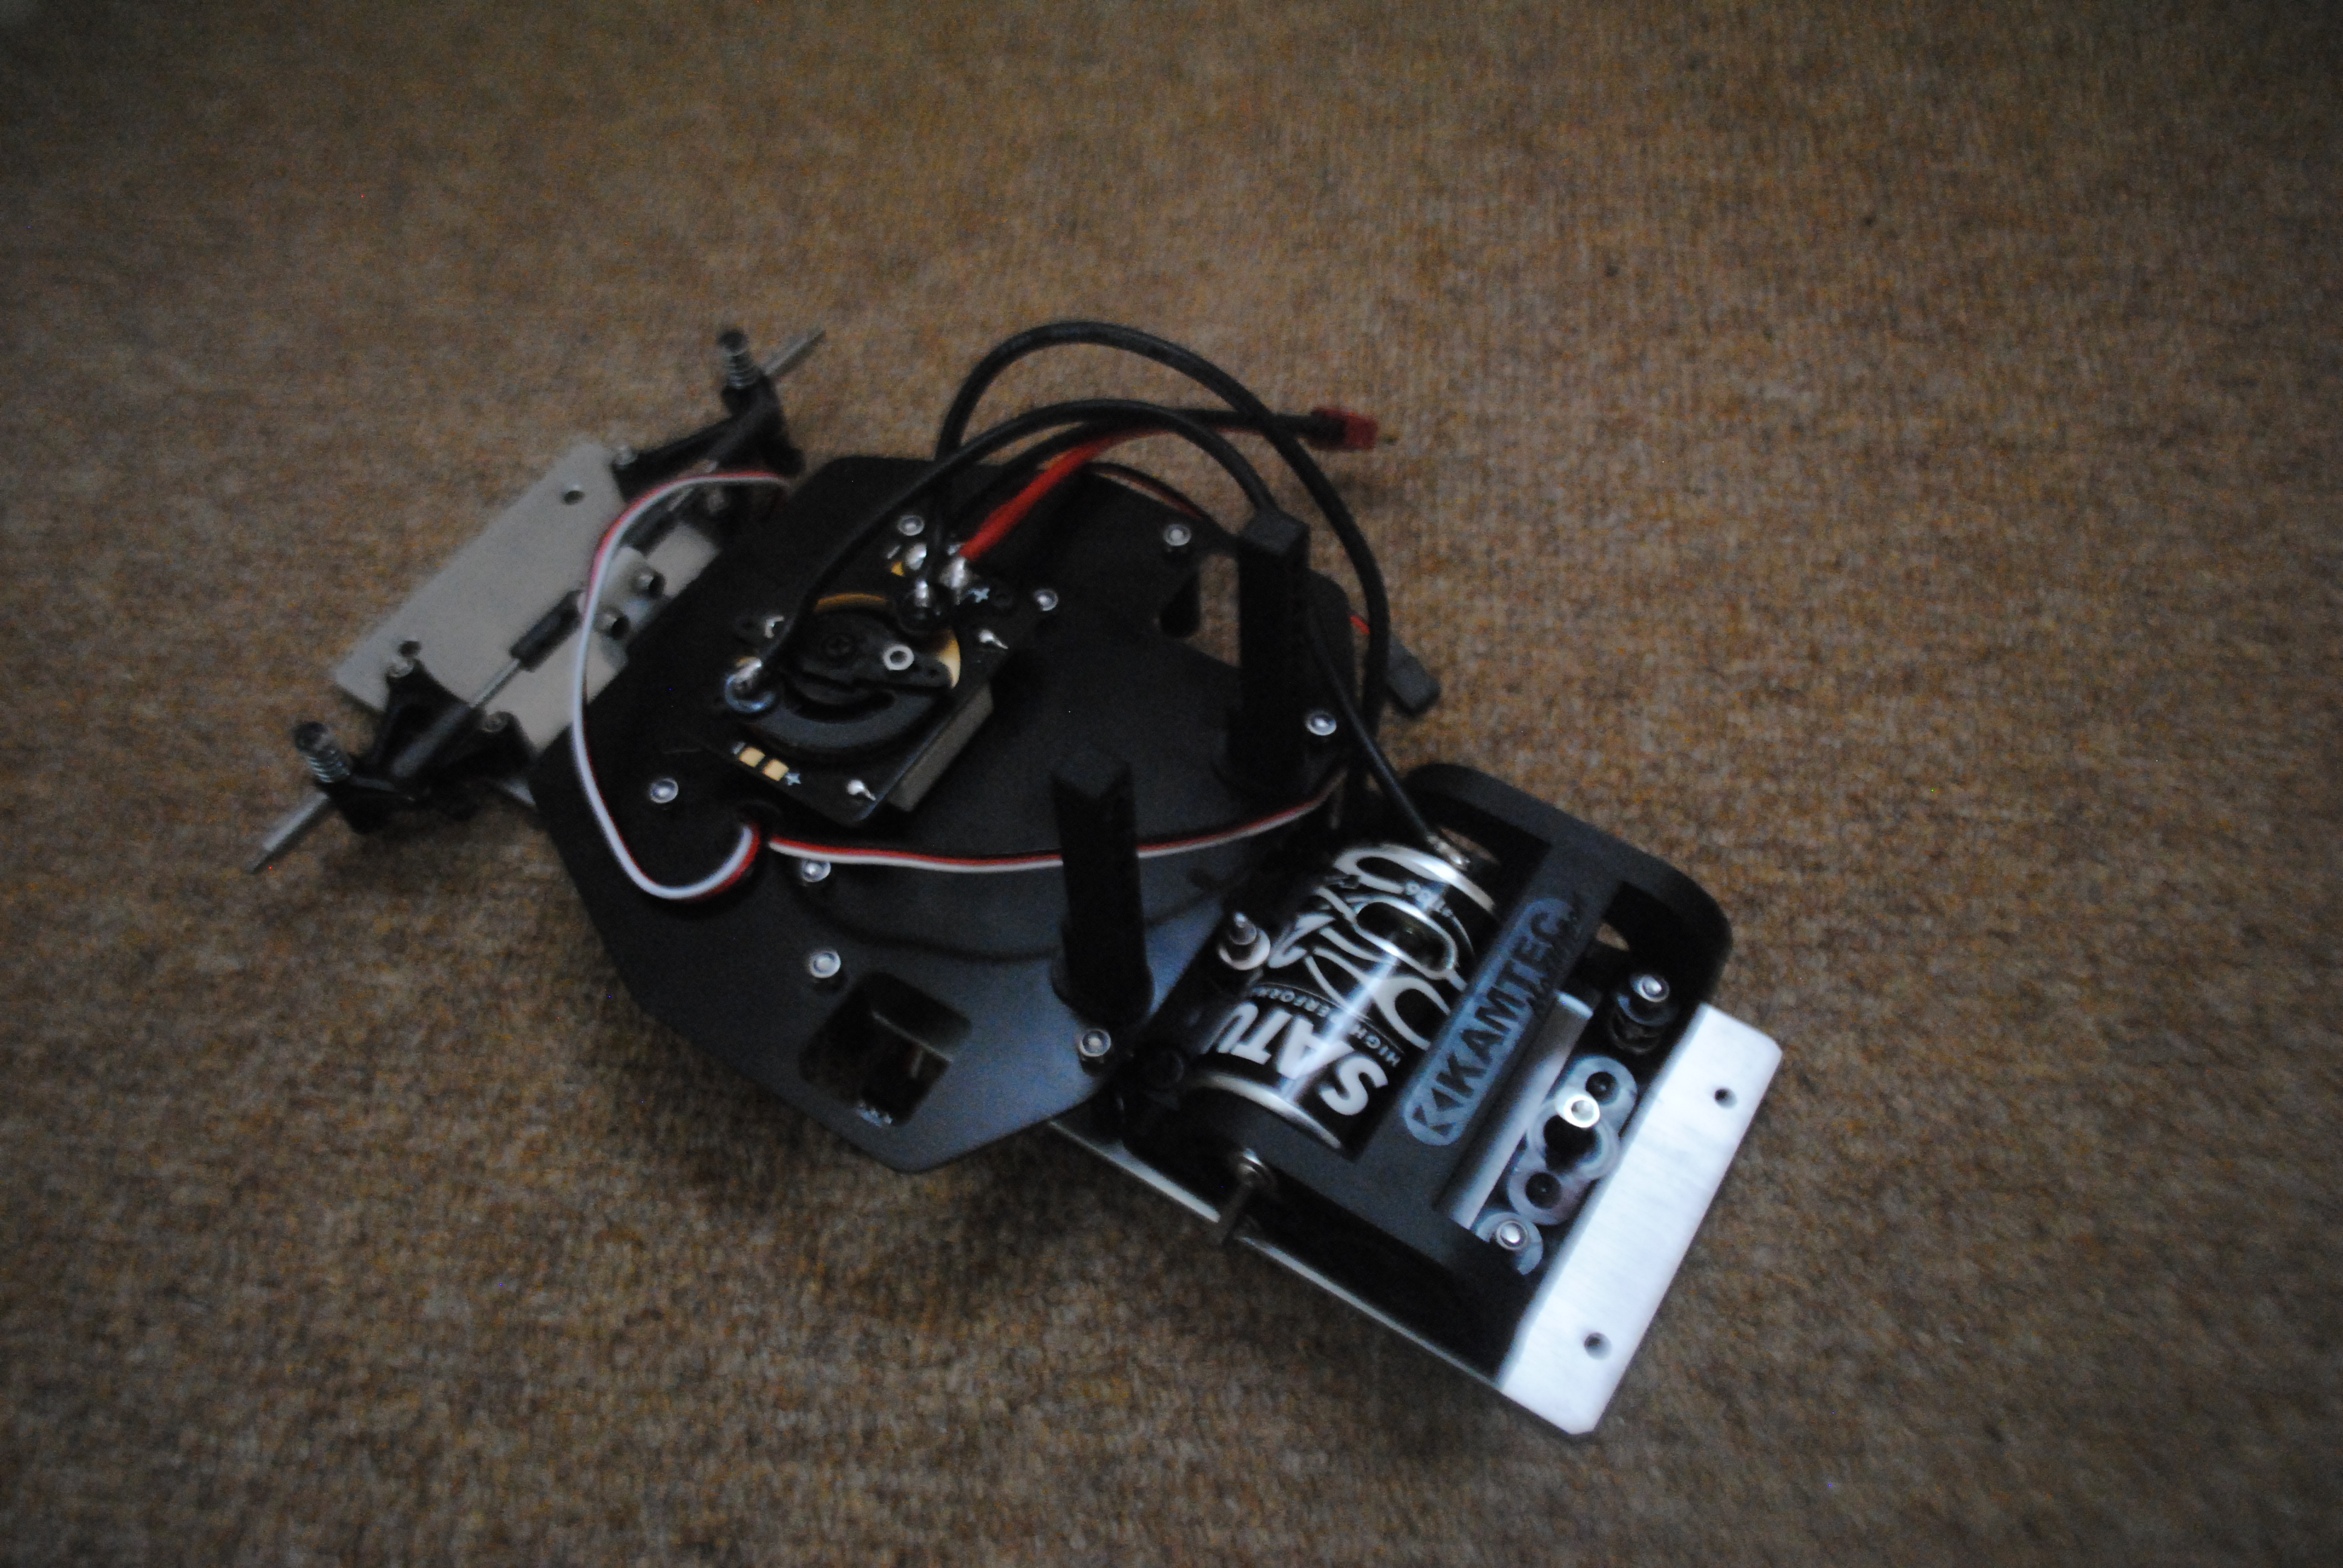
Now the gear goes on! It simply pushes over the axle, rotational movement is stopped by bits on the axle that sit into it and it can’t slide off once the wheel is bolted on. A little thing about the Mardave kit is that a gear is provided for either side of the axle so if one gets shredded you have a spare and can just swap it over. Kamtec simply provide a spacer for the non driven side.

All that’s left to do now is put the wheels on!

The smarter of you will notice that I haven’t put in a receiver and there is a very good reason for that: I haven’t ordered one yet. You aren’t really missing much with that install. They just get taped to the chassis and have plugs put into them. I might do a separate post on binding at a later date.
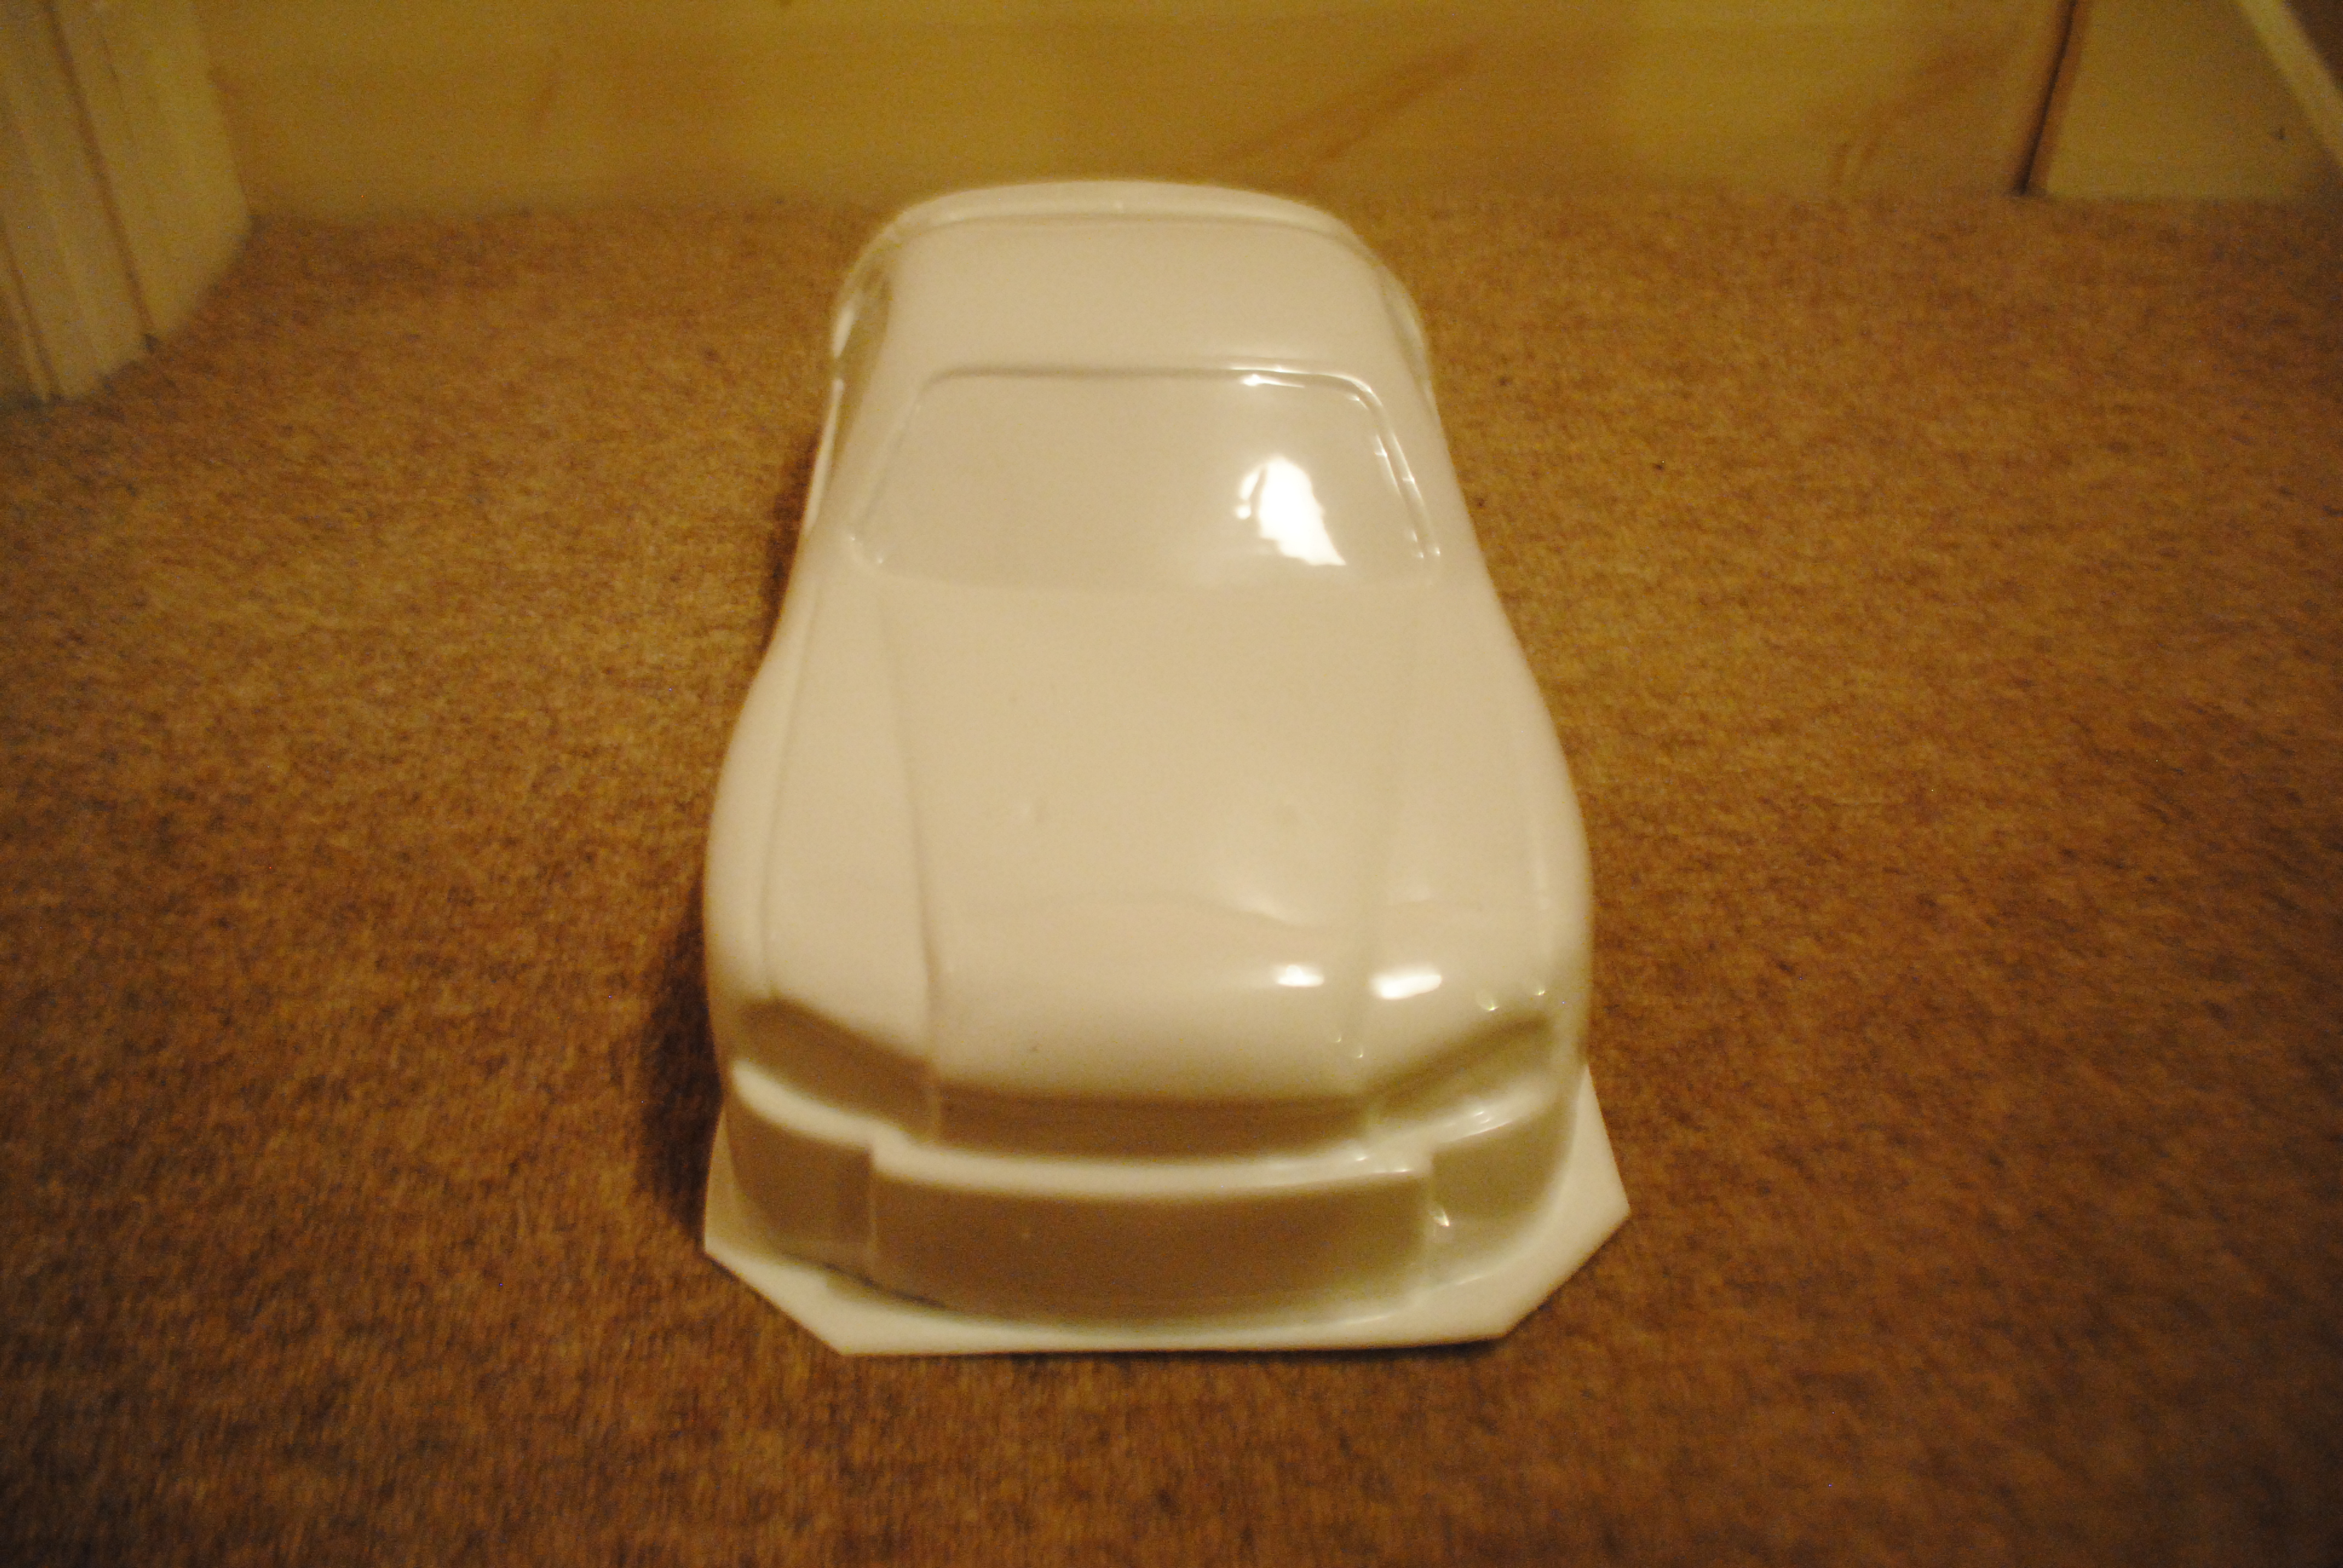
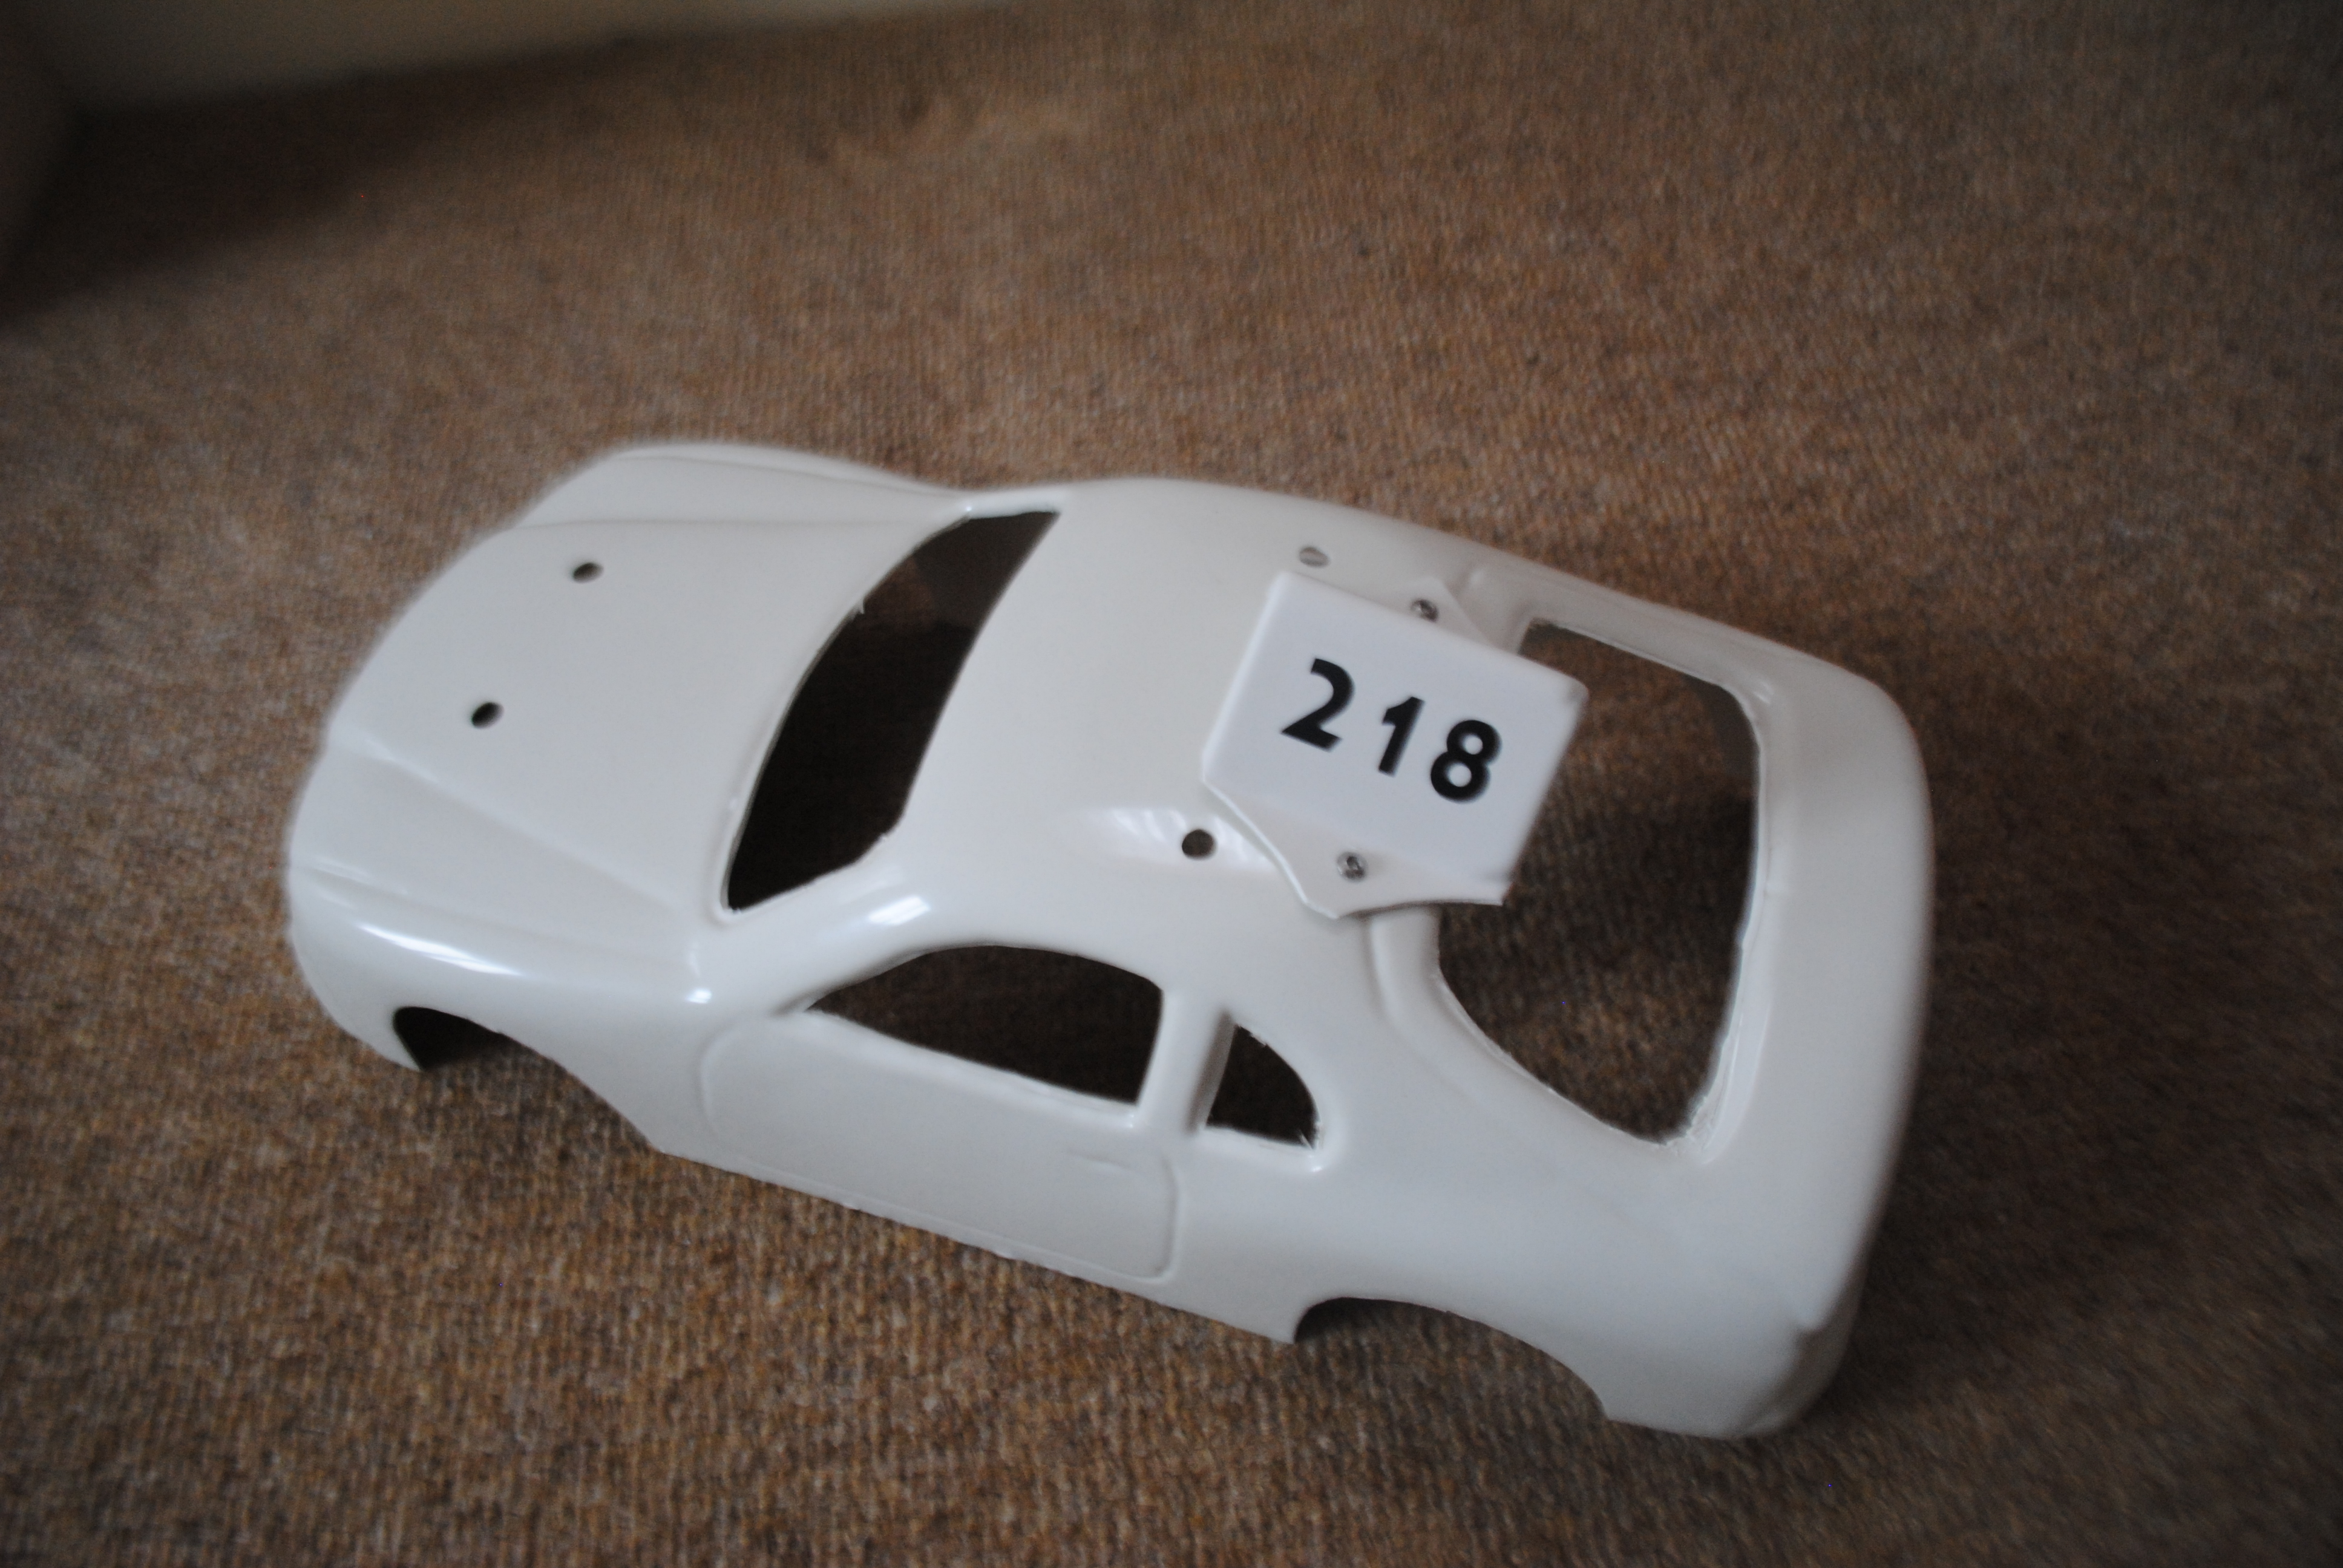
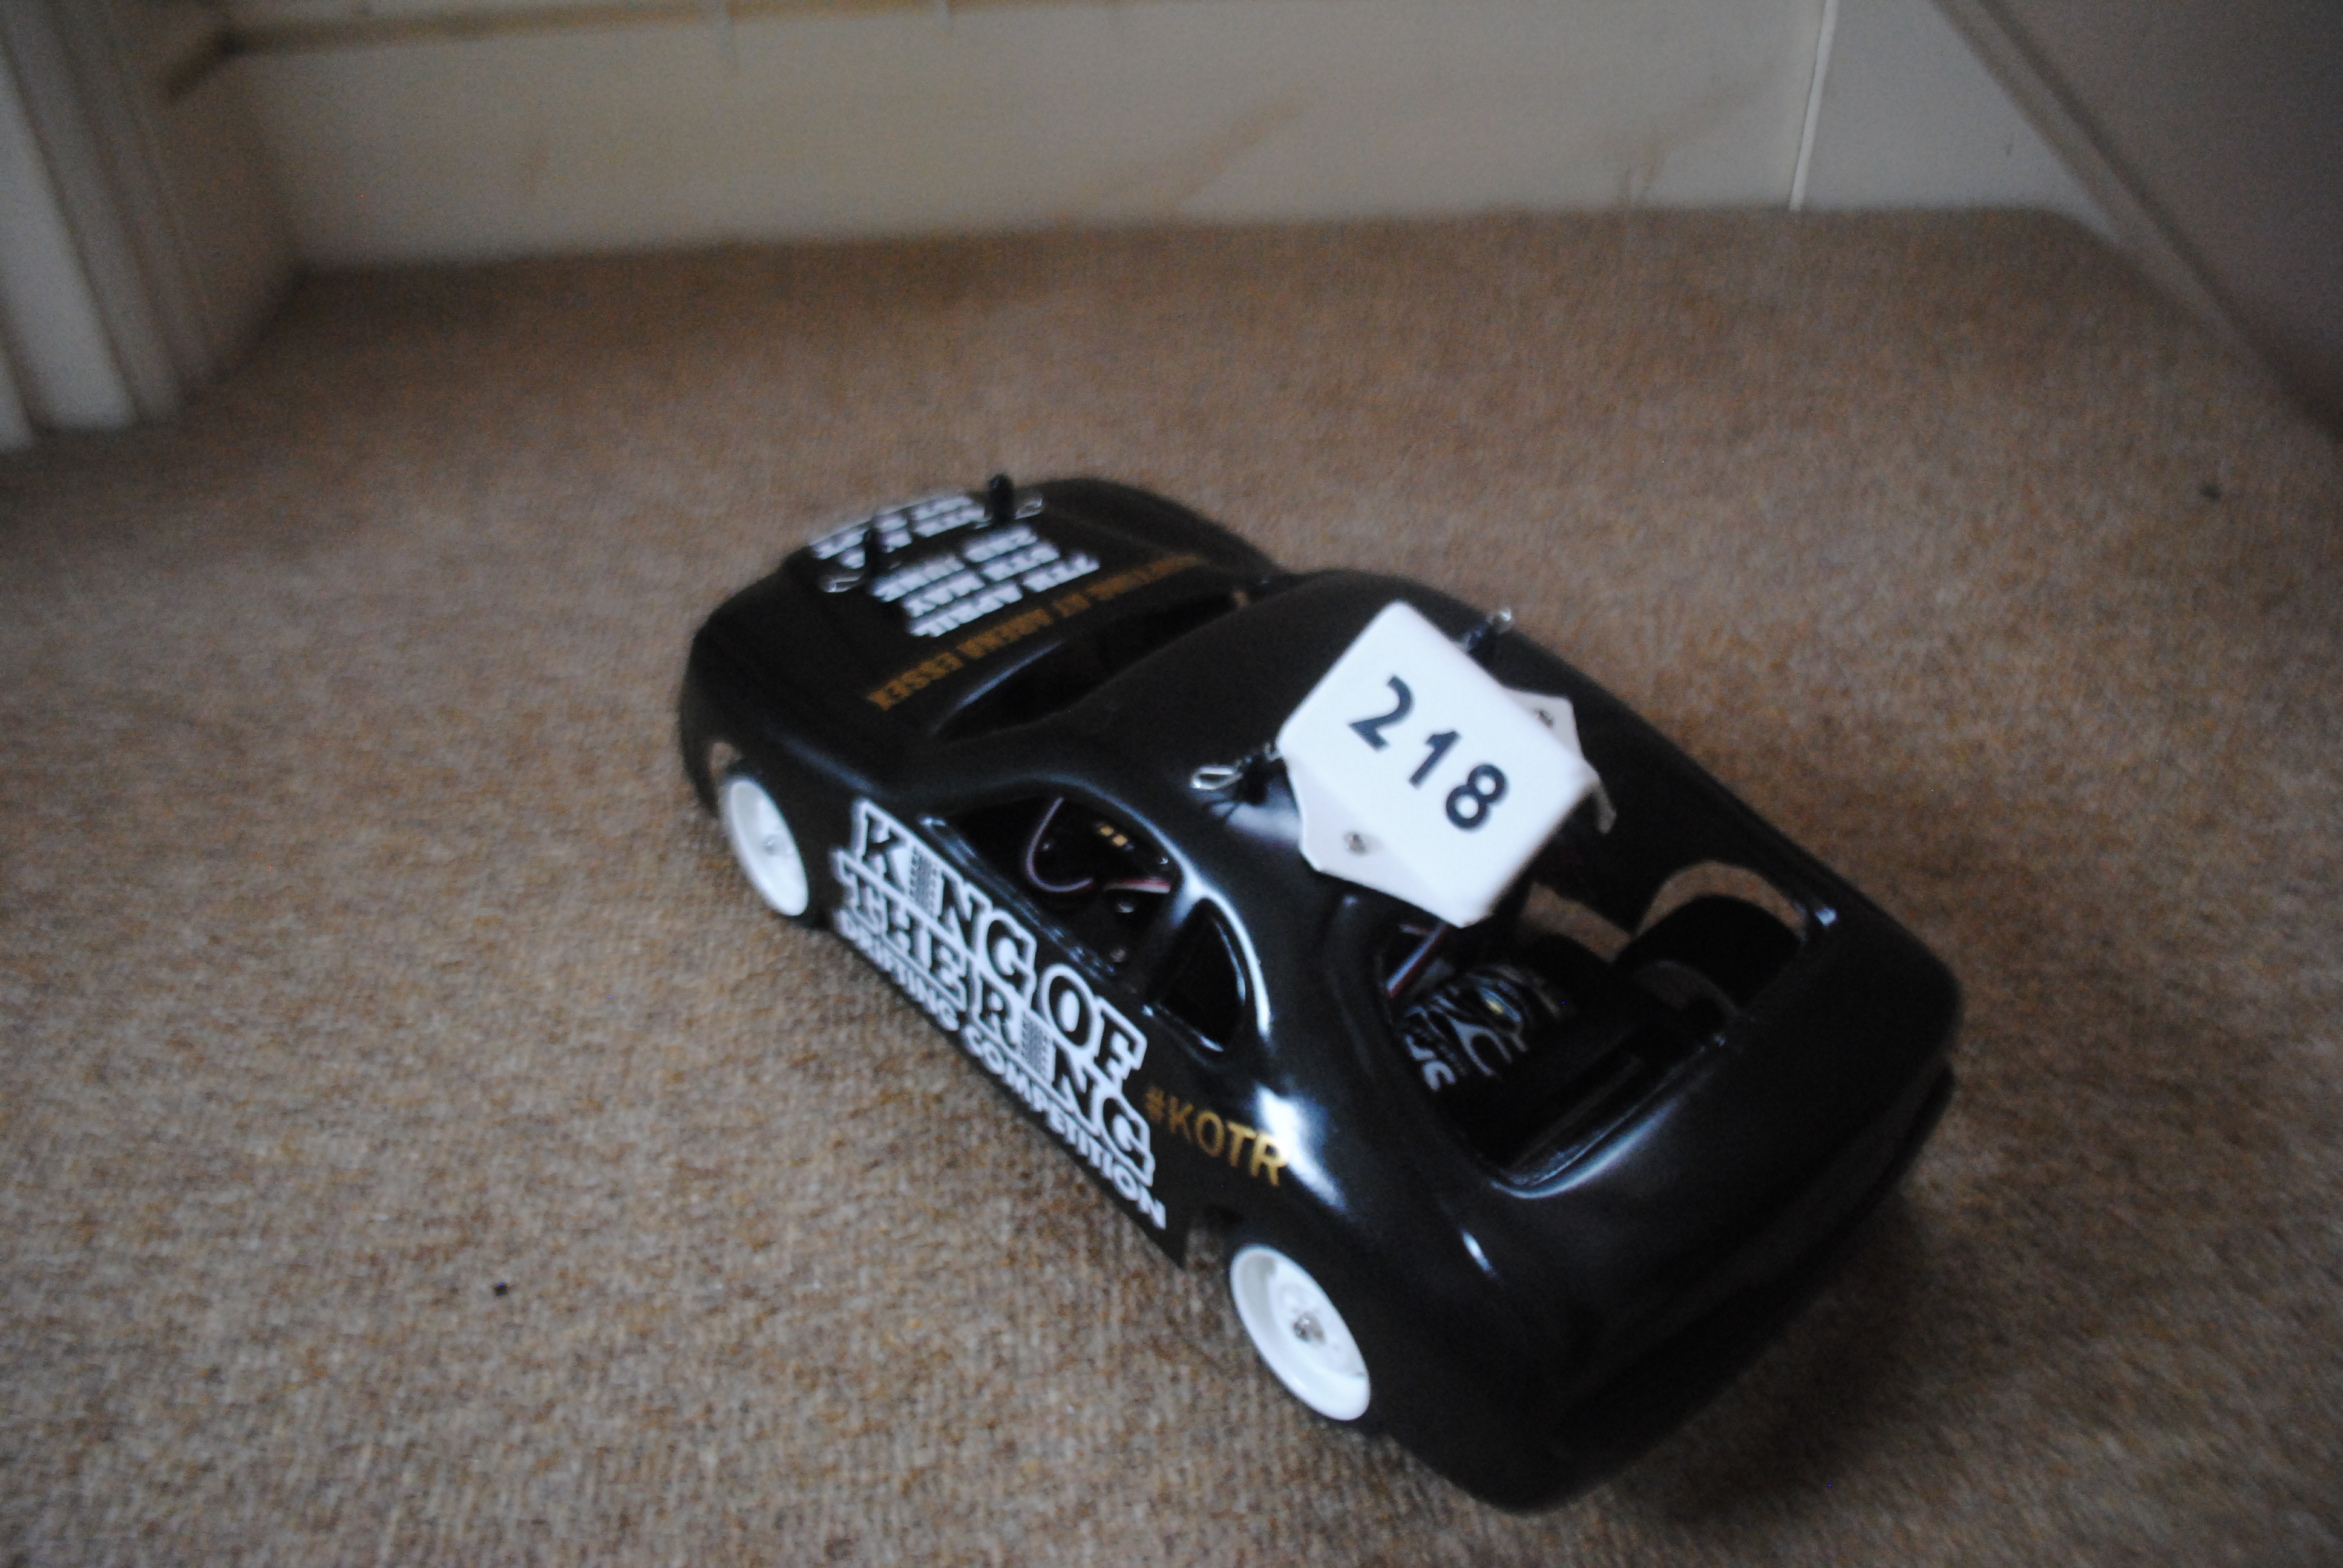
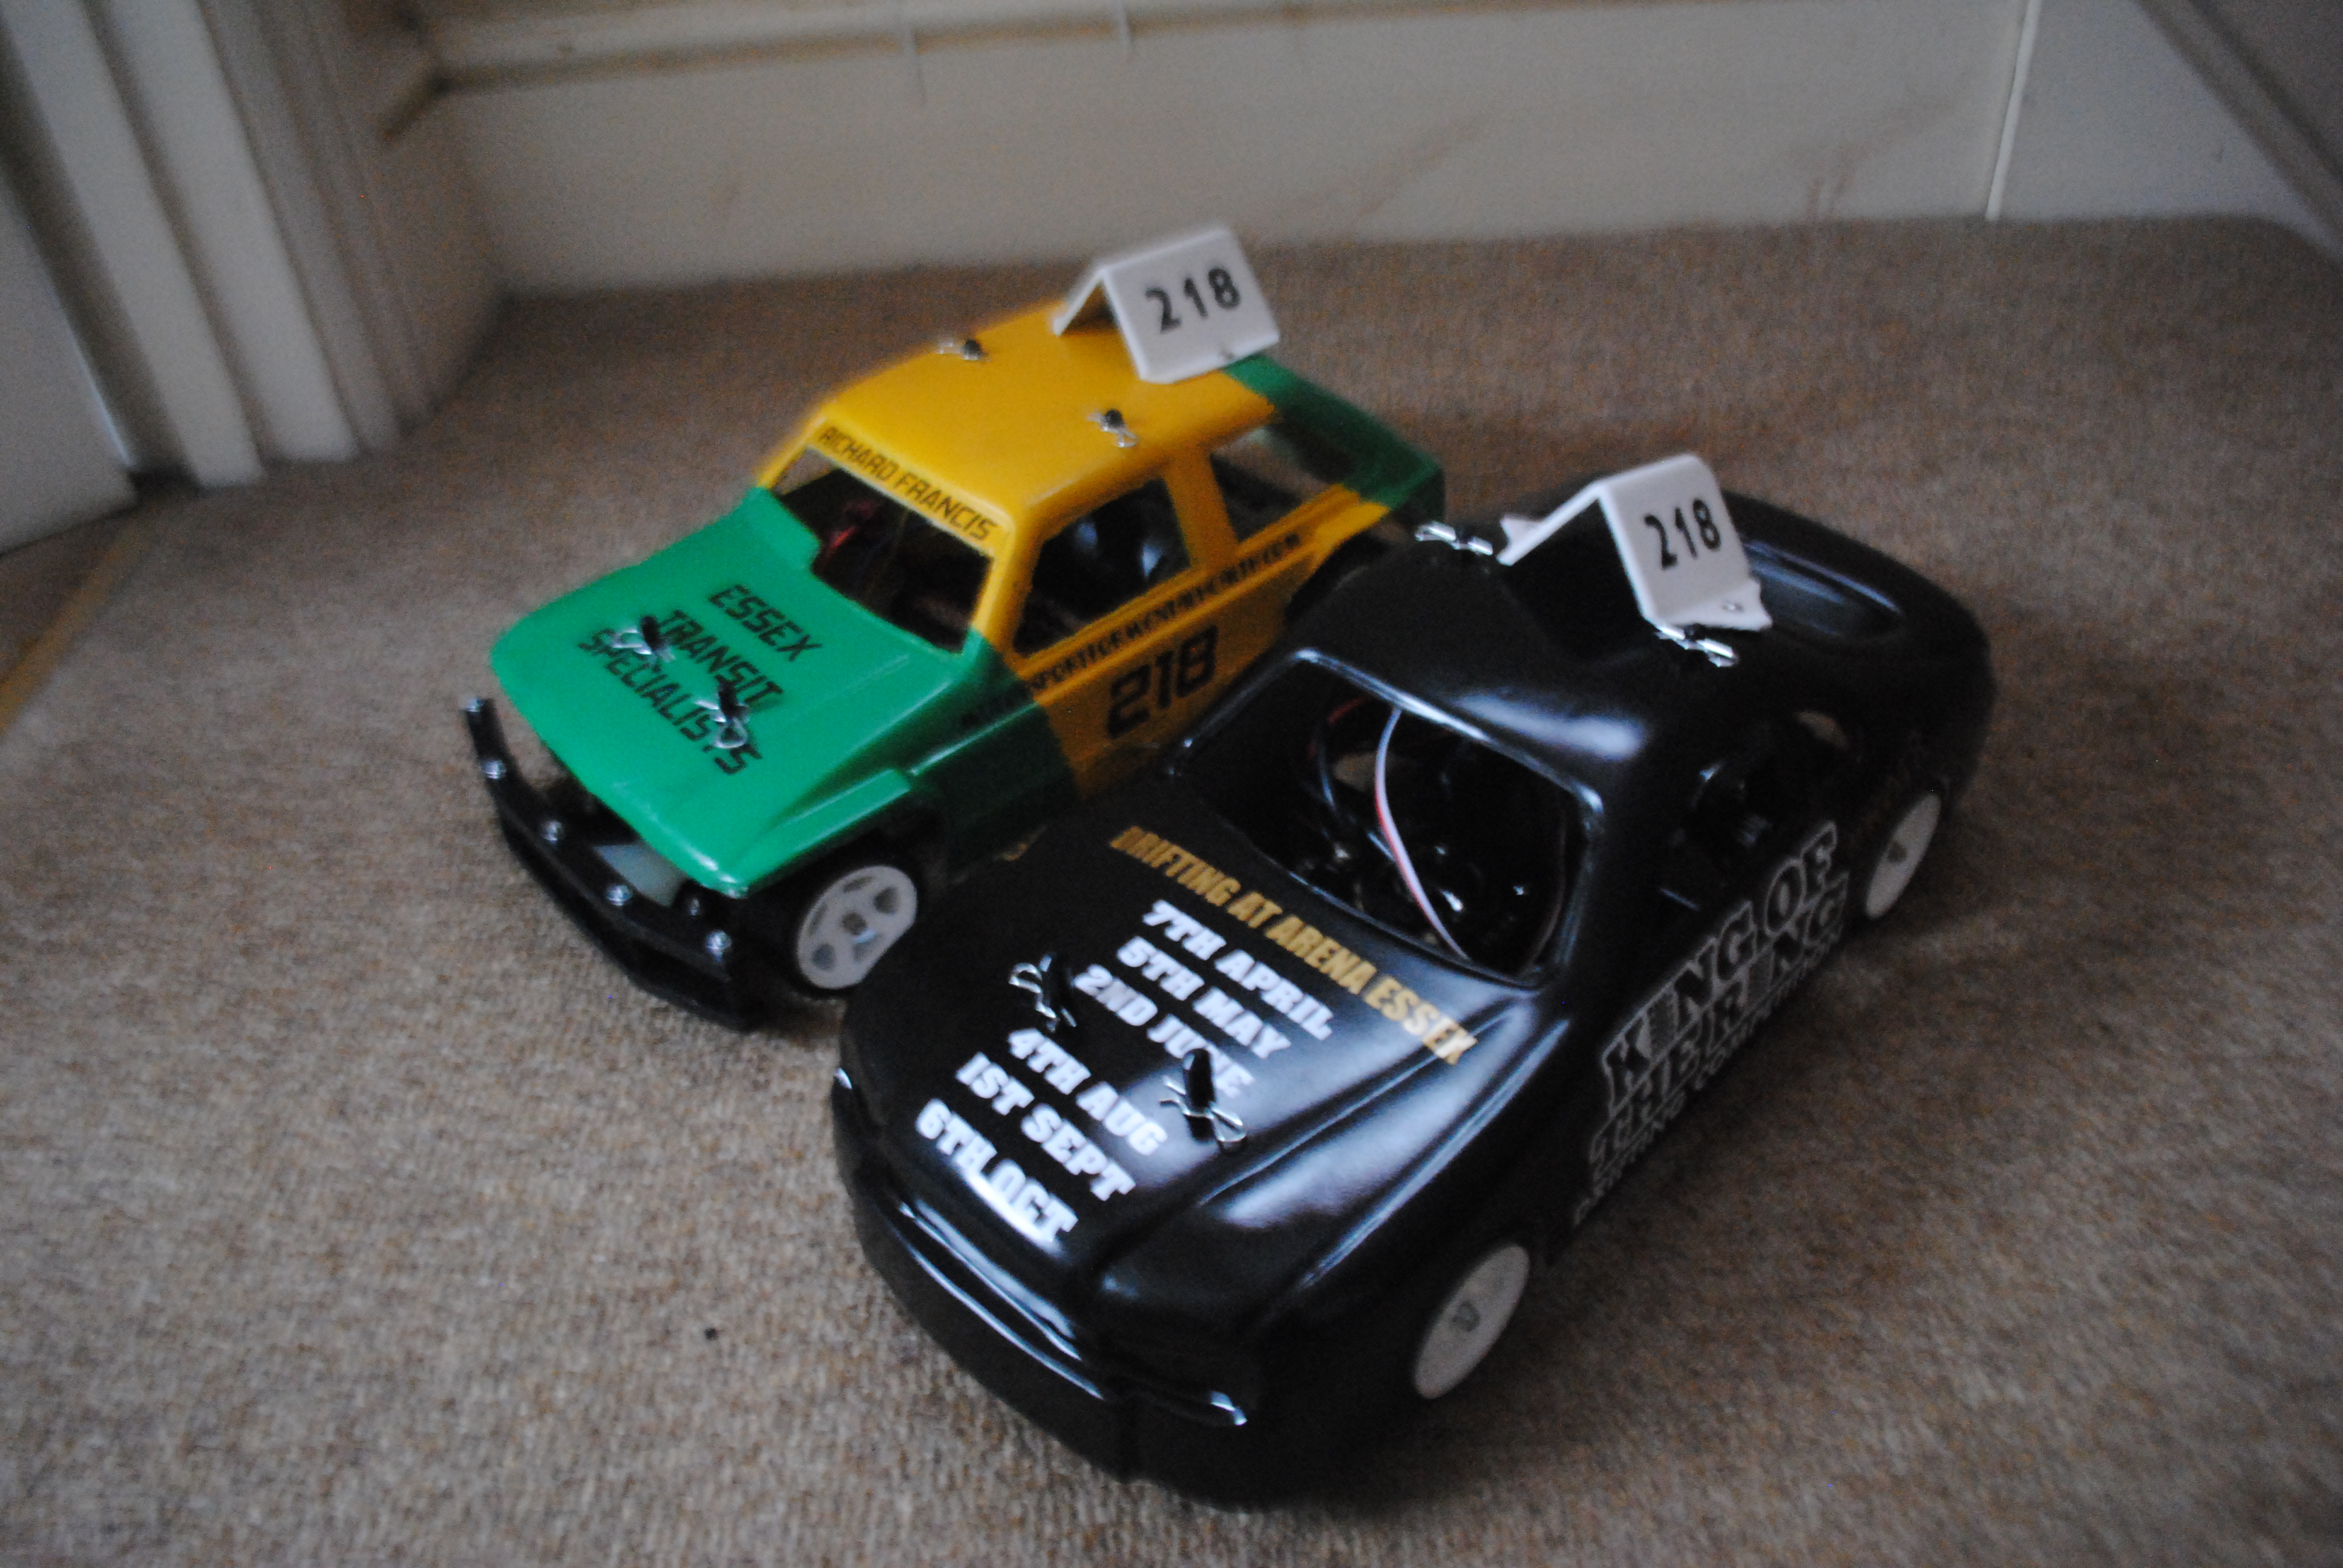
Now for the bit I like; doing the shell! Kamtec offer a massive range of well detailed shells to cater for just about every type of meet. You can view them all here. Brentwood have a post 1990 meet and later an all Jap meet coming up so I thought I would go for the Mk4 Supra as it is suitable for both. Hopefully it will last long enough to do two meets haha!
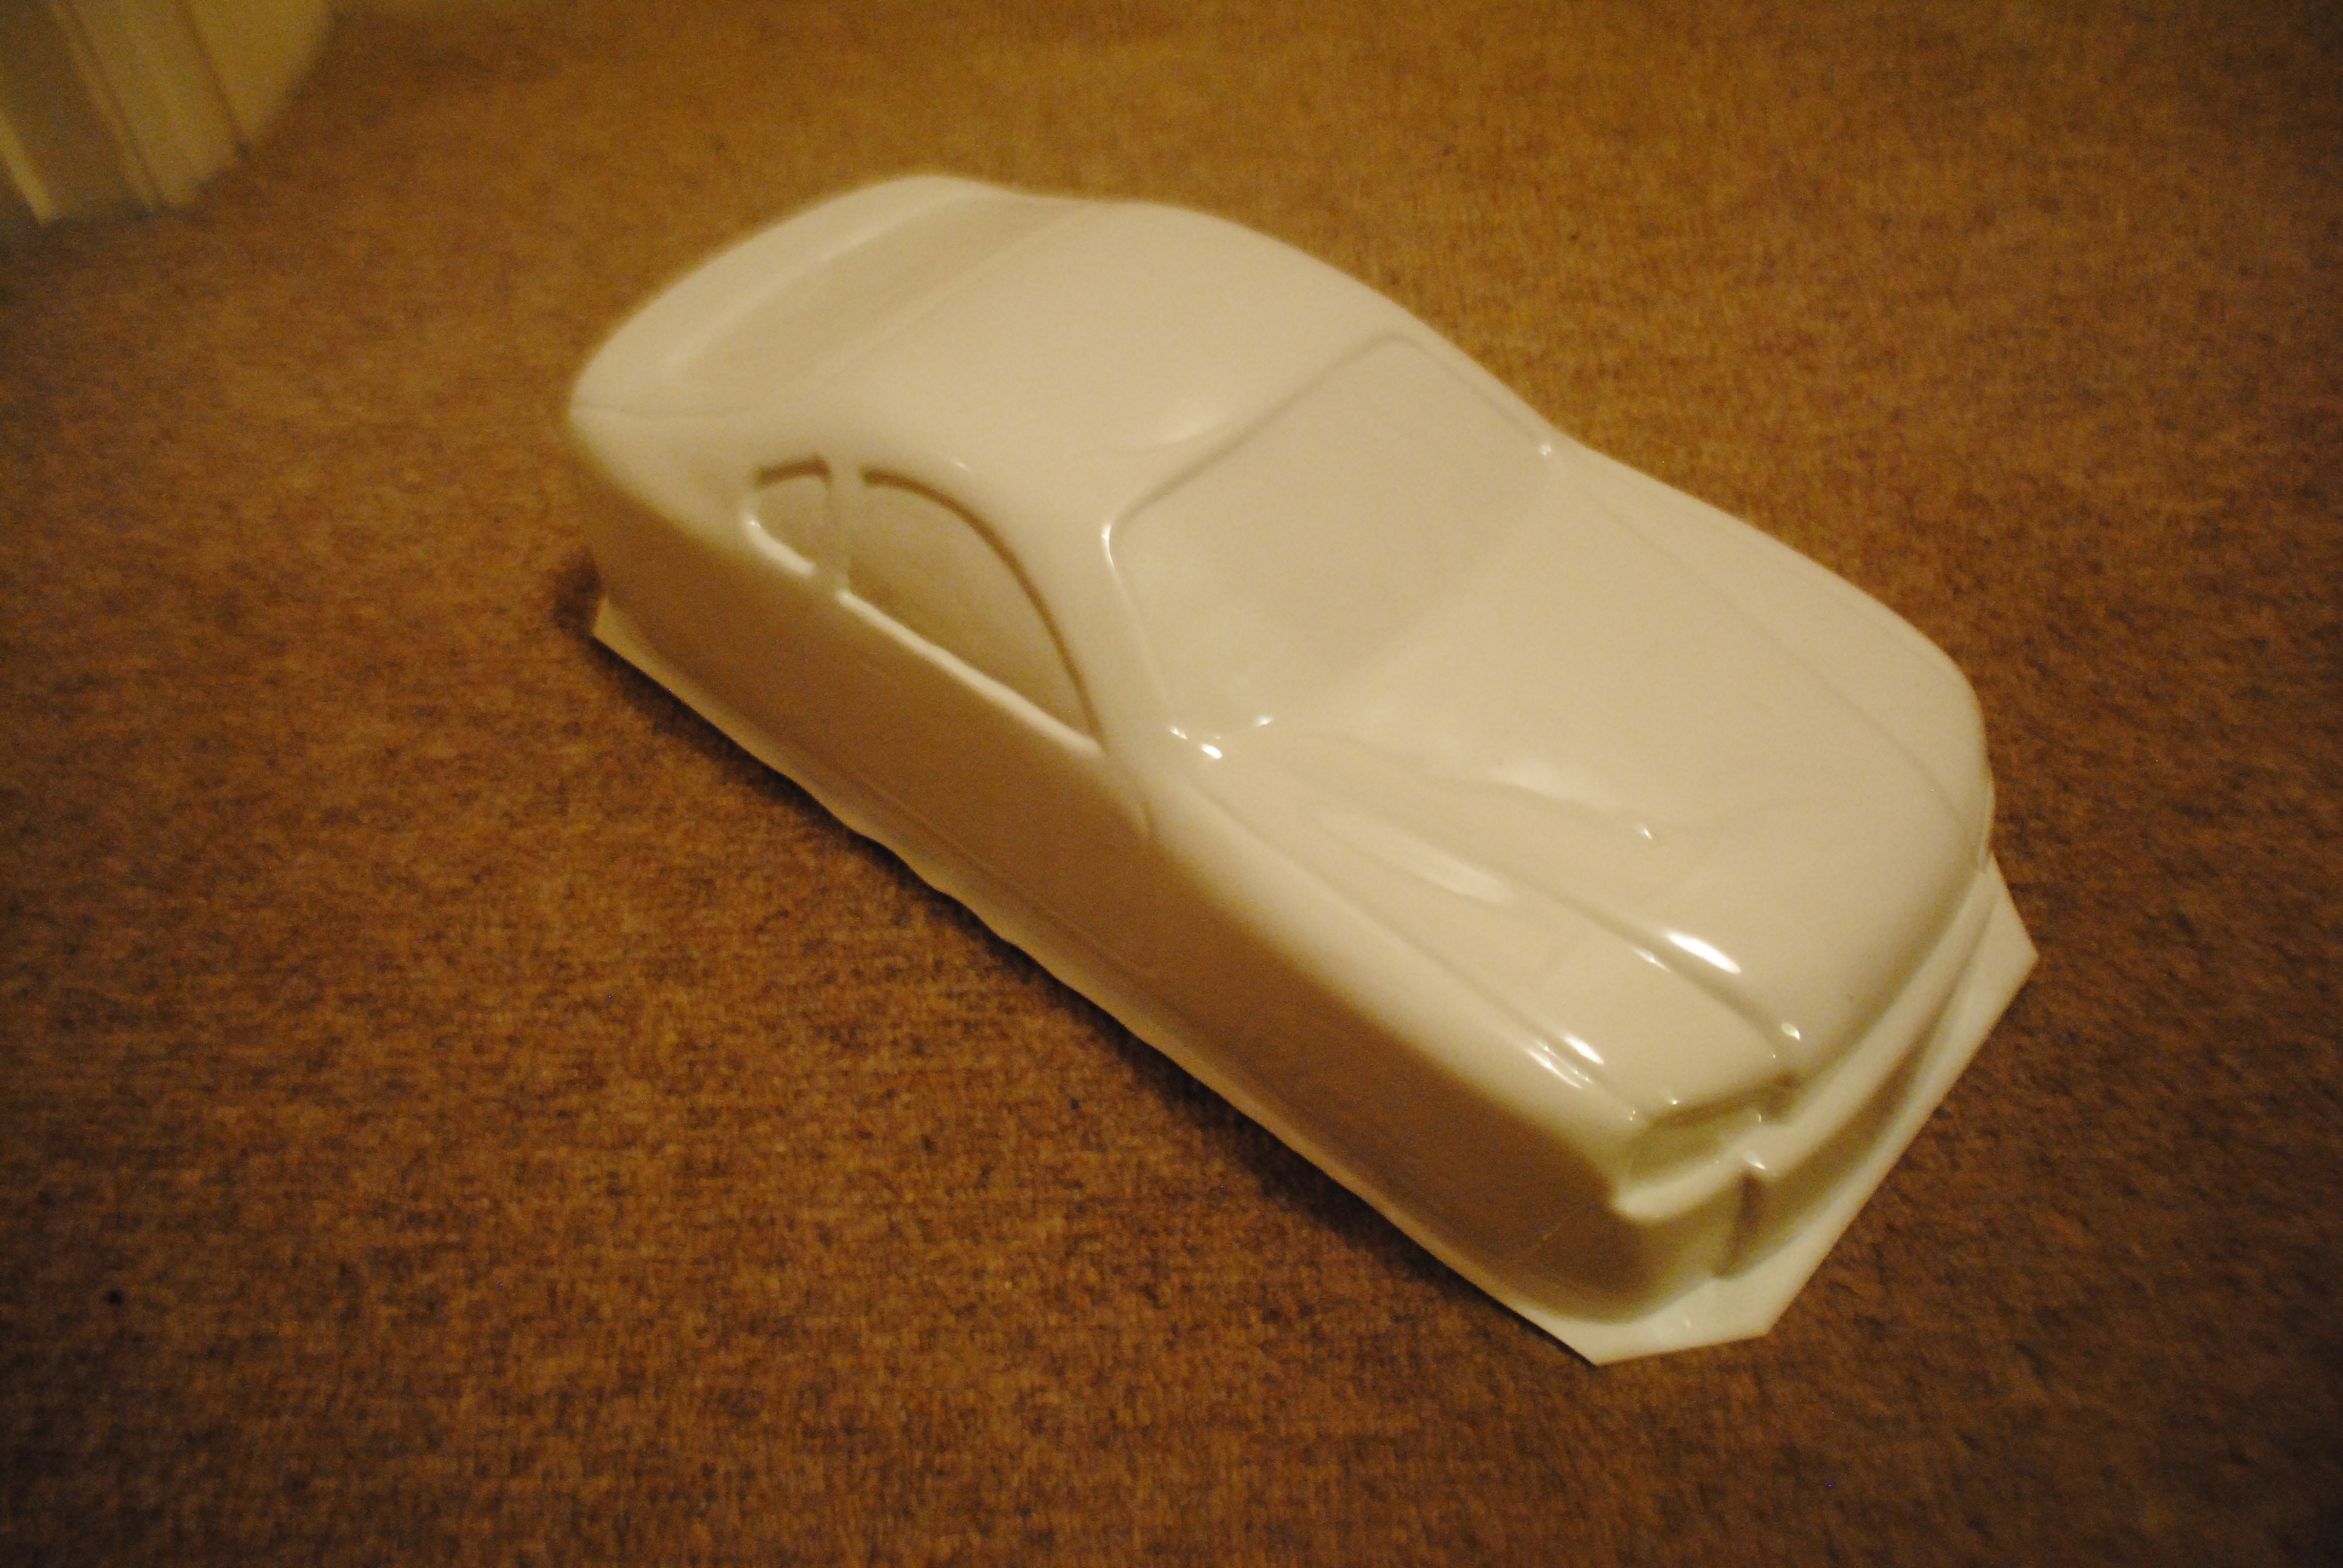


You’ll need a stanley knife or scalpel (I’d go for the Stanley knife as it’s a touch stronger), curved and straight scissors (nail scissors substitute for curved scissors nicely, a drill and assorted bits, a sharpie and a reamer of some description.

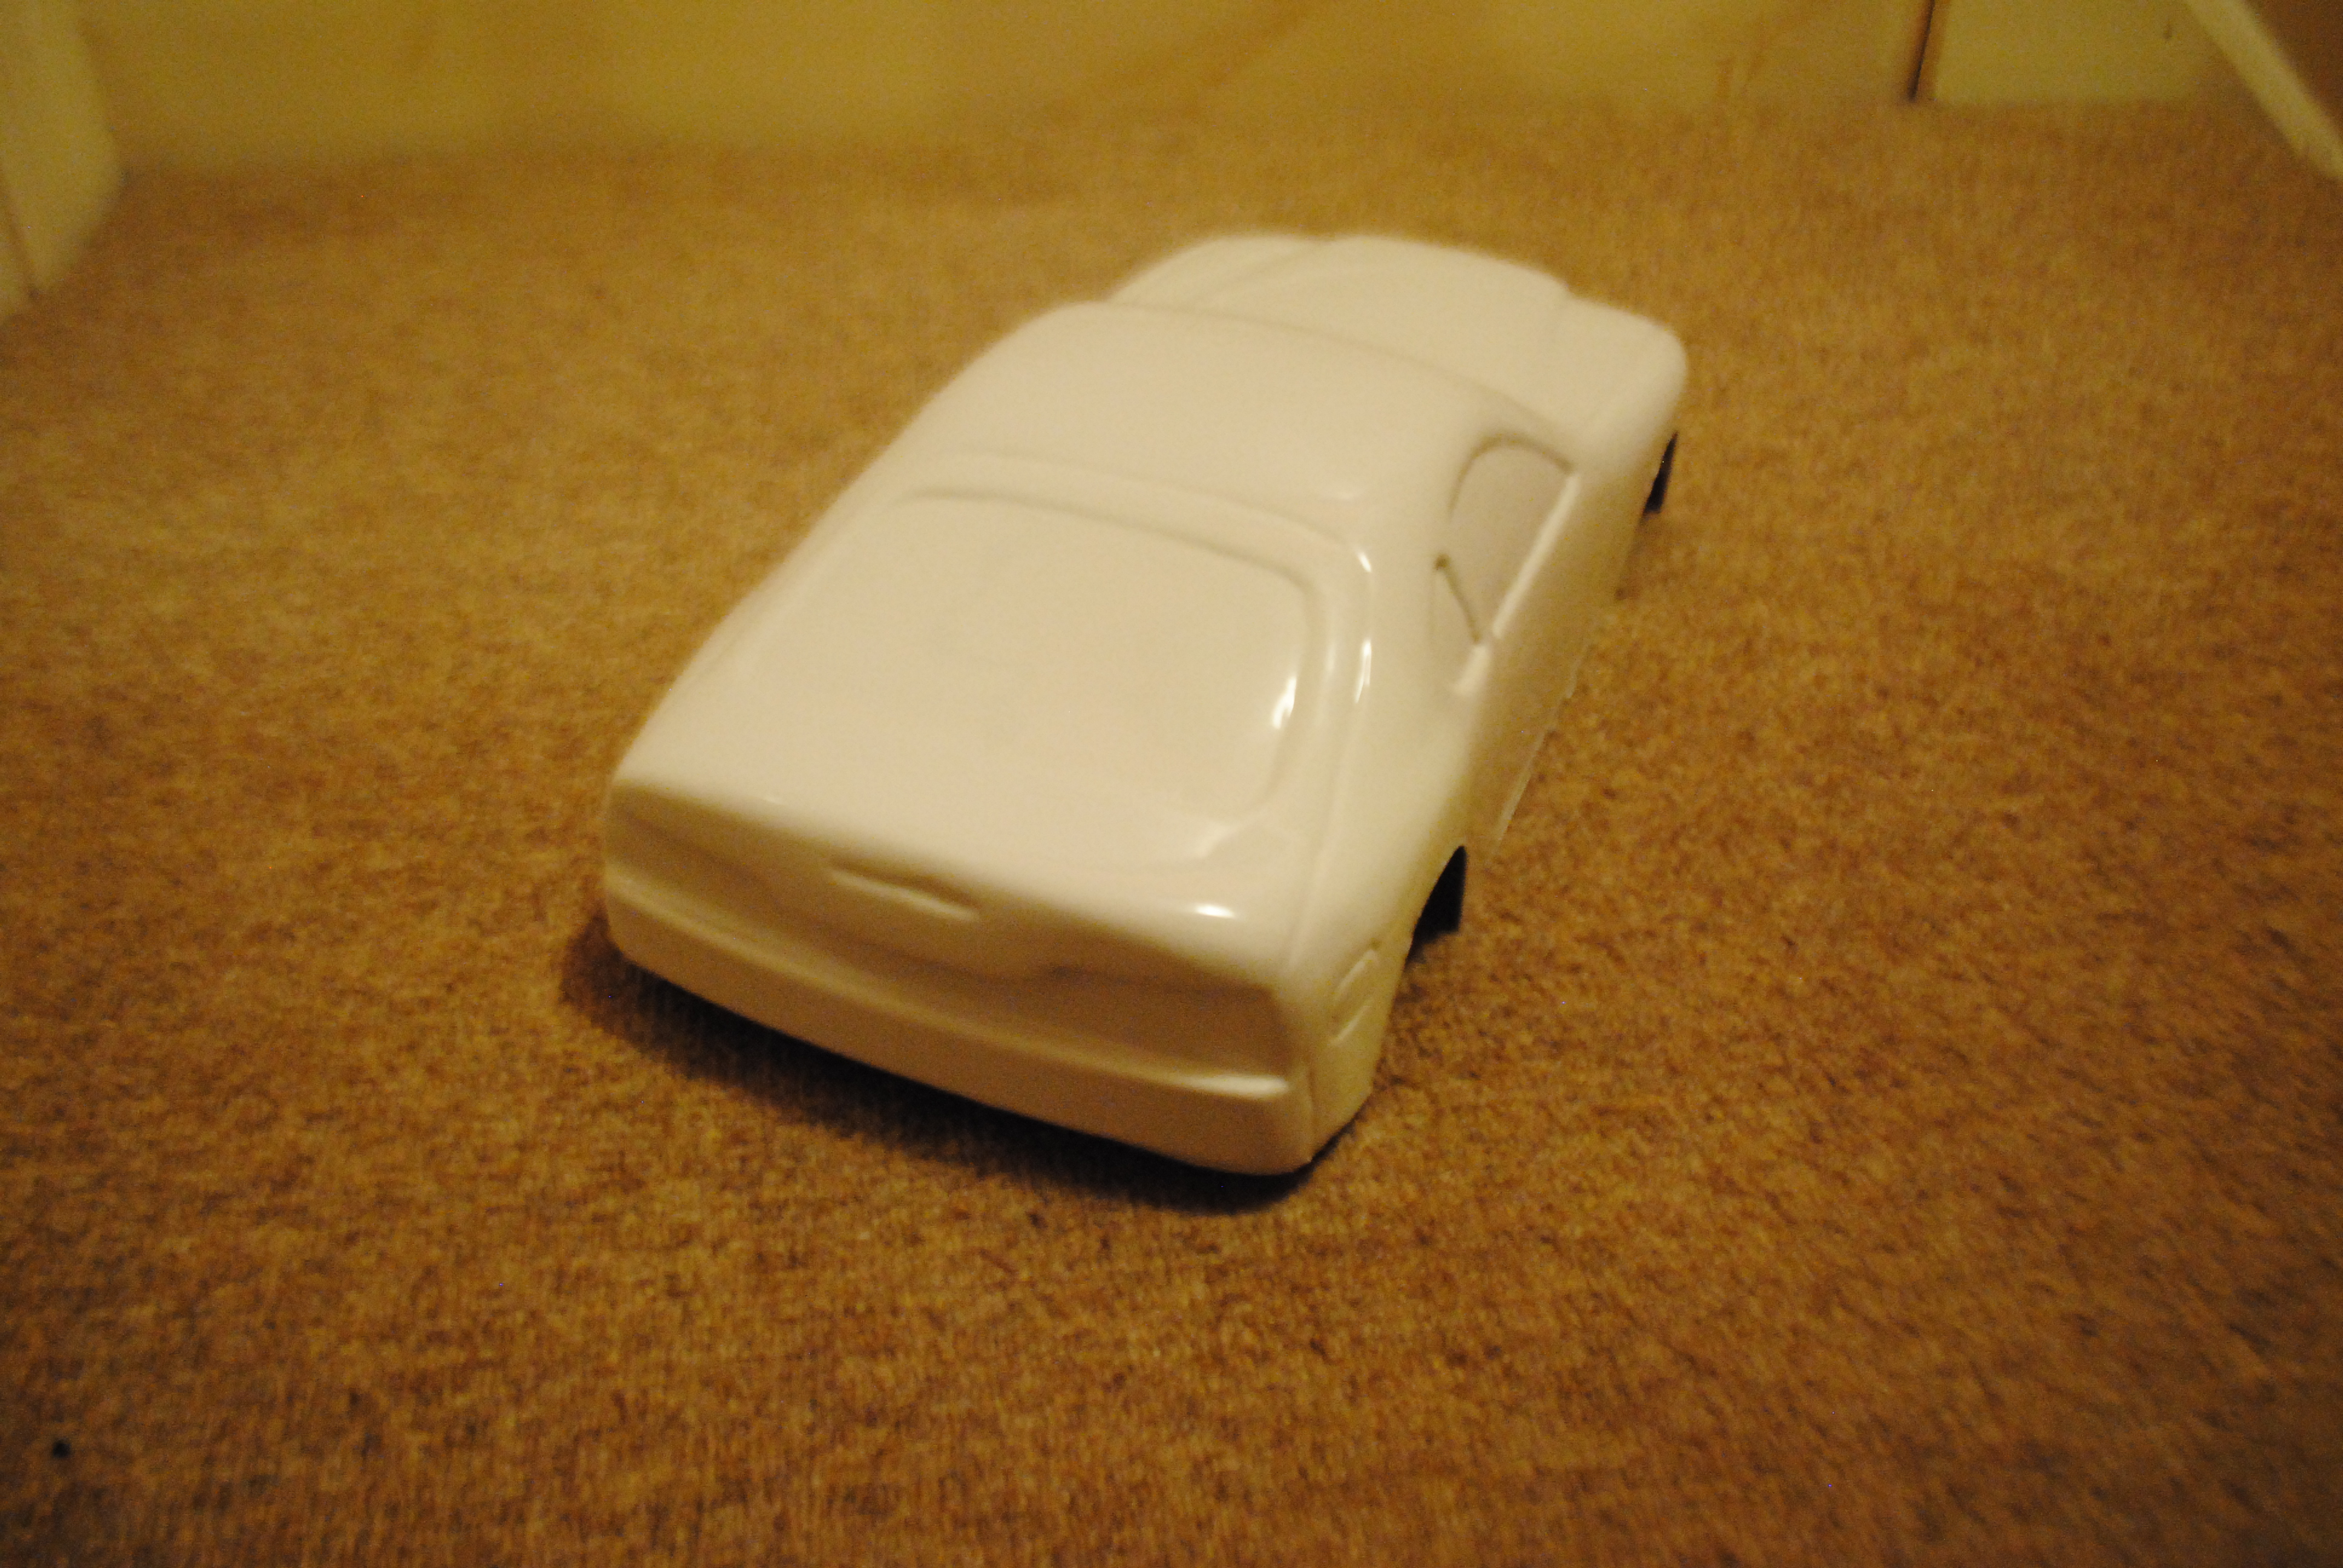
The first thing to do is cut off the excess plastic from moulding and cut out the arches. use the straight scissors to cut off the excess and the curved scissors on the arches to get a nice smooth curve.


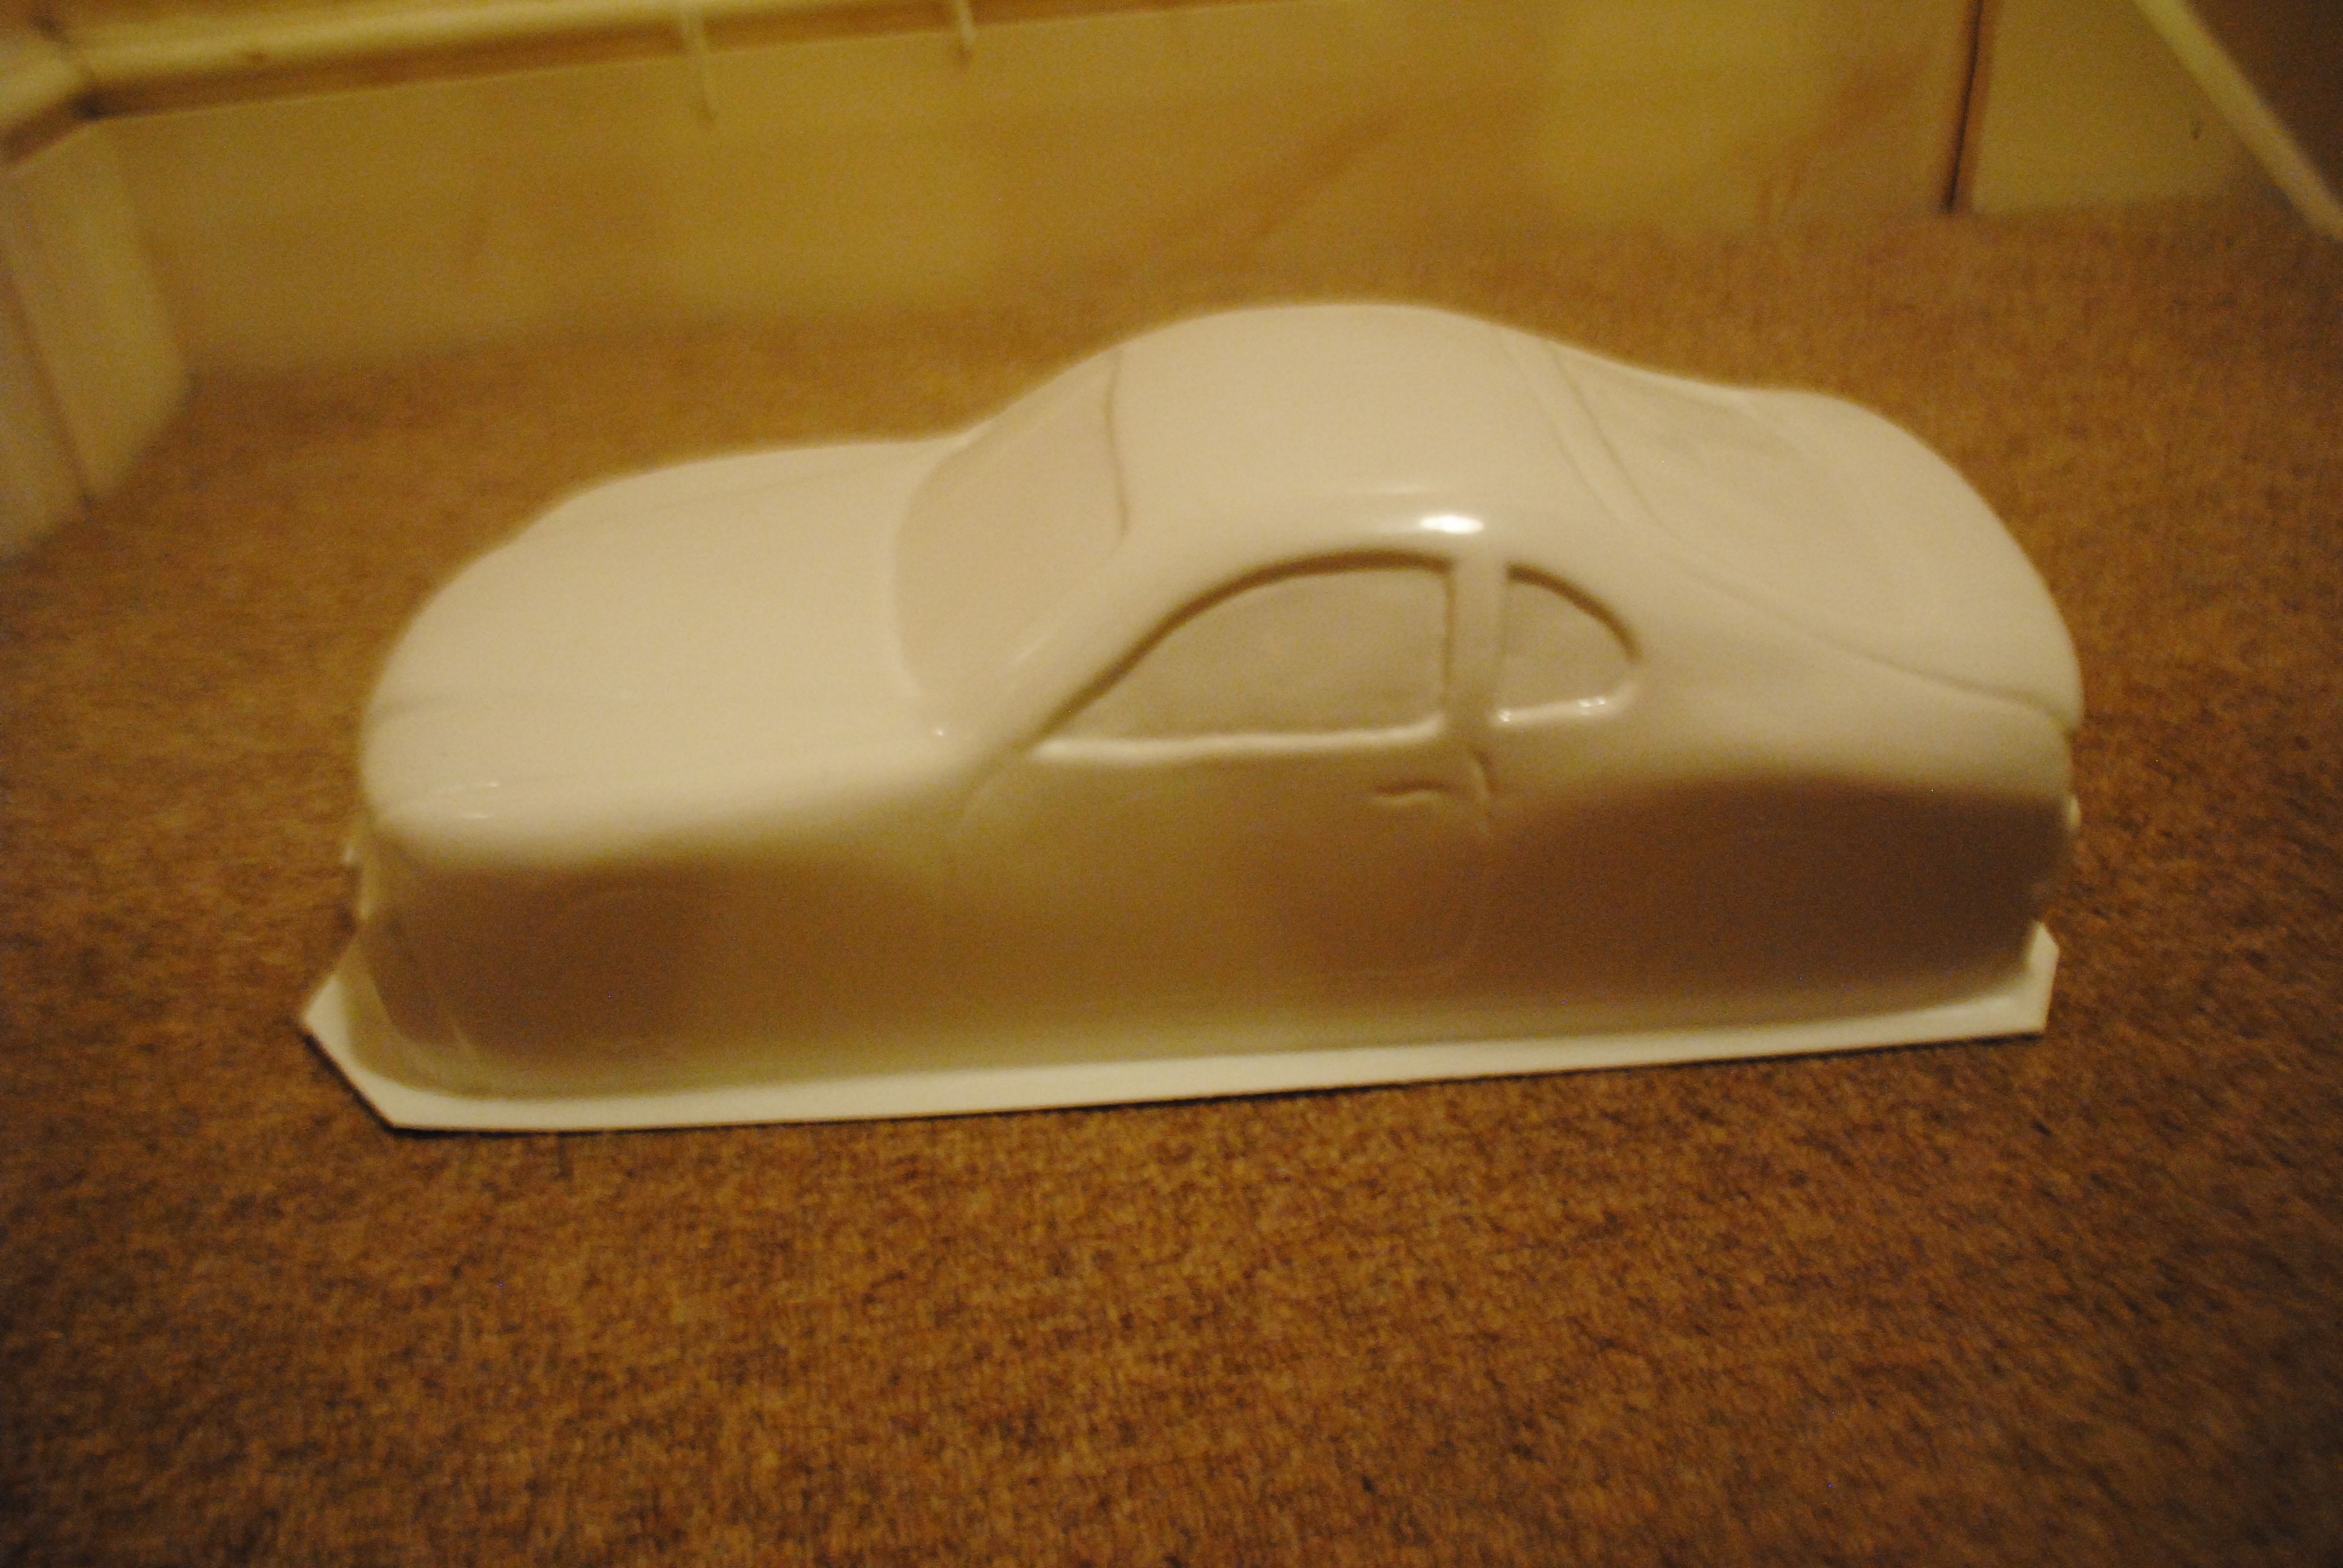
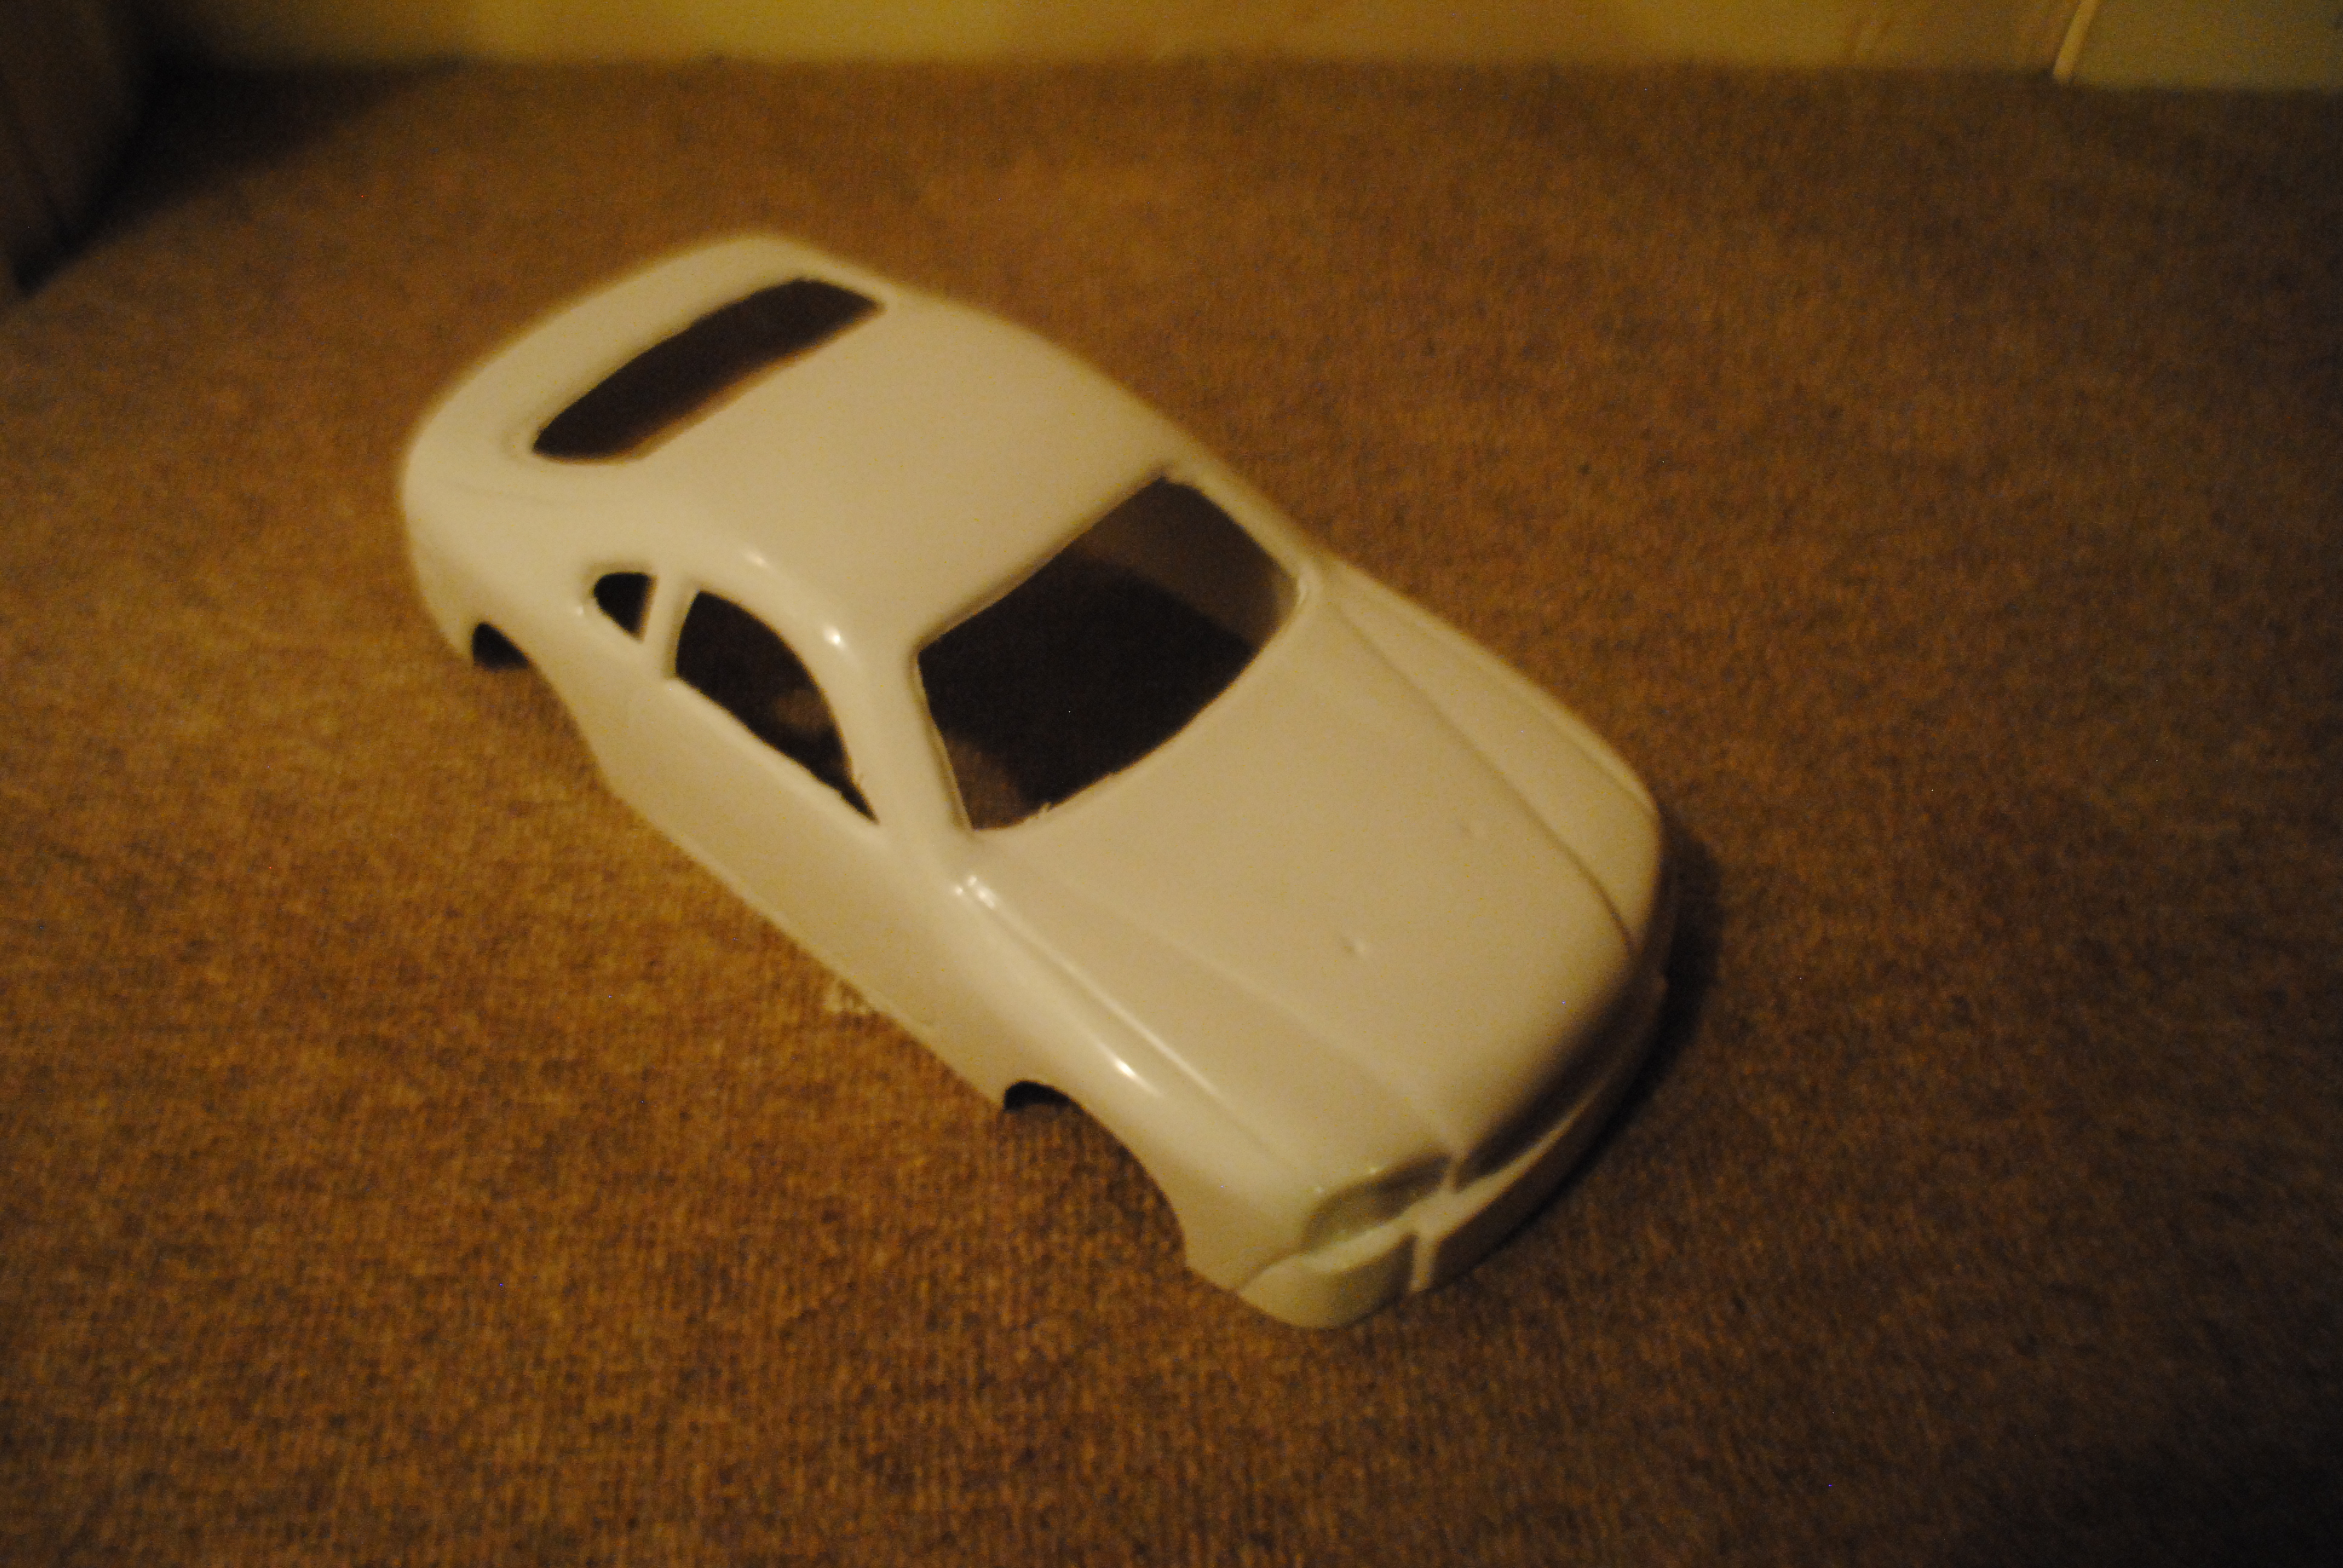
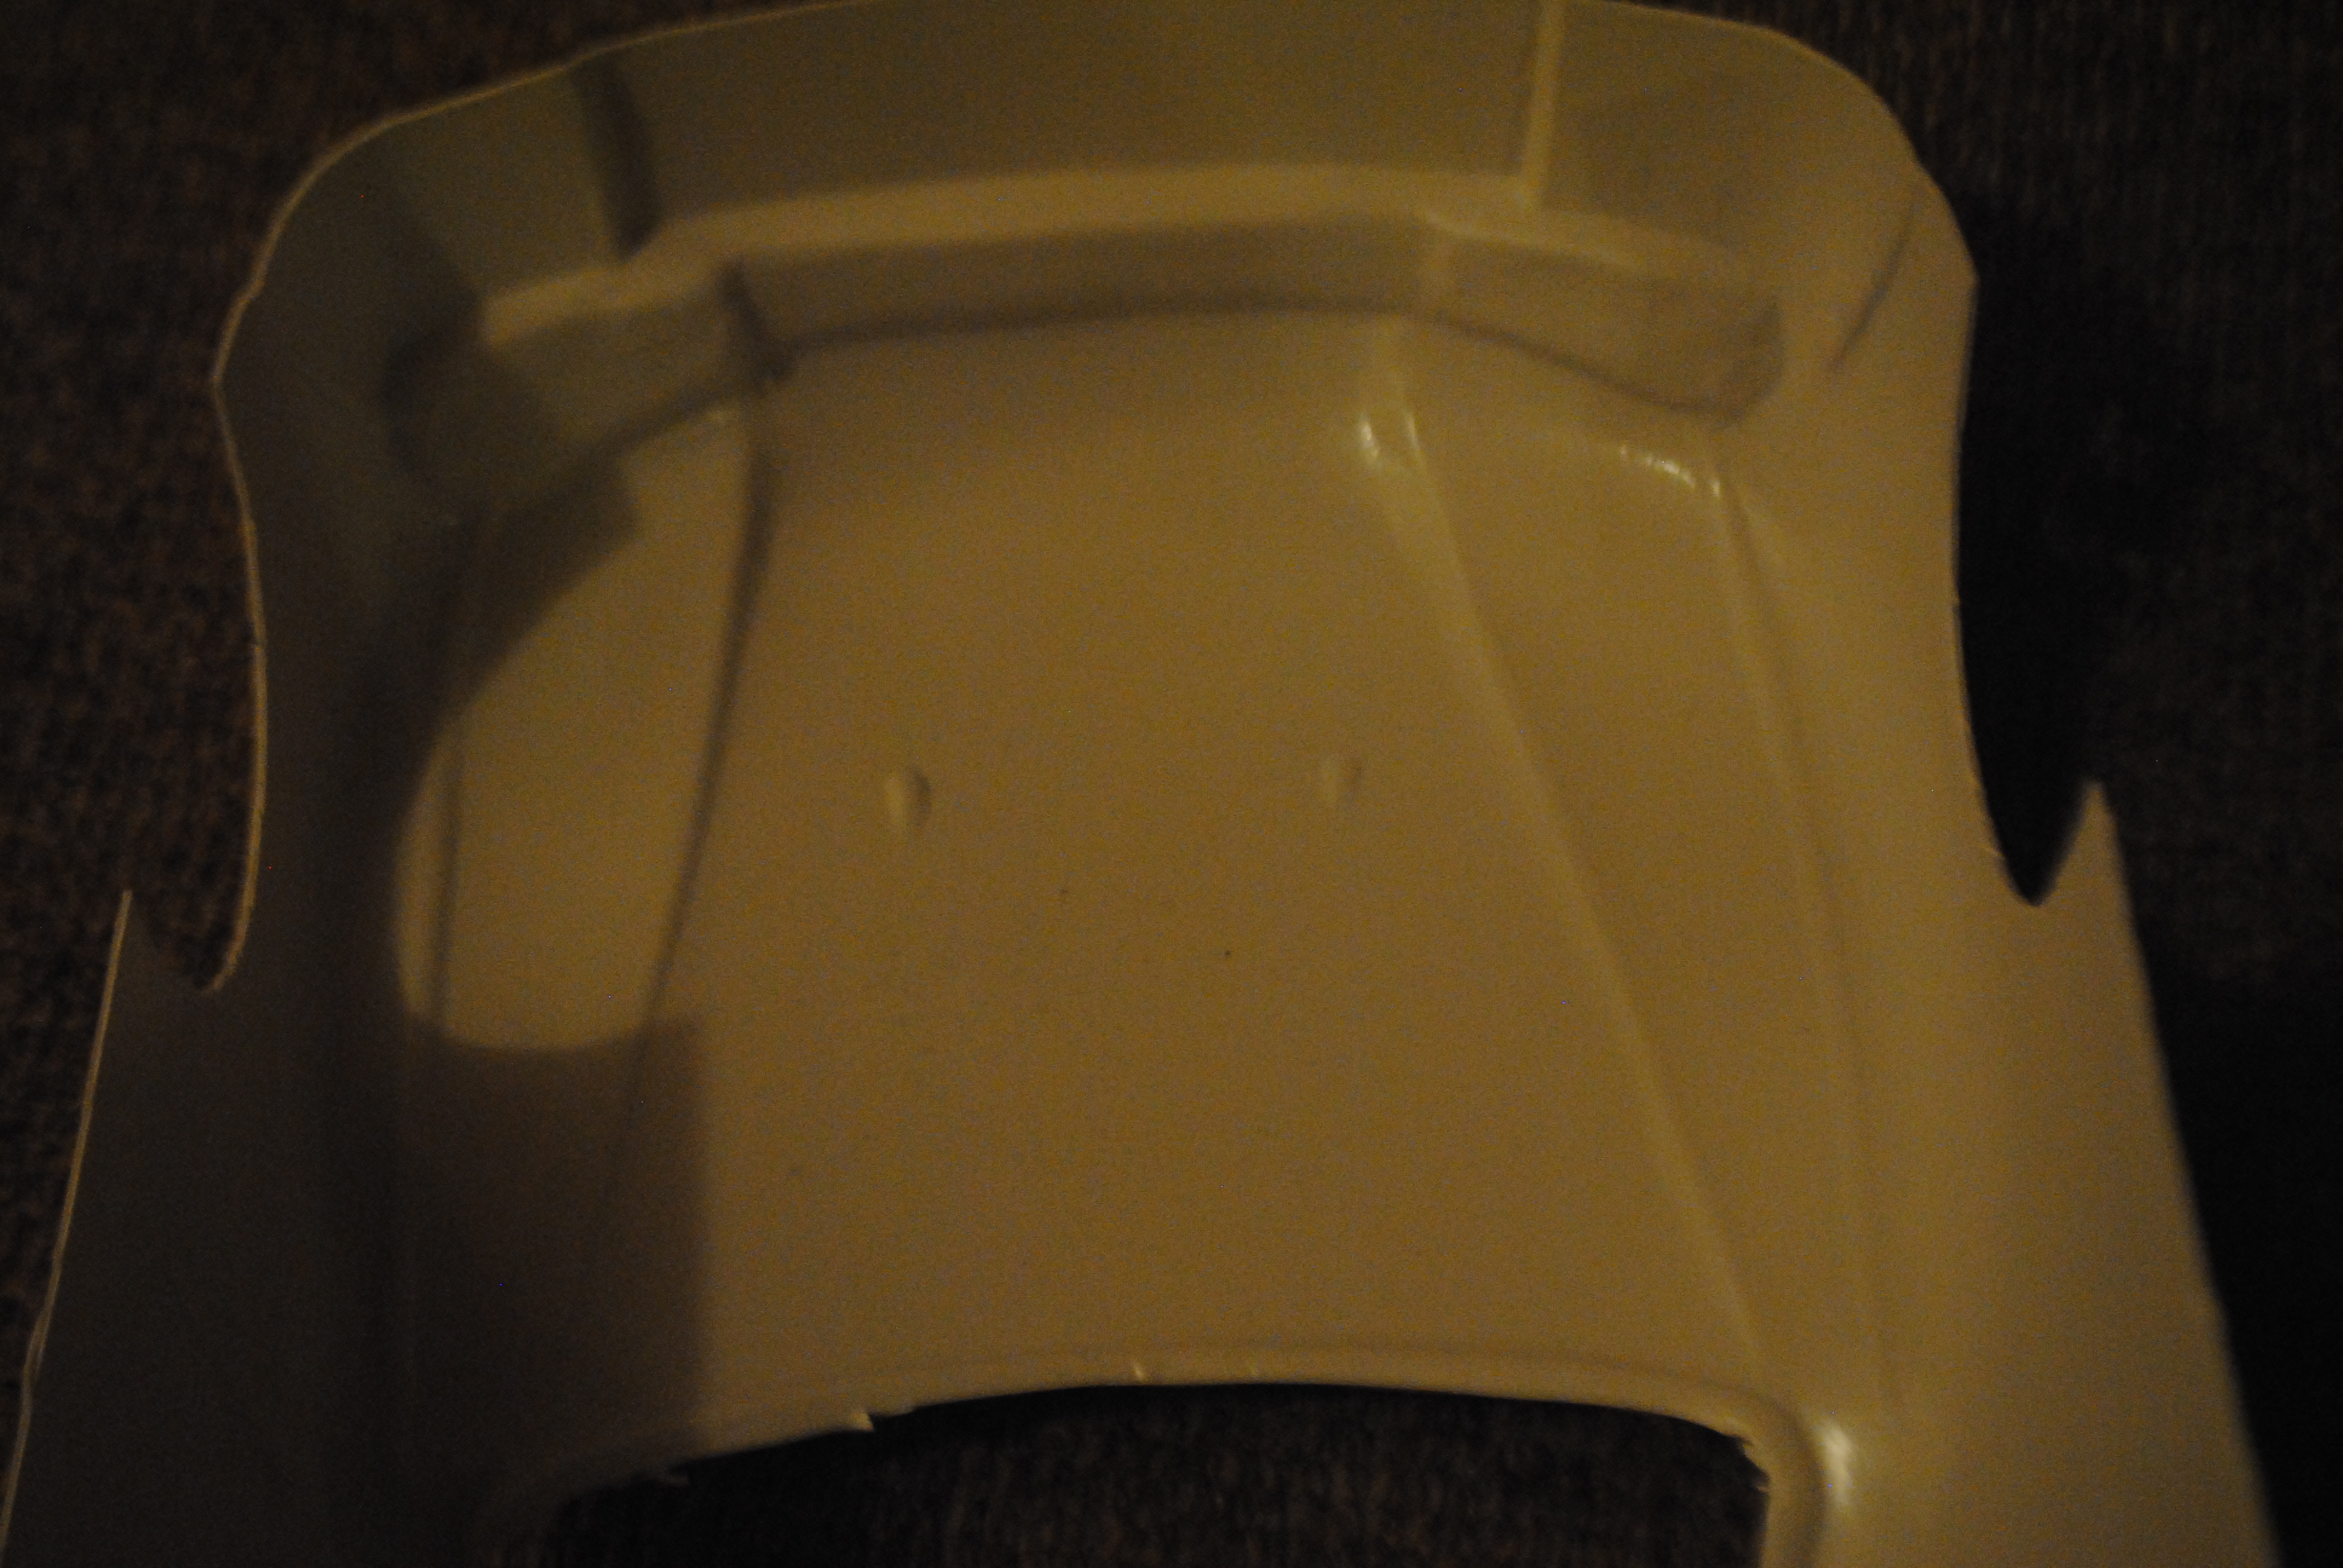
Cutting out the windows is by far the trickiest bit! You want to use a nice strong stanley knife to cut grooves into the windows until you eventually push through the material. Once it’s through it’s pretty easy to get through the rest with the knife. Once the straight edges are cut you can push through with your thumbs to break the rest of the window out. Someone said you can heat the knife up which will make it a little easier, it doesn’t, the knife loses too much heat too quickly.
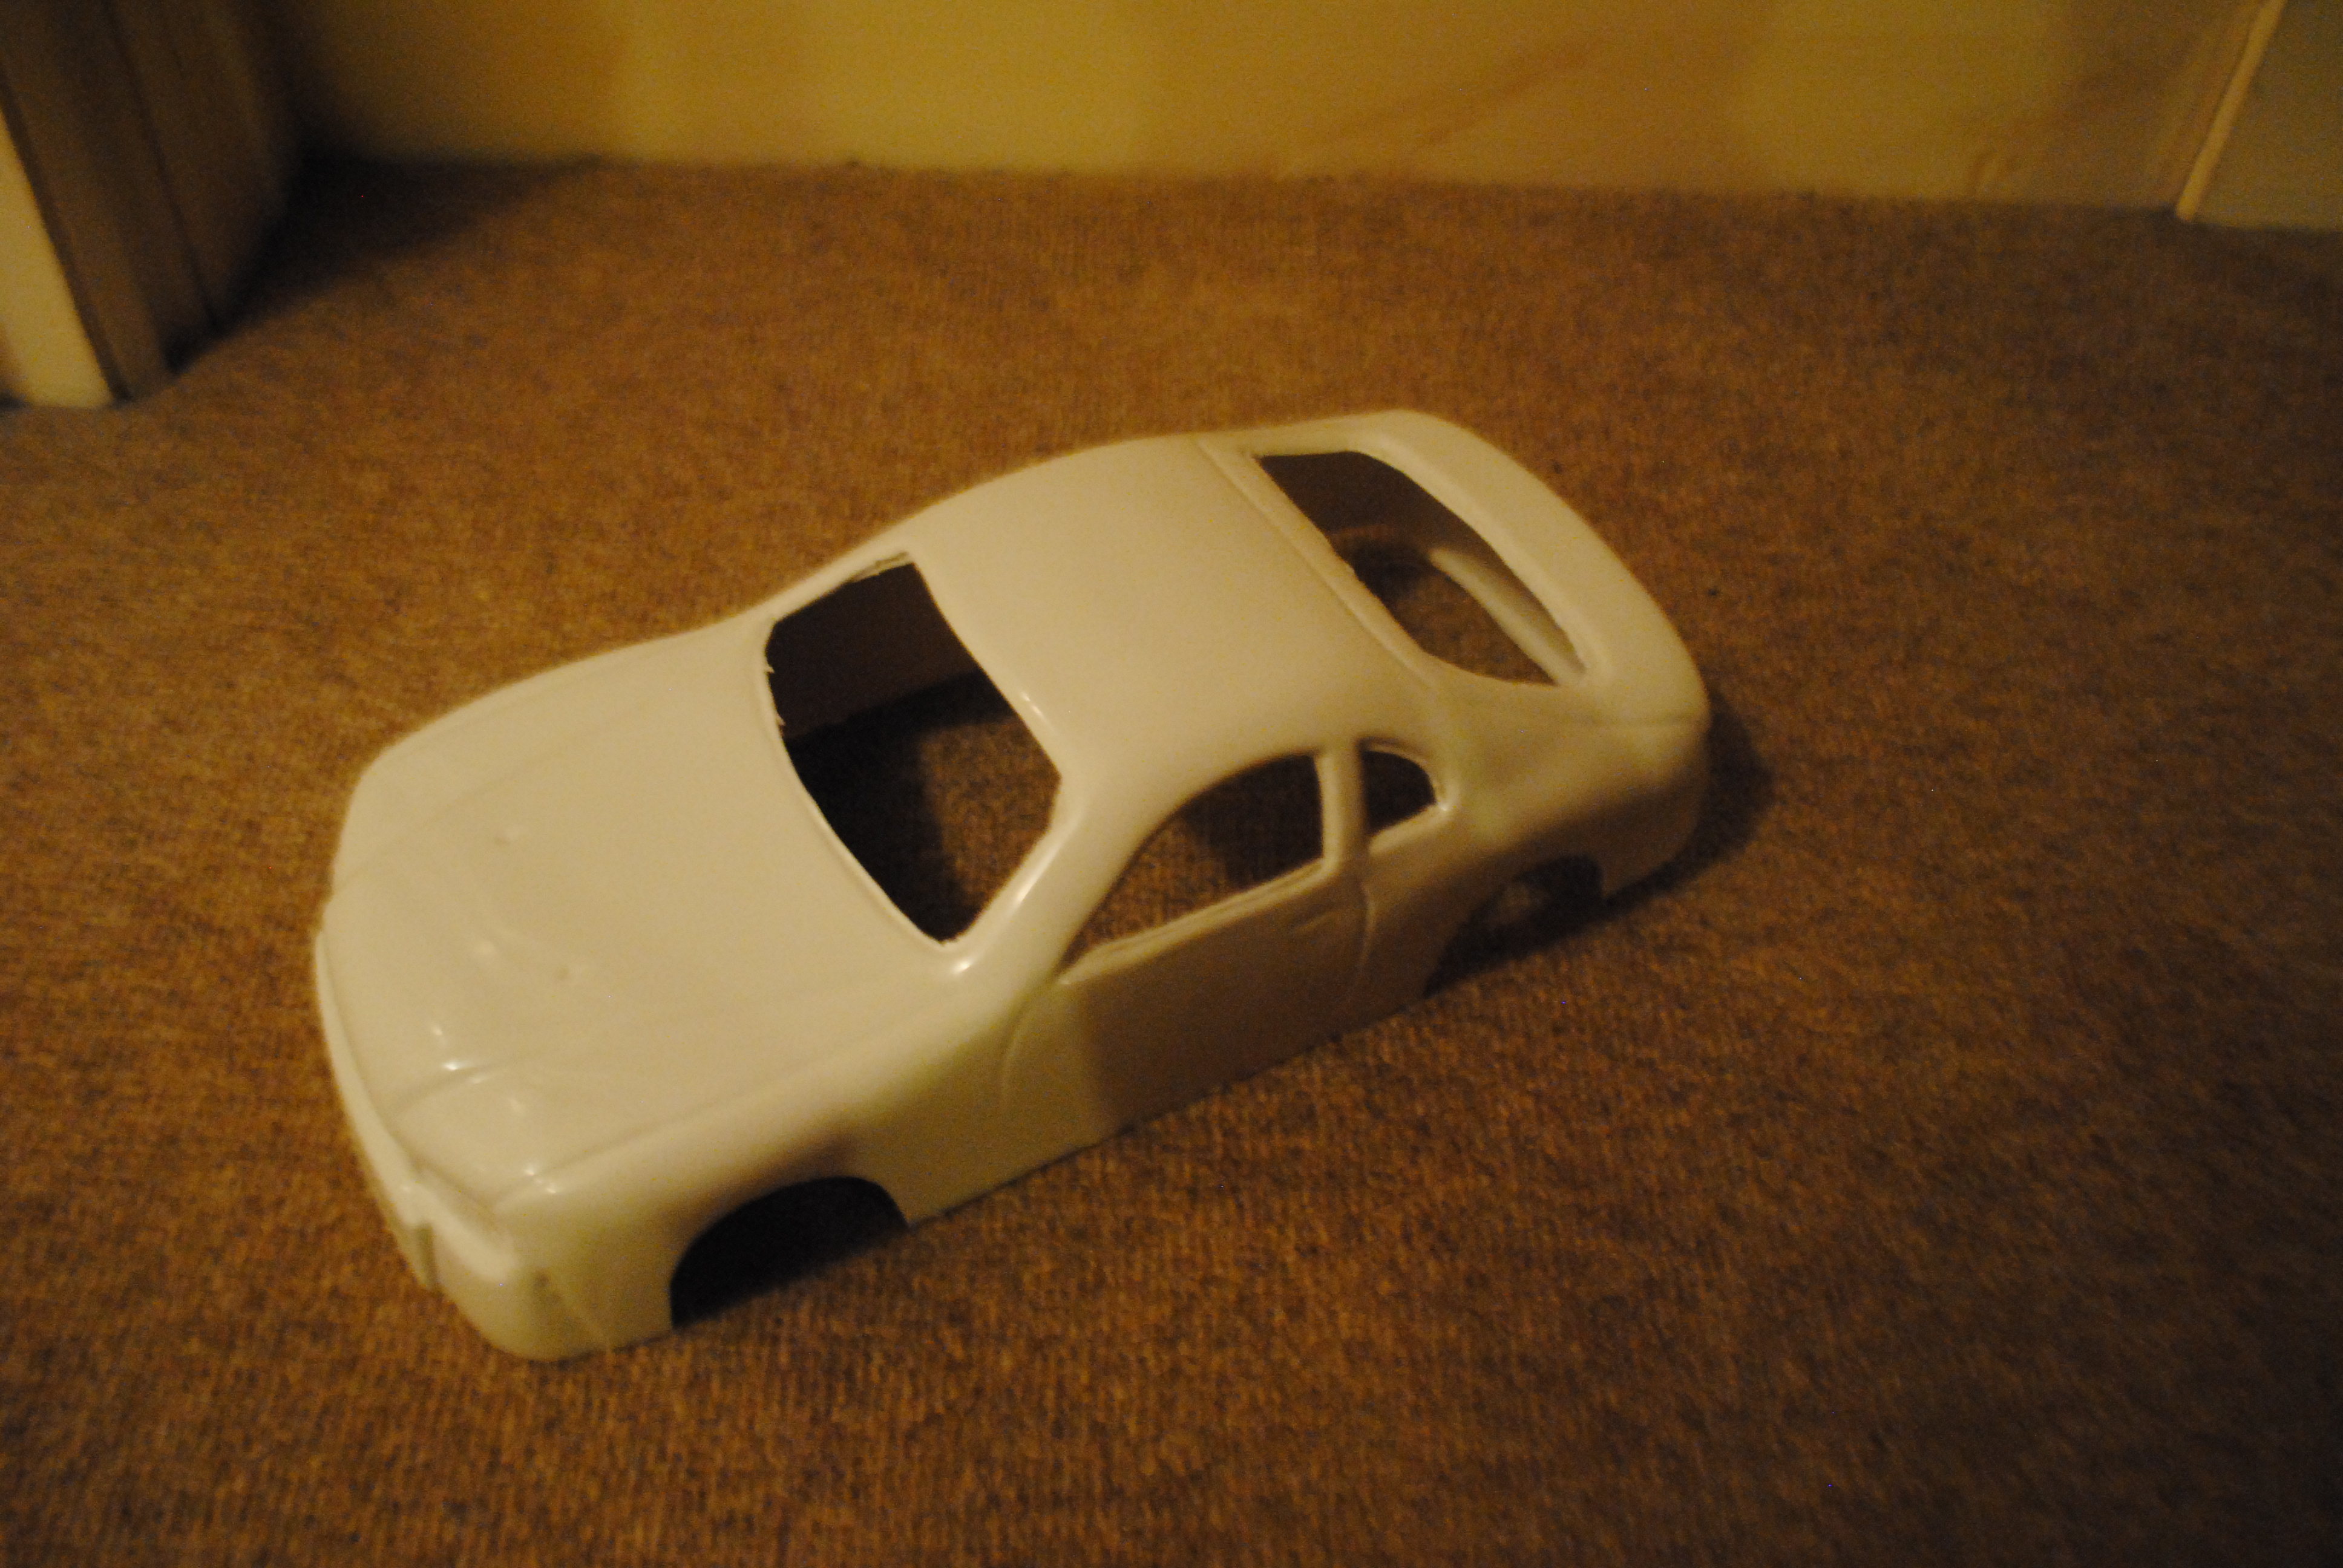
Getting the holes for the body mounts in the right place is something I struggle with. Your best bet is to set the posts so the body sits over the chassis pretty much flatly.

Kamtec have actually been really nice and have put two marks in the front of the shell to show where to drill the front posts.

To do the back, flip the car over and line the chassis up centrally. With a sharpie draw around where the post meets the shell and drill there.
Use the inner set of pins on the front body mounts to set ride height.
Then drop the body on!
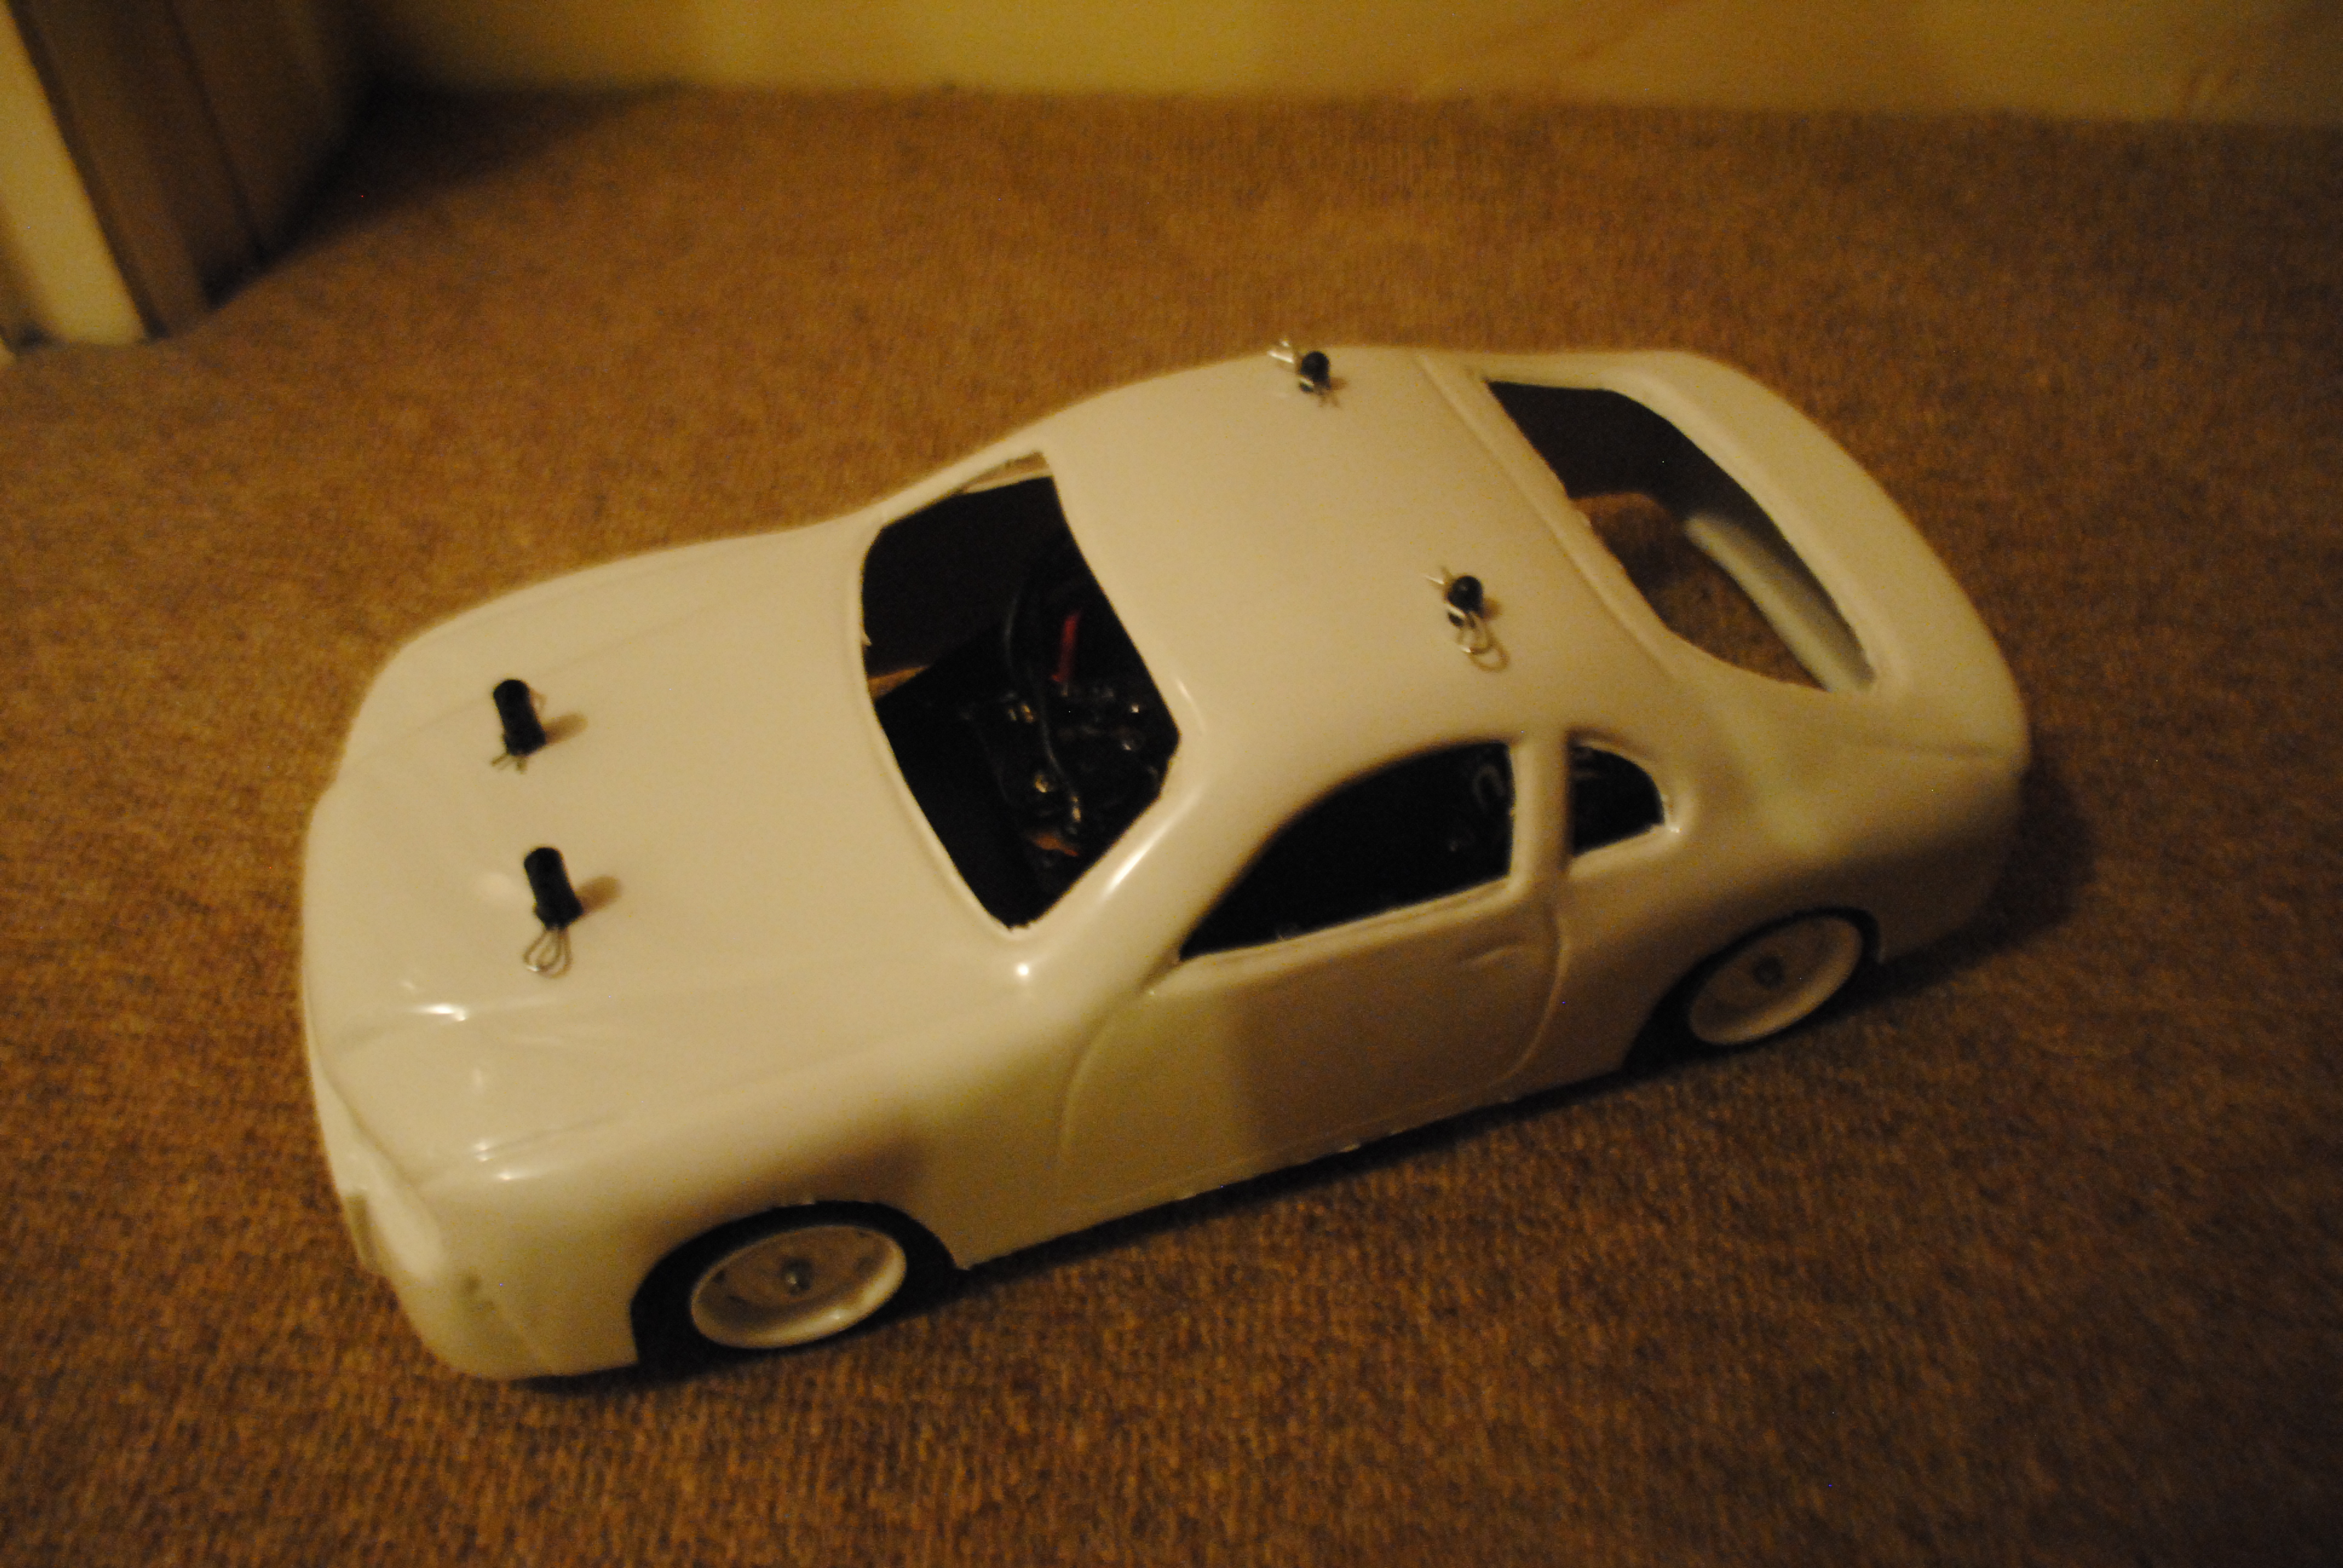
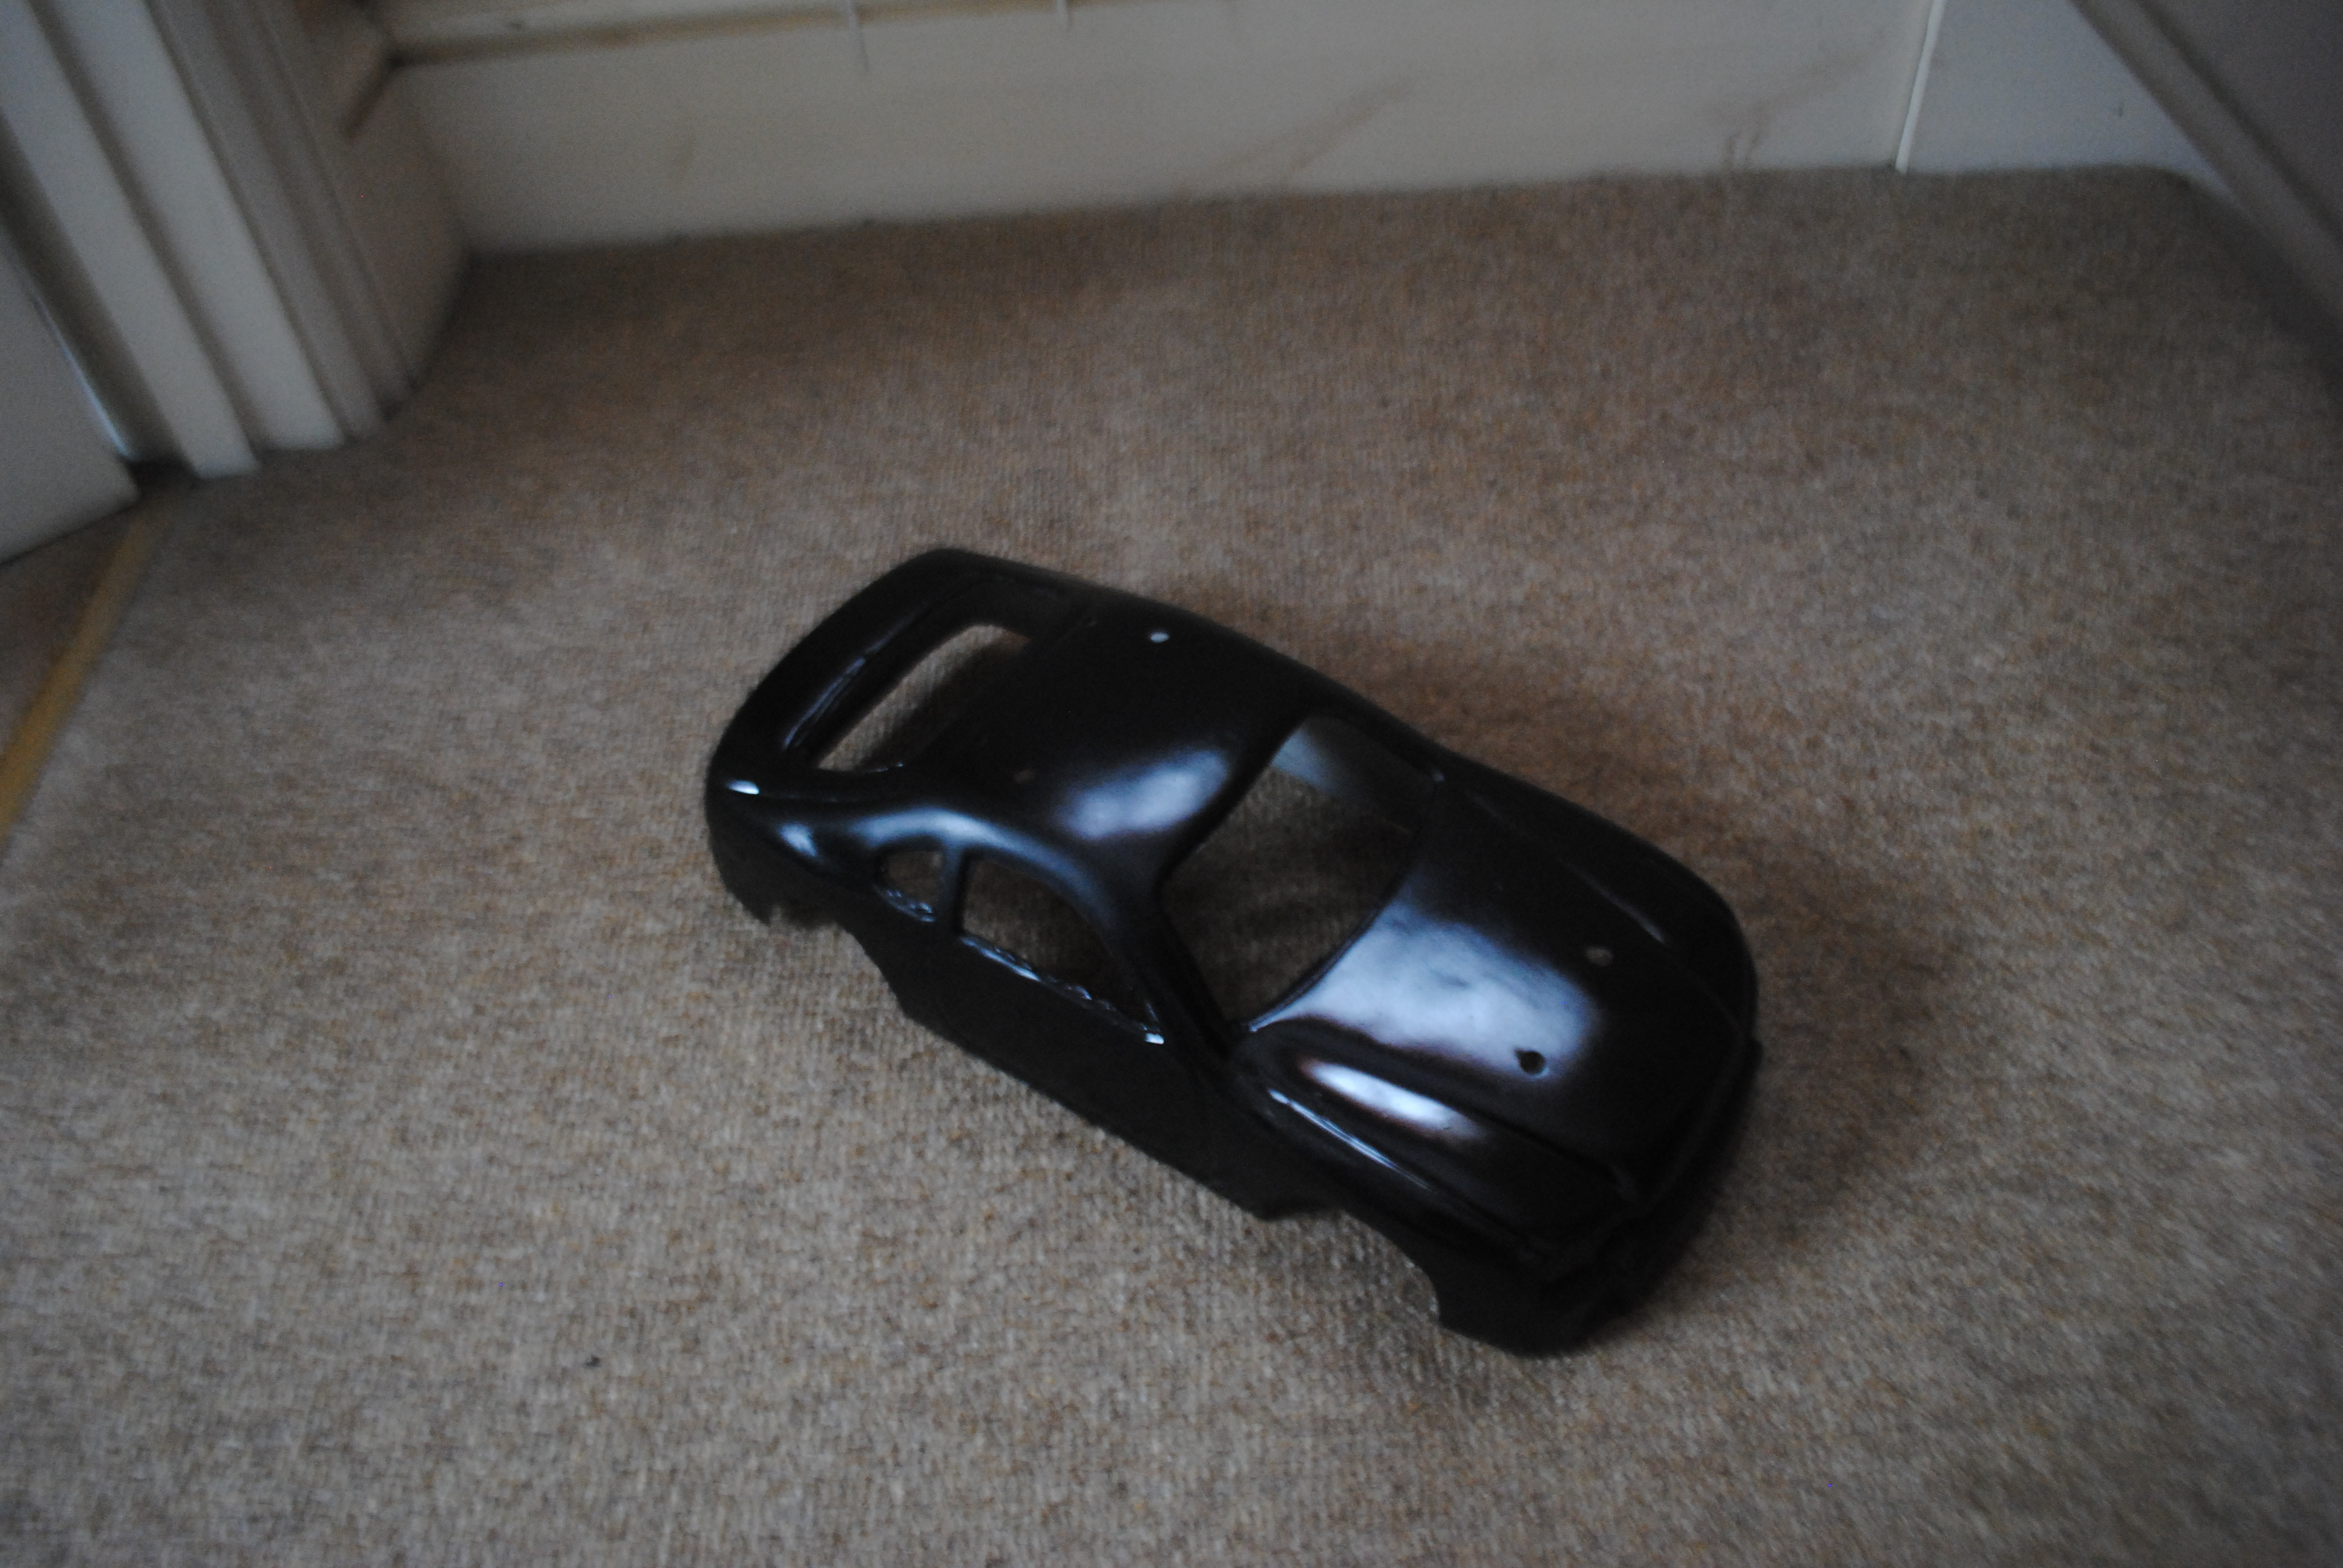
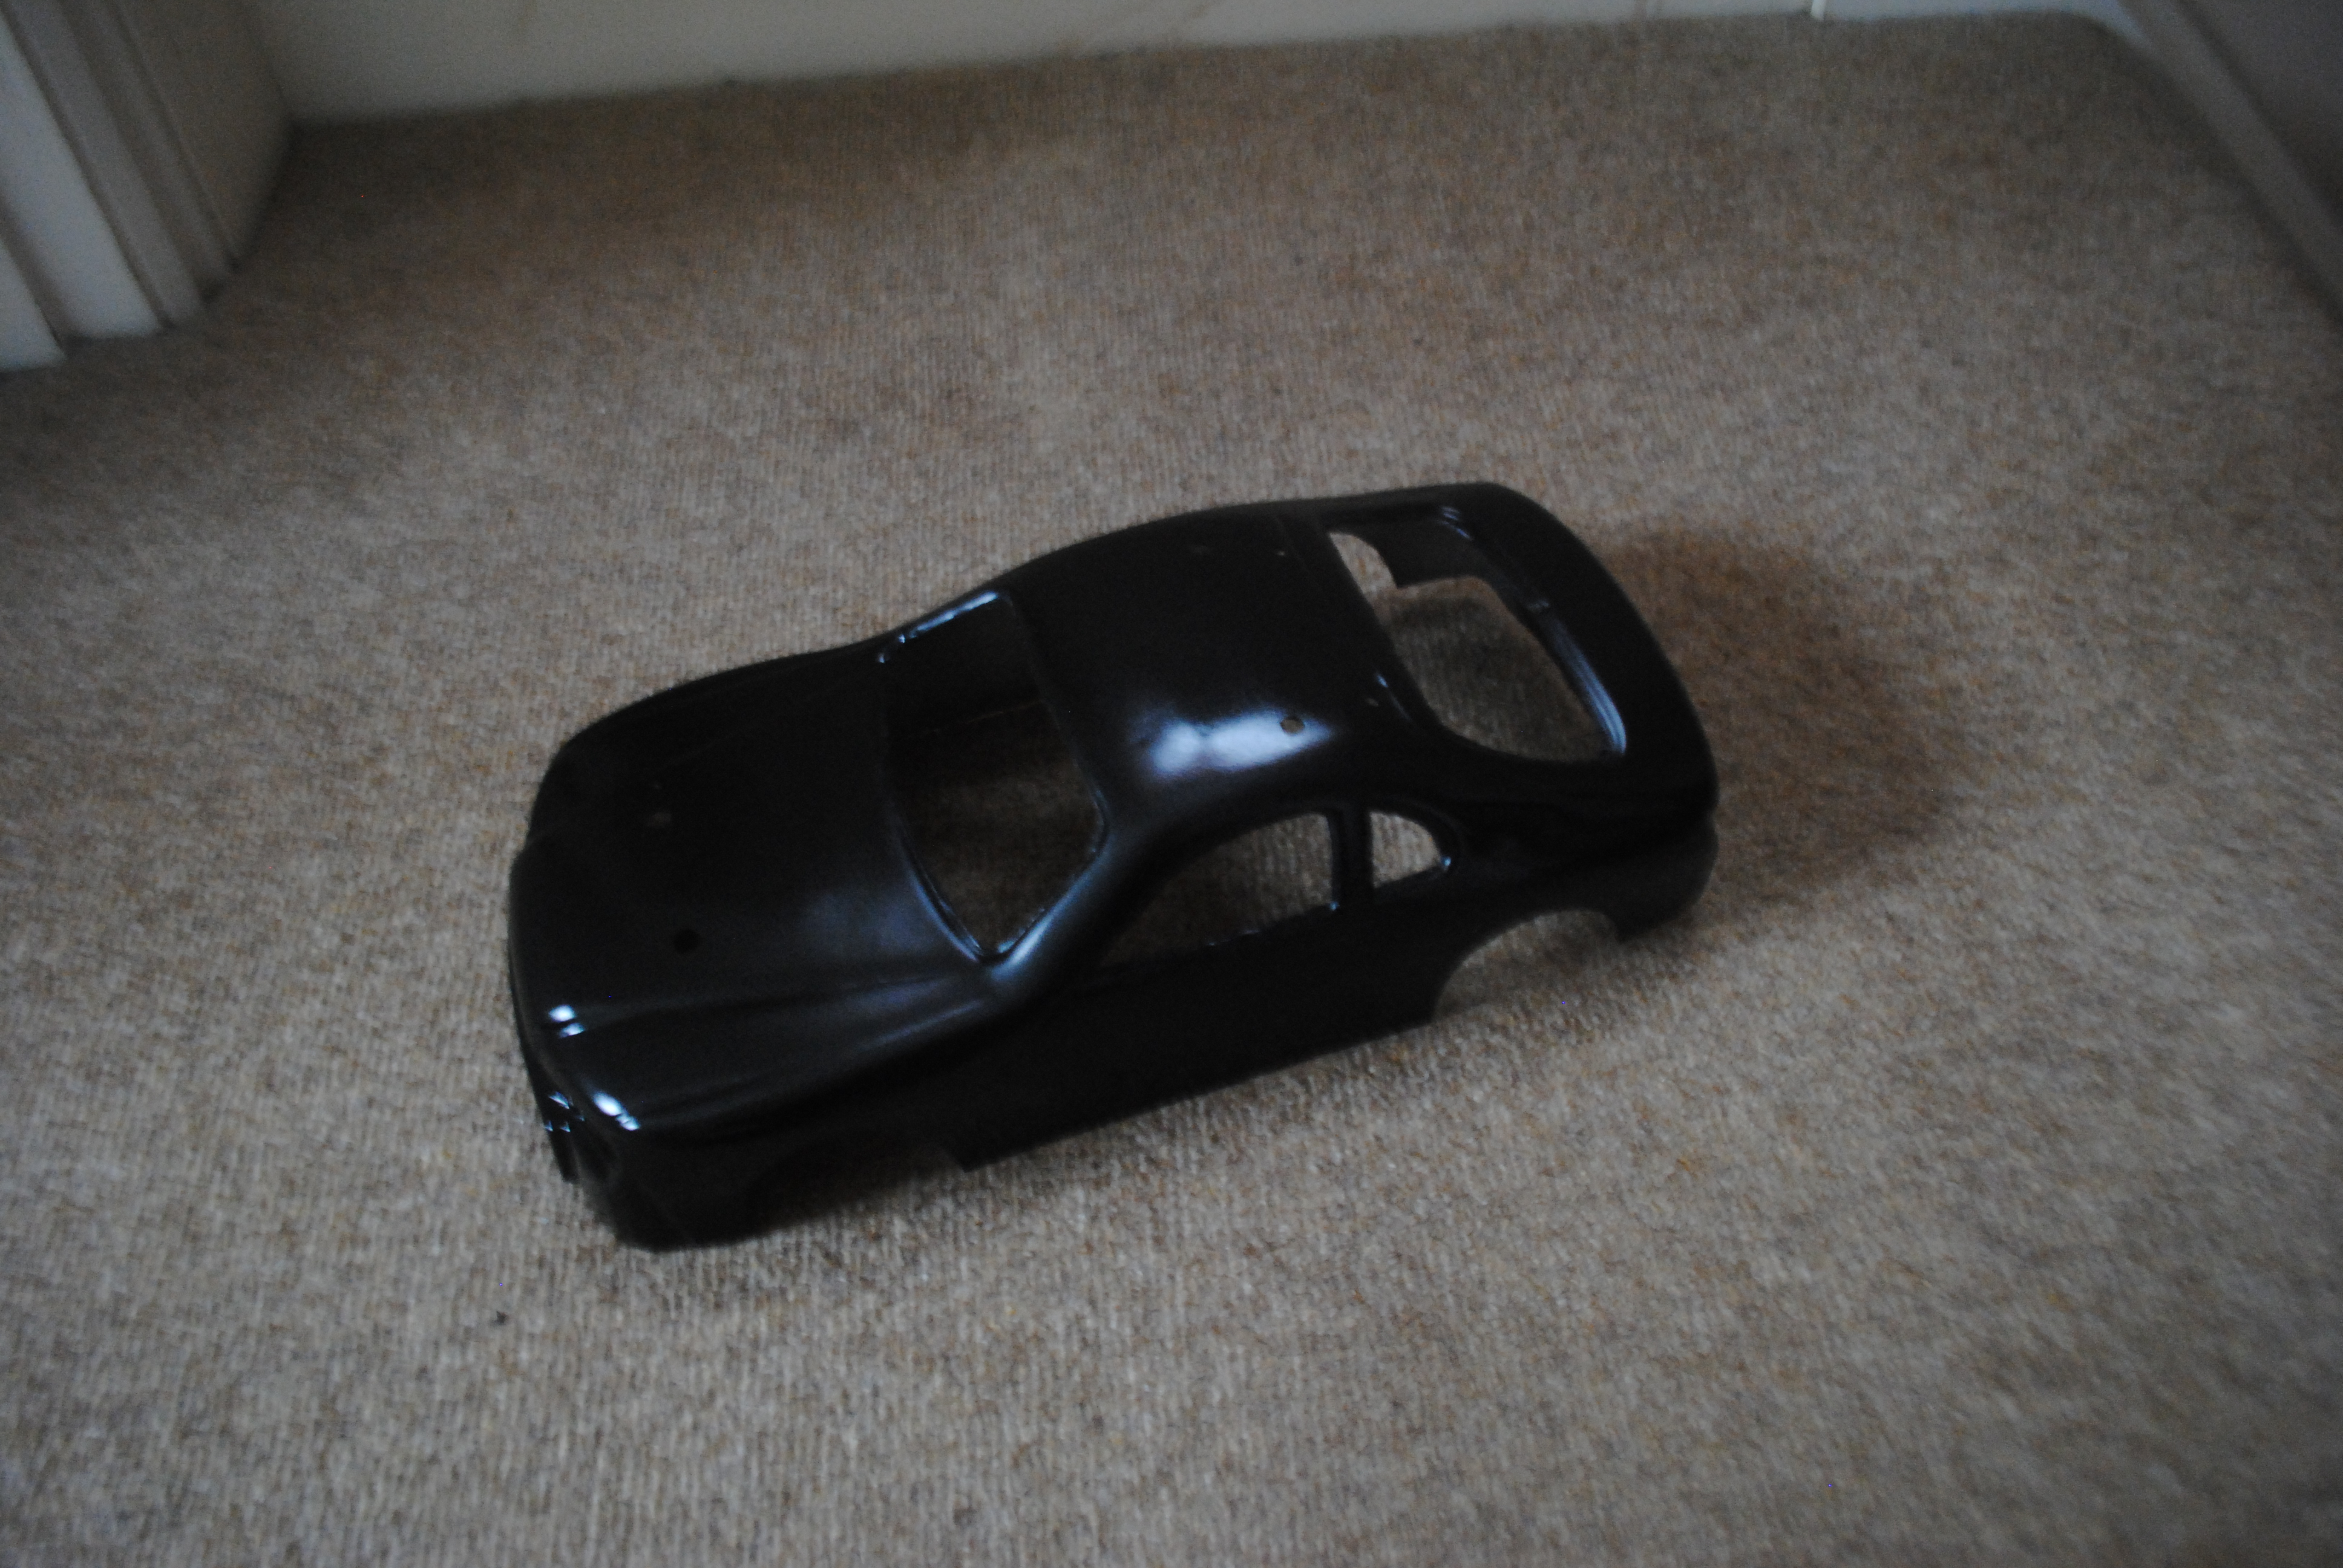
The final thing to do before paint is to attach the roof fin. We will simply be doing this with a nut and bolt through the bottom of the roof fin and the roof of the shell like so:
Then it’s time for paint! The great thing about ABS shells rather than lexan is that you don’t need to buy special paint for polycarbonate, just walk into Halfords, pick a colour and primer and away you go! I’m using Mercedes Obsidian Black as I had a lot left over from doing the rust repair on my car.
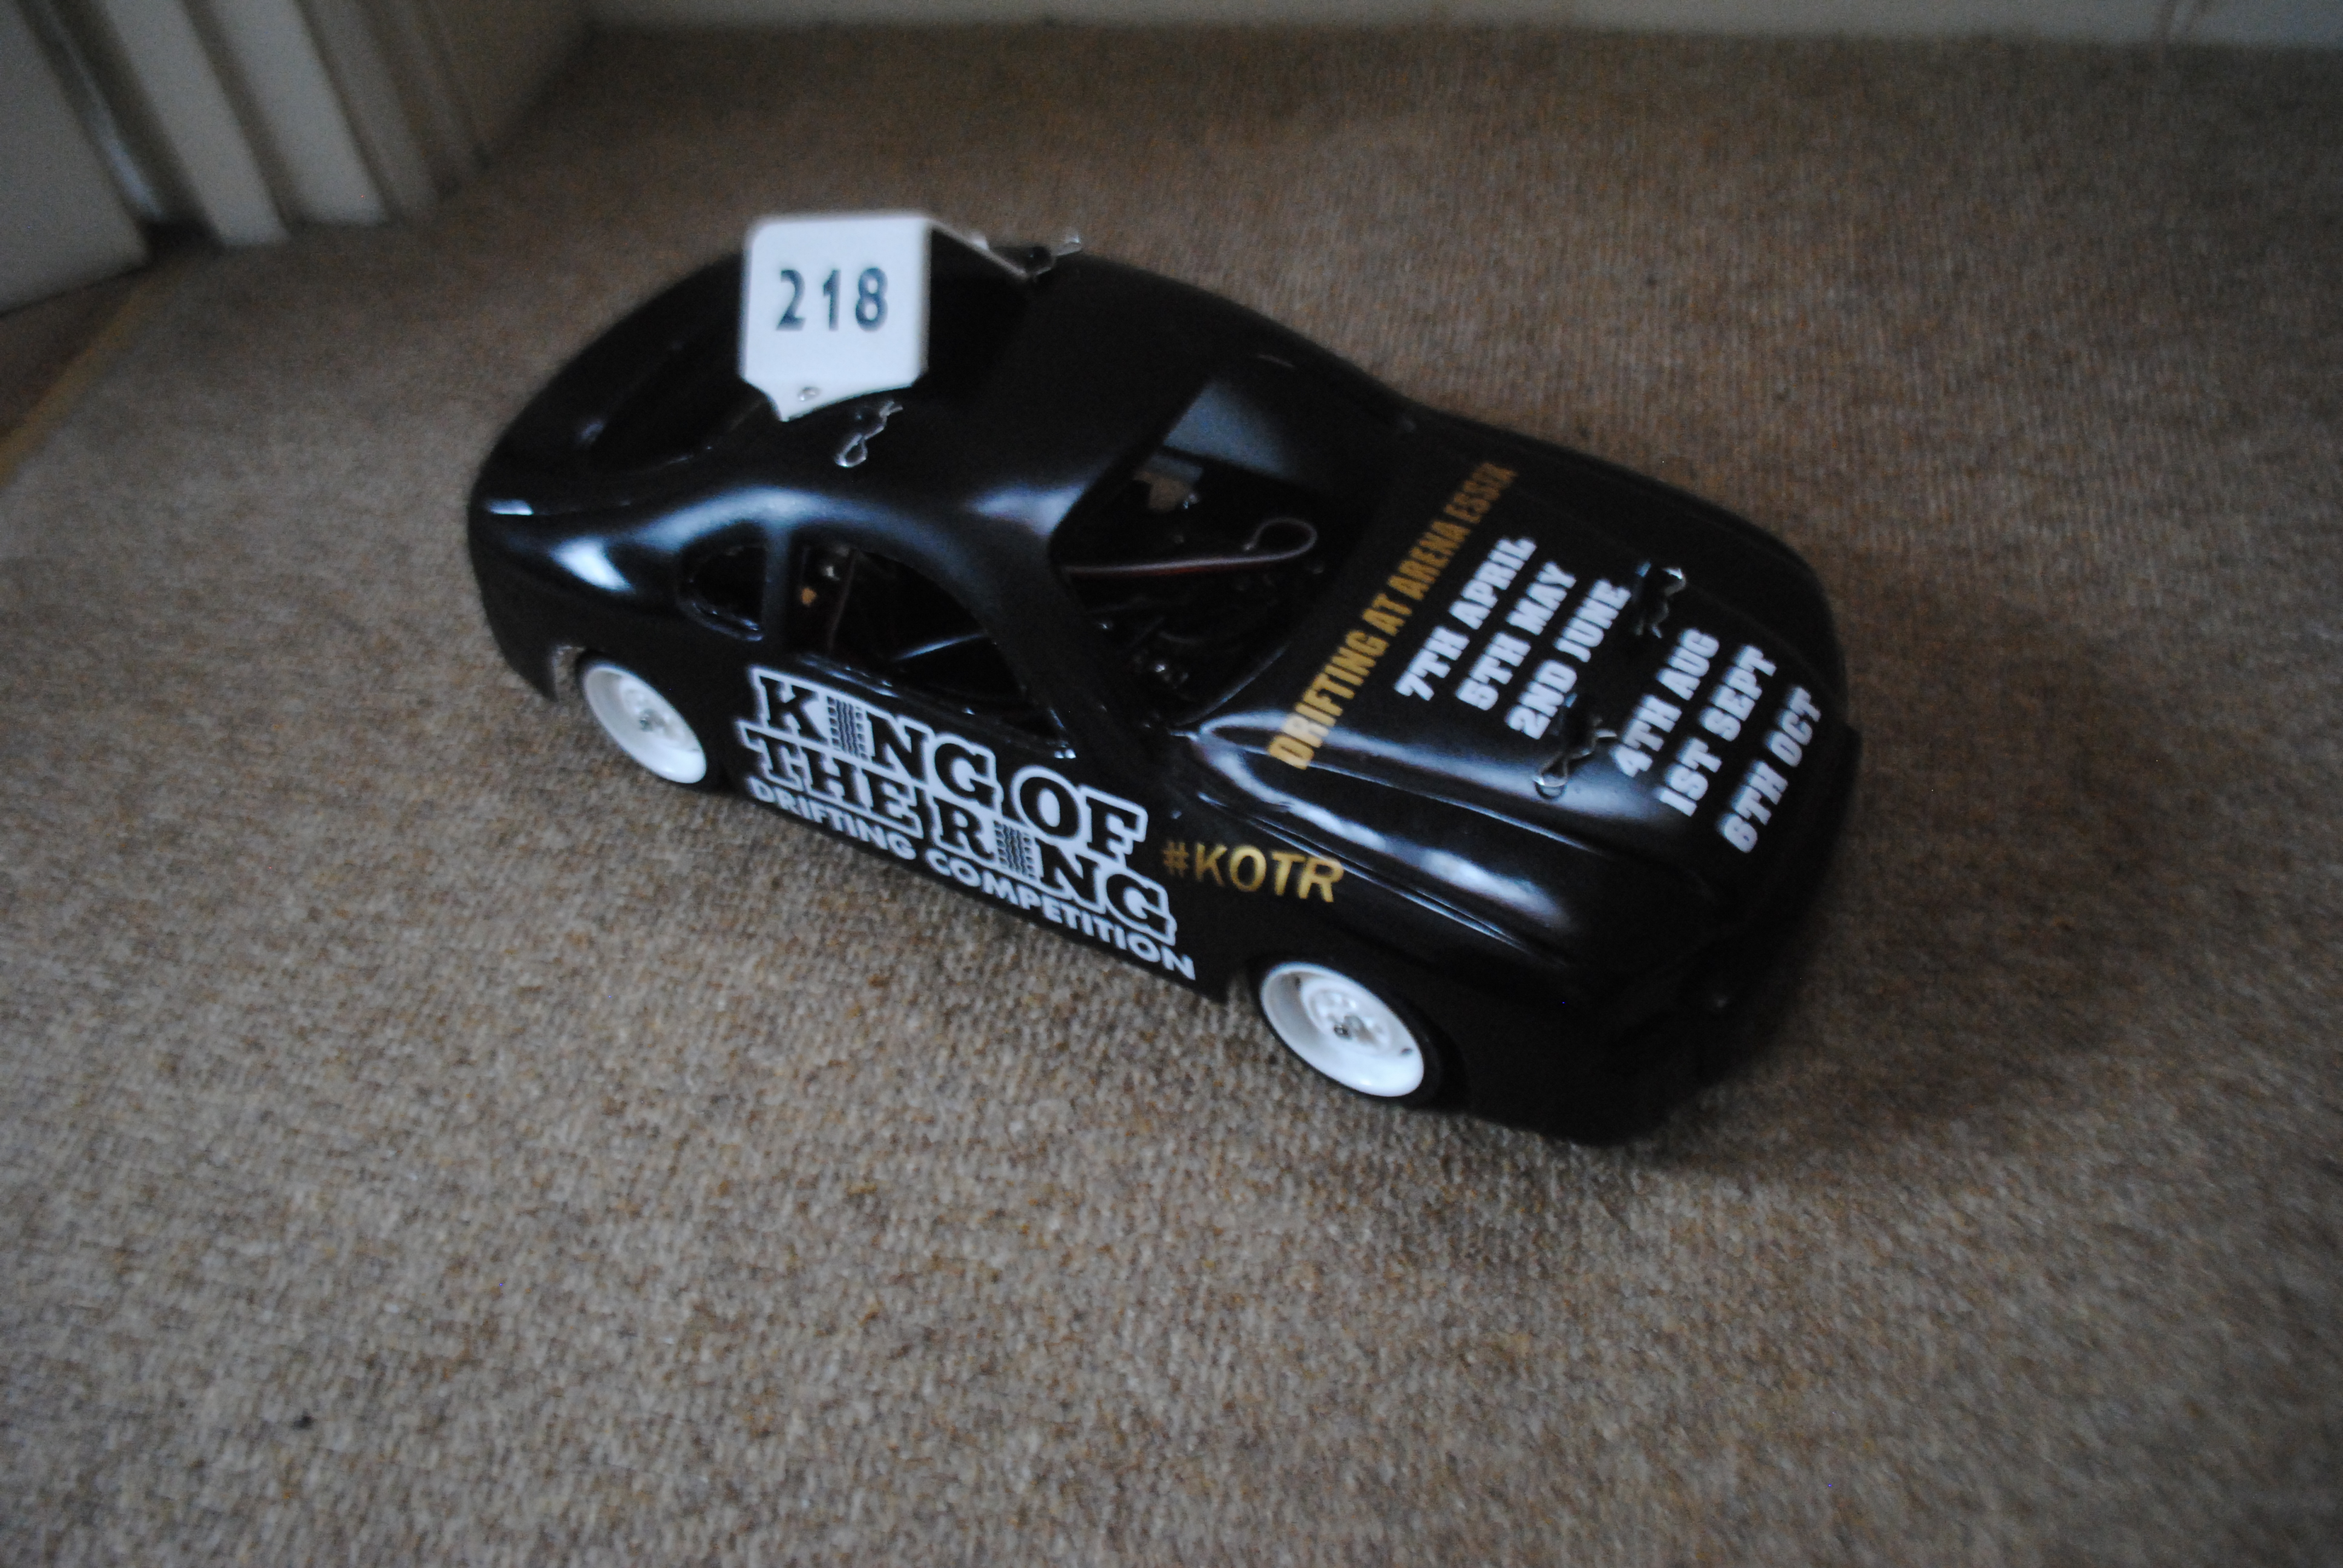
Then it’s just time for graphics! As you would have seen from my write up of the Micro Madness meet at Brentwood (which can be found here) people spend a lot of time doing the shells. I don’t have their talent but will still do the best I can.
King of the Ring unfortunately got cancelled due to the snow so I thought I’d livery the shell up for them. At least then there can be a little KOTR on the blog this week!


All in all it was a really fun little kit and I look forward to taking it to the track in the near future!
Thanks for reading, I hope you enjoyed! If you would like to help me make even better quality content on a more regular basis please donate via paypal through the button at the top or paypal me directly at motorsportformentalhealth@yahoo.co.uk.
You can also join my Patreon here: www.patreon.com/motorsportformentalhealth
If you would like to stay up to date with all my blog posts please subscribe to the blog via email (from the box at the bottom of the page) or follow me on the following social media platforms:
Facebook: www.facebook.com/motorsportformentalhealth/
Linkedin: http://www.linkedin.com/in/richard-francis-b45025137/
Instagram: @motorsport4mentalhealth
Youtube: www.youtube.com/channel/UCQ-j8broFg4i2rWIBy6W82Q
By Richard Francis