

If you would like to help support this blog, please donate through Paypal here!
£5.00
At least once a year I like to have a project that’s a little bit “odd ball”, something a little different.
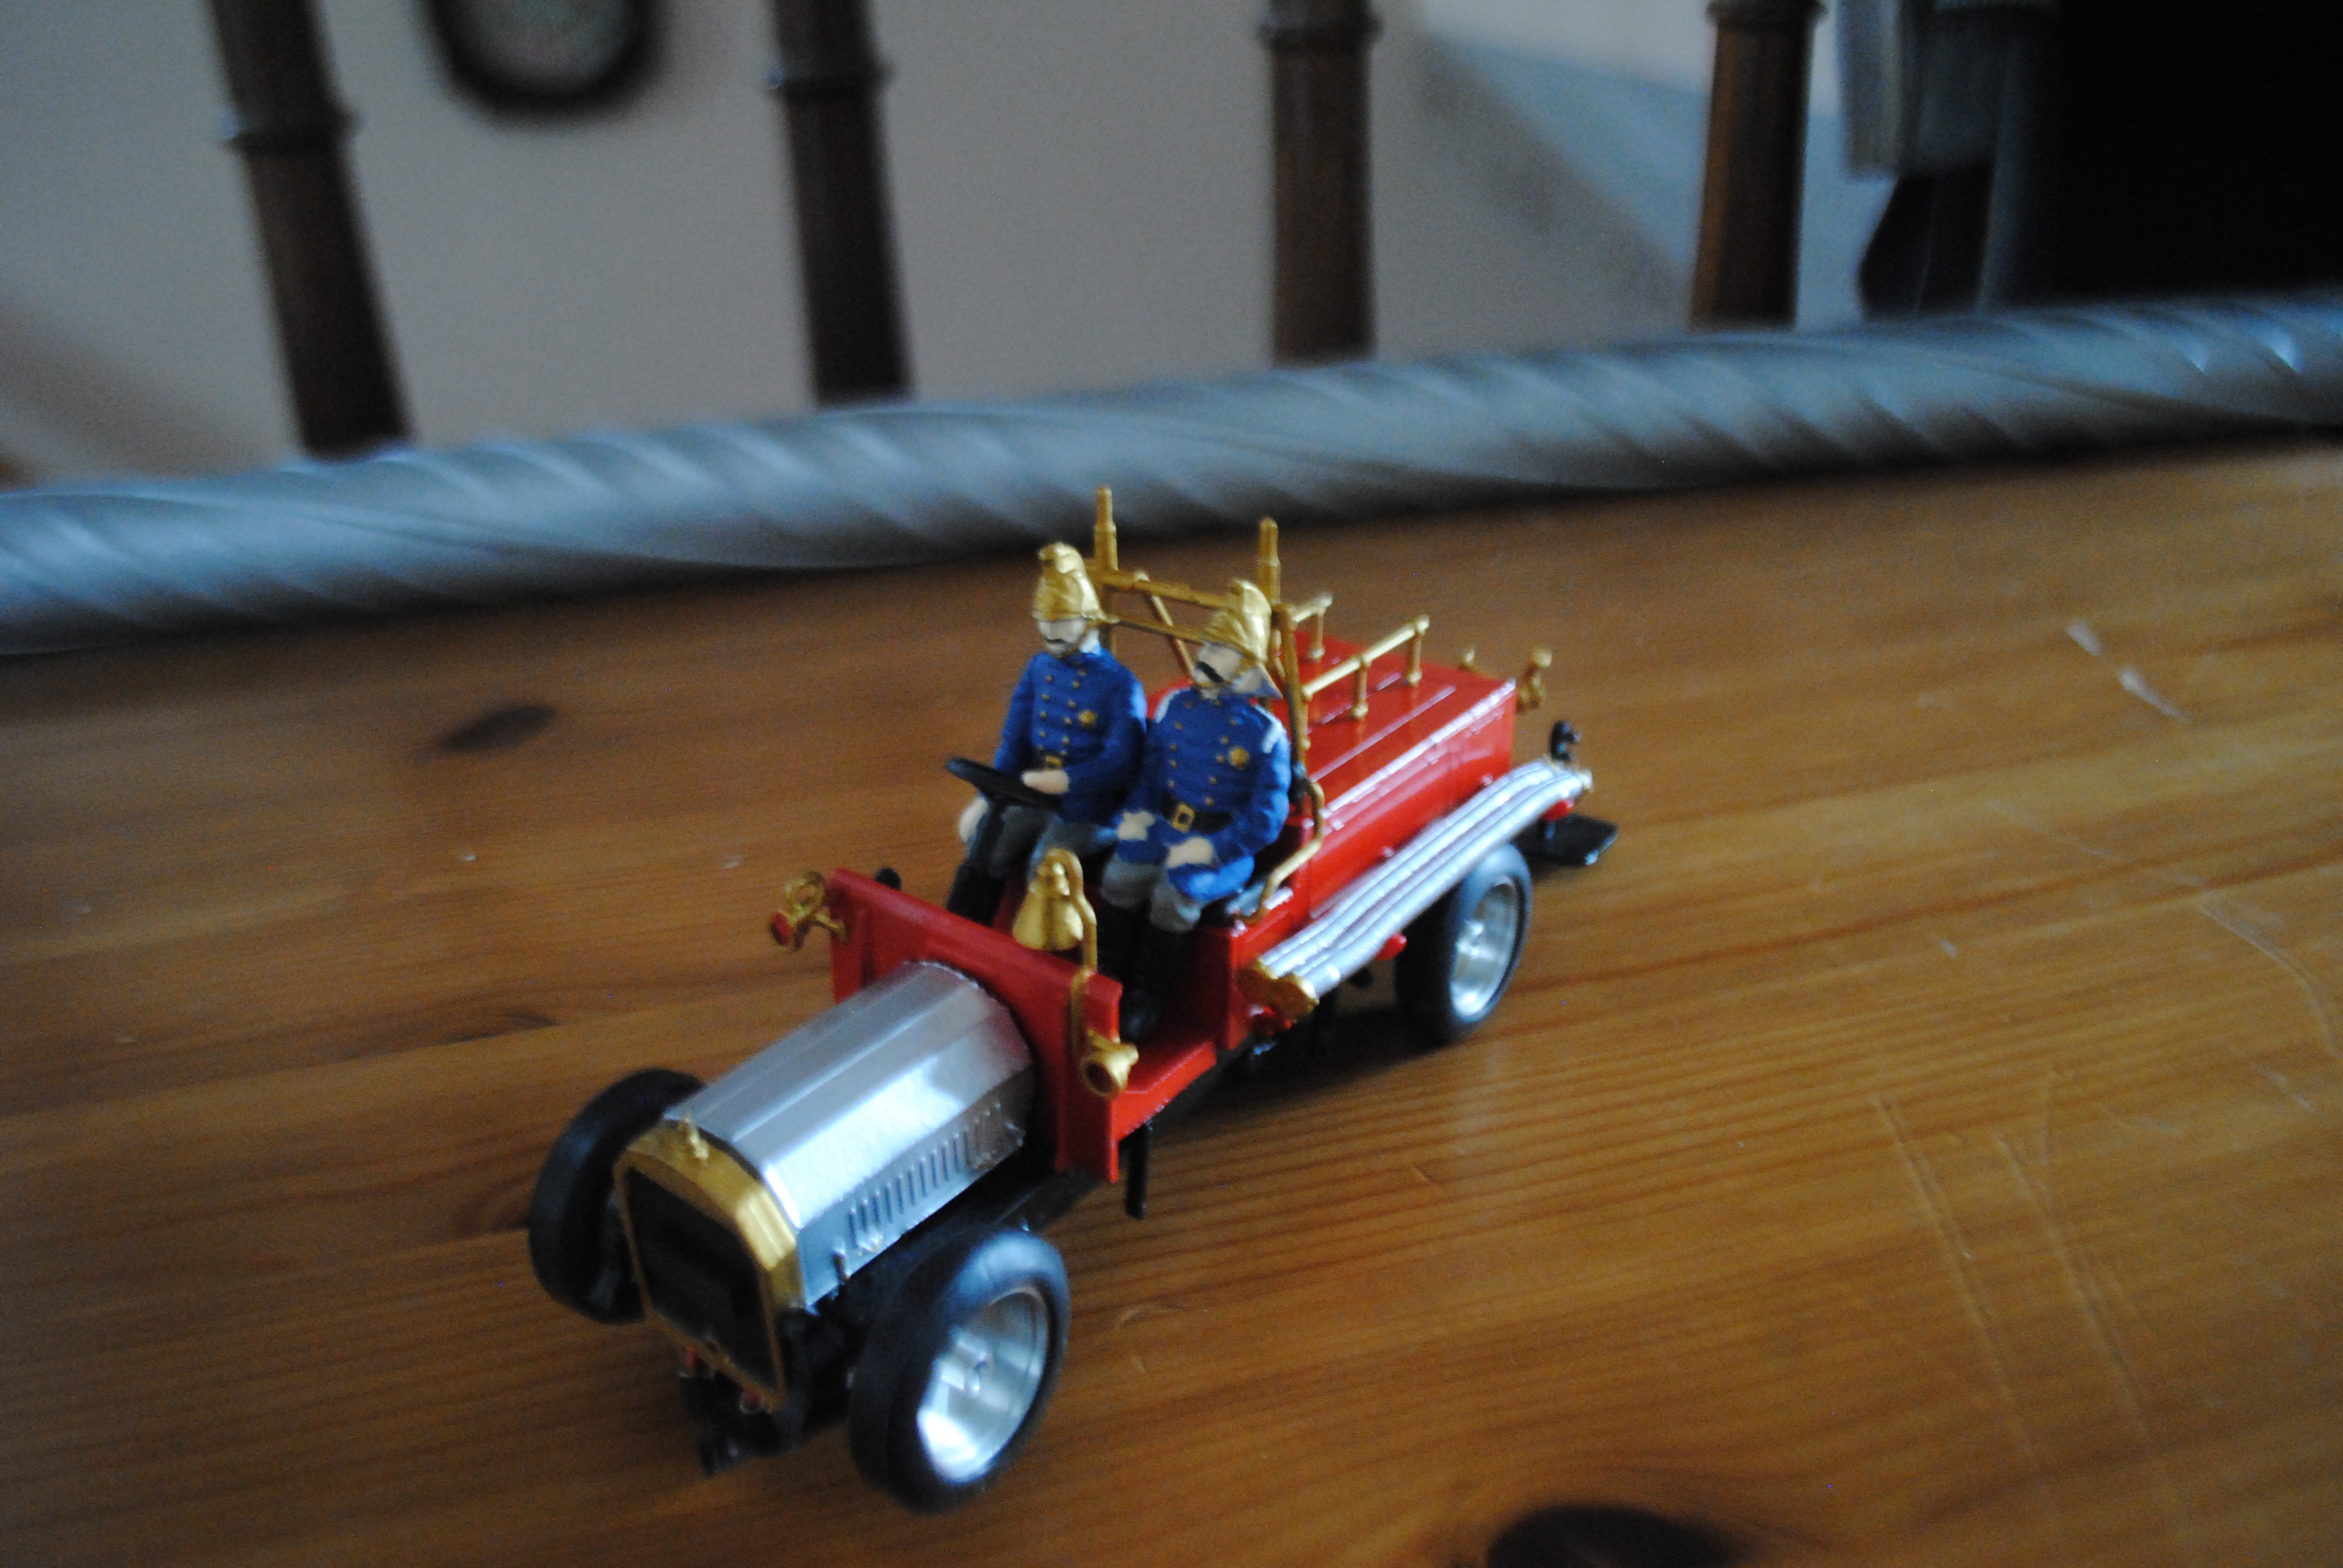
A couple of years ago I converted an Airfix 1910 Omnibus into a slot car and soon after I picked up the sister vehicle; a 1914 Dennis fire engine.

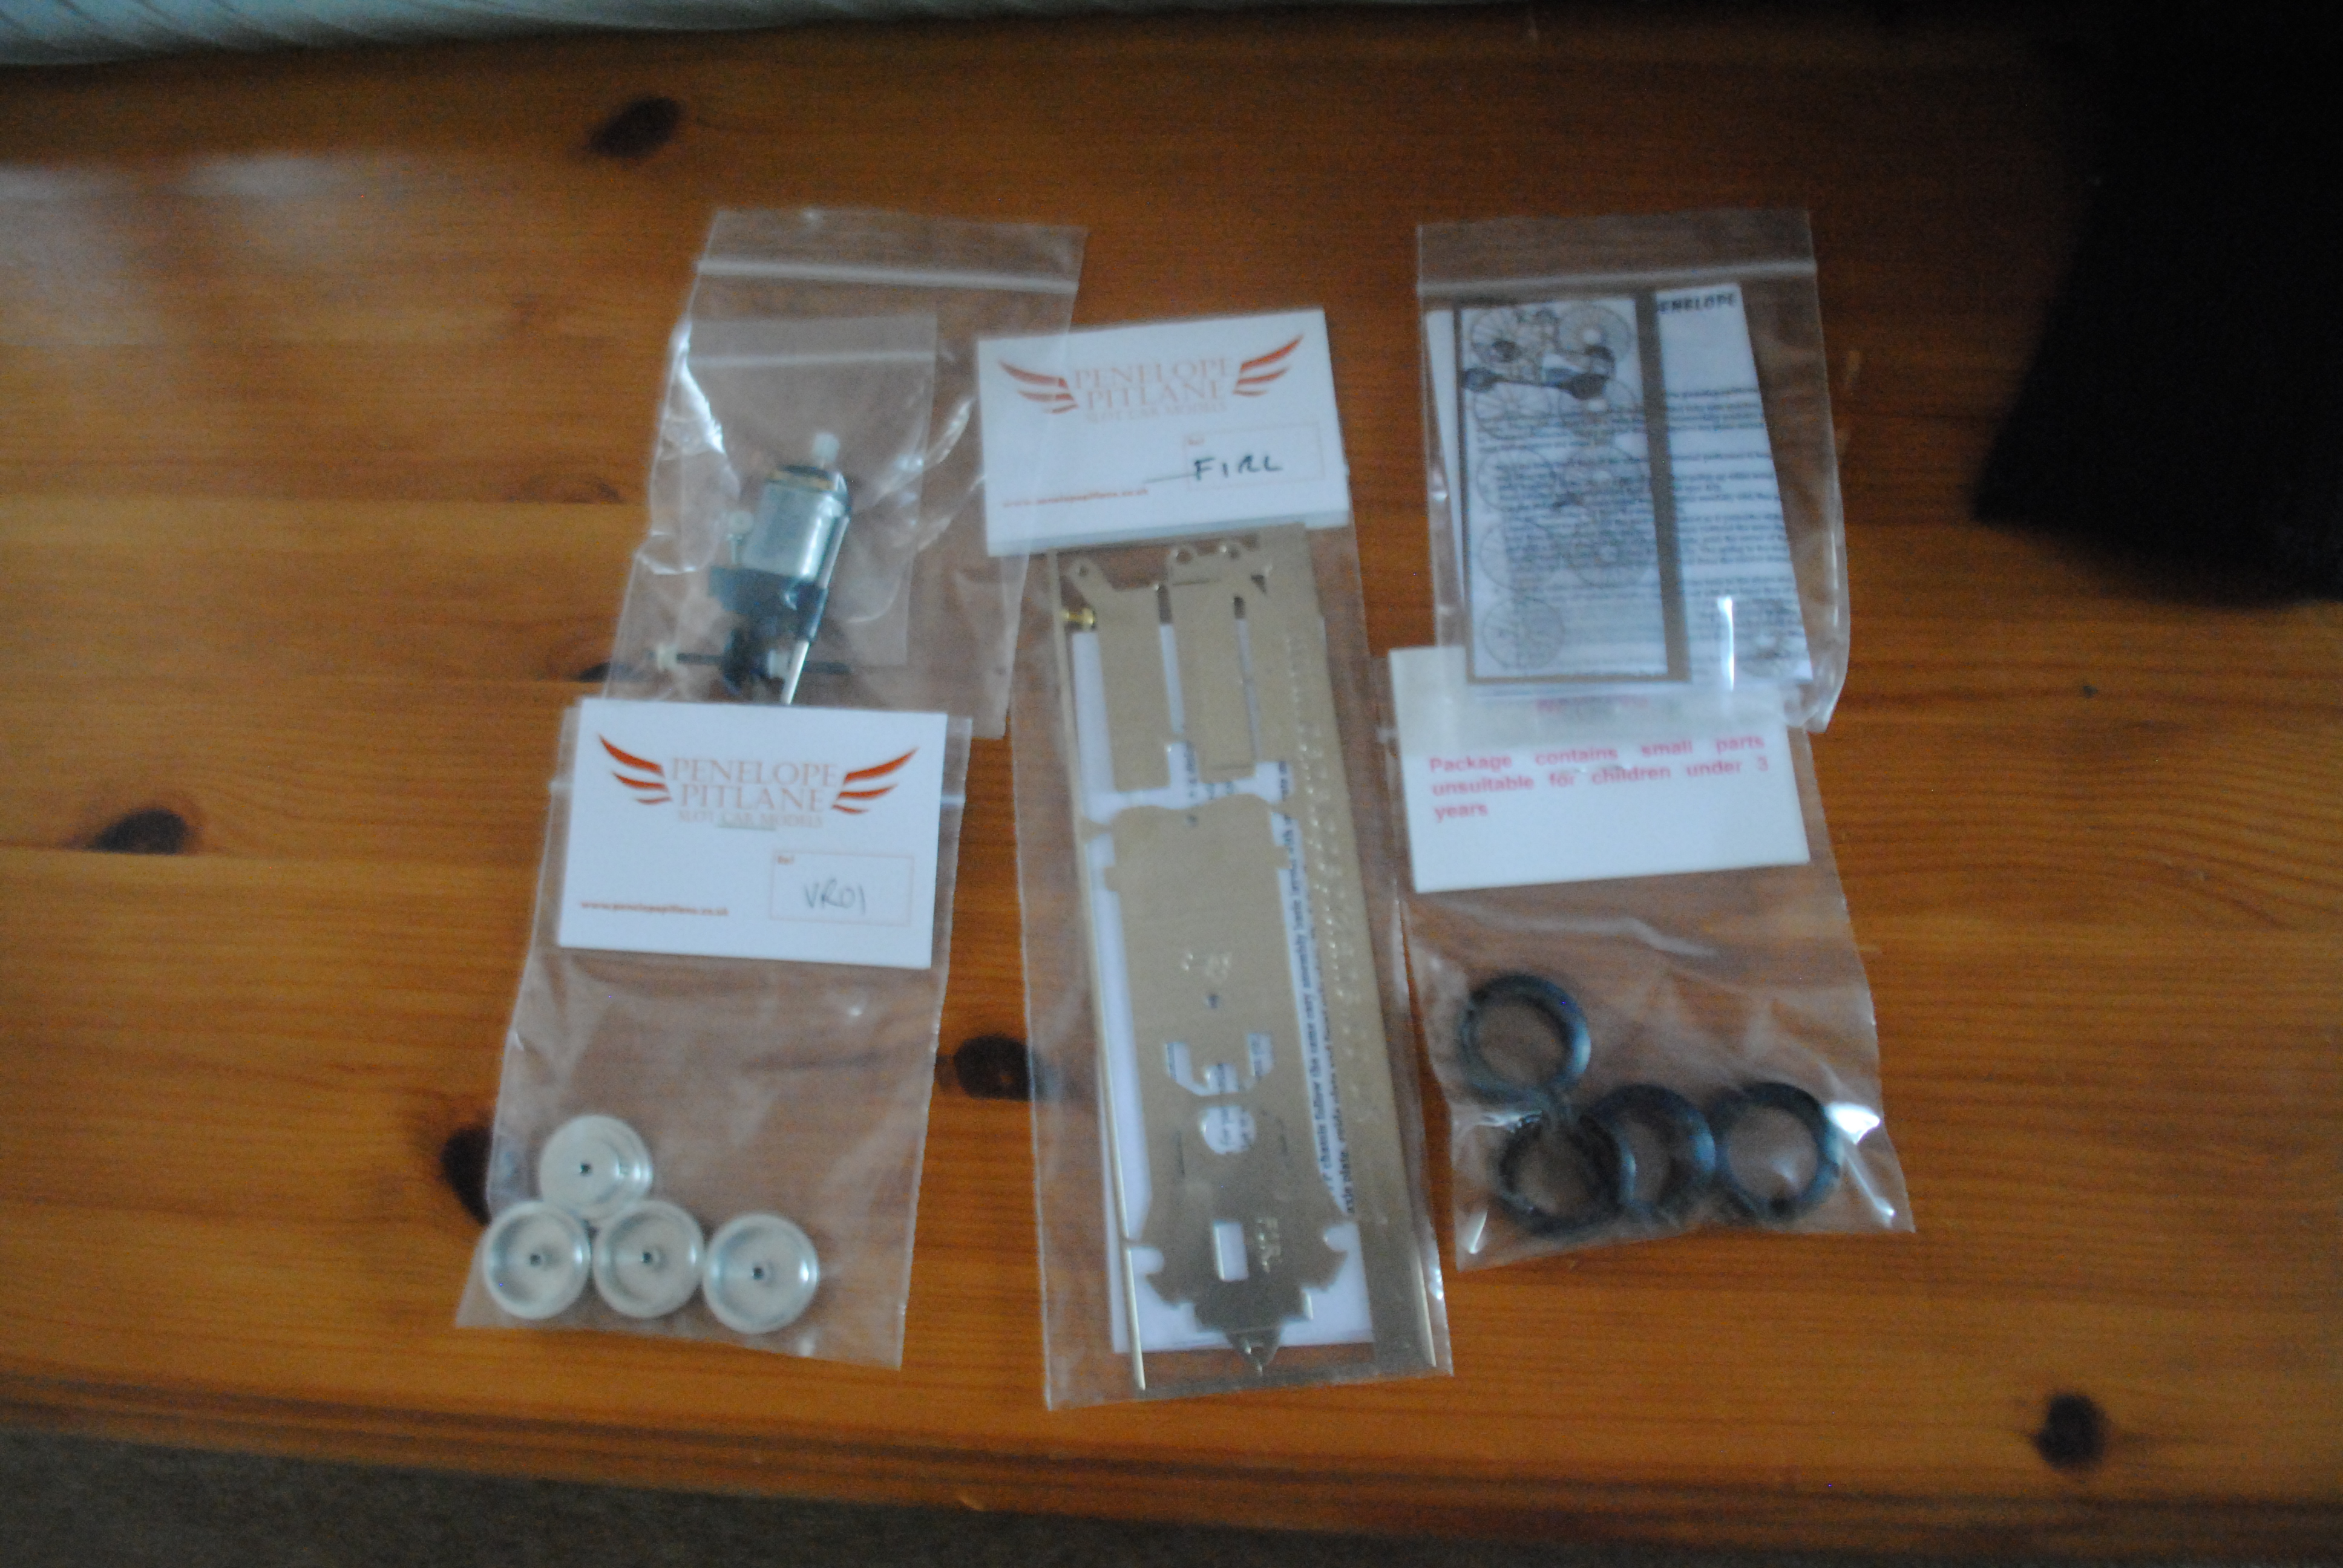
It sat for a while but eventually I picked up a Penelope Pitlane chassis and running gear for it.
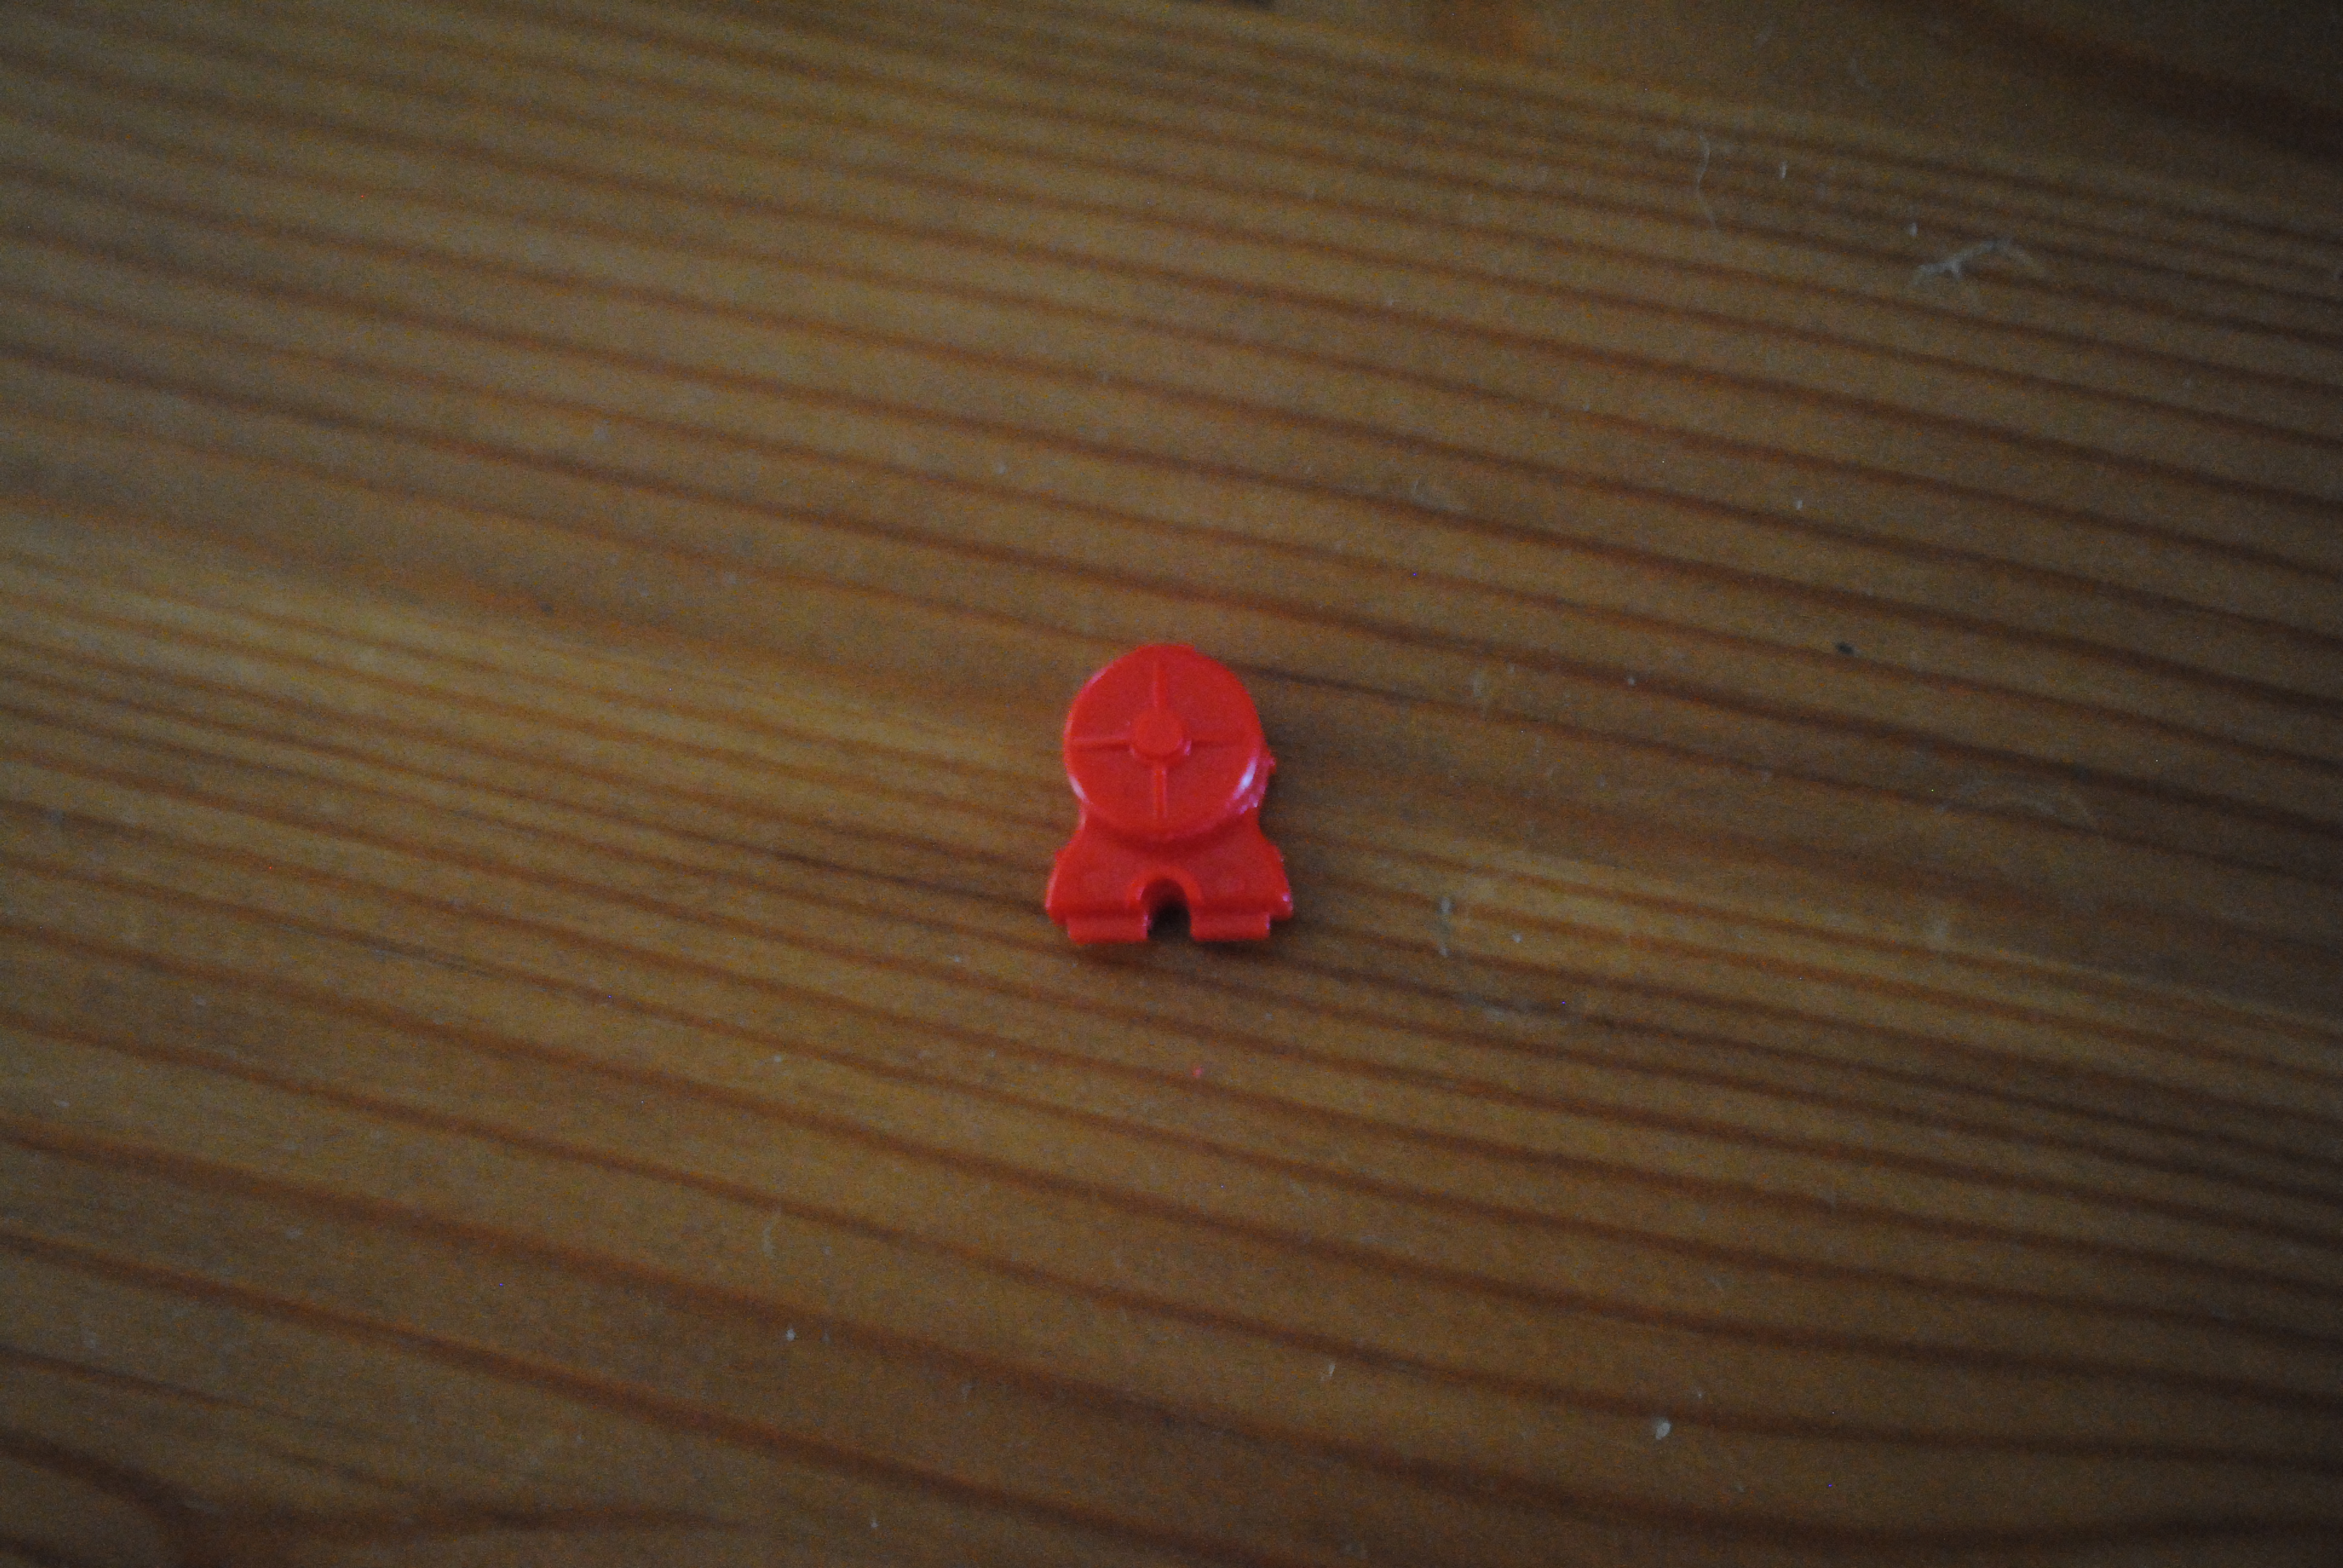
As with the bus, I decided to paint the people first. I like painting people!
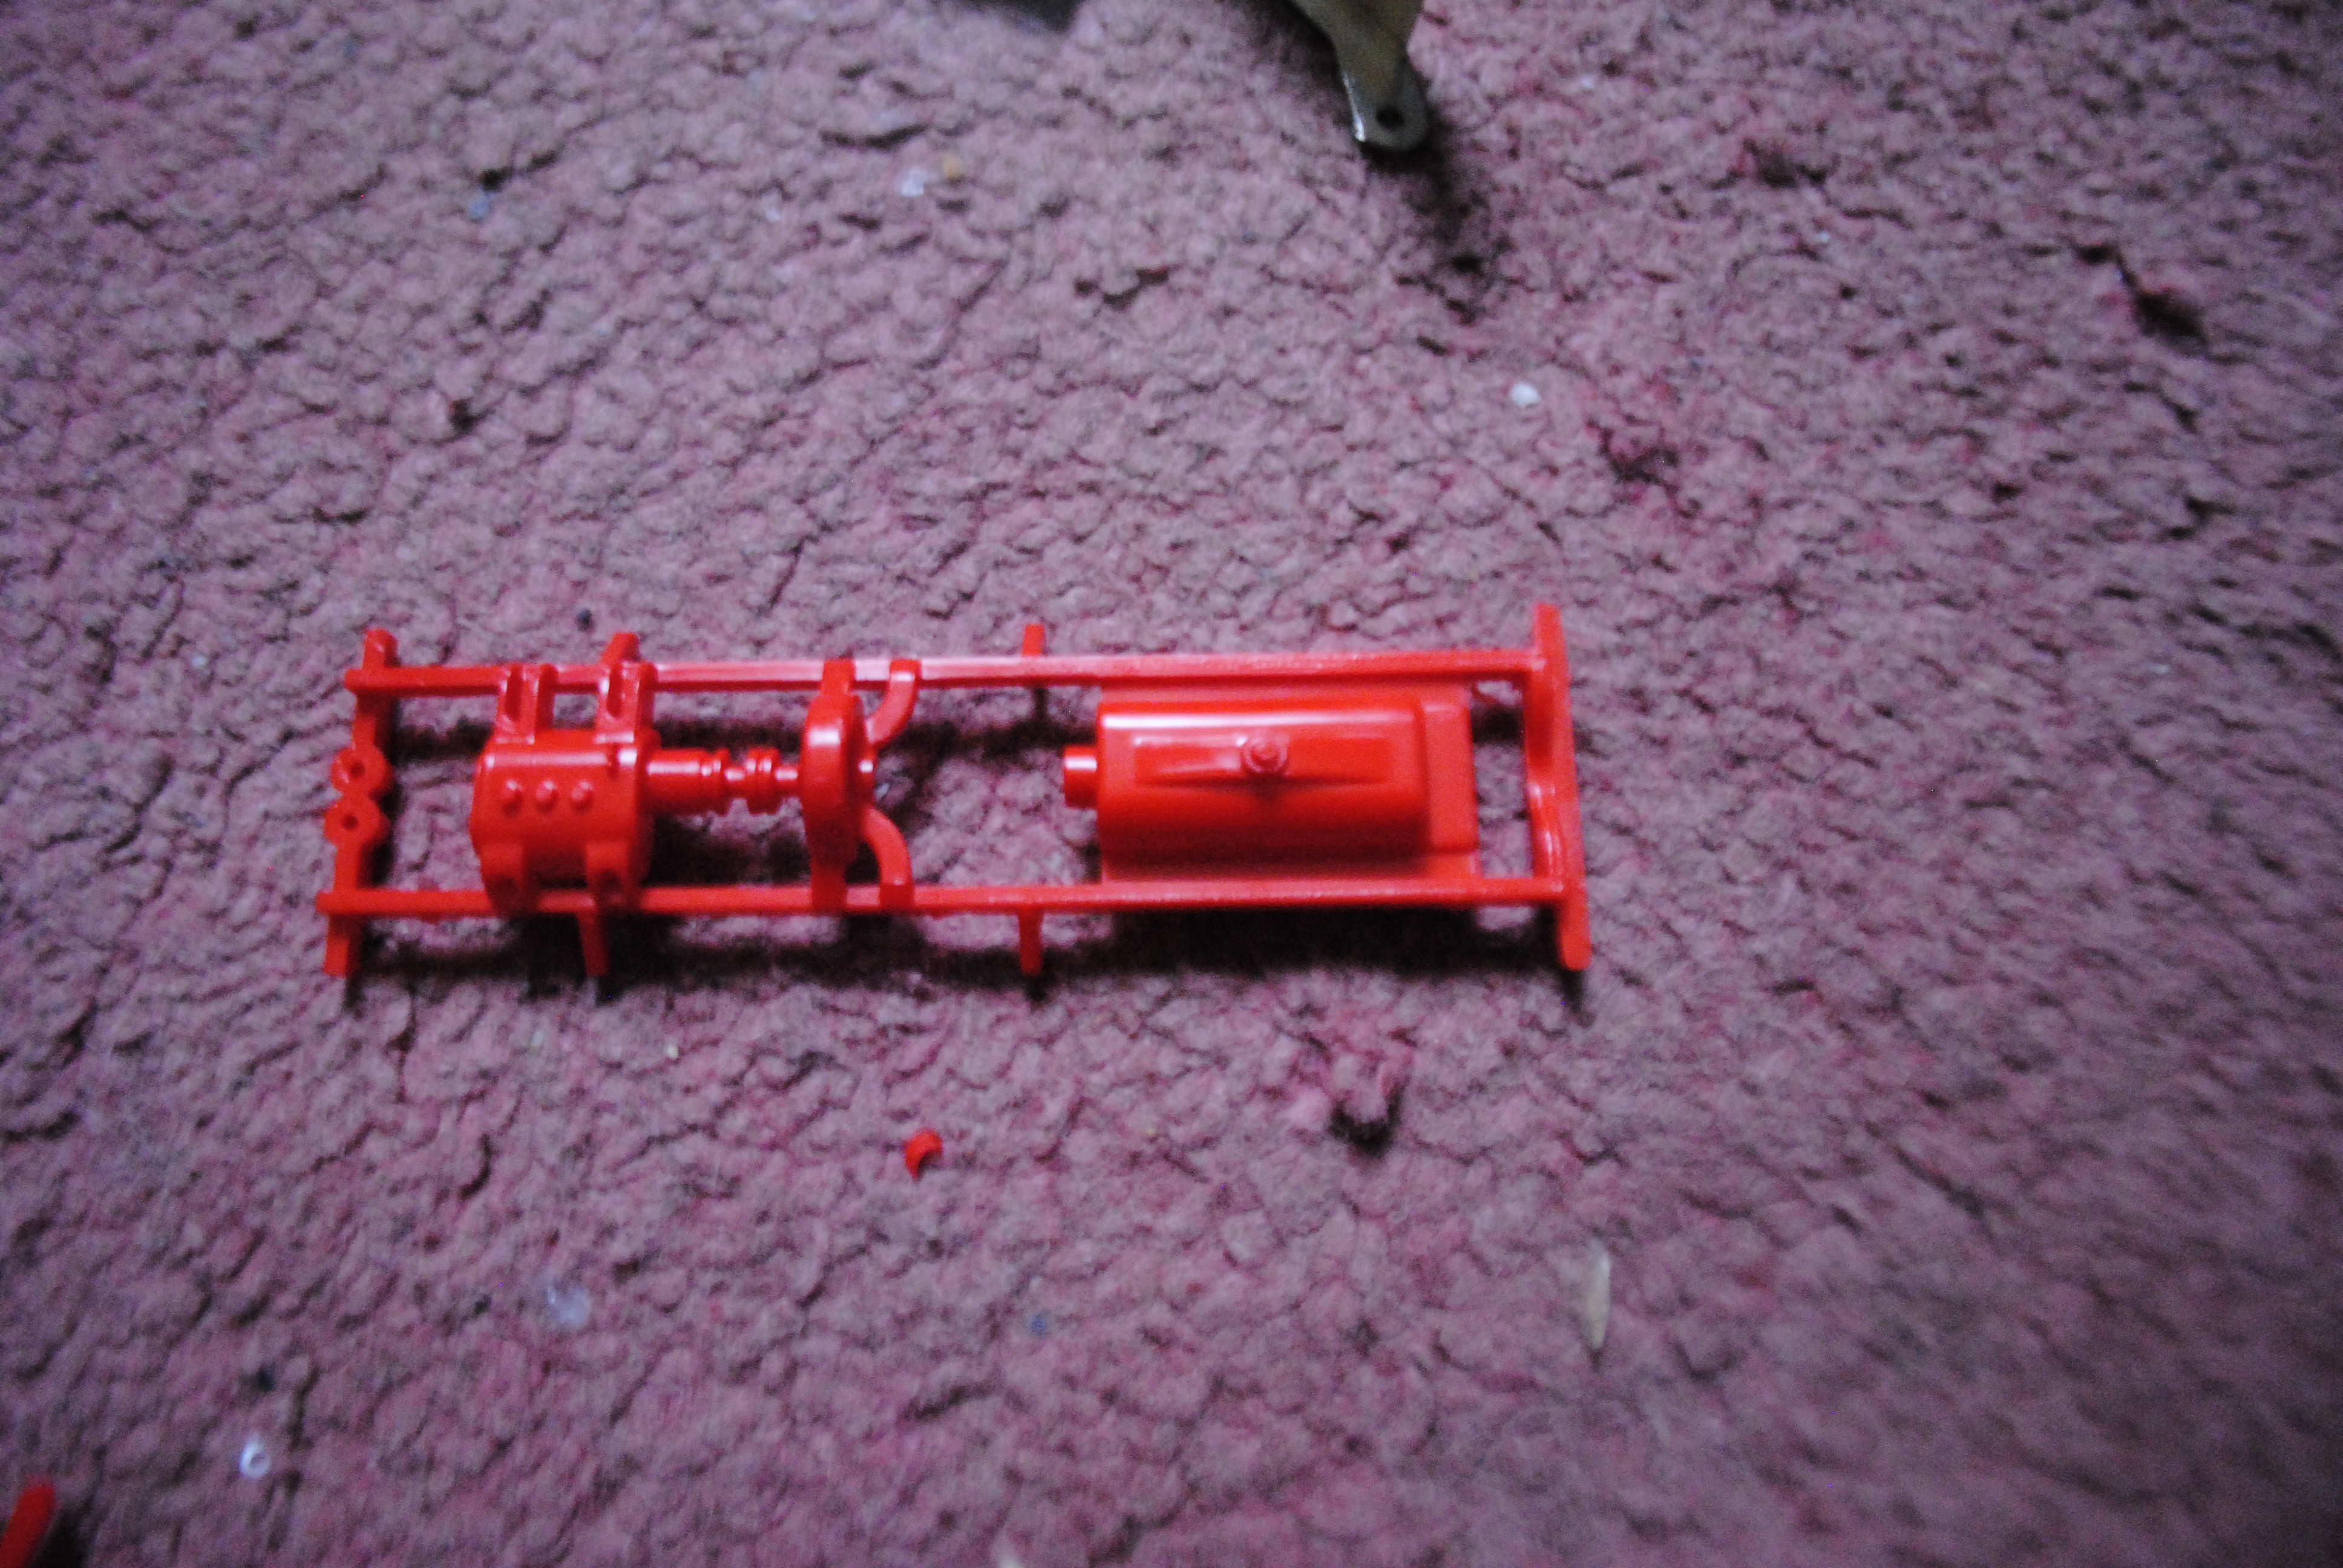
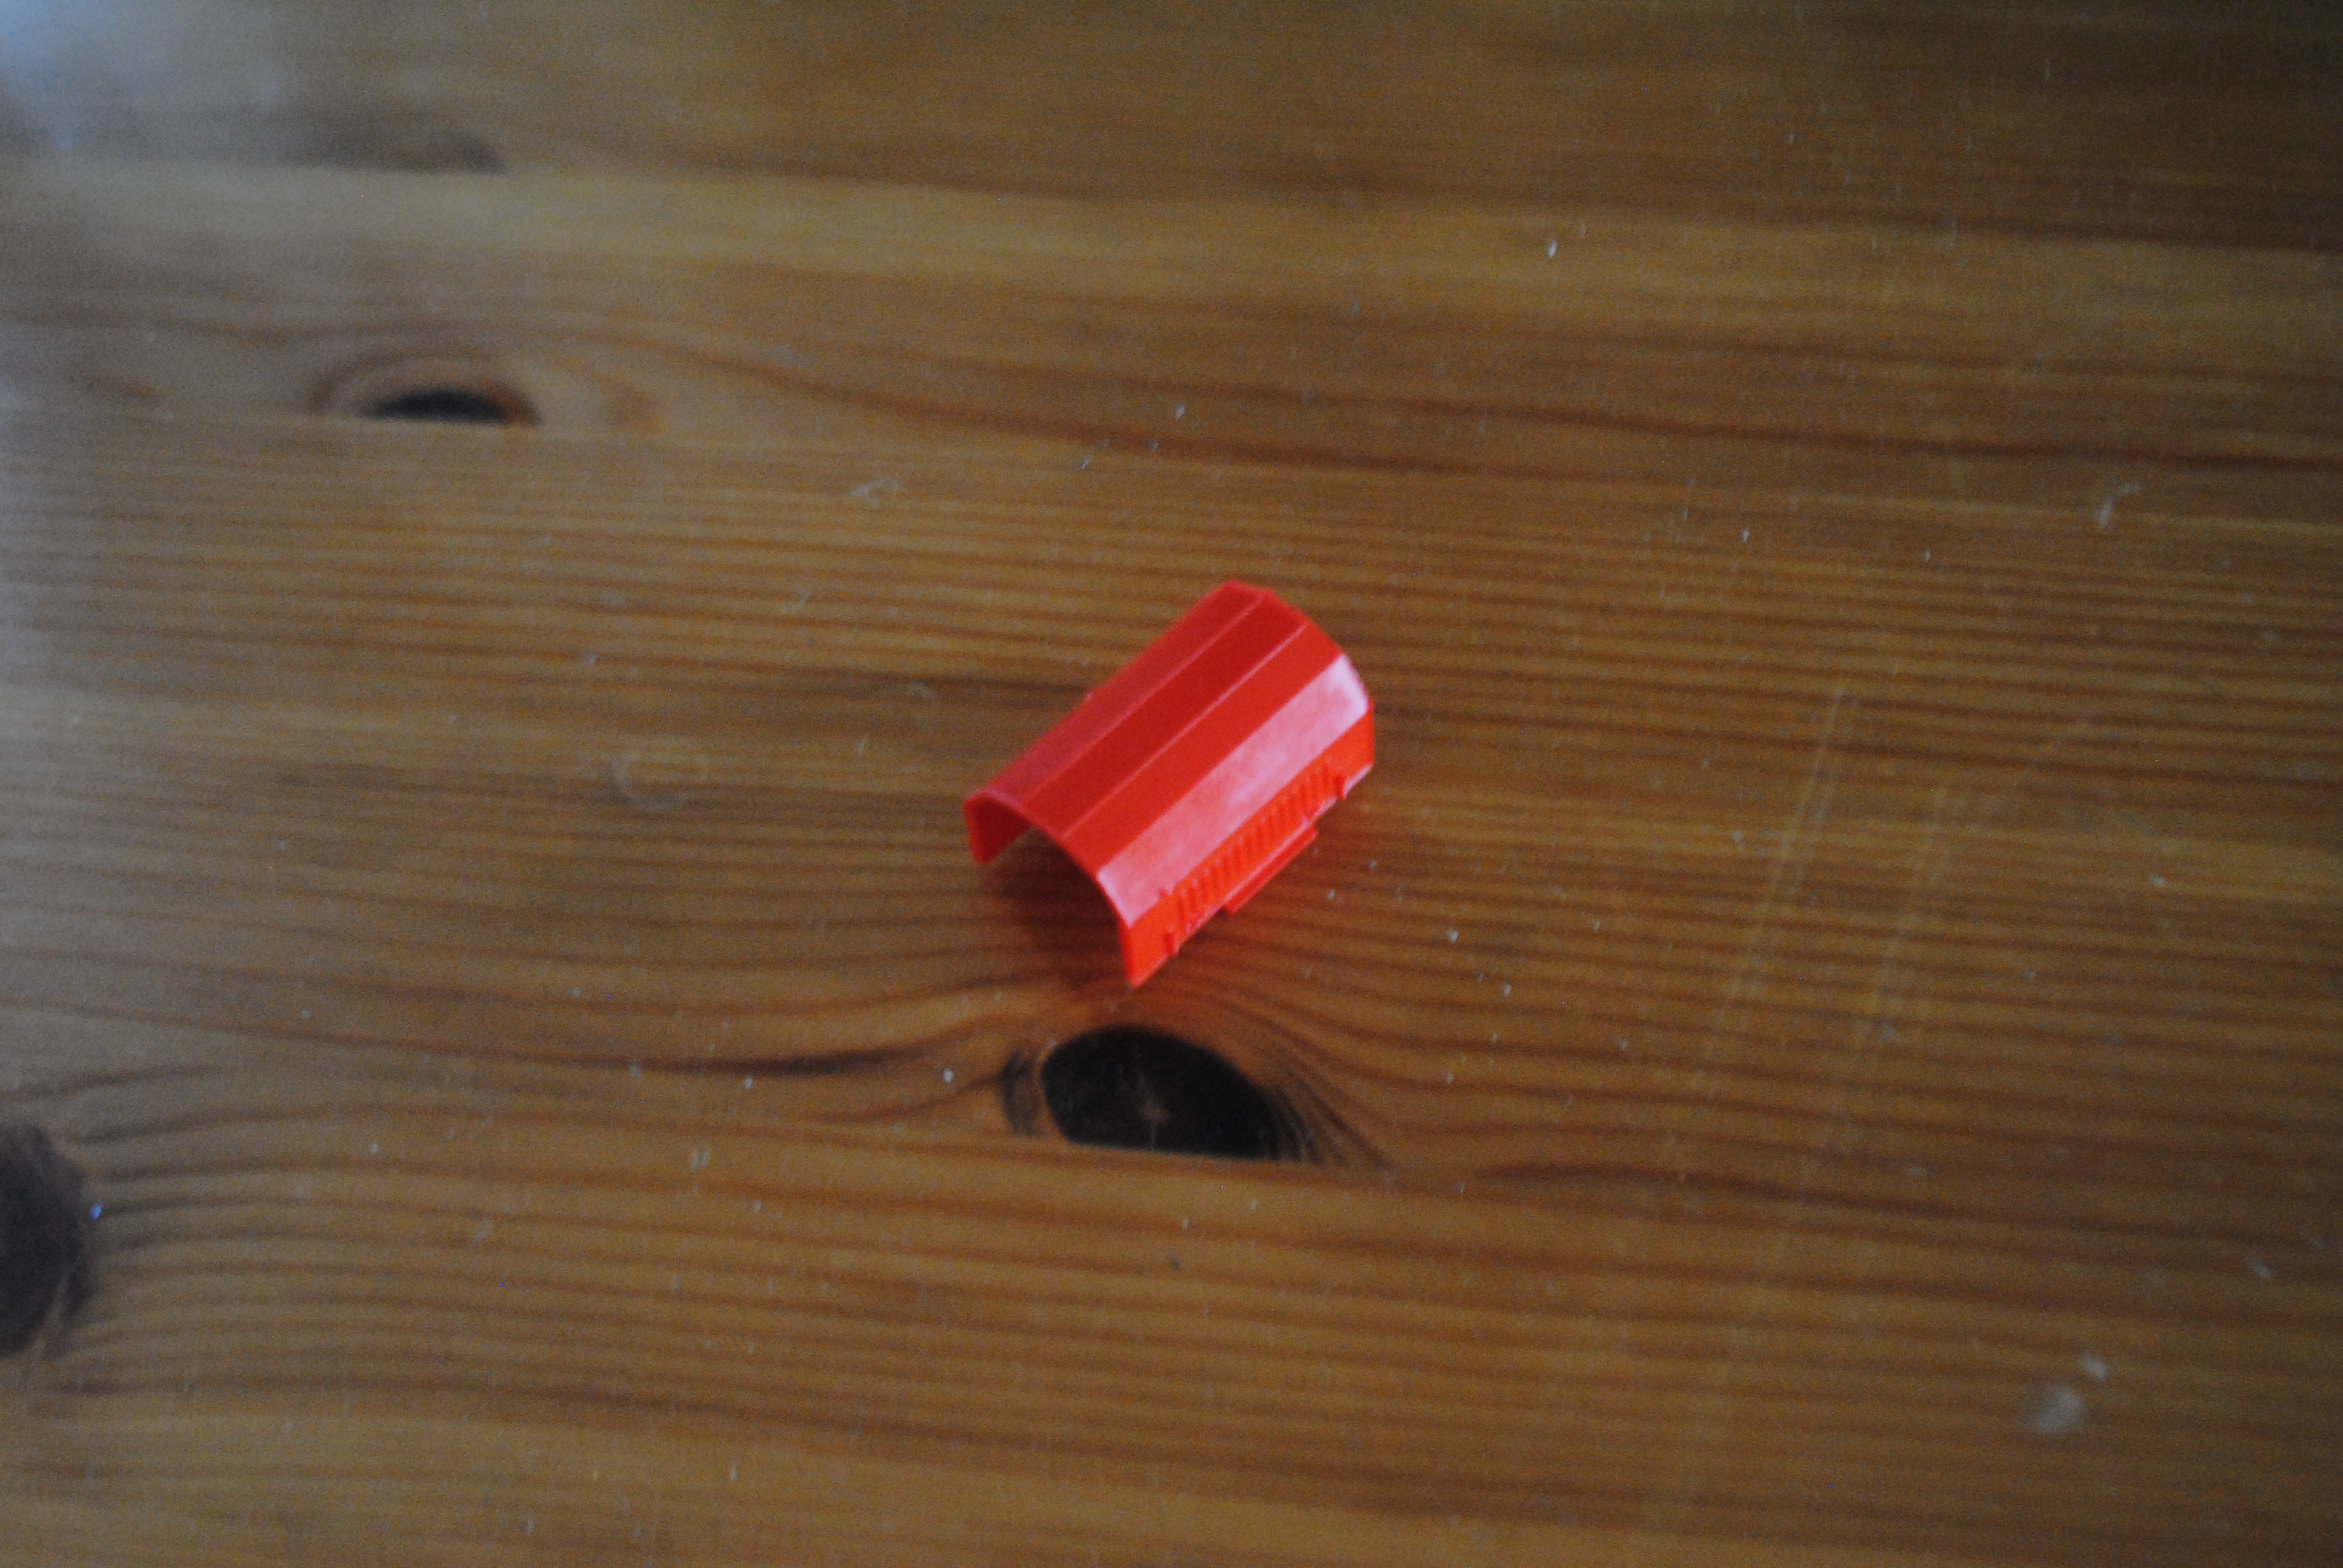
Airfix tend to cast their people as single piece models. They come in the same red plastic as the rest of the sprues.

*clicks fingers*
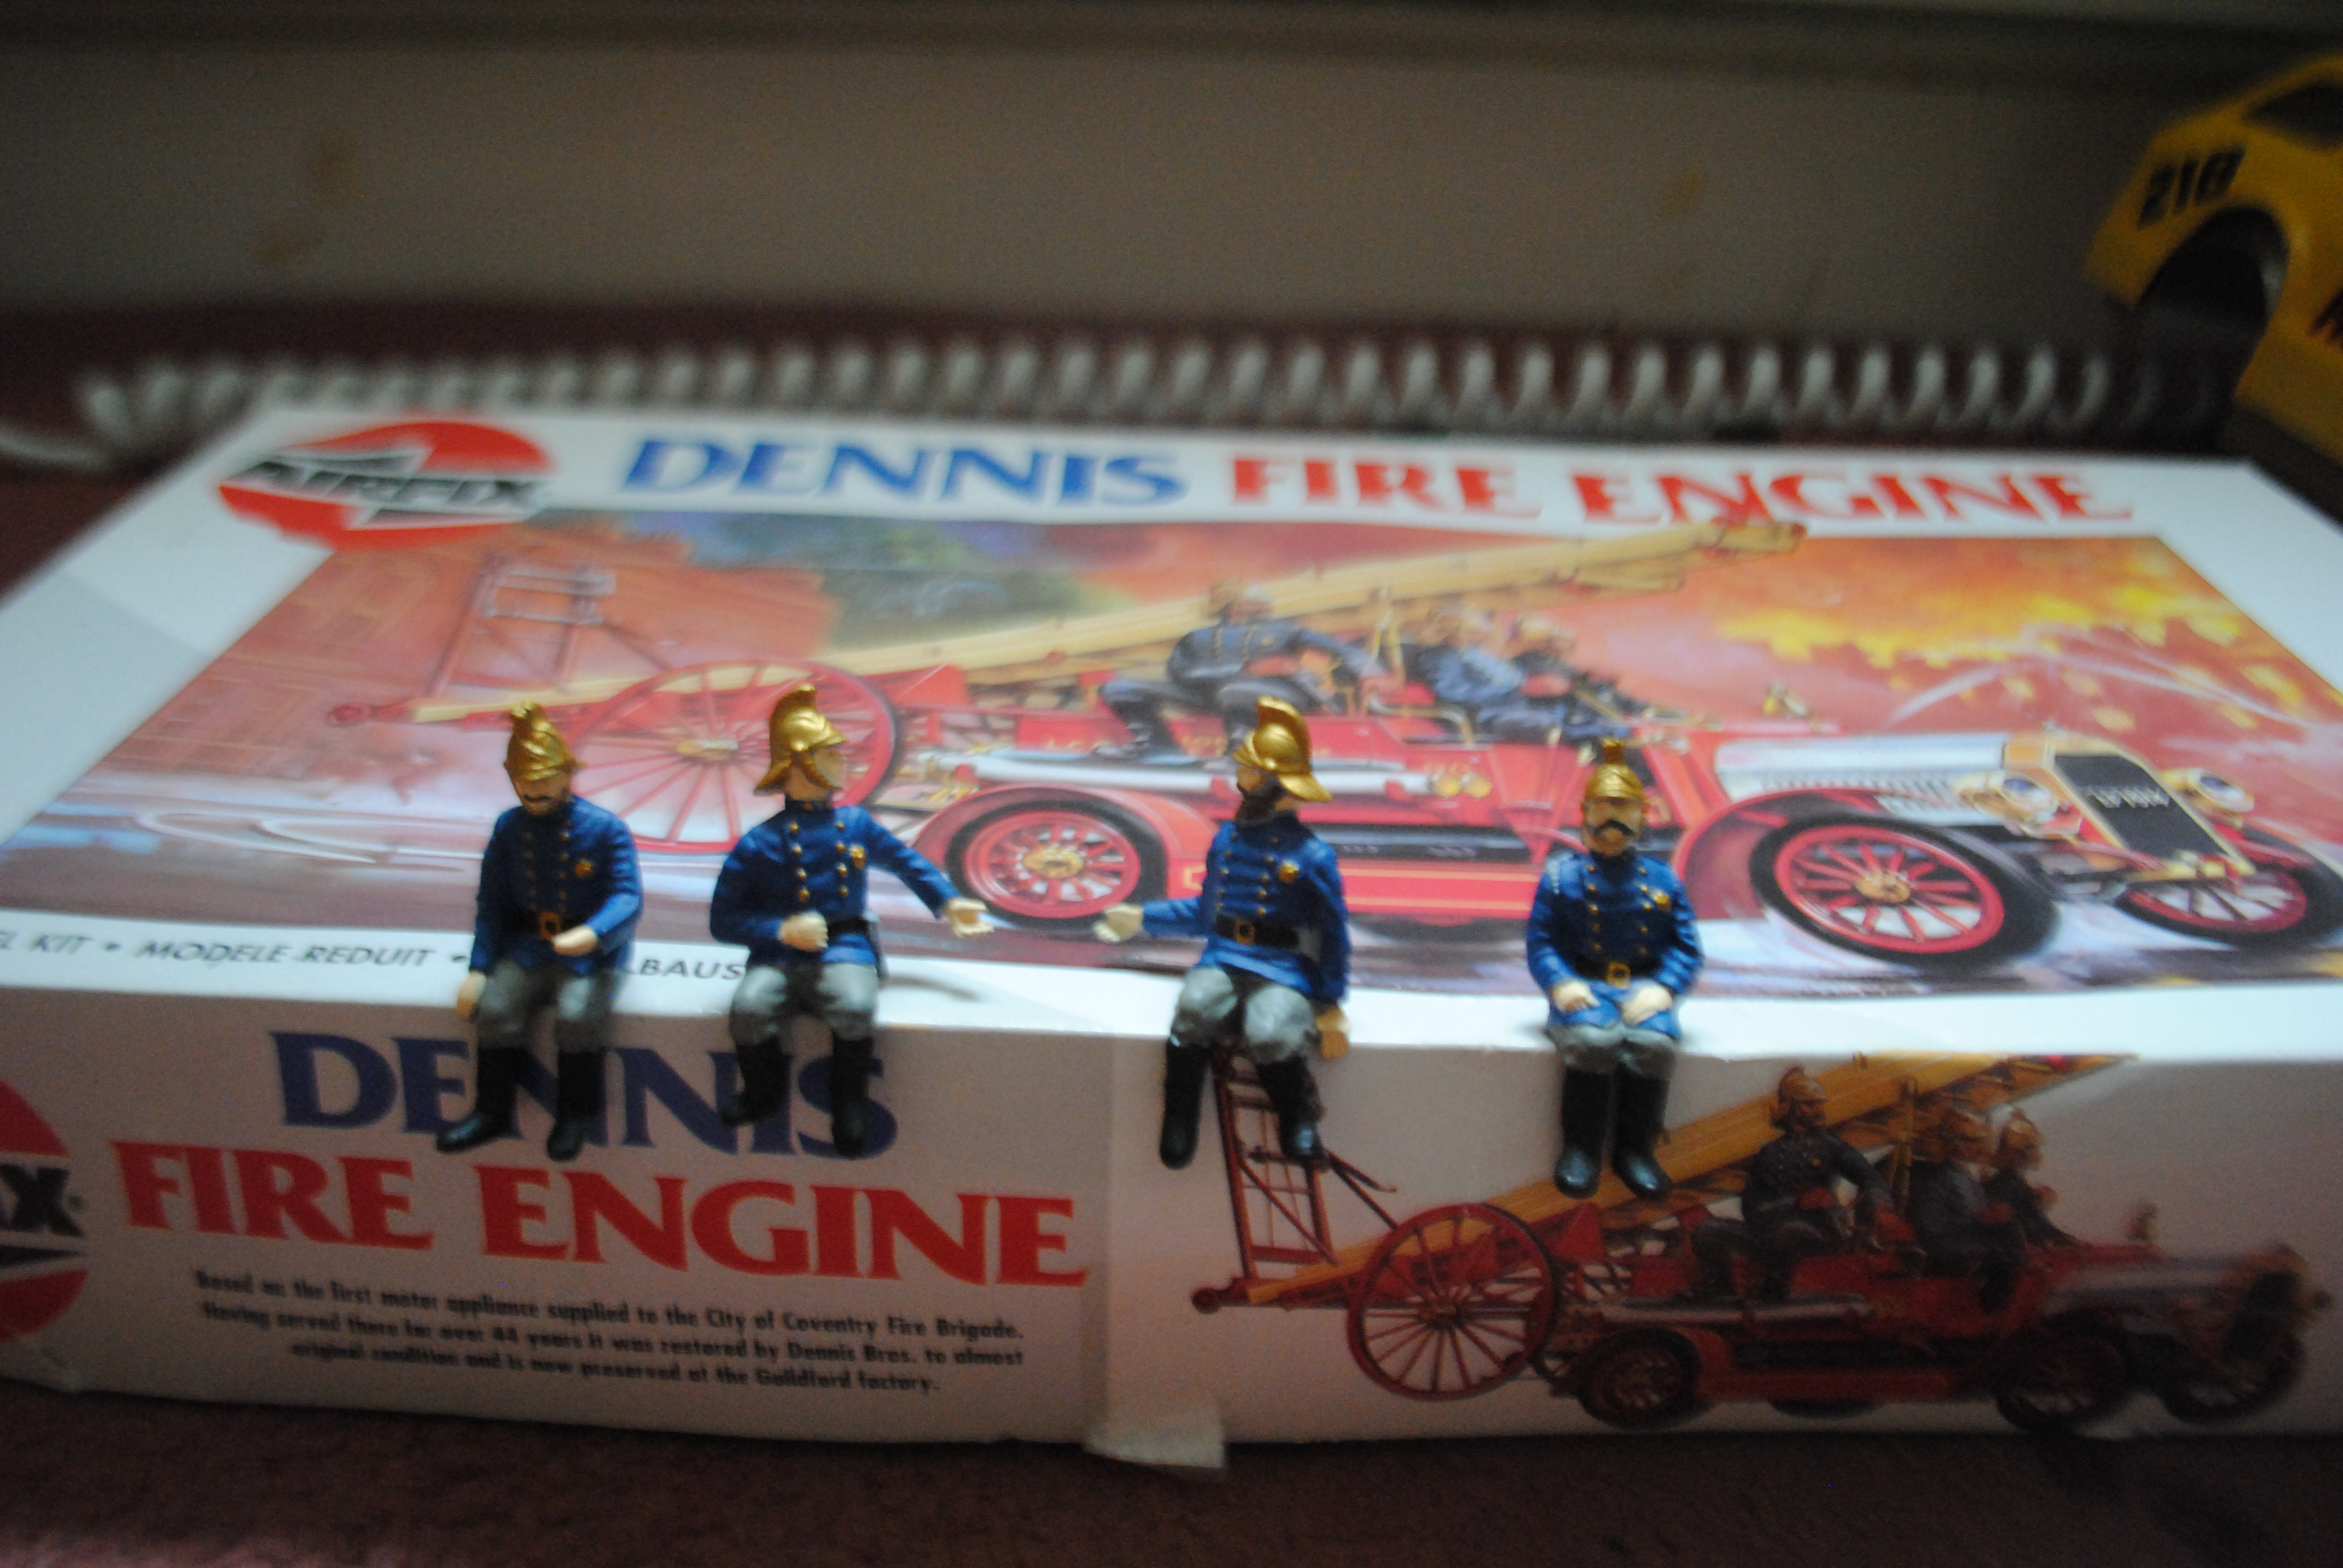
Done! Airfix kits tend to be made out of quite soft plastic so you will have to use a primer before painting. I tend to use the Halfords primer; it’s not the most expensive on the market but it sprays really nicely and gives a nice texture for the paint to stick to. I used Vallejo paint to actually cover the models.
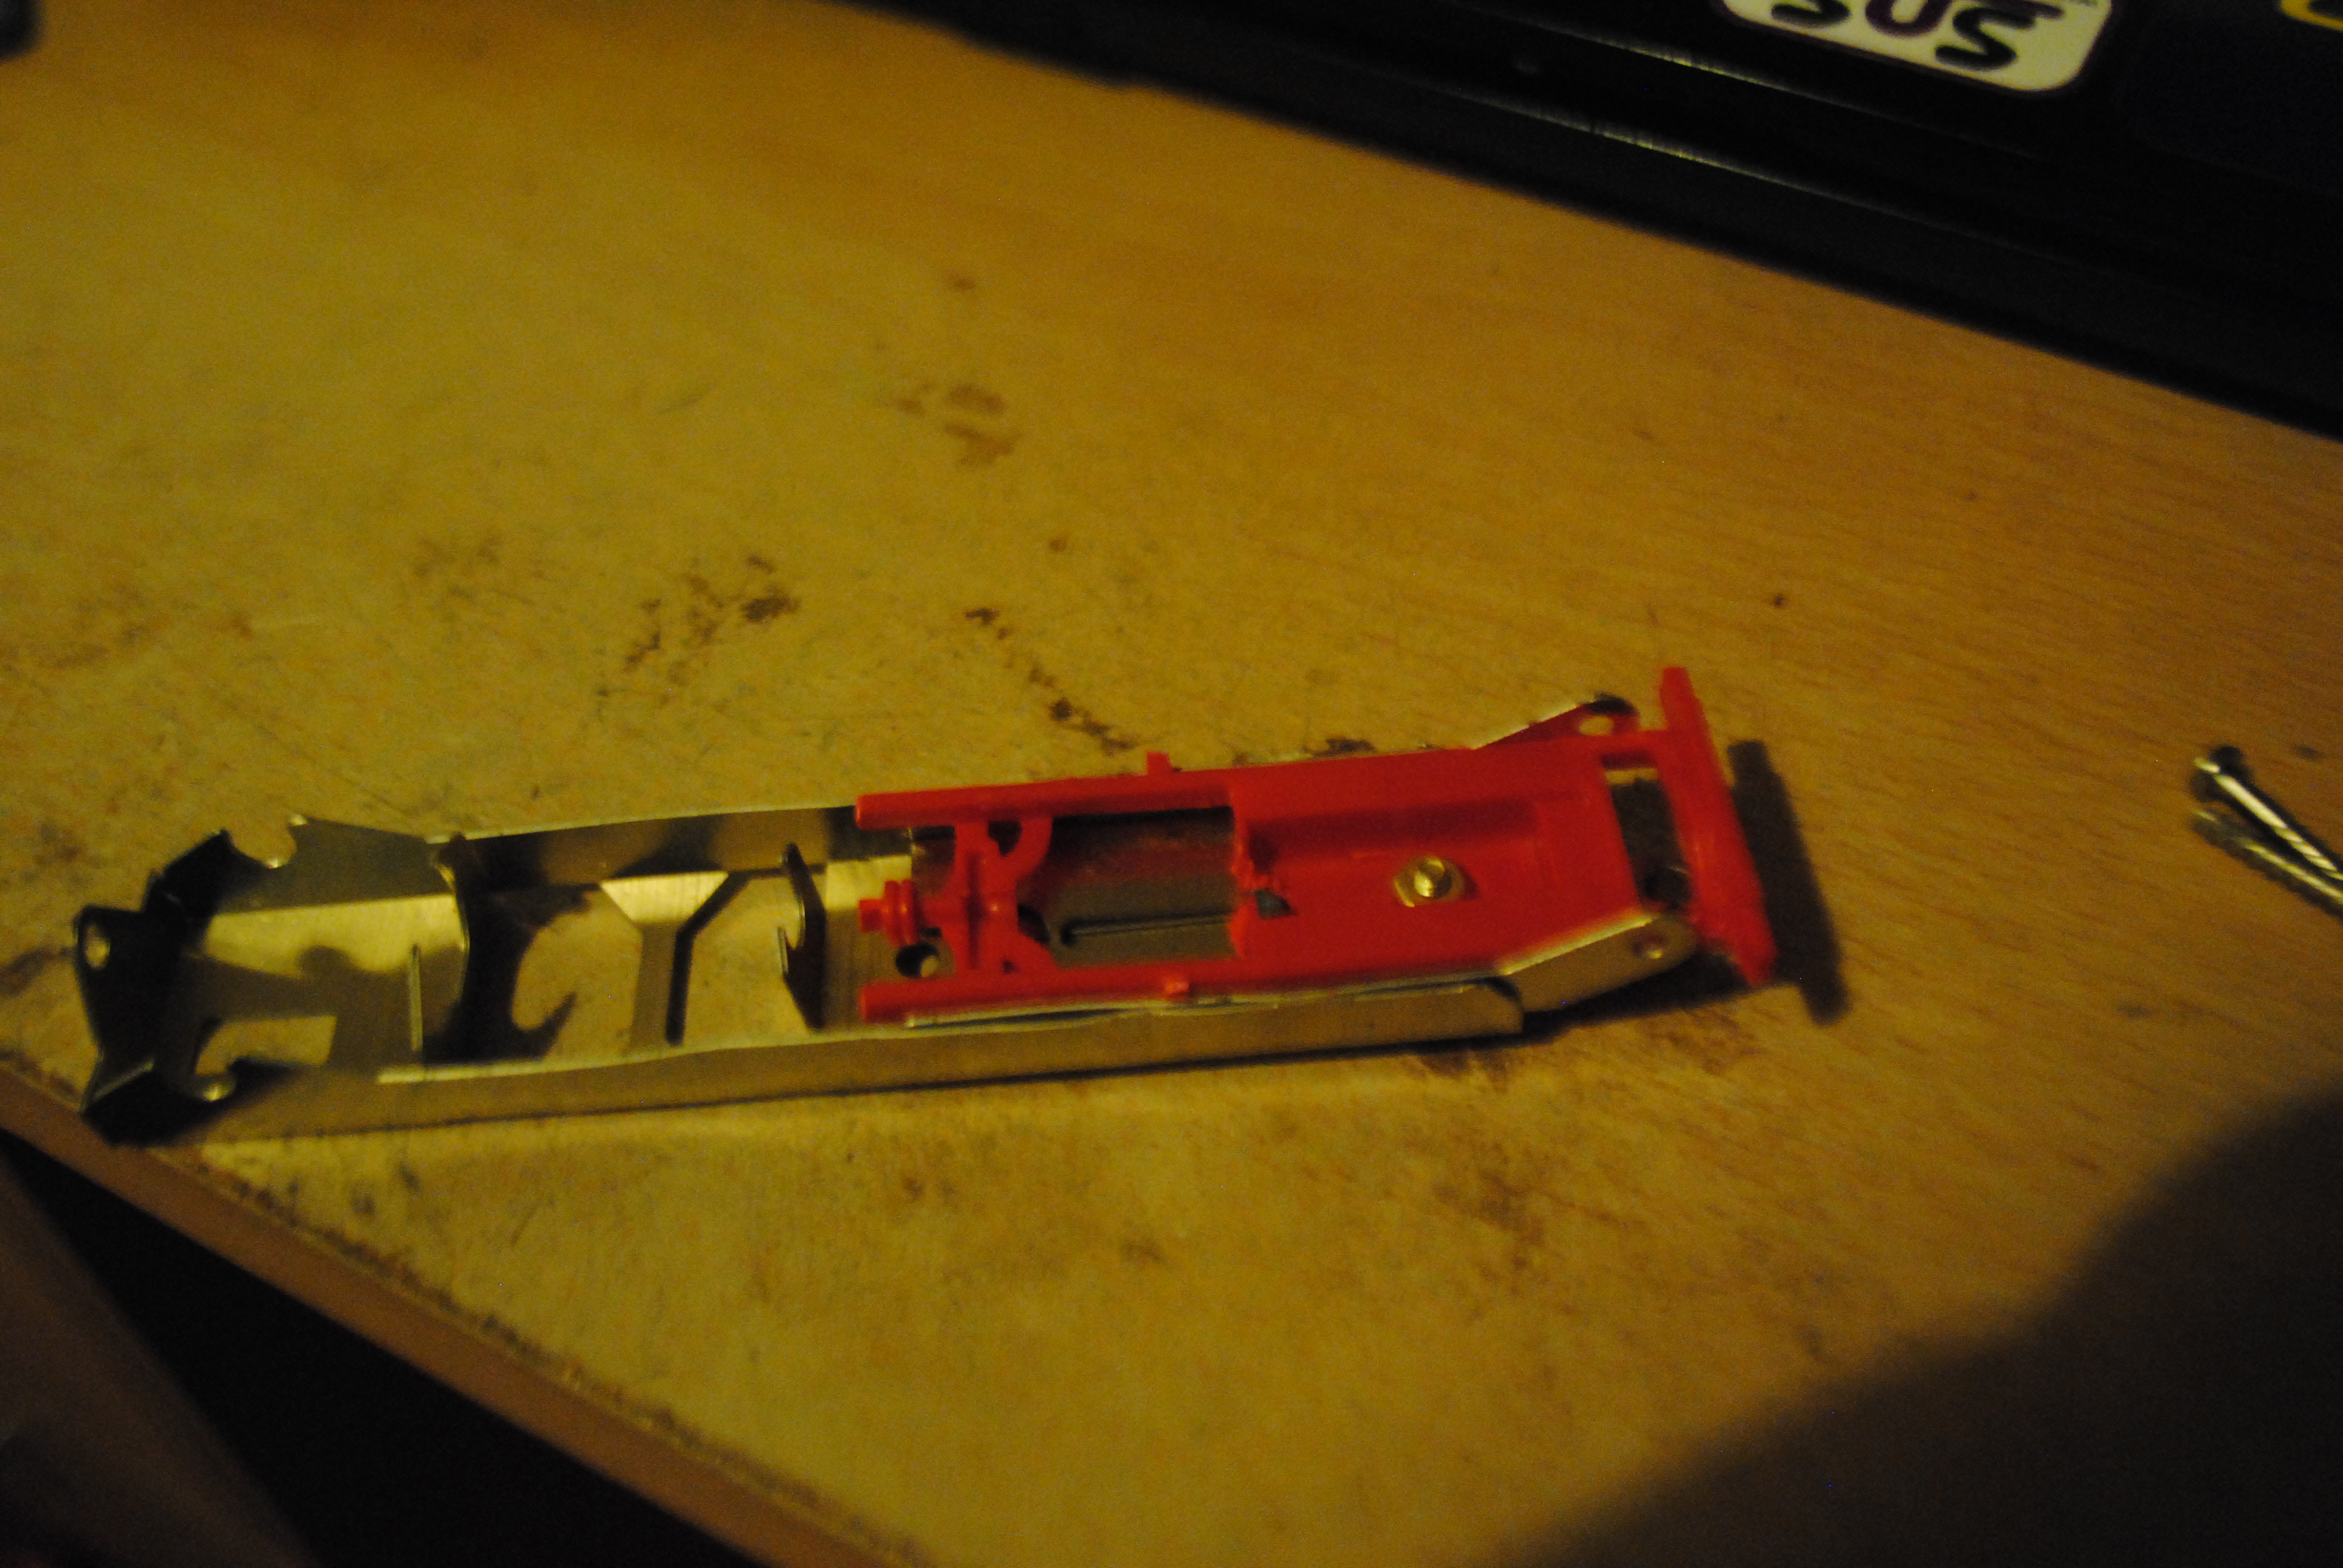
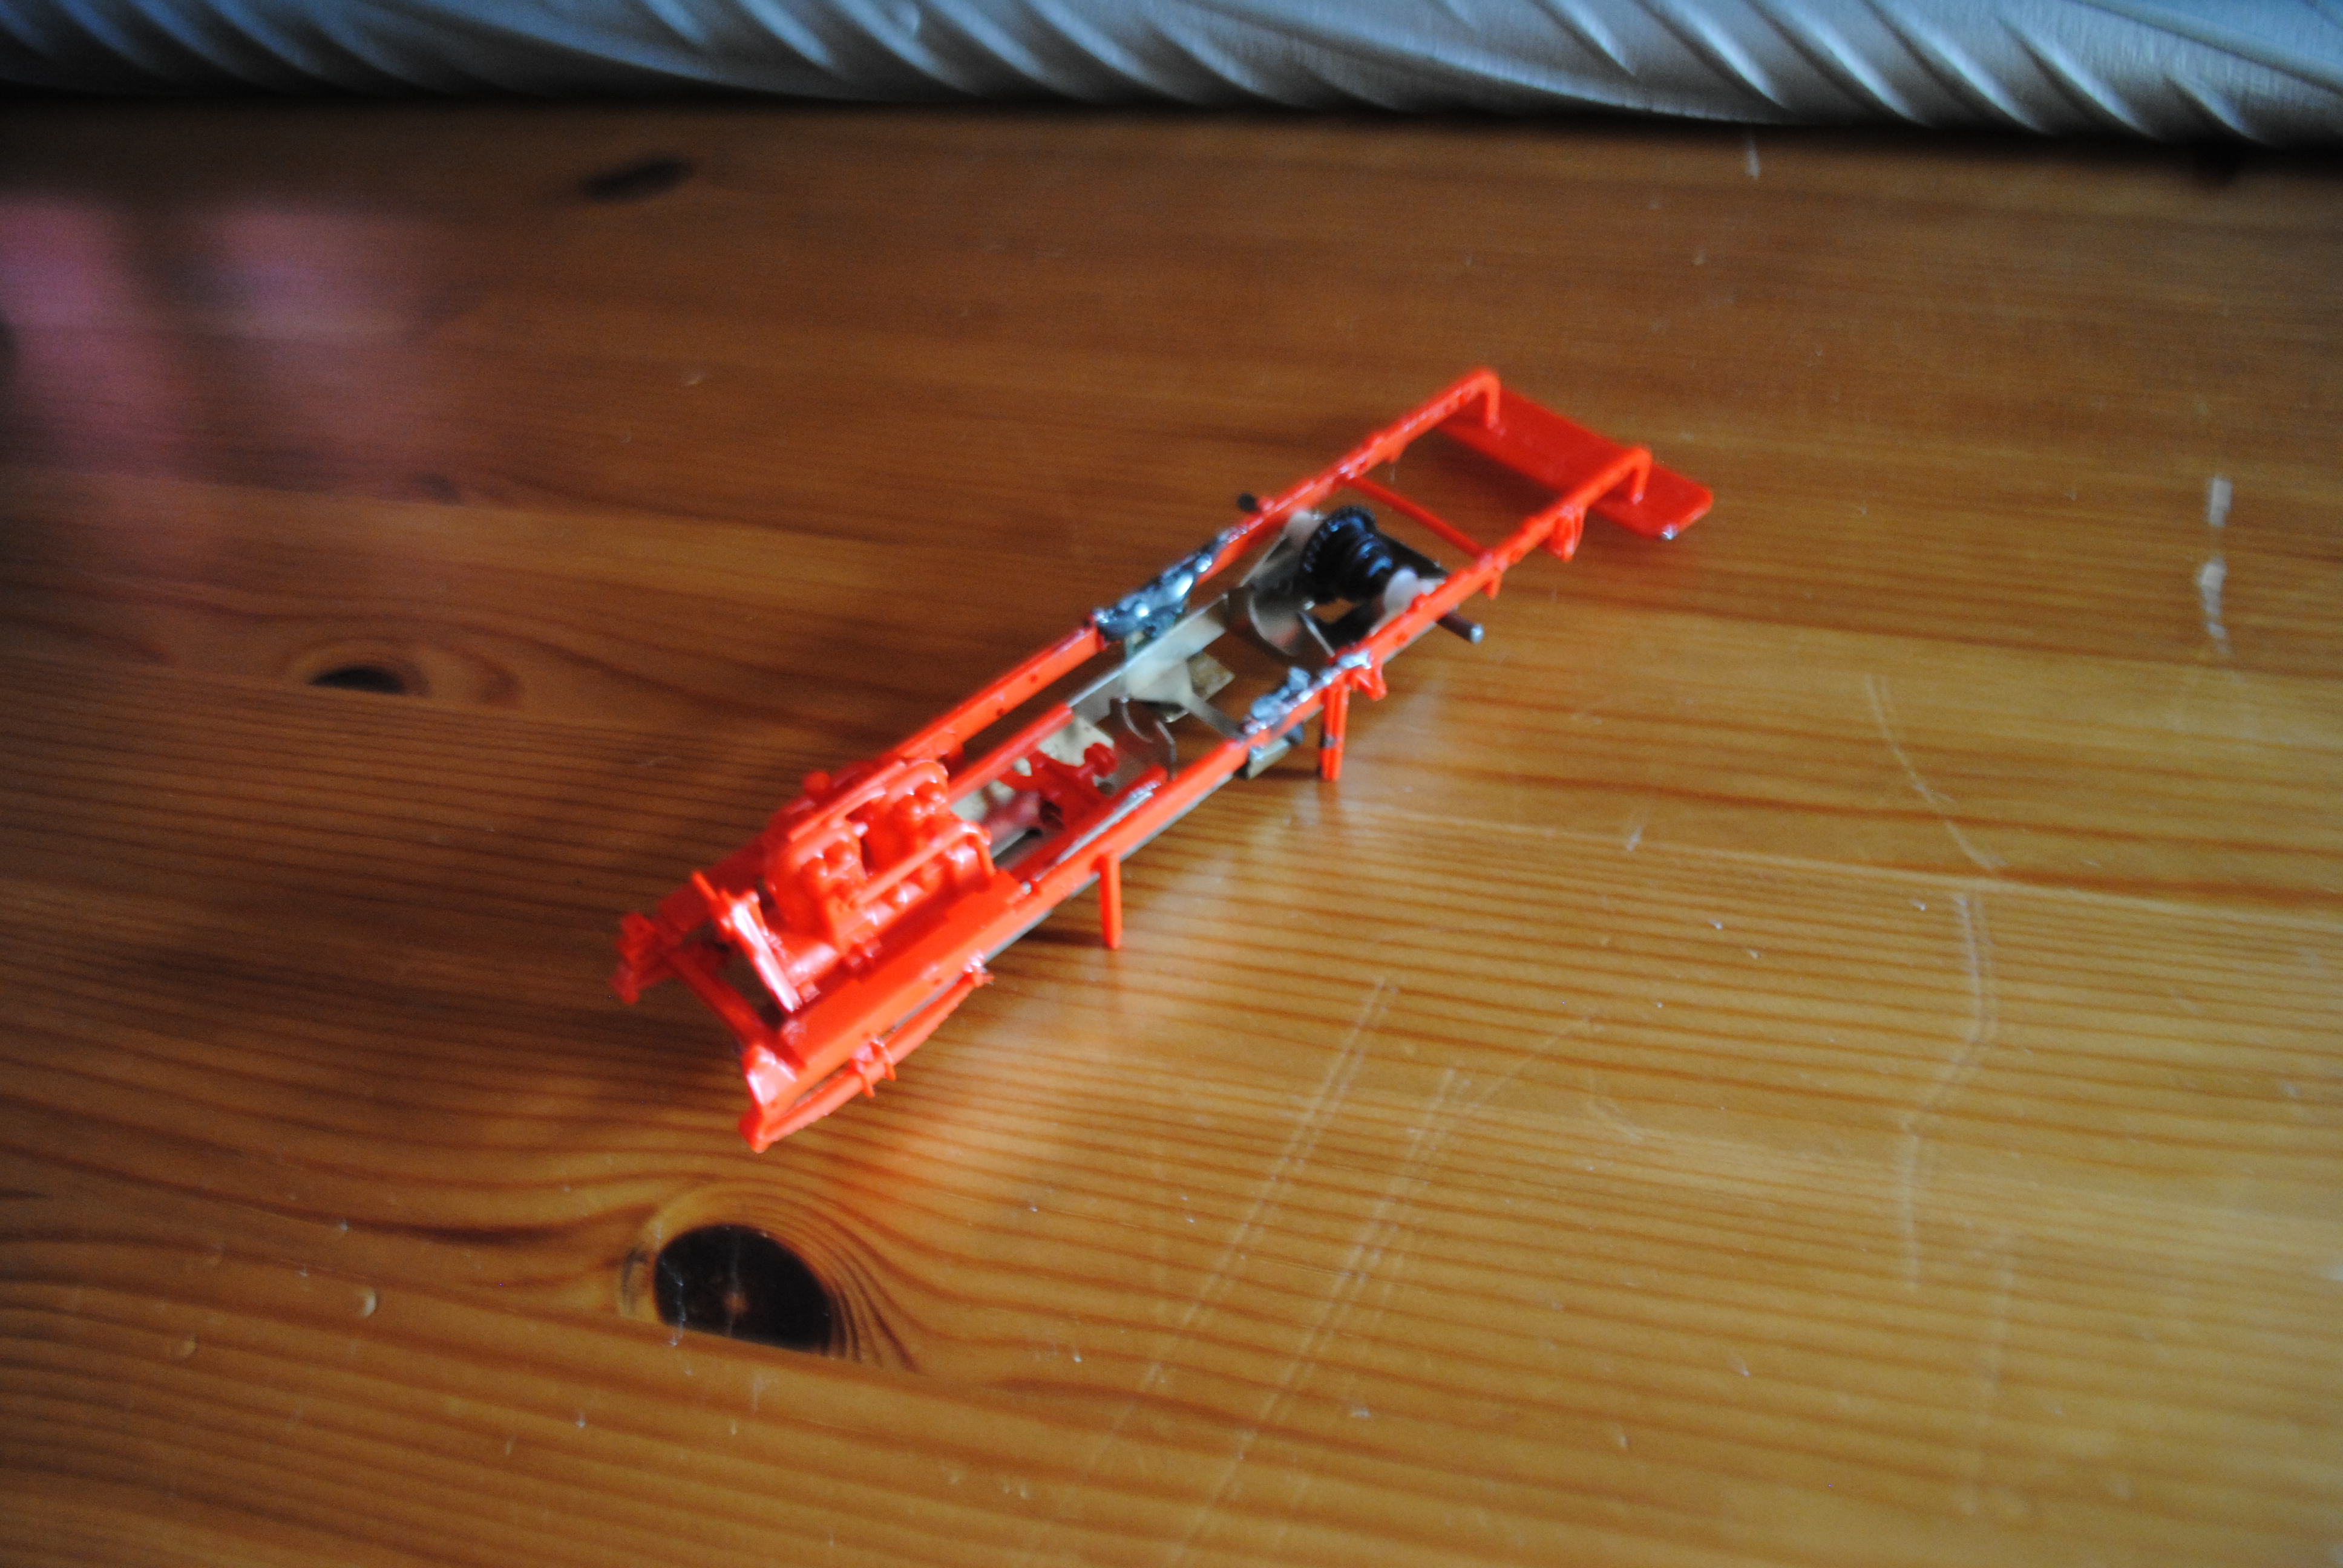
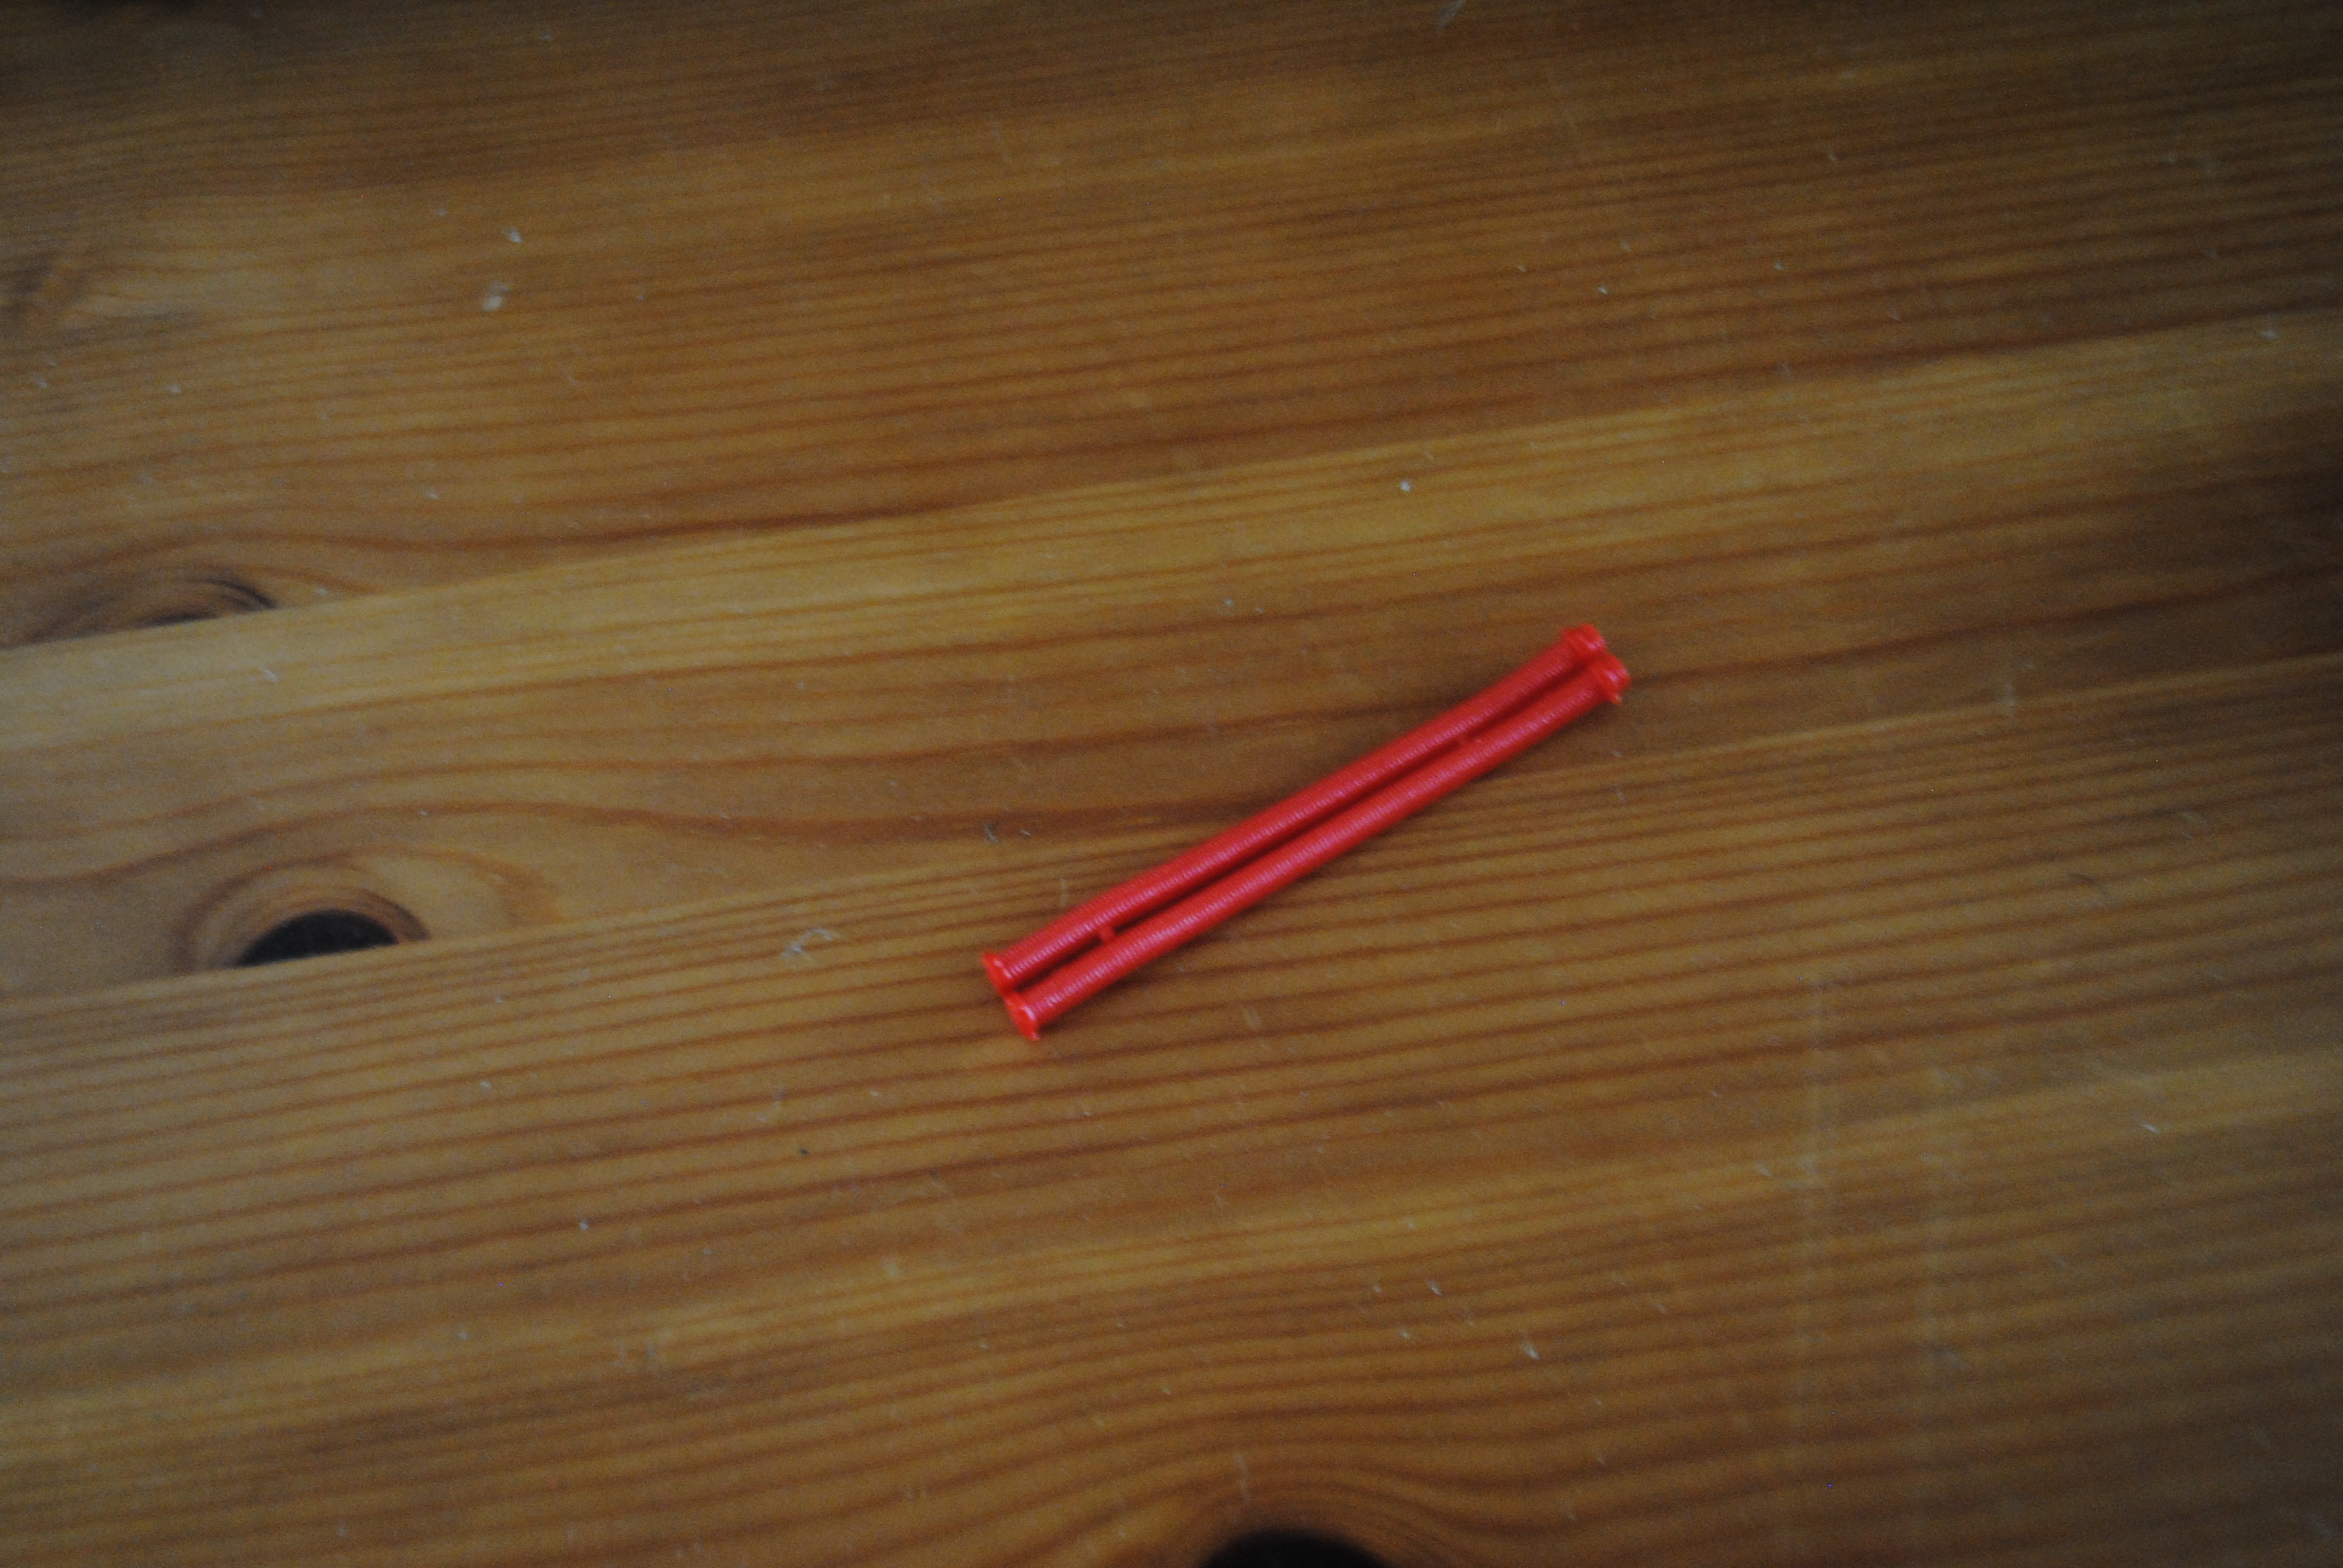
Now I need to build the actual truck for these chaps to sit on. I’m going to start with the chassis. Penelope Pitlane chassis’ are made of pre cut brass sheet which folds up to make the chassis.
Penelope Pitlane chassis’ actually come on two frames. For some reason I only photographed the process of making one. The first frame contains the housing for the motor and rear axle and then a separate piece which houses the front axle. The second frame contains the housing for the guide.
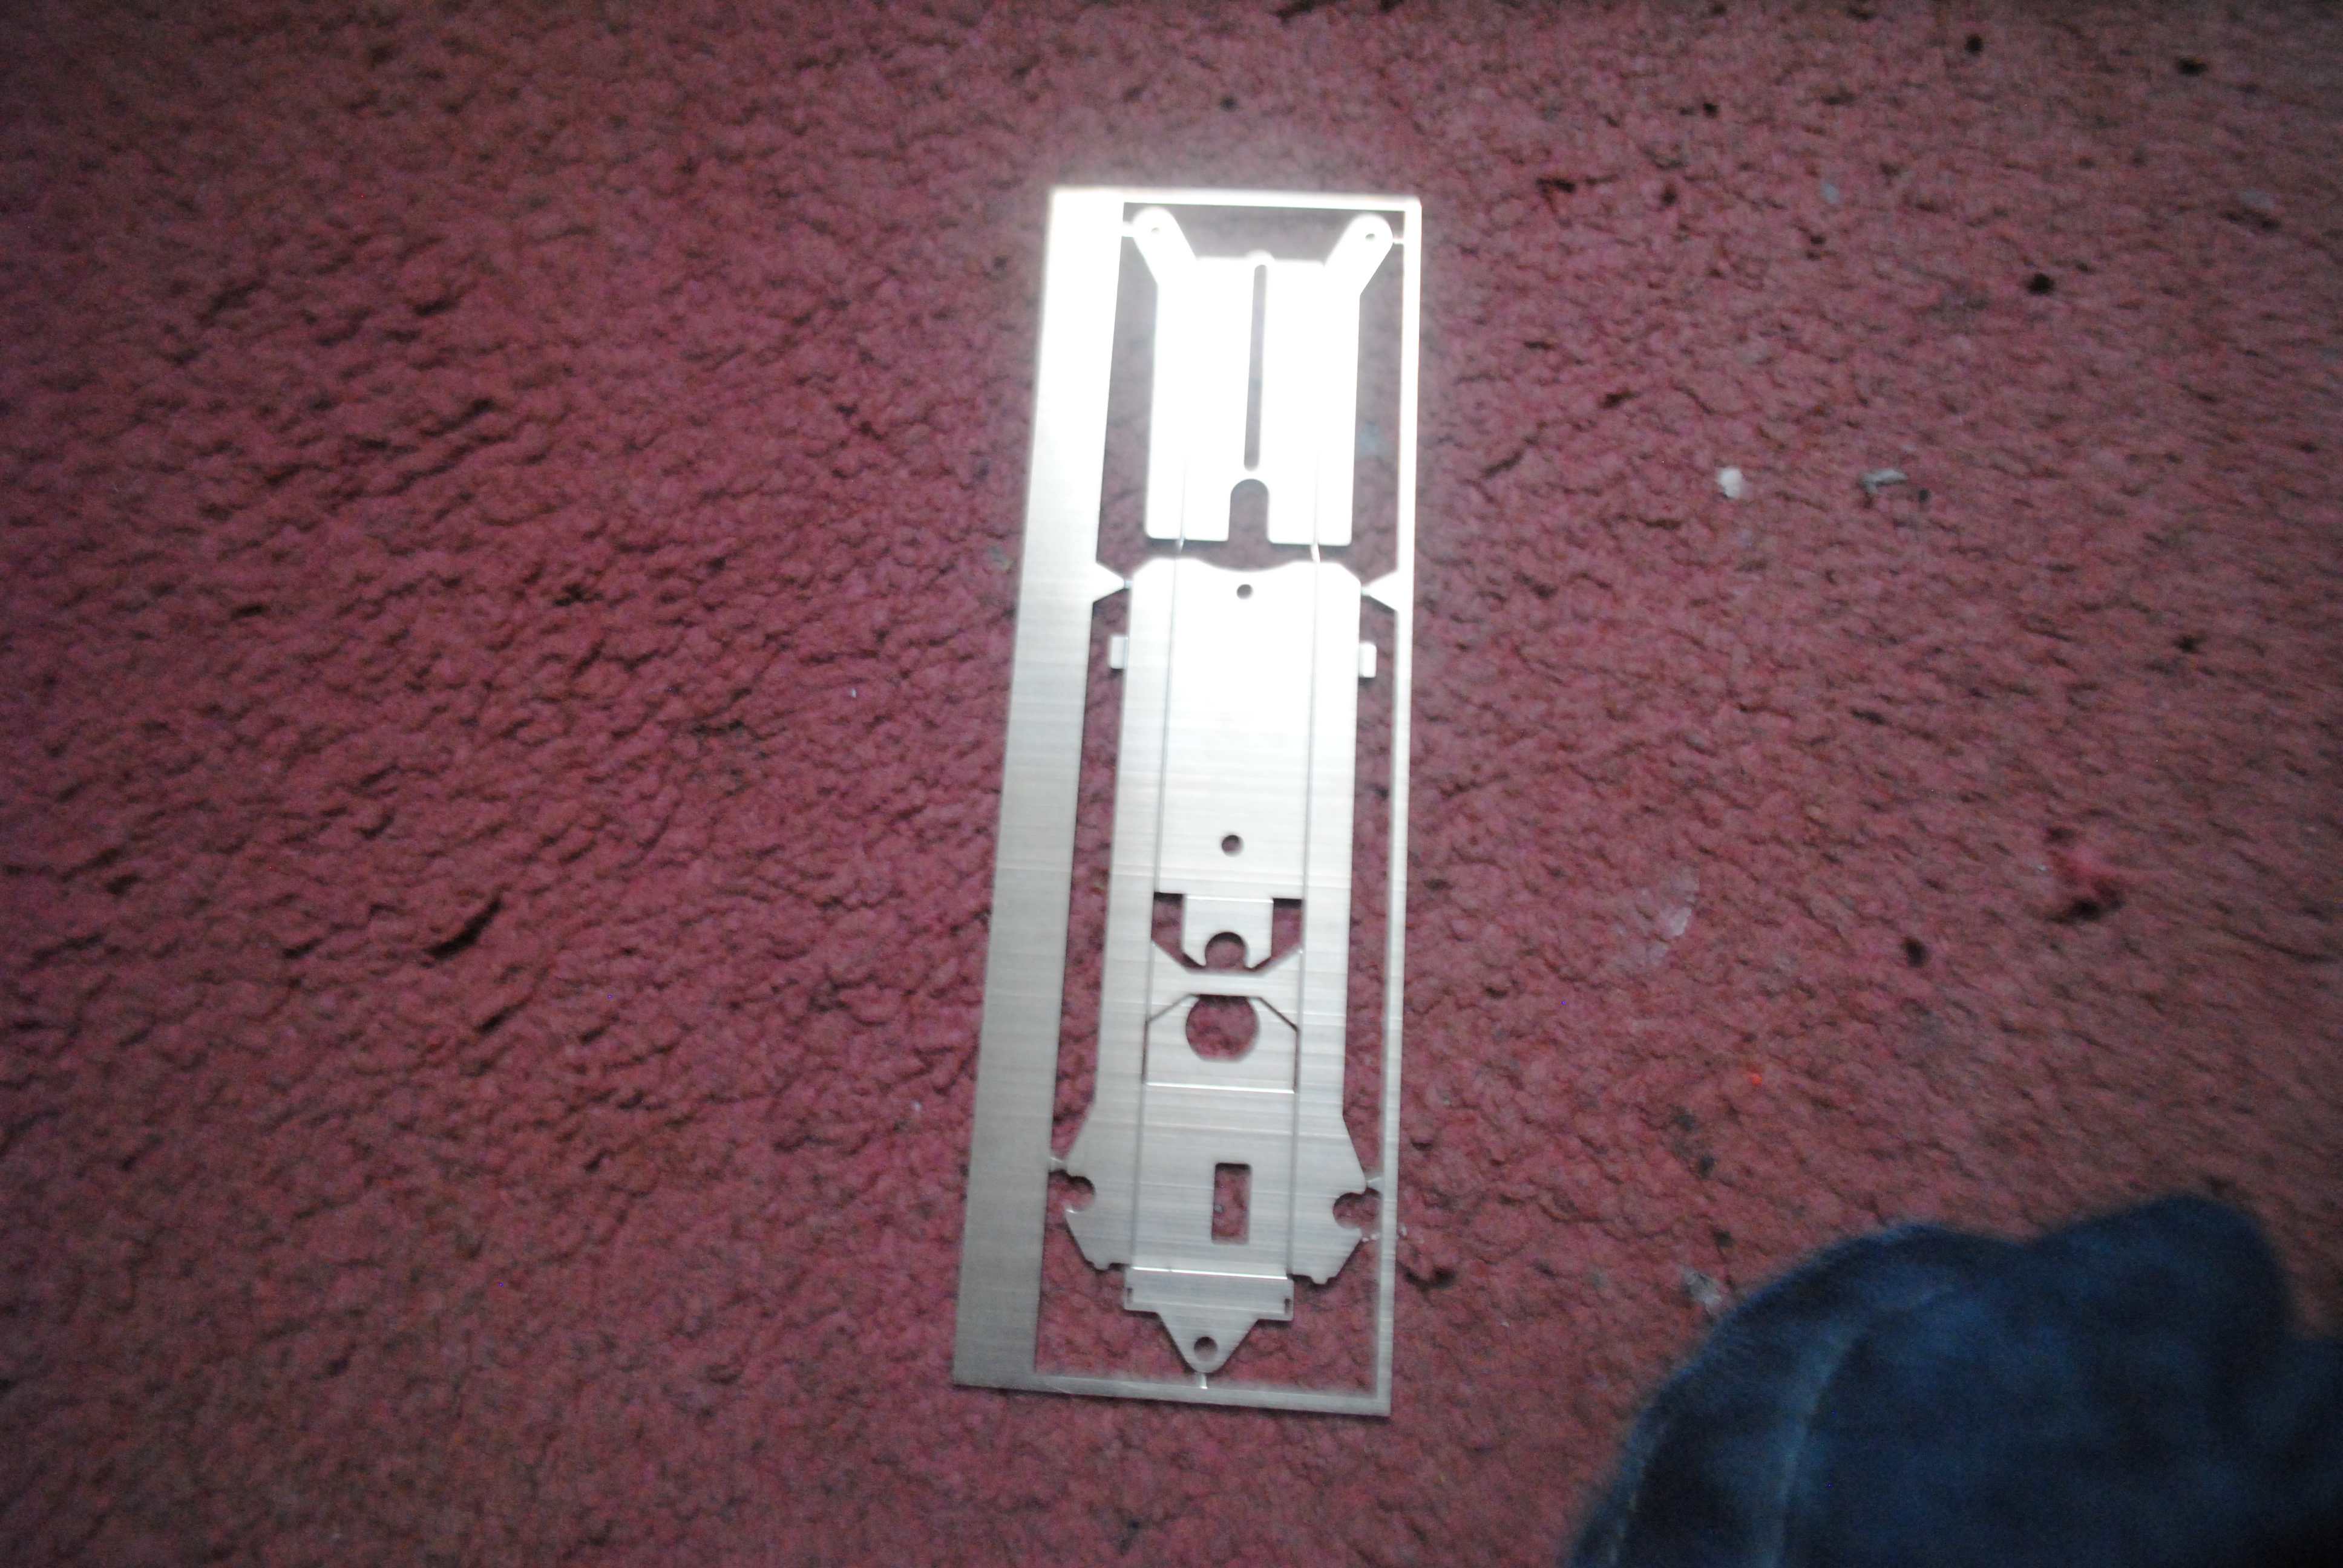
The cut strip along the centre of the forward part is for adjustment of the wheel base, a bolt goes through the forward most hole on the main part of the chassis, then the front axle bit and guide bit have the hollowed out strips which slide over the bolt to set wheel base and where the guide will go.
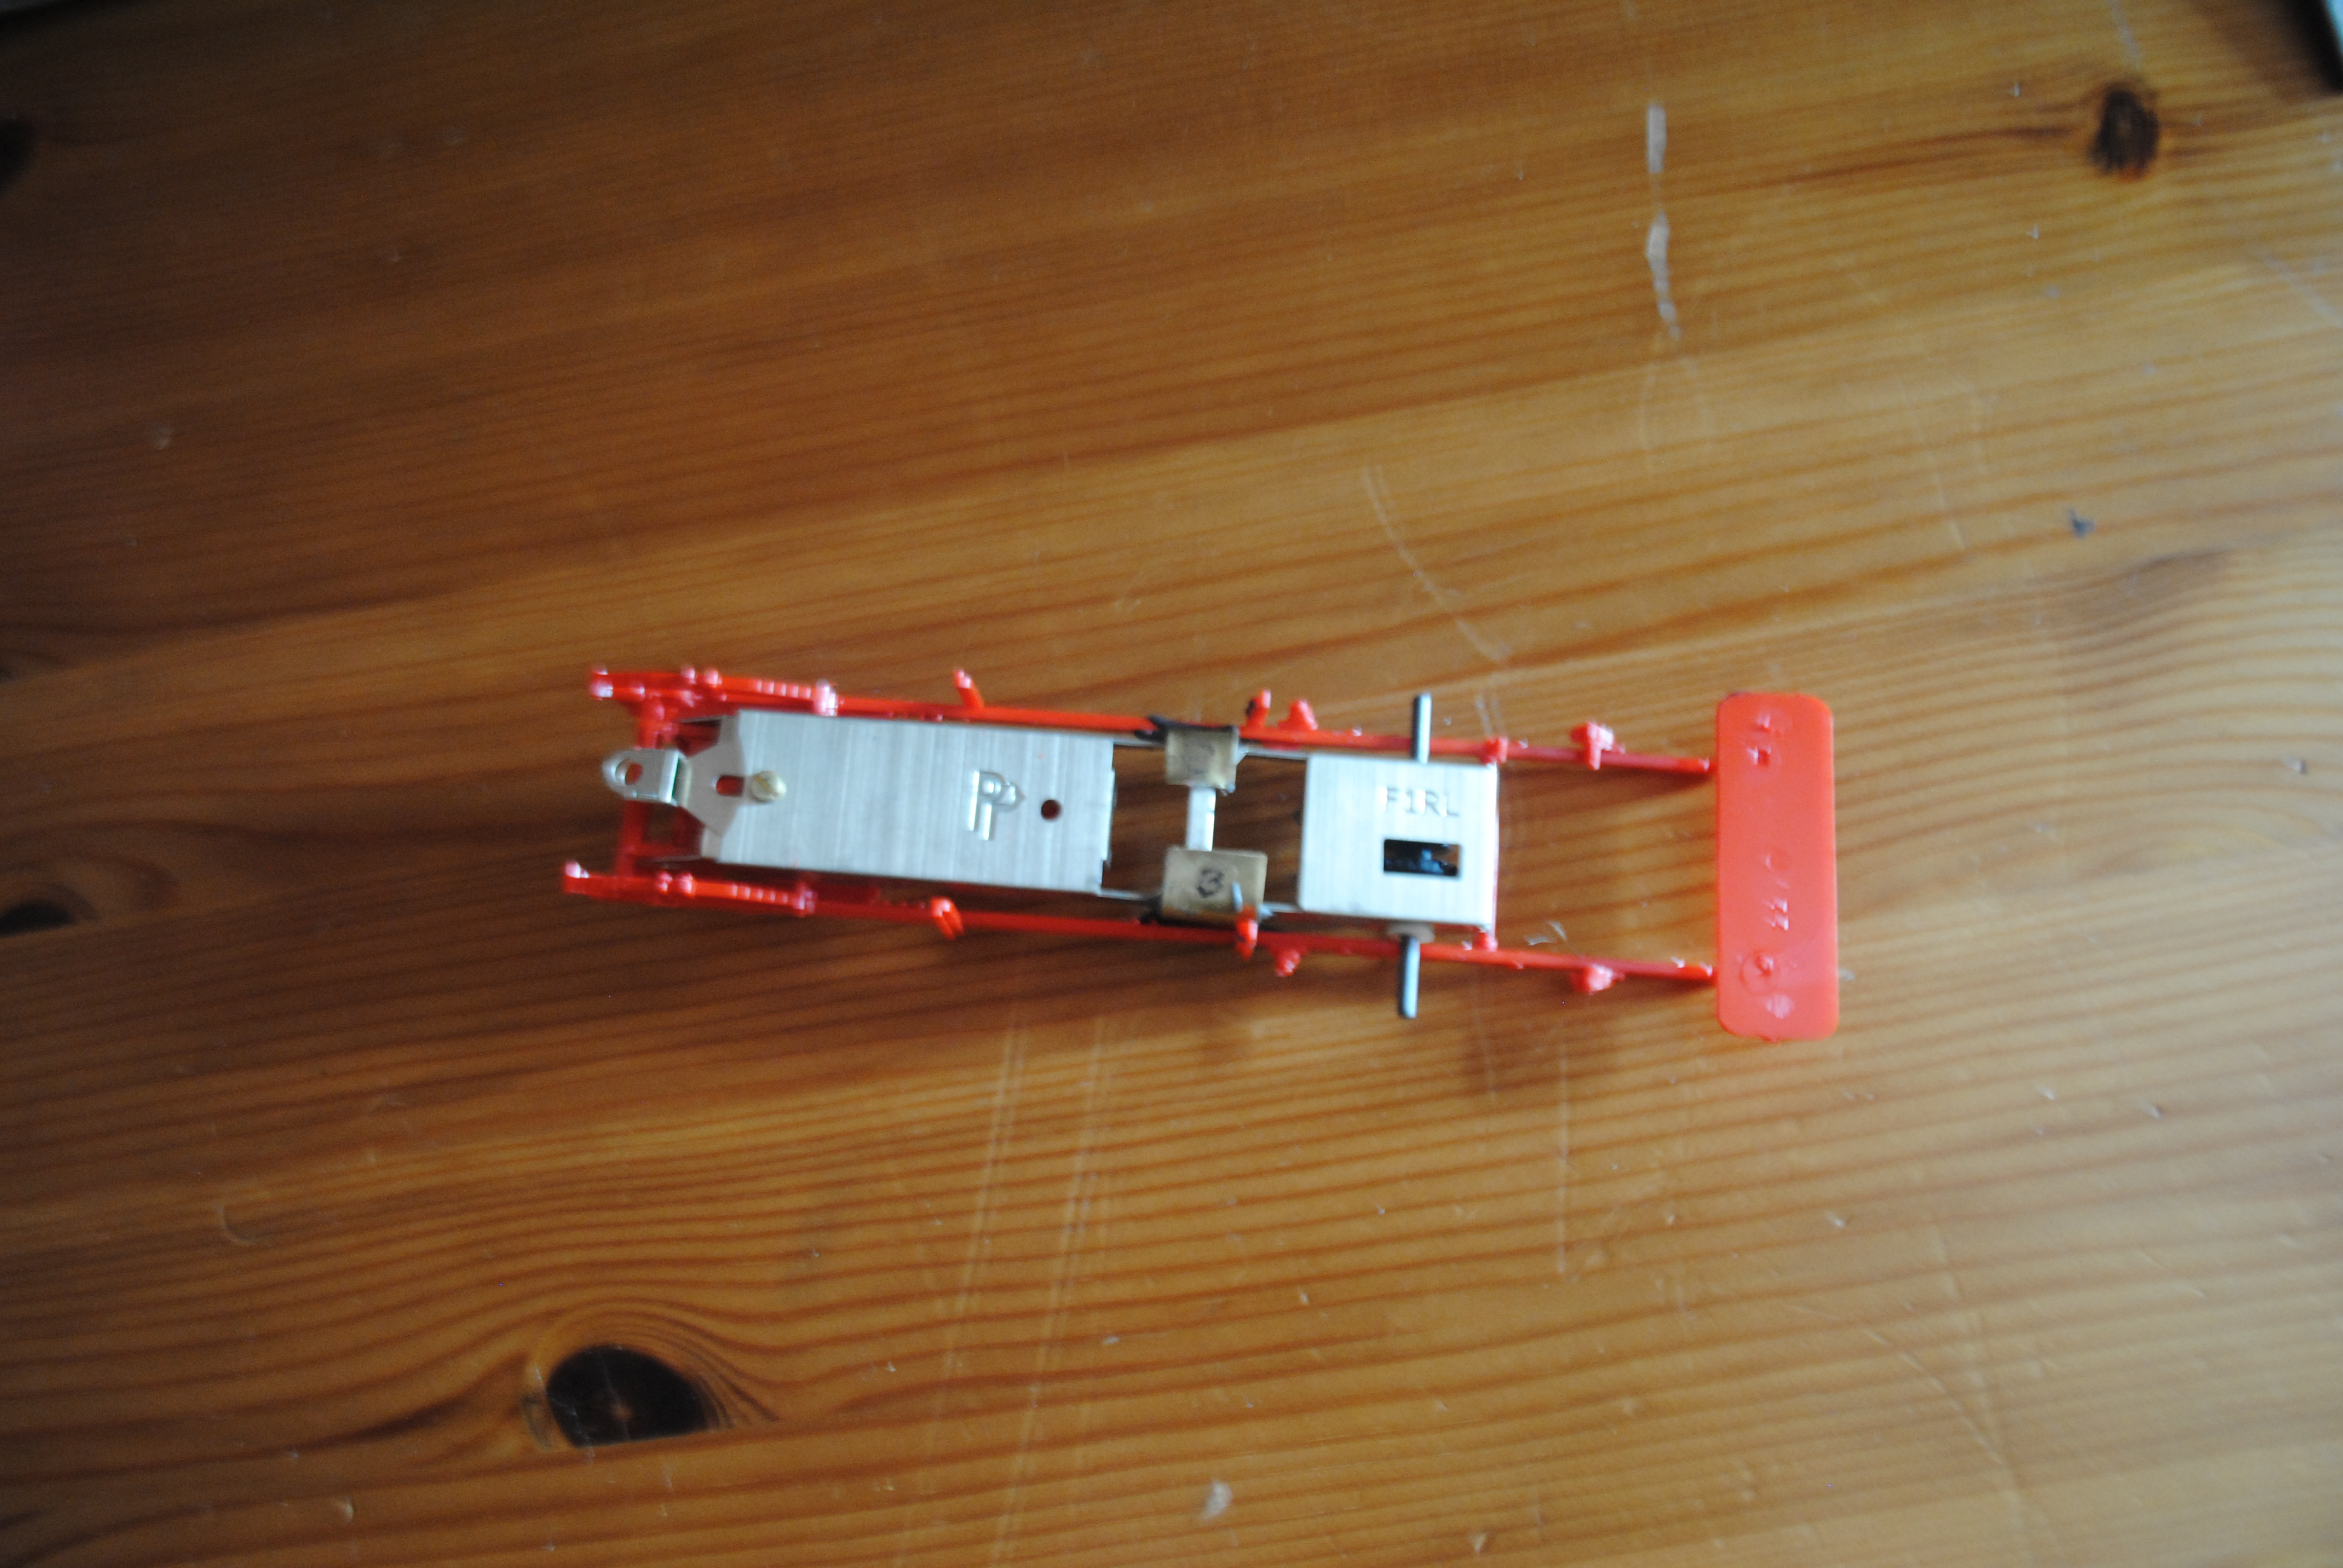
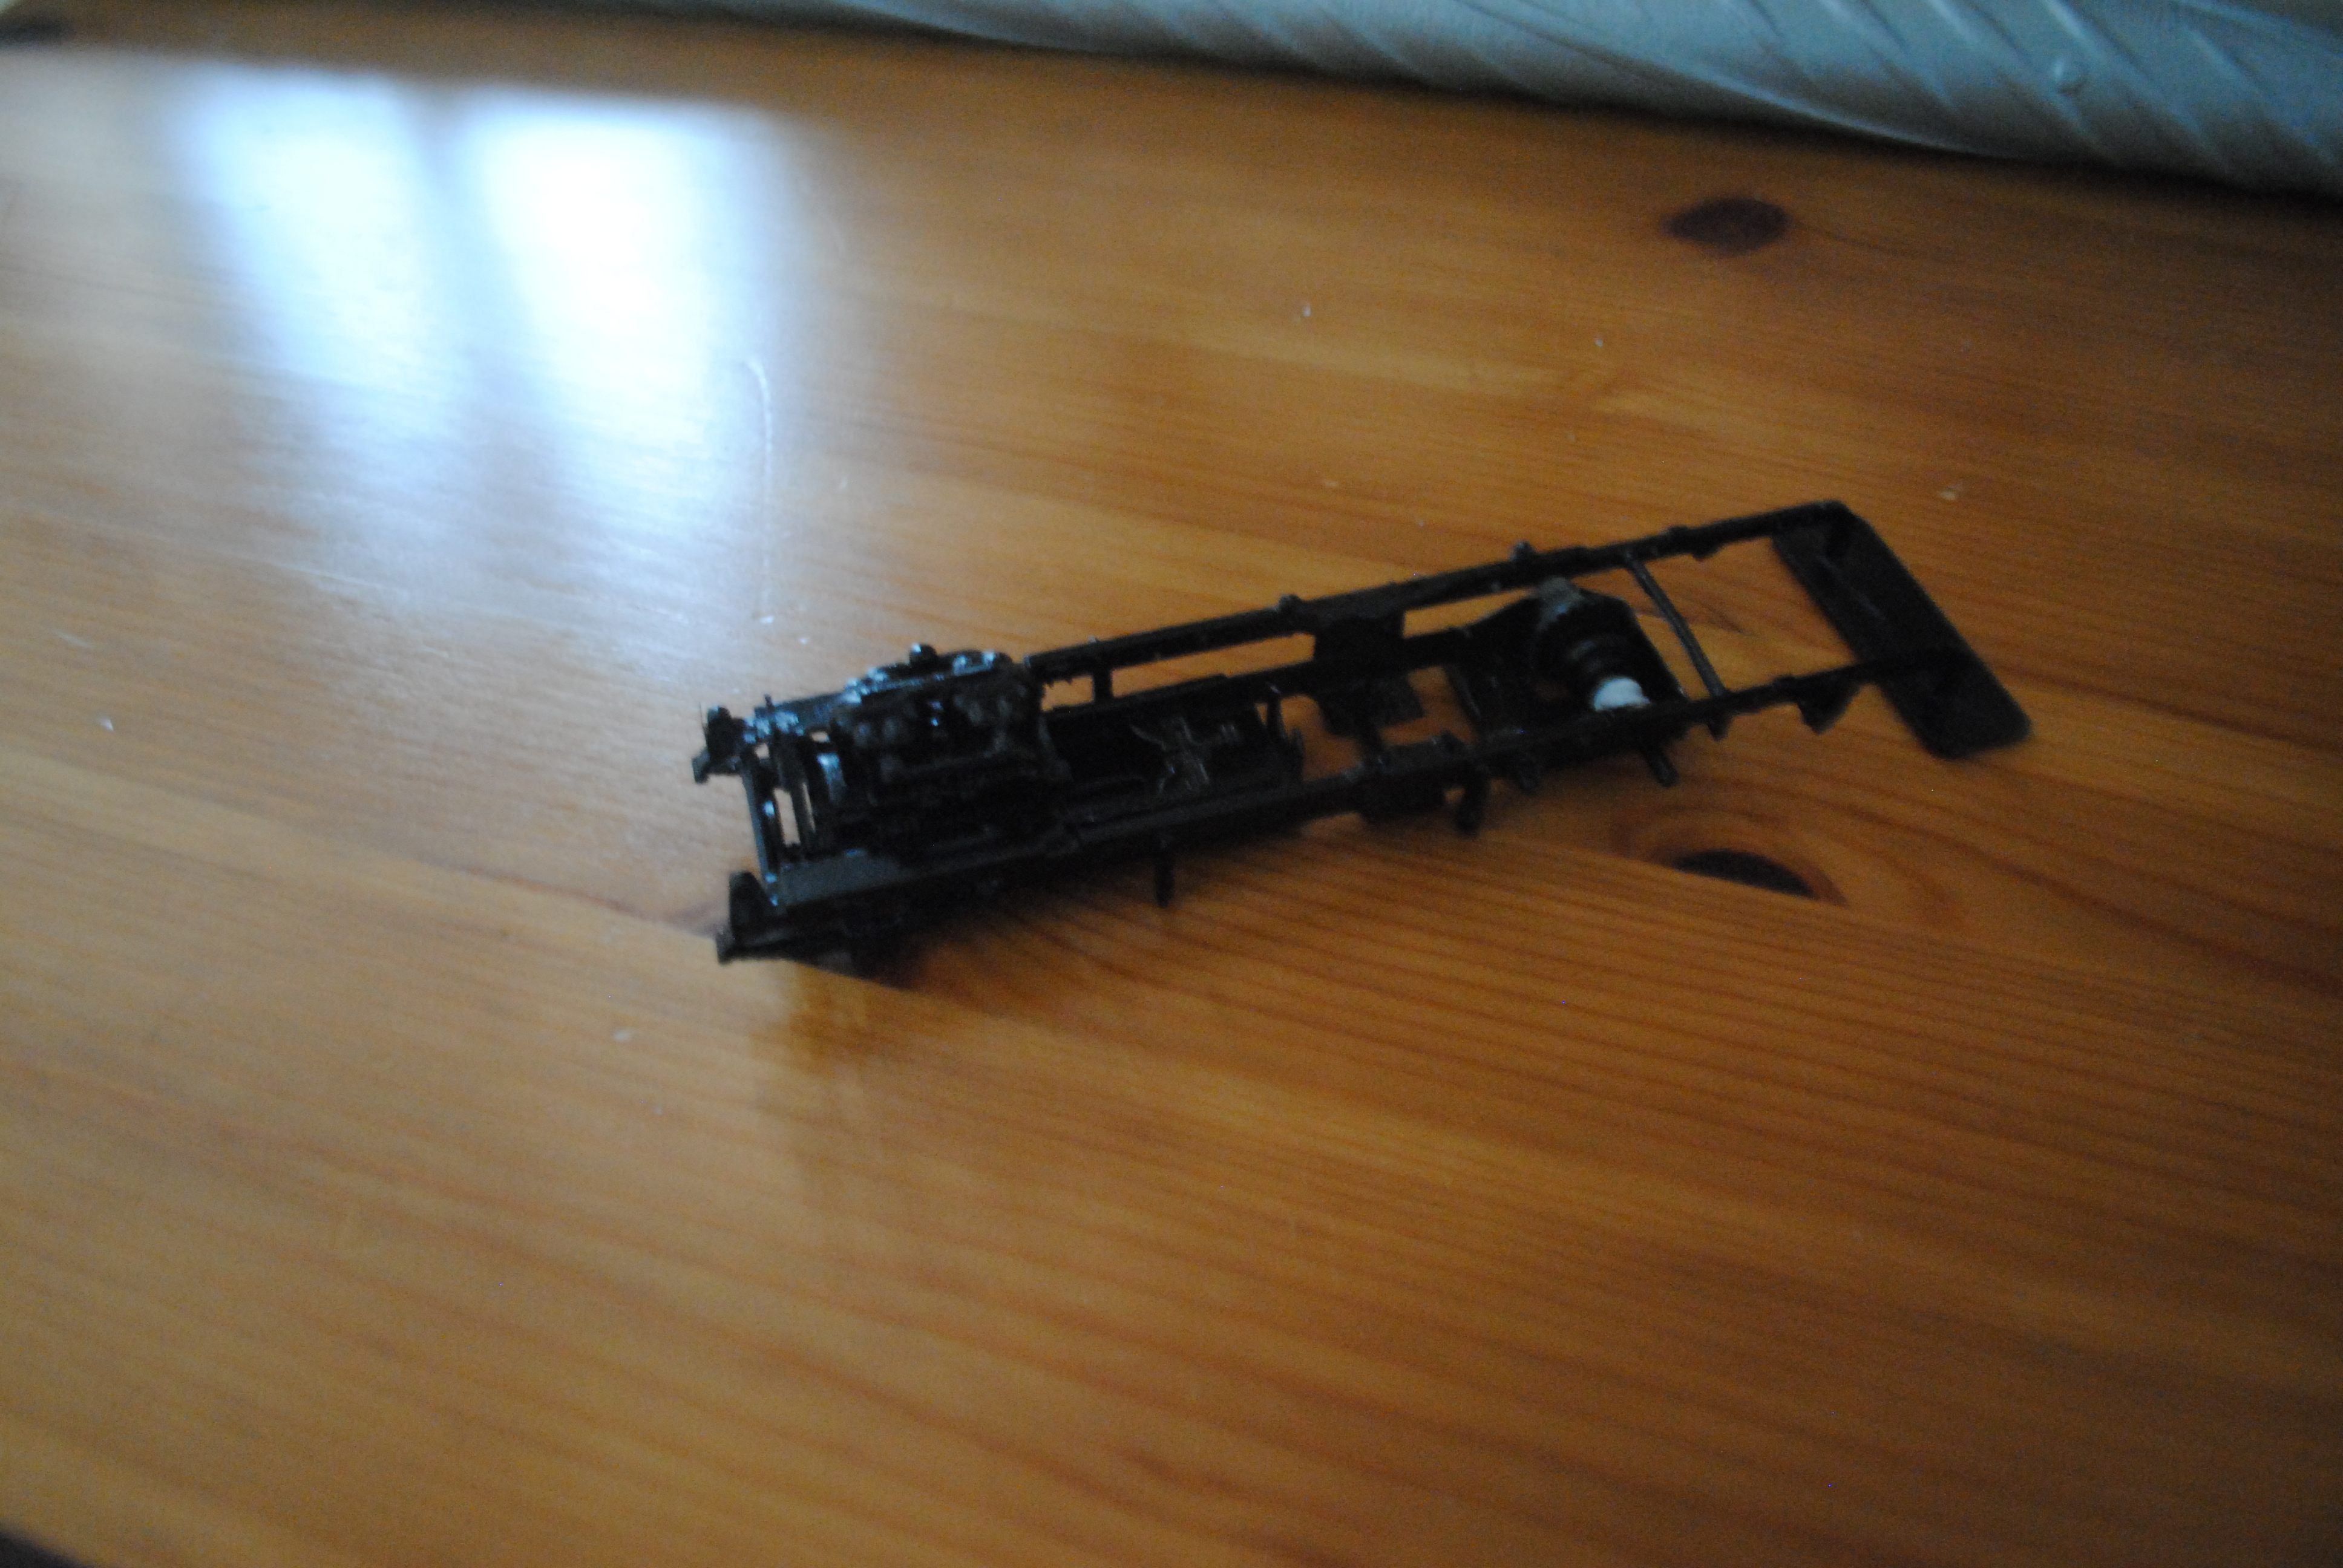
This is what they look like put together:
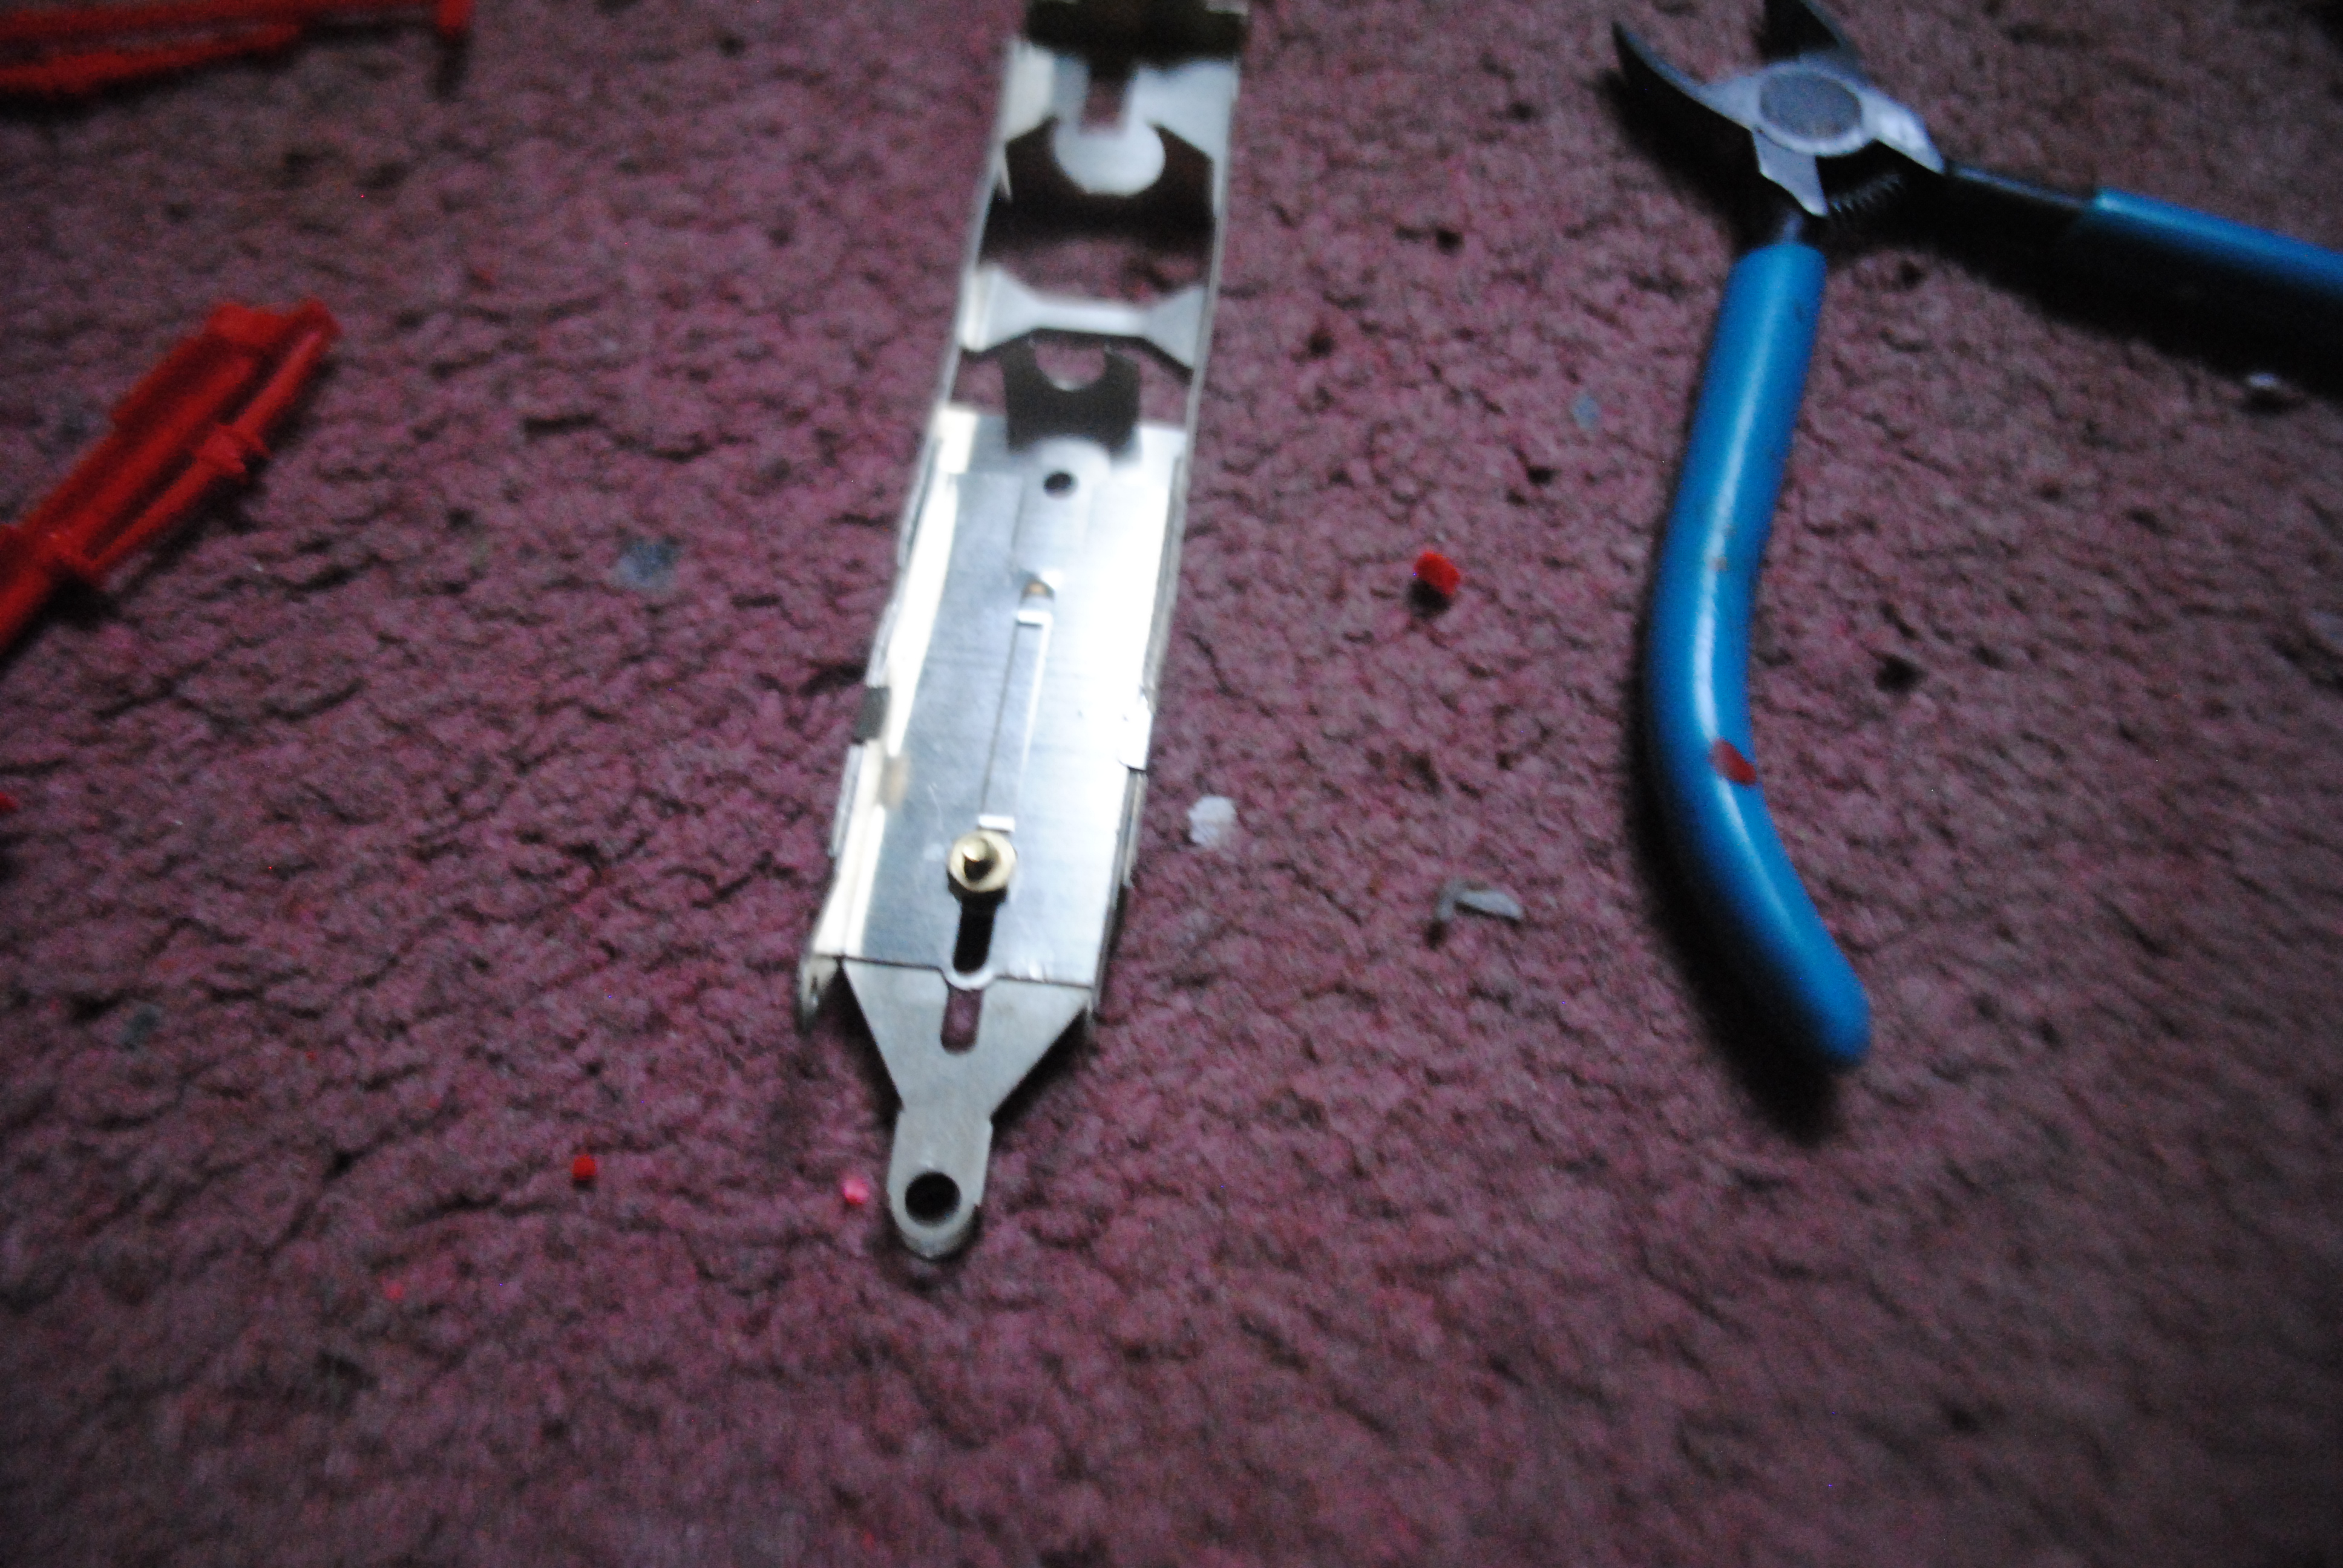
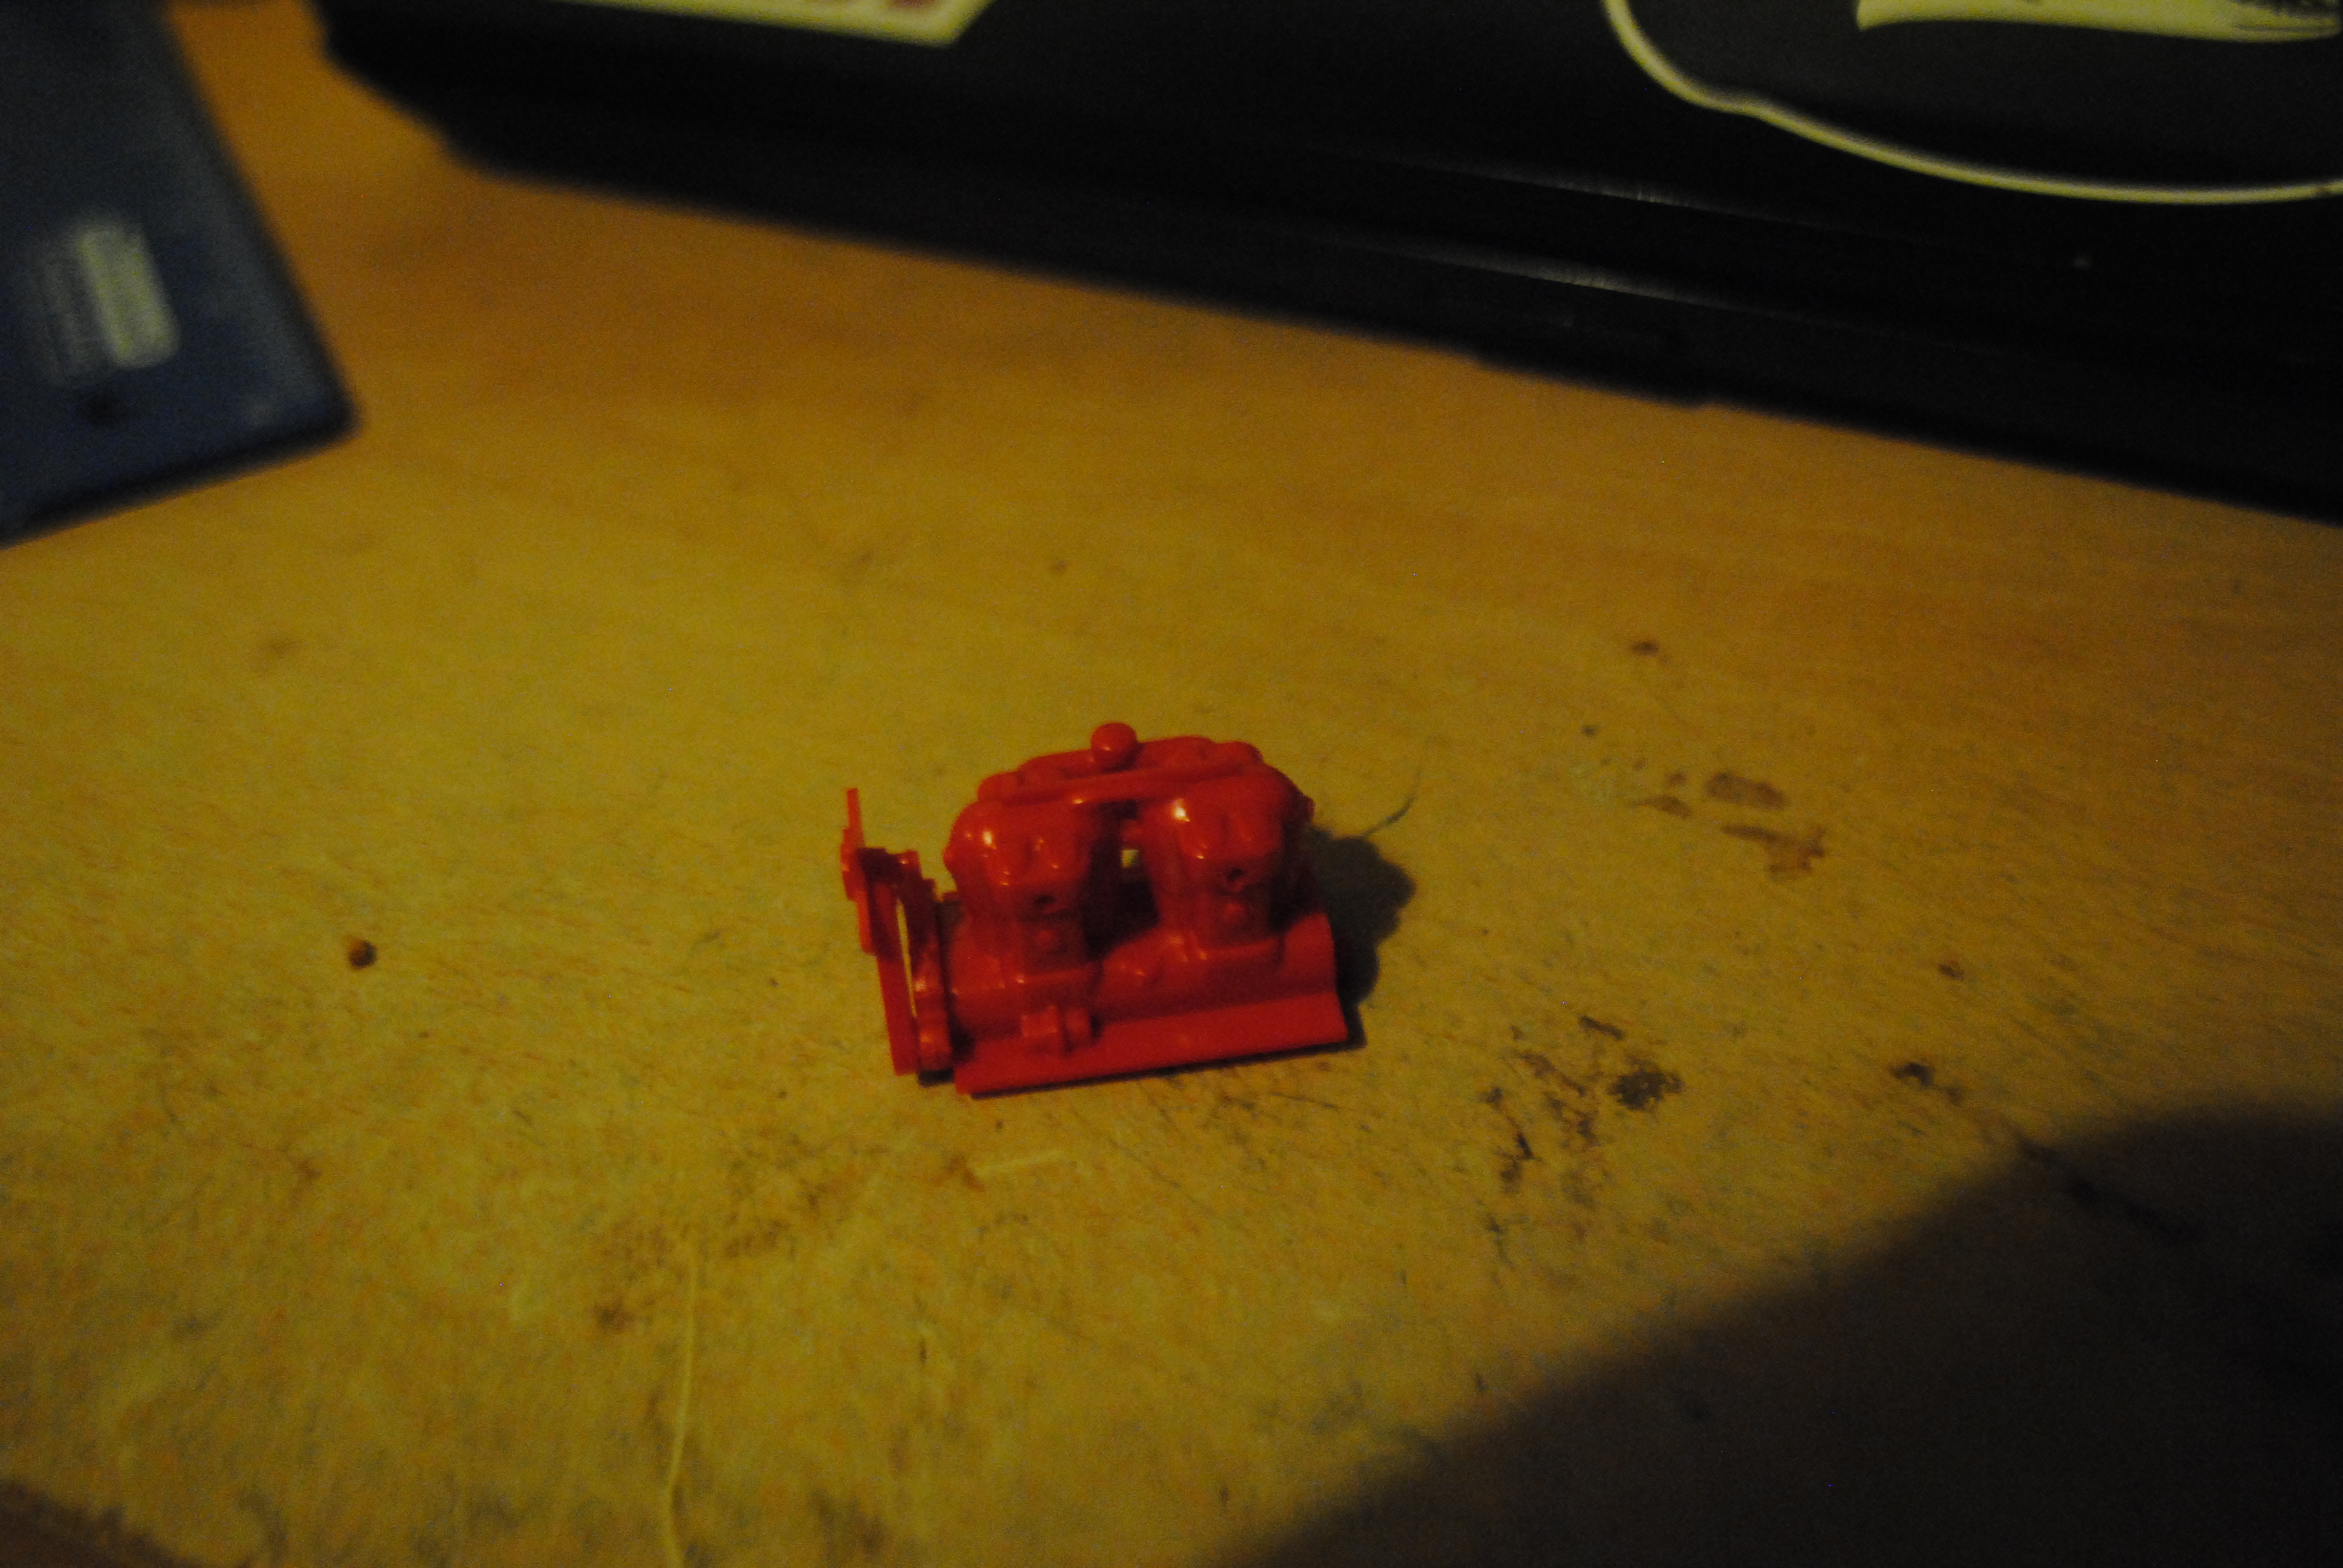
The original kit’s oil and transmission sump sits nicely into the Penelope Pitlane chassis, right over the bolt which holds the chassis together.

It would be an easy way to mount the chassis to the rest of the vehicle. It just needed some quick modification with a dremmel…

Then it was just a case of drilling a small hole and the model’s chassis becomes a part of the Penelope Pitlane chassis!
The top half of the engine block will cover the screw. This will be the first slot car I’ve ever built with a built in engine!
Now I’d have to begin the heavy modifications. The Penelope Pitlane chassis will make the model sit a lot lower than originally intended and that would mean a lot of the original kit would have to be modified. To allow the axle to pass by the front of the engine block without gettting caught on mountings and other bits of plastic would require some trimming. We got there in the end though!
The chassis rails then glue onto the side of the oil sump frame as originally intended.
To hold the back of the chassis up I had to make two ‘L’ shaped brass brackets. These were held onto the chassis rails and the bottom of the Penelope Pitlance chassis with Super Steel liquid metal. That stuff is great; it sticks to just about everything and once it dries it’s ‘as tough as steel’ and can be filed to shape.
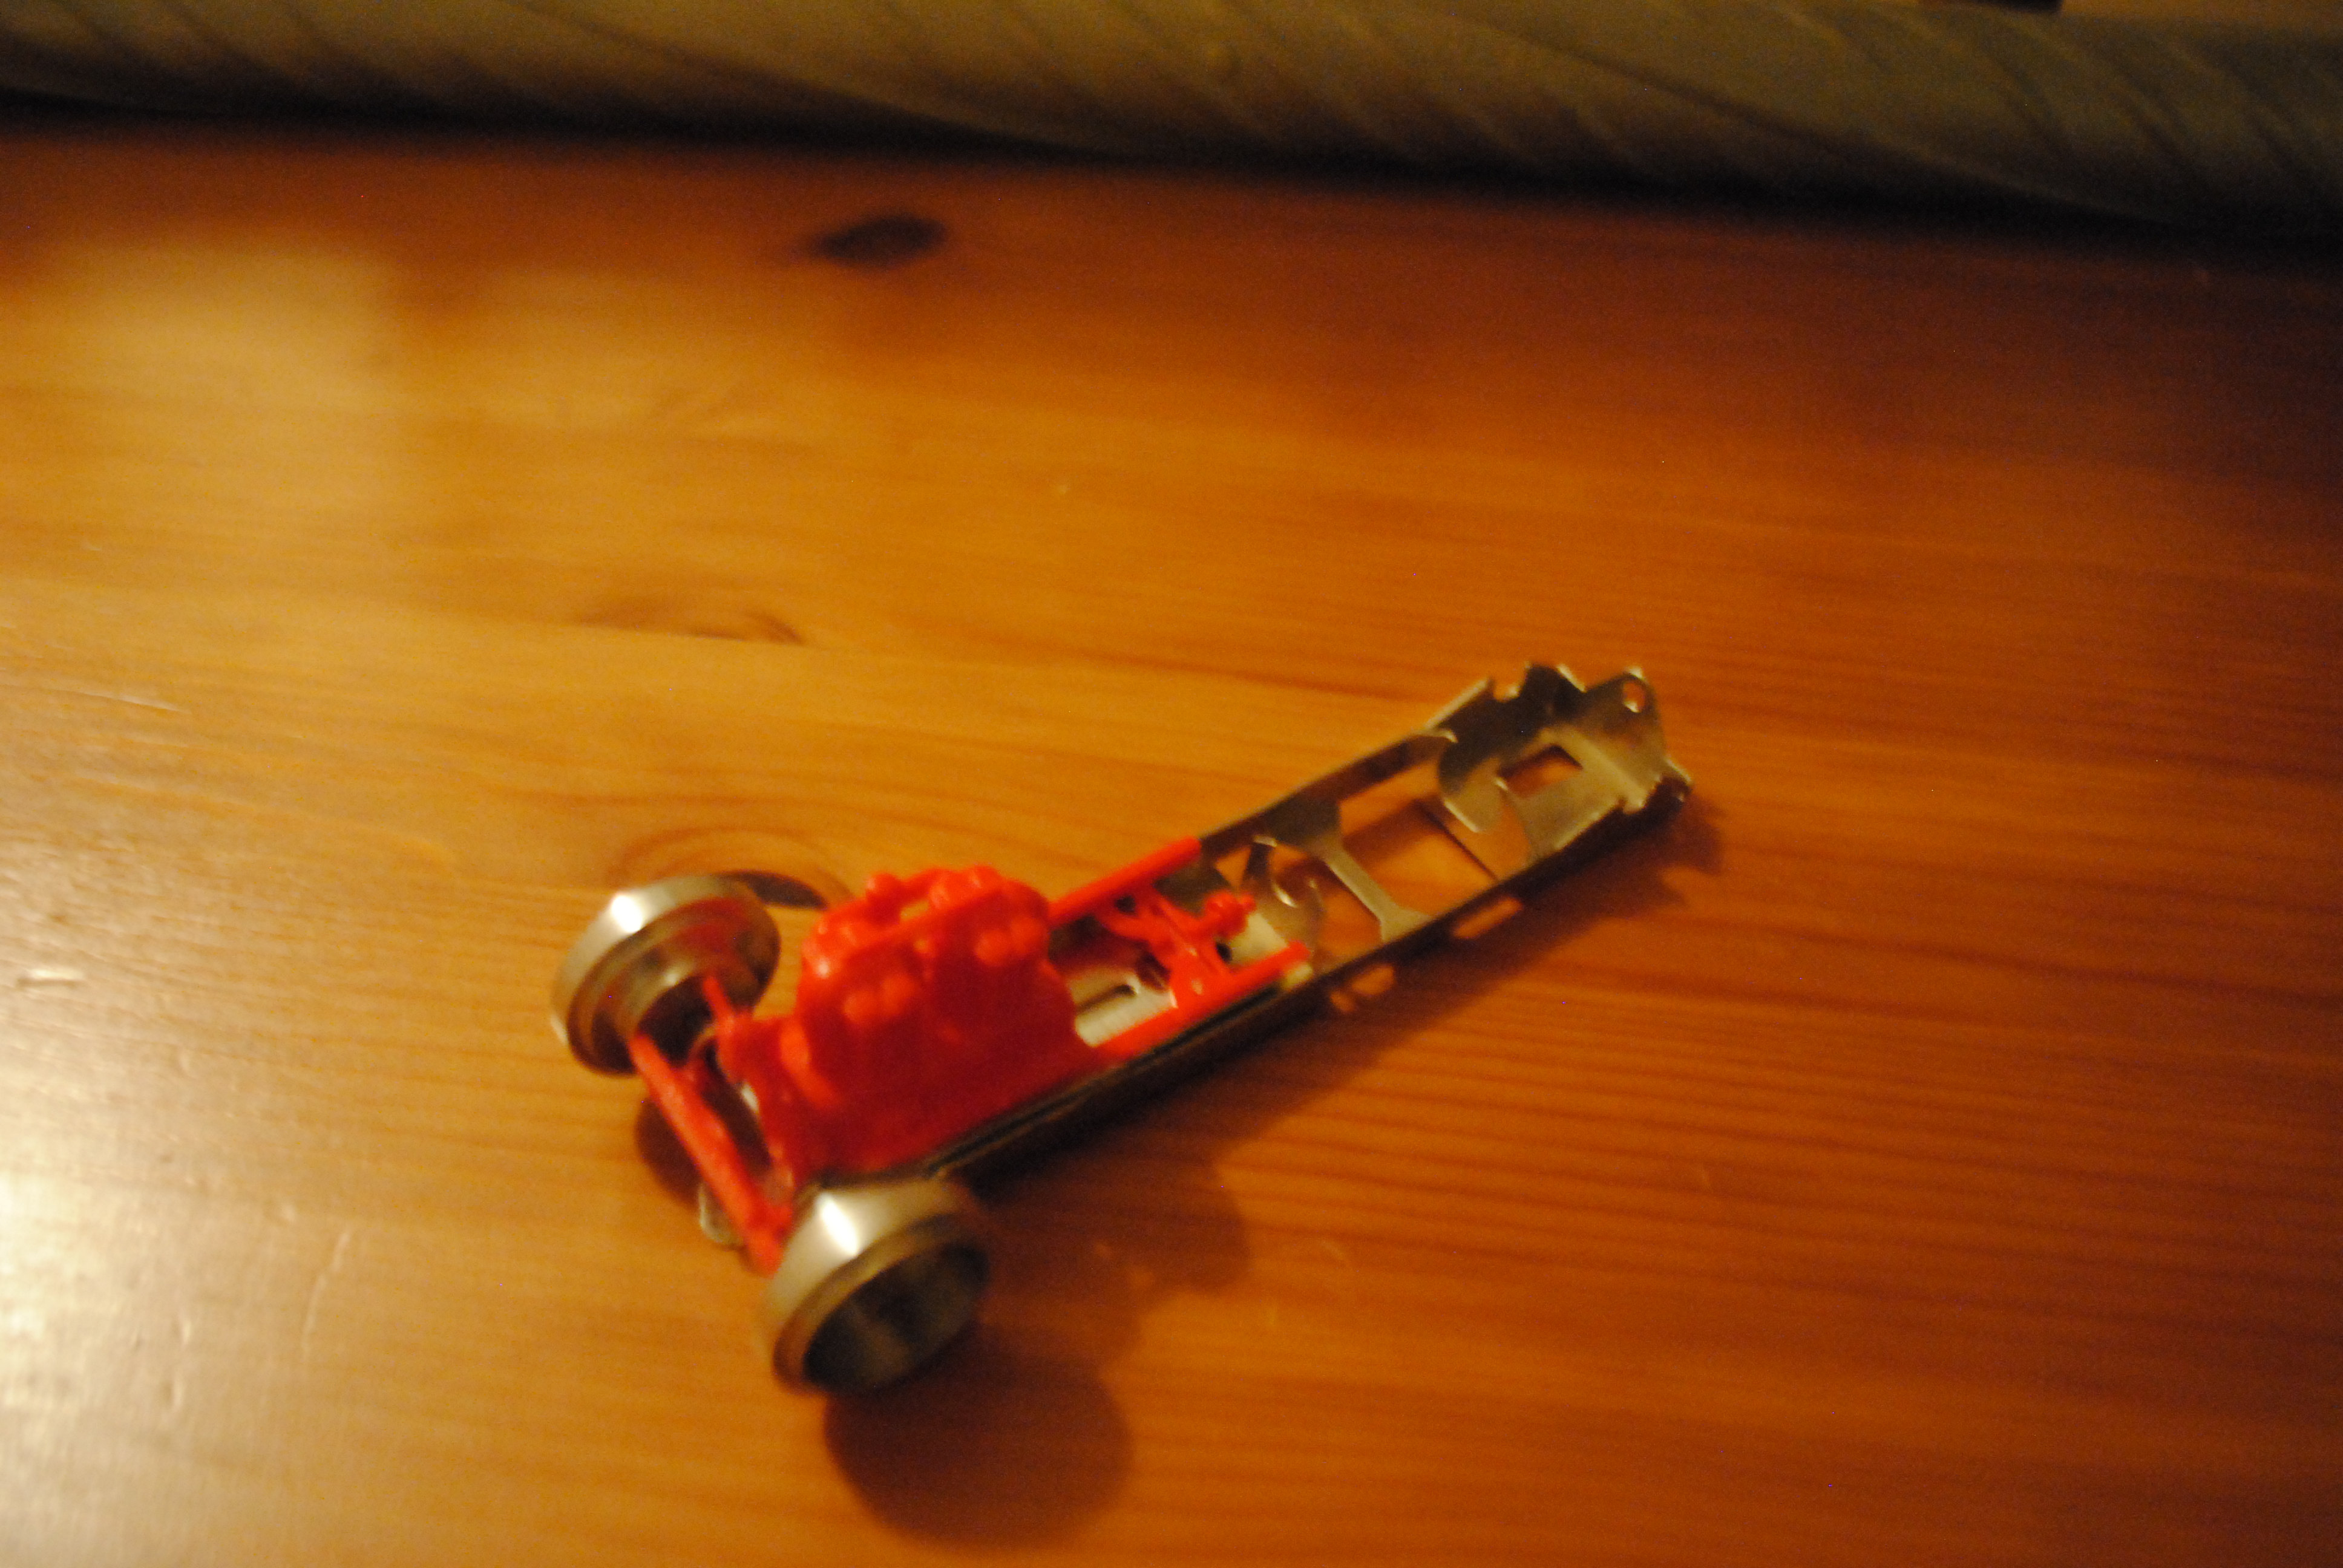
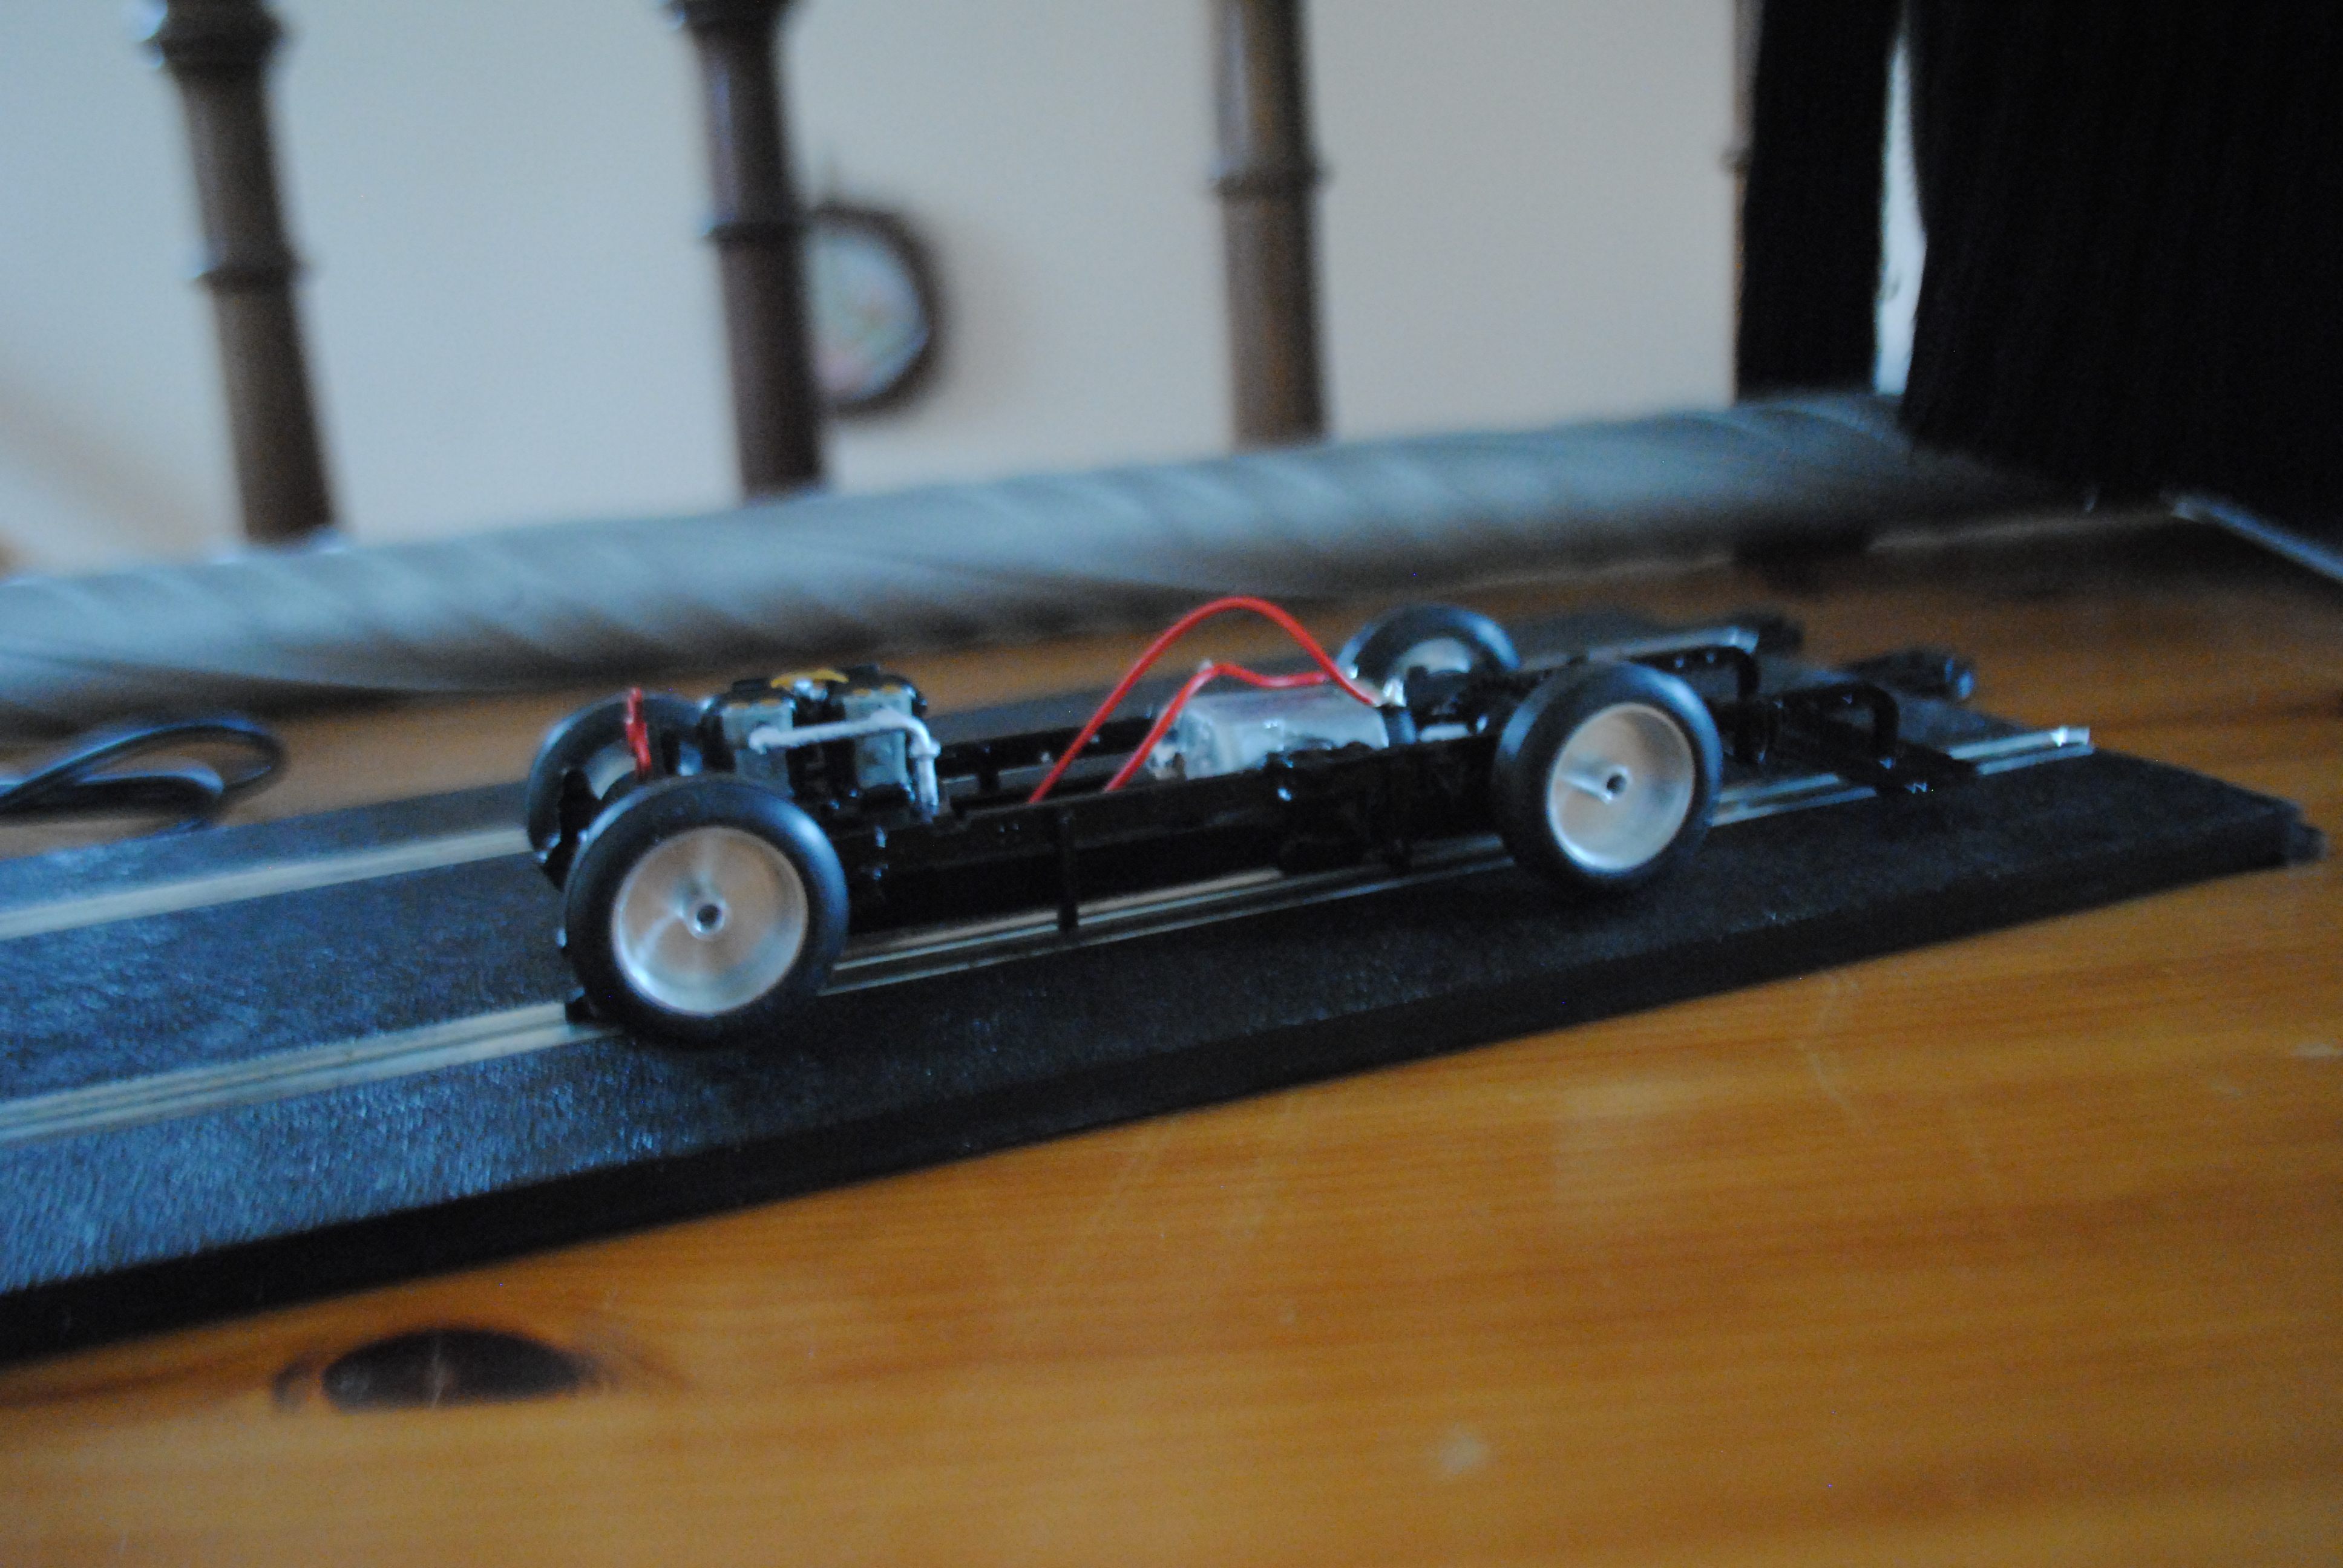
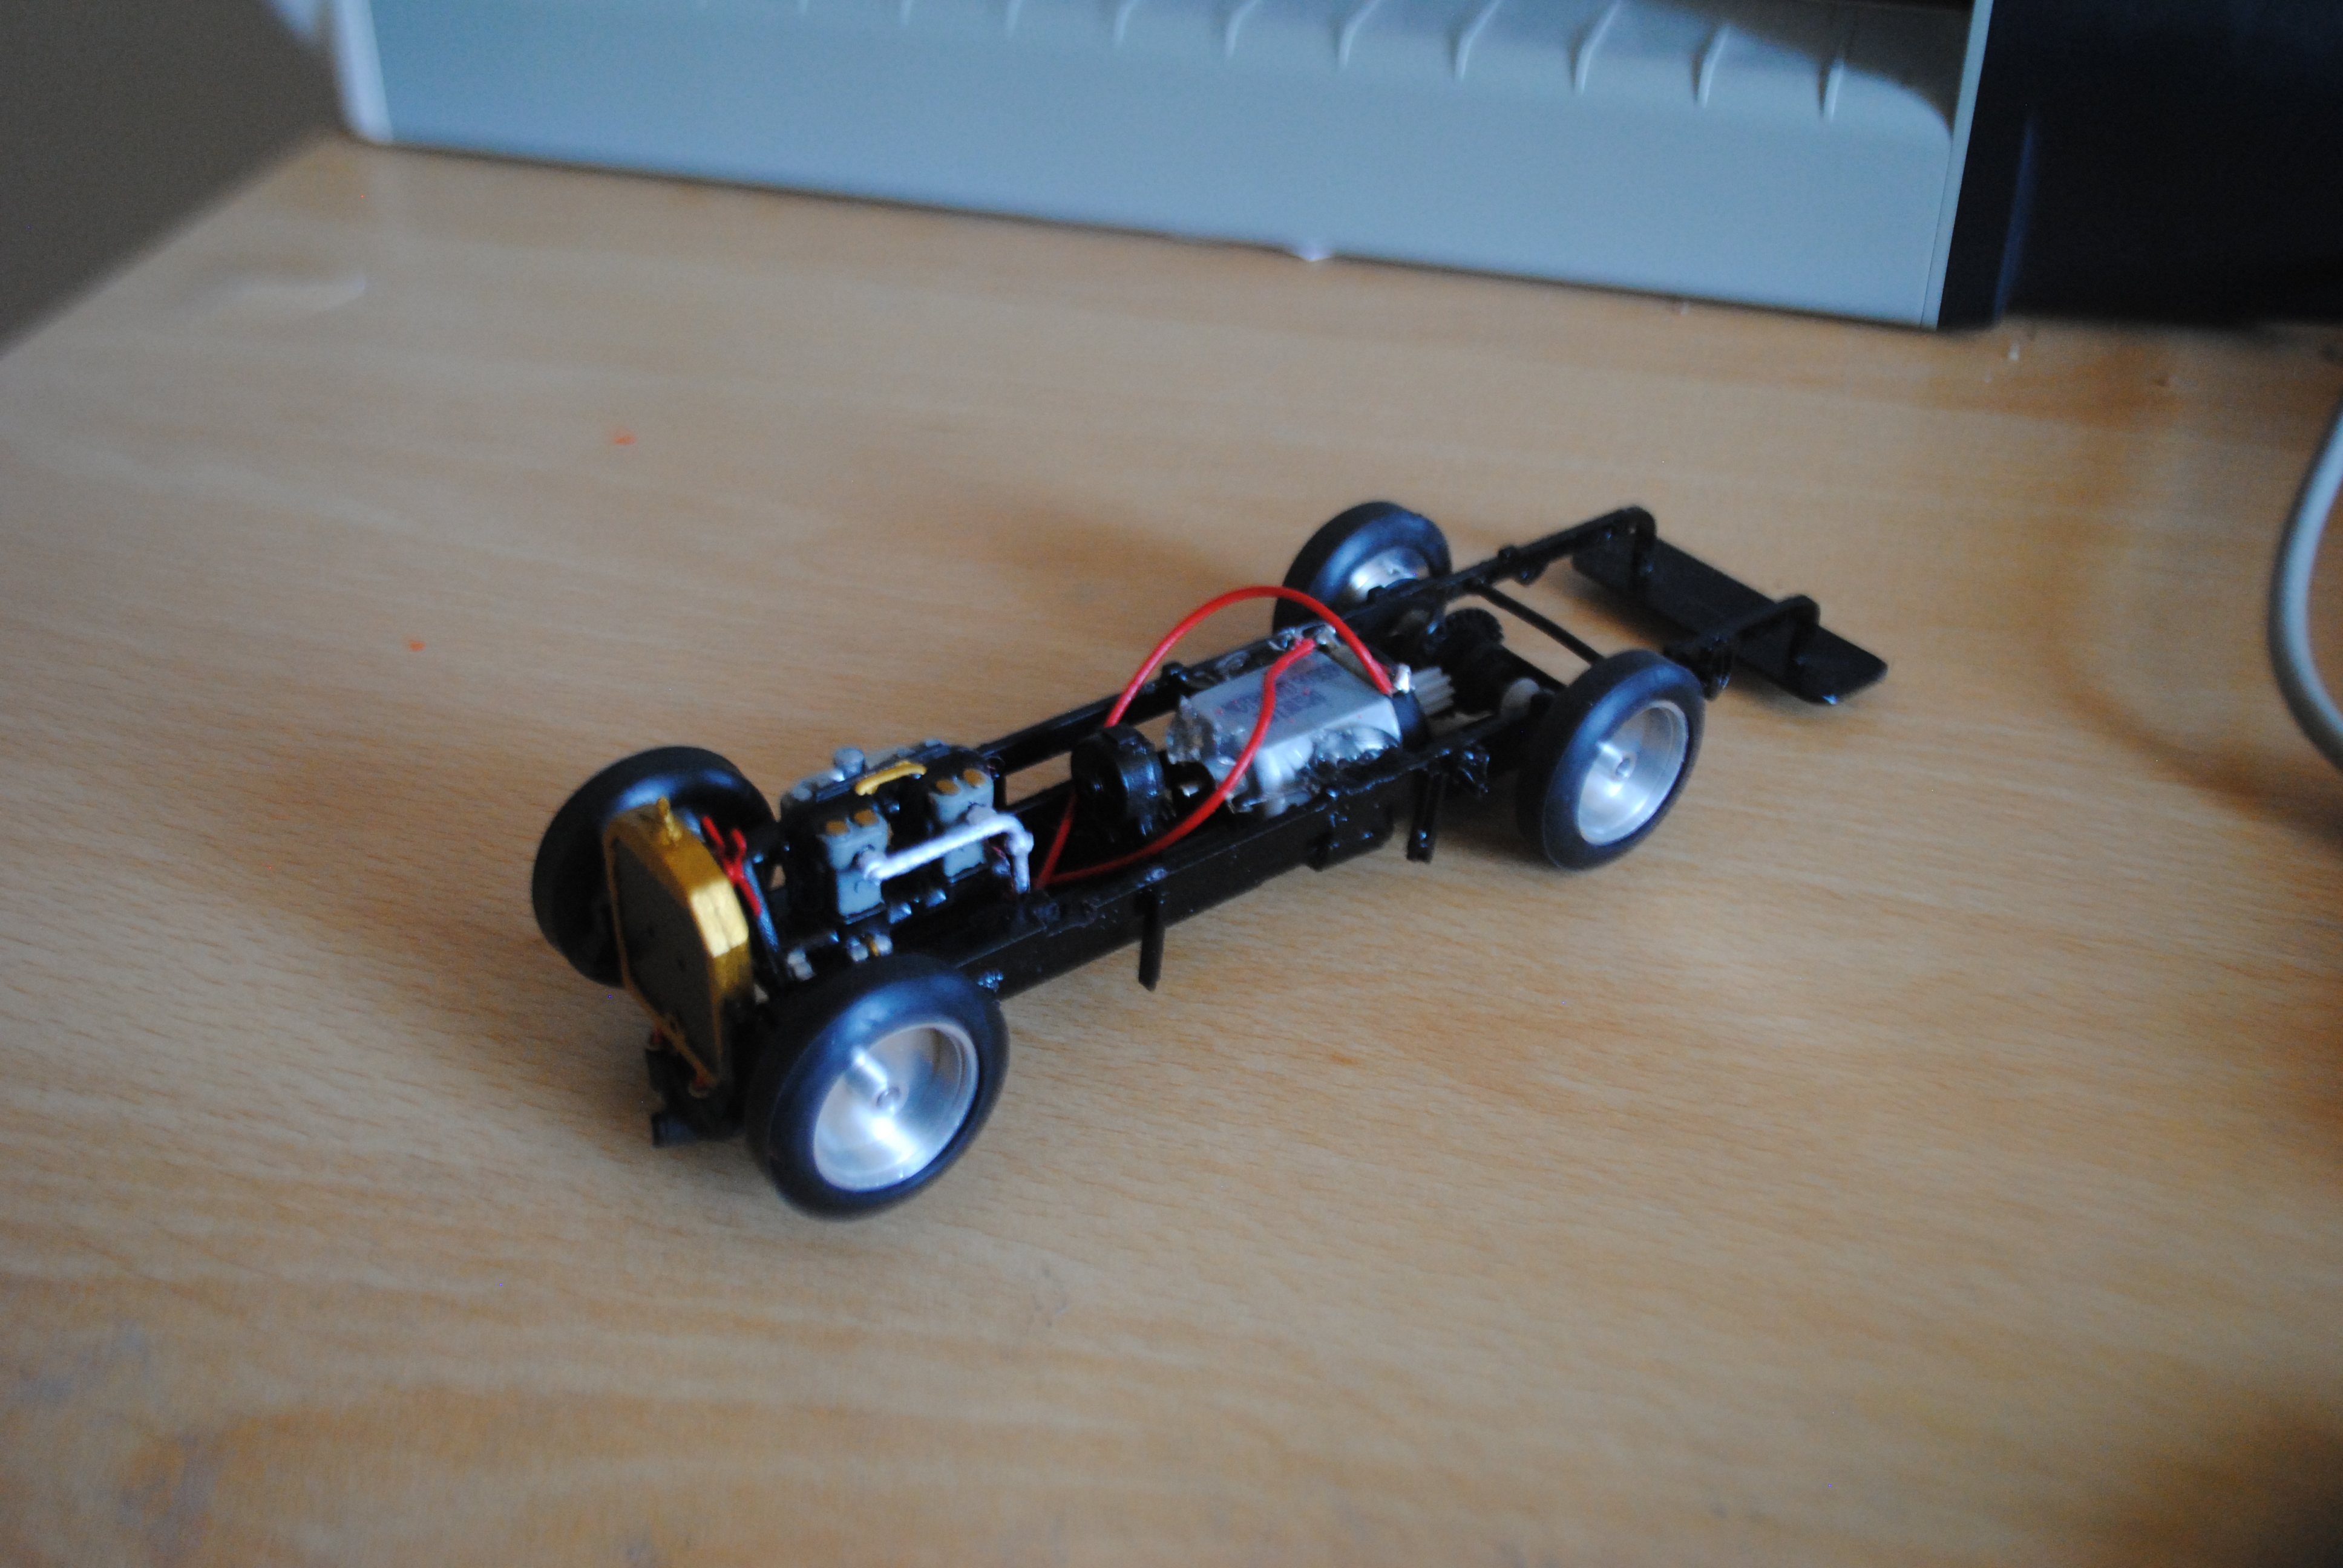
The wheels now all fit and turn freely!
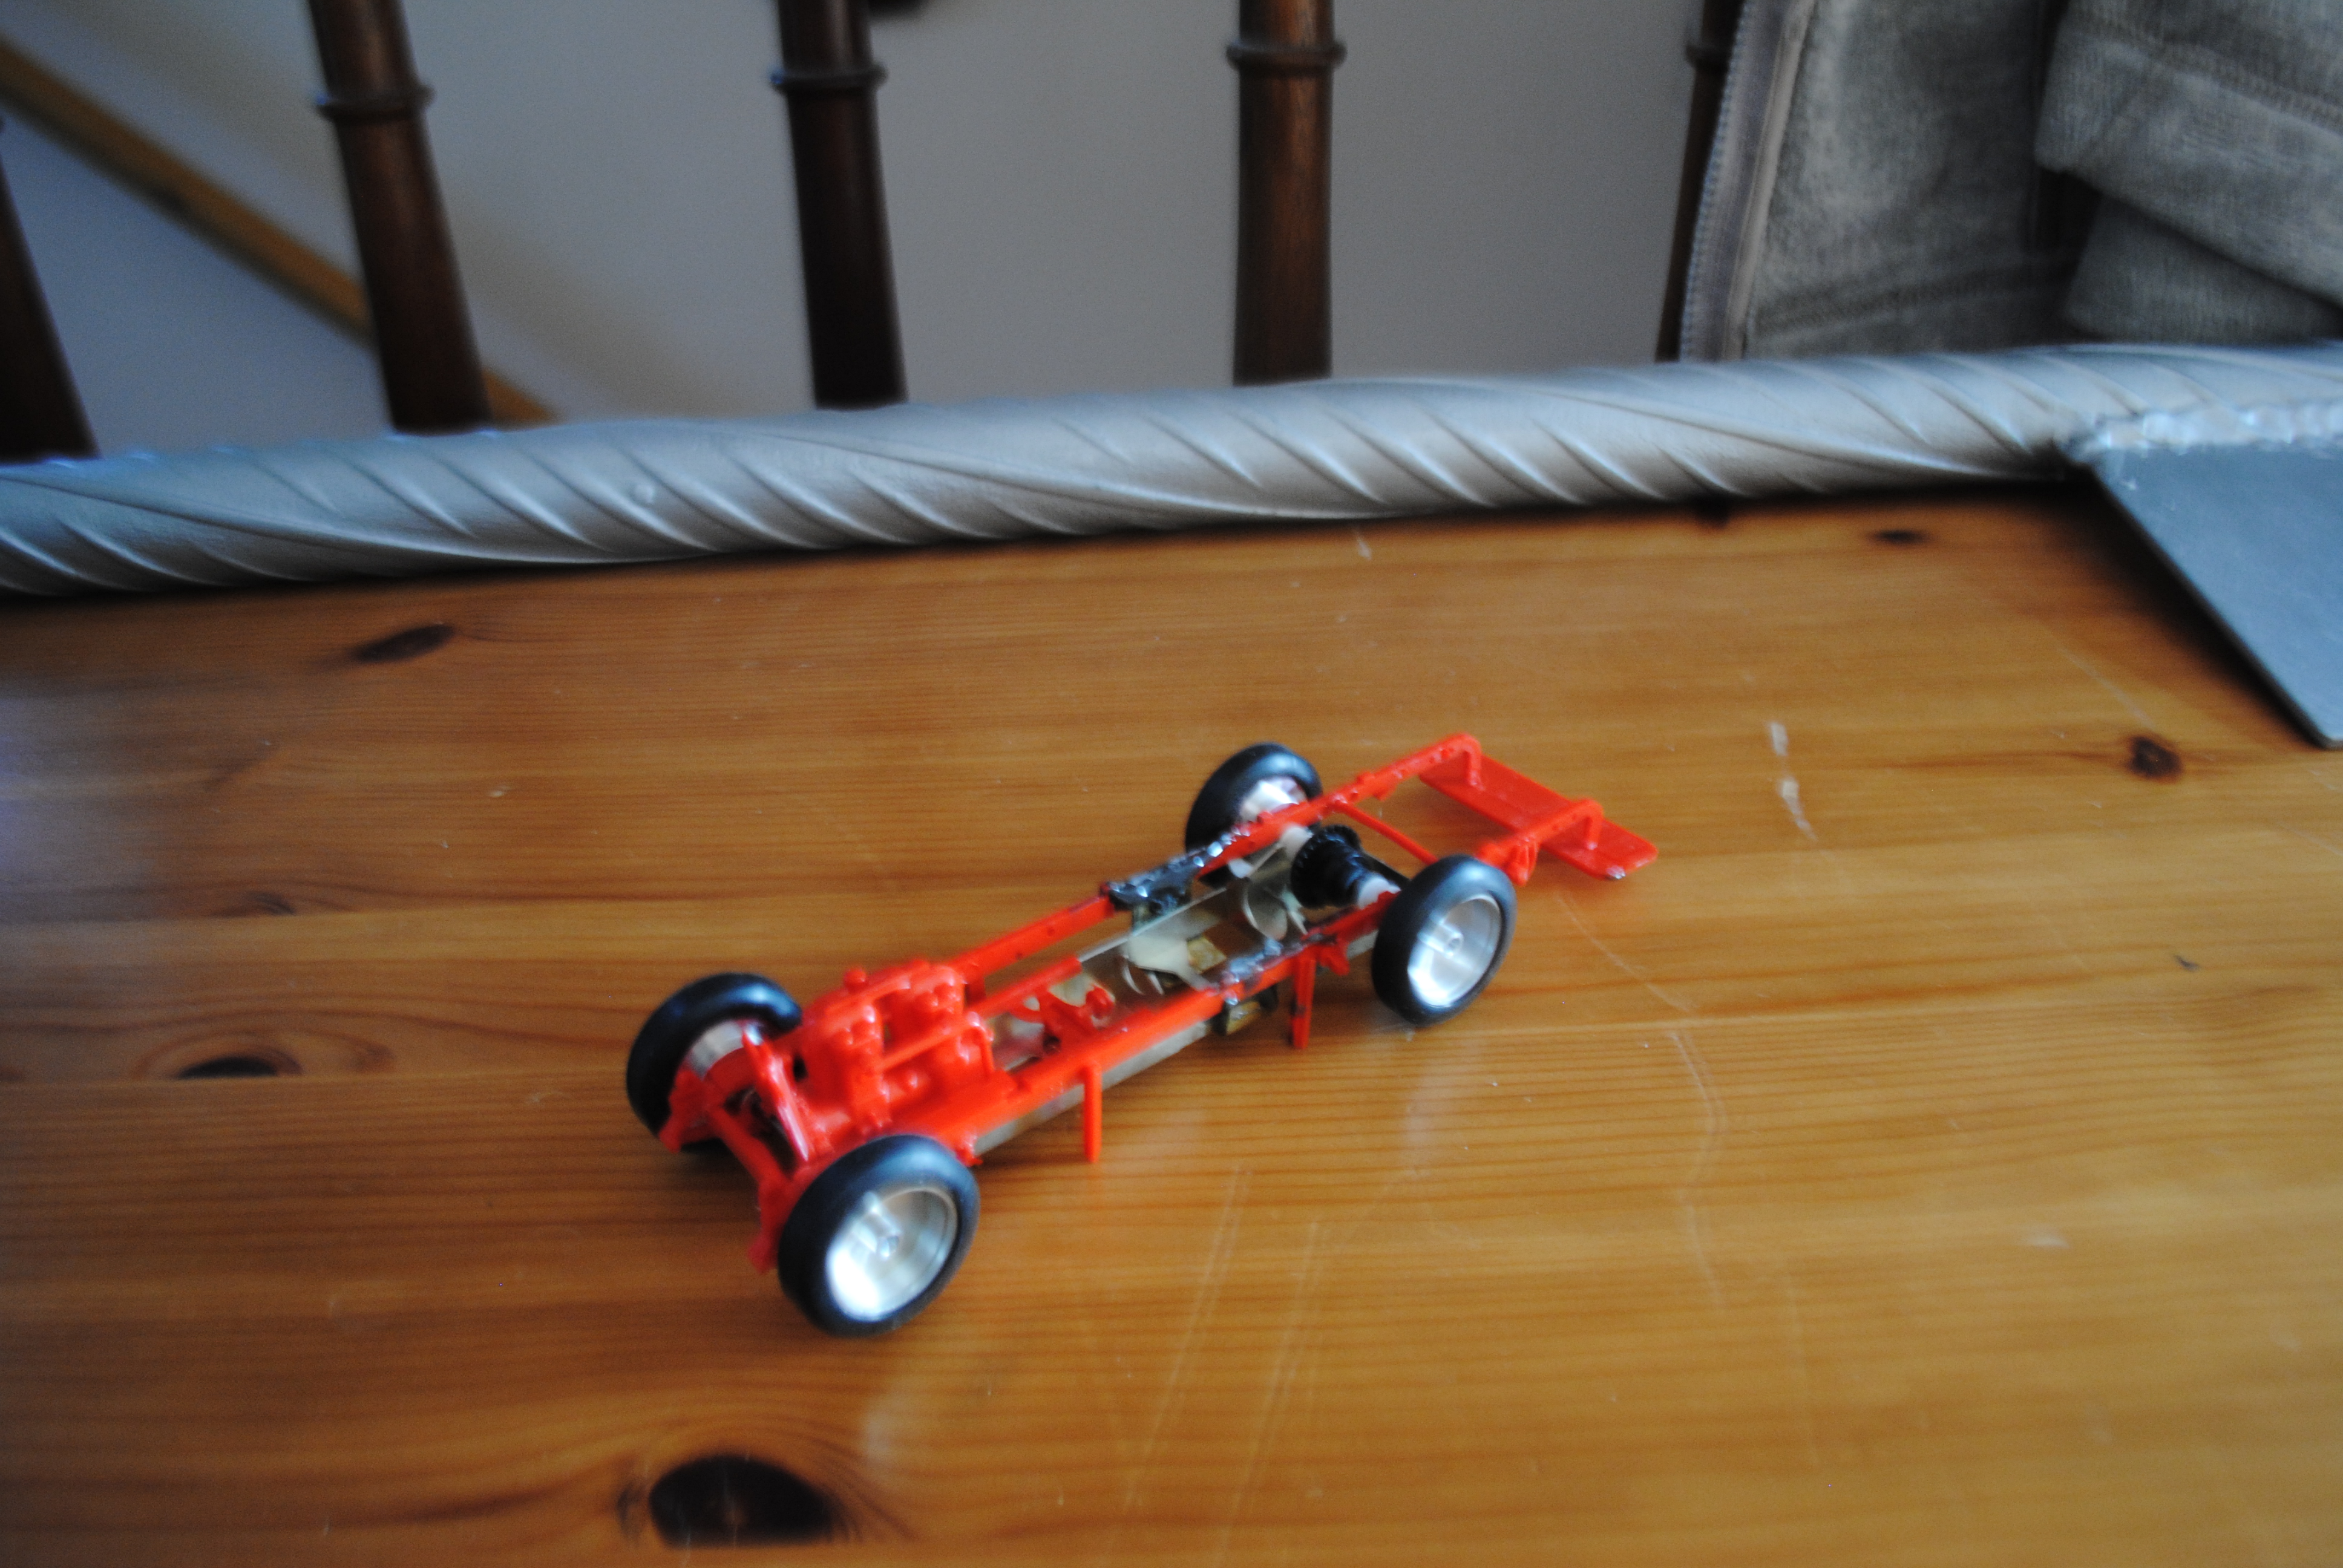
Since the wheels turn freely now means I can spray the chassis!
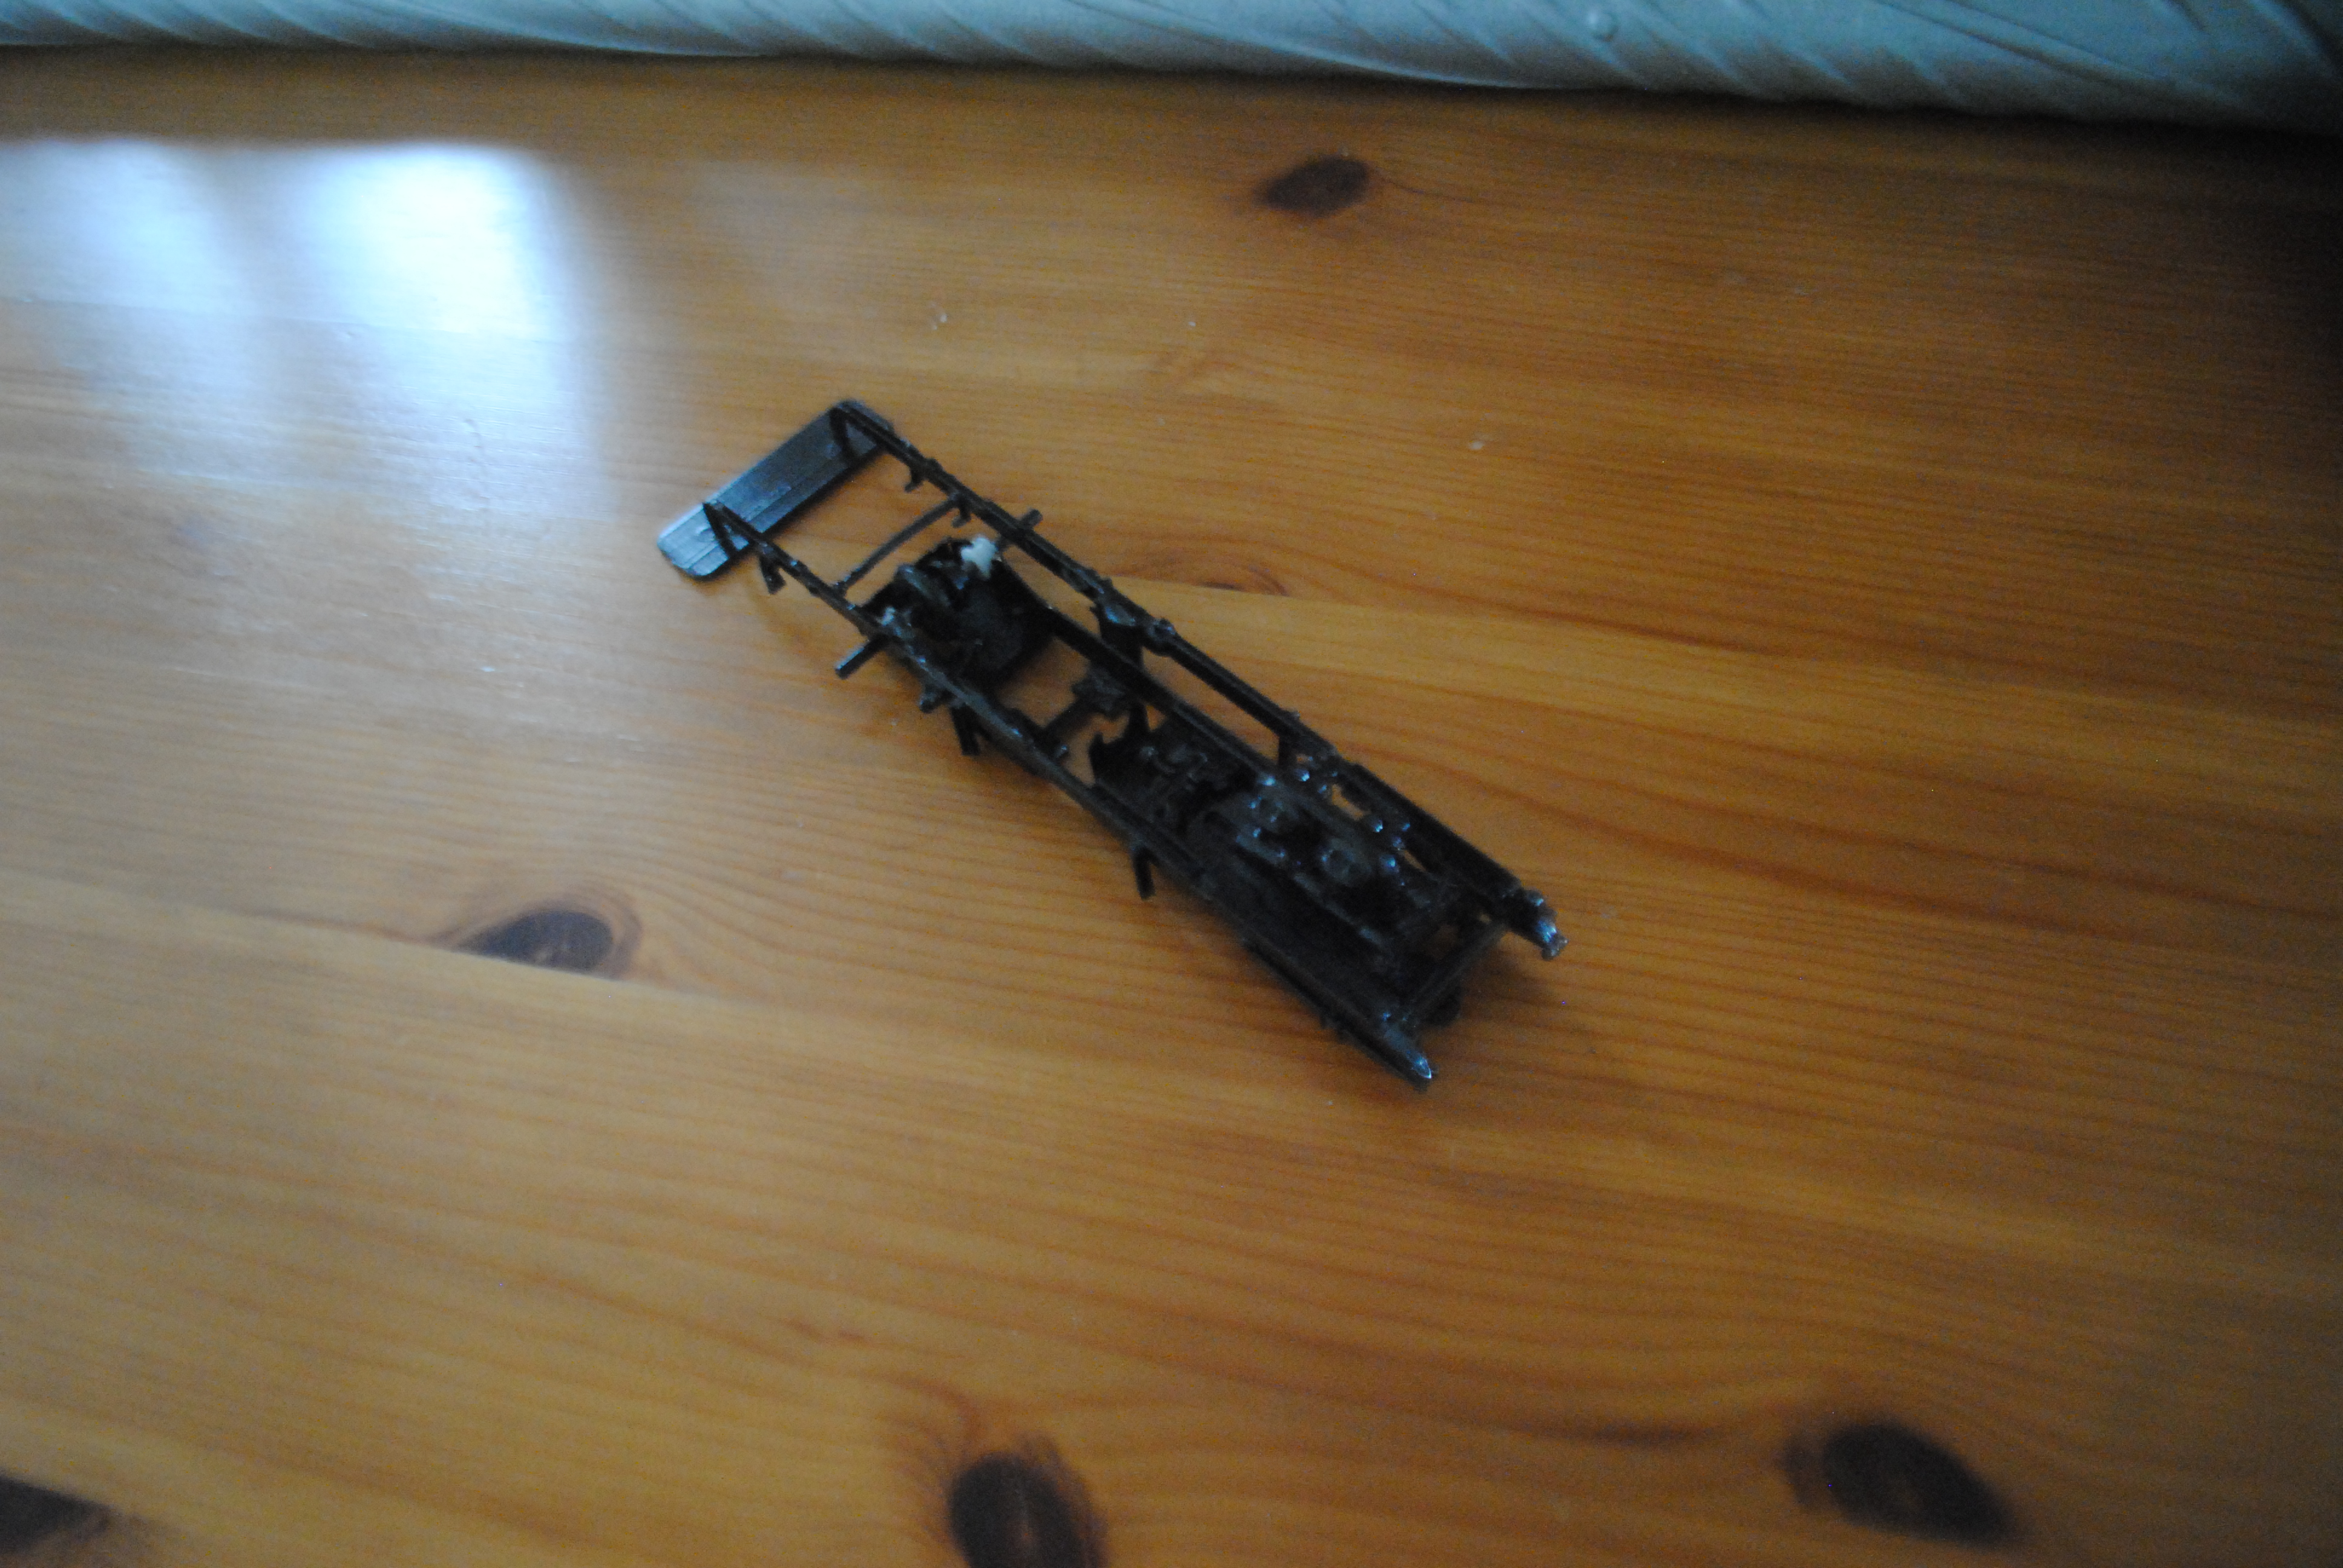
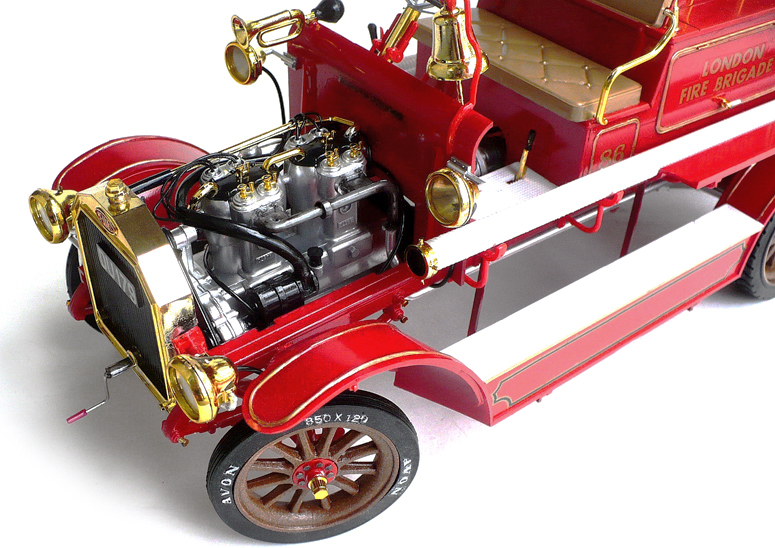
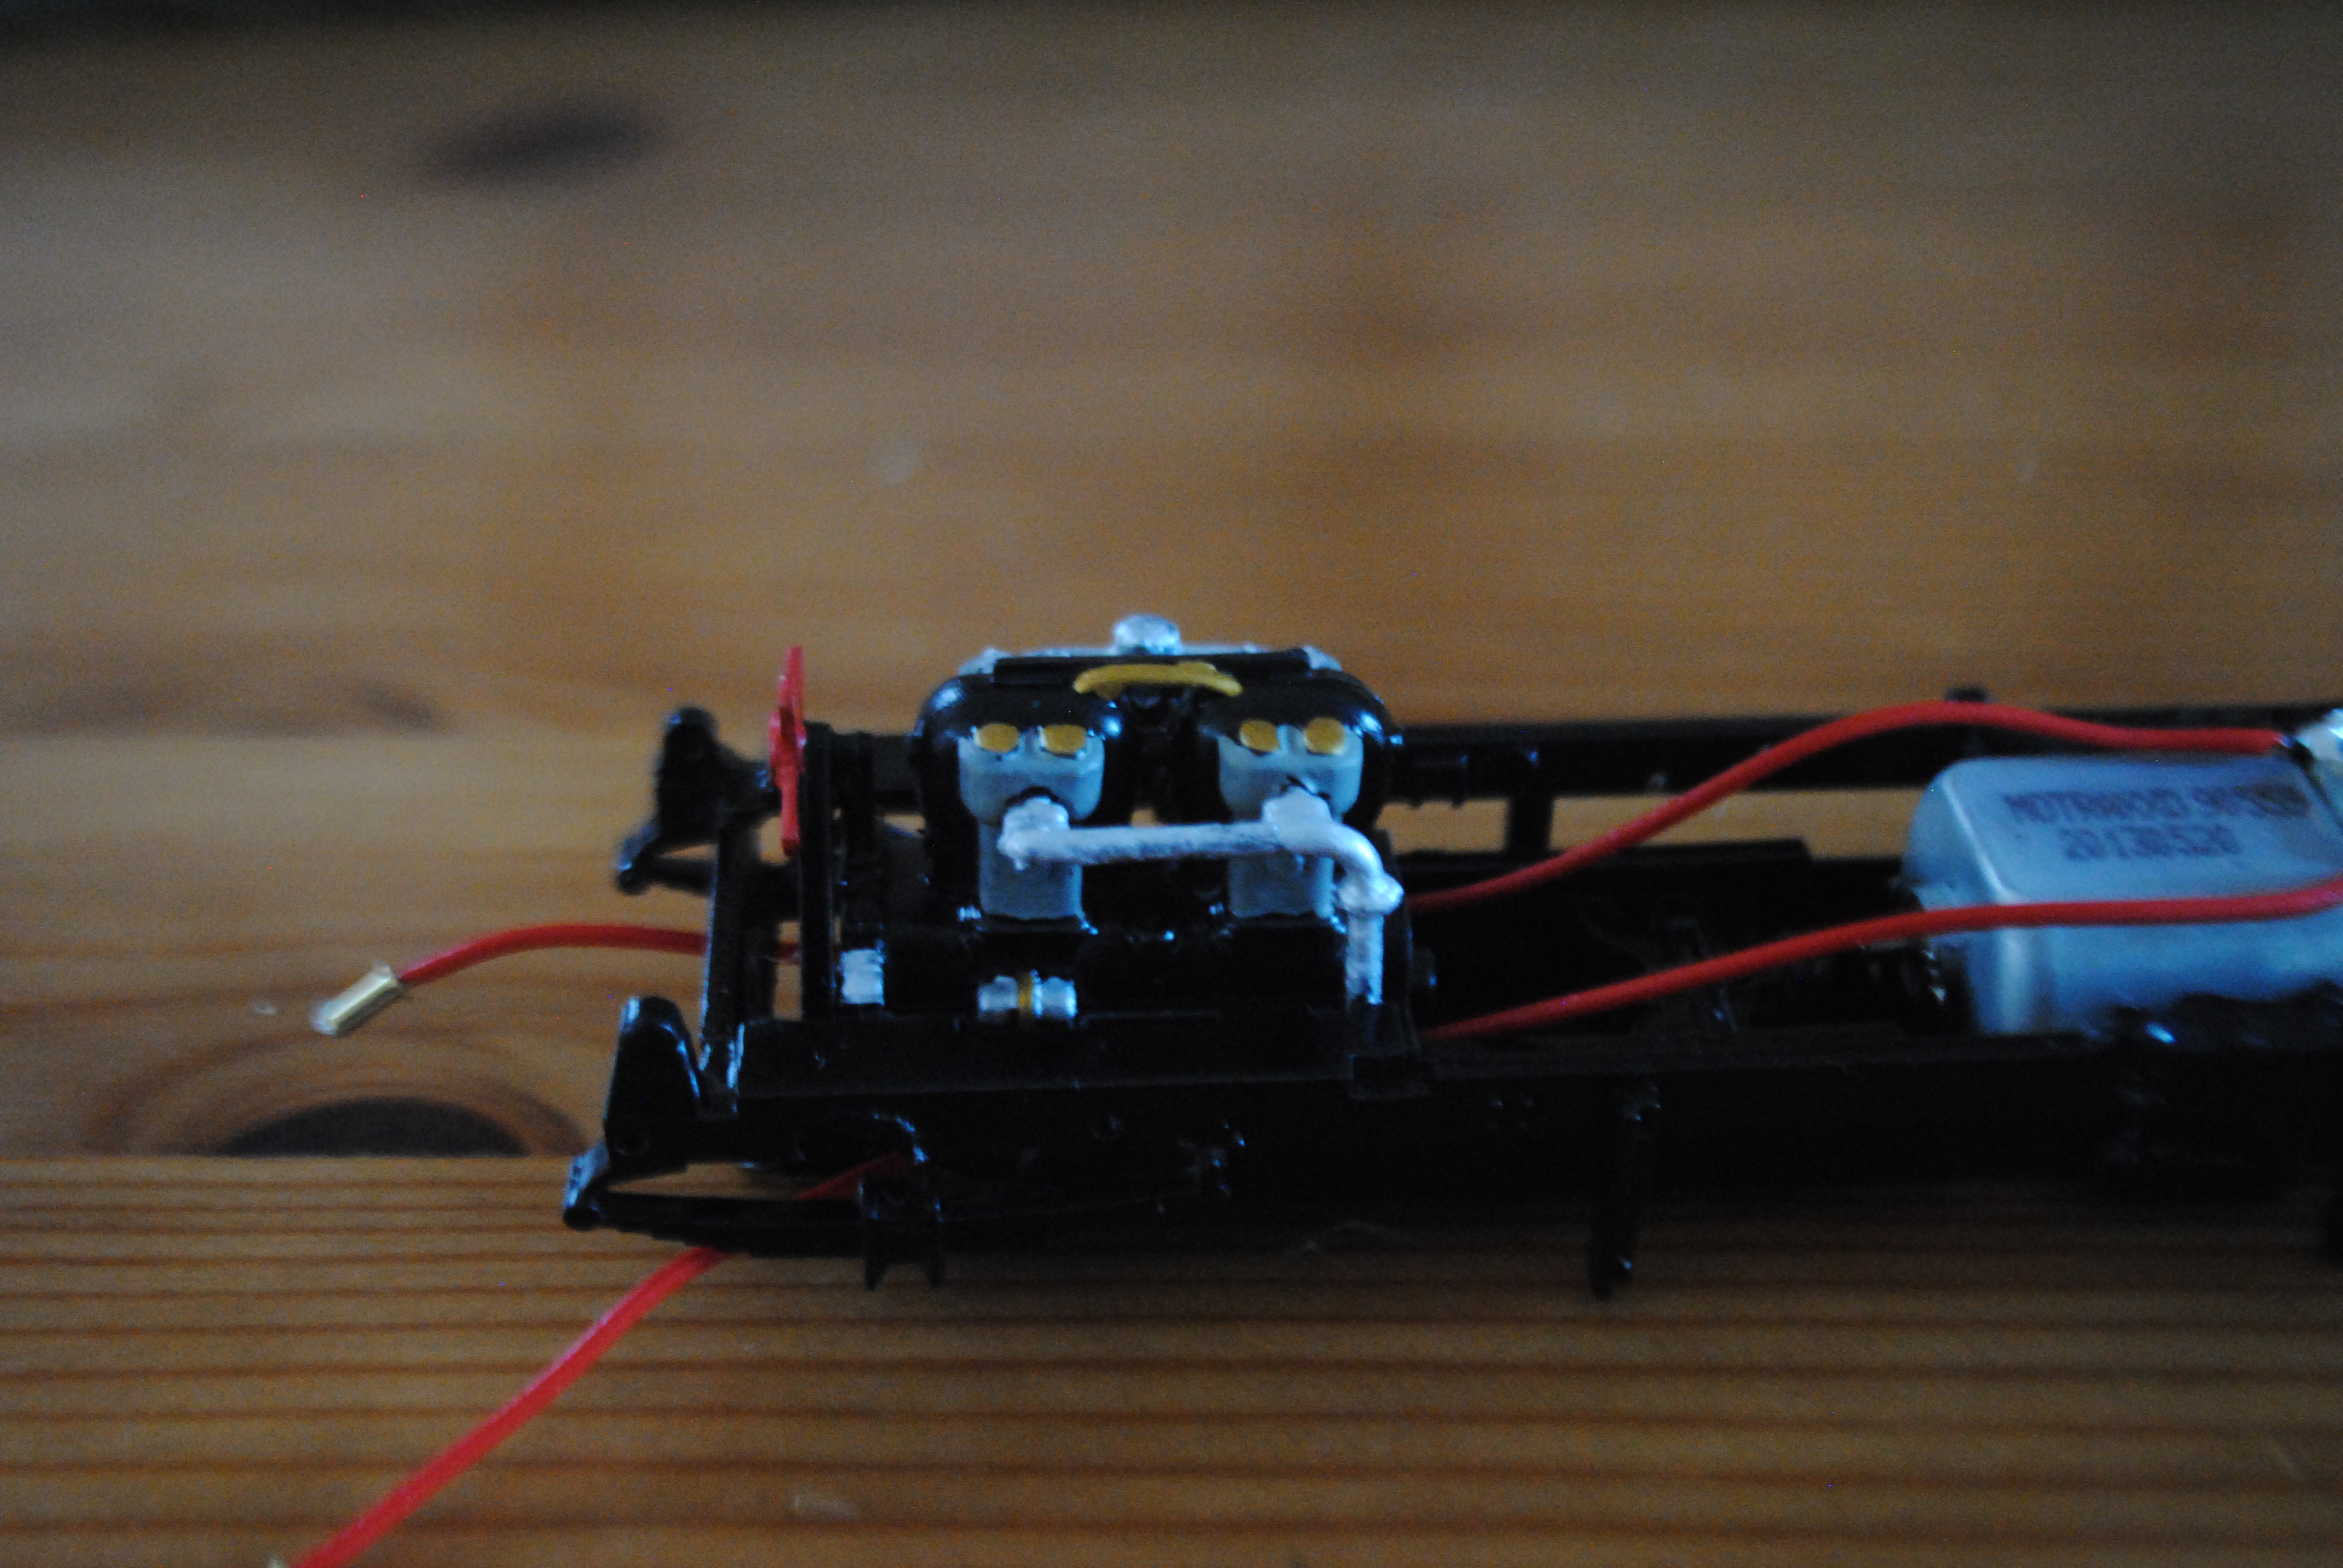
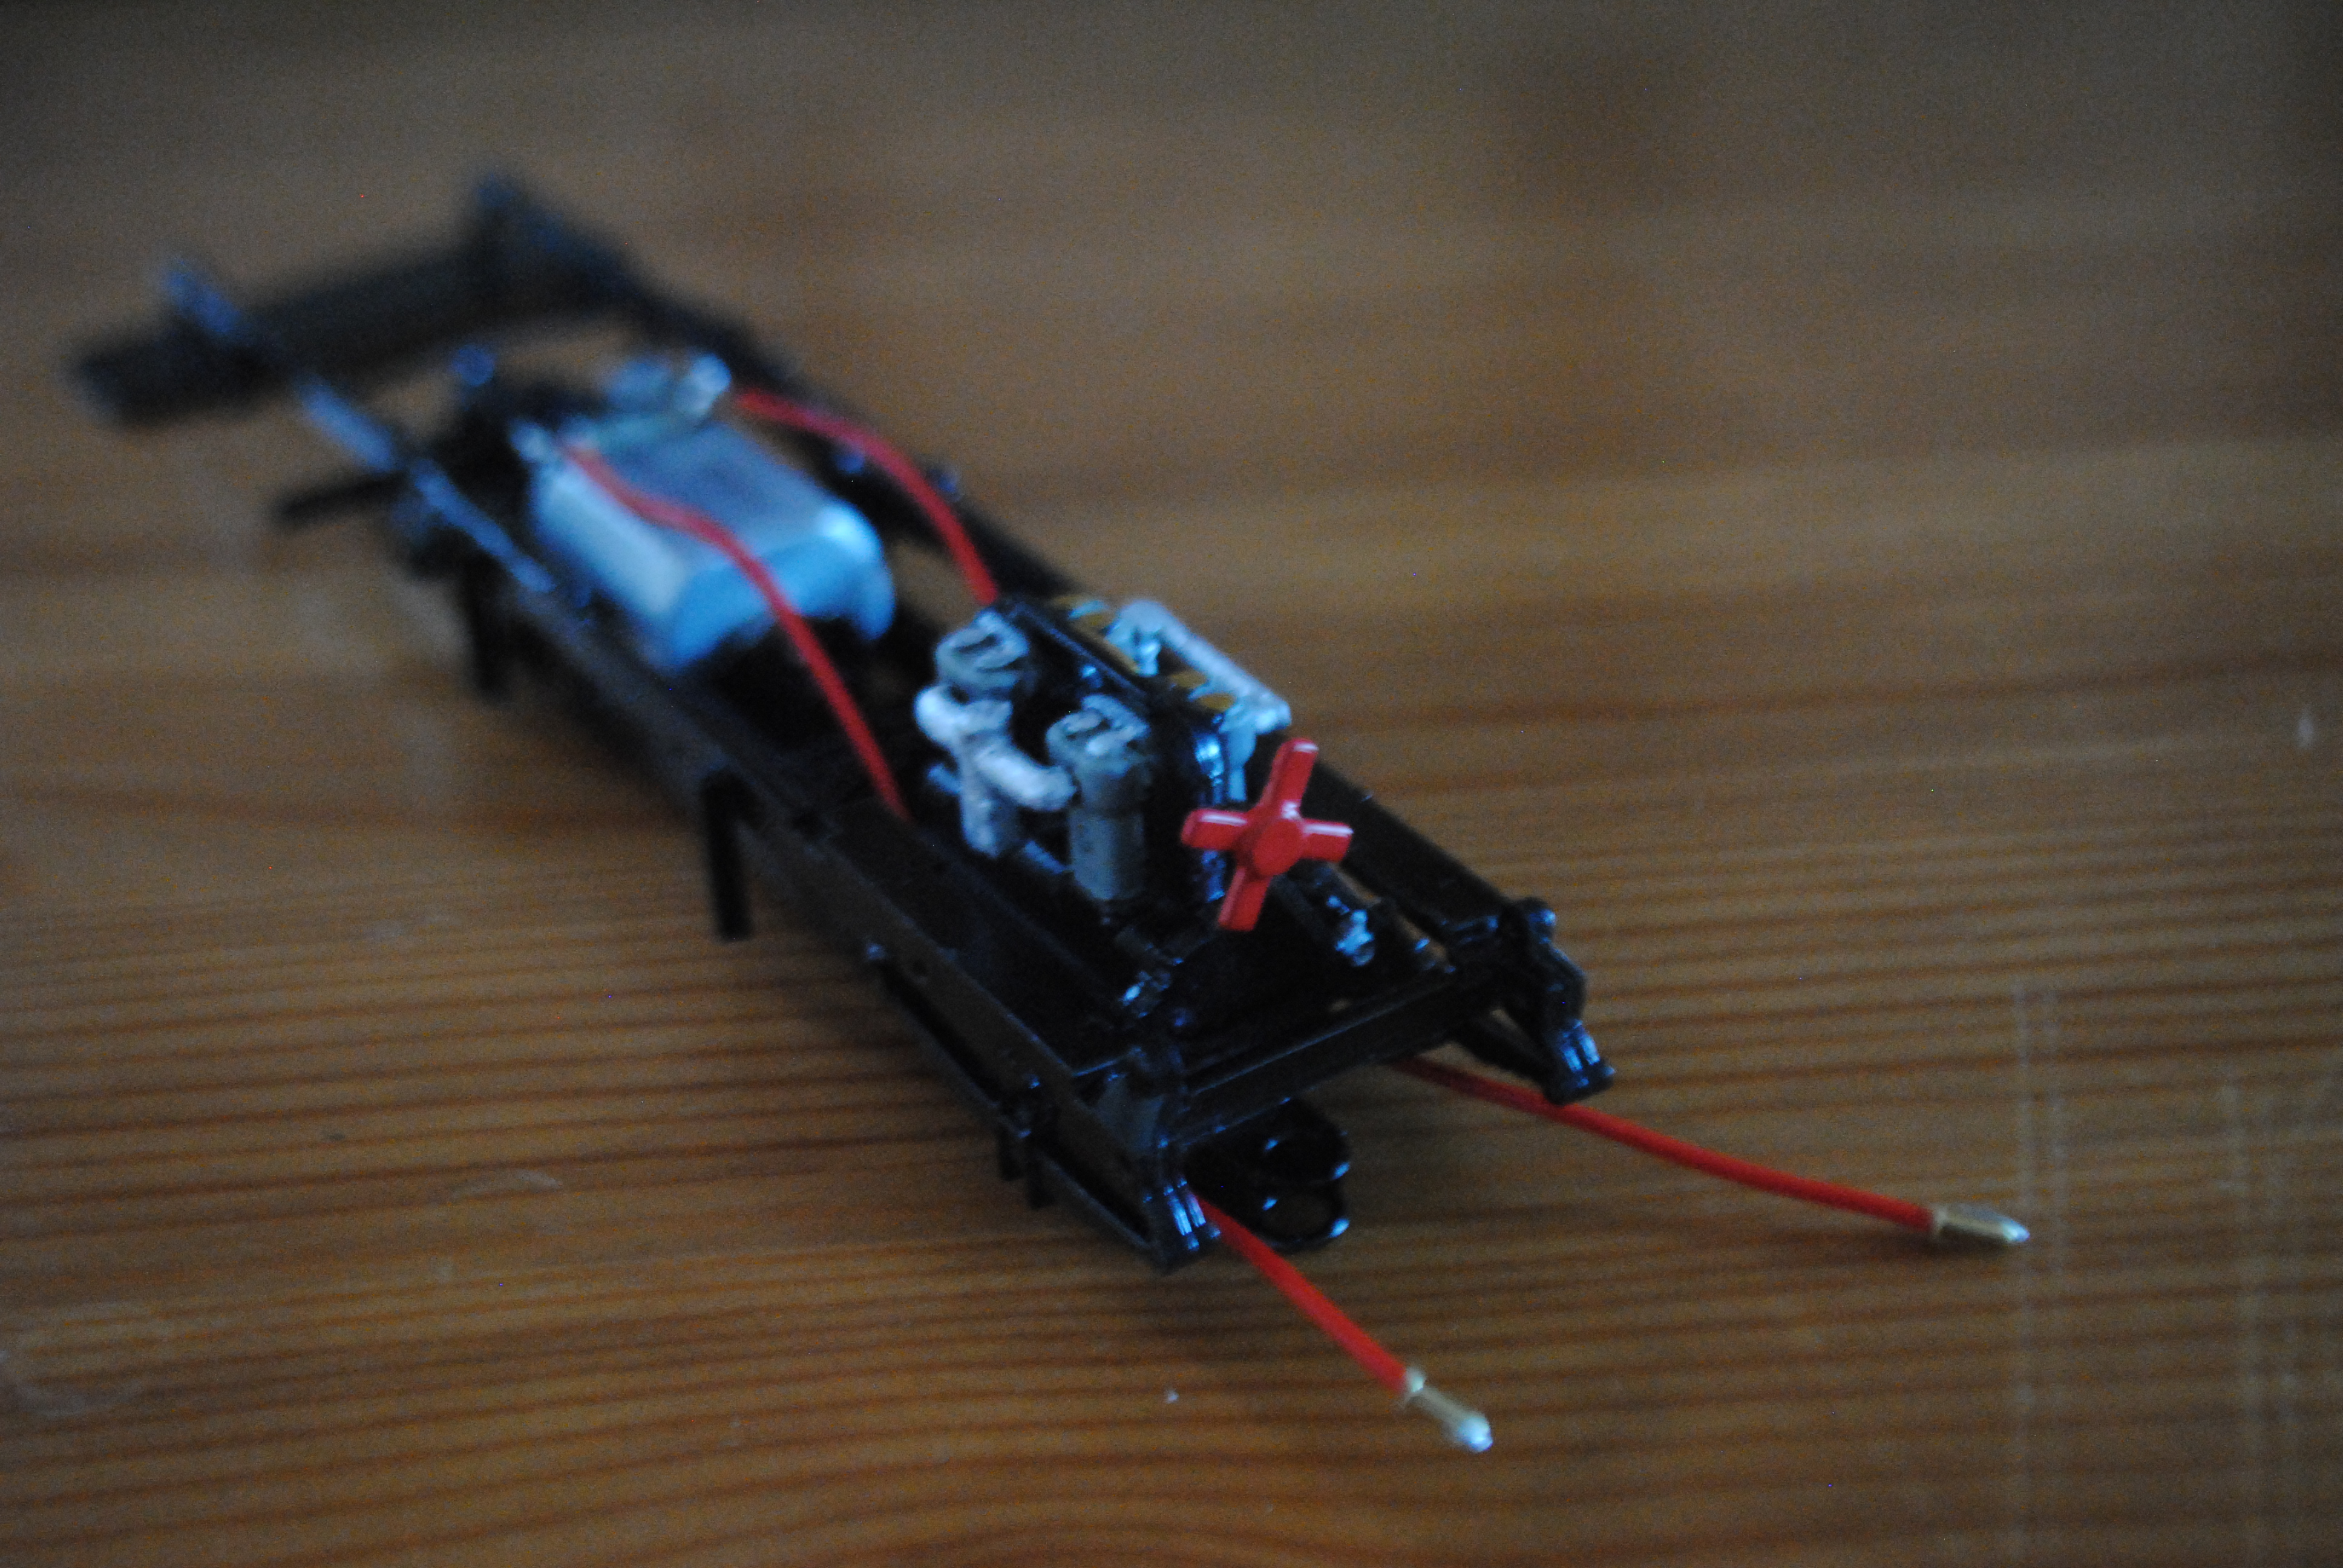
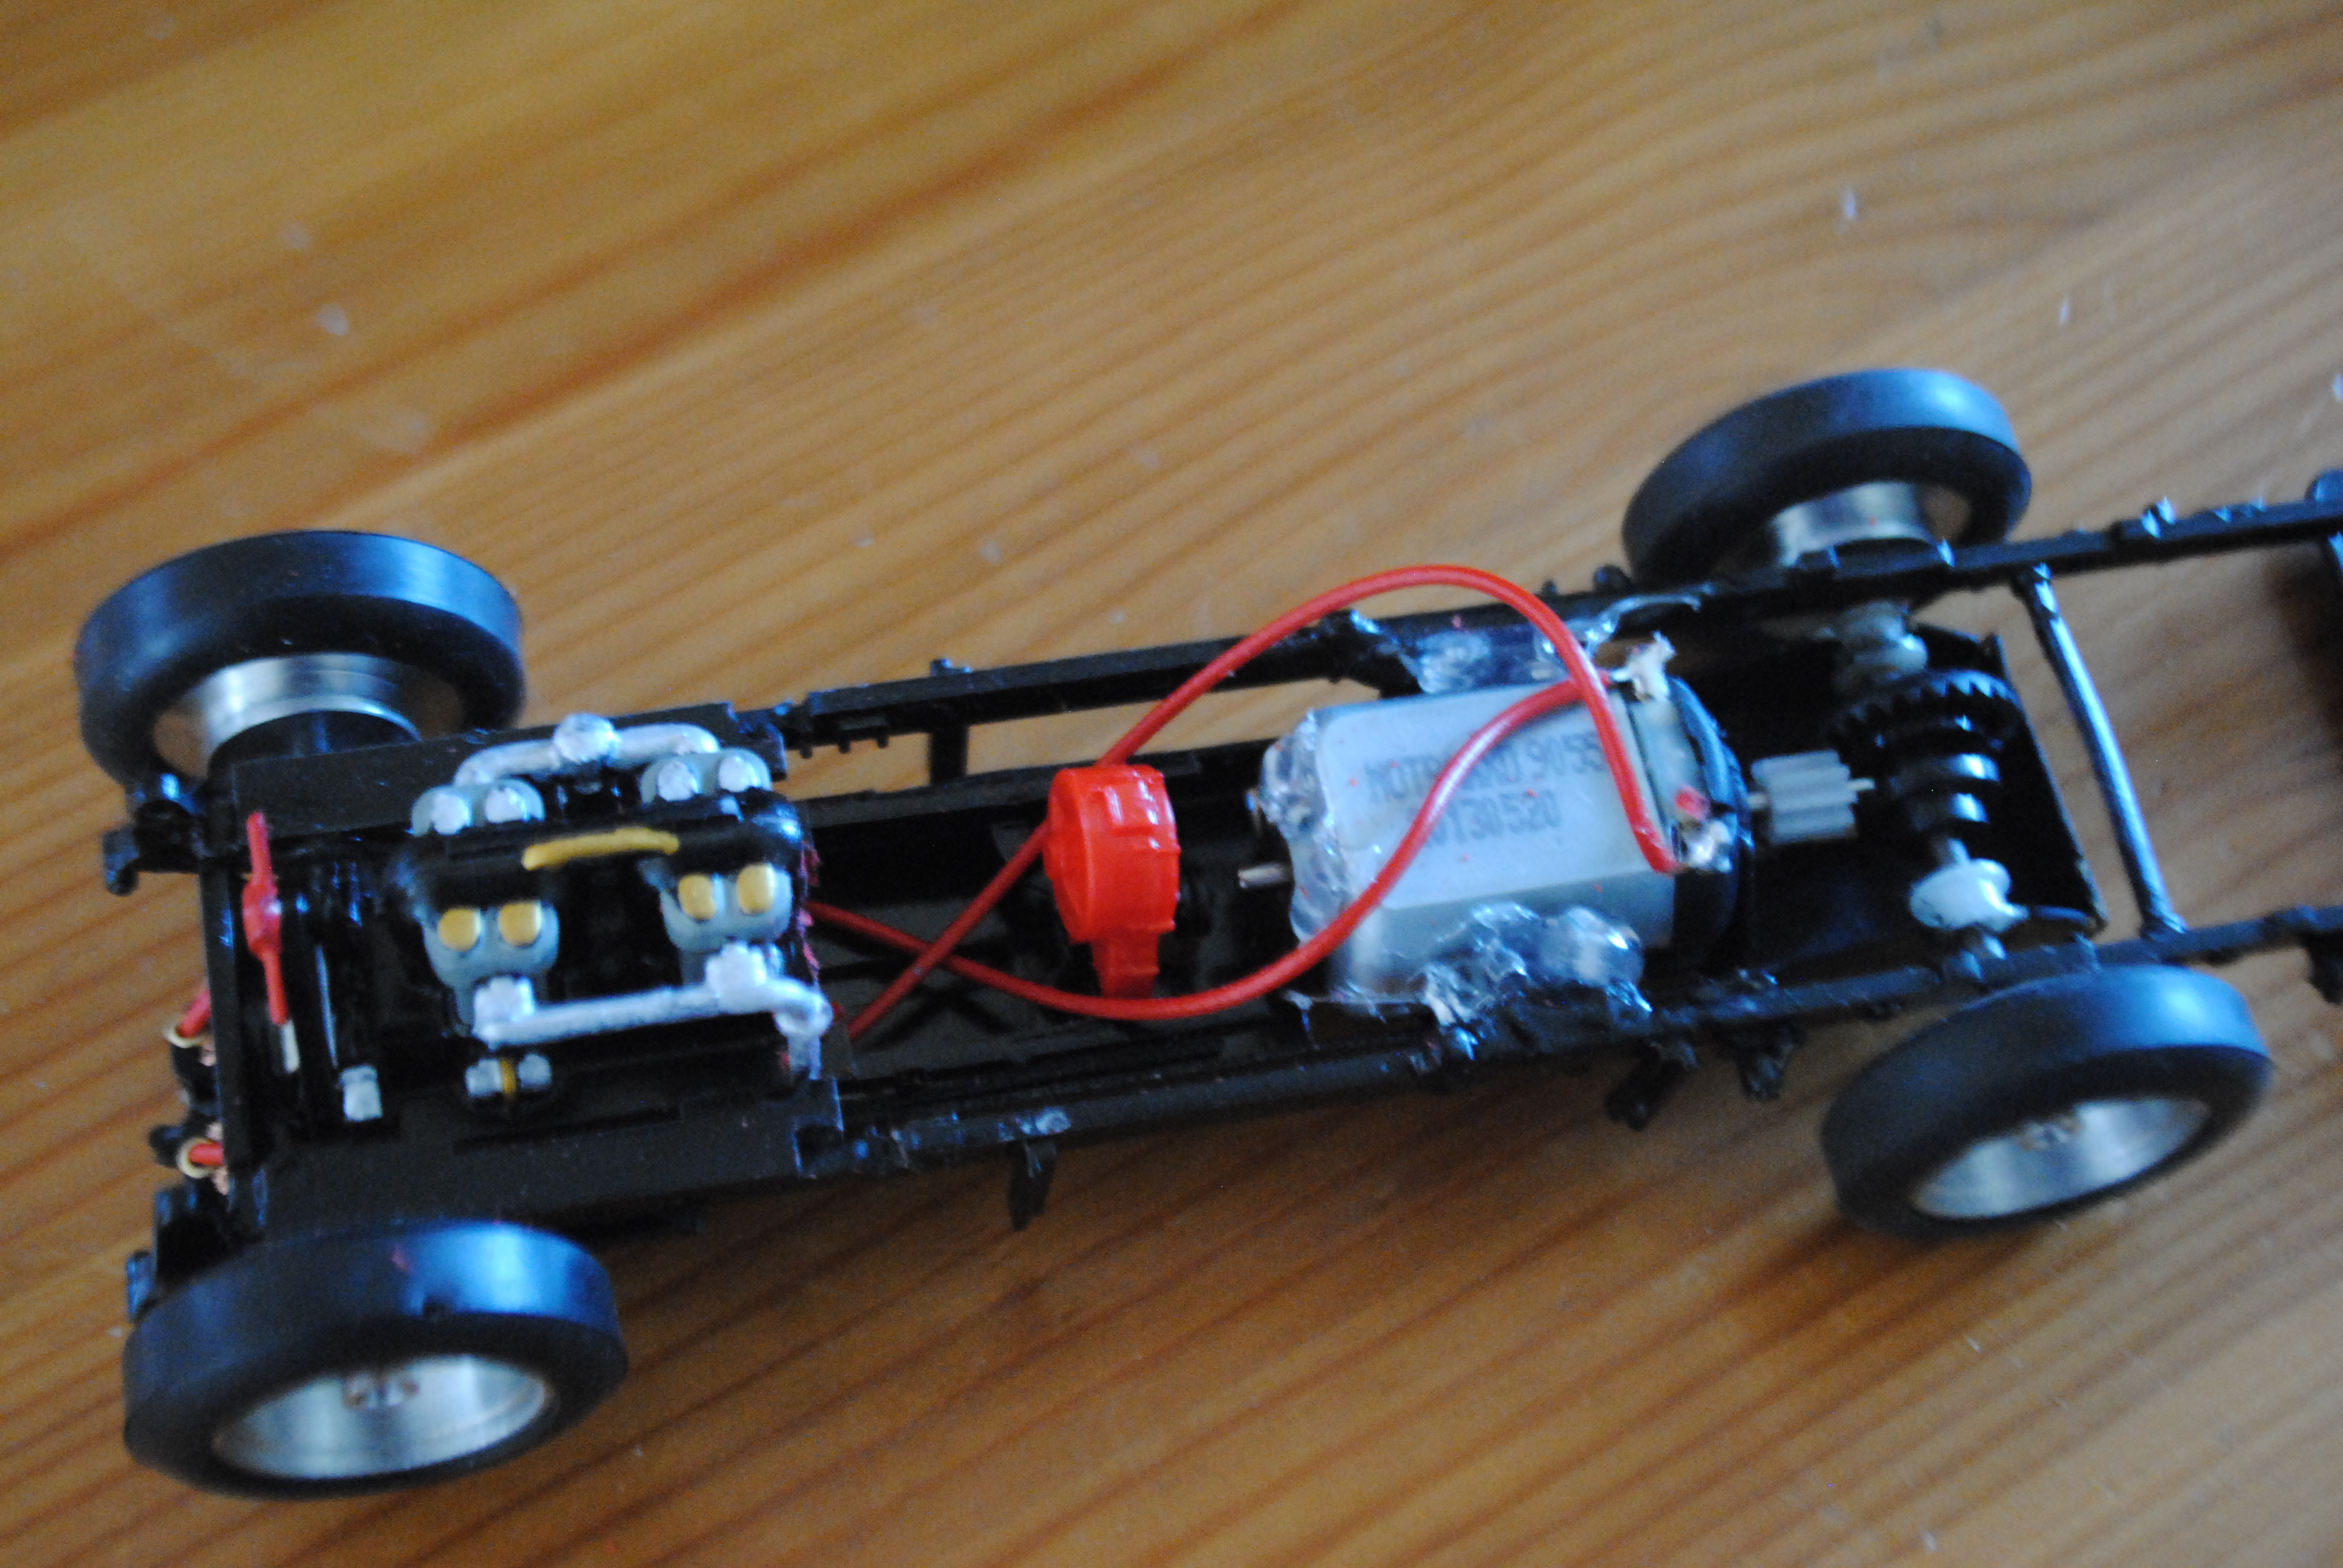
The slot car’s motor can then be put in and the engine can be painted. I used this picture as a reference.
The wiring for the slot car’s actual motor passes nicely underneath two channels by the false engine. This means the wiring passes through the engine bay completely invisibly.

So far so good!

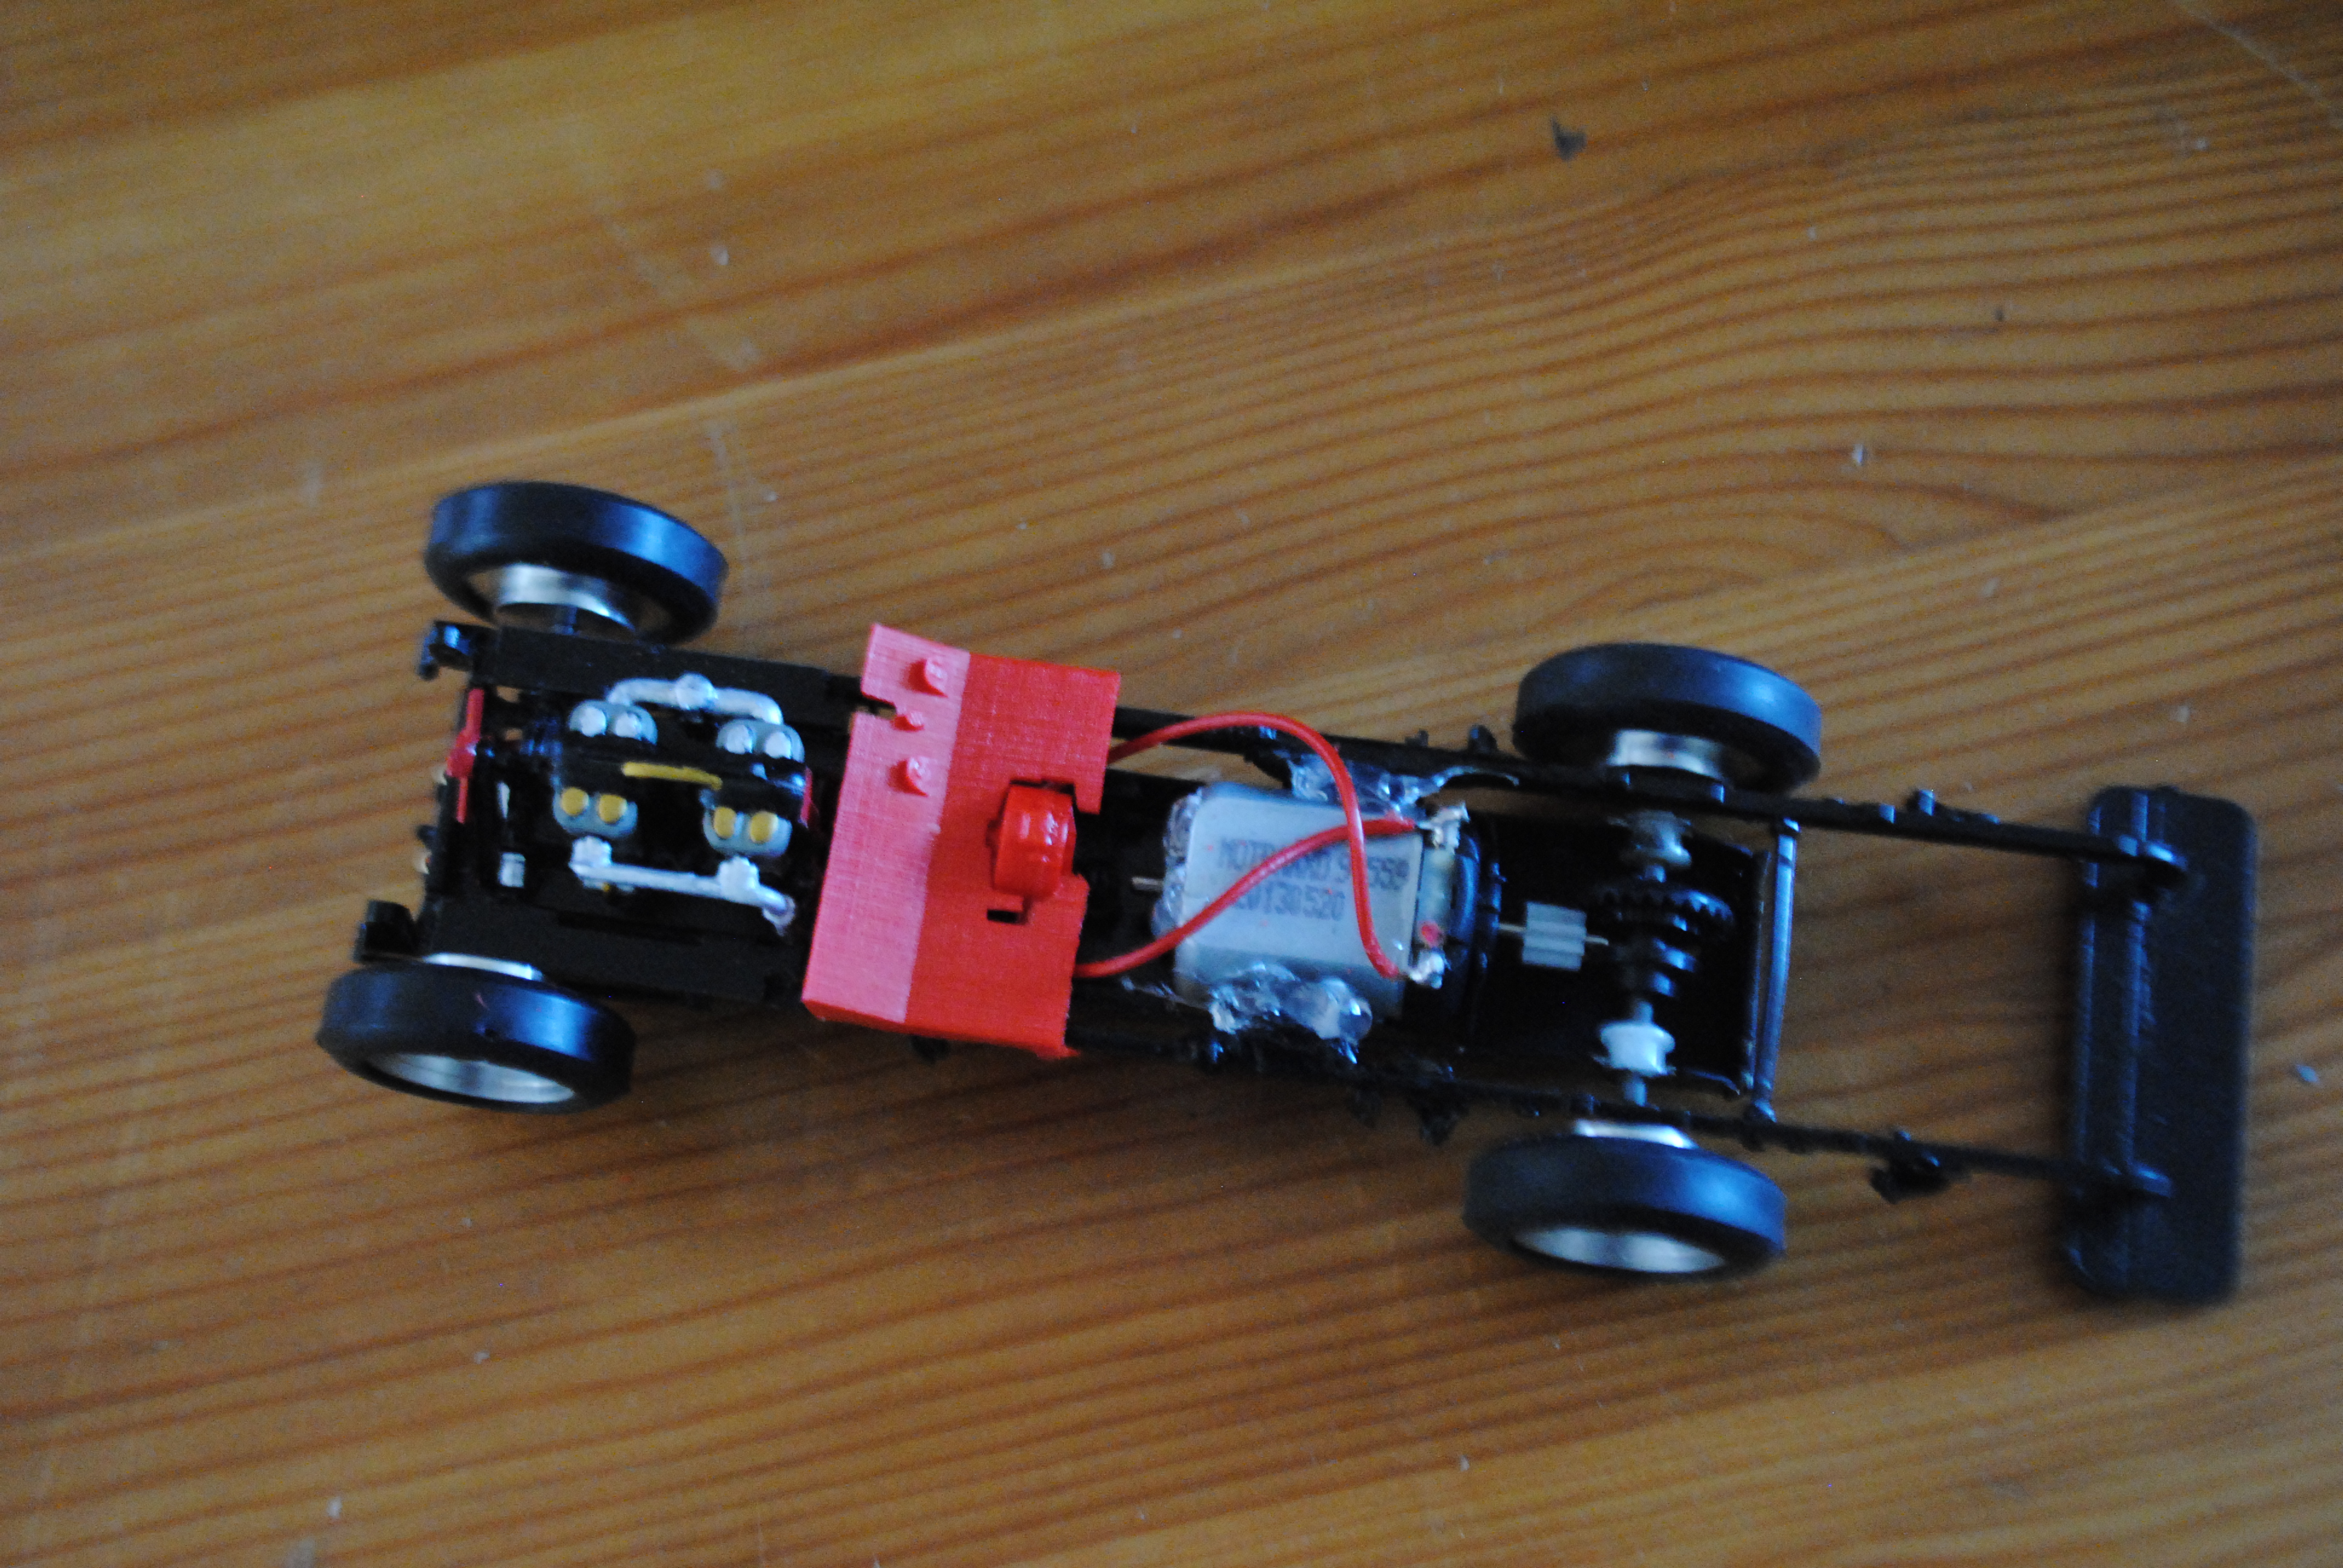
Next part was to get the radiator and front firewall mounted.
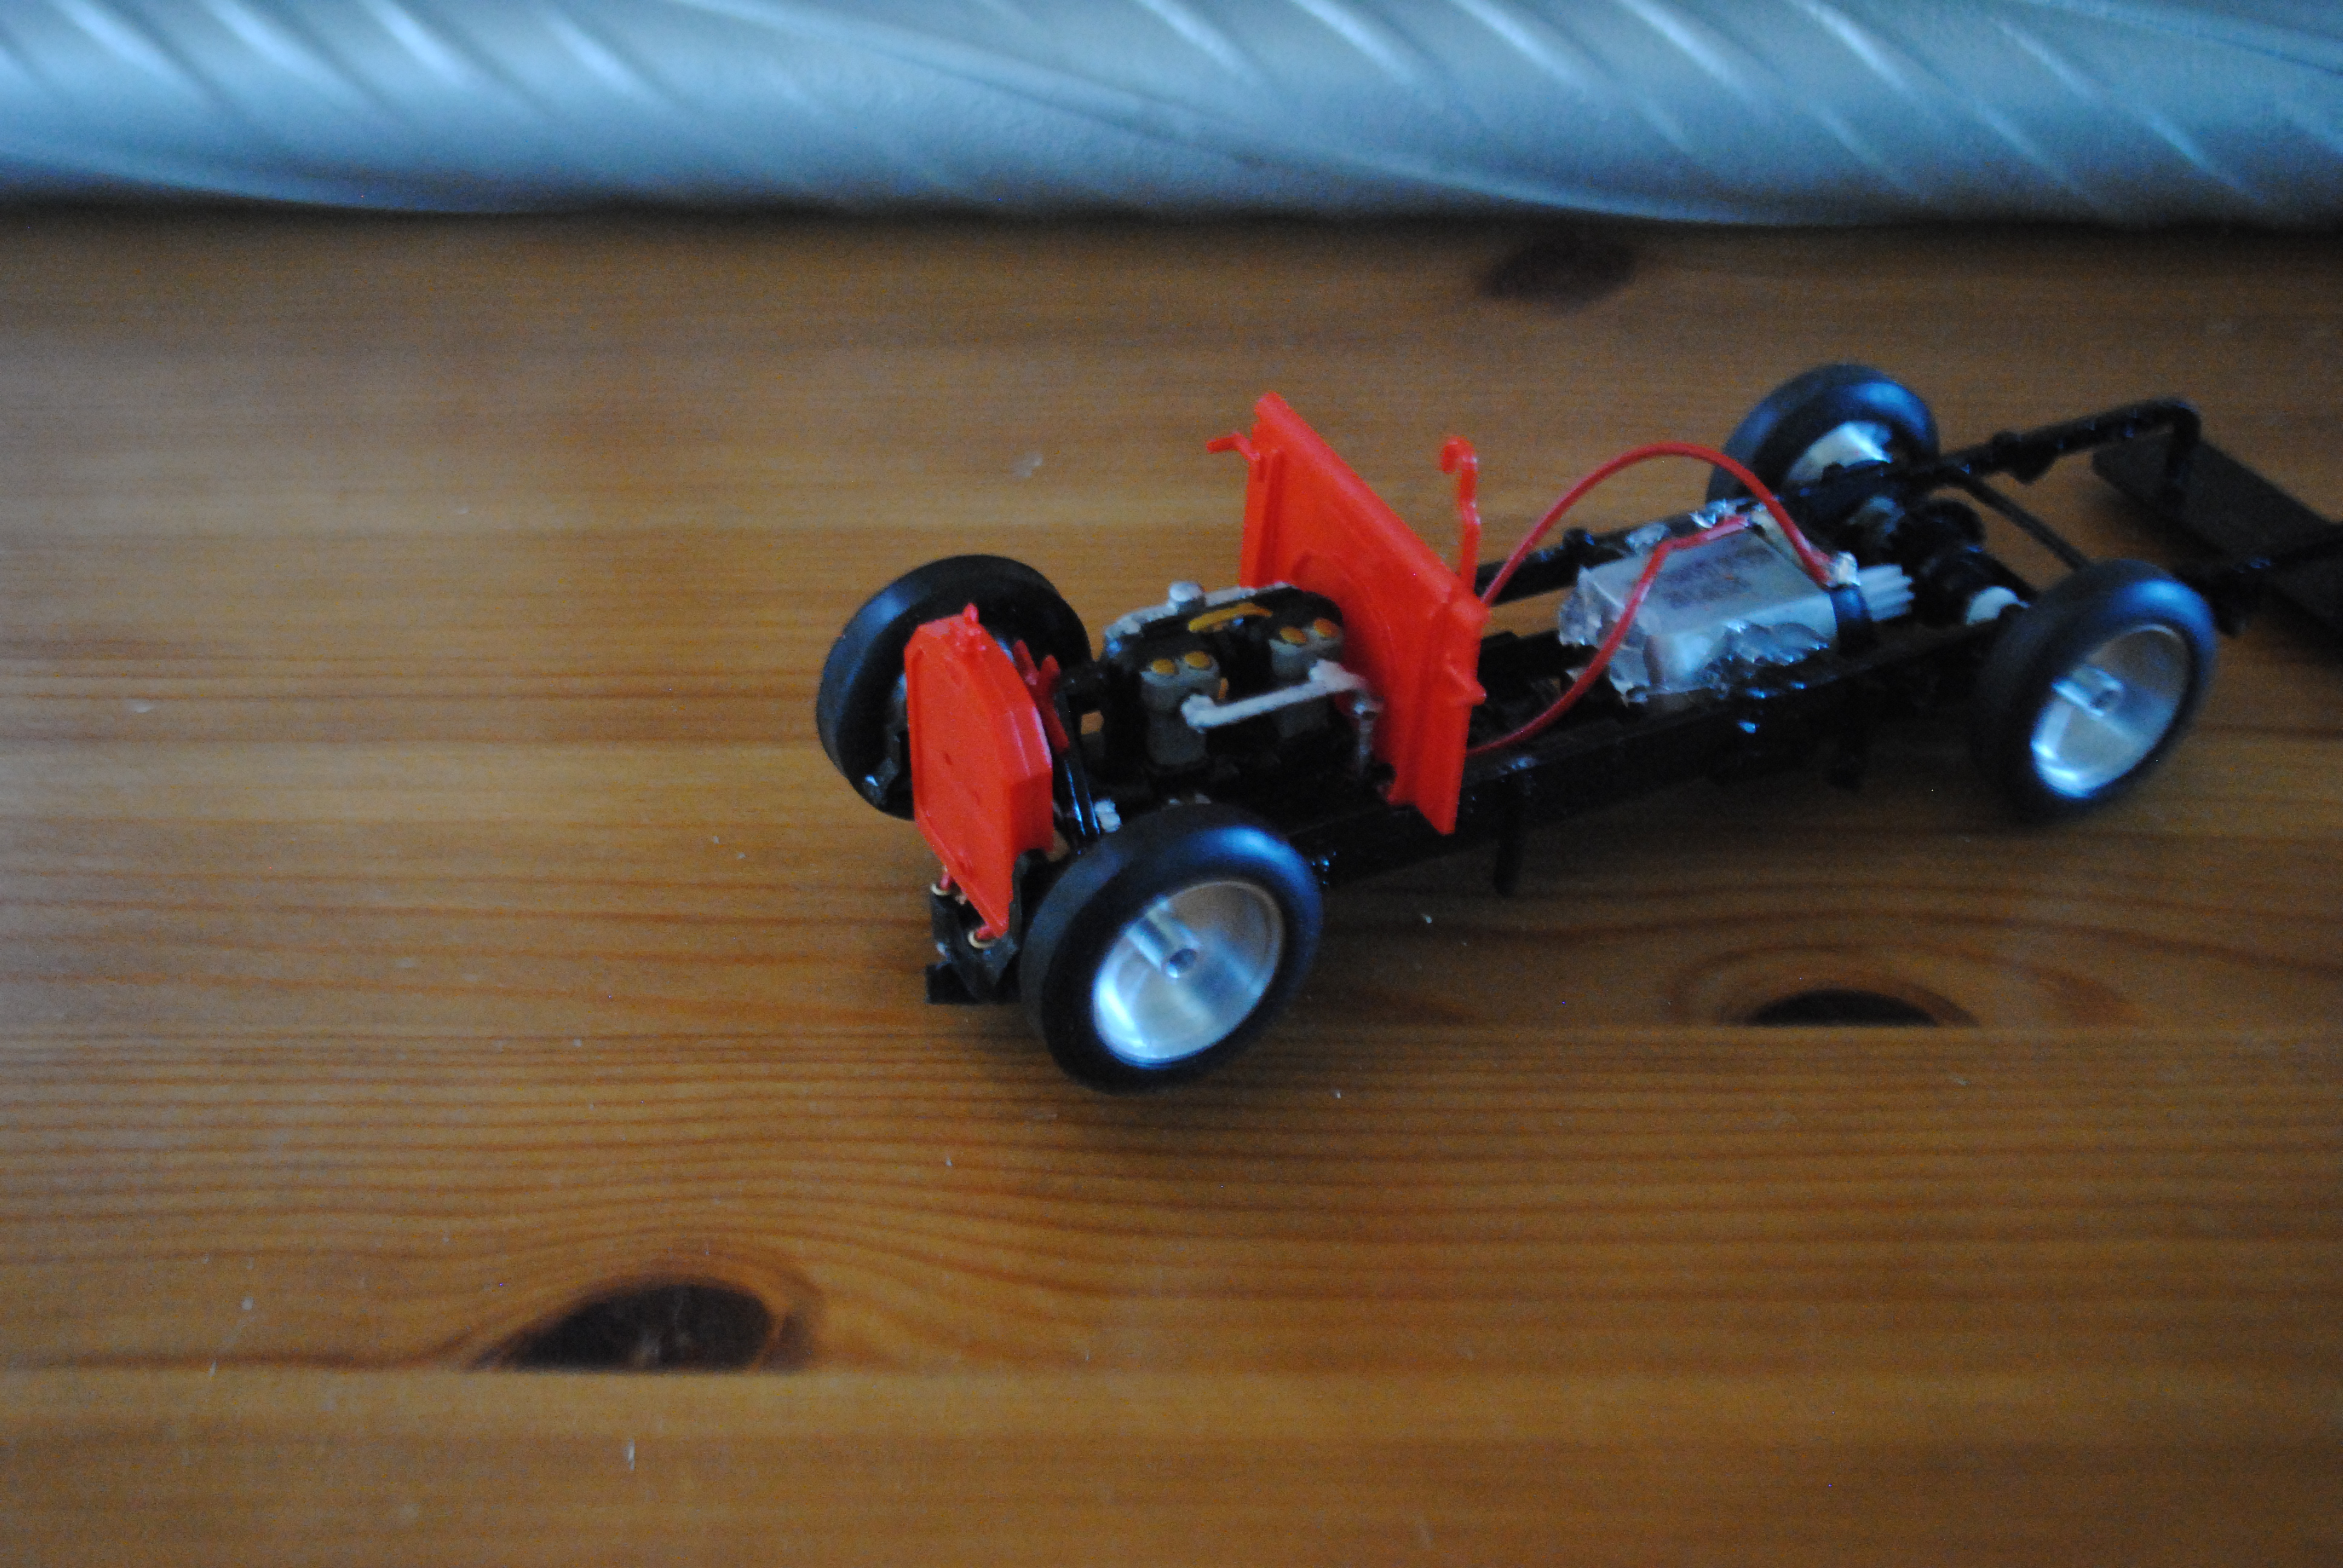
The radiator was easy enough. It did need a little modification to get around the front axle but then it pretty much went straight on!
The firewall would be a little bit more difficult to fit a sit has to be 100% straight. I thought I’d fit the floor alongside it but that also needs a section of the gearbox poking out of the floor to act as a guide.
Thankfully, by keeping the original engine and gearbox mounting frame bit, I could pop this part on as Airfix originally intended.
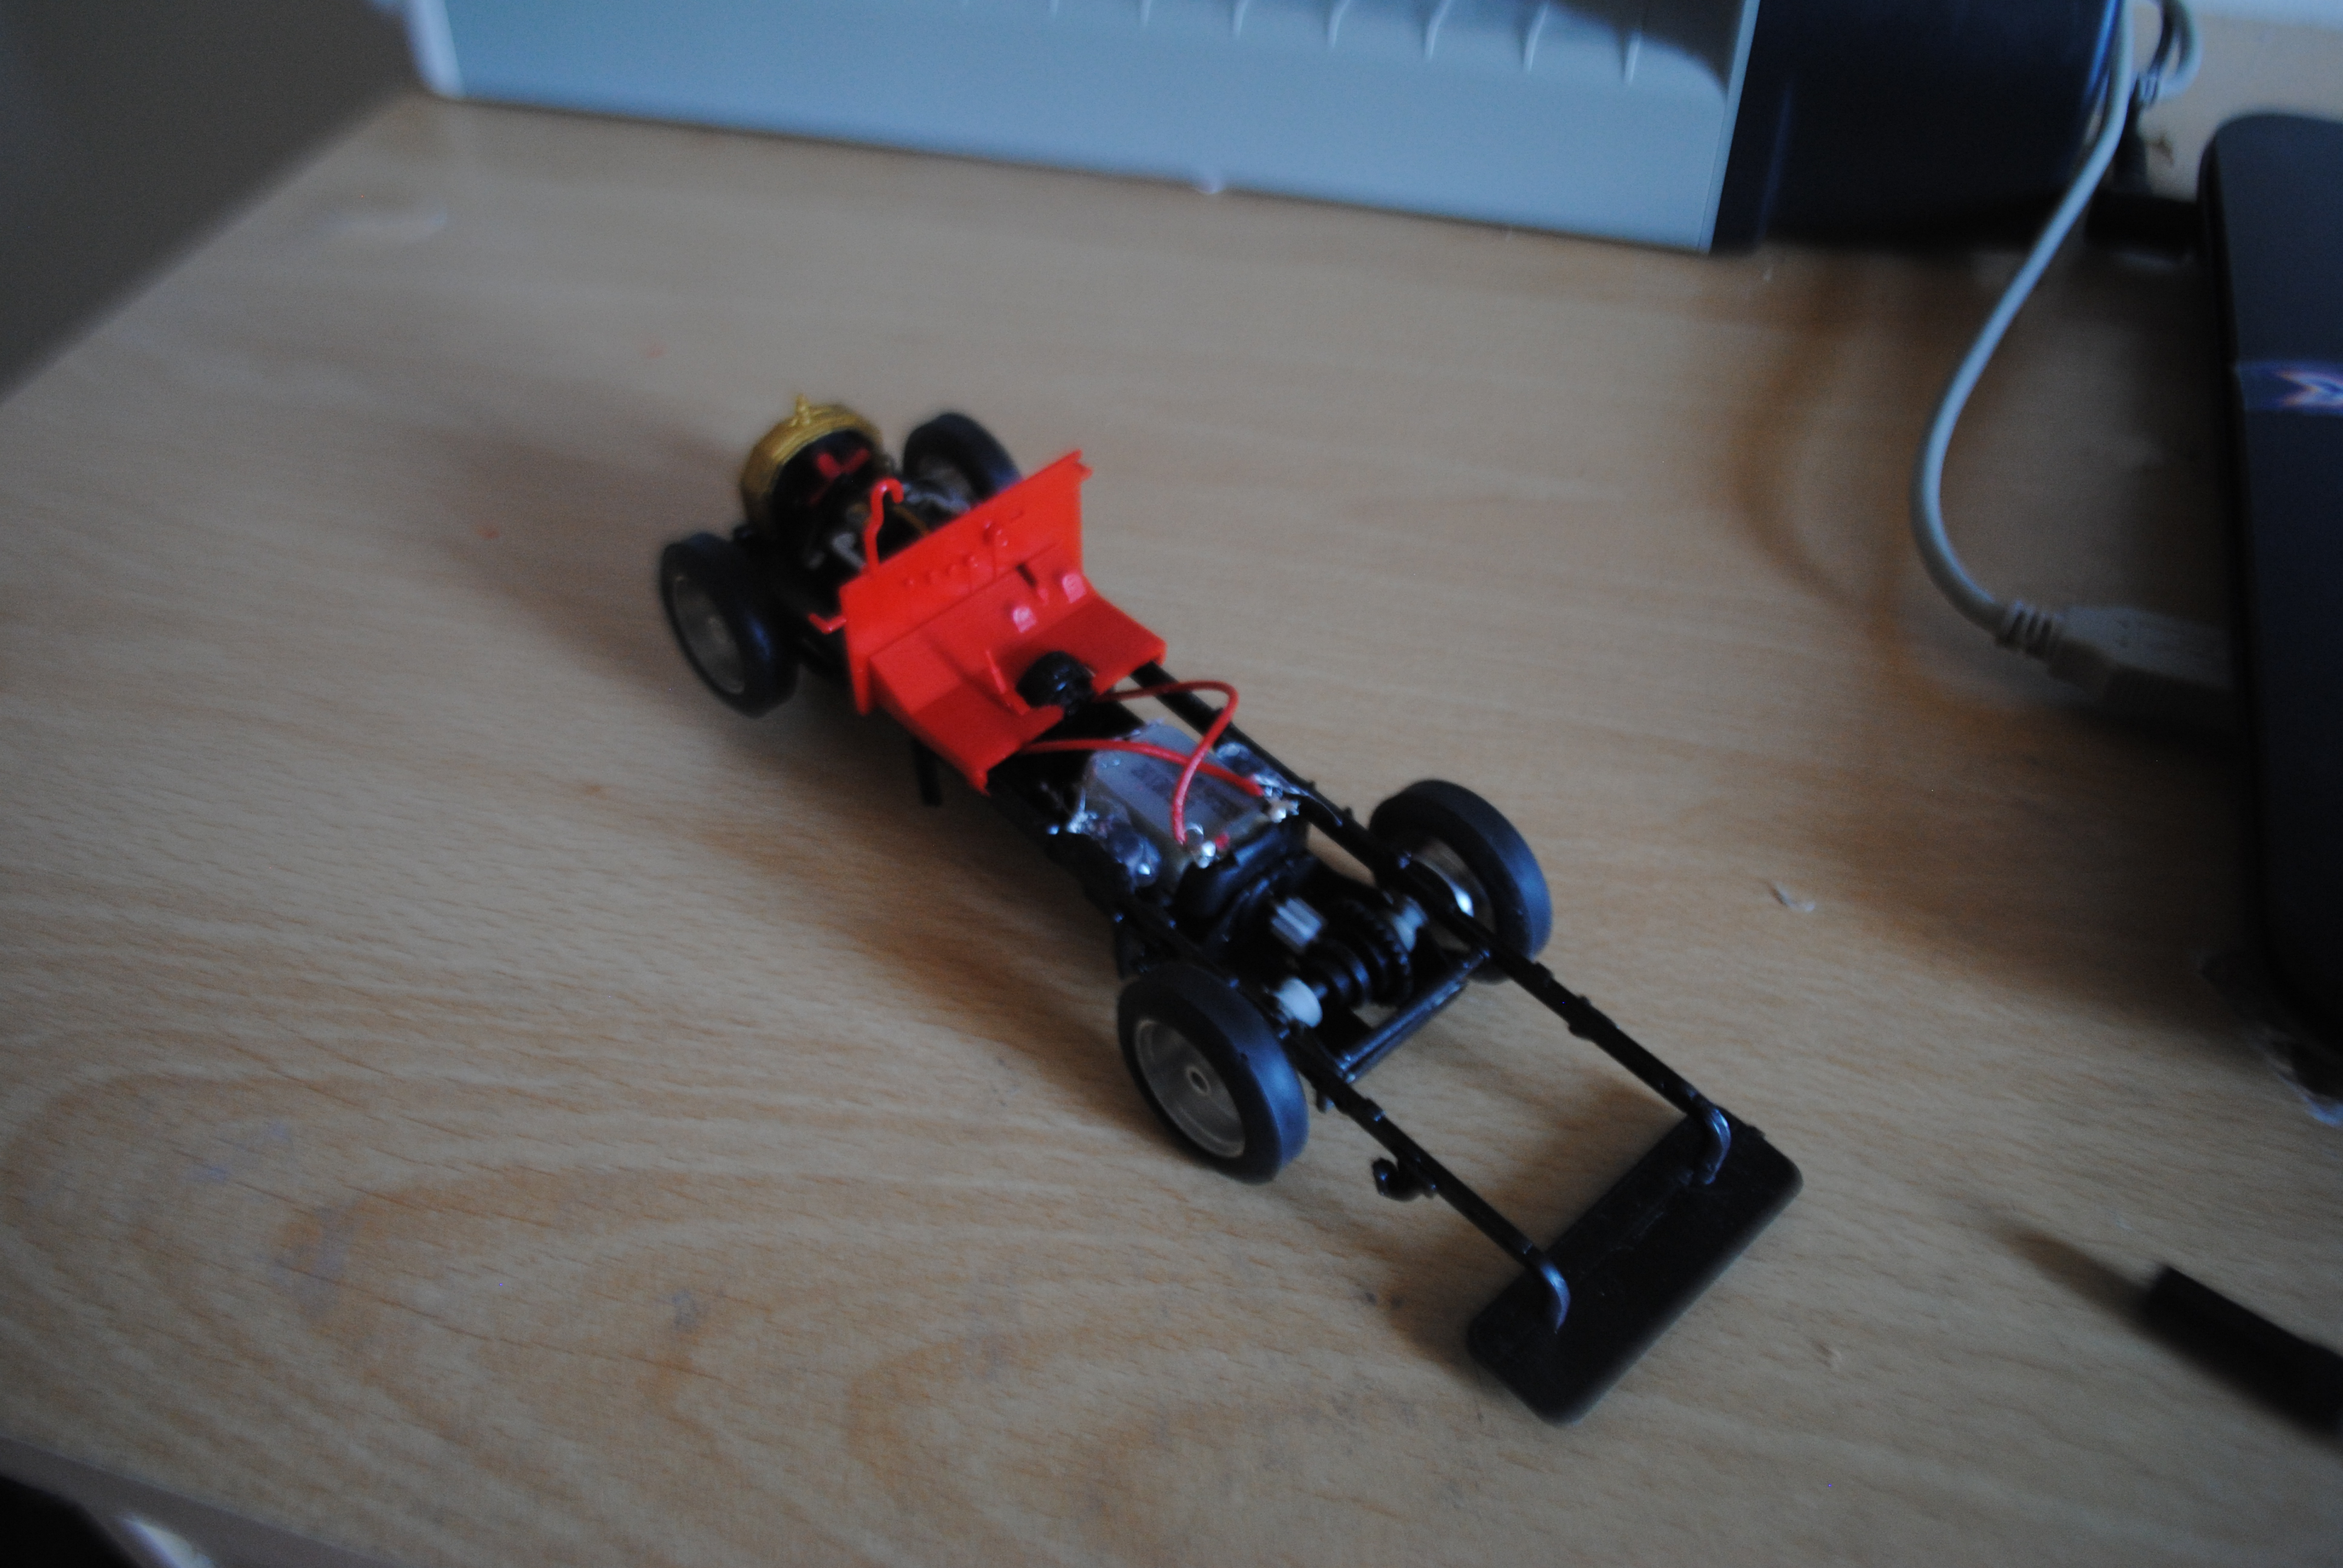
We can now get the radiator and that little gearbox part painted up.
And the firewall and floor now all line up.
At this juncture I decided to take the chassis to my Dad’s to run on his track. It actually drives really nicely. Hopefully it goes just as well with the body on!
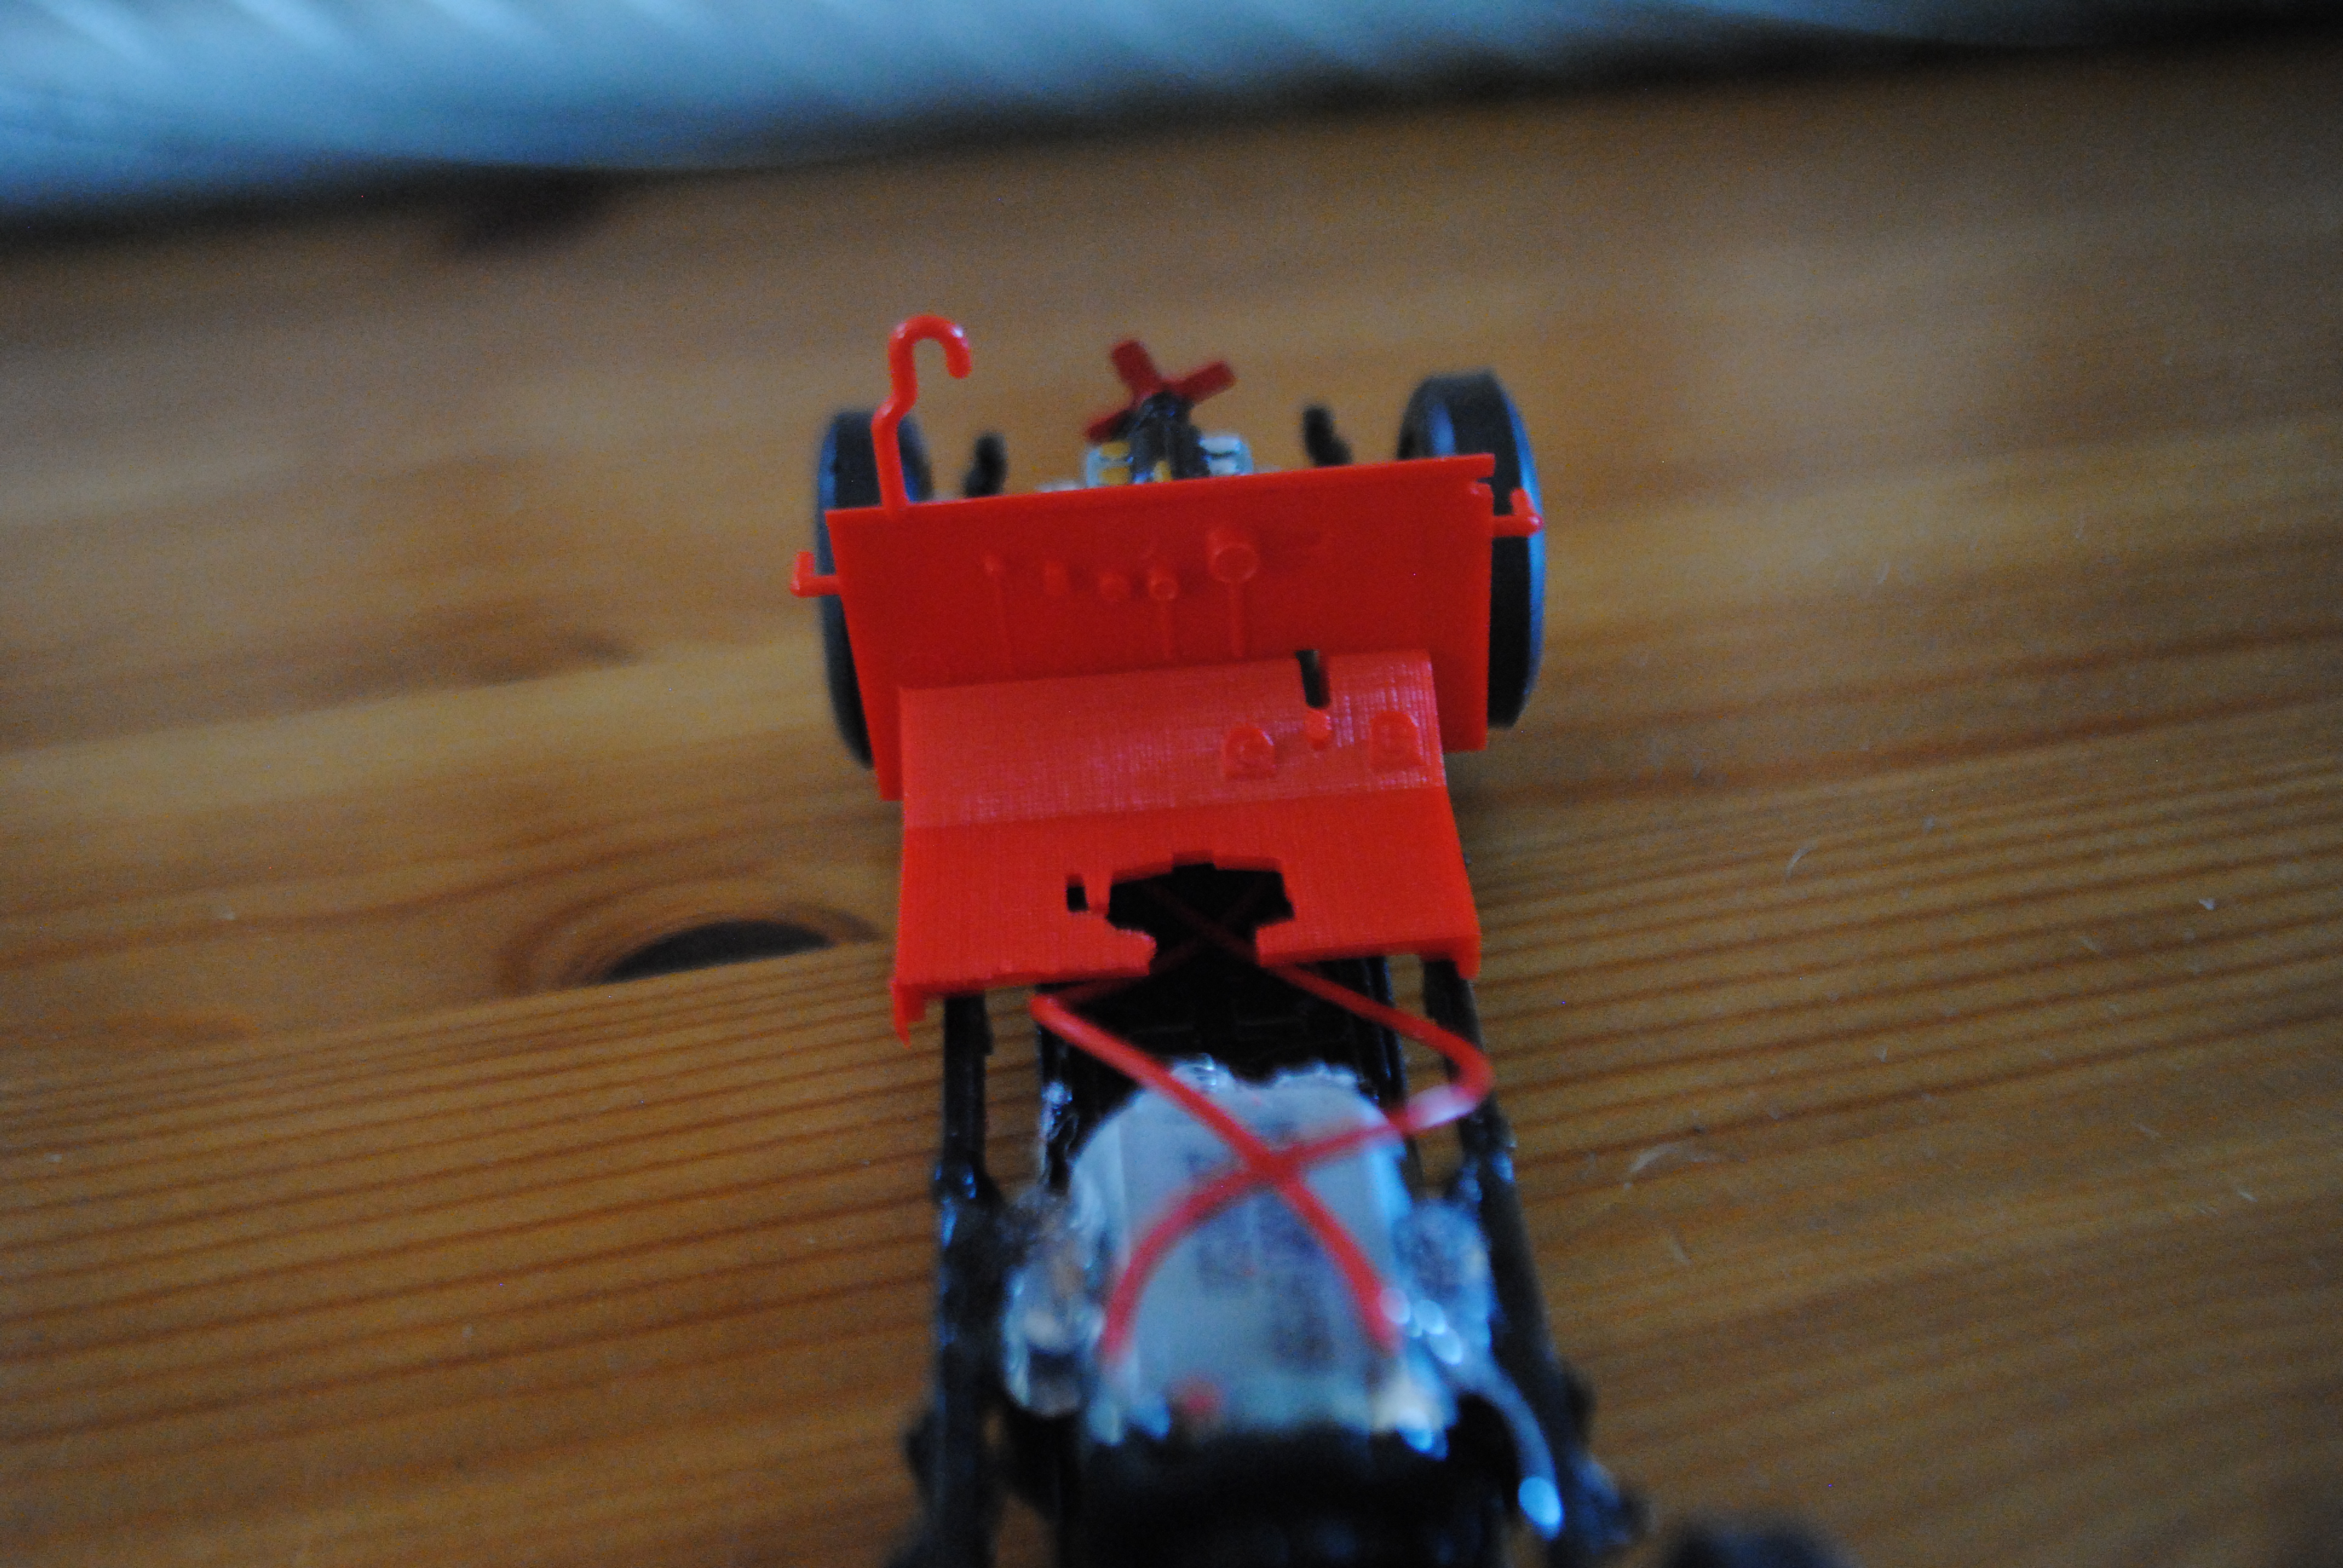
I can’t properly fit them yet as I need to spray all these larger pieces before fitting. As a modeller I like to take a red bit of plastic, spray it grey and then spray it red again to get the correct shade of red.
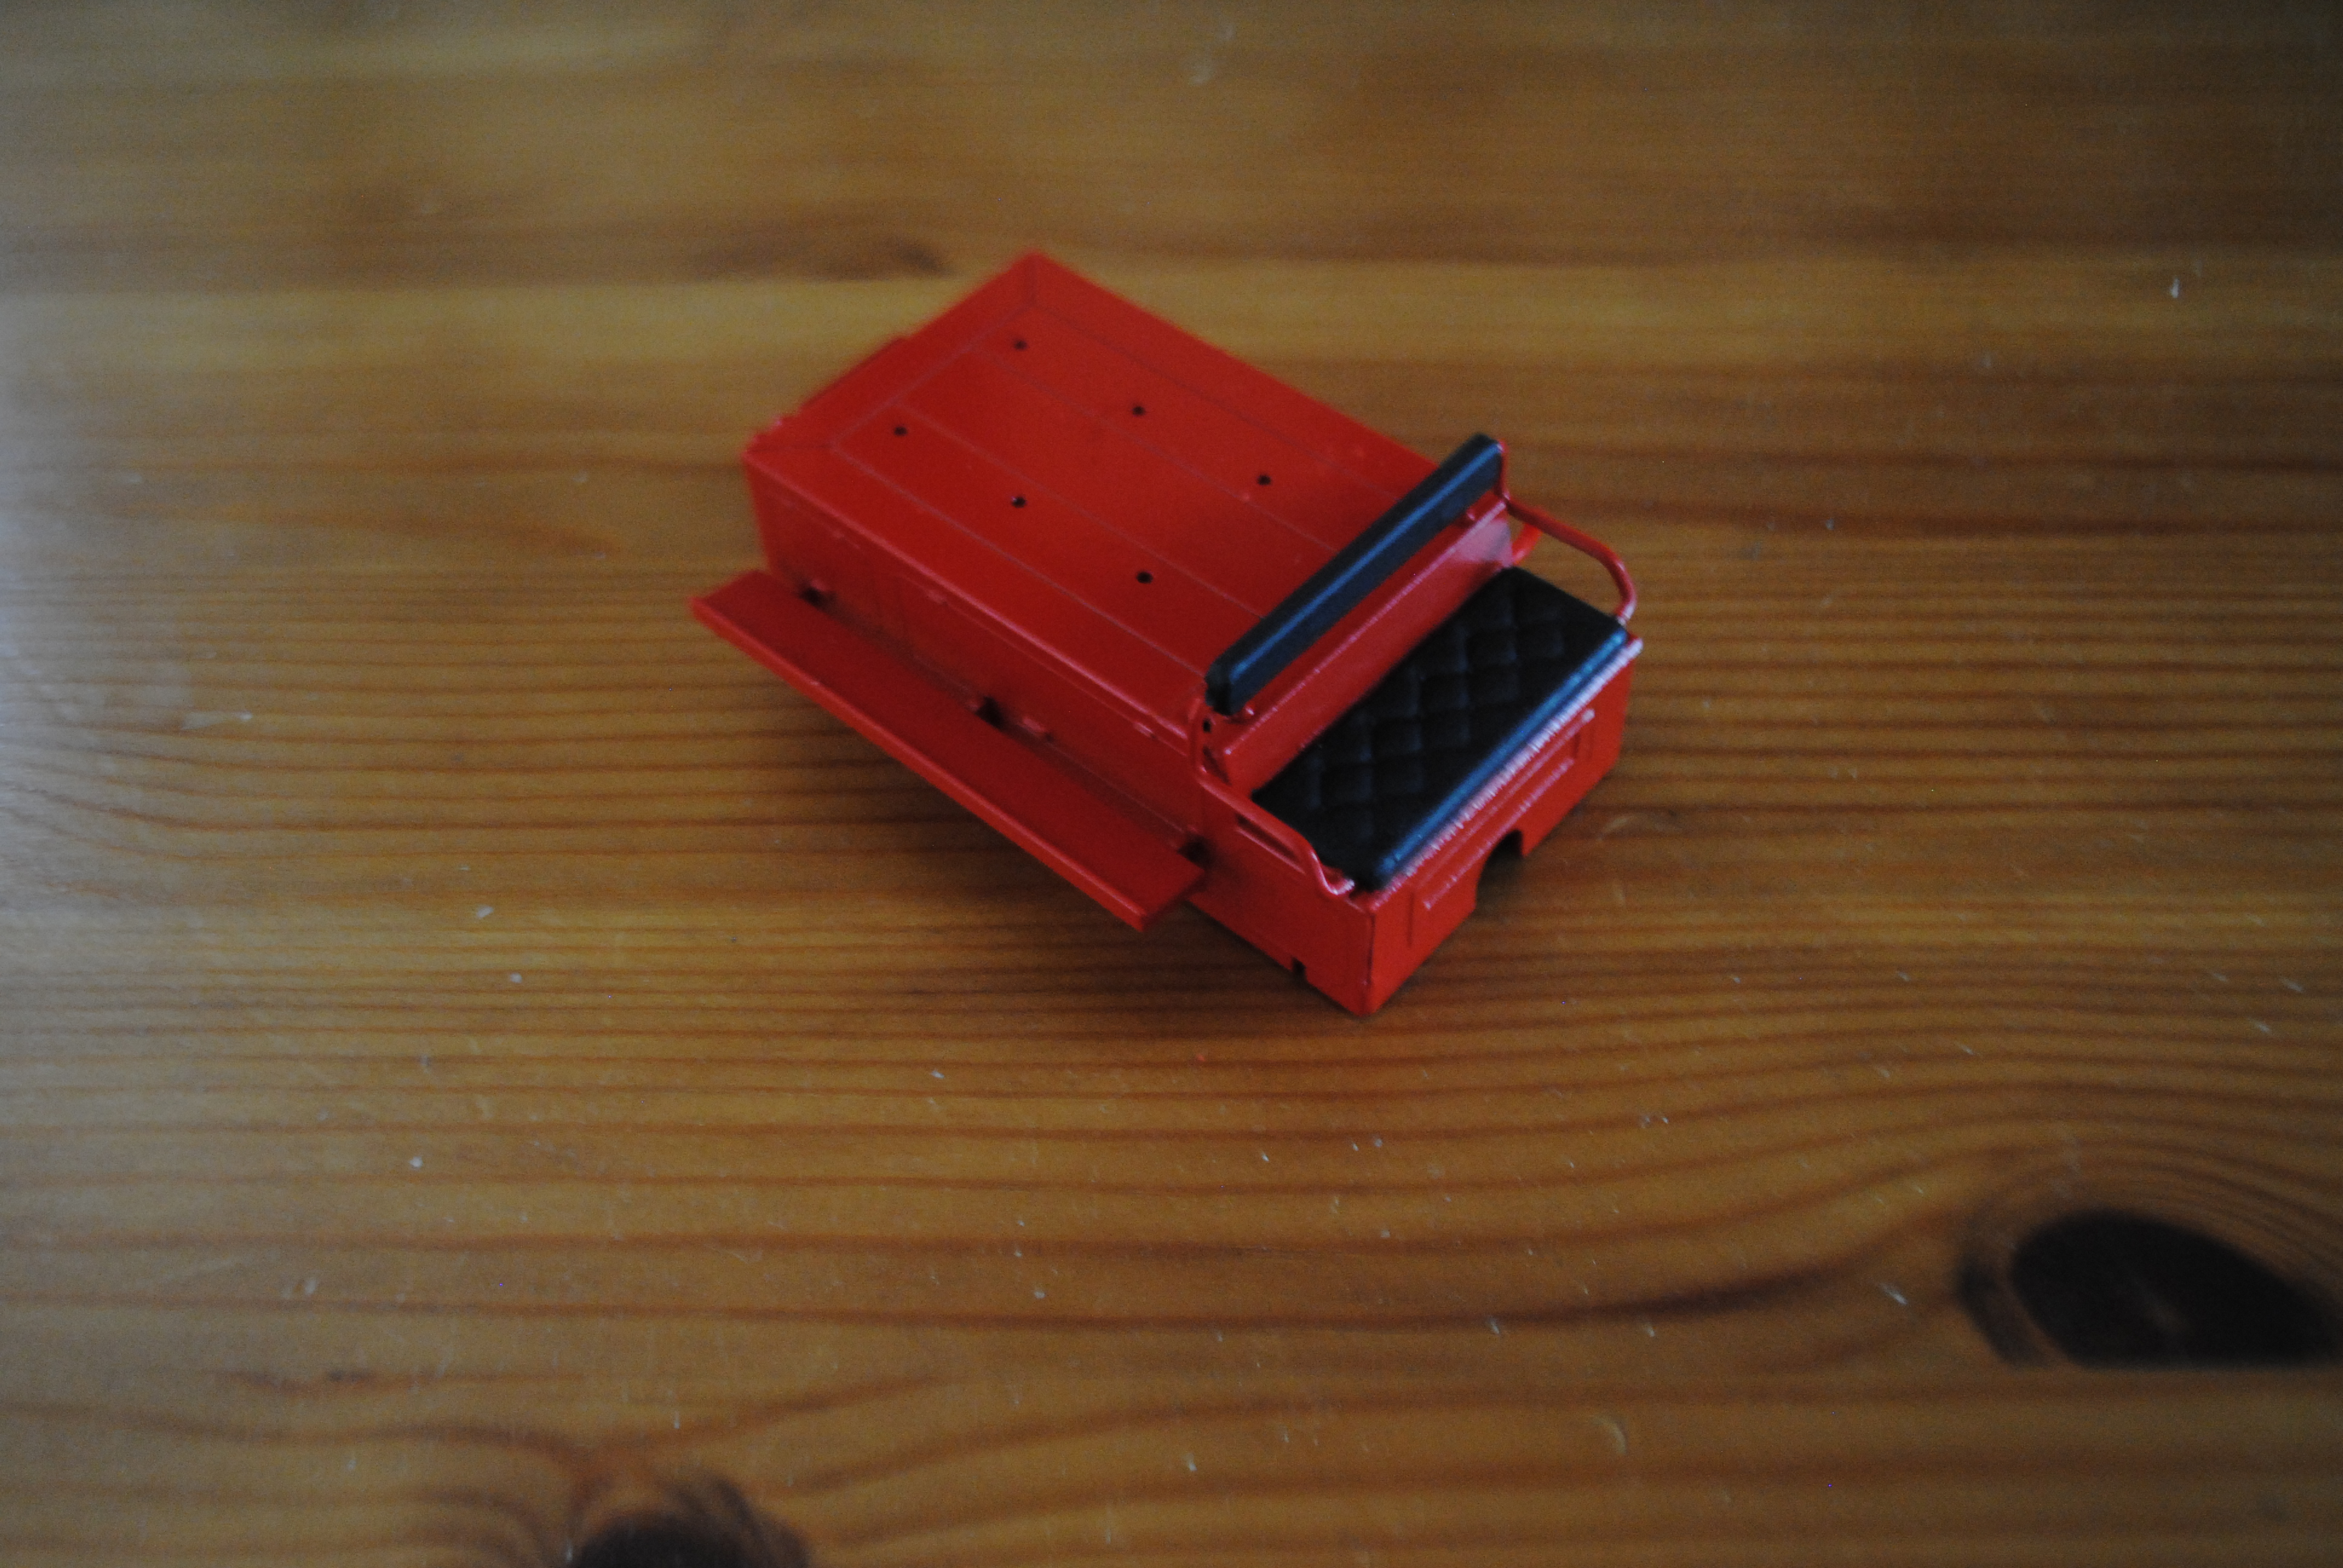
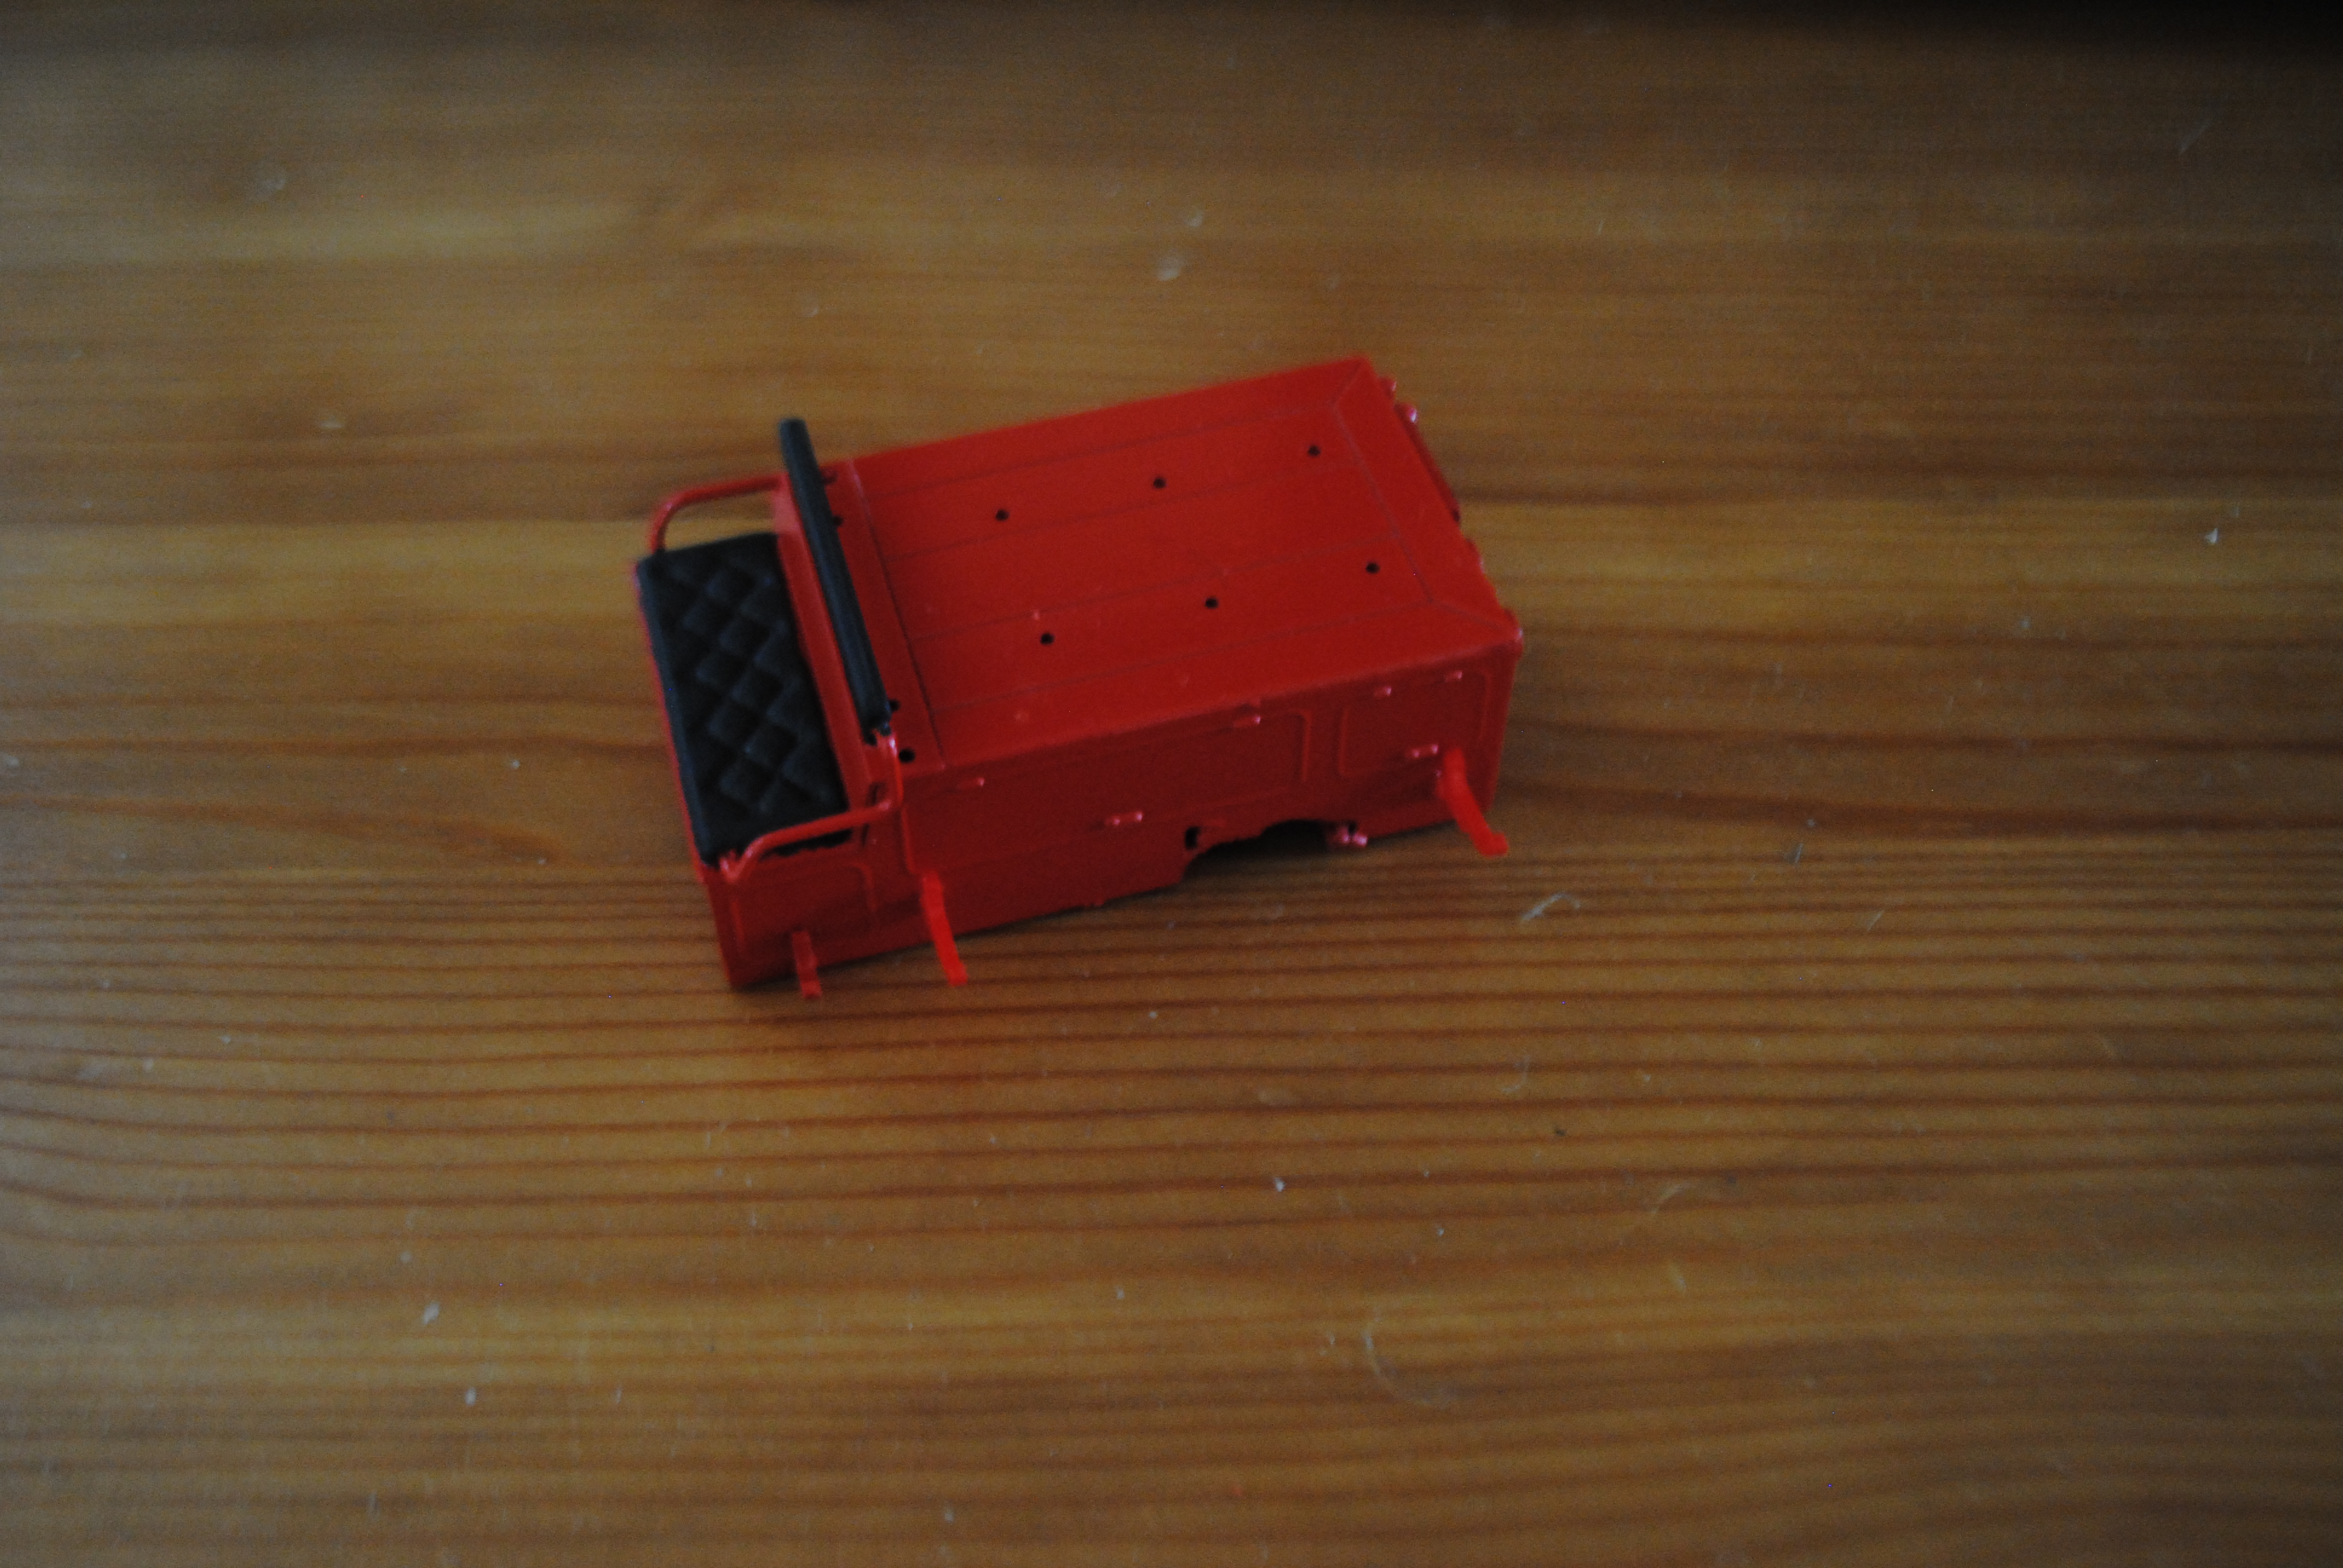
The back of the body was super simple. Just a simple four piece box.
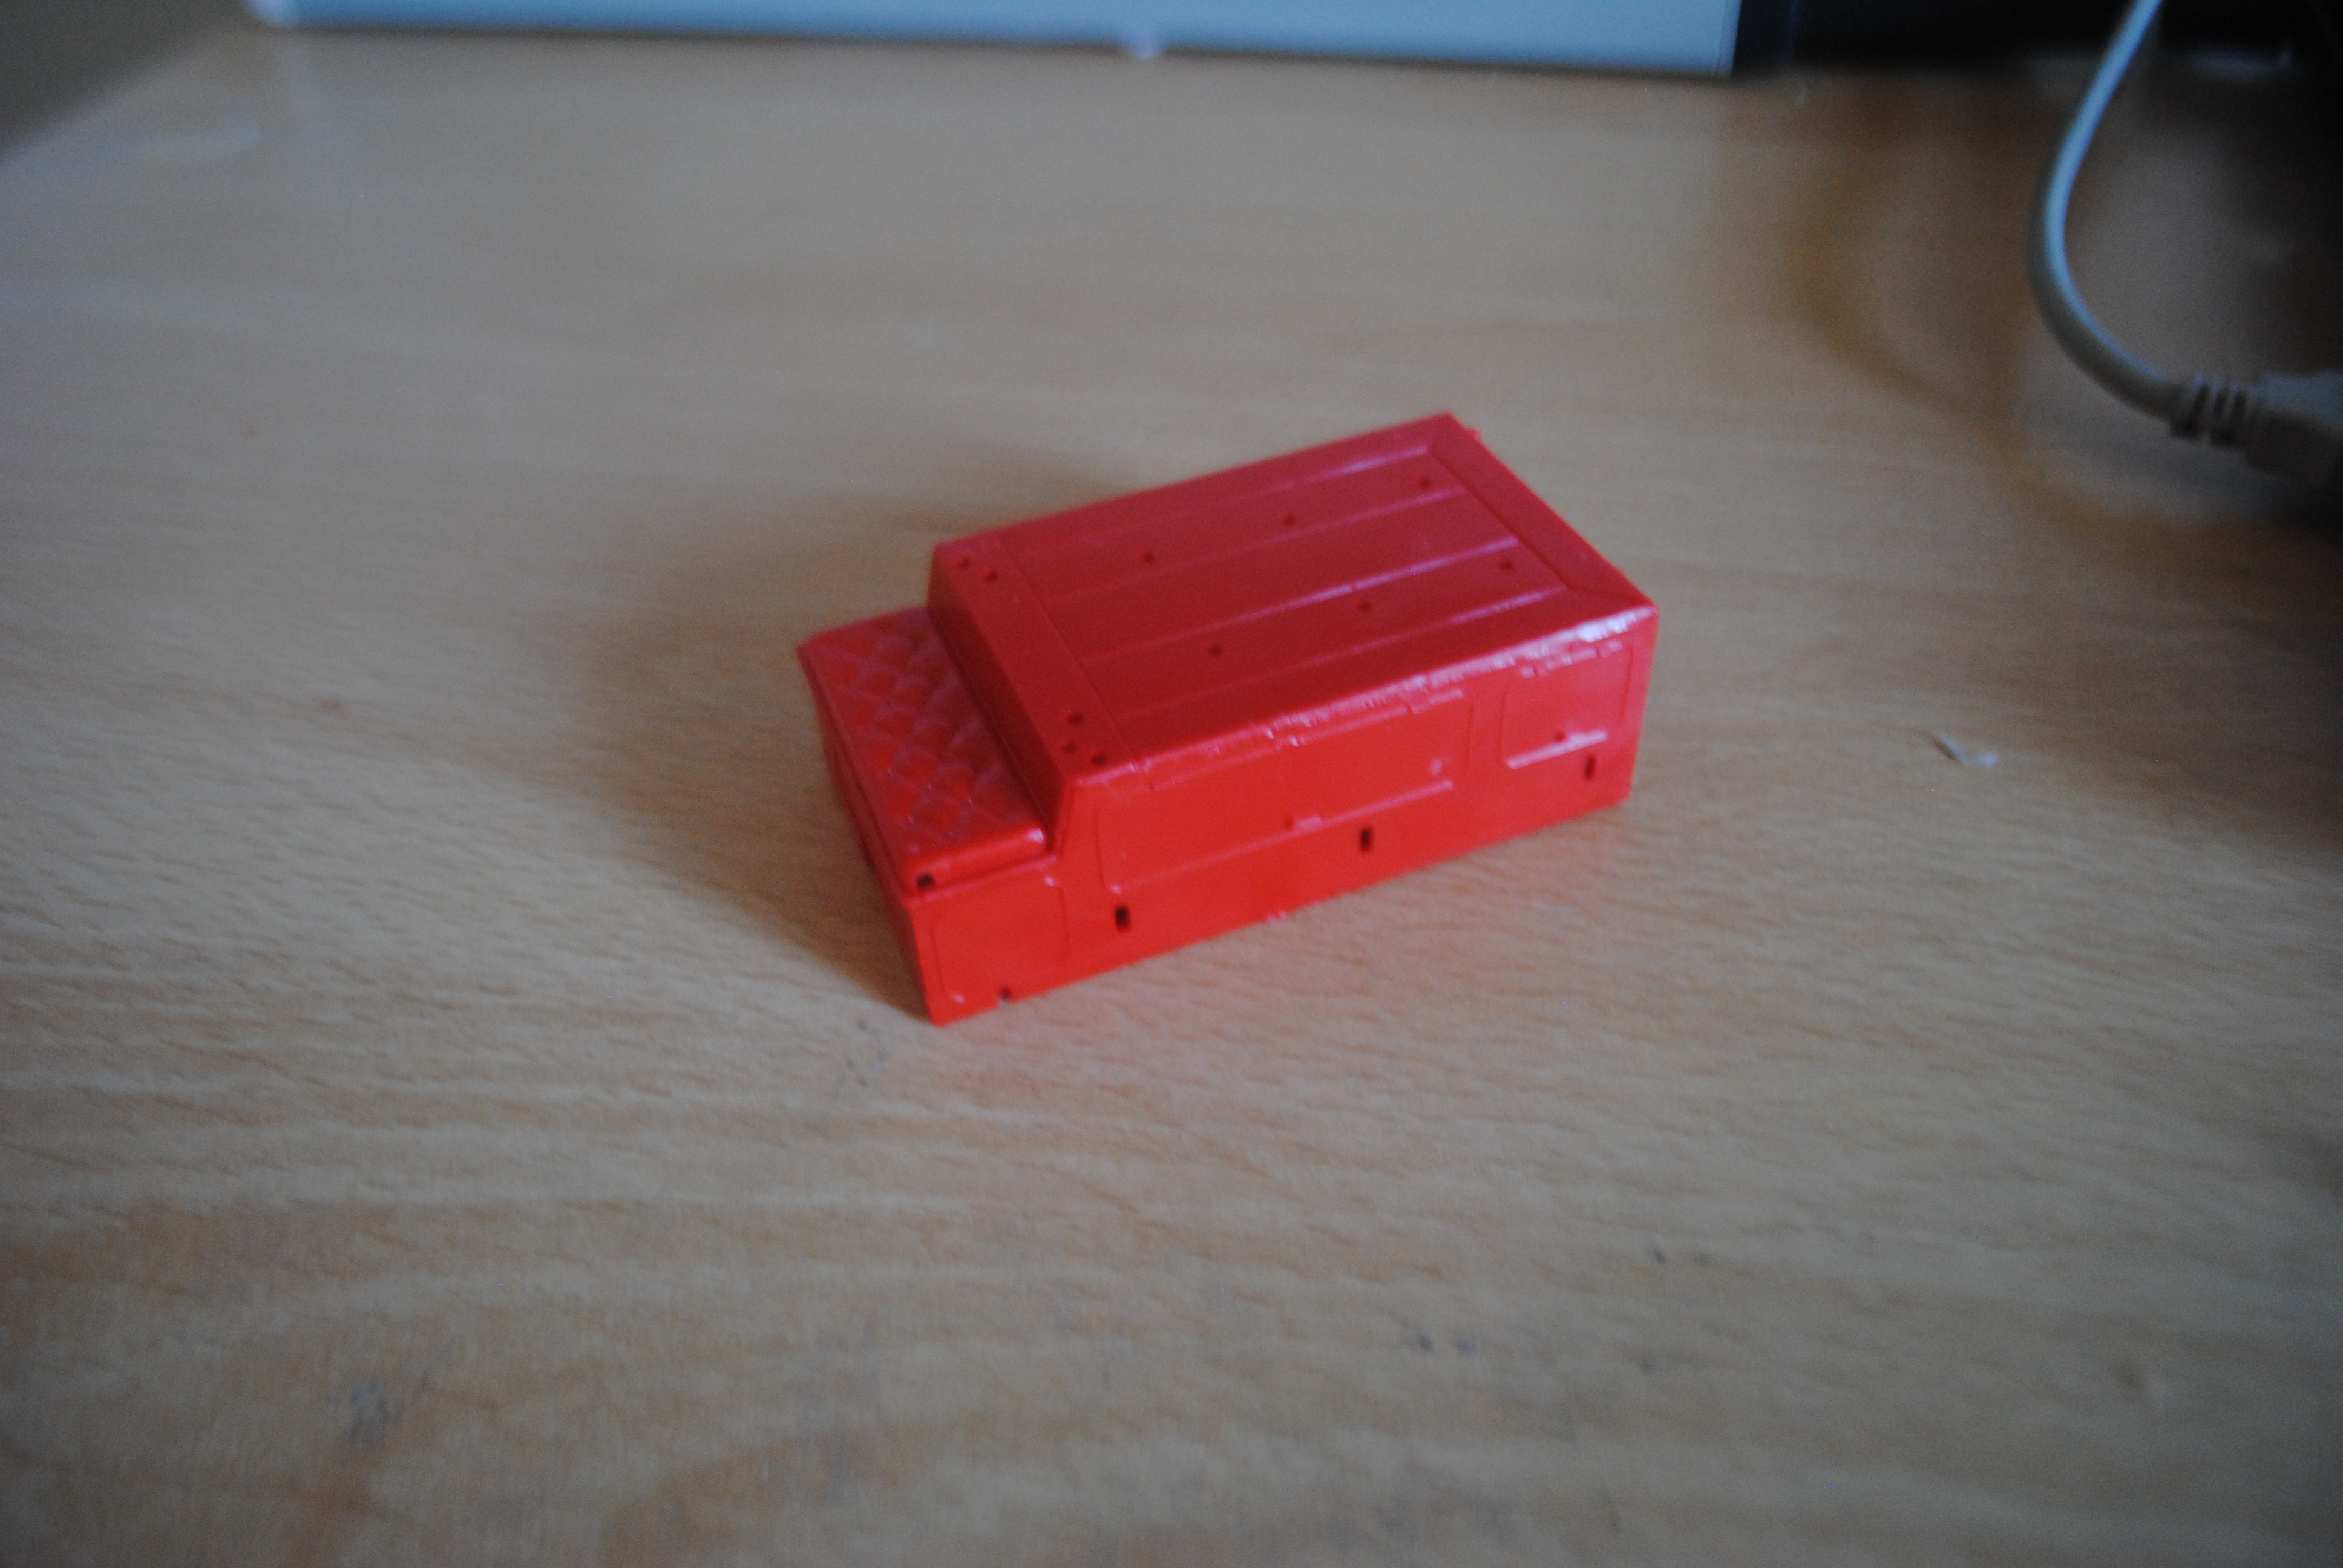
Making sure that it fit ok before I painted it…
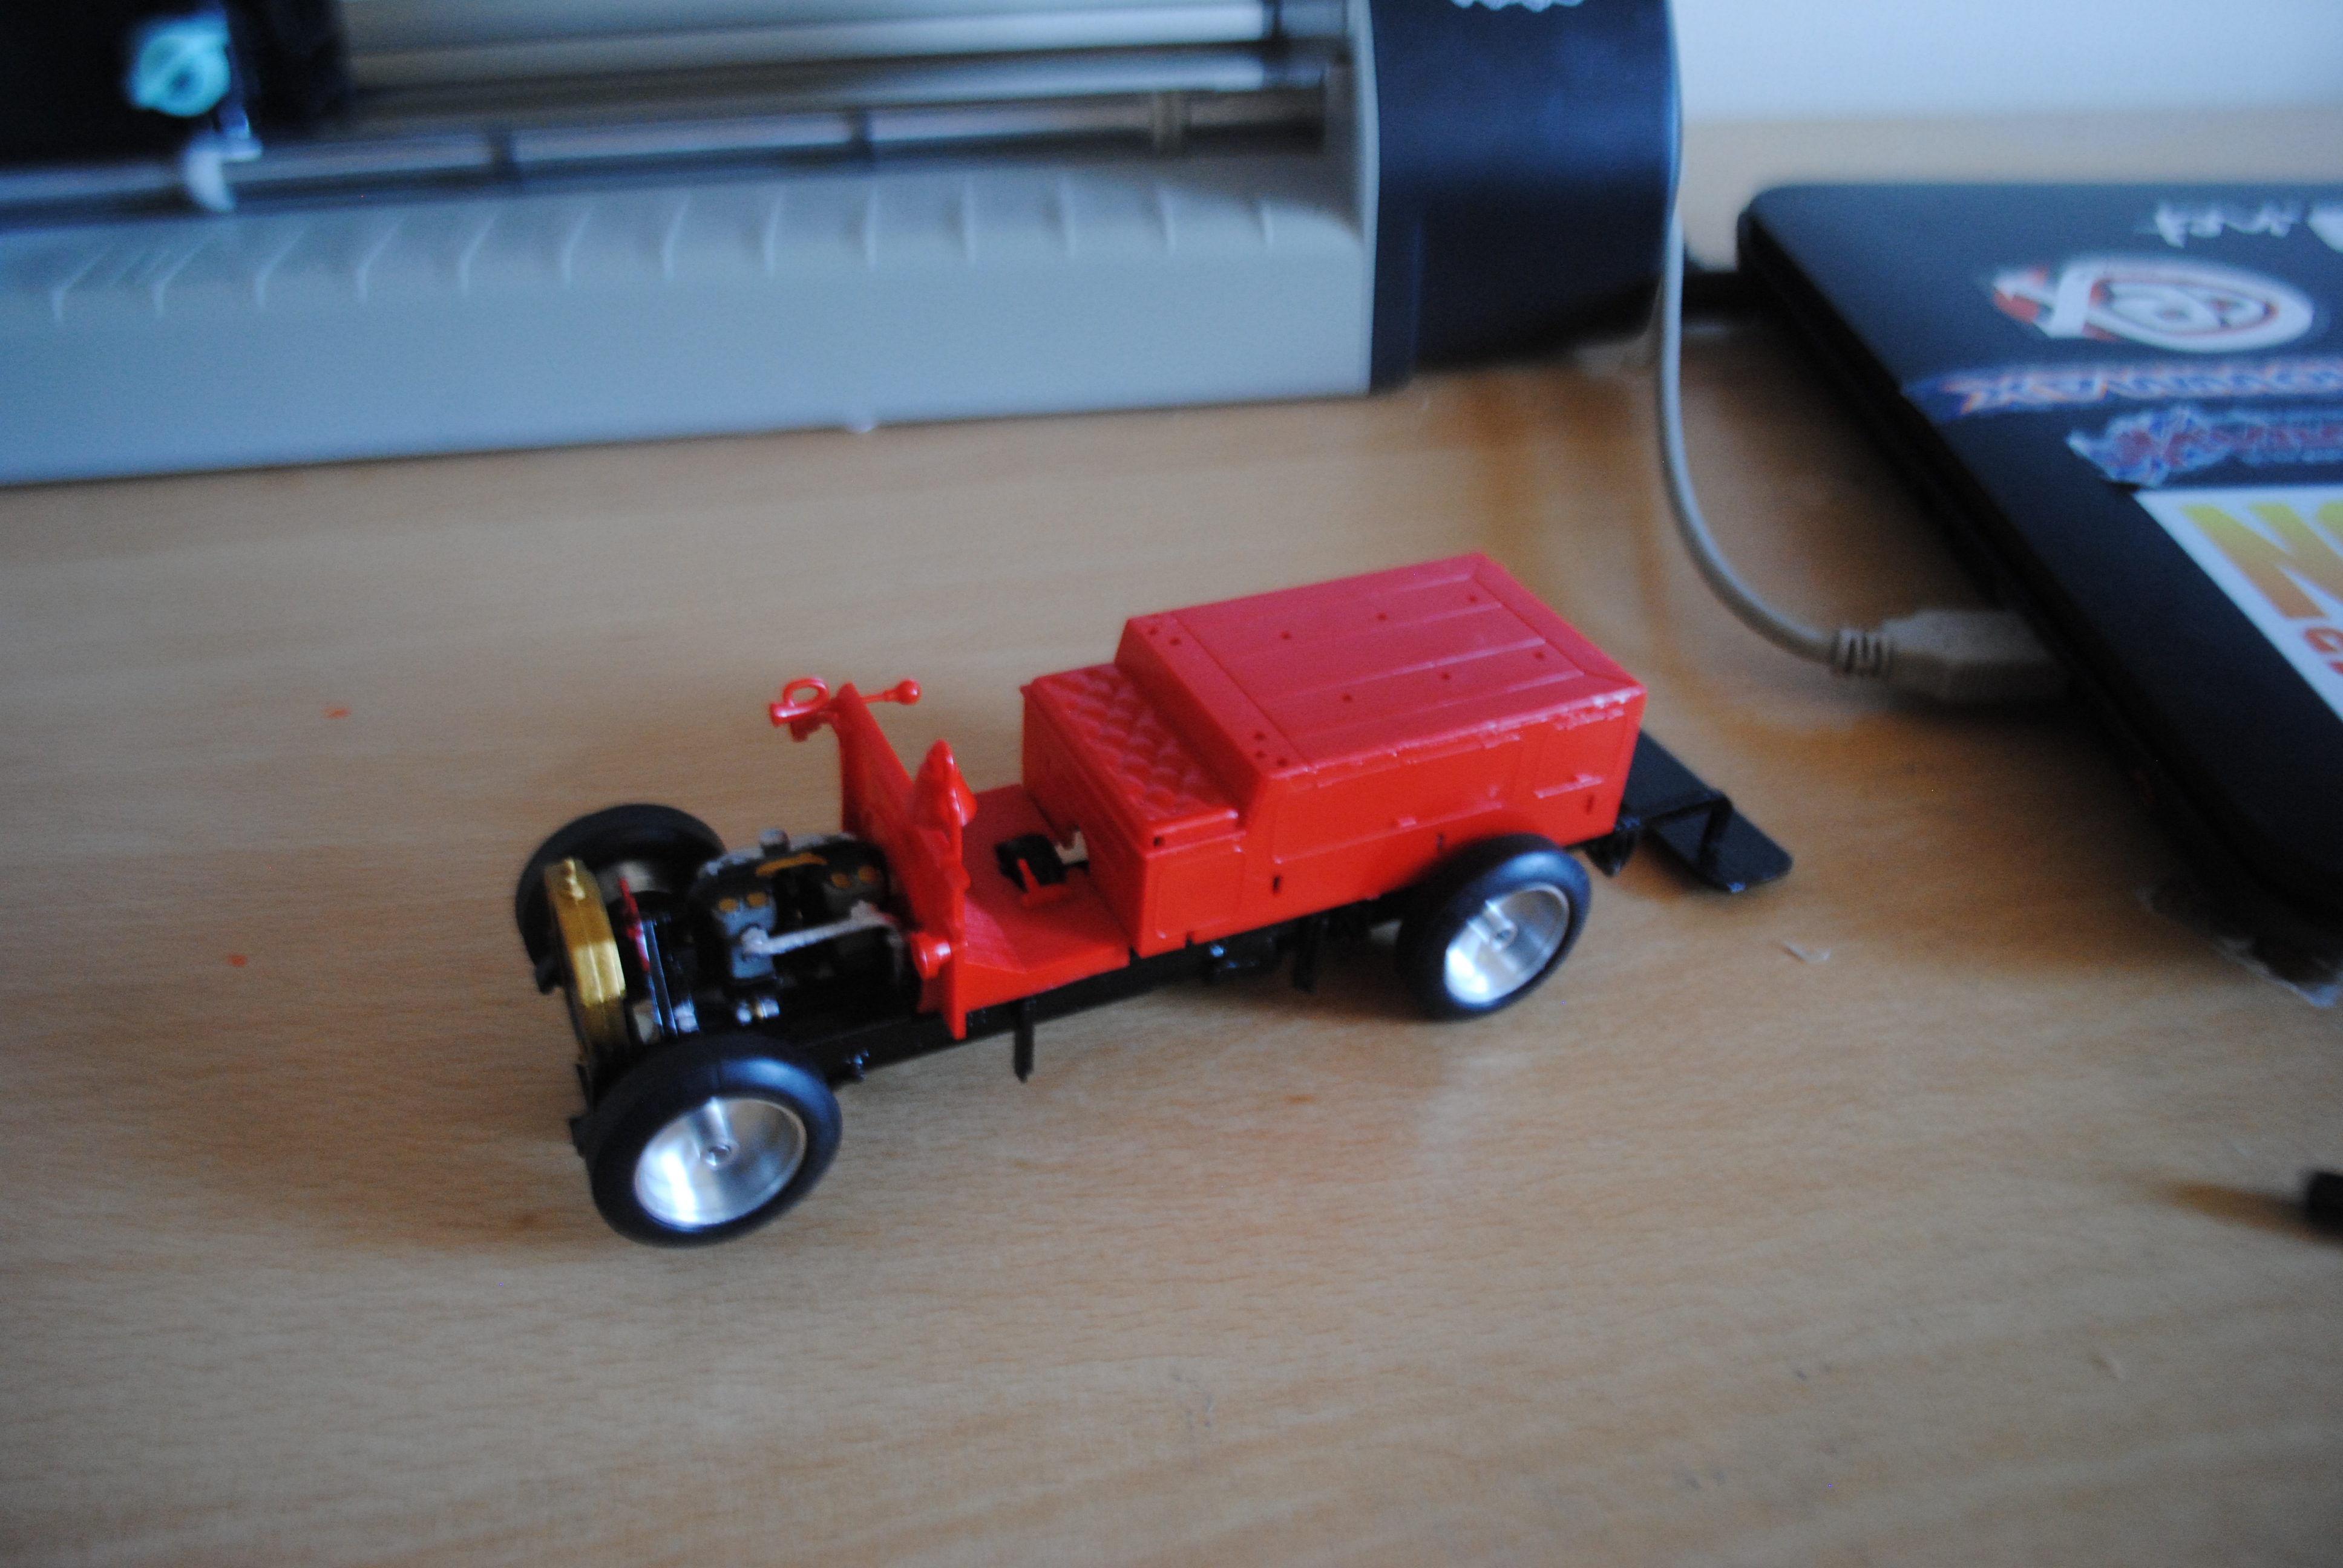
…and of course it was important to make sure that it’s comfortable! They told me it was.

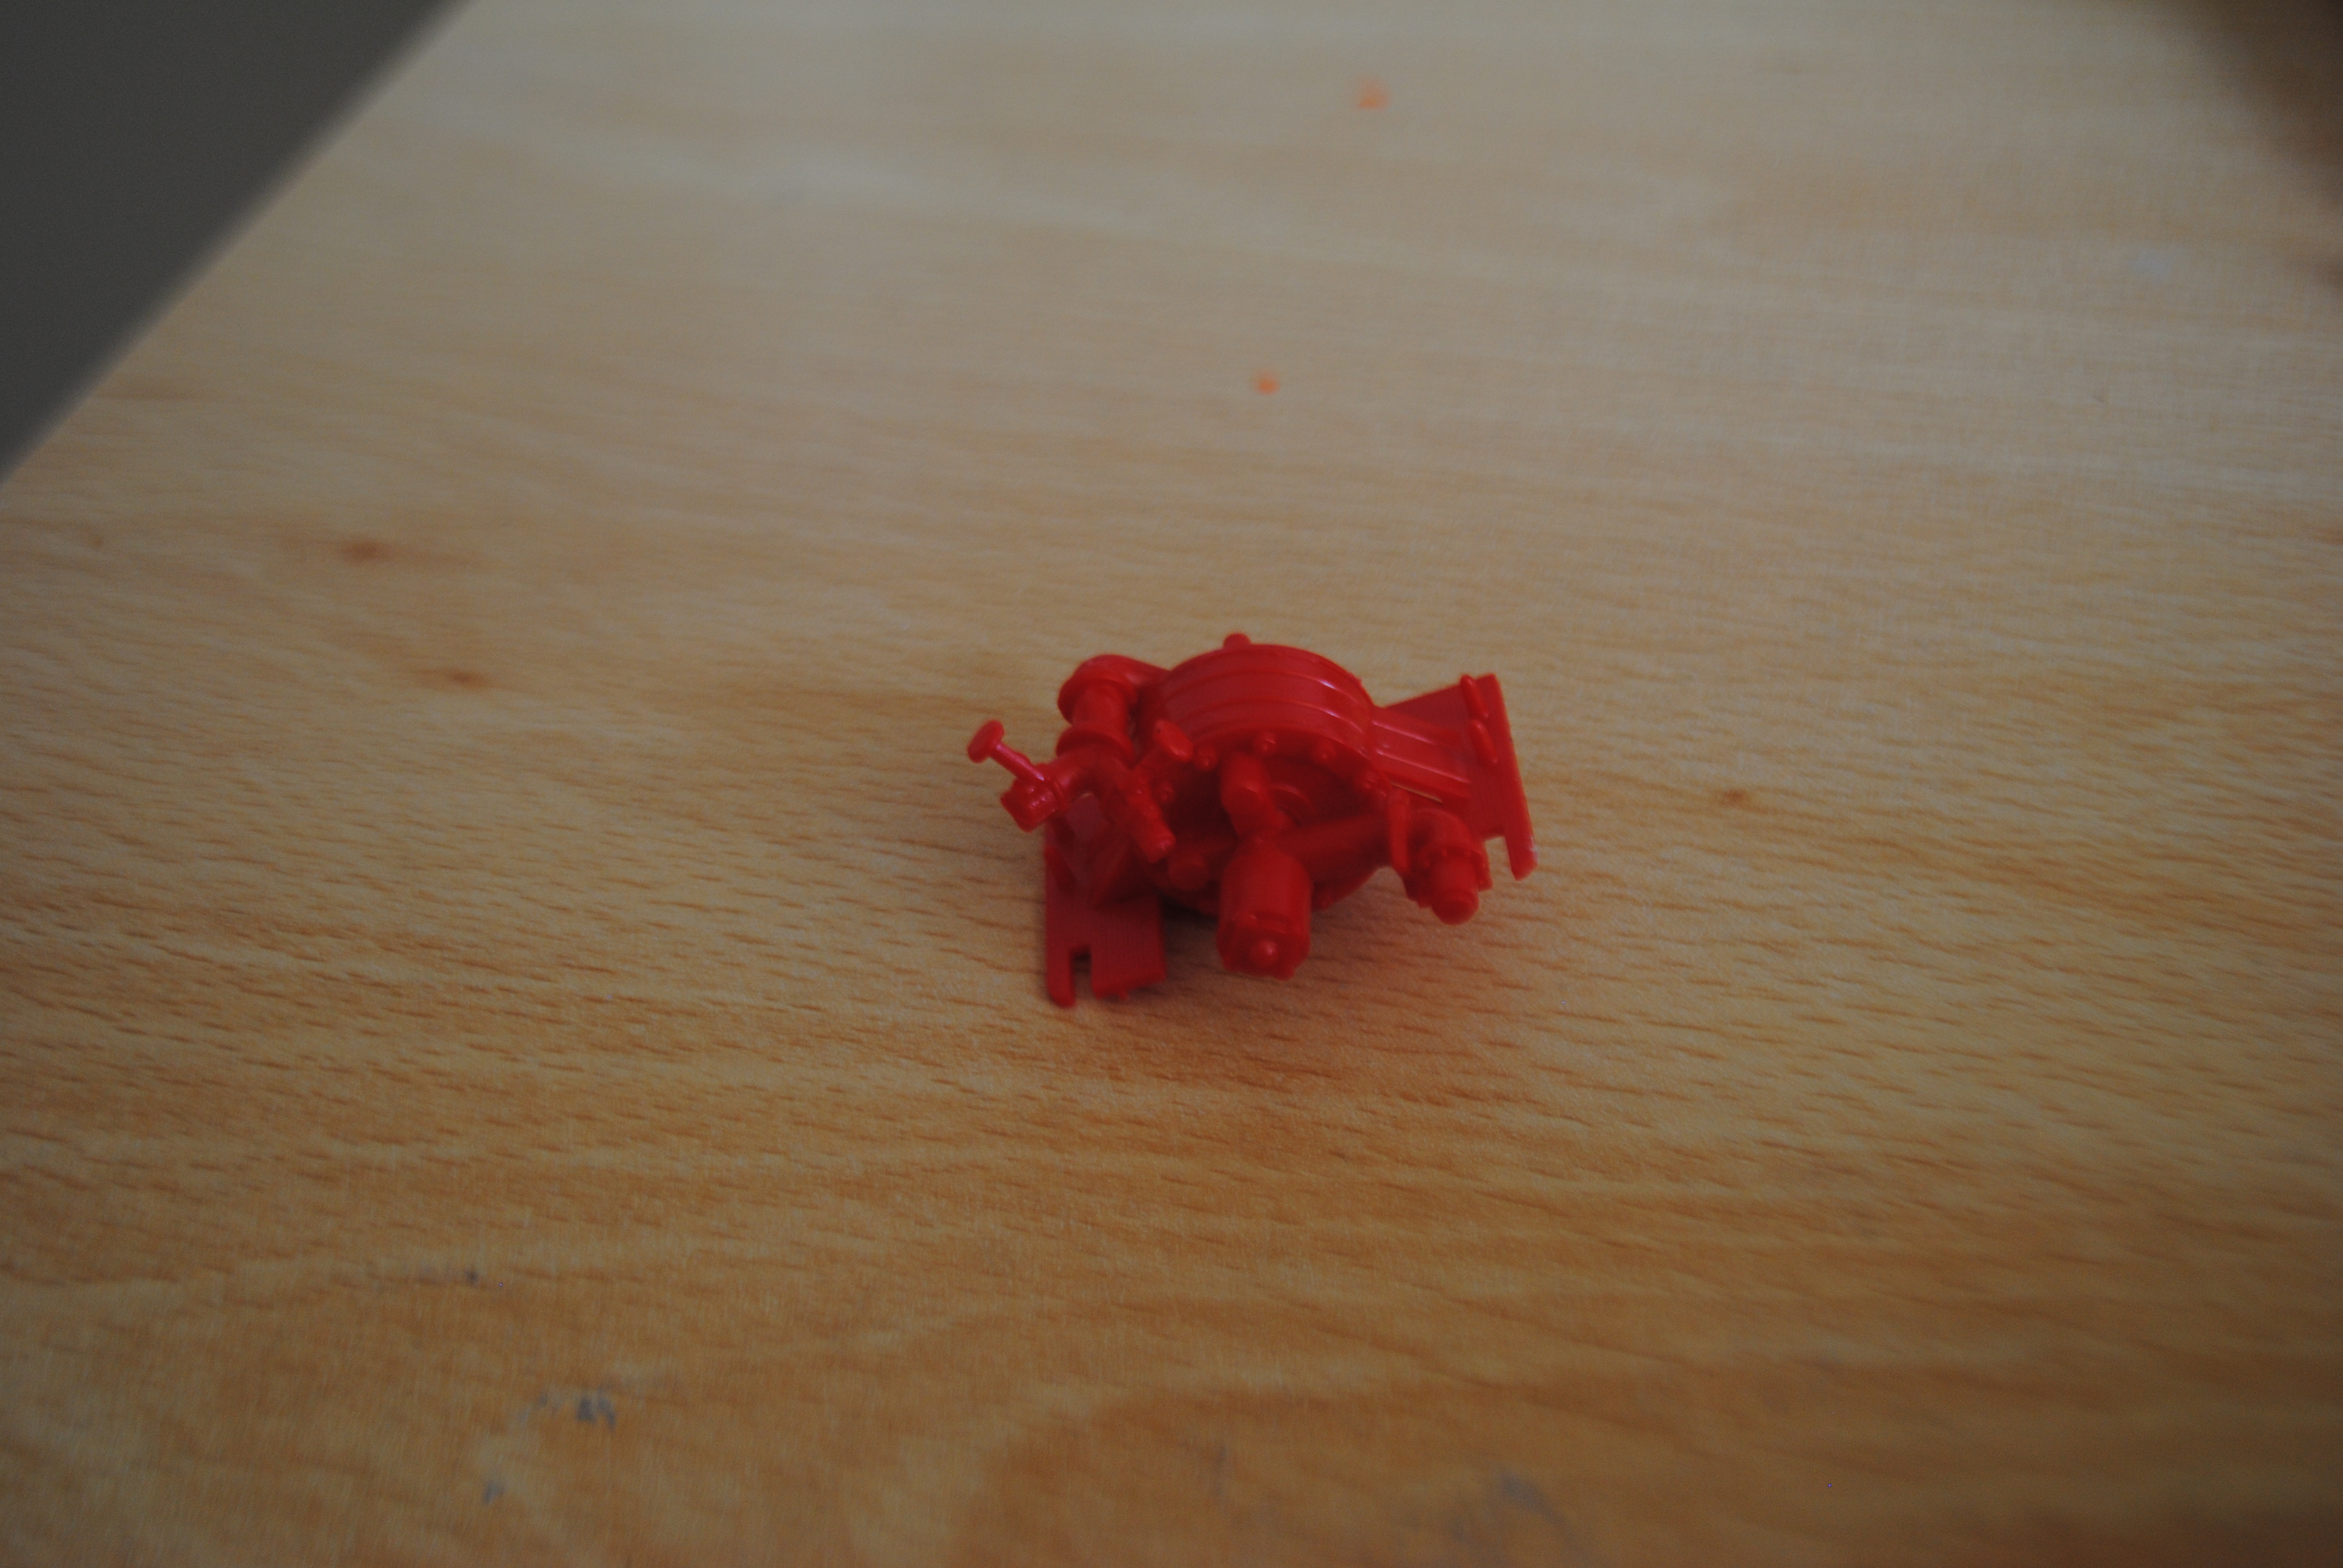
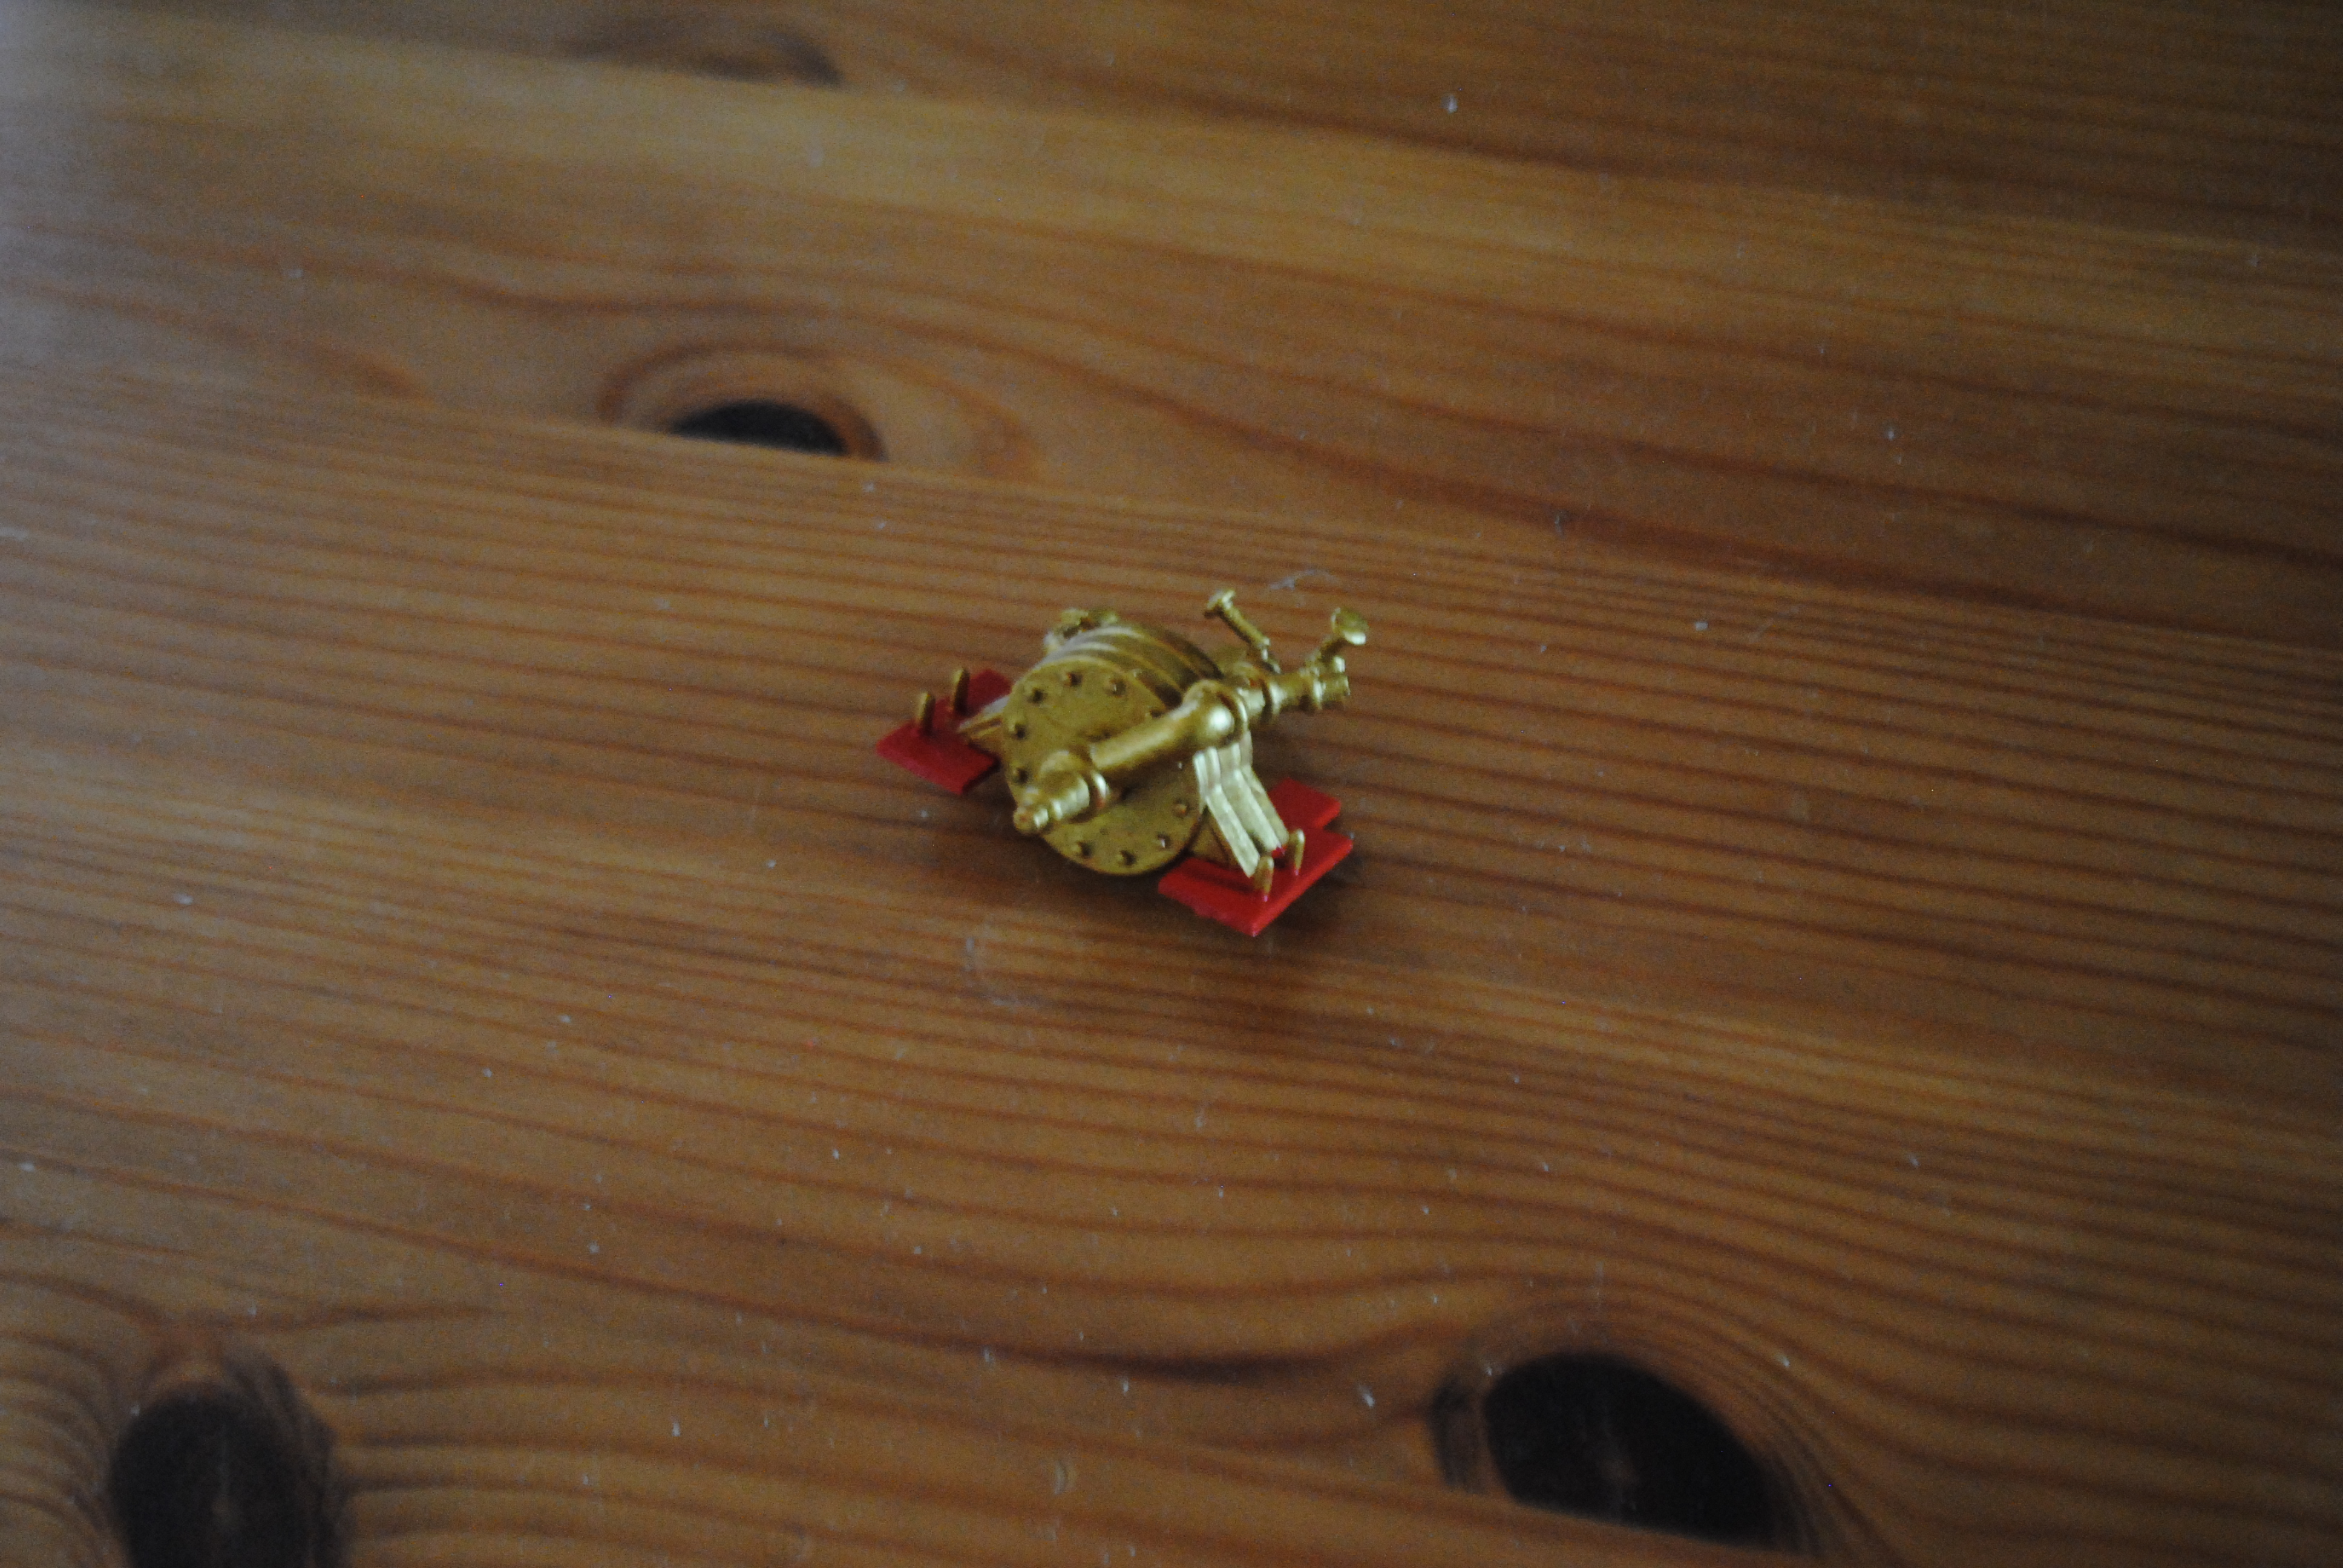
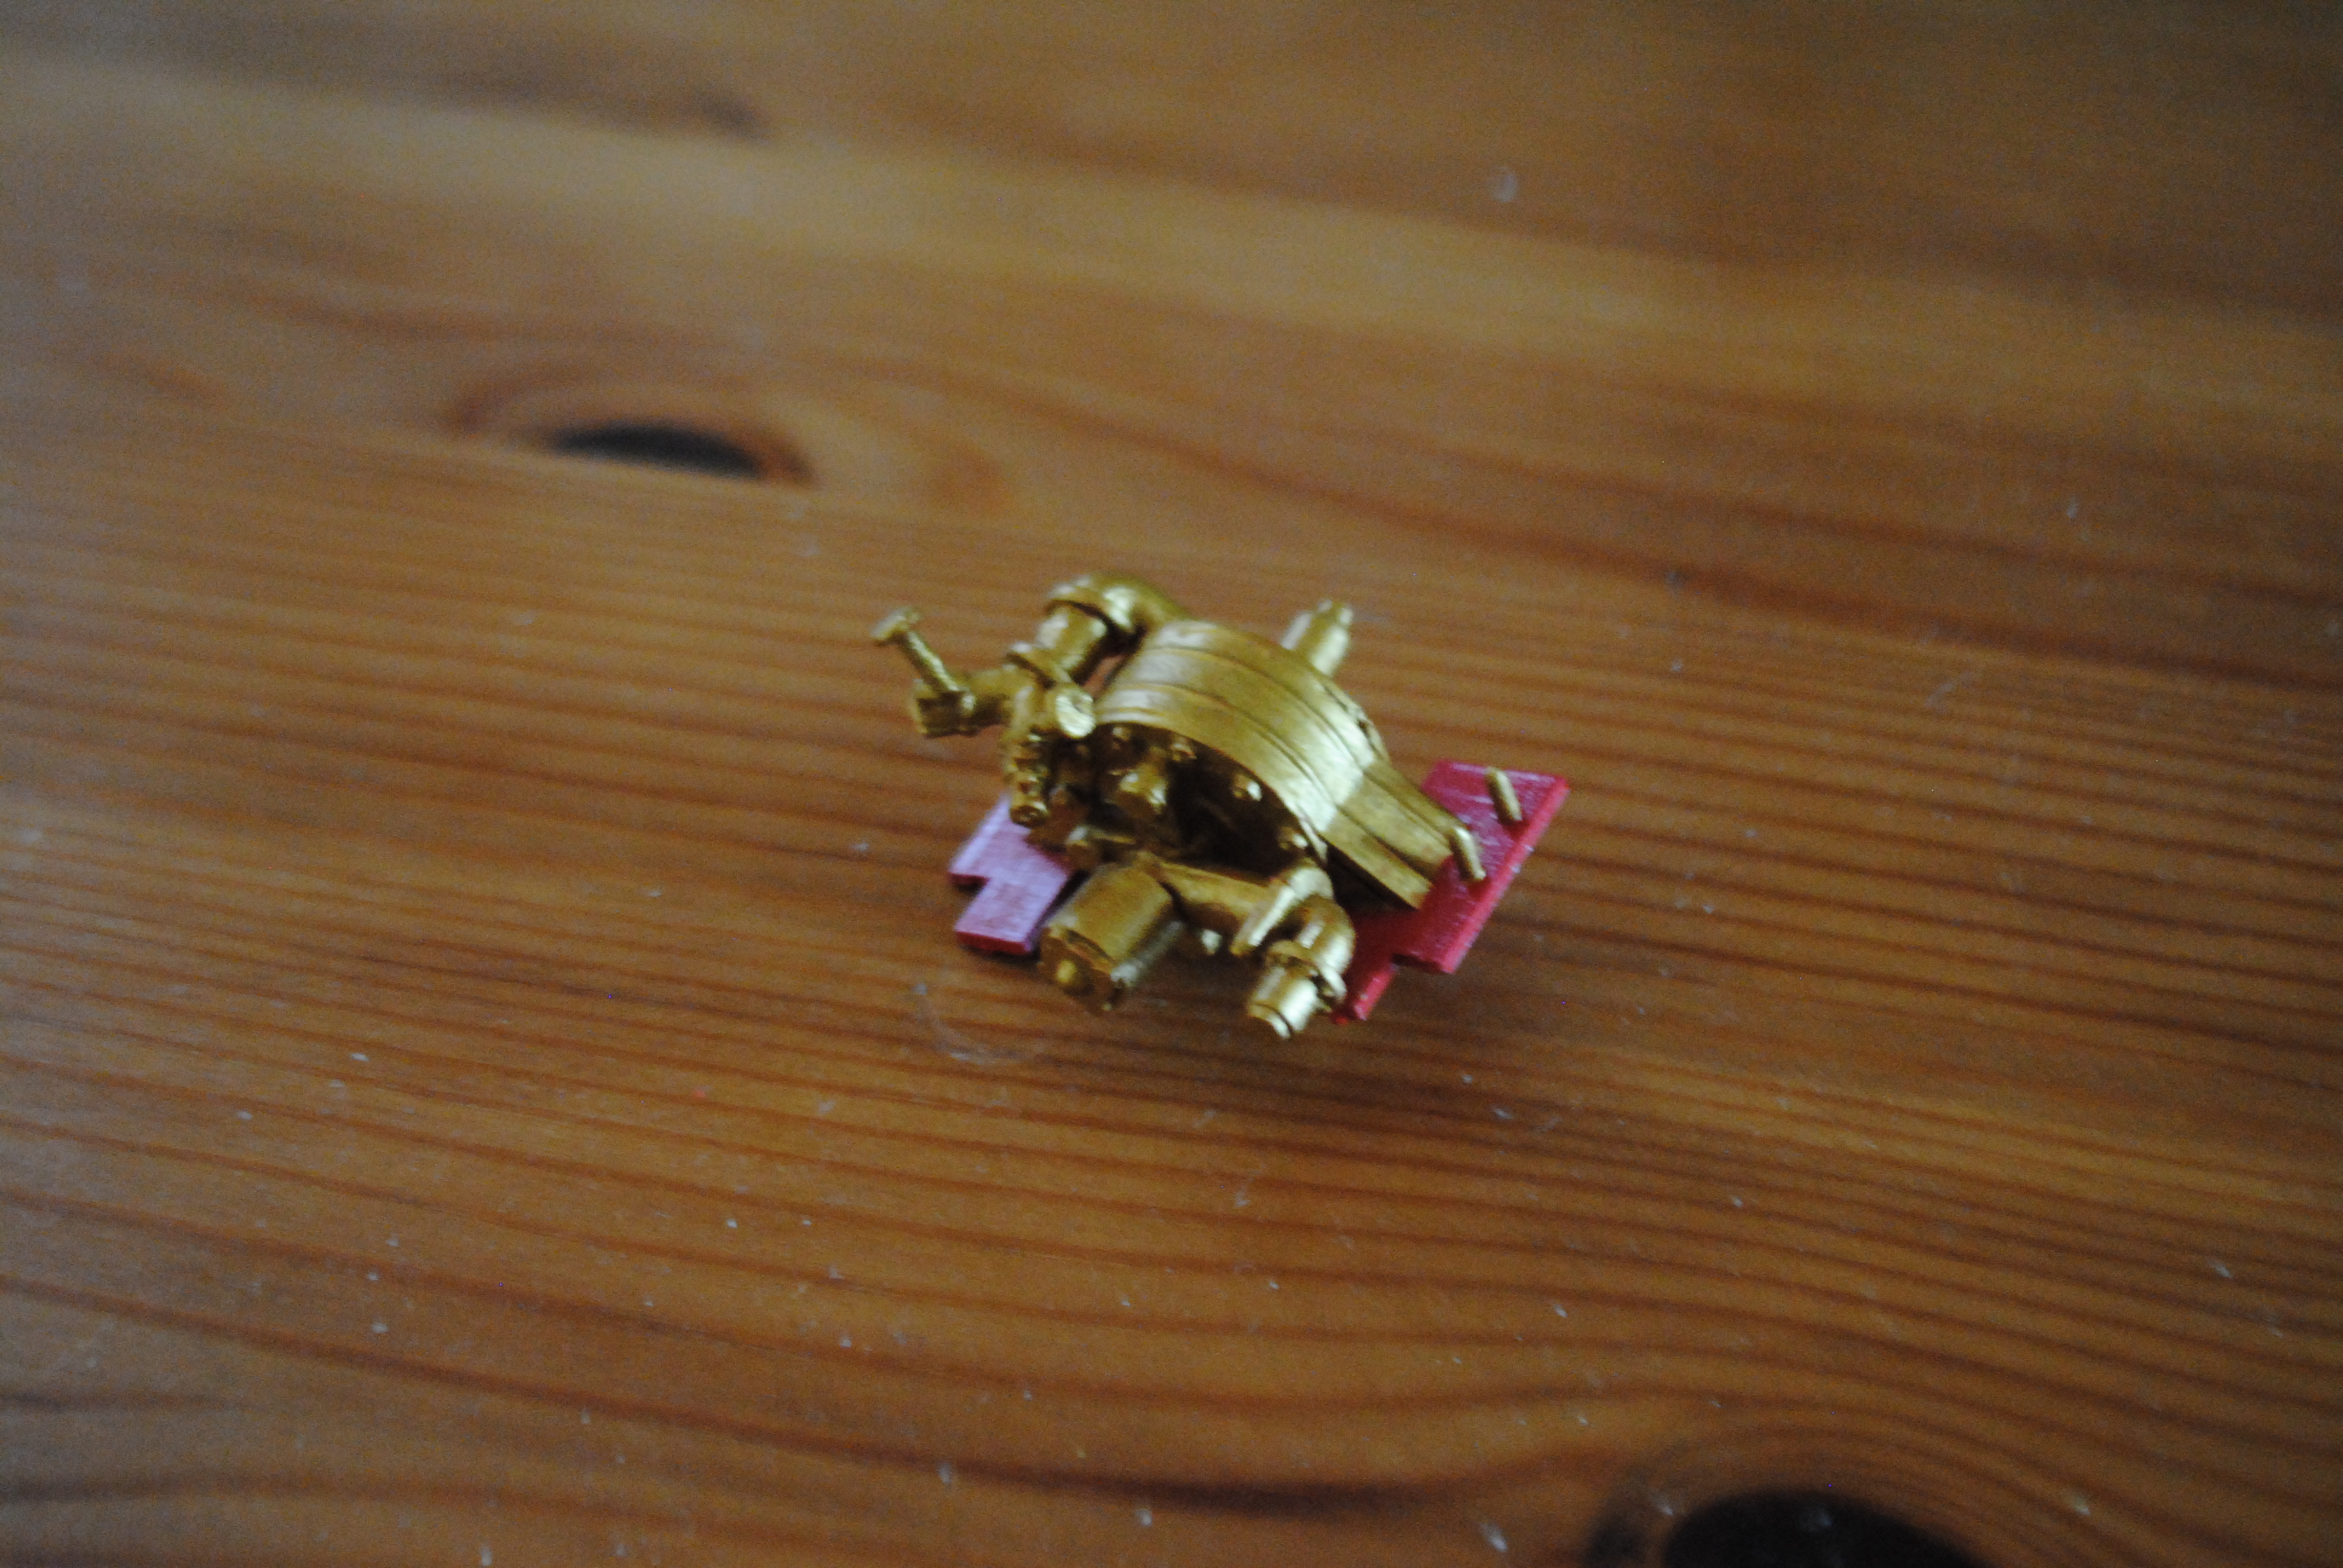
This little water pump was the last bit of the vehicle to sit on the chassis rails. It’s a lovely, well detailed little piece that sadly gets buried later on in the build.

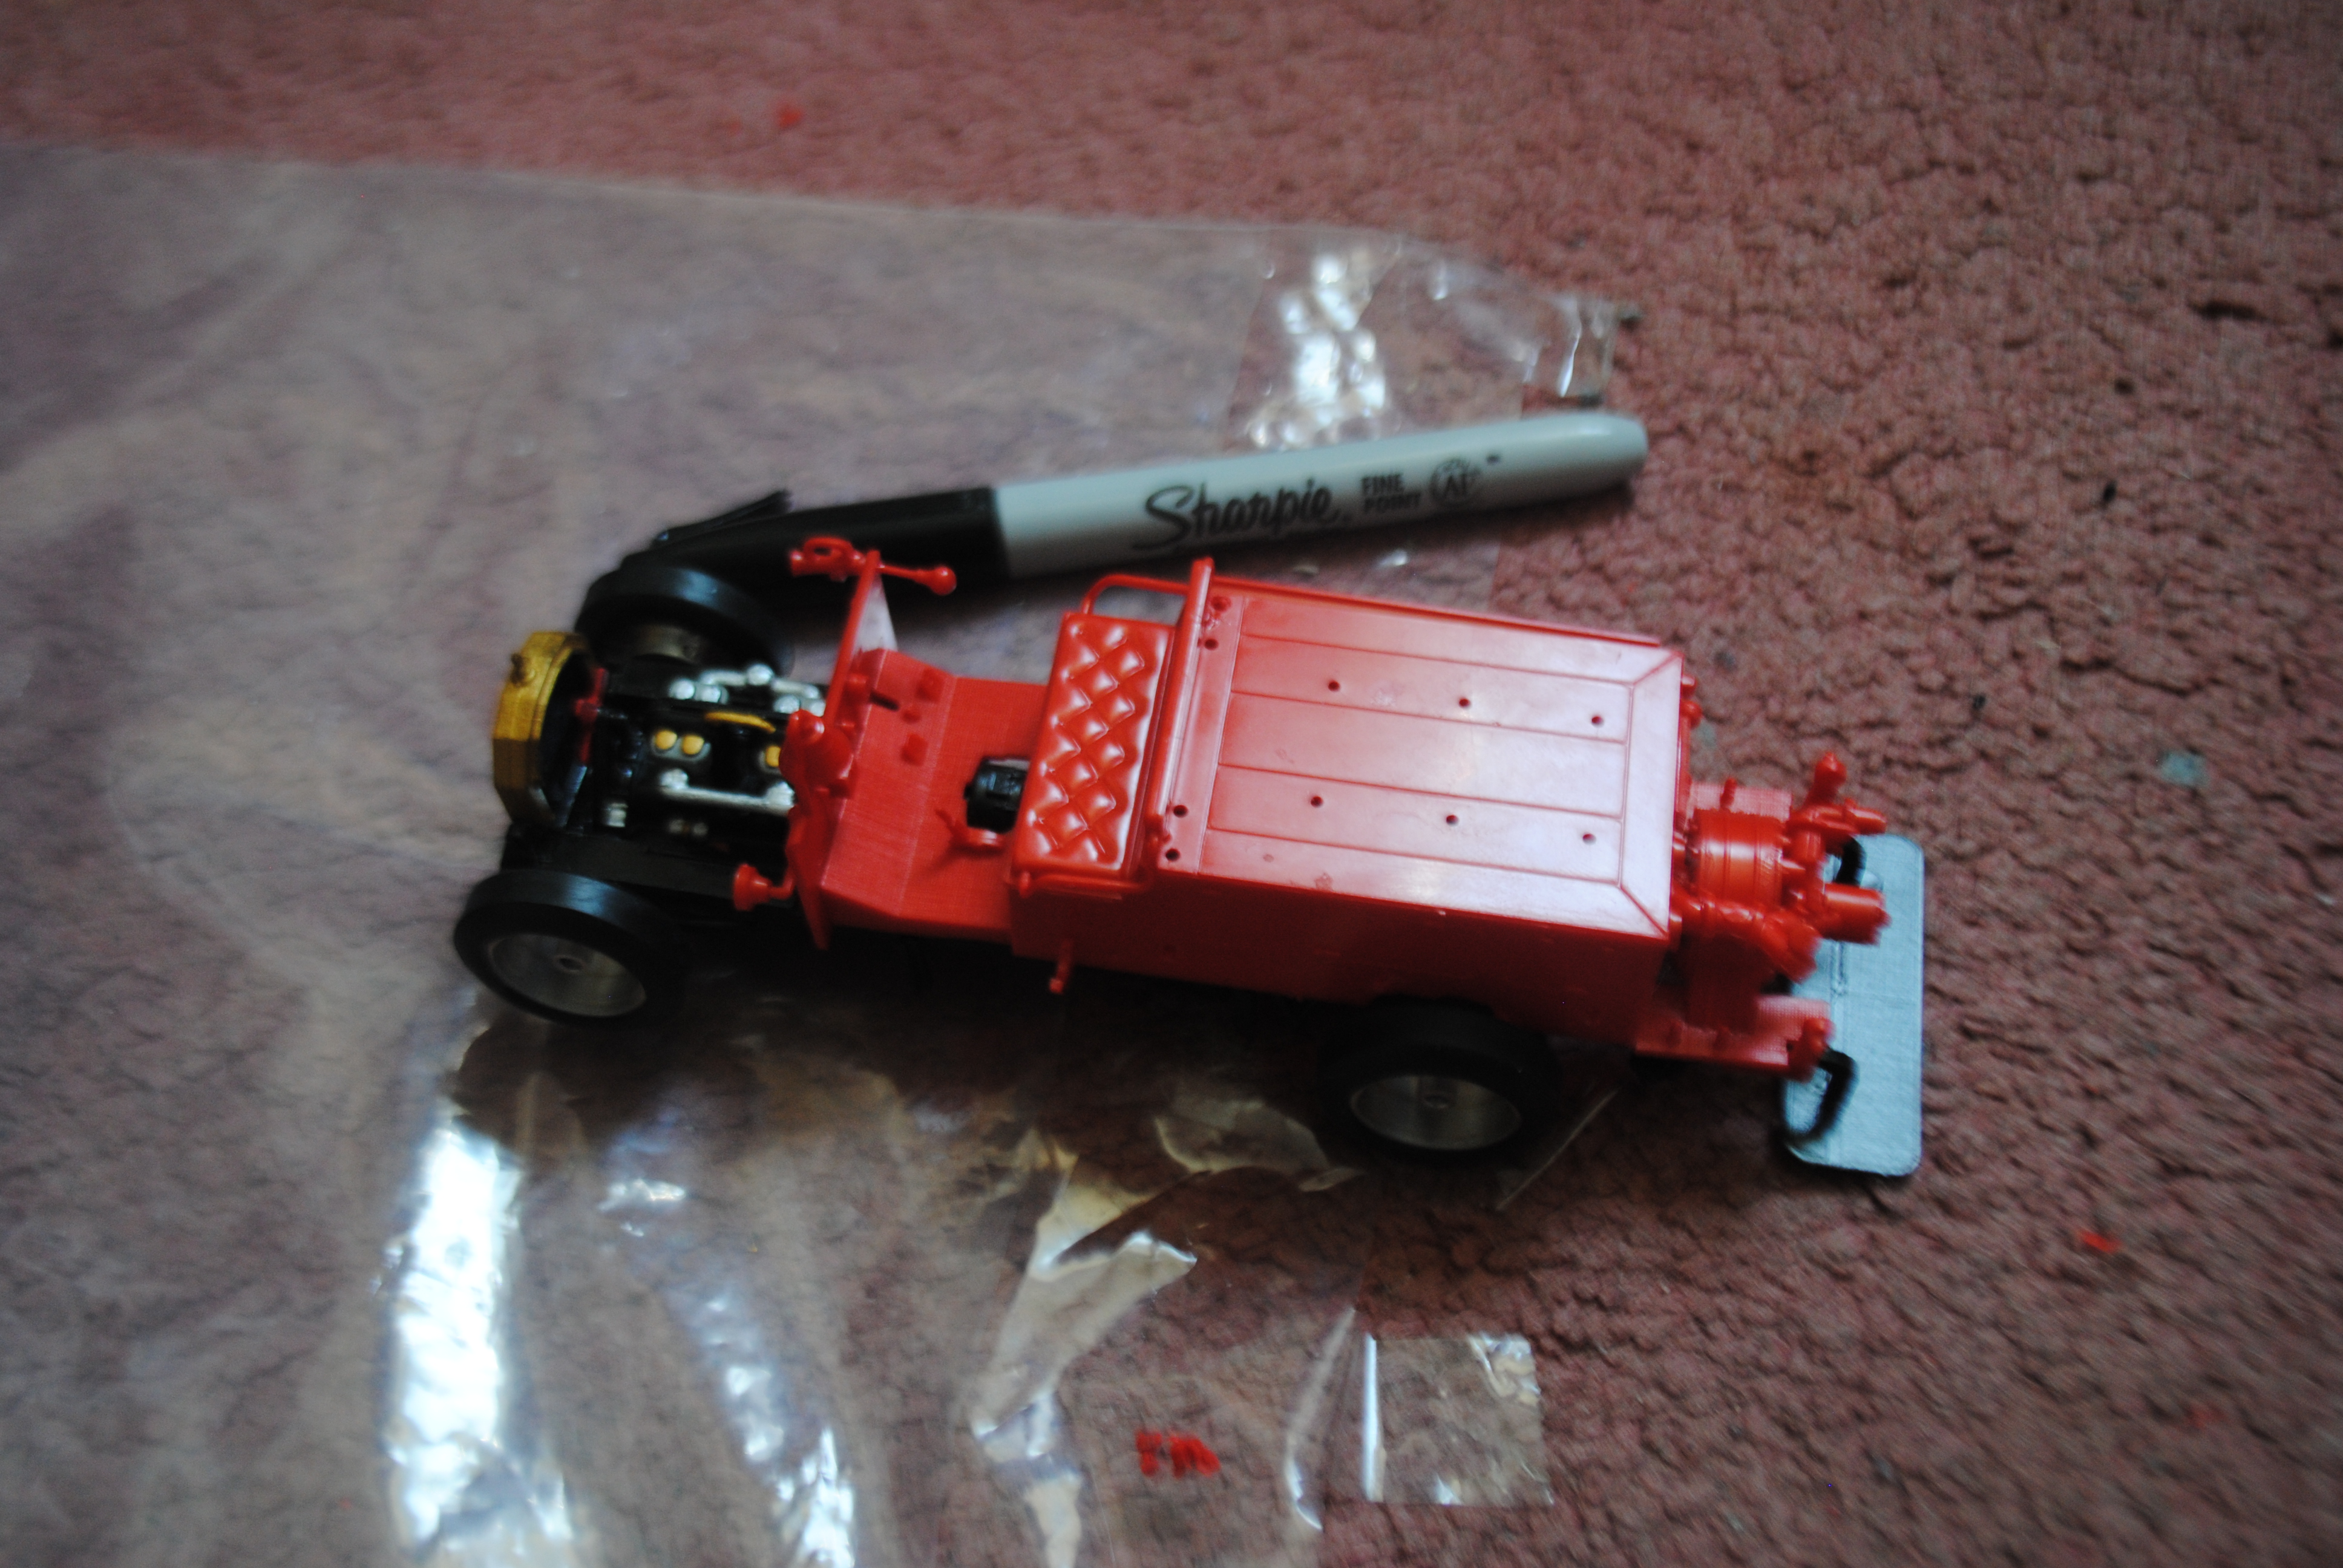
Now the body and pump has been sprayed. I hope you can tell the difference in the red!
With the red painted I could also add the details and steering column to the fire wall. The steering column actually passes through the fire wall and into the engine bay. Although it doesn’t link to any kind of steering system it still looks good to see it in the bay.
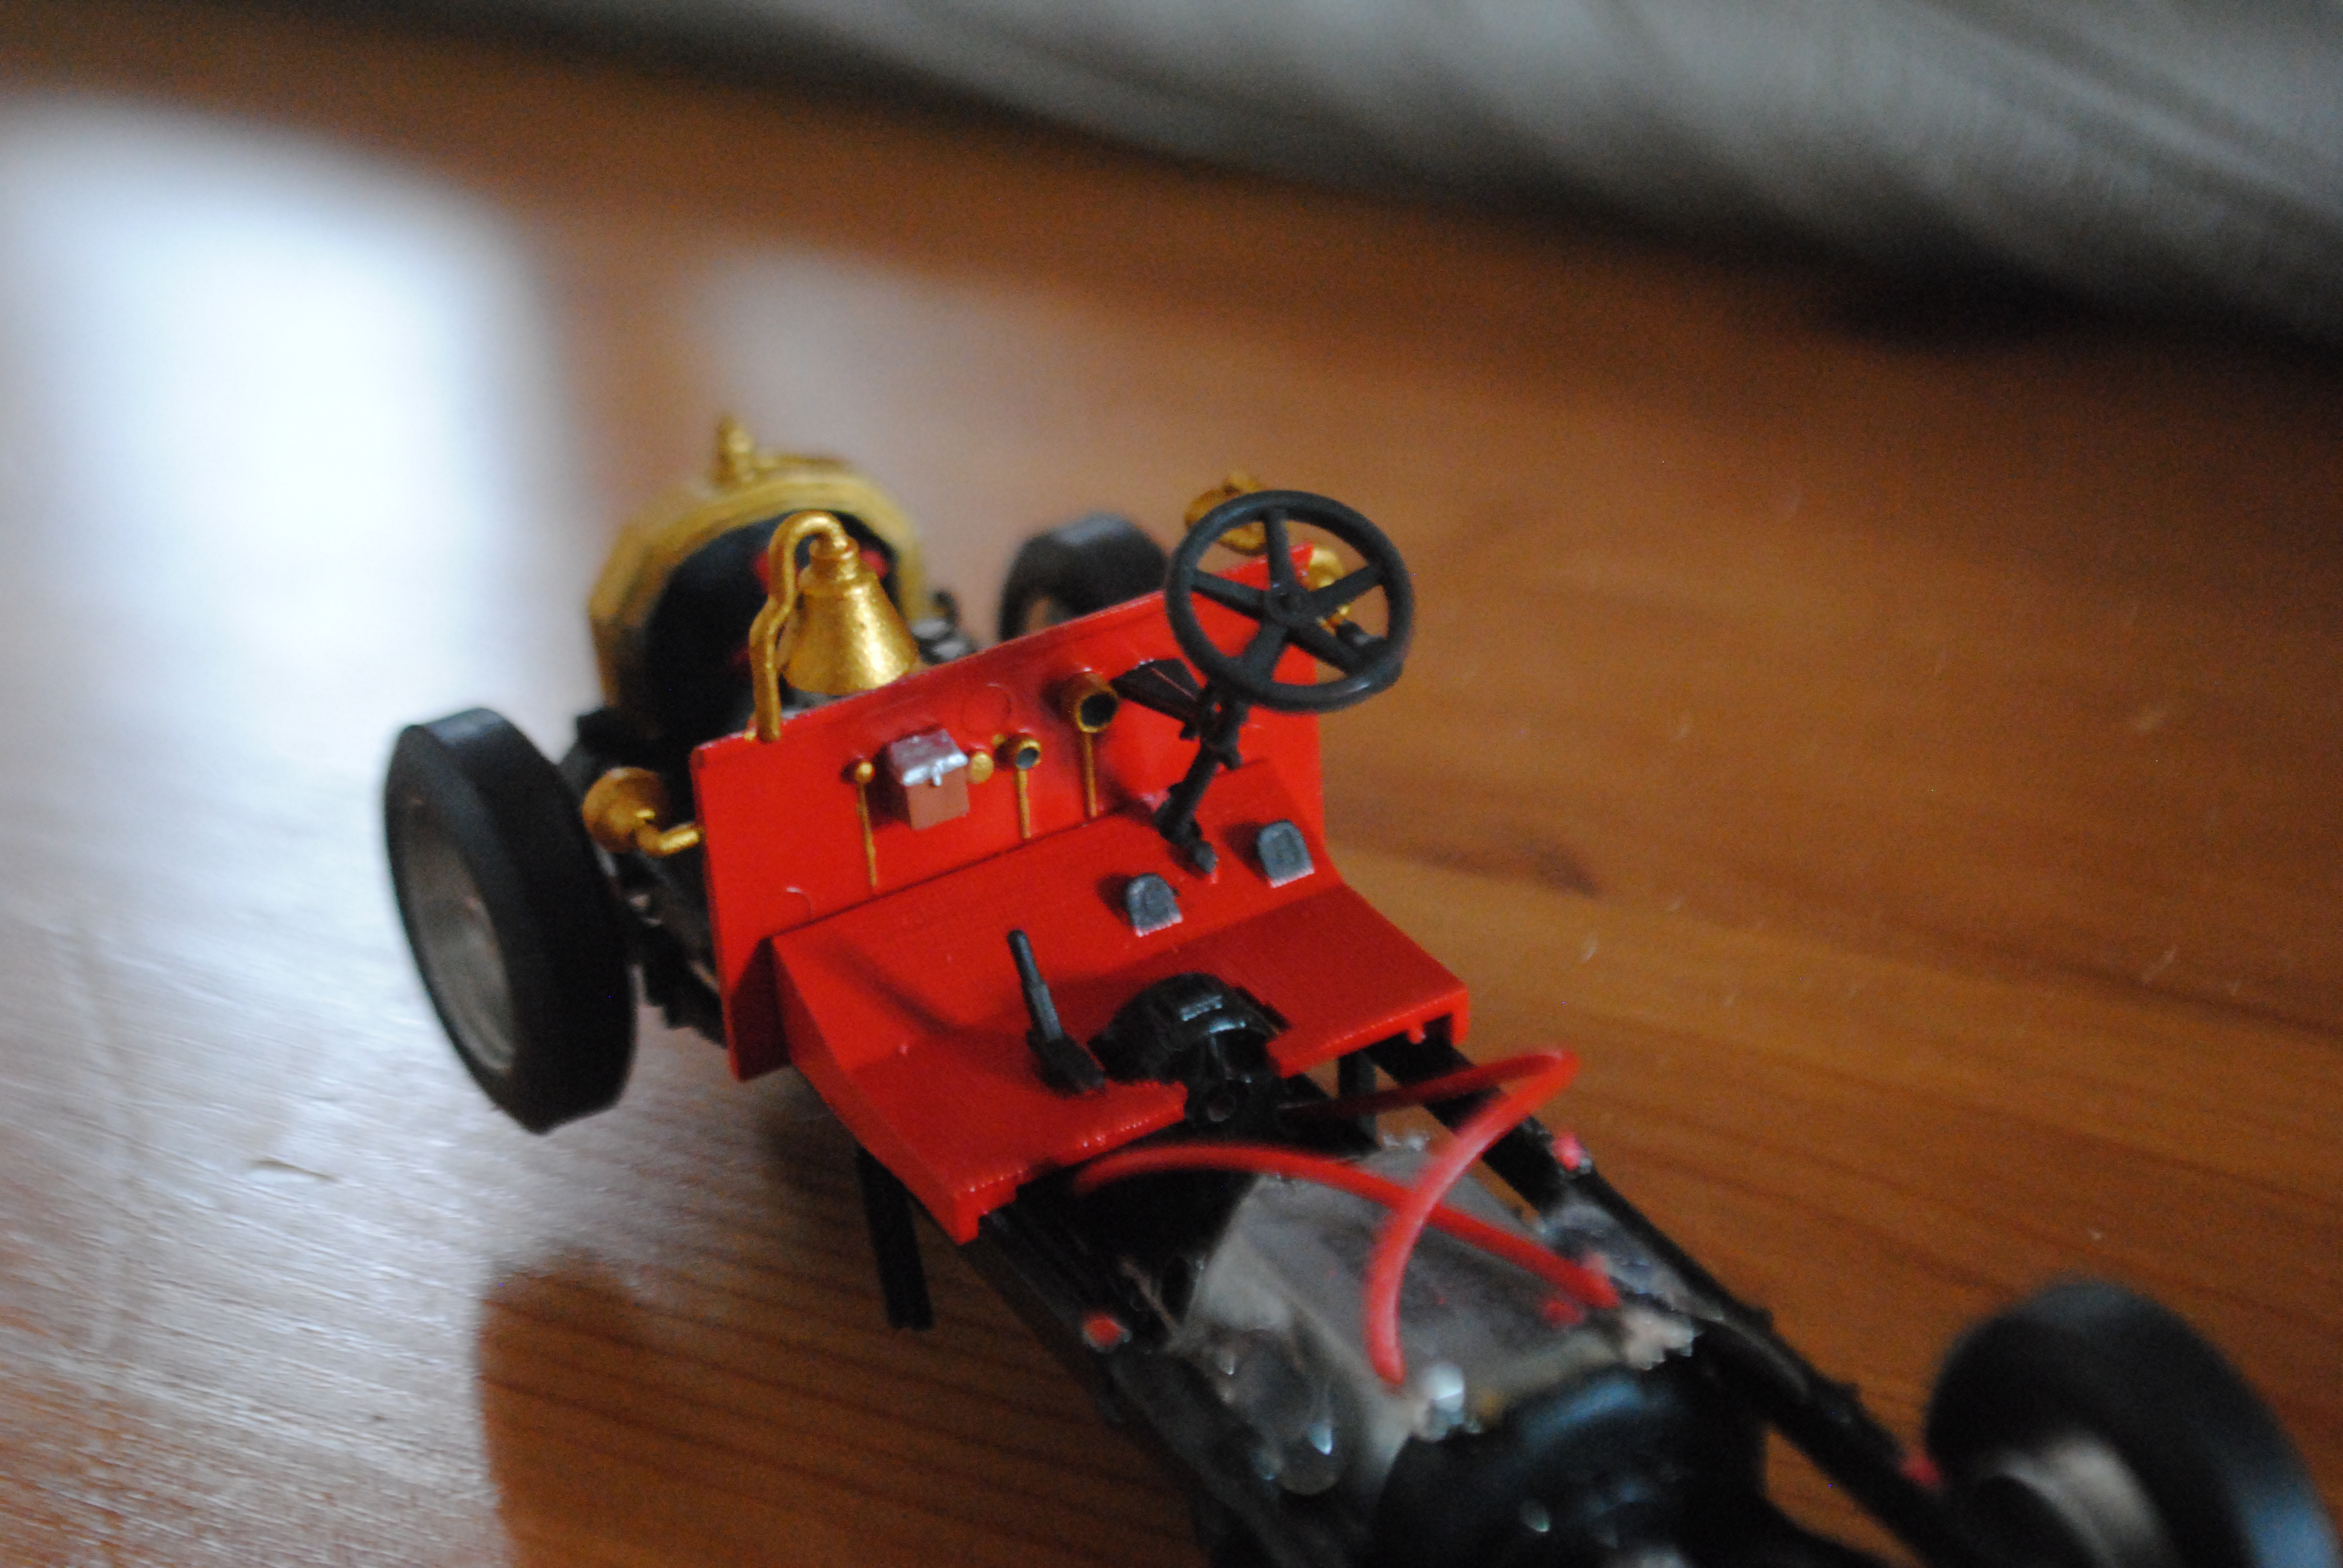
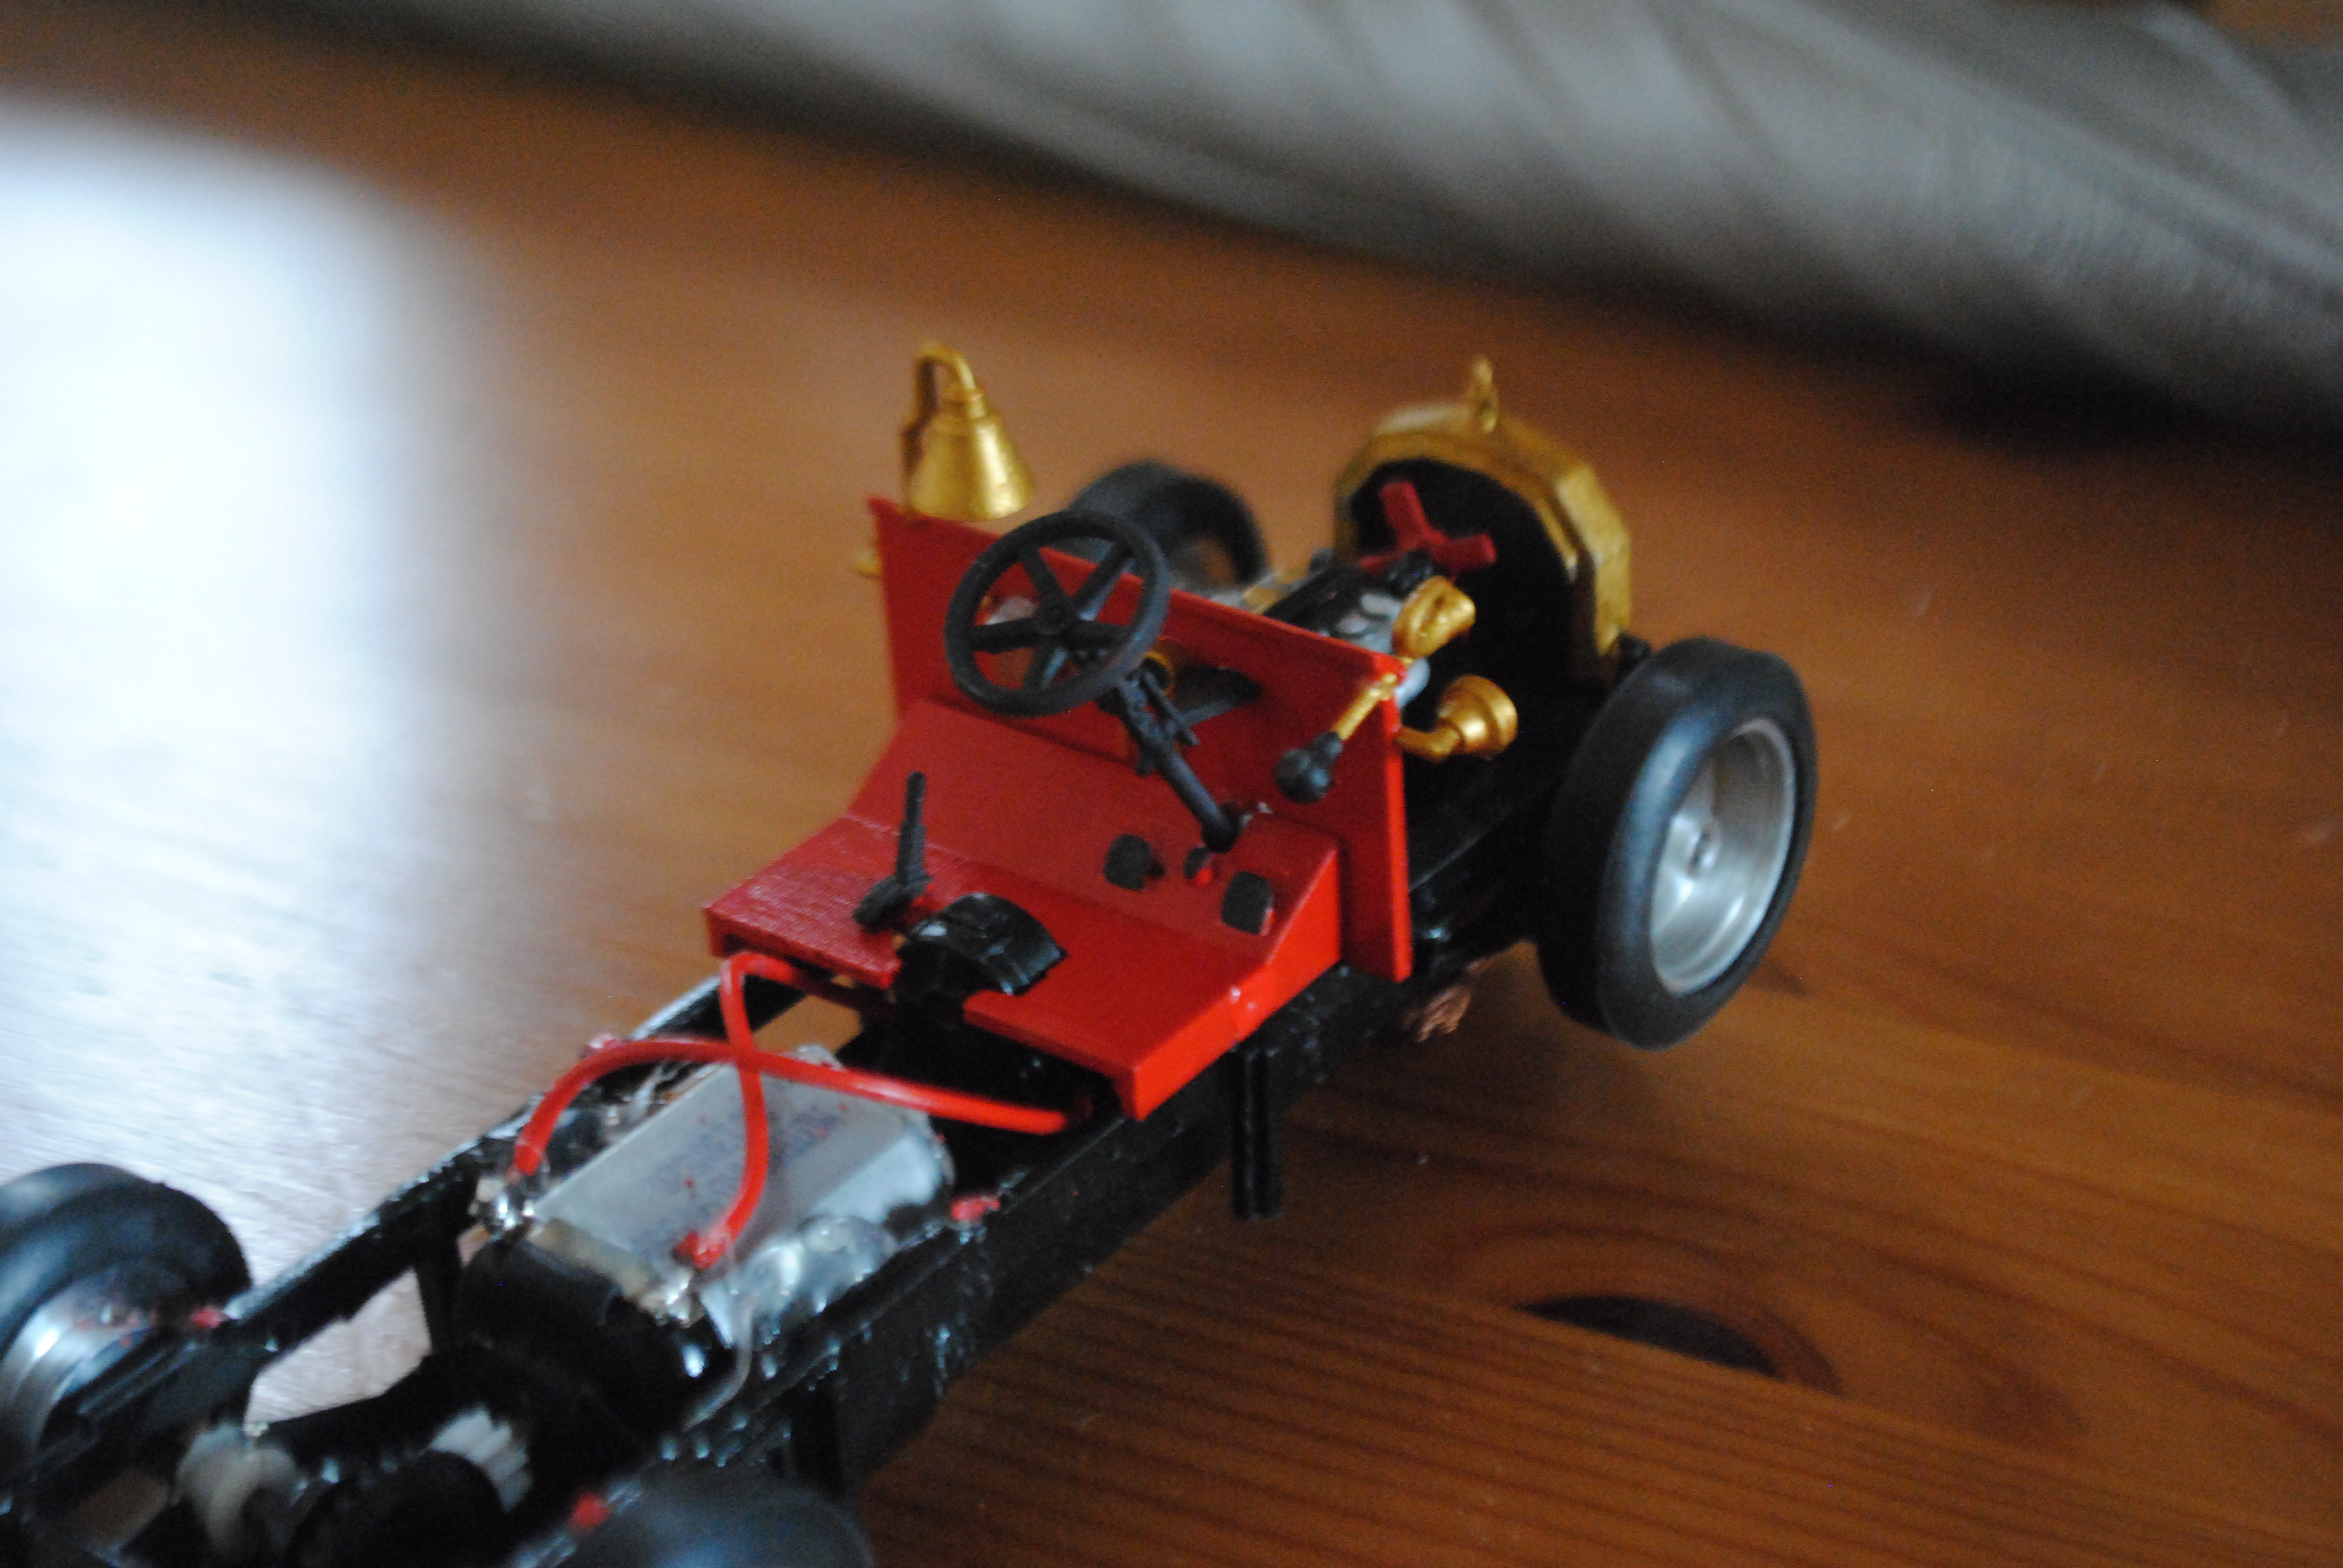
Next up were these hoses which run down the side of the body and the bonnet.
All painted up! I also made a part of the structure that hold the ladder up. For a standard kit piece this was a pain in the bum. Nothing quite lined up right. It eventually made it in ok though.

The crew also had to check to see the new black padding was comfortable.
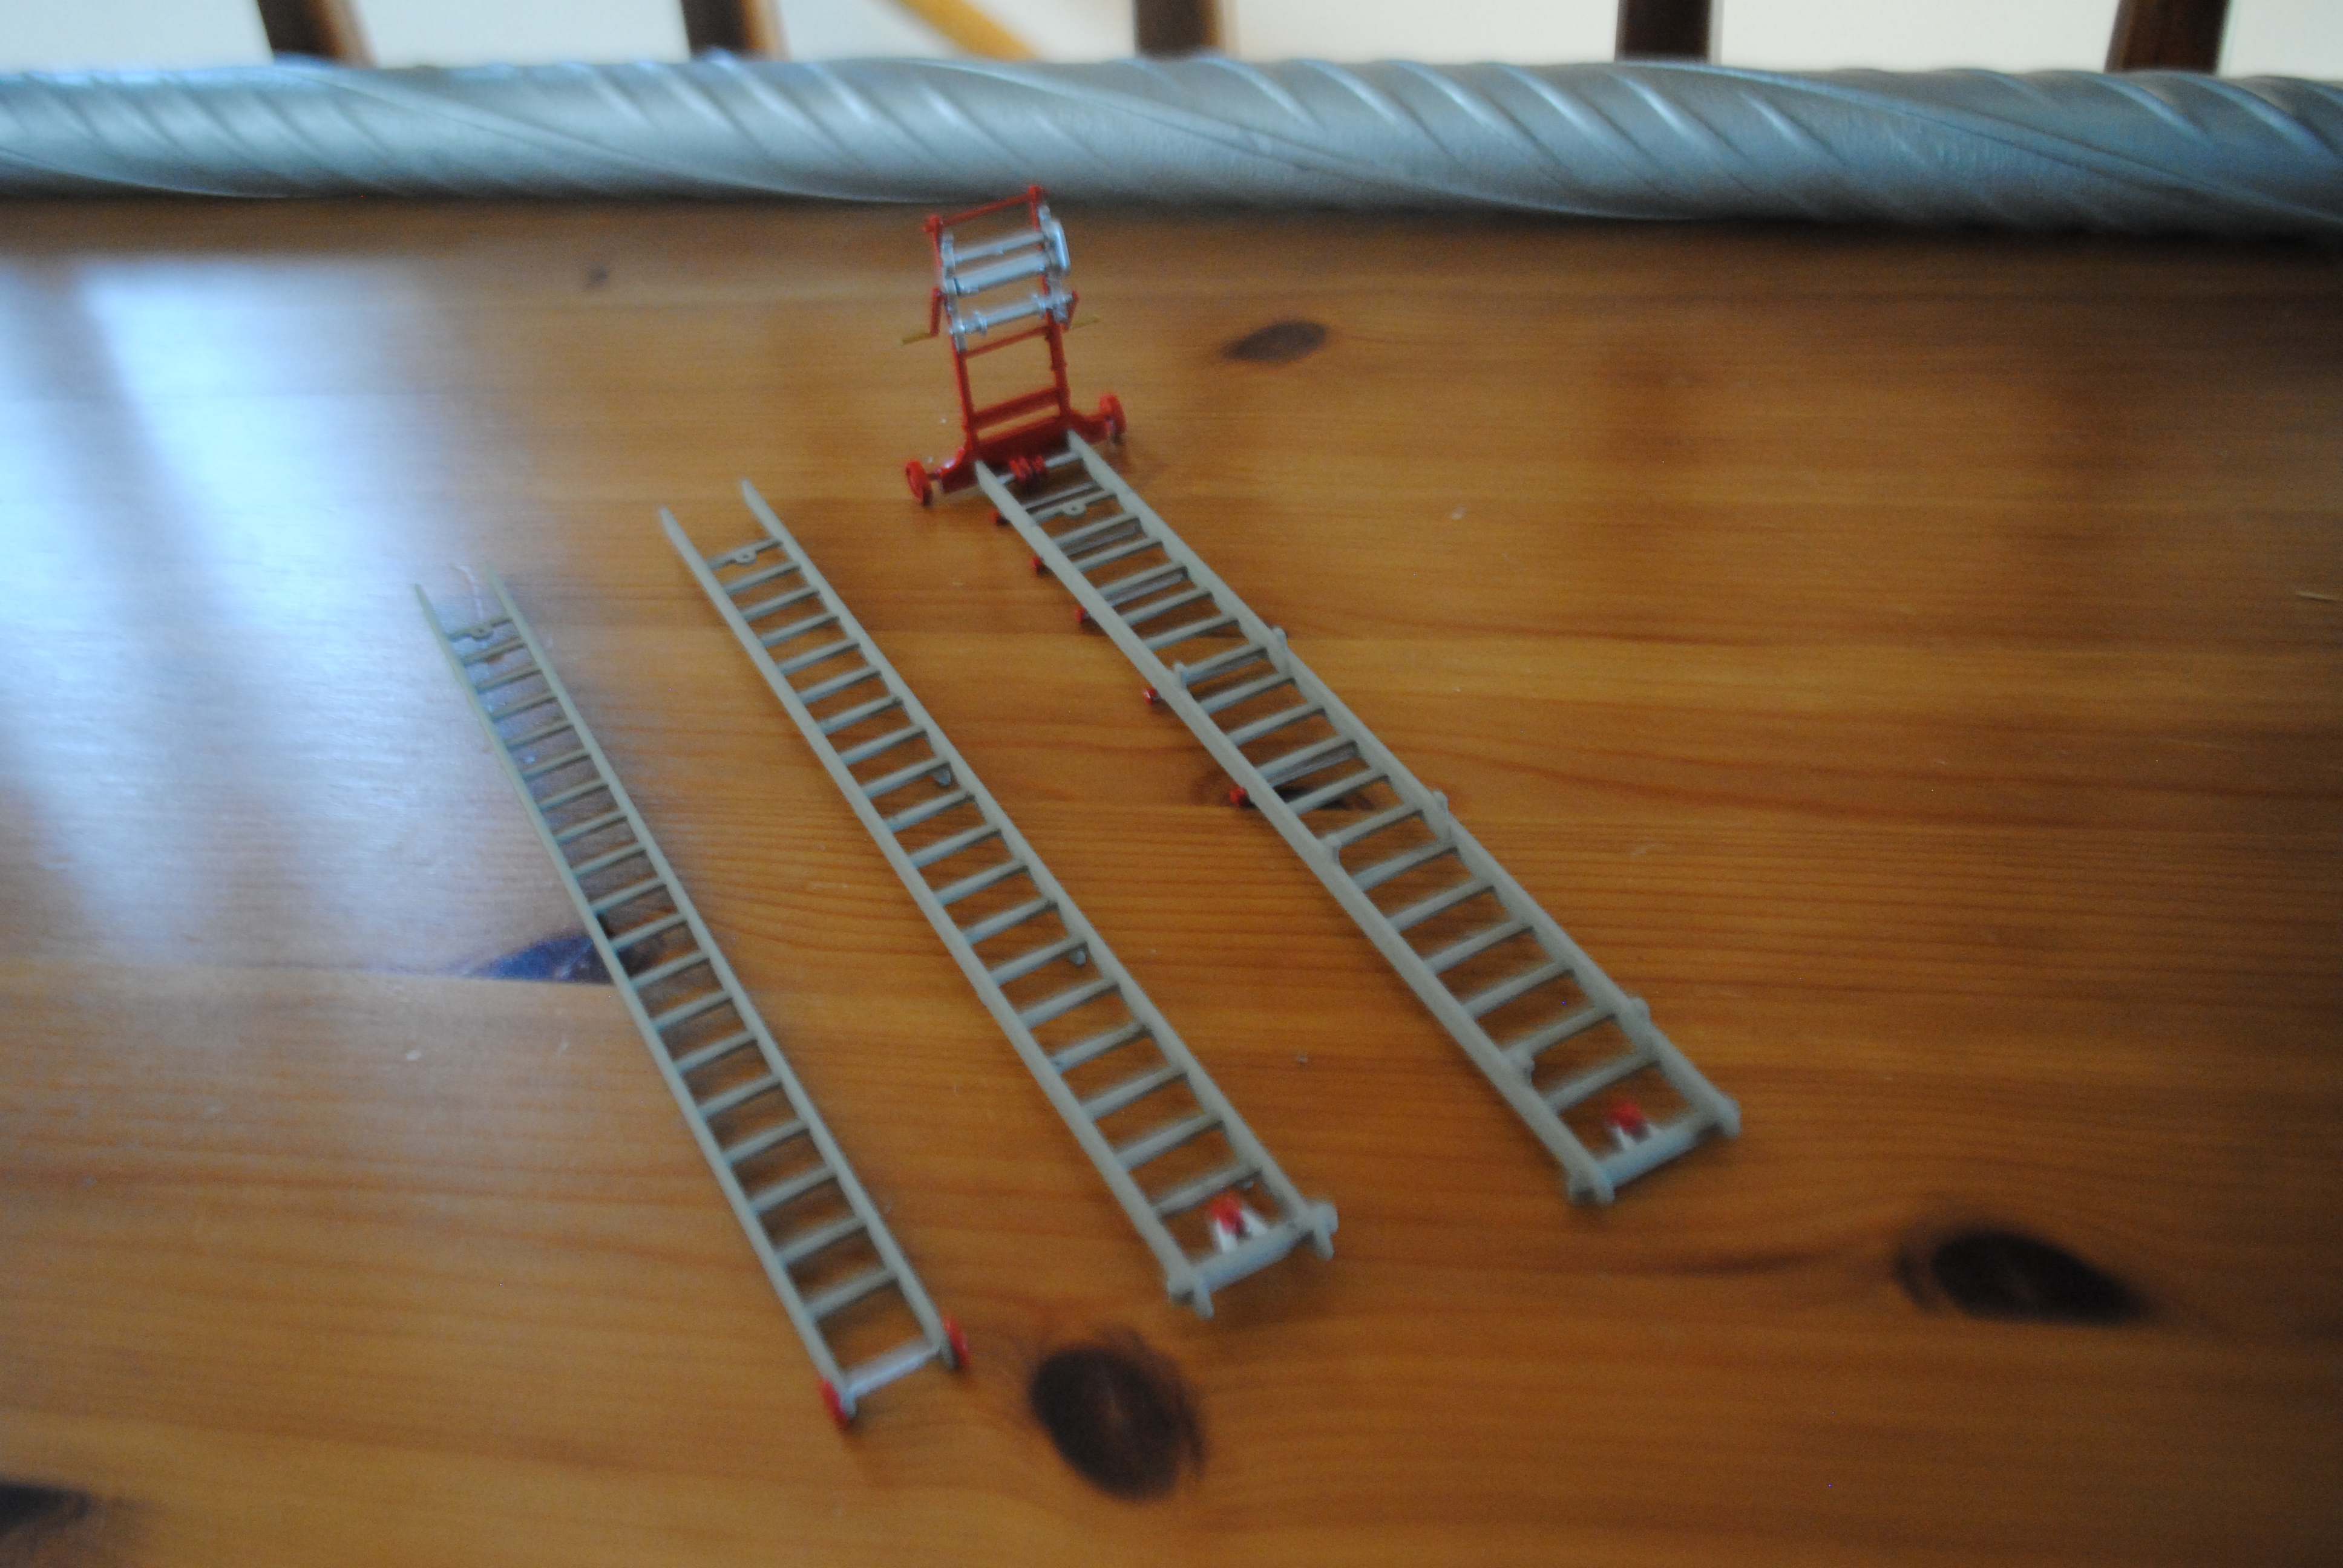
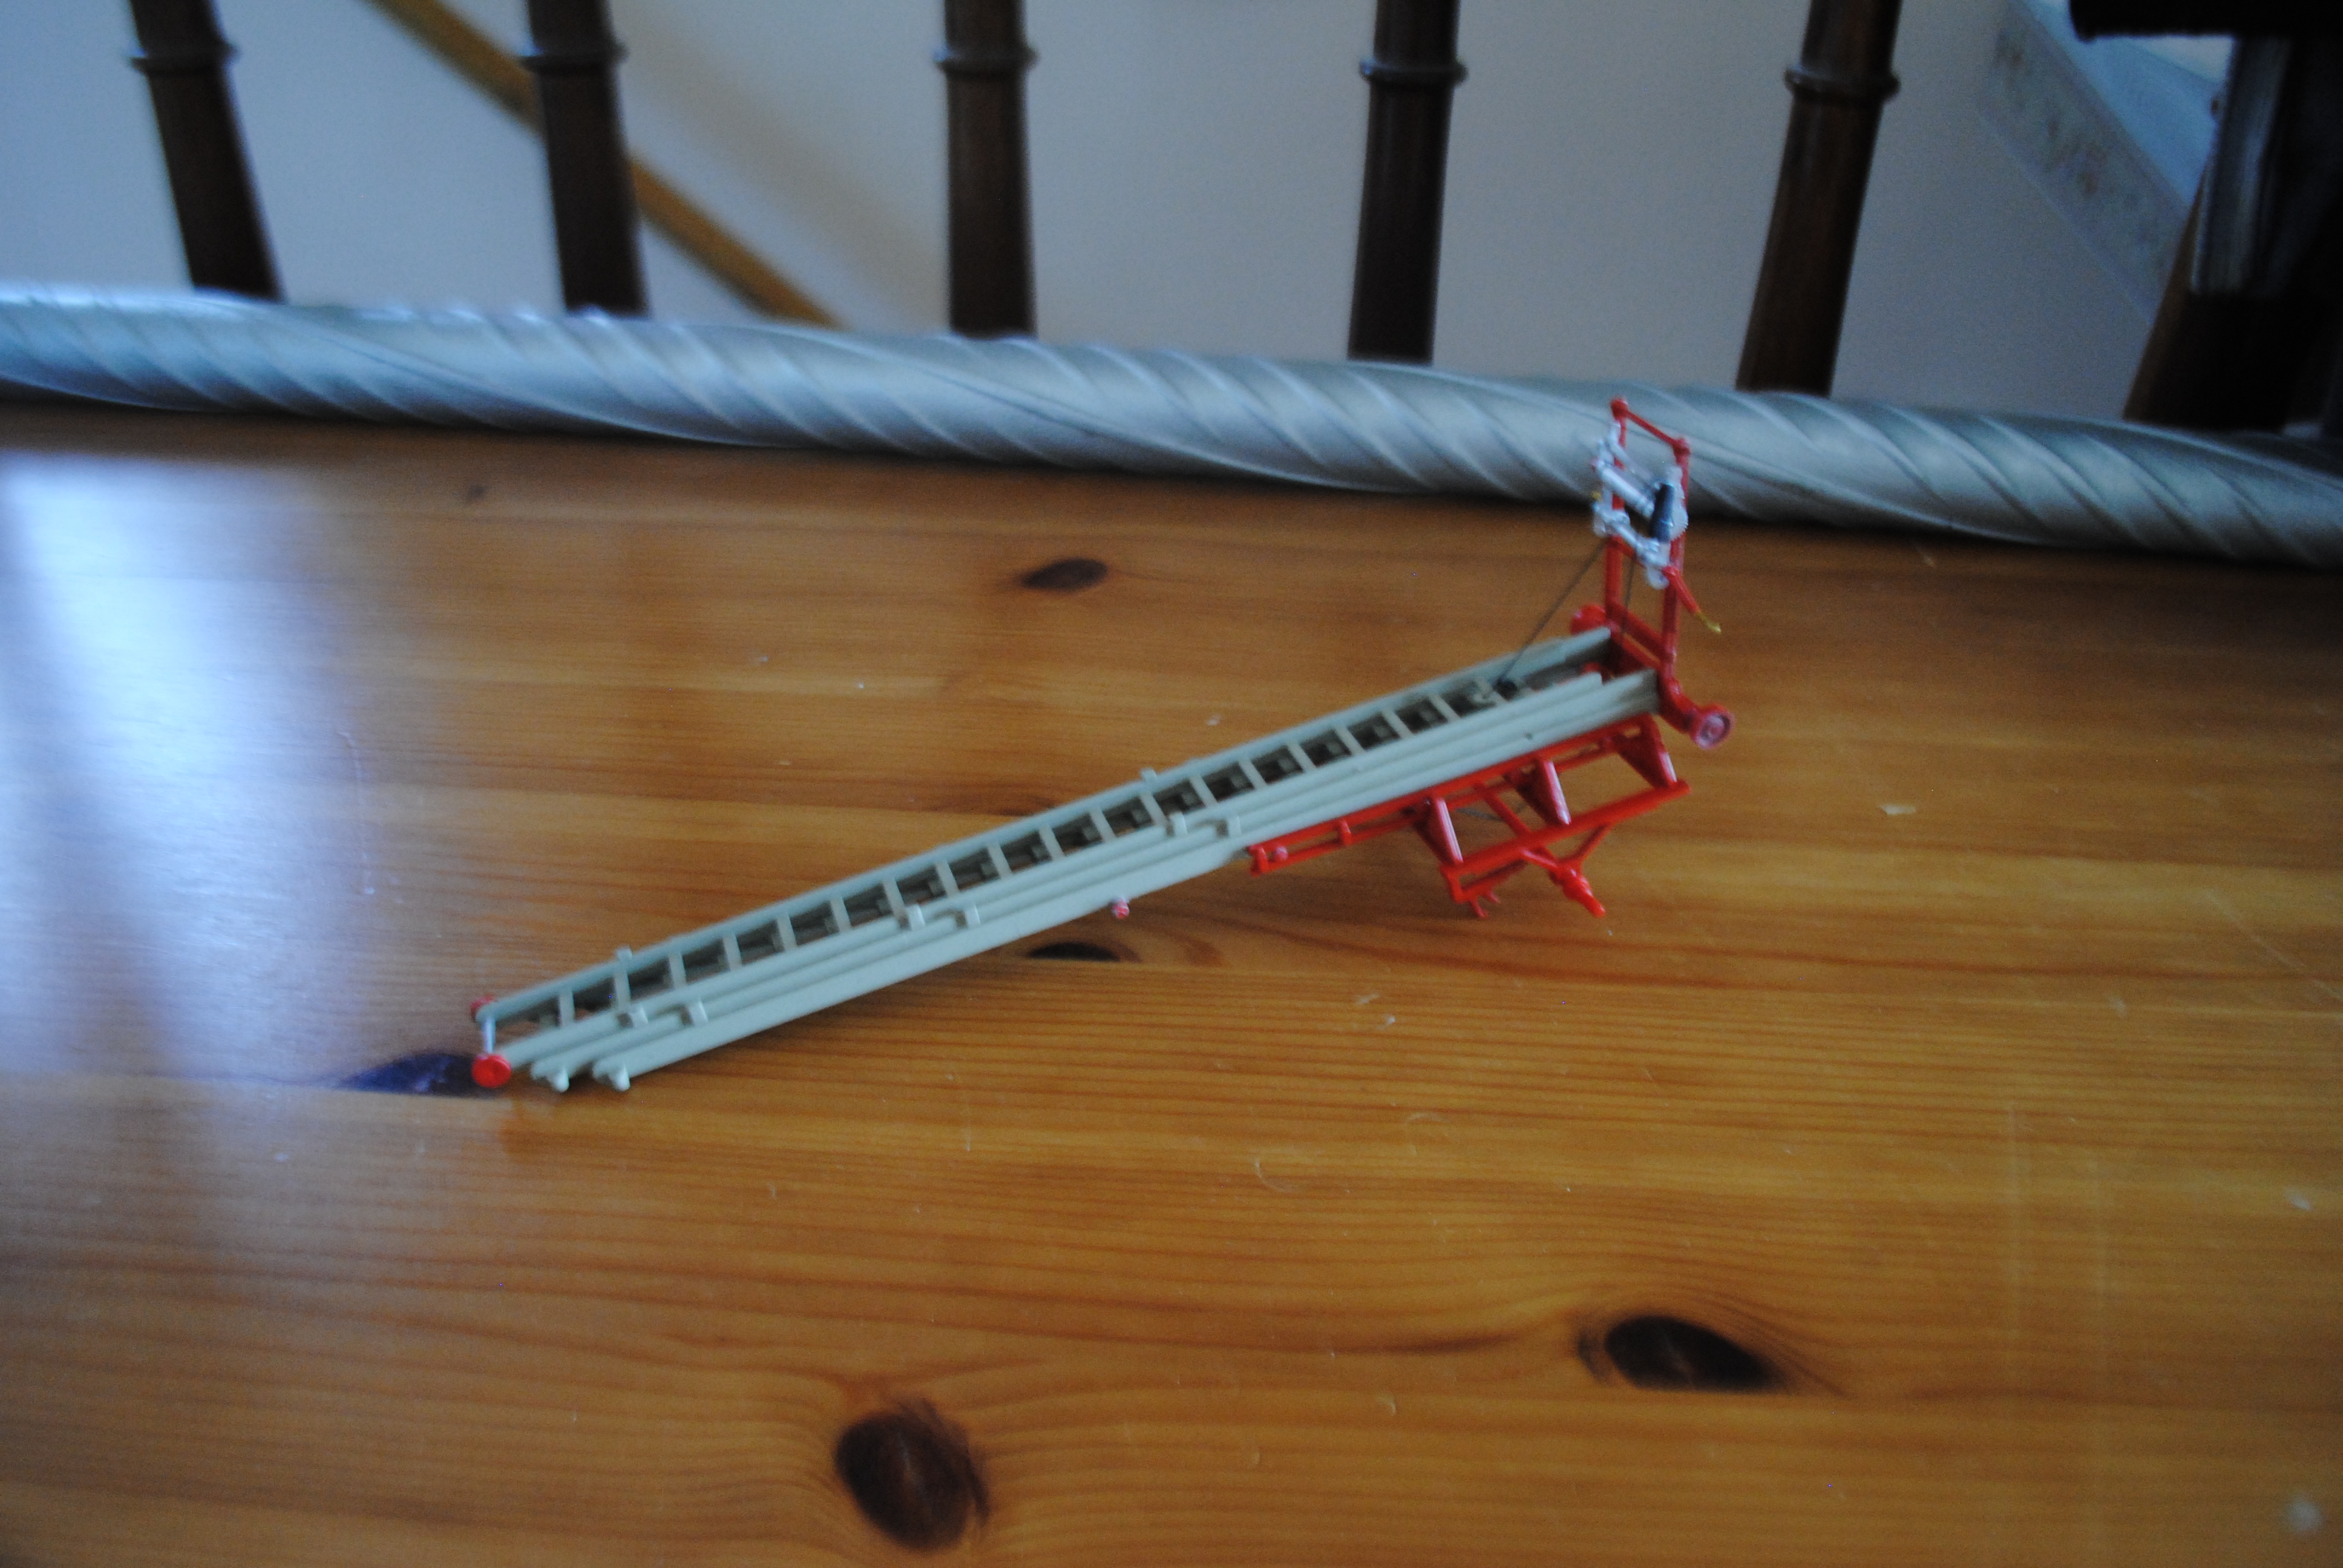
The next section to build up is the ladder and the structure the ladder sits on.
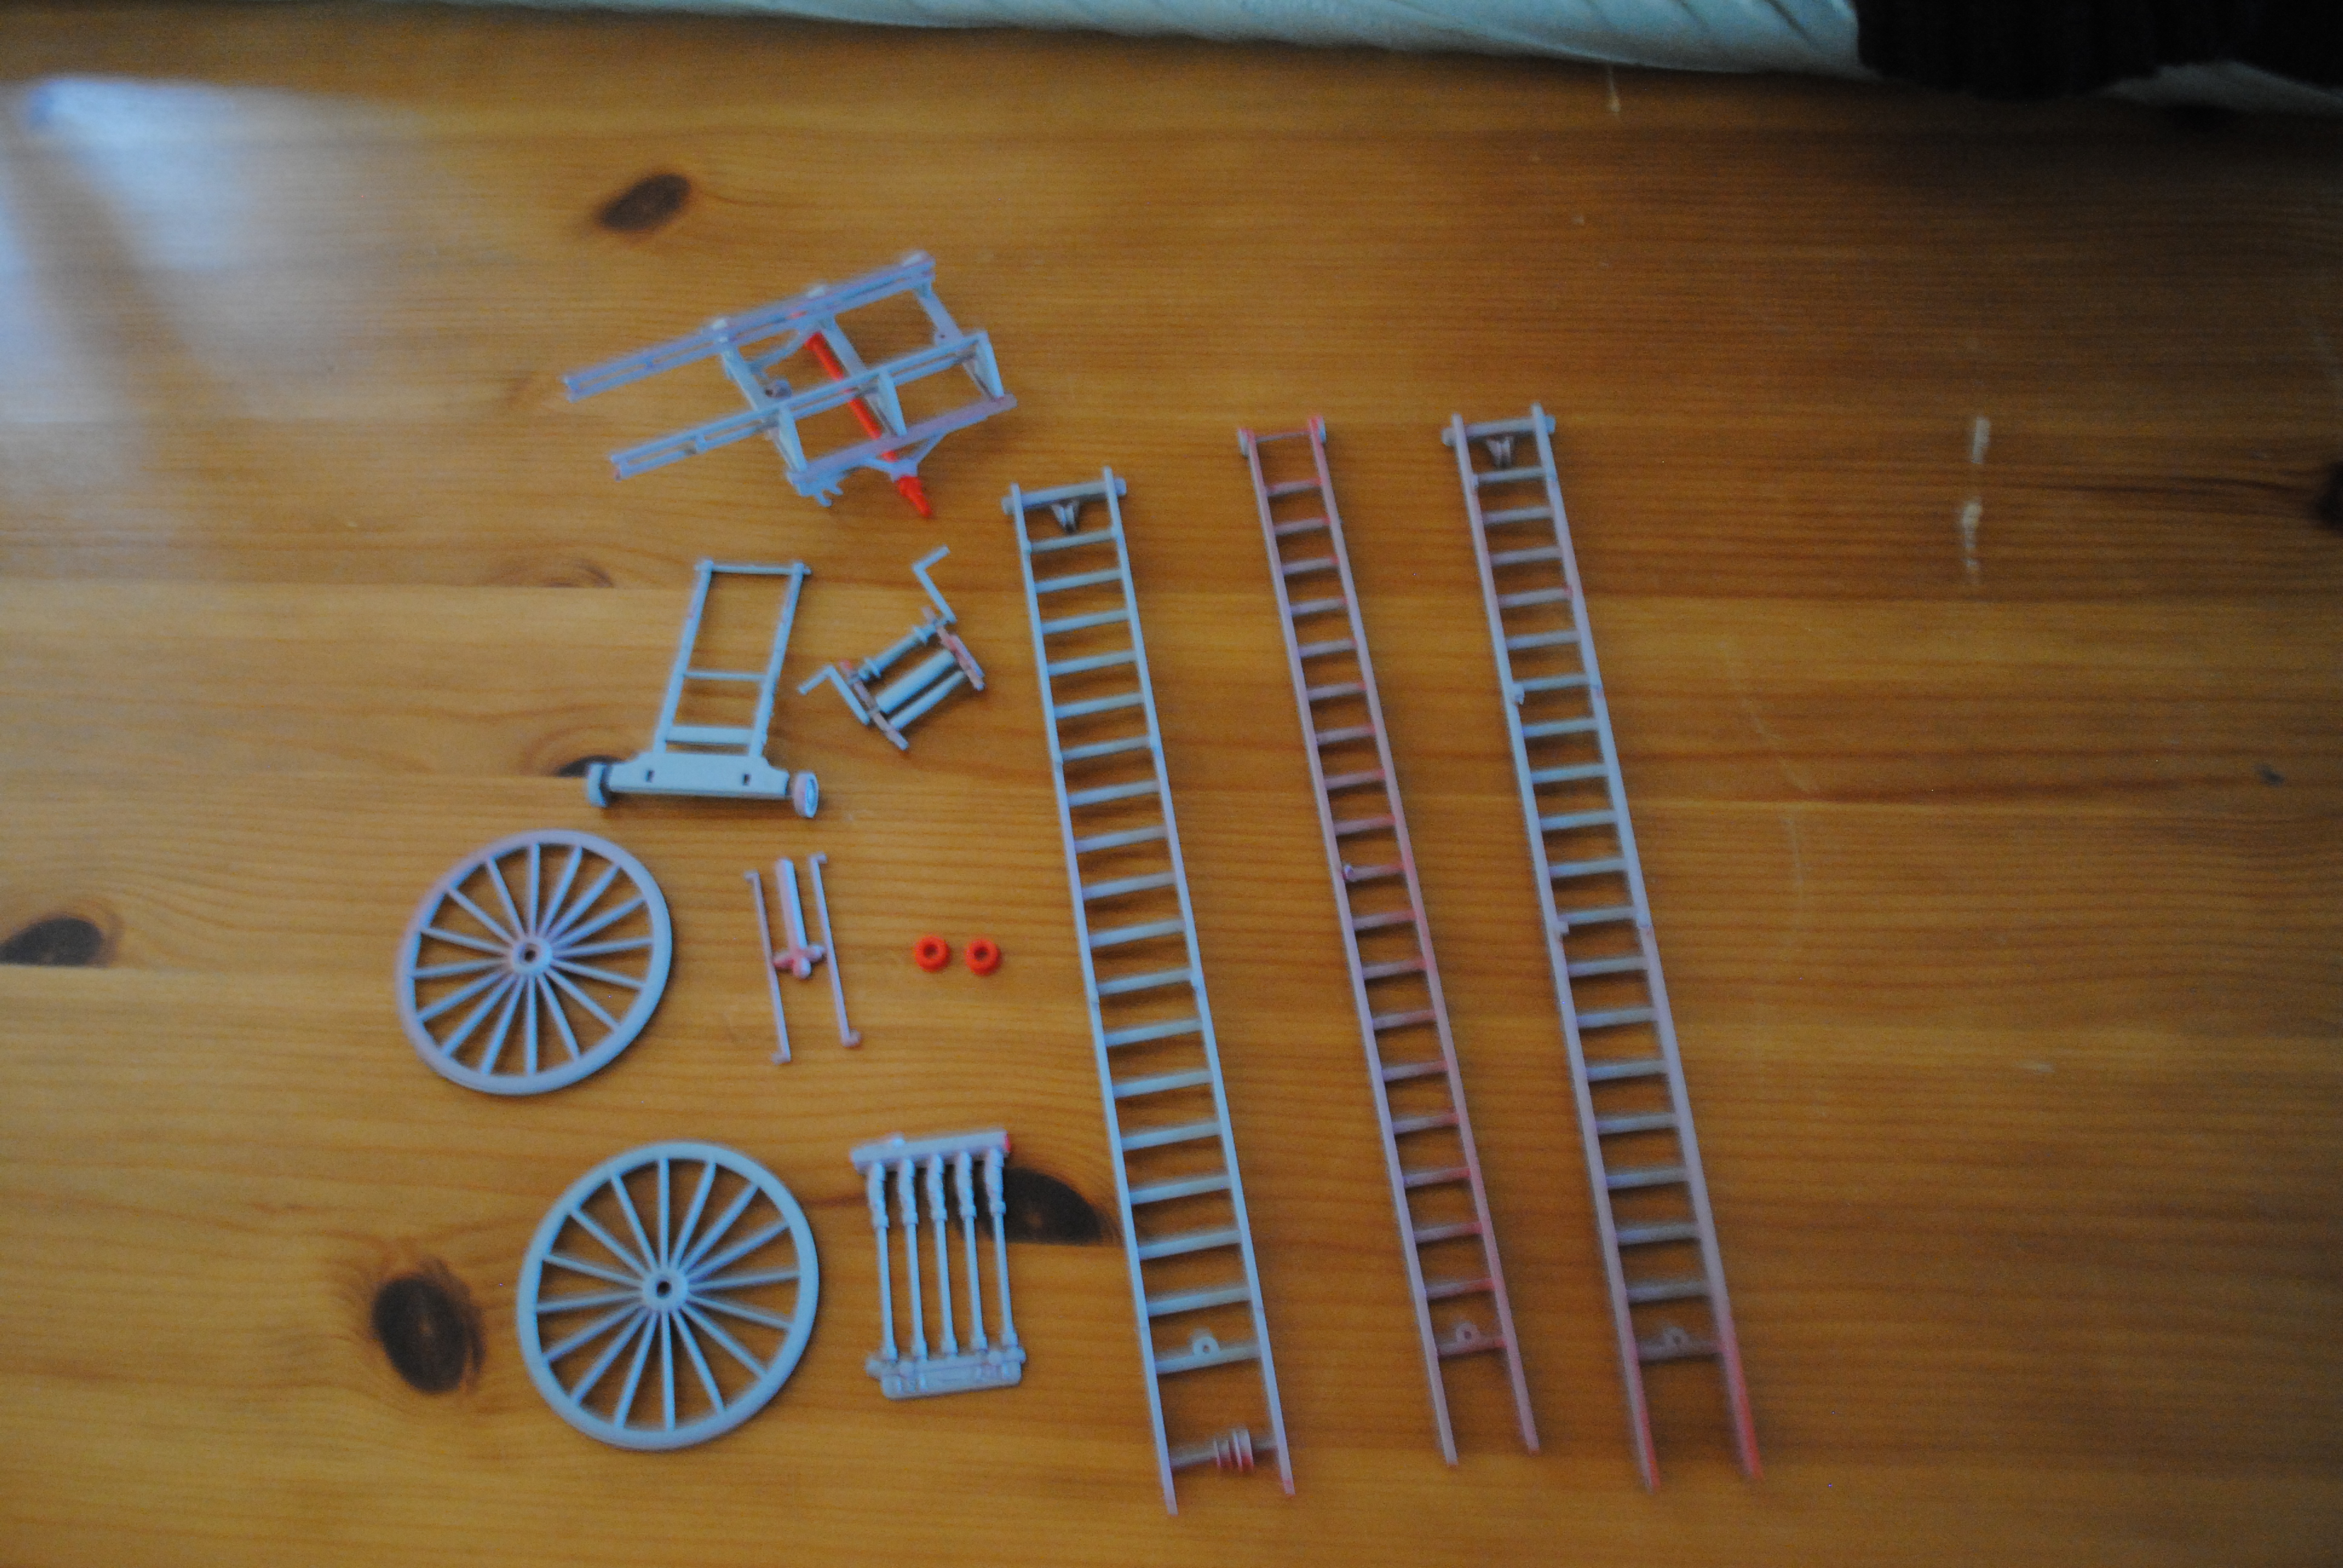
The ladder structure would be another piece that would have to be modified. Because the vehicle is lower than standard the bits the rear super structure stick to don’t line up. Therefore the ladder itself would have to hold it all up. The ladder will be stuck to gold frame on the body and then the heads of the rear crew will reinforce it. This is obviously only dry fitted in place.
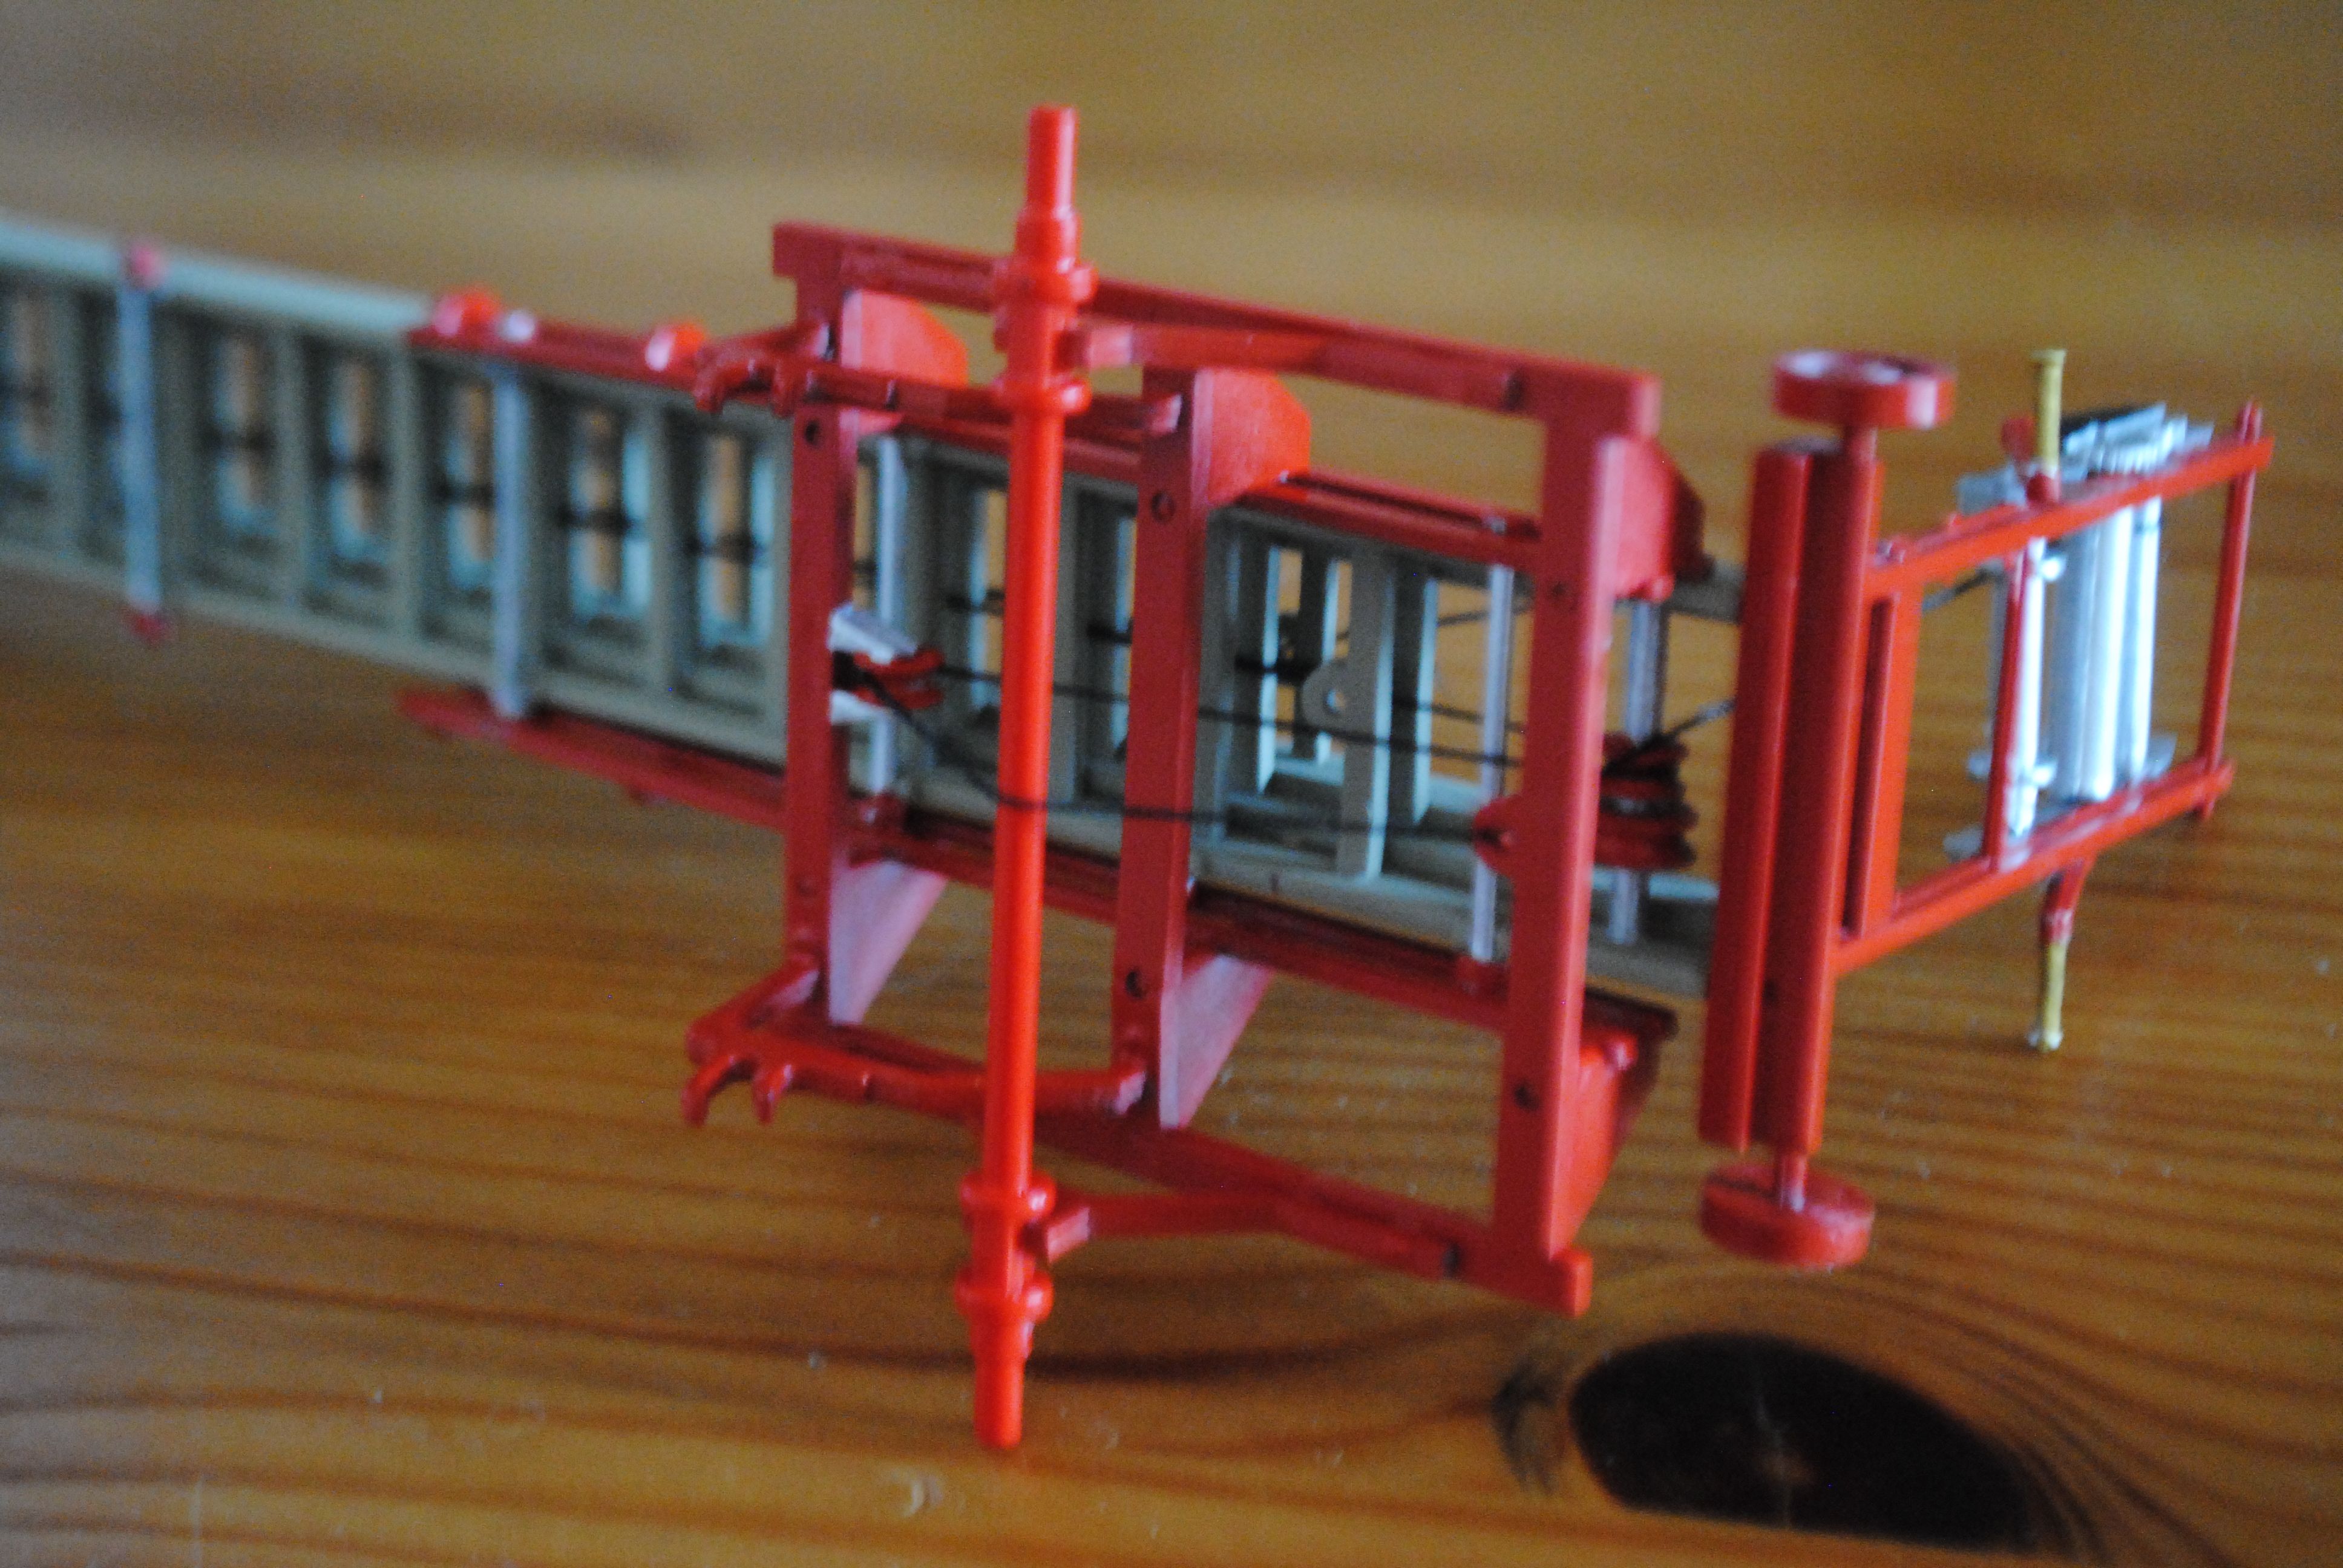
And it’s painted *clicks fingers*

I also took the opportunity to paint the gear lever and handbrake whilst the red paint was out.
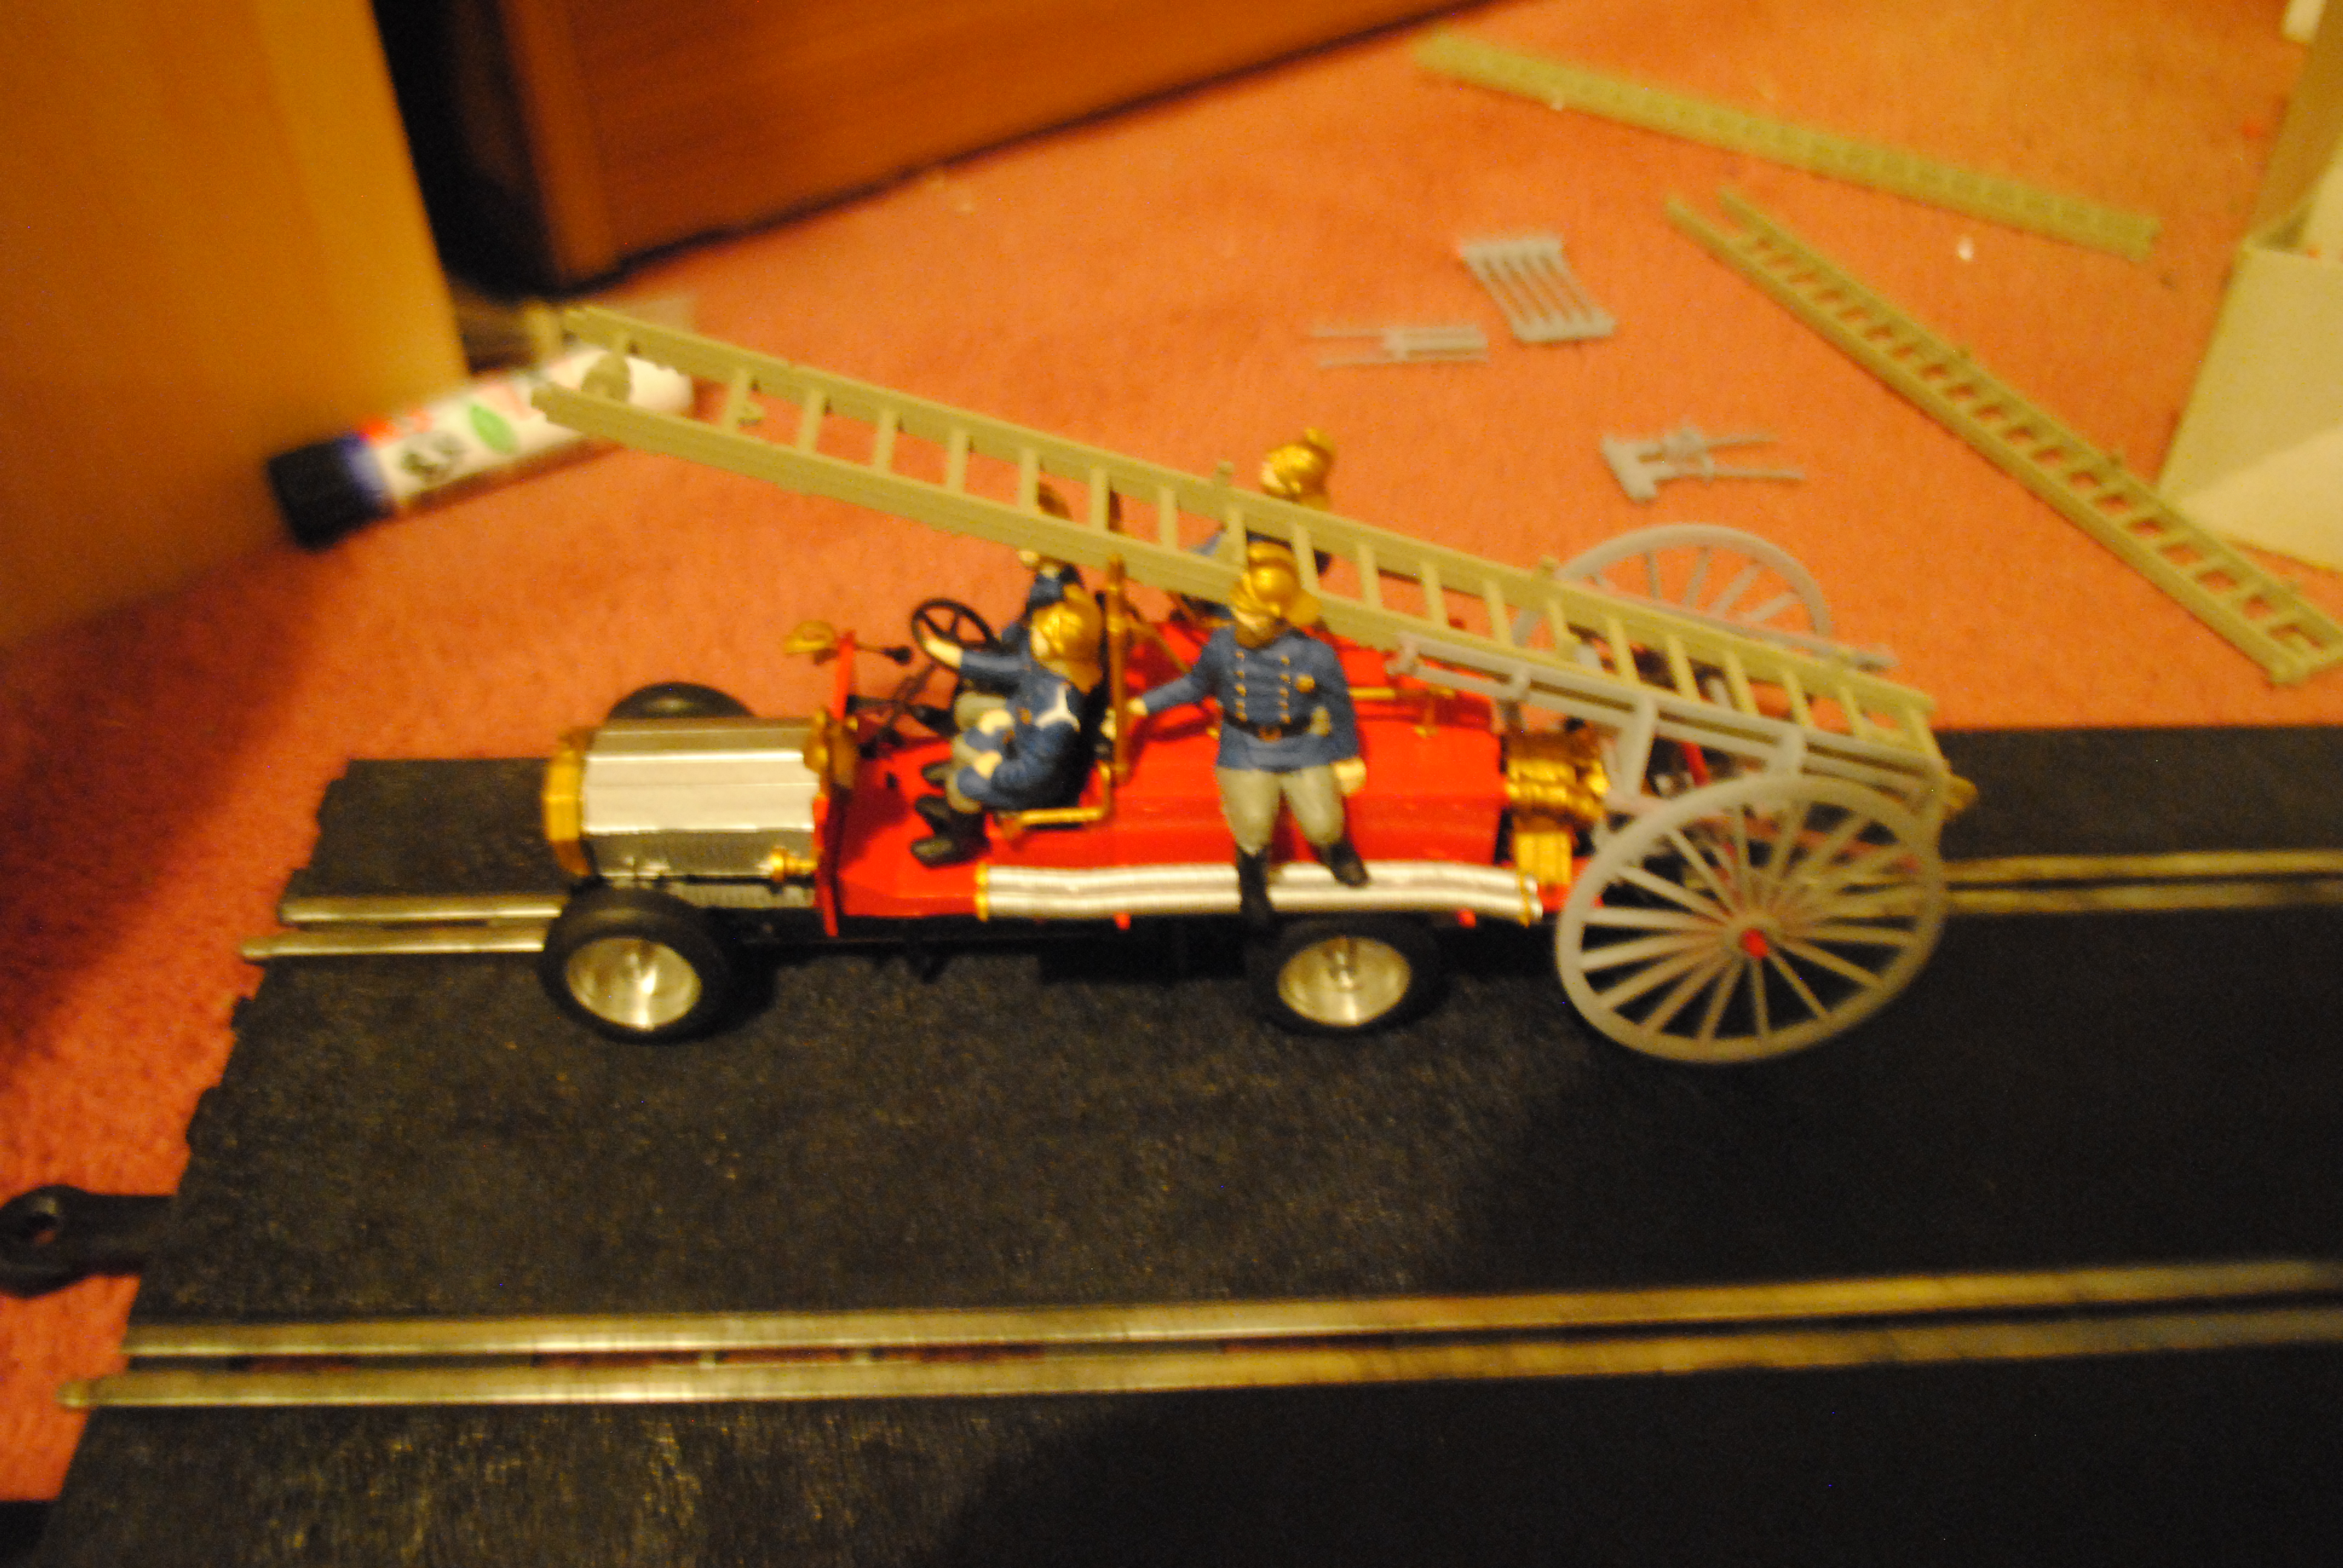
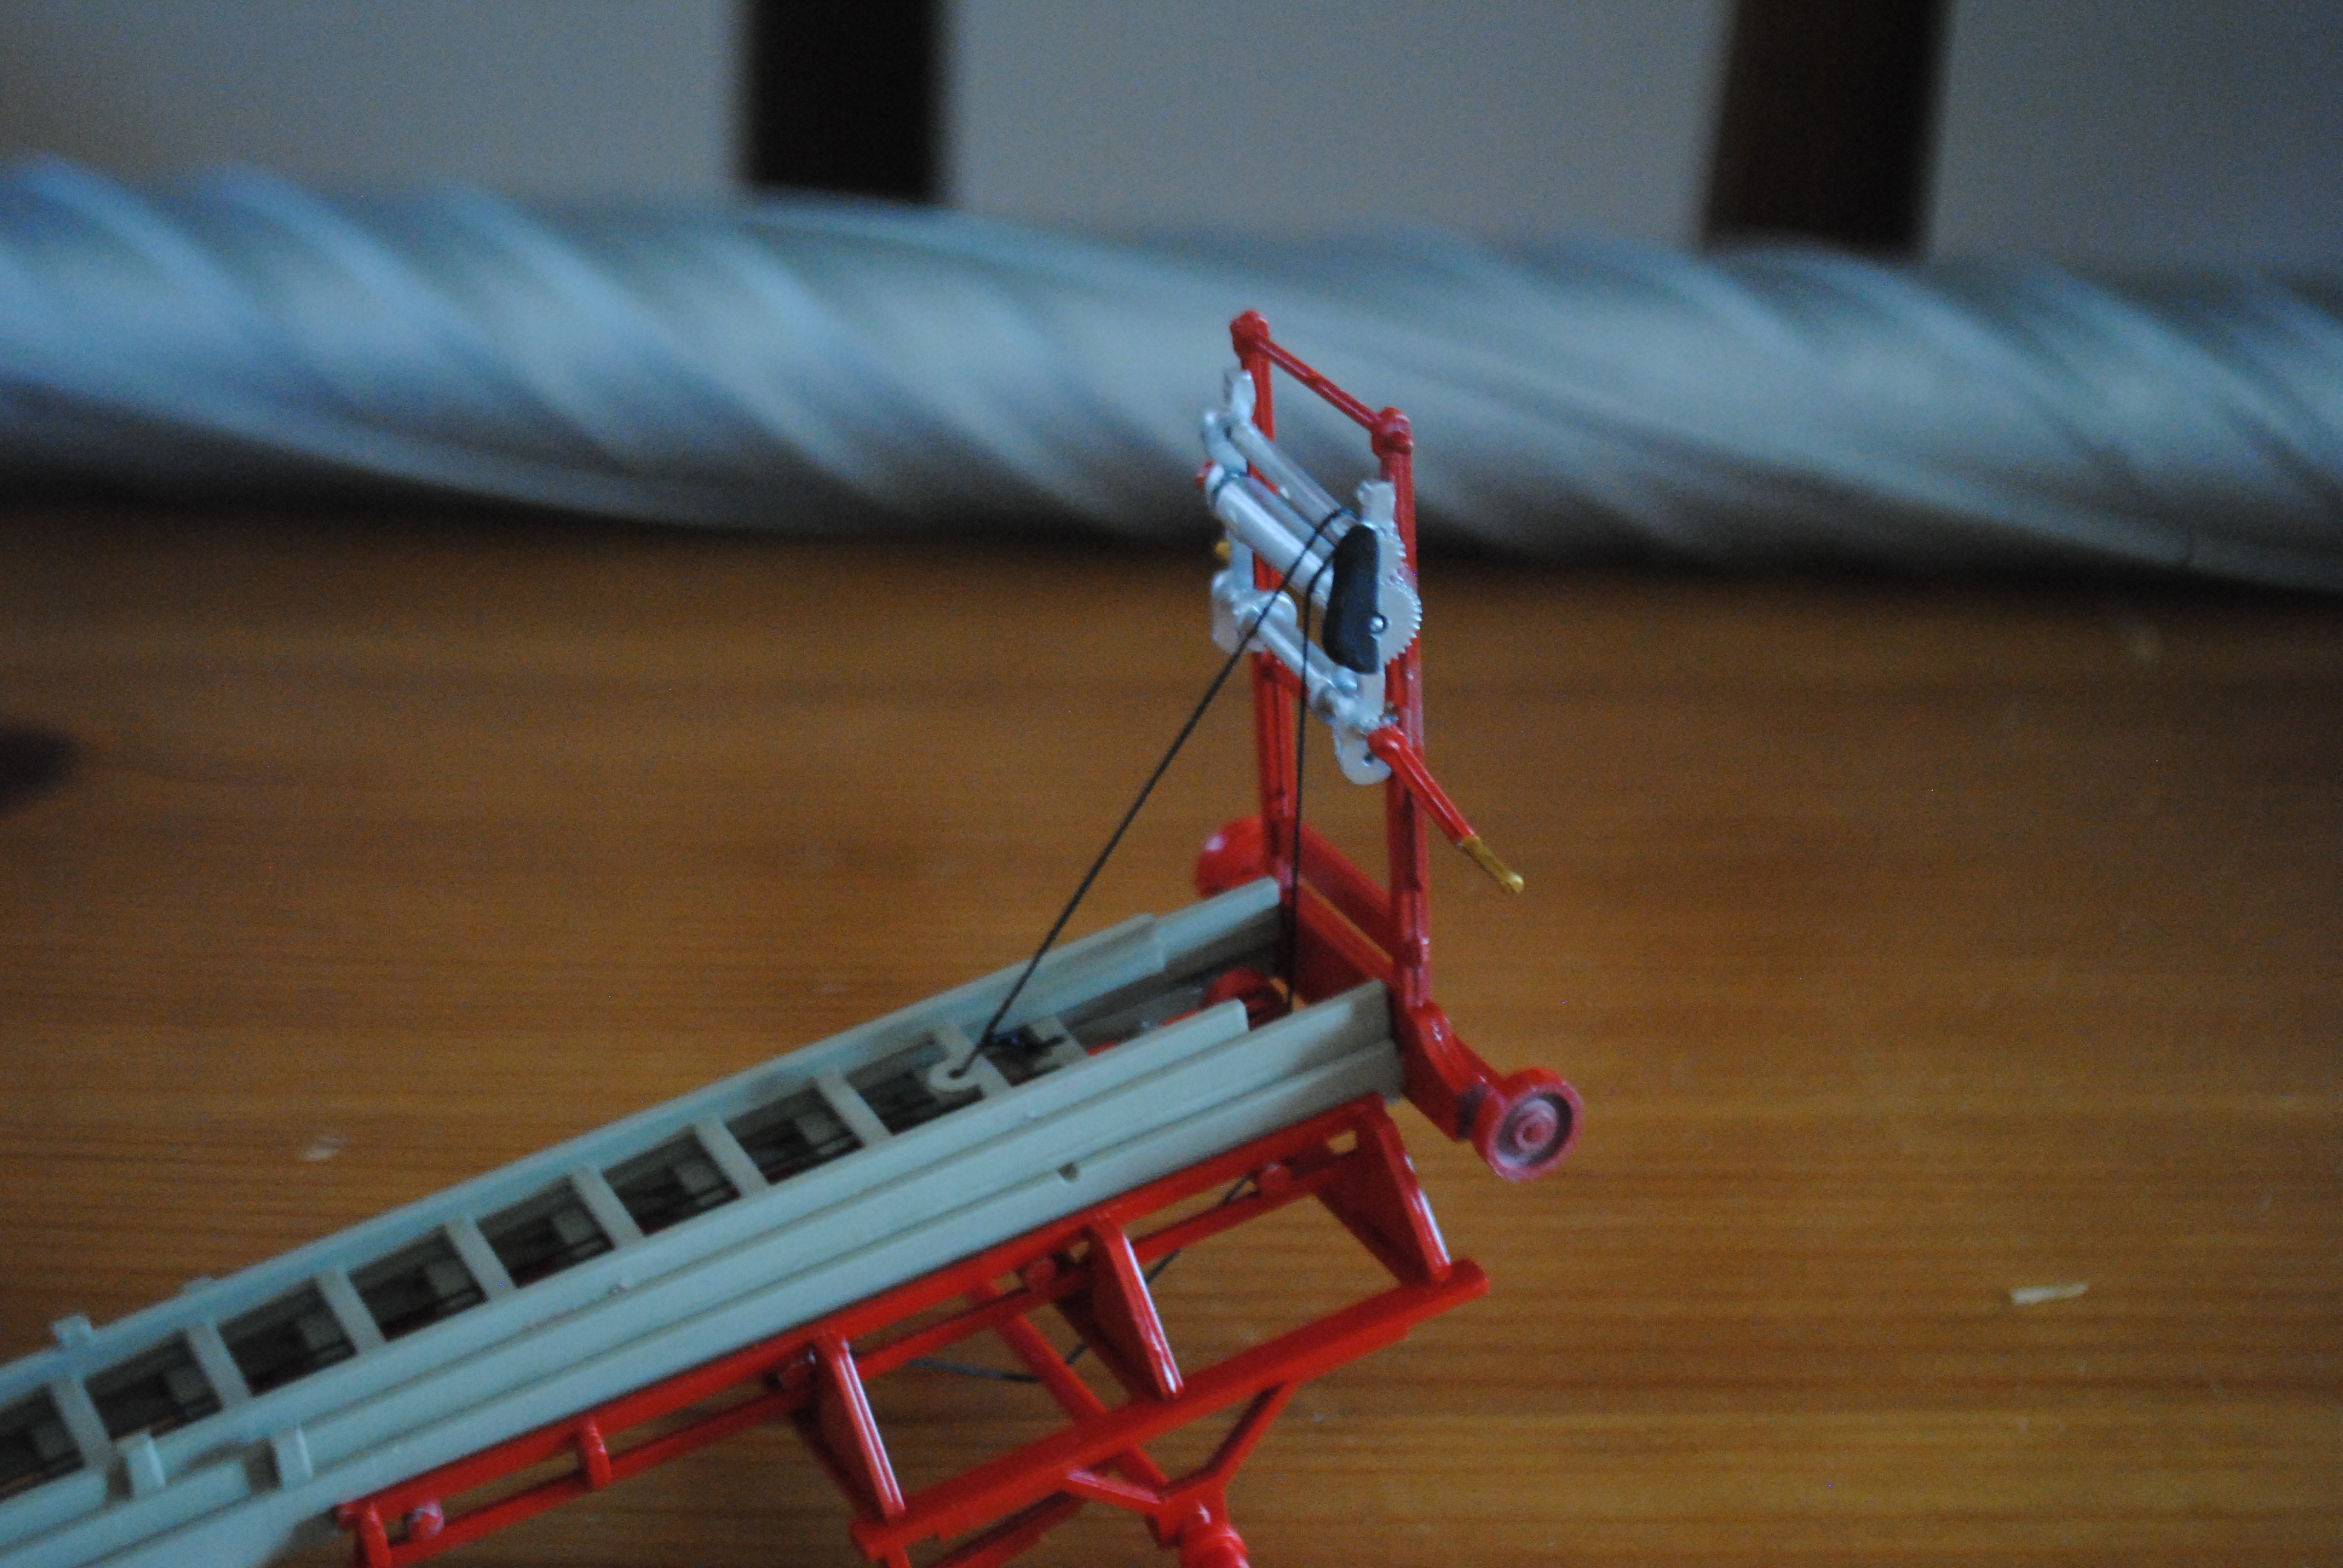
Time to add all the detailing to the ladder.
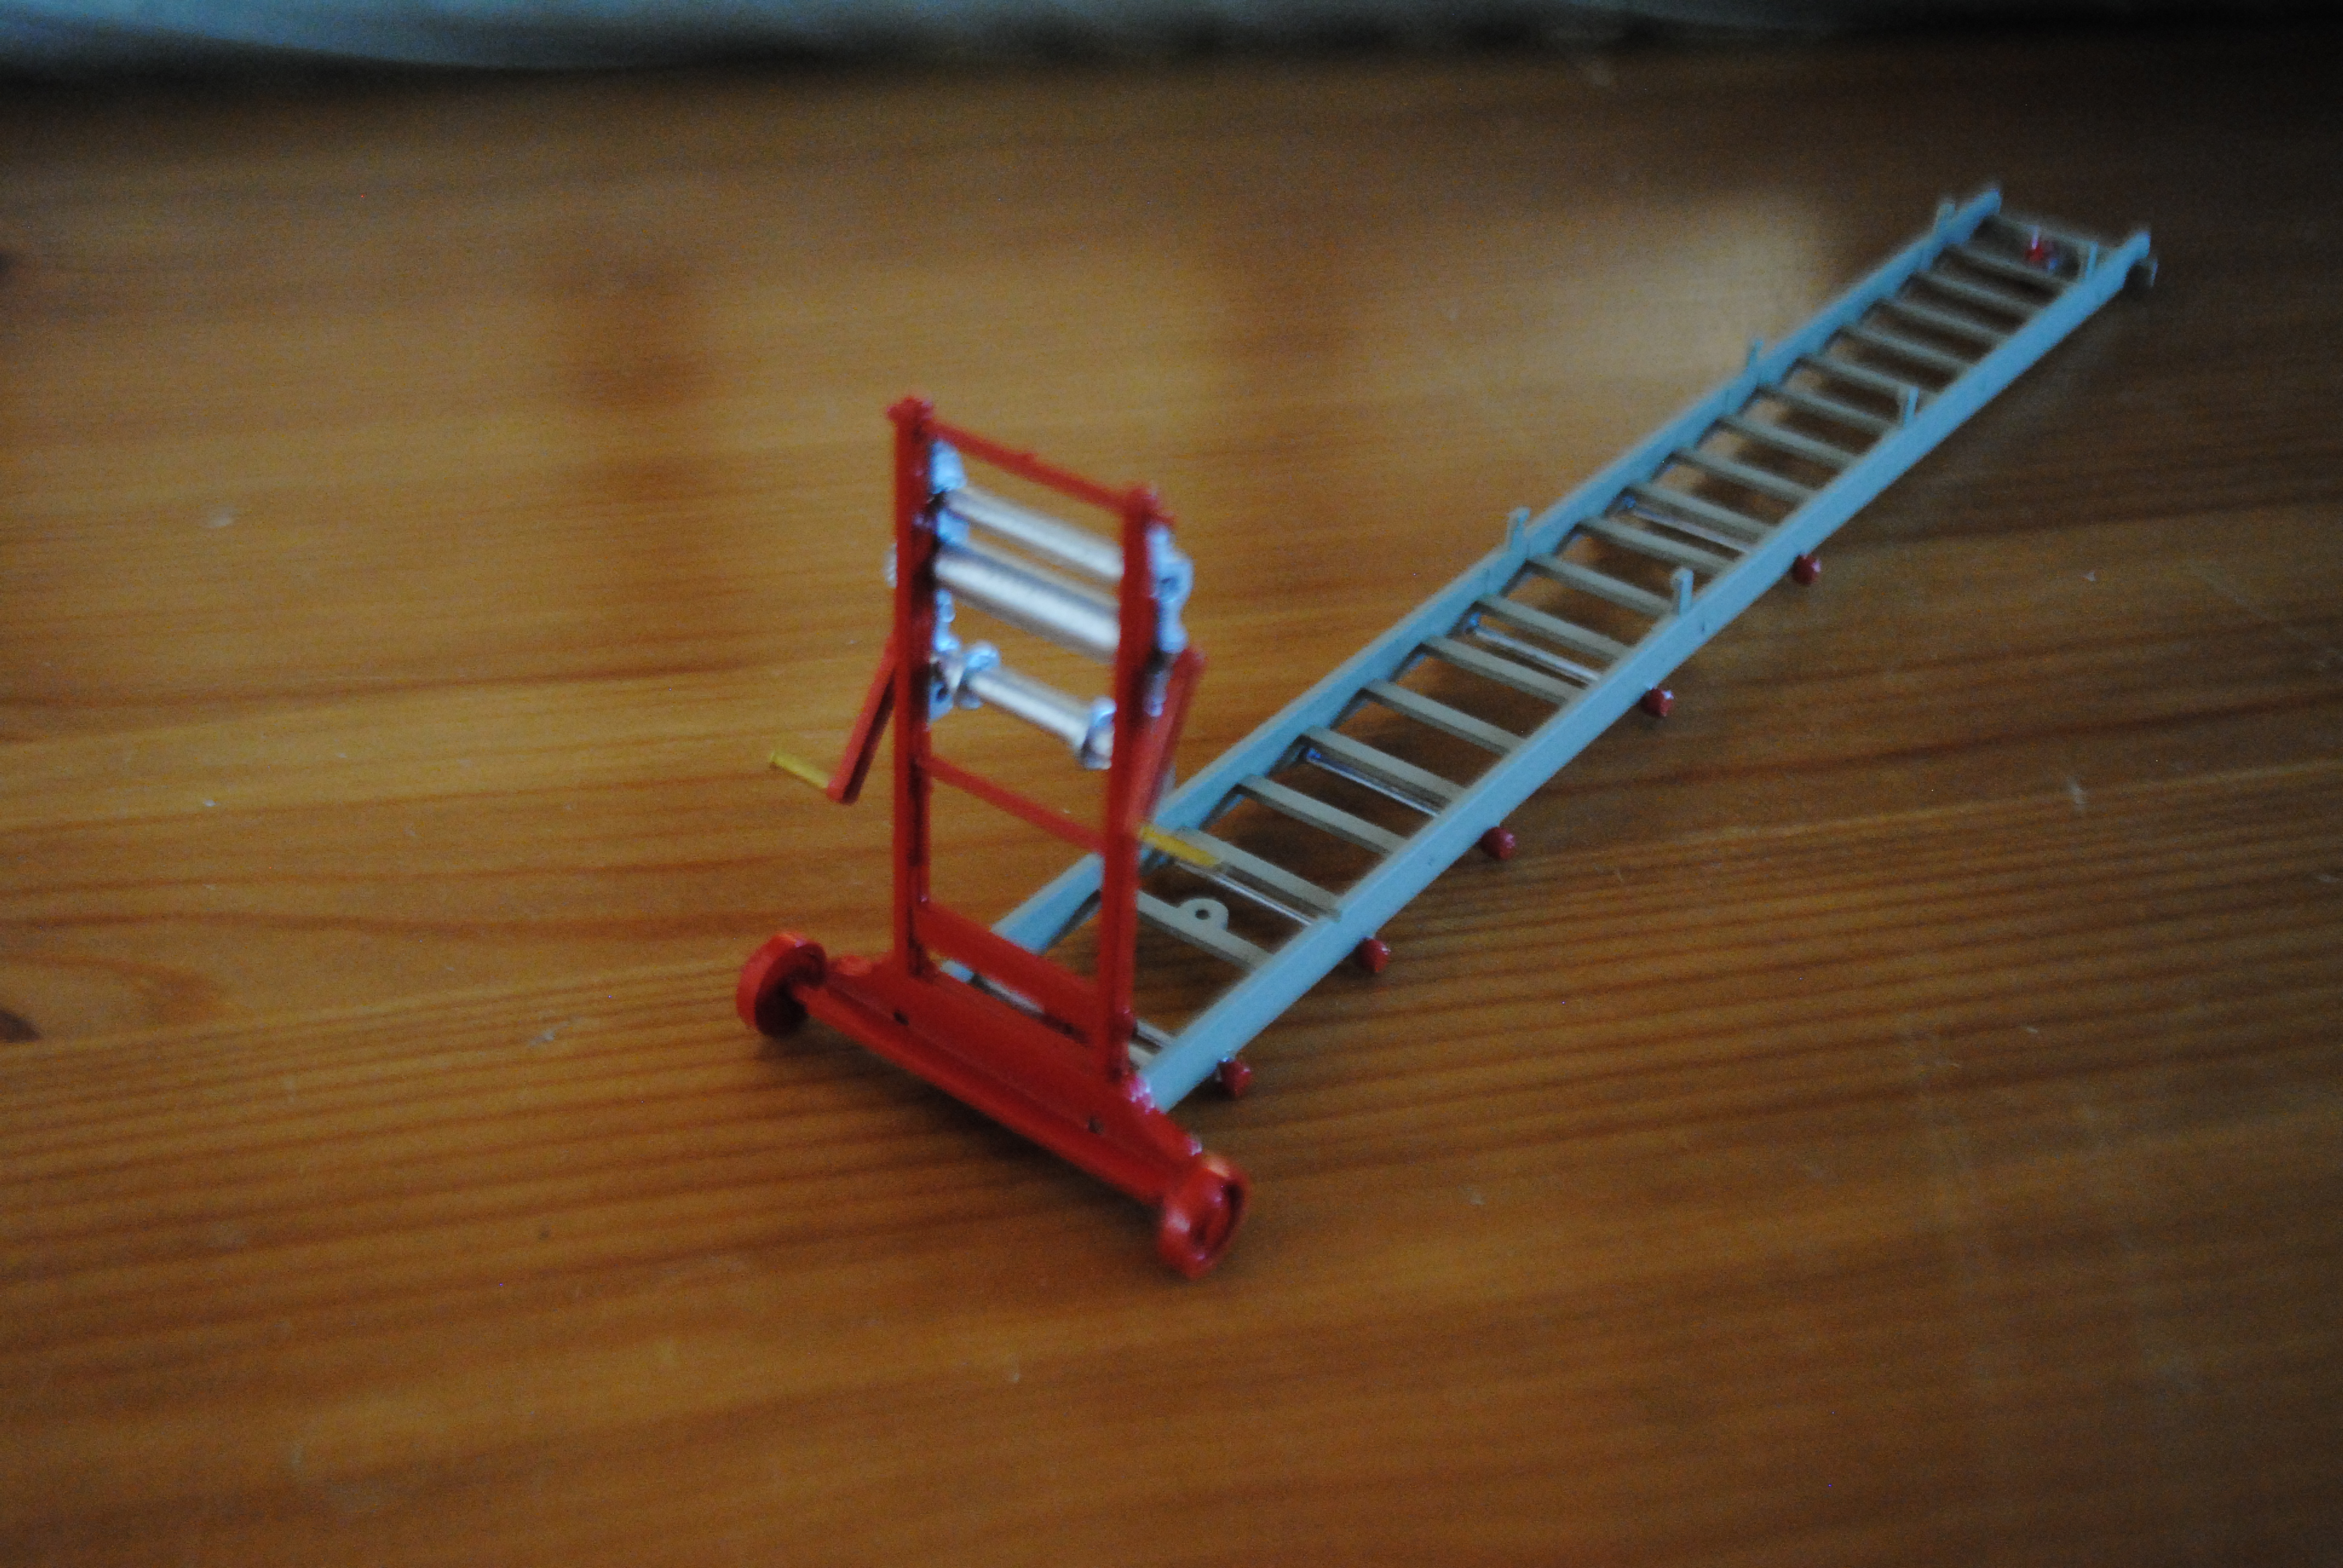
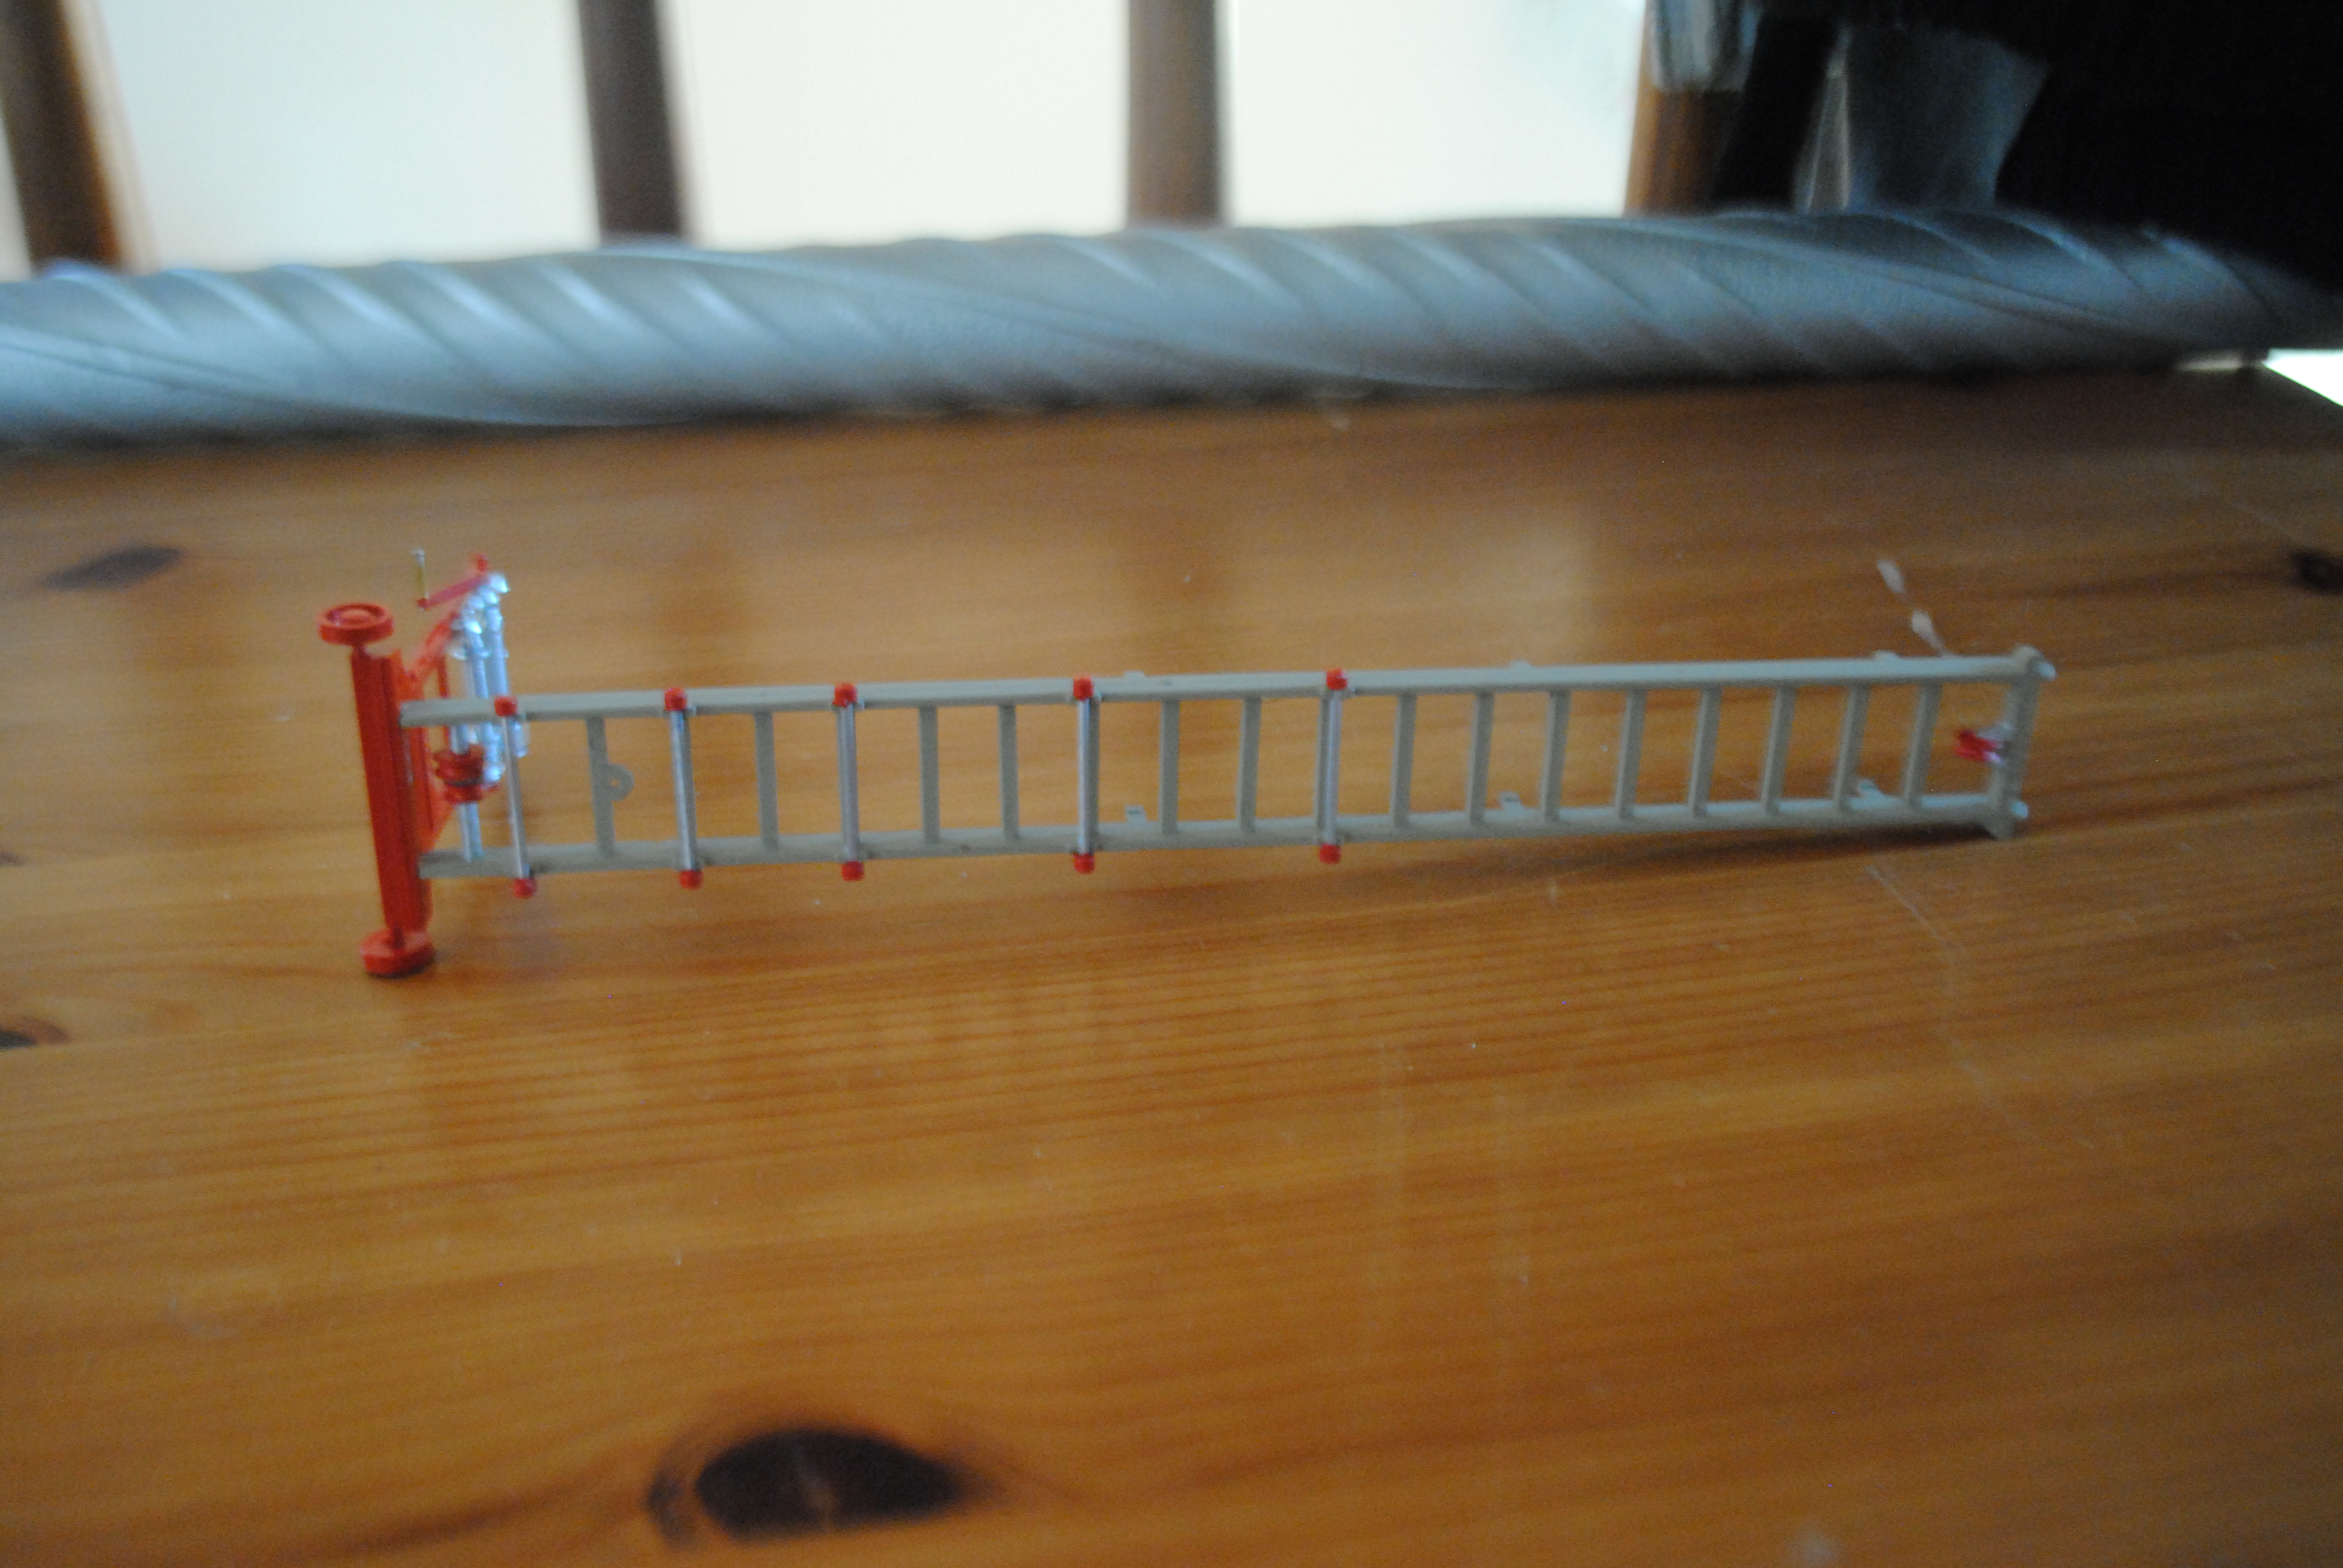
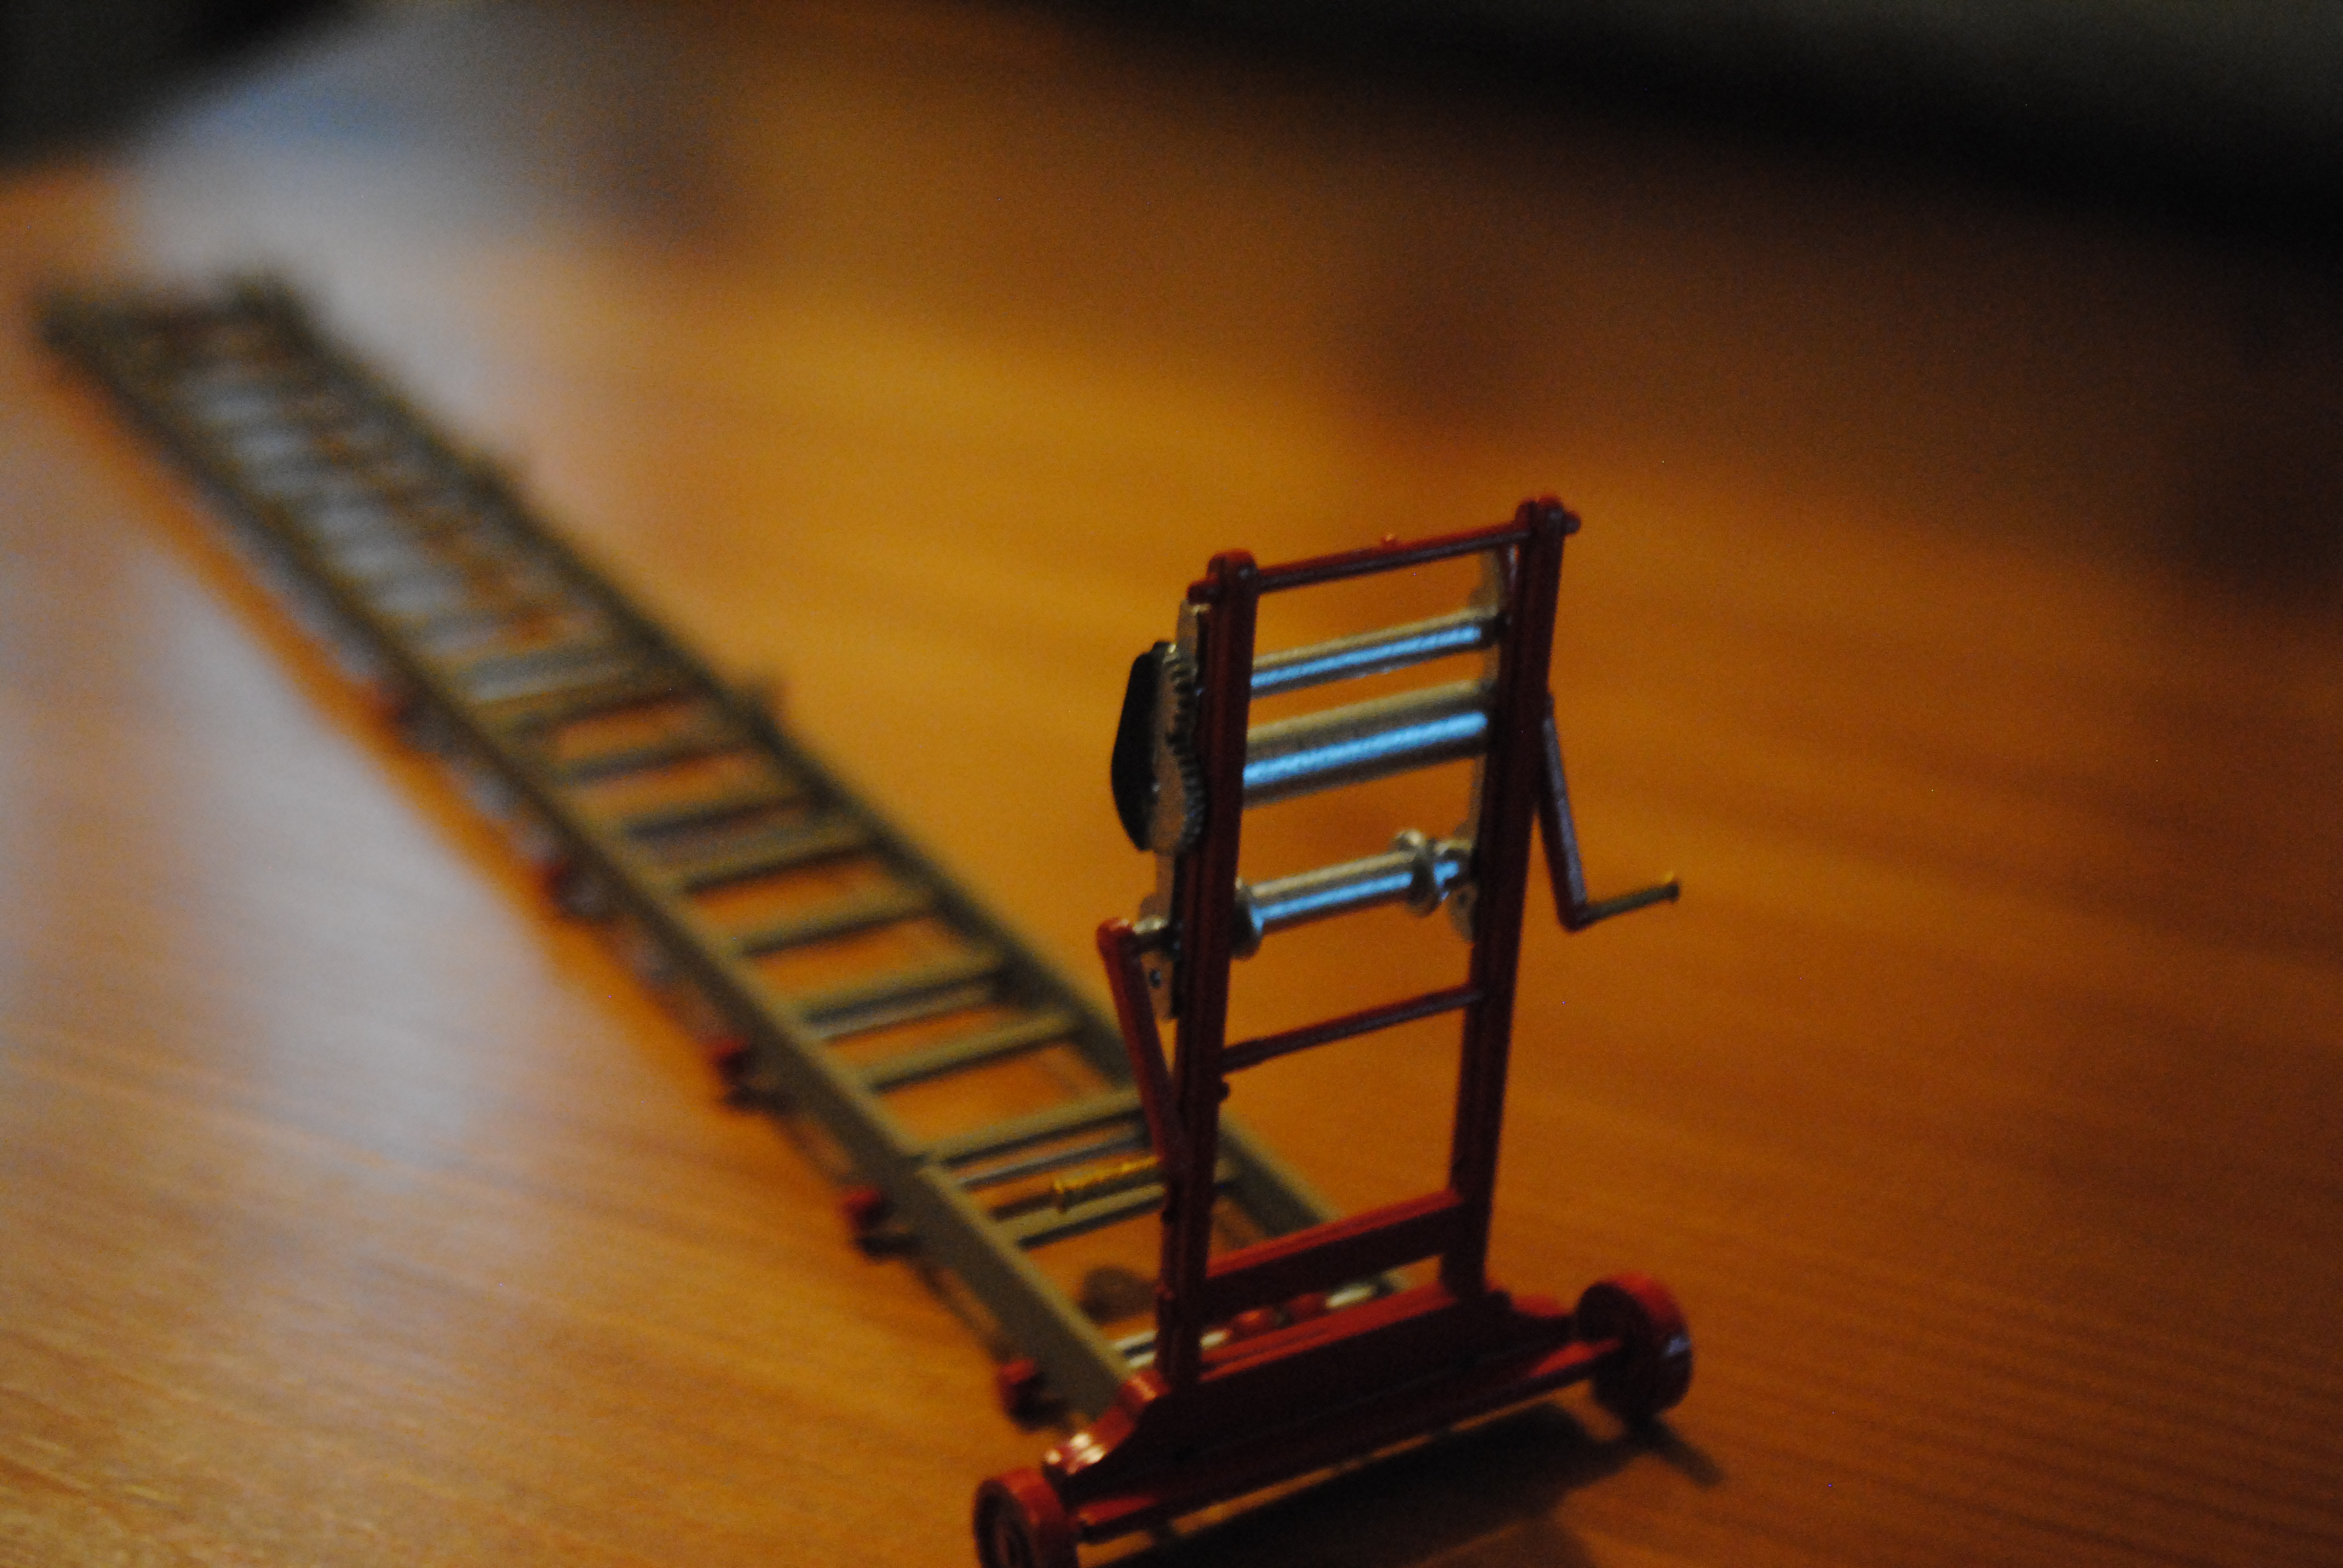
As I slide the ladder components togehter I also ran the rigging for the mechanism using black cotton.

It was then time to apply the water slide decals which, to be honest, weren’t the greatest. They were thick and brittle for Airfix decals. I was kind of gutted that the kit didn’t come with decals for the number plates.
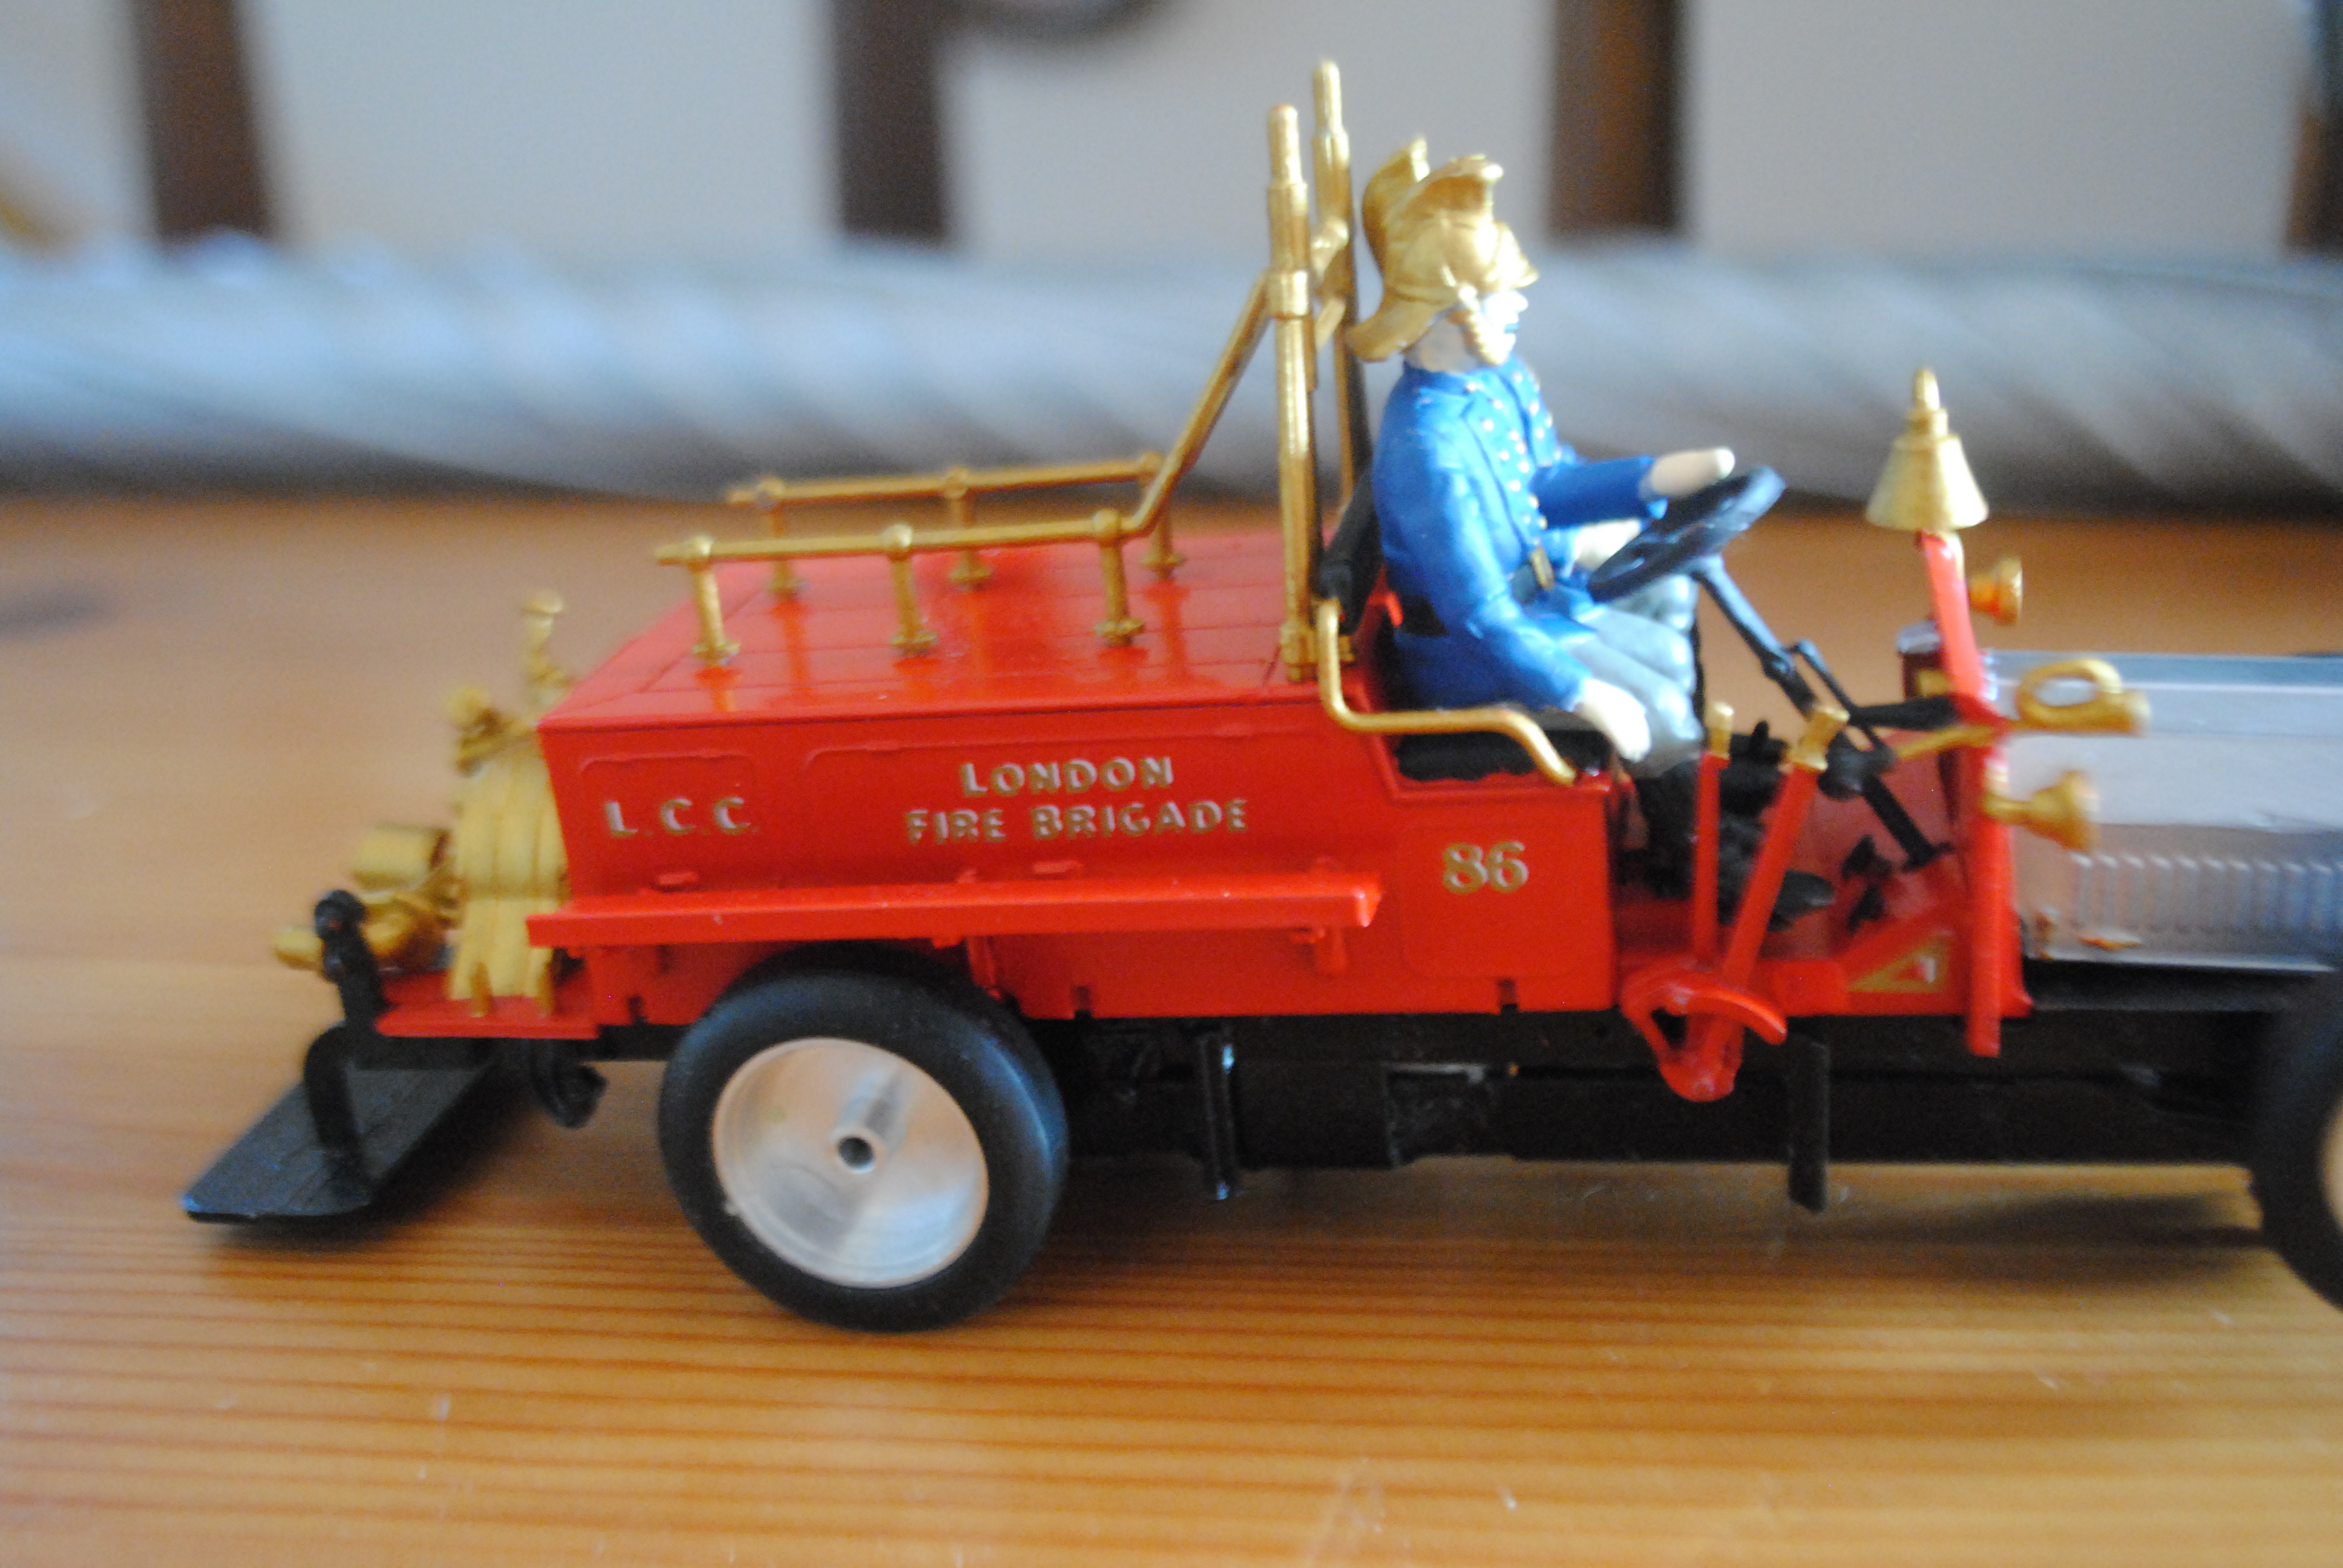
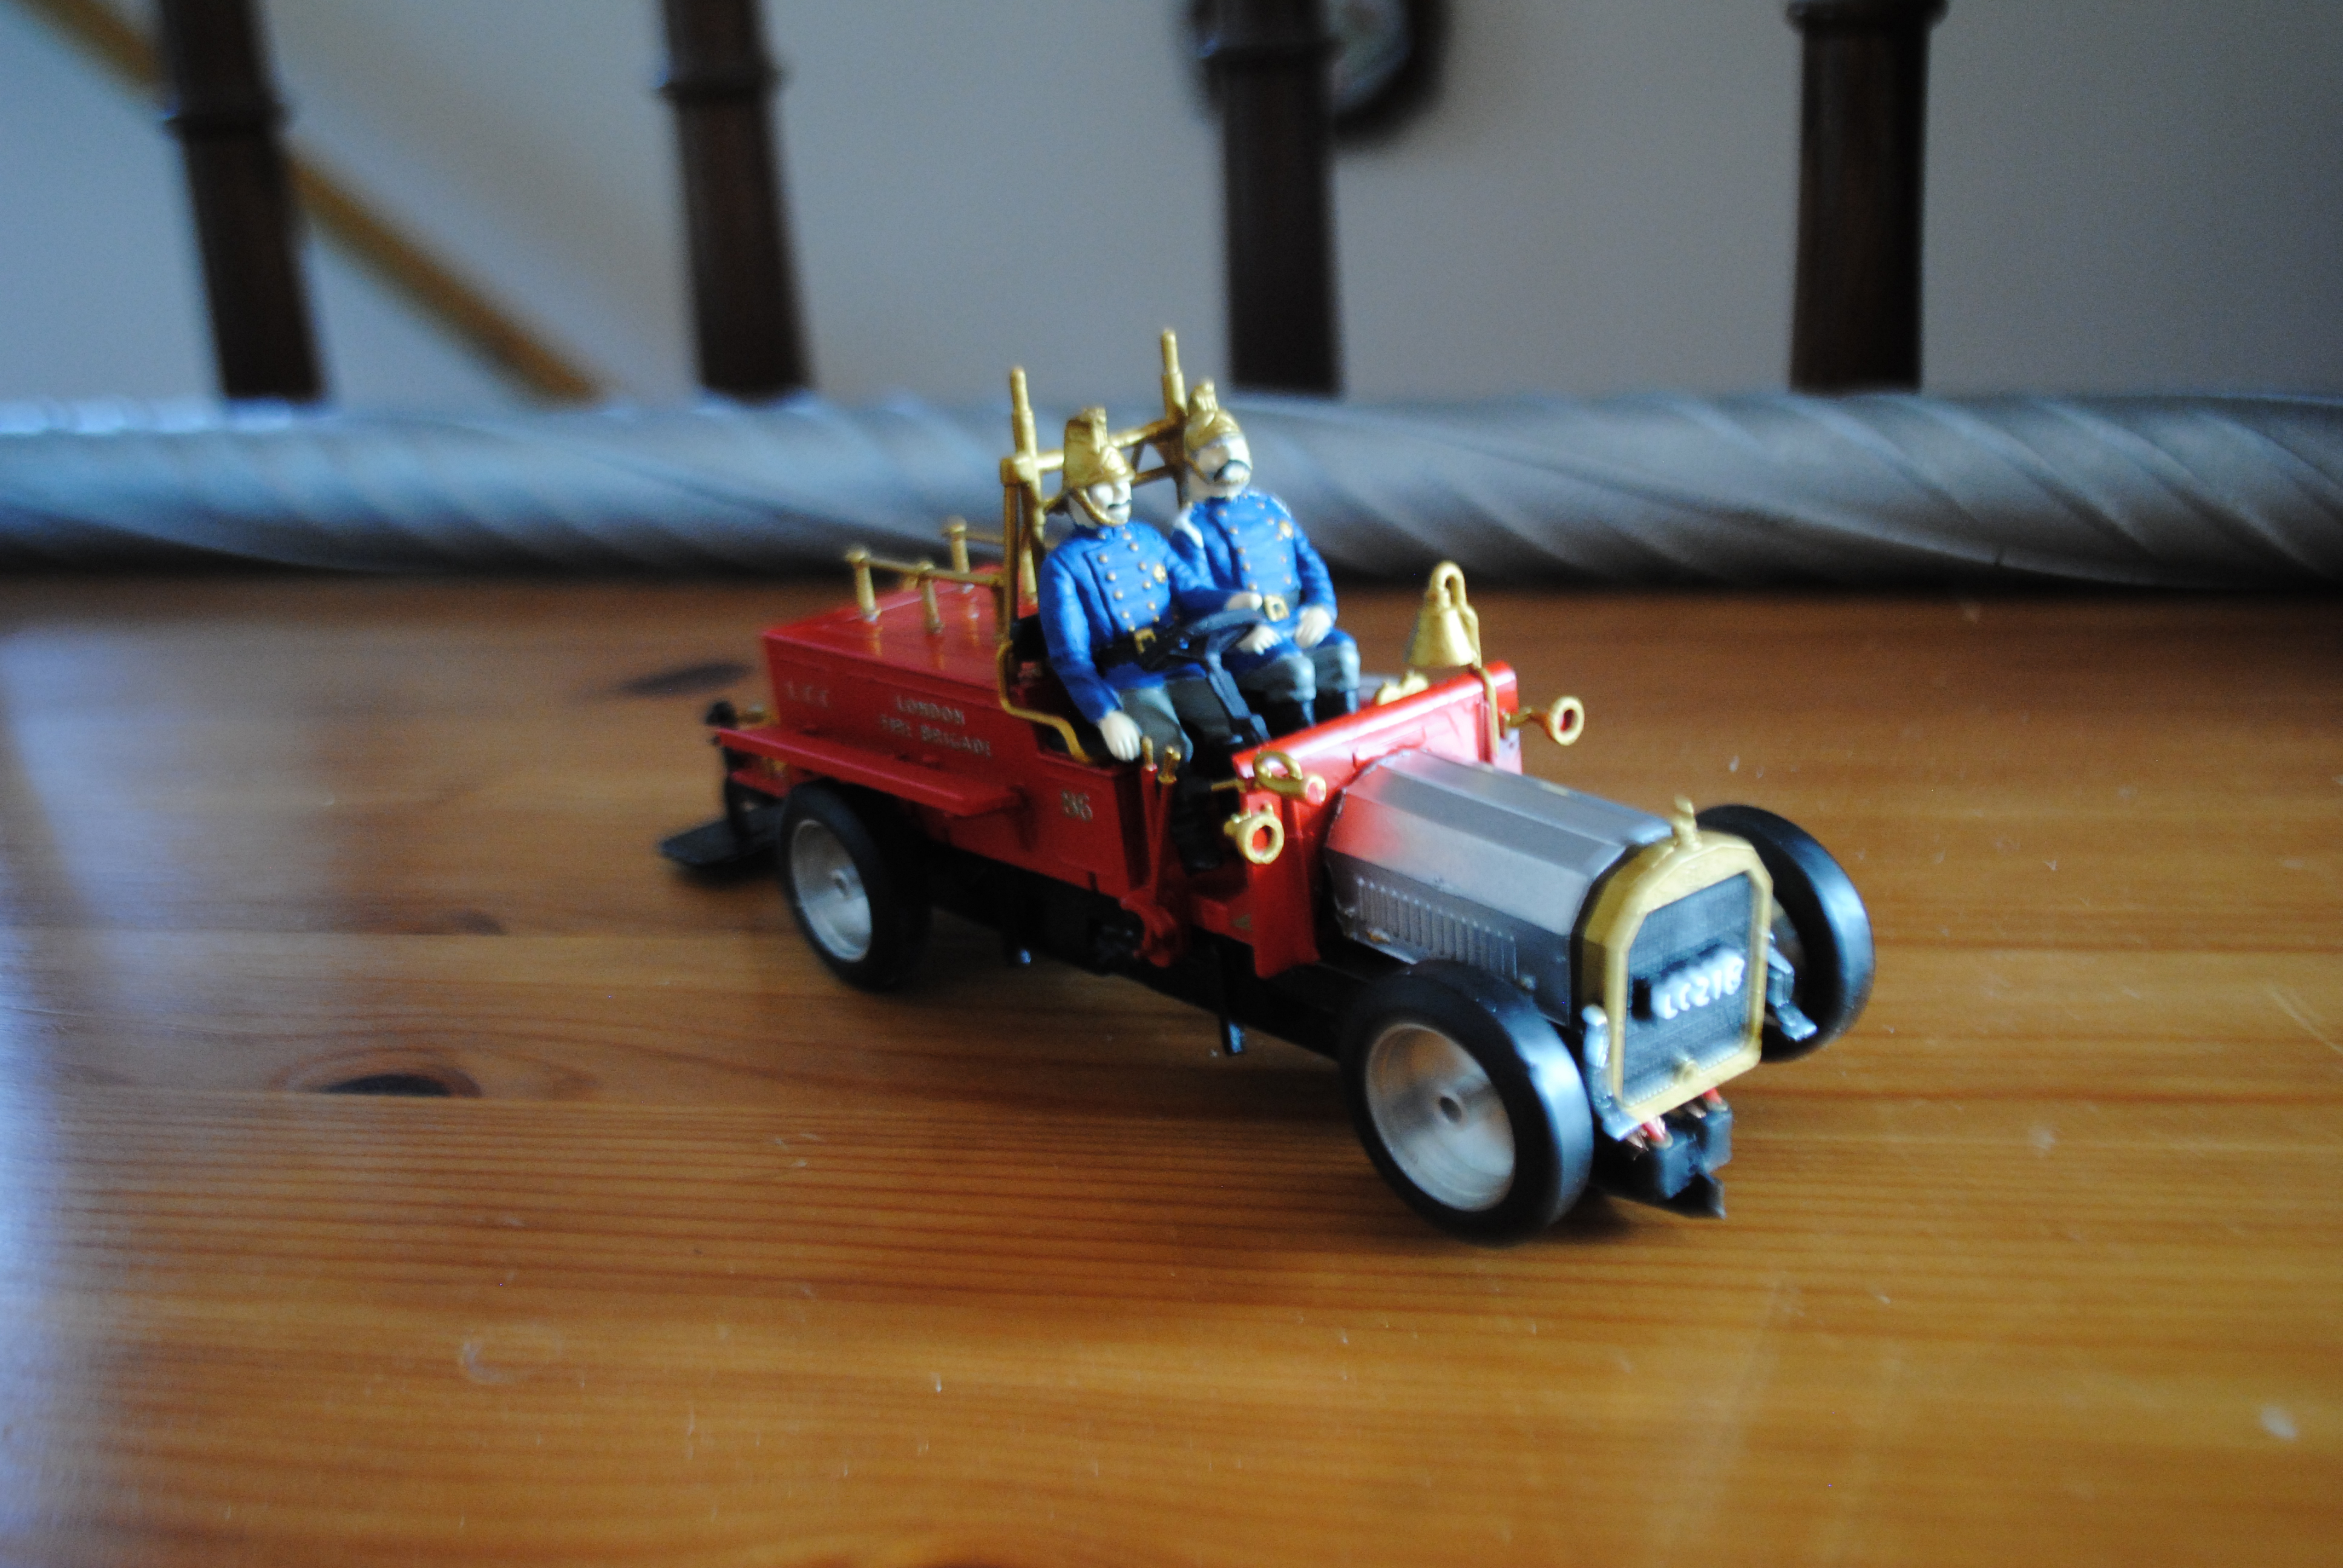
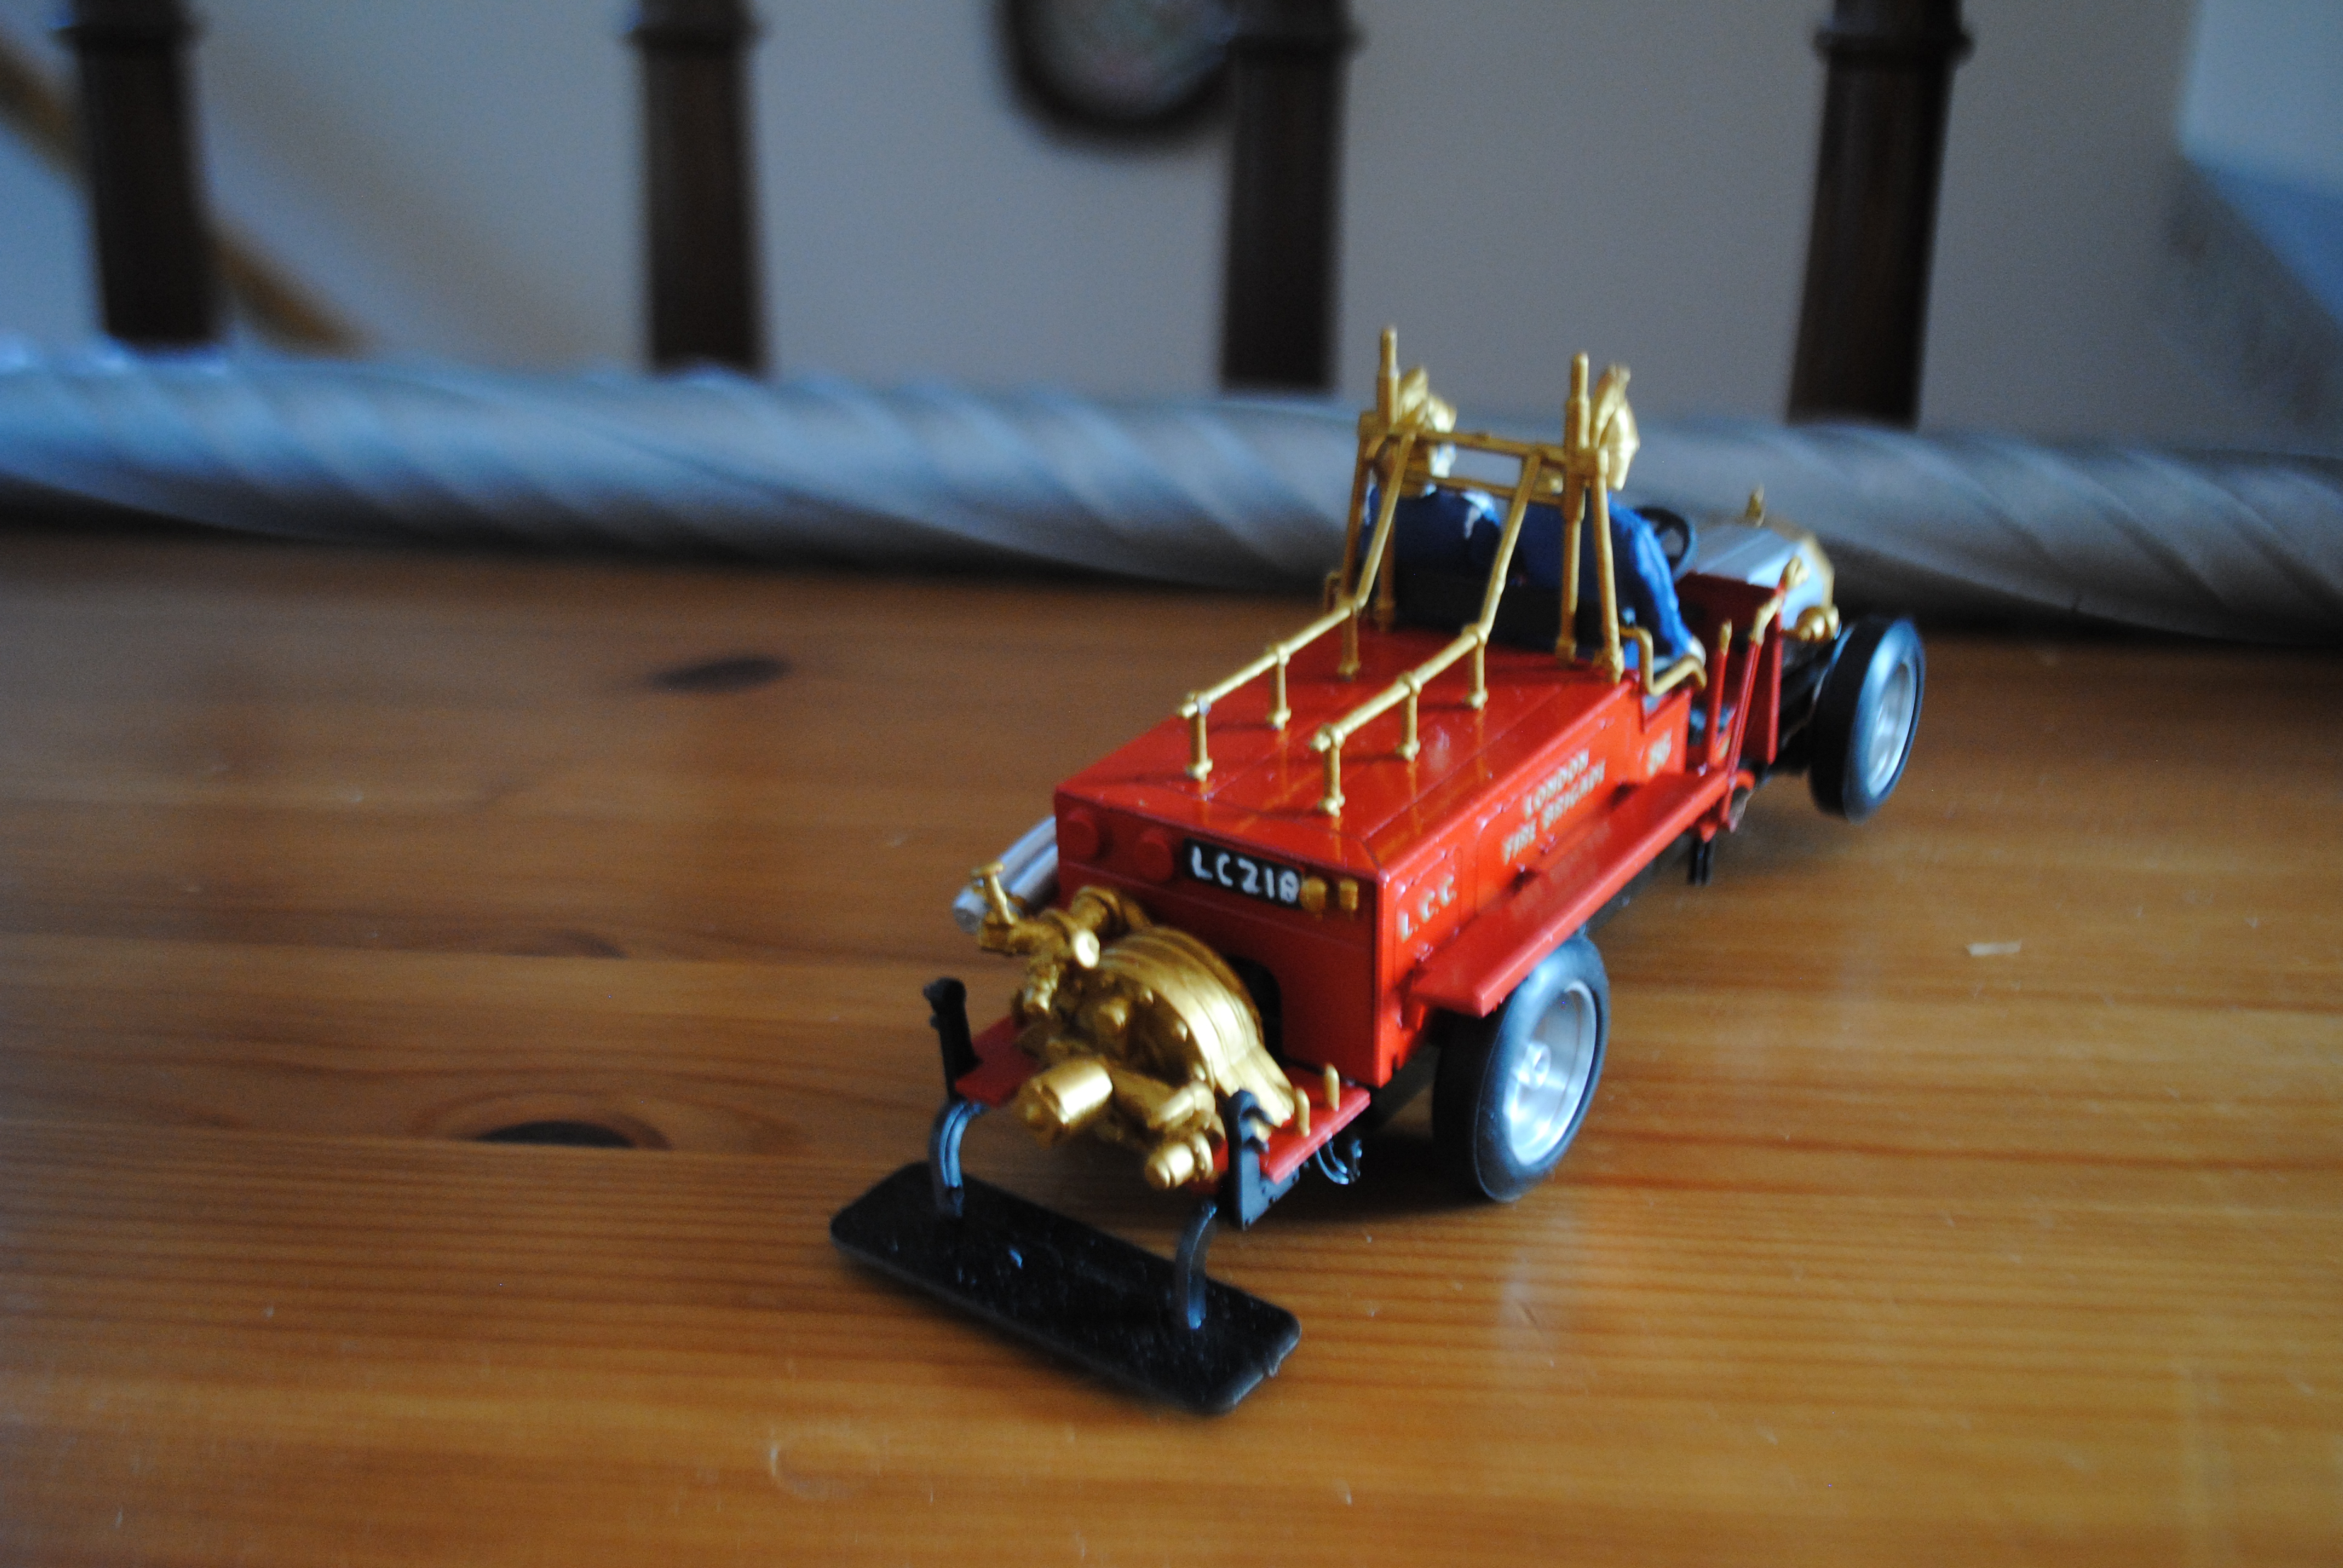
Then it was just a case of fixing the whole thing together and adding some details!
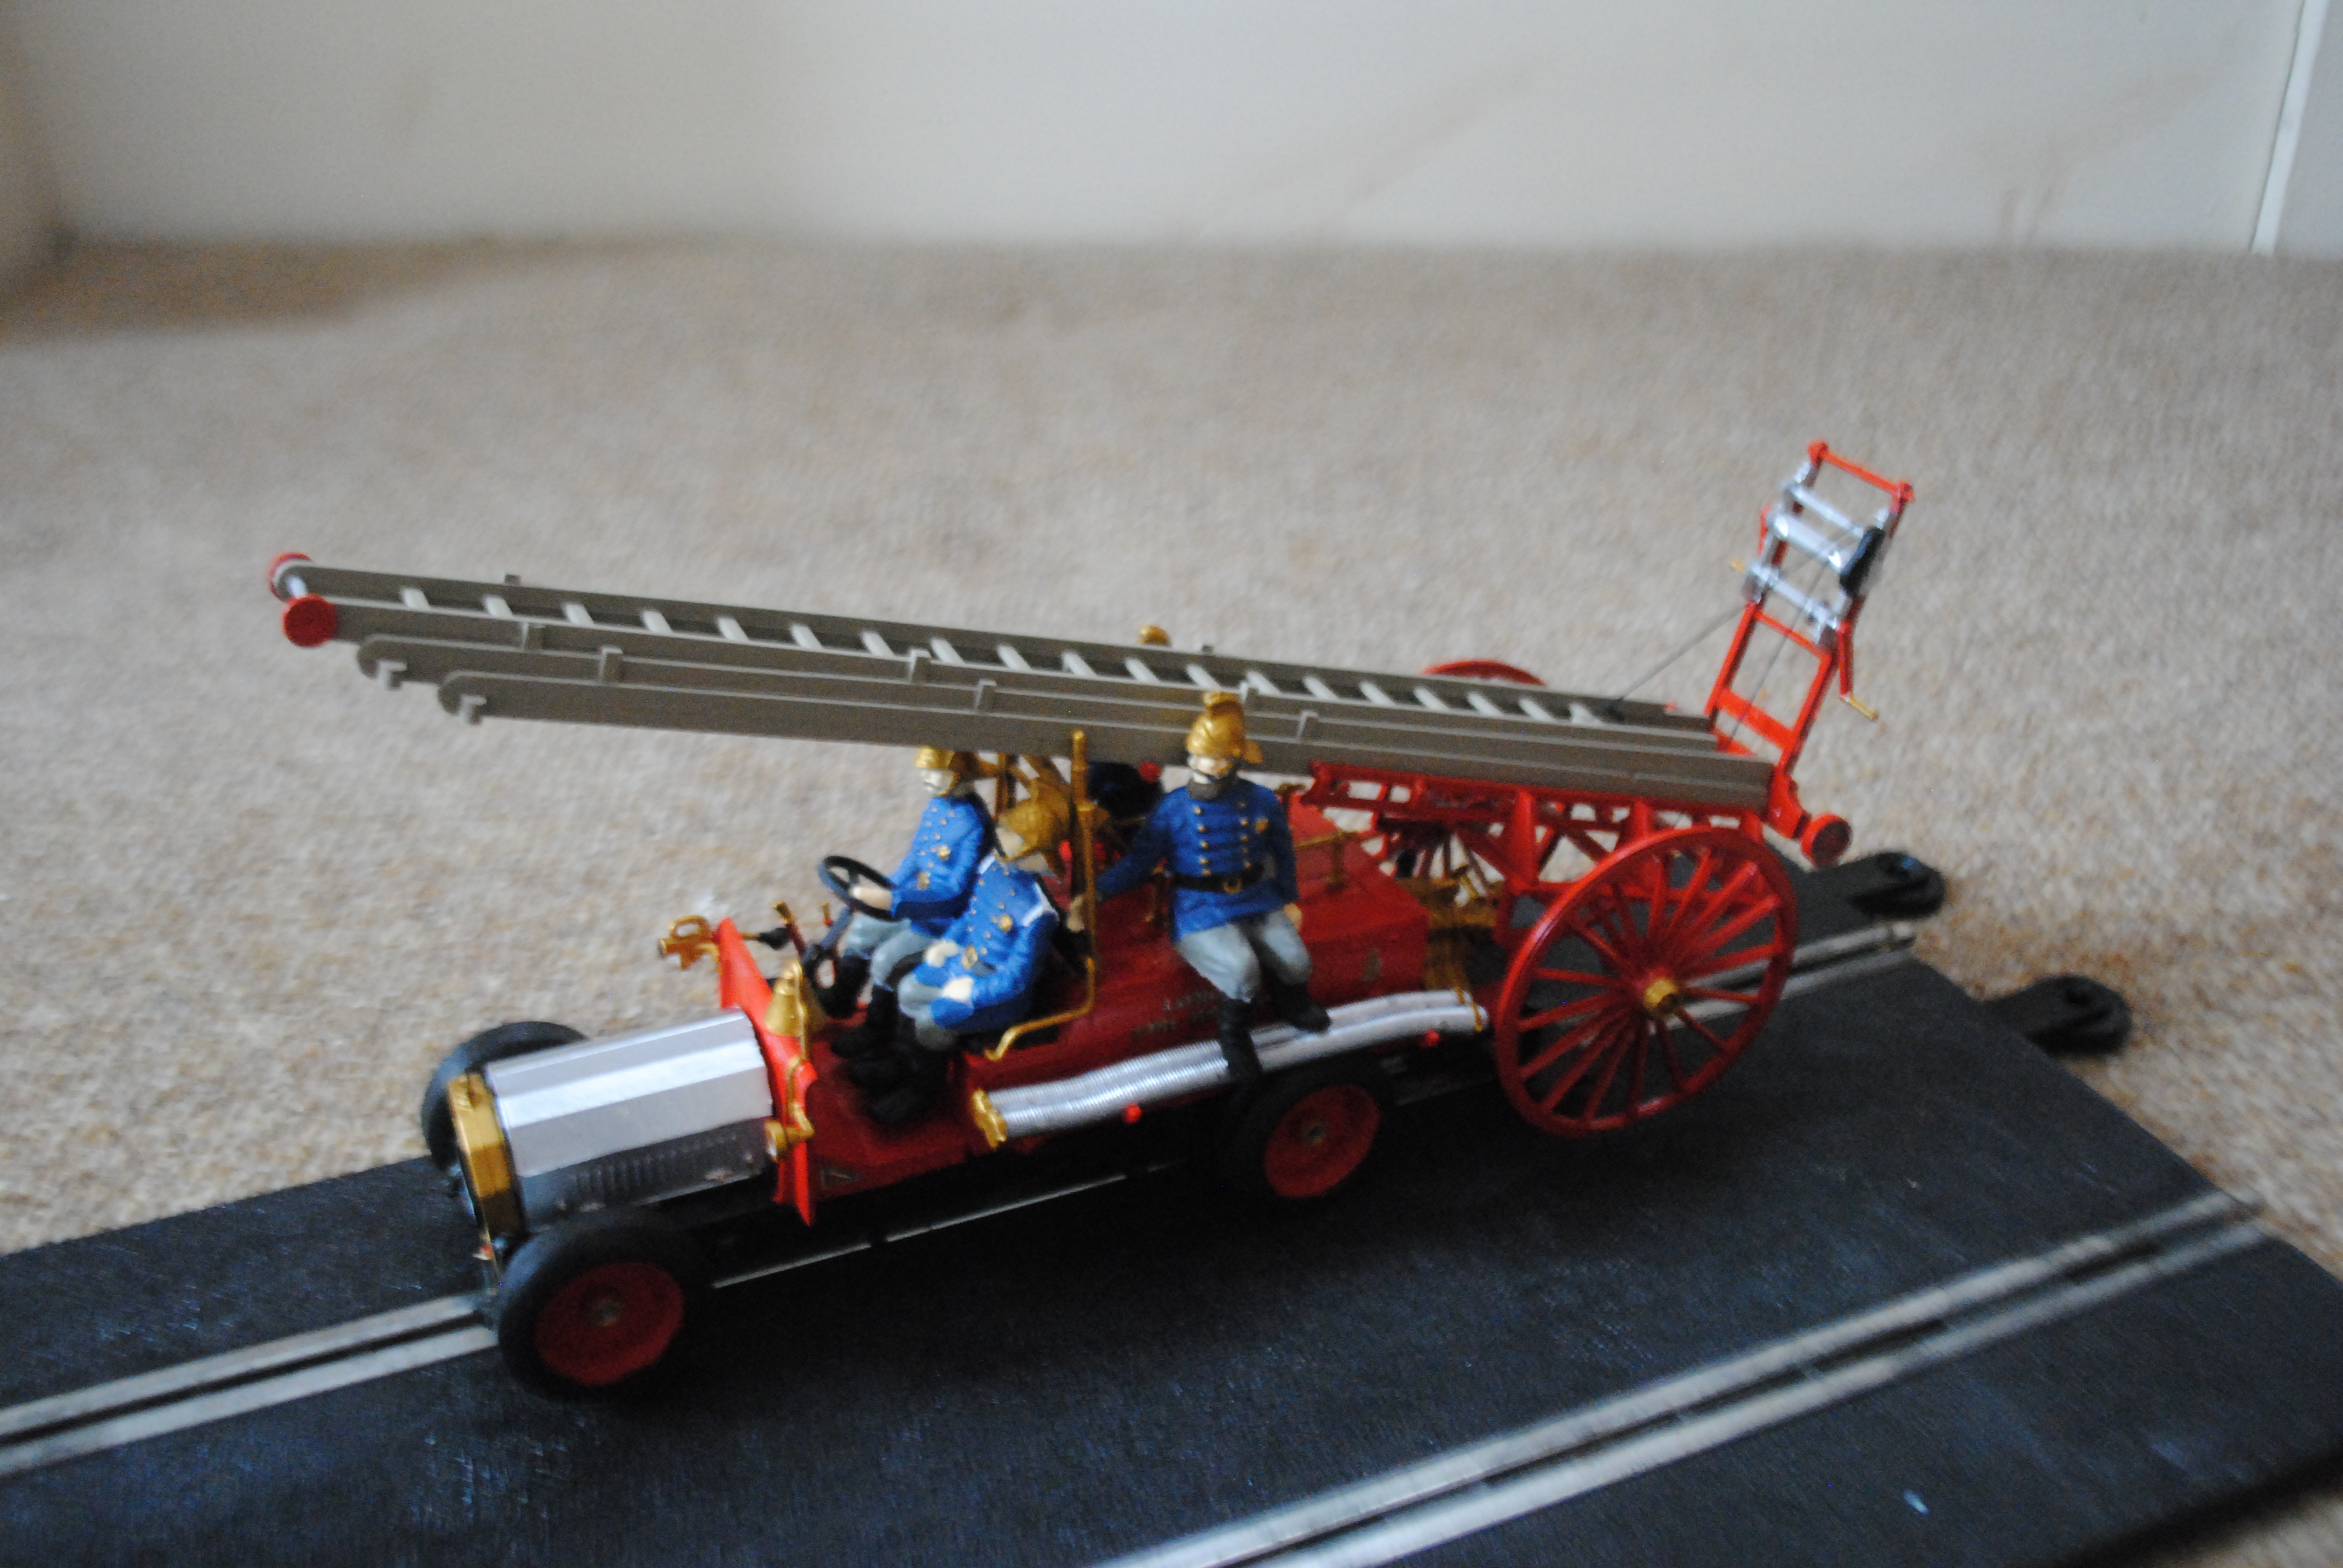

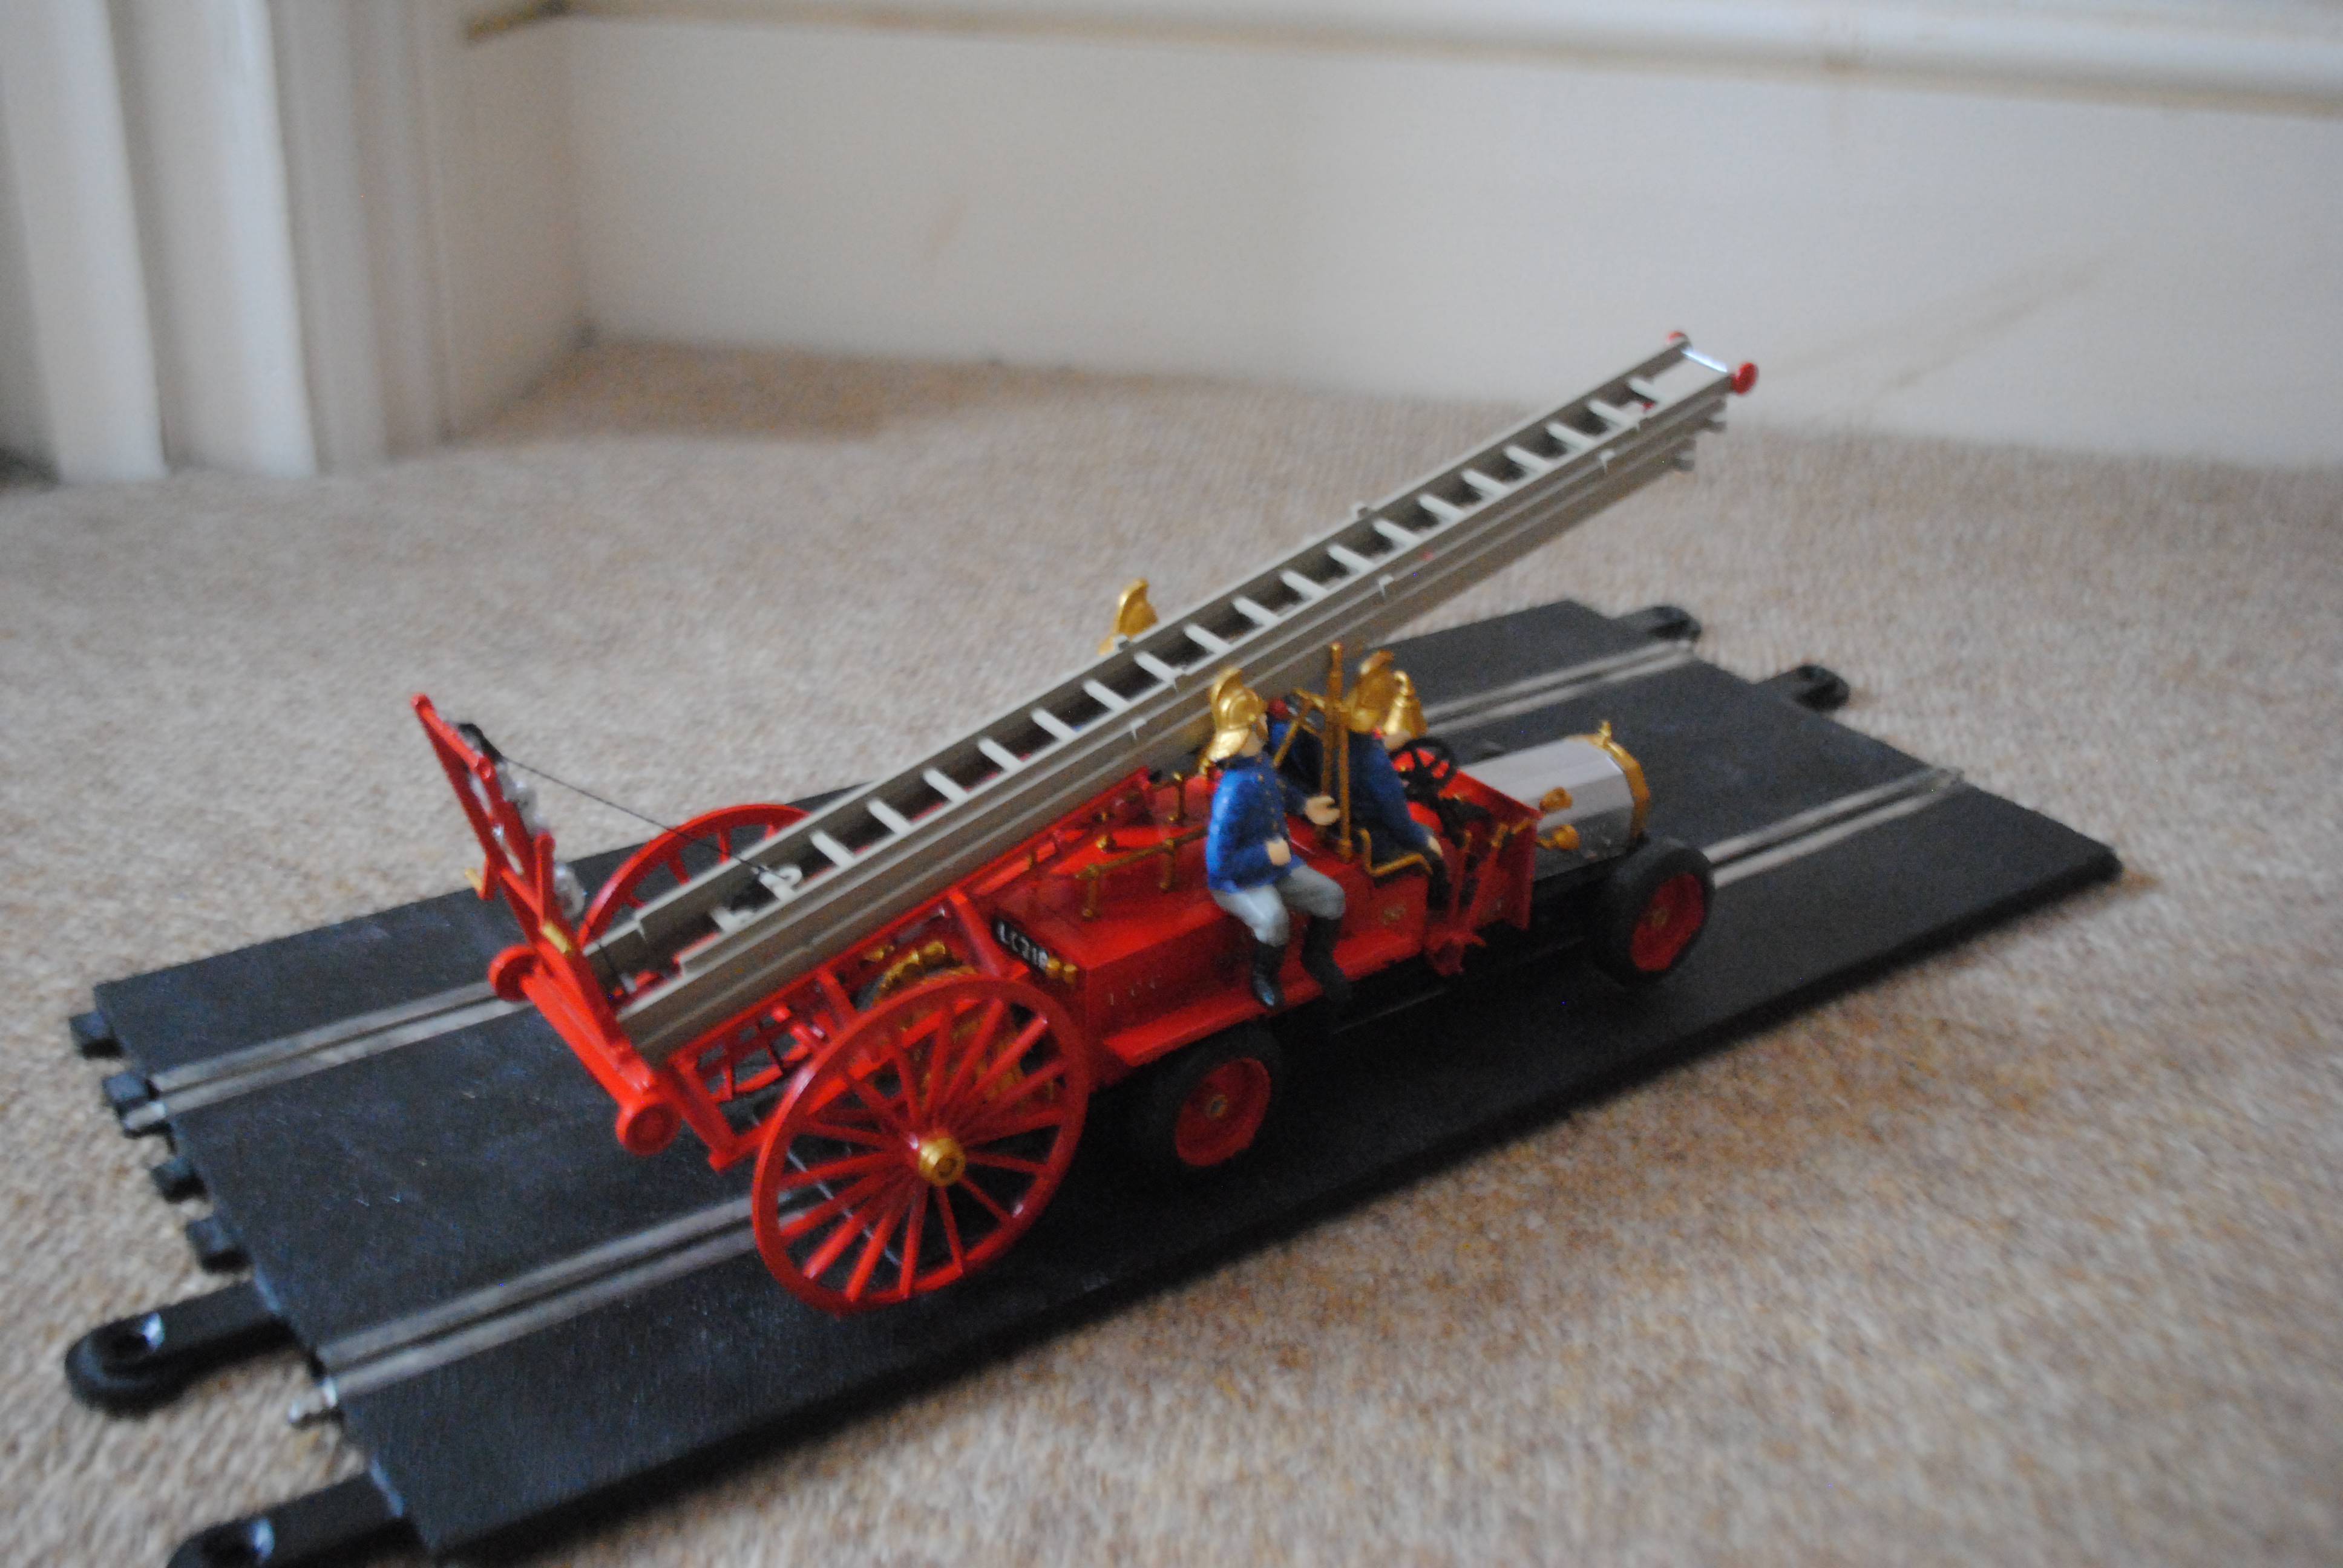


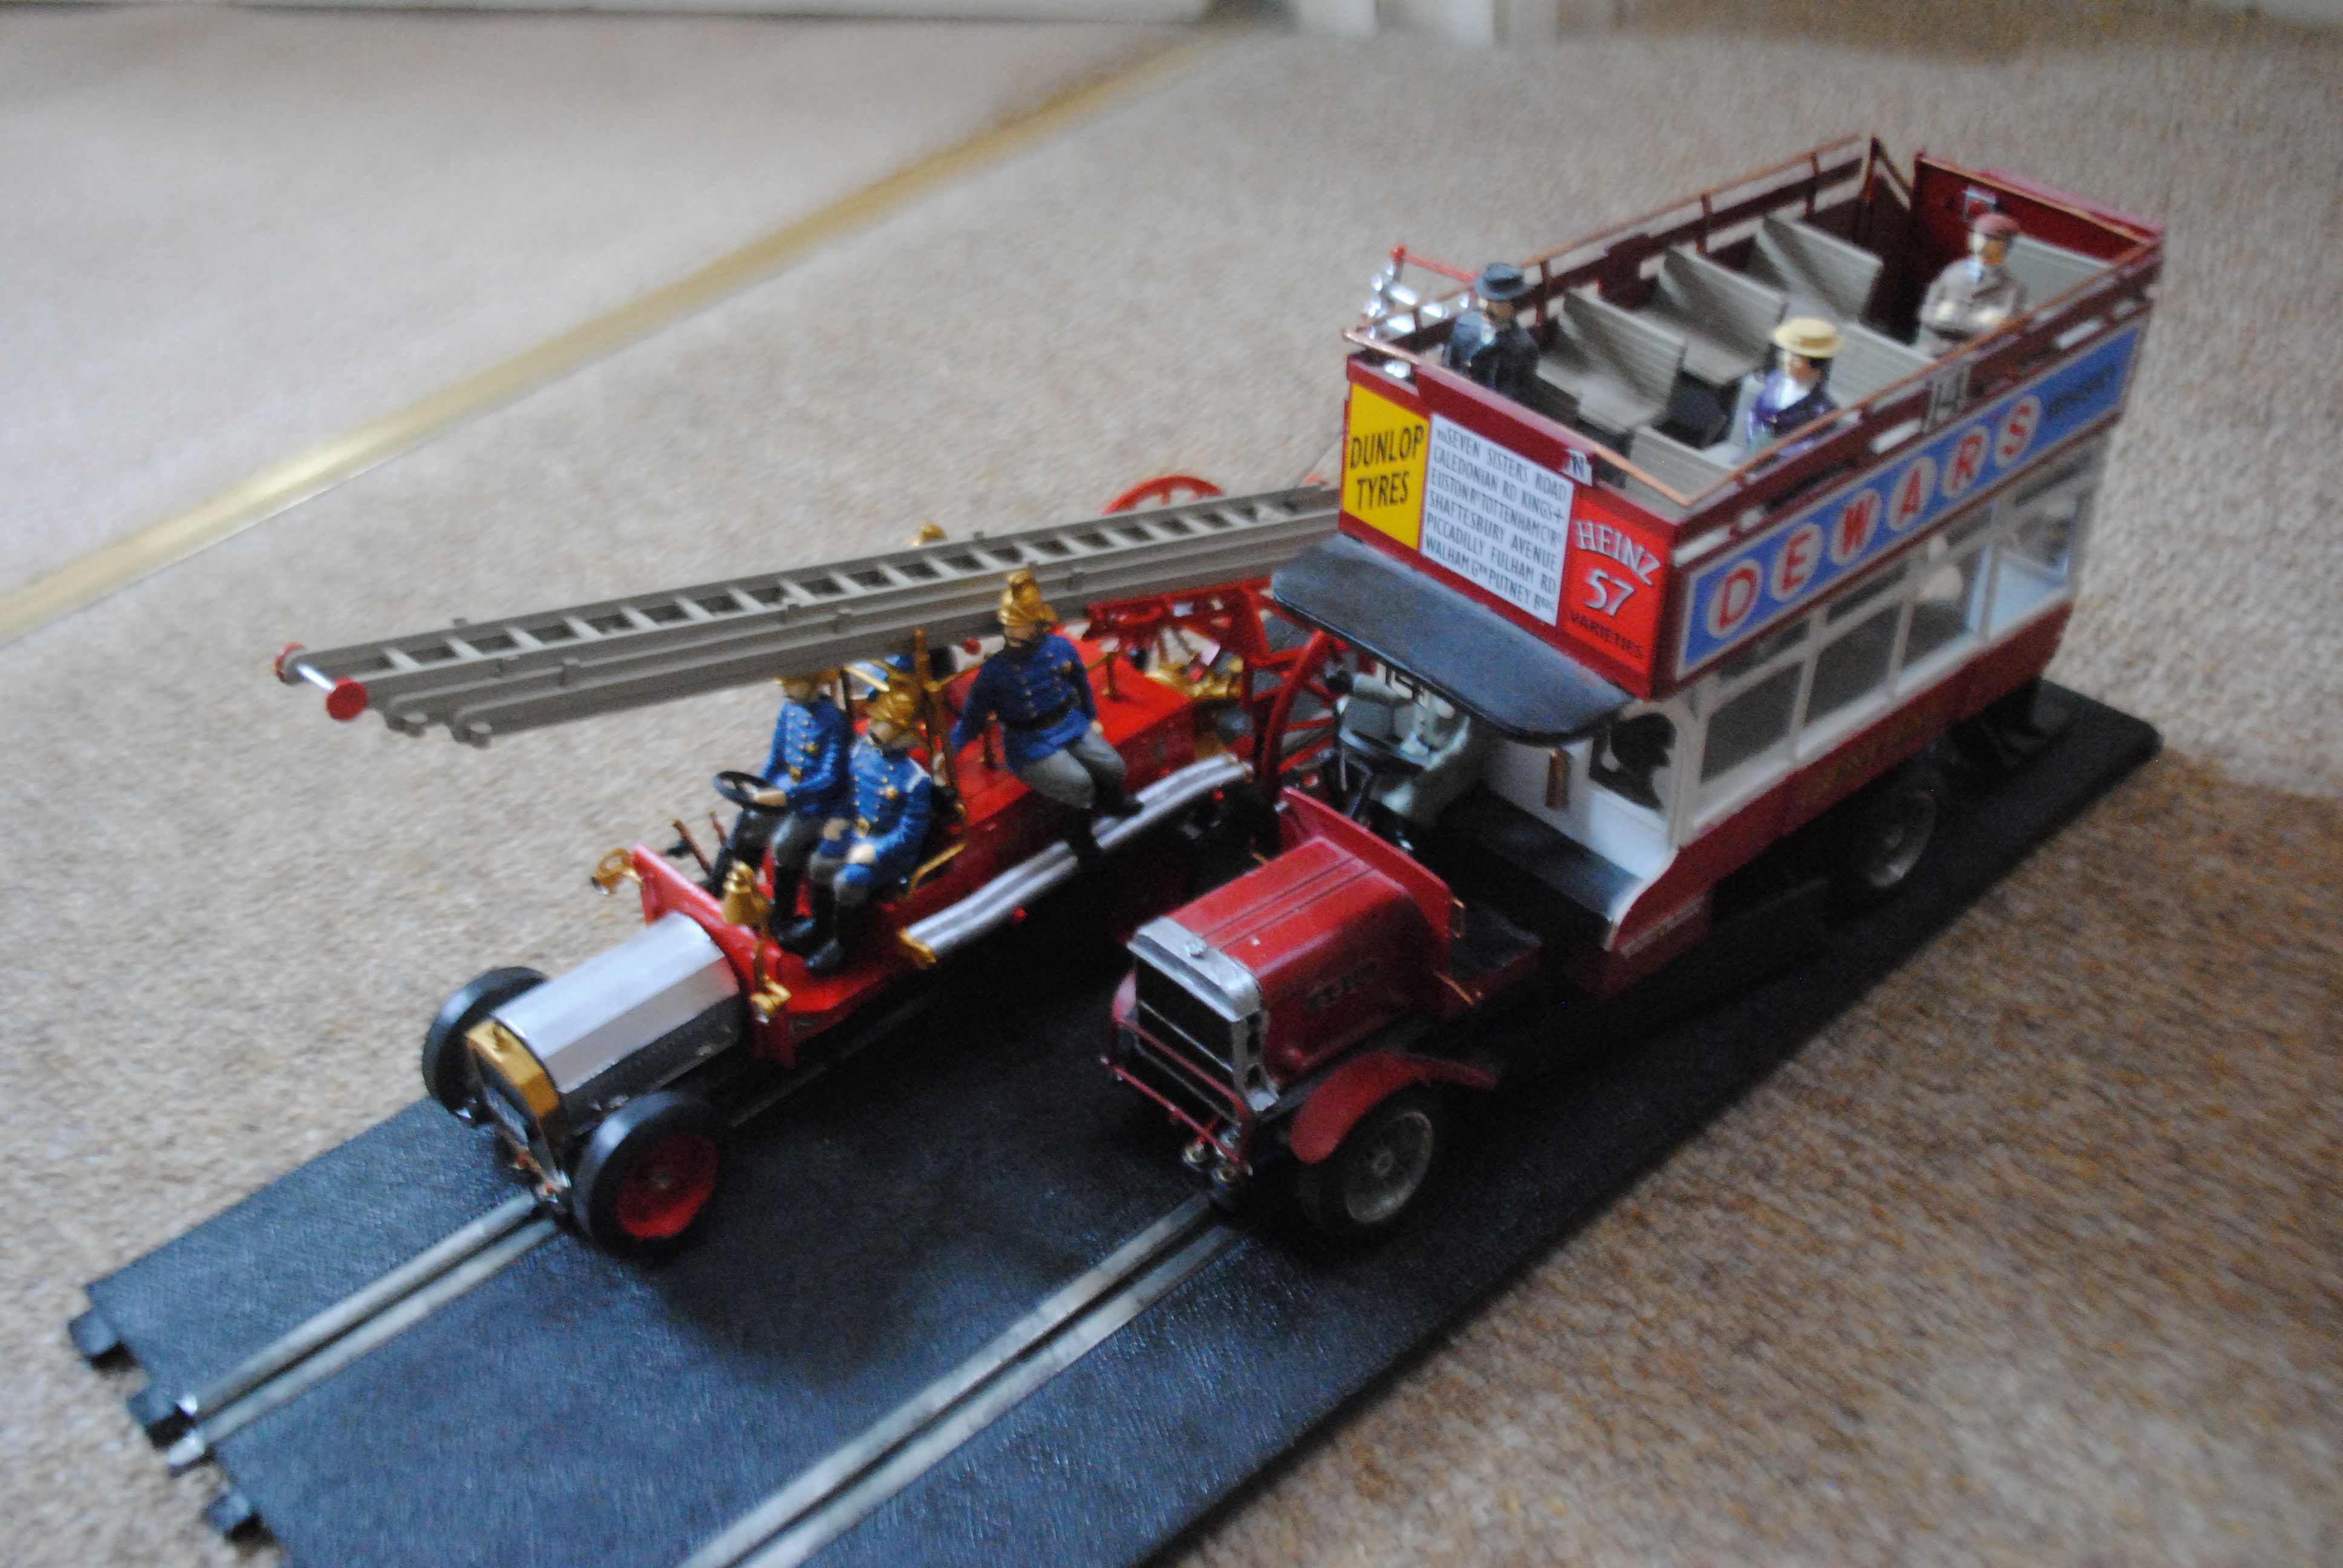
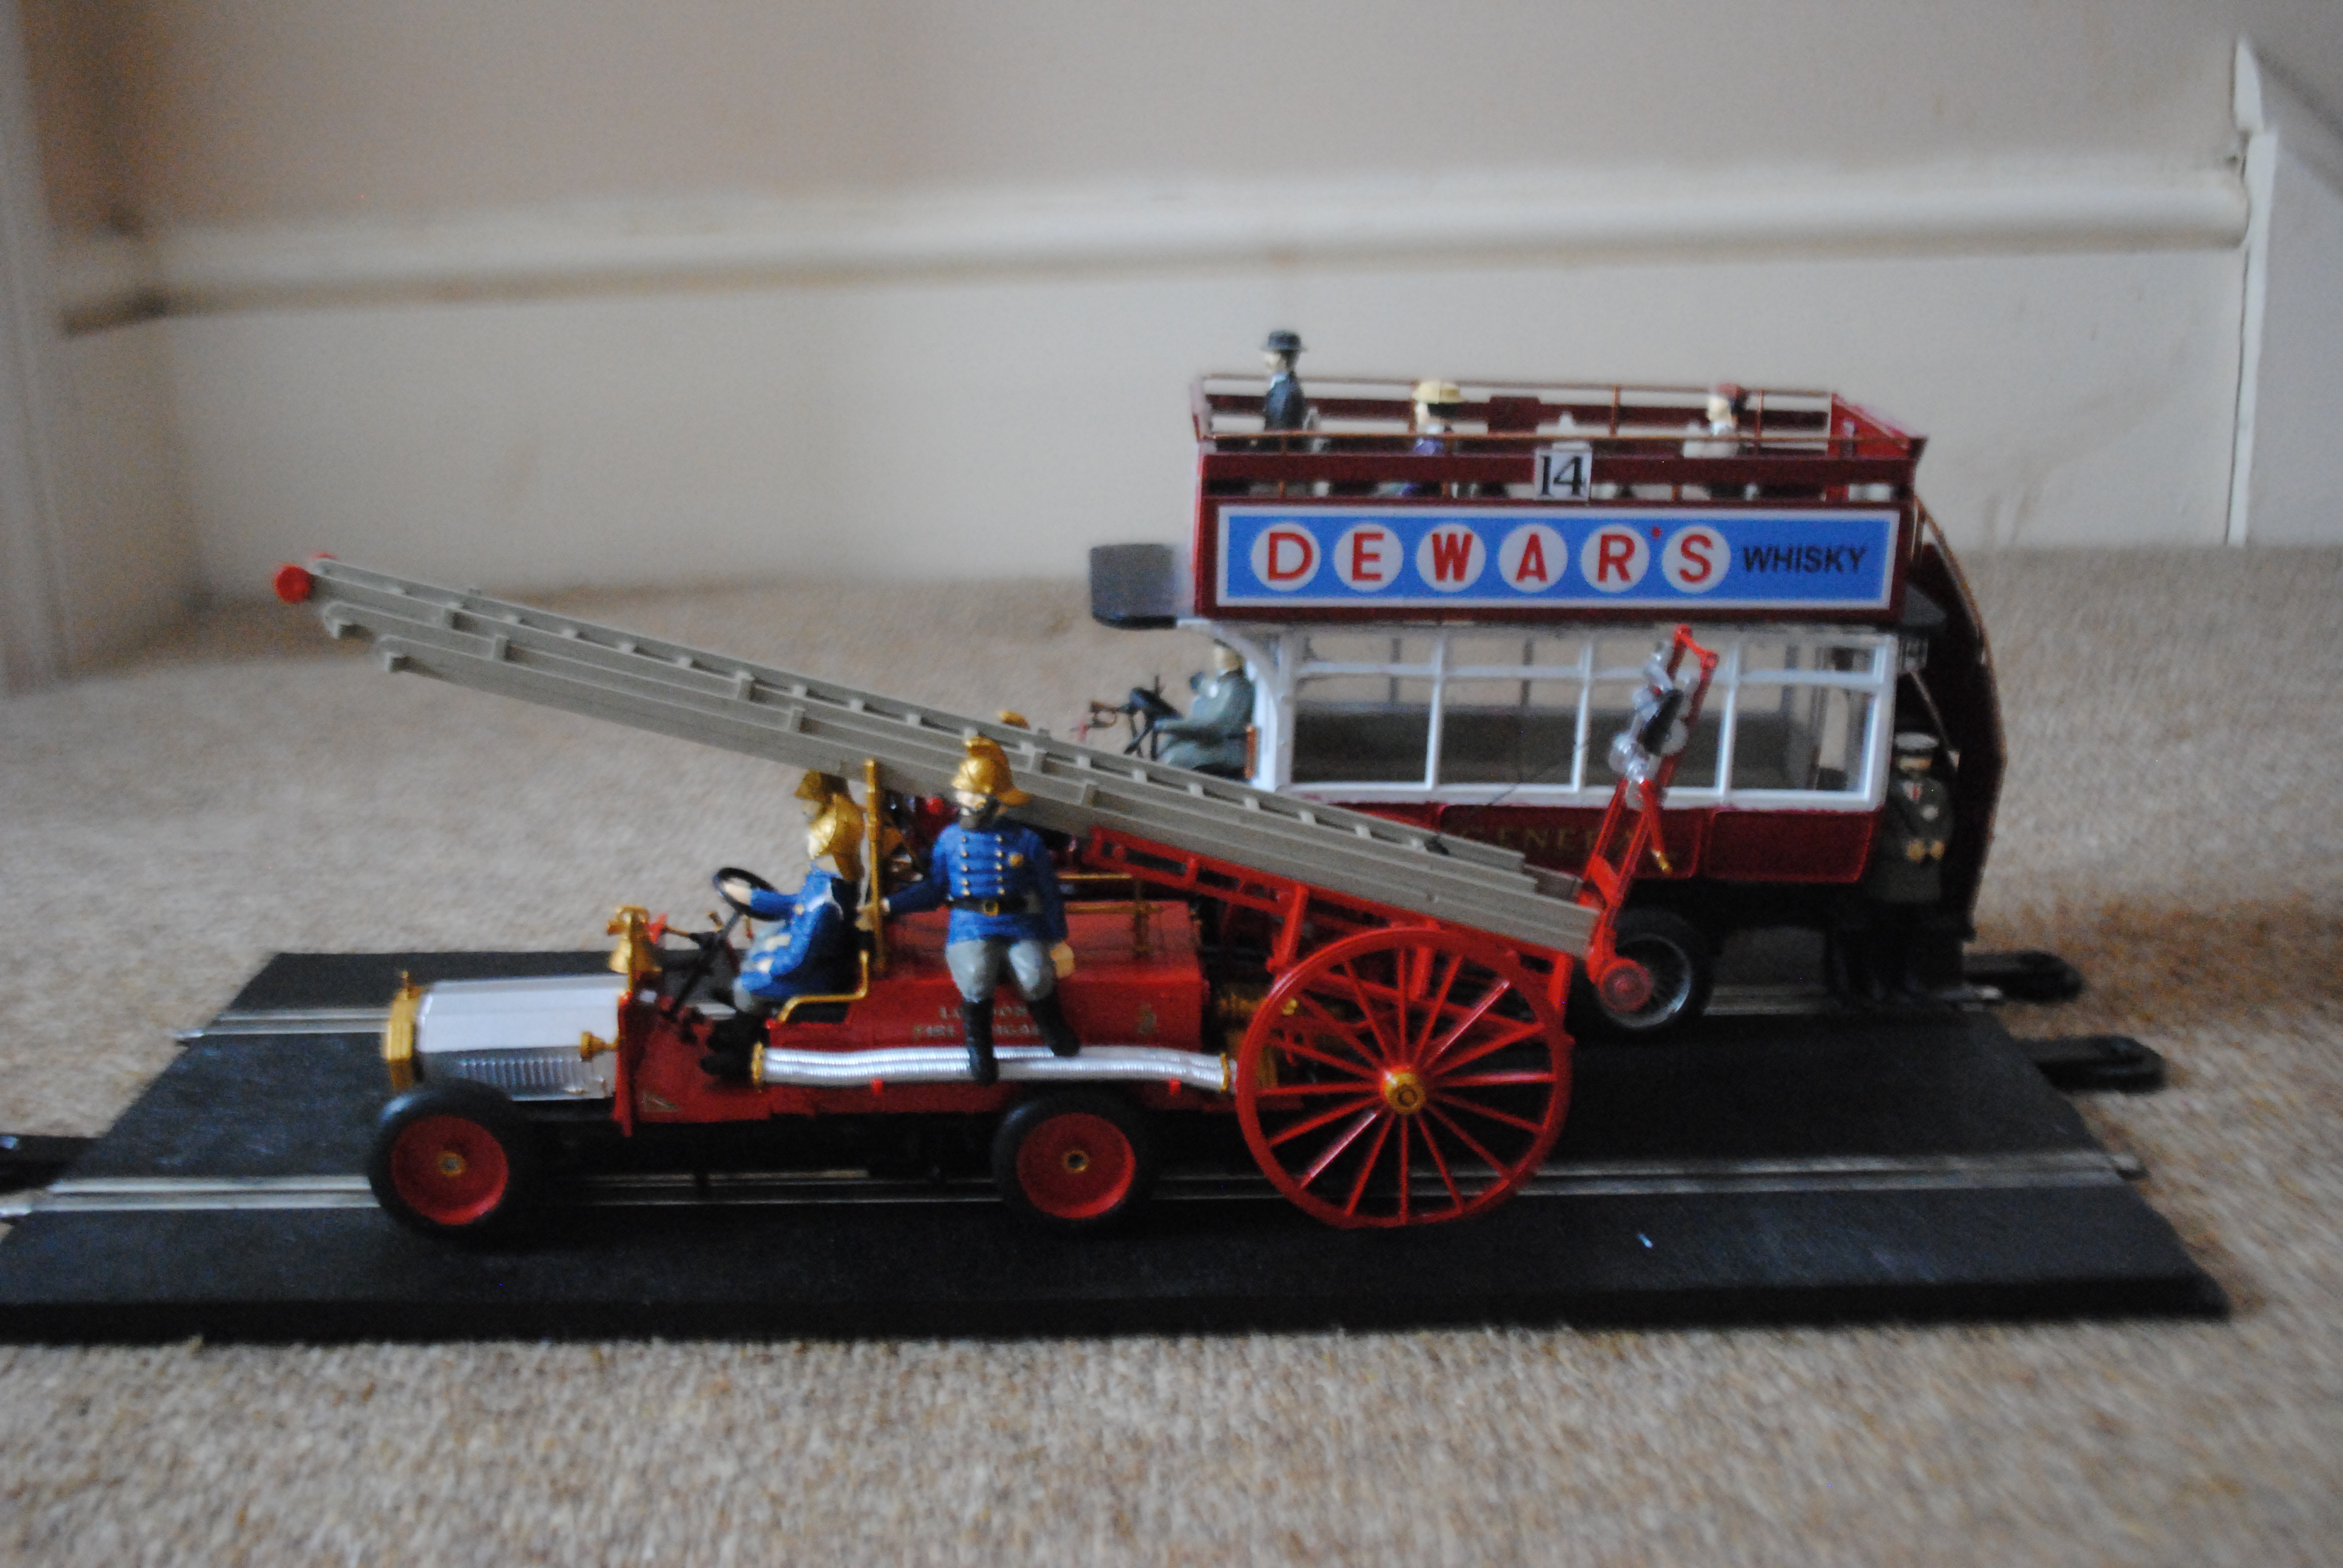
Here’s a video of it running. It goes pretty well for what it is!
All in all it was a fun build and converted into a slot car easier than expected. The Airfix tooling is incredibly old for the kit and that does make bits of it quite difficult to put together. It certainly lacks the refinement of their later kits.
Surprisingly, it actually drives pretty well. The wheelbase is shorter than the bus’ so even if the two are a similar overall length, the fire engine definitely handles better.
Thanks for reading, I hope you enjoyed! If you would like to help me make even better quality content on a more regular basis please donate via paypal through the button at the top or paypal me directly at motorsportformentalhealth@yahoo.co.uk.
You can also join my Patreon here: www.patreon.com/motorsportformentalhealth
If you would like to stay up to date with all my blog posts please subscribe to the blog via email (from the box at the bottom of the page) or follow me on the following social media platforms:
Facebook: www.facebook.com/motorsportformentalhealth/
Linkedin: http://www.linkedin.com/in/richard-francis-b45025137/
Instagram: @motorsport4mentalhealth
Youtube: www.youtube.com/channel/UCQ-j8broFg4i2rWIBy6W82Q
By Richard Francis