

In the late spring through to the early summer of 2020 my Dad built a OO gauge model railway in his garden atop genuine British Rail railway sleepers. You can see some footage of it running here: https://www.youtube.com/watch?v=iNBEcDSmq4Q or follow me on TikTok, I make videos of the trains running and post them there whenever we run them.
The garden railway really caught my heart. It’s a nice, relaxing excuse to sit in the garden on a warm summers evening, Of course I had to get a couple of trains of my own to run, but I needed somewhere at home to display and photograph the models, and of course it would be nice to play trains at home too!
I’d seen a couple of microlayouts built onto ironing boards and loved the idea. The ironing board could be folded up and stored away when not in use and the layout could be propped up in the spare room out of the way.
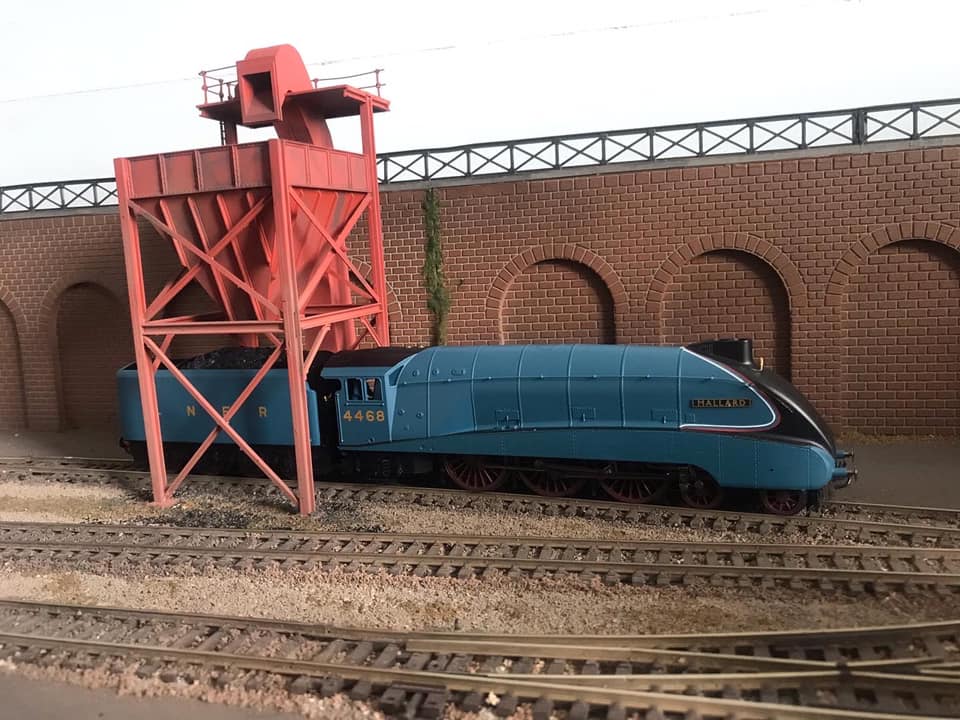
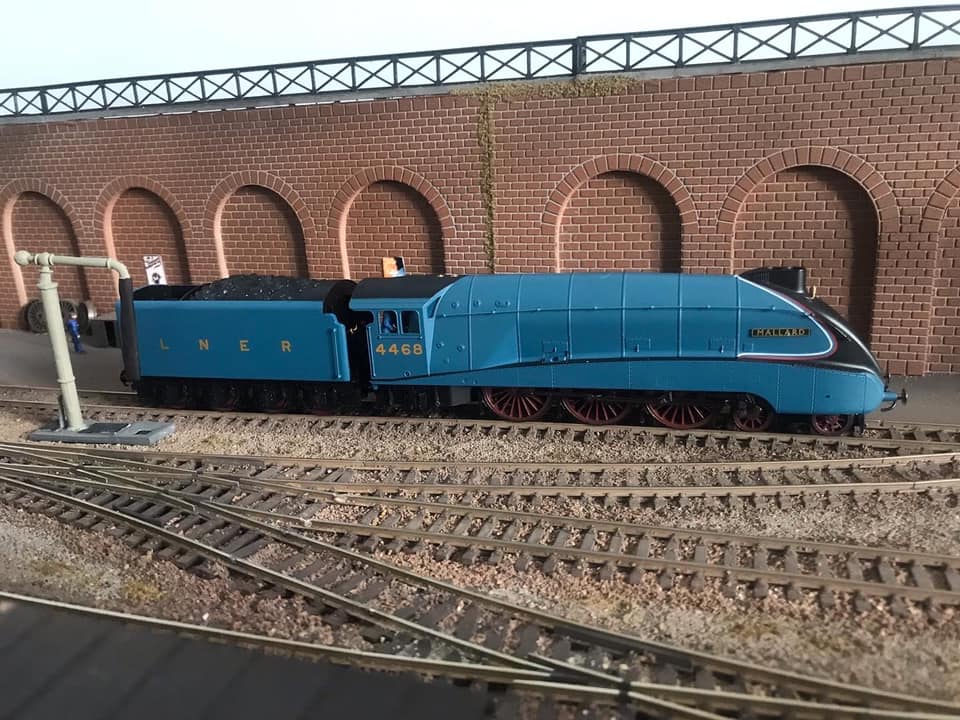
I like to run large locomotives like Mallard and Flying Scotsman at Dad’s. The layout would have to be accommodating to these big locomotives but in a small space, so I decided I was going to model the area outside of a large engine shed; with ash pits, a coaling tower and water crane and maybe a small goods platform, bringing materials, parts and tools to the shed, to add some additional shunting interest.
I soon purchased a cheap ironing board from Asda, and screwed together a 6mm baseboard onto a 1 inch x 1 inch frame with a 3mm thick back scene. I also made a small fiddle yard, which would be bolted to the side of the layout and can removed when the layout isn’t in use. The layout is 5 feet long and 17 inches wide.

It’s taken a while, but the layout now looks like this:

The locomotives can come in from the right hand side of the scene at the end of the day past the signal box, have their tenders replenished at the coaling tower, the back up the the water crane and then dump the contents of their fires into the ash pits before backing into the engine shed for any work that needs to be carried out.
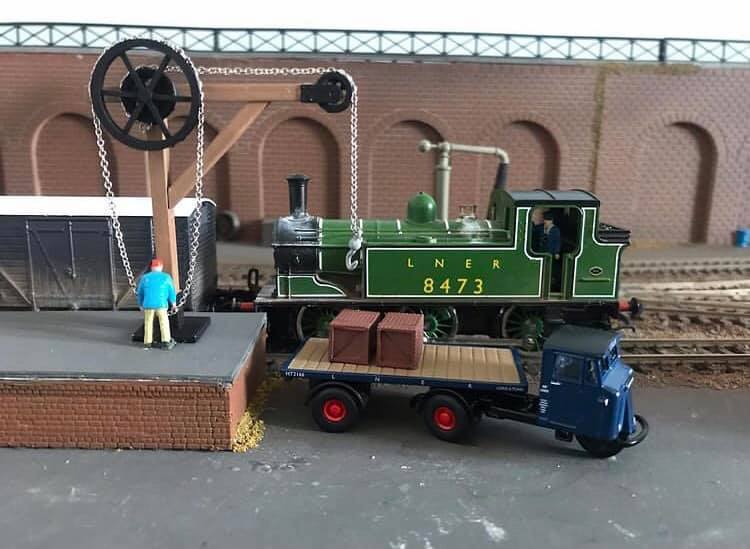
Tank engines have their own little service area to the right of the scene with a water tower and coal staithe.
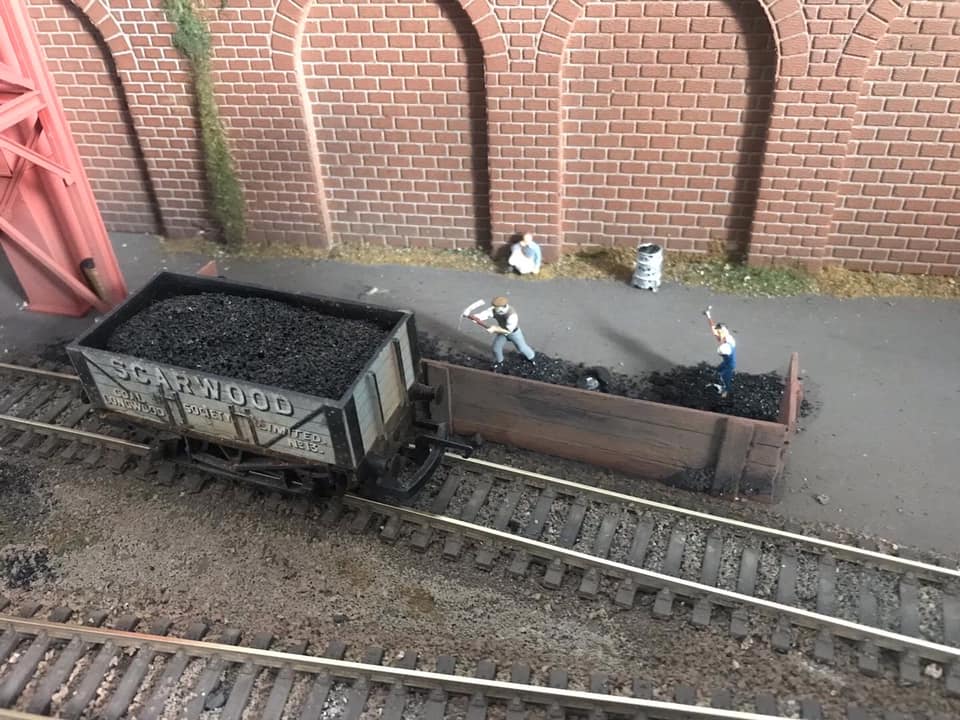
I can do some shunting by moving coal trucks to the coal staithes by the tower and the tank engine servicing area and general goods to the platform by the sheds.
The large retaining wall at the back is made by Merkur. It’s three styrofoam lengths with a long piece of 3mm MDF sitting on top to make a shelf housing a display “main line”. A signal in the stop position at the end gives an excuse for a passenger train to just be sitting there, if I want to show off some of my coaching stock.
The track below is PECO Code 100 flexible track with PECO points. I’ve used two sets of 3-way points, two sets of left hand points and one set of right. The points and insulfrog and are operated by hand. I know it’s basic, but as a beginner with a small layout, I wanted to keep wiring and electrics as simple as possible.
The layout is DC (analogue). I want to experiment with DCC (digital) at a later date, but as the garden layout is DC and as DC OO gauge is fairly cheap, it made sense to have this layout DC.
The centre piece of the layout, the coaling tower was made from a kit by Ratio. It was painted with Halfords red oxide primer, weathered with DCC Concepts weathering powders and I broke up and glued in some real coal into the top of the tower.
The water crane is a white metal piece by Knightwing.
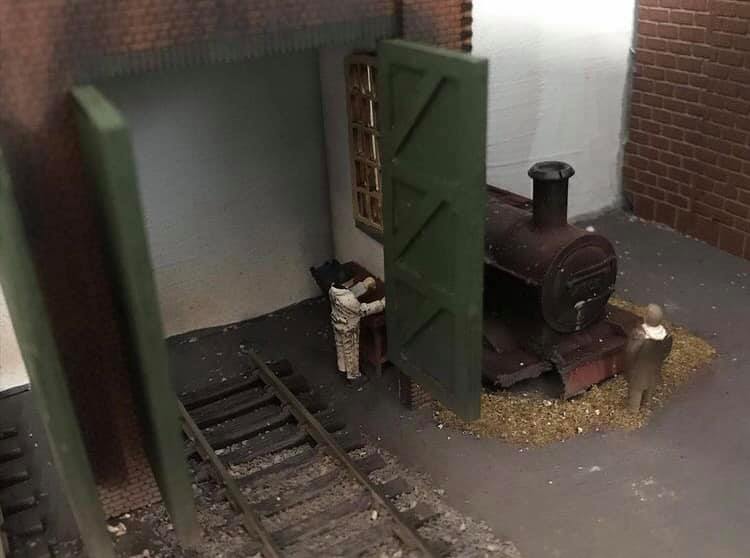
The low relief engine shed is a laser cut kit by Scale Model Scenery. I’ve also used their laser cut doors and inside the engine shed is a small work bench which is also one of their kits.
The little tank engine service station was a ratio kit. I pinched the crane from the coal staithe to go onto the good platform. The platform itself was made from the remains of a plastic station base that my Dad gave to me. I chopped it about to get the size I wanted and made the platform top from card.

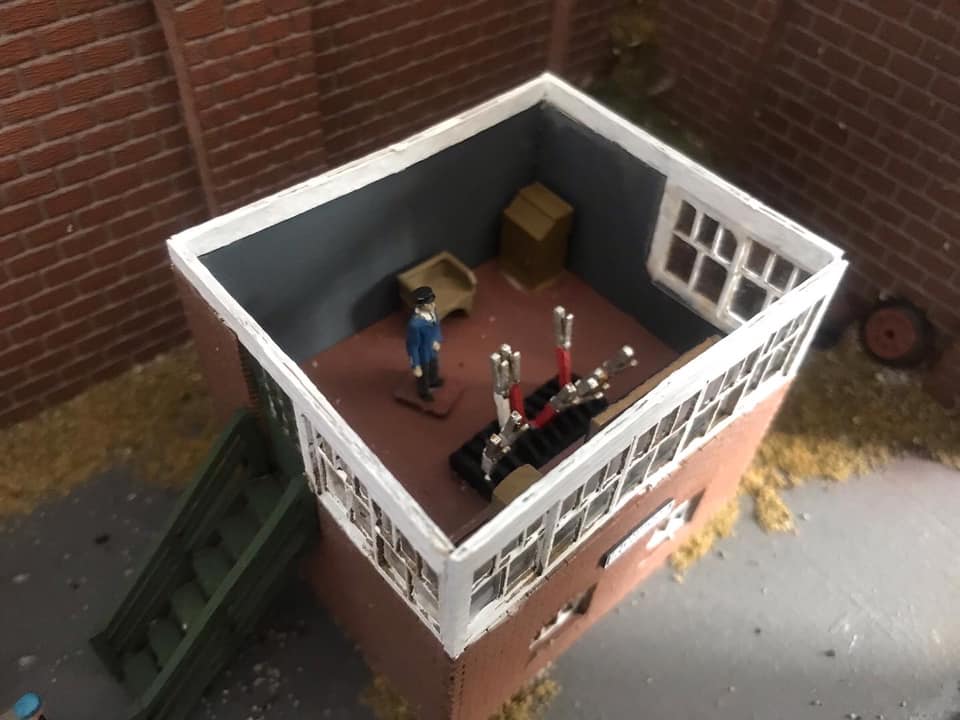
The signal box is by a company called LCUT. It’s a laser cut card kit with interior. The signal levers and frame are laser cut card and the clock, chair and side board are resin.
The Austin 7 is by Oxford Diecast and the little Ironwood sign on the signal box was made my Scale Model Scenery.

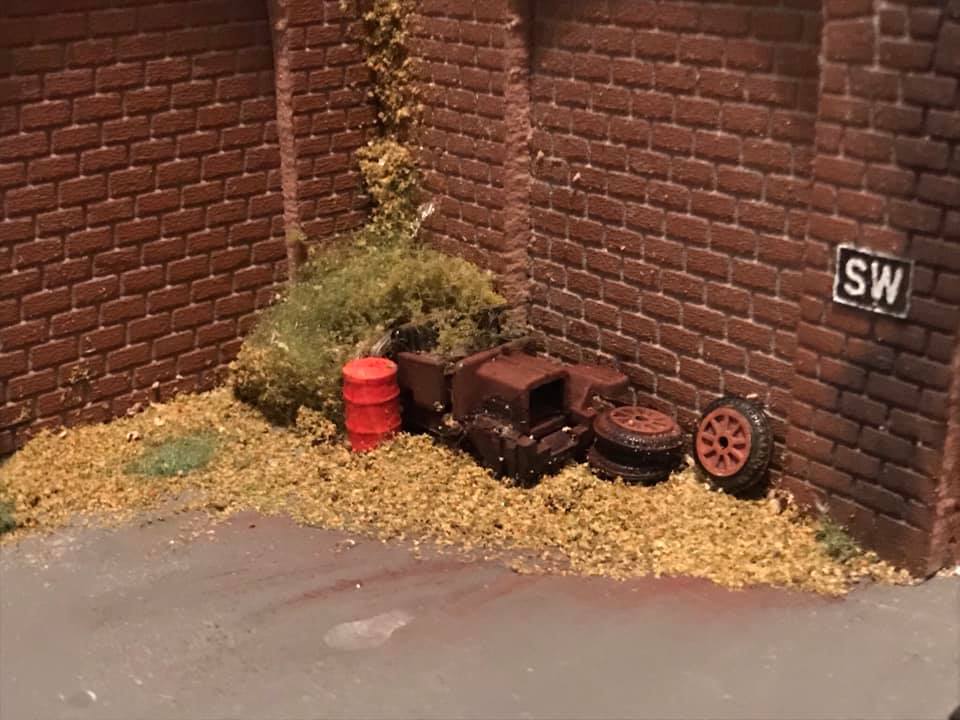
Behind the signal box is this abandoned car. It’s a little overscale, but it’s a fun little detail.
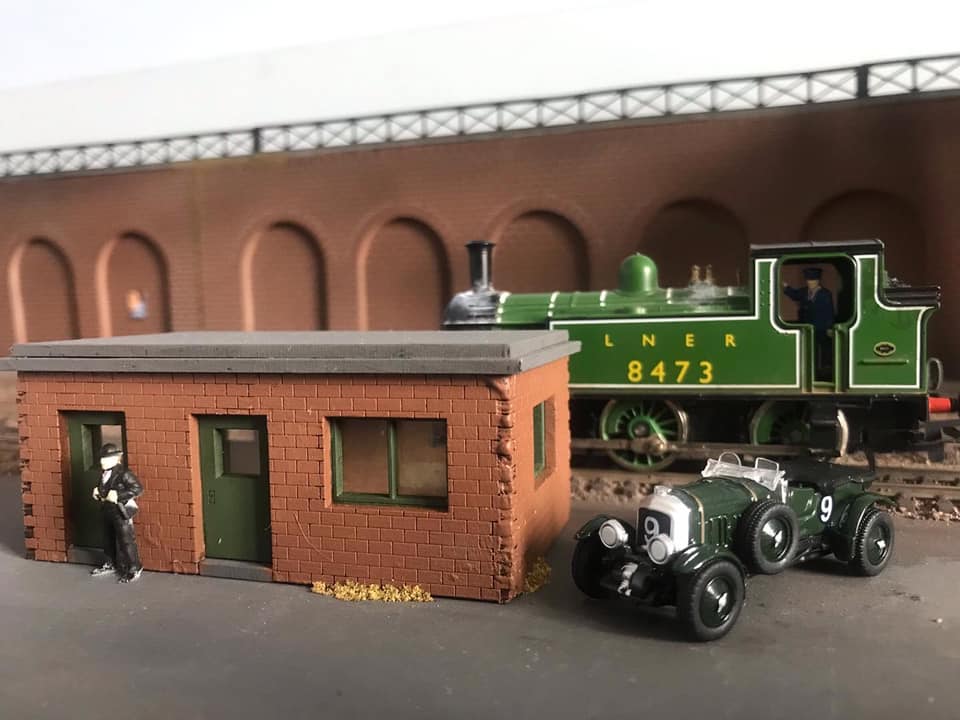
The office building was a laser cut kit from eBay. A lot the laser cut kits from eBay for both railways and wargaming don’t come with window glazing. I normally just cut the clear plastic from blister packs to just over the size of the window and stick it behind the window with a wood glue.
The Bentley Blower is by Oxford Diecast. I know it’s not the sort of car you’d normally see parked outside a engine shed’s office, but as regular readers of this blog will know, I’m a huge fan of the supercharged Bentleys.
The large coal staithe by the coaling tower was scratch built out of Costa stirring sticks that a work colleague acquired for me.
Ash from the ash pits is taken away to be recycled. Maybe it will be mixed into concrete.

Ironwood was a really fun build. It was nice to do something a little bit different and it’s a good way to while away a bit of time operating it.
I really like the idea of an ironing board layout. The layout lifts off of the ironing board, so I could use it as a base for a moving diorama in O gauge or a sizeable layout in N gauge. Watch this space!
Thanks for reading! If you would like to stay up to date with all my blog posts please subscribe to the blog via email (from the box at the bottom of the page).
Follow me on the following social media platforms:
Facebook: www.facebook.com/motorsportformentalhealth/
Linkedin: www.linkedin.com/in/richard-francis-b45025137/
TikTok: @richardfrancismsfmh
Twitter: @richardmsfmh
Instagram: @motorsport4mentalhealth
Youtube: www.youtube.com/channel/UCQ-j8broFg4i2rWIBy6W82Q
By Richard Francis