

I’d recently found myself in a bit of a model-making slump. I needed a fairly quick and easy build, which I could do as a blog project to give me a little motivation and one that would be interesting to research.
I like to have a little stash of kits saved for such occasion.
This little Ju87 has been in that stash for a number of years. This box art was released in 2010, so I guess I brought it between then and maybe 2012? It’s certainly been in my possession for a while!

The casting is actually a lot older! According to Stalemates.com the kit was originally released in 1993.
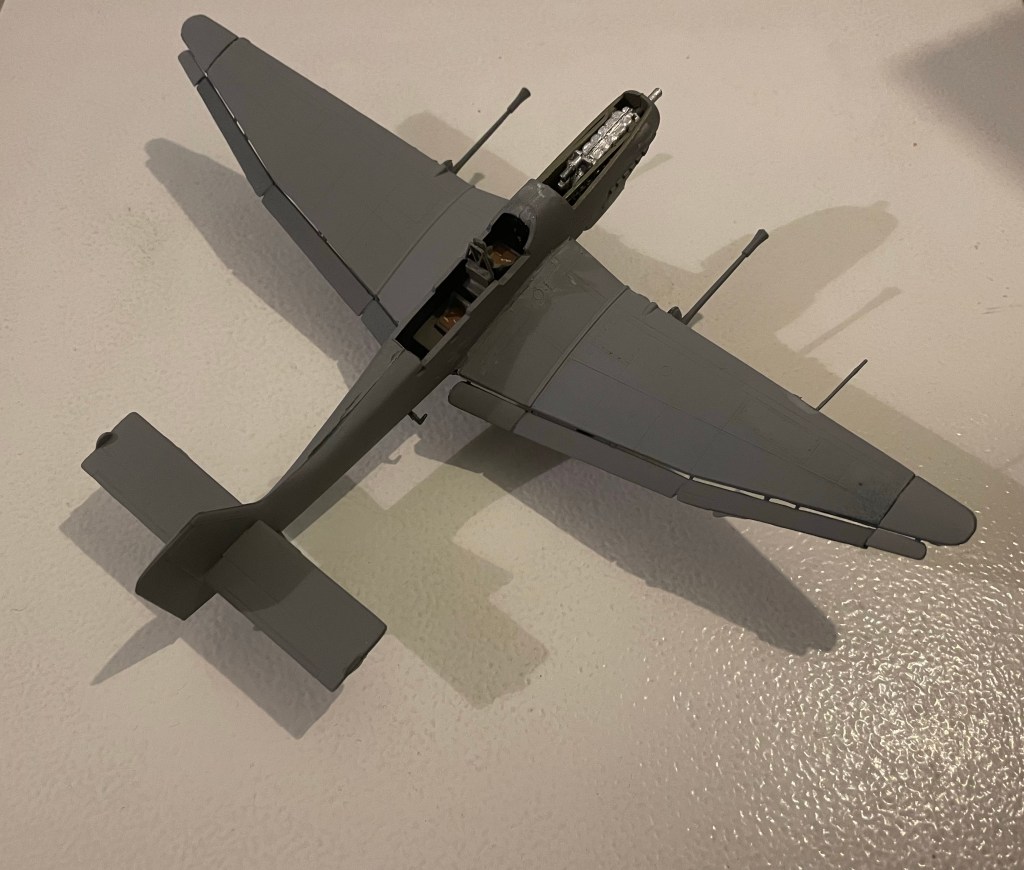
It’s a nice little kit for its age! It features an engine and interior detailing. It went together pretty nicely too! A few bits took some filling and sanding, but I can’t be too critical as it lived in my loft for a long time which gets really hot in the summer and freezing in the winter. Given that it spent so much time in a harsh environment, it was pretty straight!

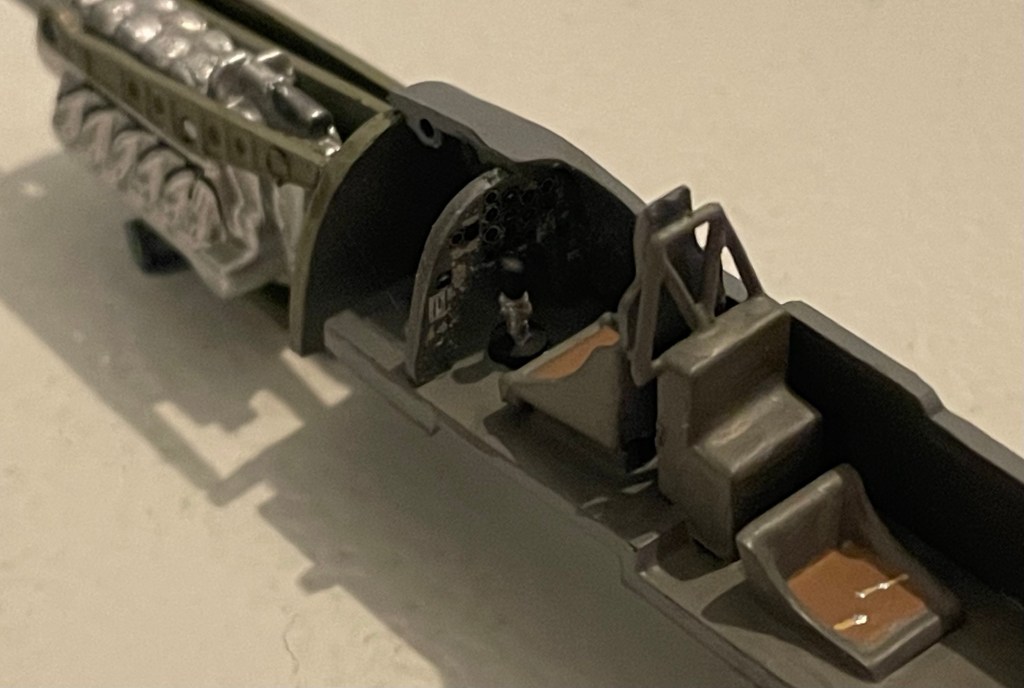
The little interior went together nicely.
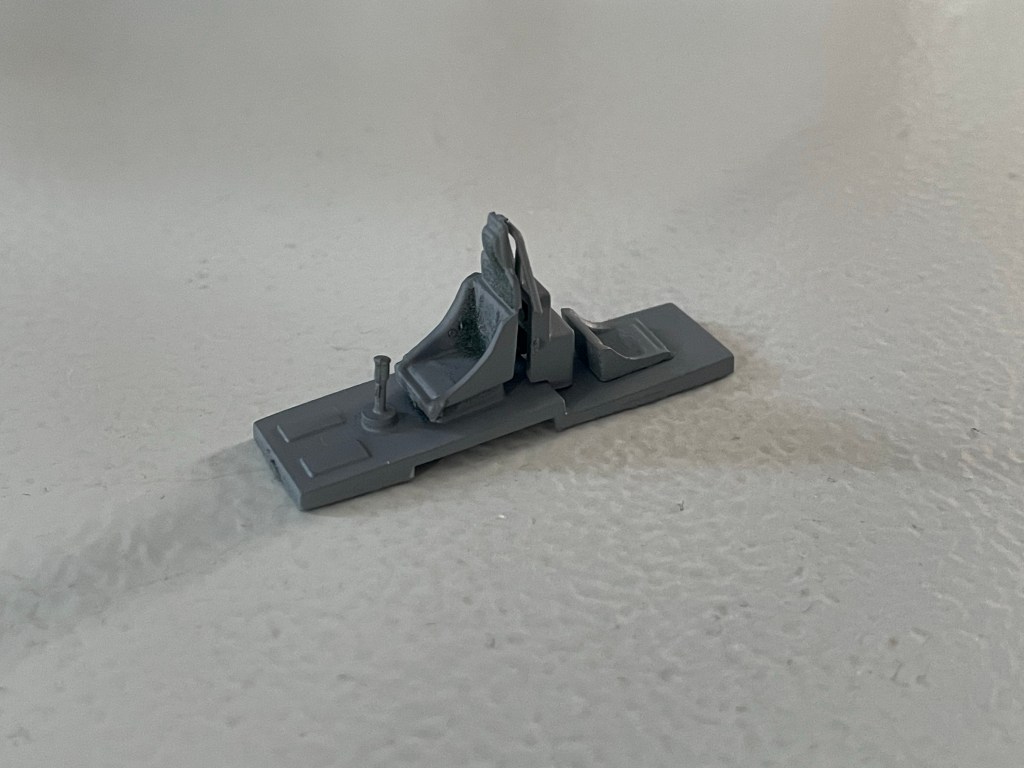
I use Halfords grey primer aerosol to prime my models, then Vallejo paint with Army Painter brushes. The Army Painter brushes are expensive but they’re worth their weight in gold – especially the “Insane Detail” sized brush. It’s perfect for picking out bits like the seatbelt buckles.
The base colour of the interior was Cold Grey, the seats are U.S Field Drab and the belts Dark Sand.
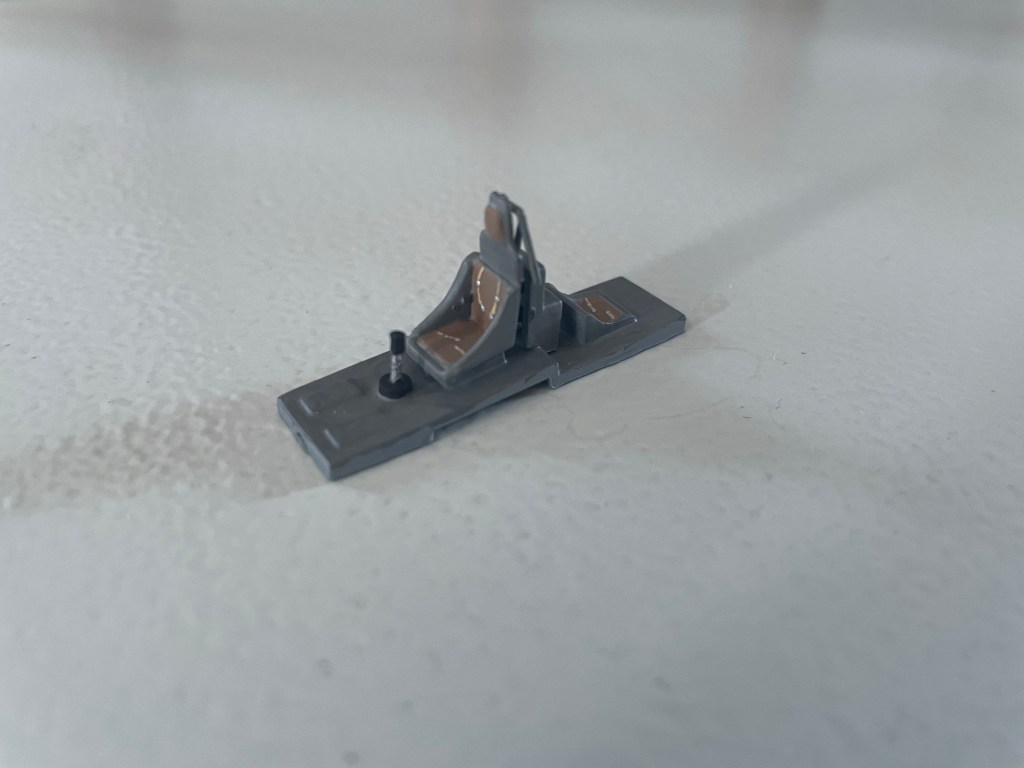

Notice the lap belt on the rear facing seat… I can’t imagine anything worse than being a rear gunner on a dive bomber!
The engine casting was a little rough. There was a lot of flashing to trim away and clean up. Once it was clean the two halves fitted together nicely.
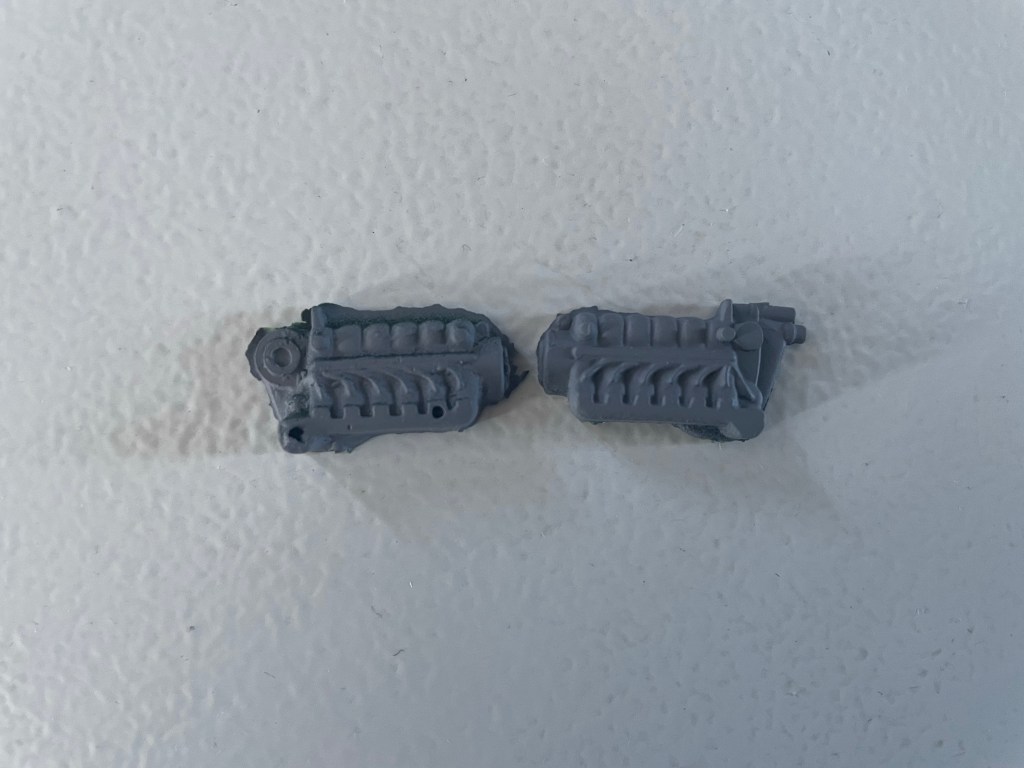
I didn’t add a huge amount of detailing to the engine block. I added the ignition leads and a couple of other details, but even with the removable engine cowling it will mostly be buried once the two halves of the fuselage are together.

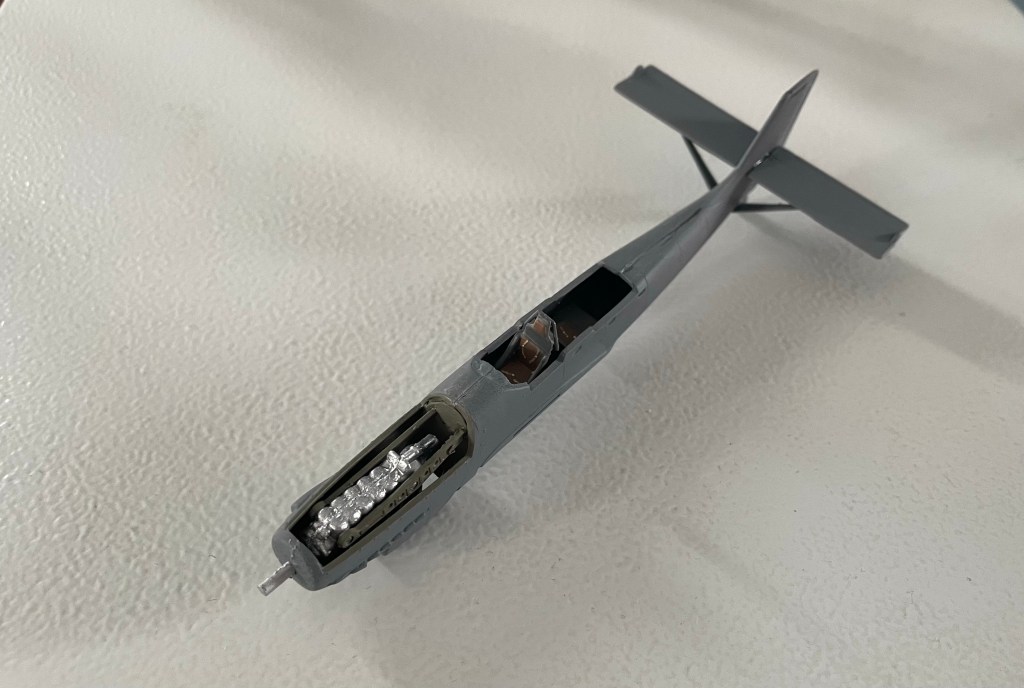
After adding and painting the engine mounts I could fit the cockpit and engine into one half of the fuselage. I’ve painted the sides of the cockpit the matching Cold Grey and the engine bay (and mounts) Green Grey.
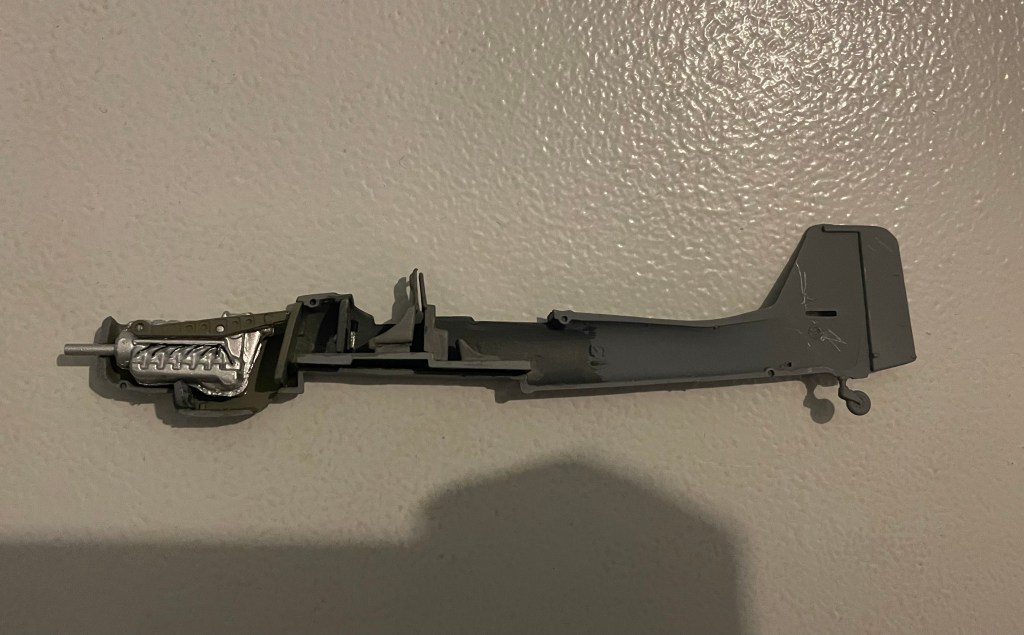
The dashboard is a simple water slide transfer.
The two halves on the fuselage weren’t a perfect fit. Again, I’m not being critical of the kit. It was stored in pretty poor conditions. I
think I got these little clamps from Poundstretchers. They’re a lifesaver! With parts that don’t want to go together well, I glue them together and then hold them in place overnight with these clamps.
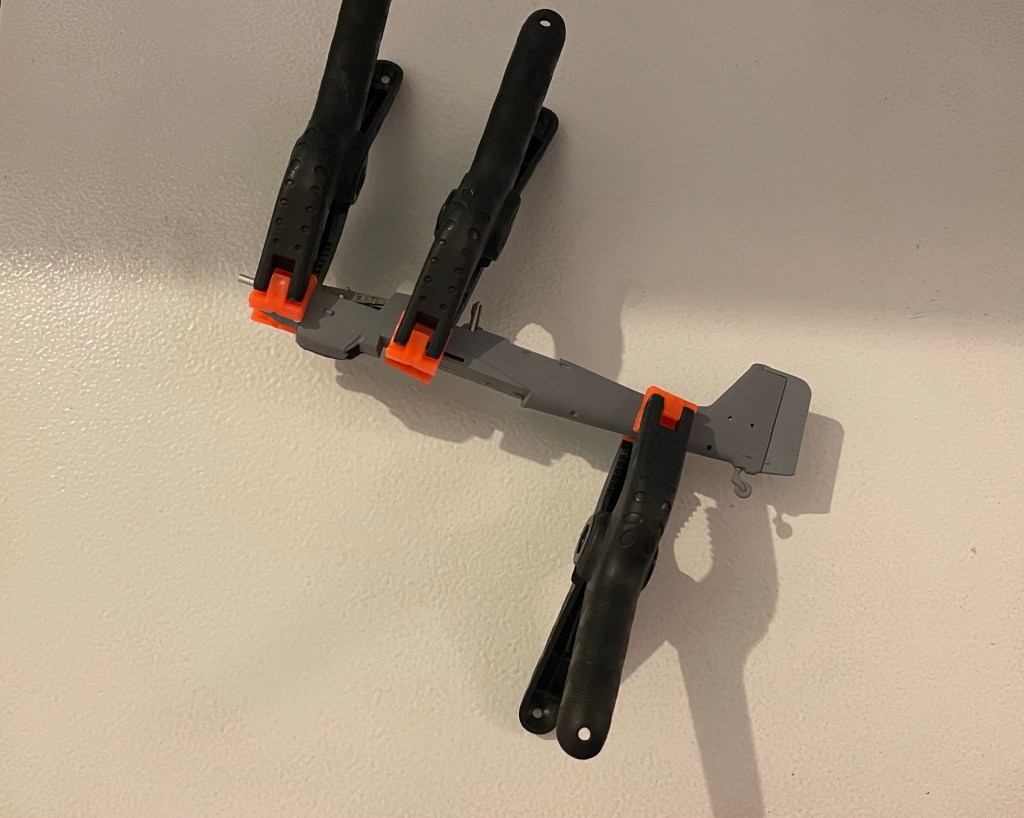
It wasn’t a perfect joint, but with a tiny bit of filler it became passable. I always try to use as little filler as possible. If you use to much it becomes a pain having to sand it back.
The aircraft also seems to grown its tail since I last took a pic!
Now we had to make a choice of what aircraft to build of the two variants of the kit. The ‘D’ dive bomber or the ‘G’ tank-hunter with the 37mm auto cannons. I decided to build the G.
Holes have to be drilled into the wings for either the bomb mounts or the gun mounts. Dimples were pre-made in the wings to show you where to drill.
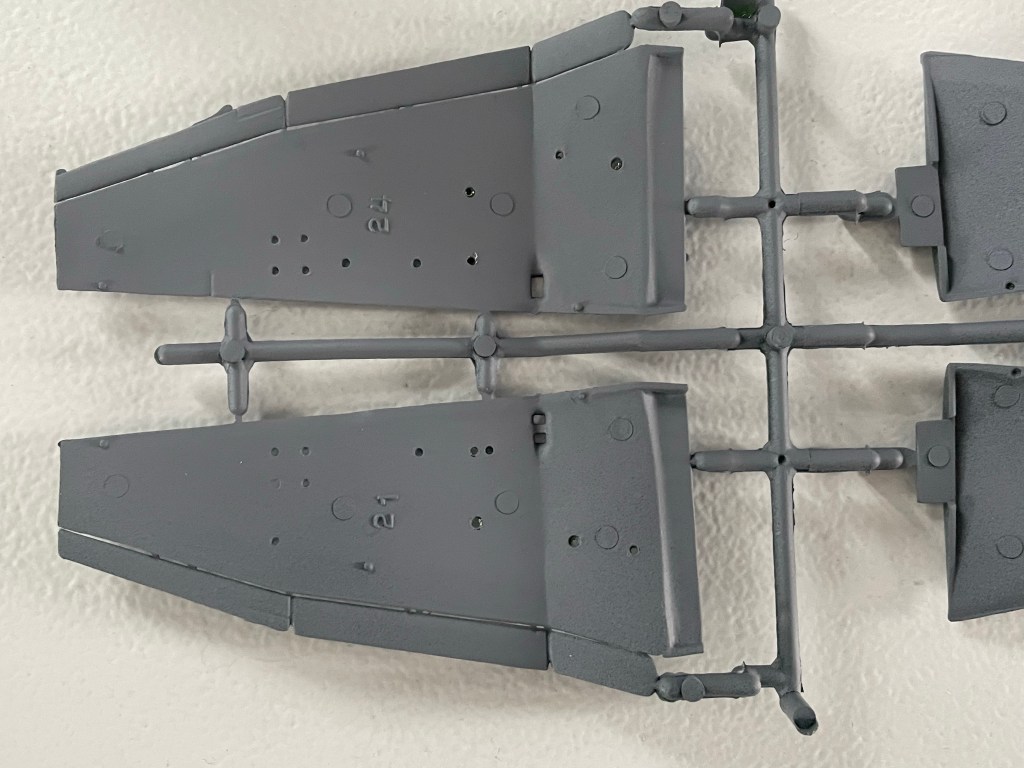
Holes cut from the outside of the wing.
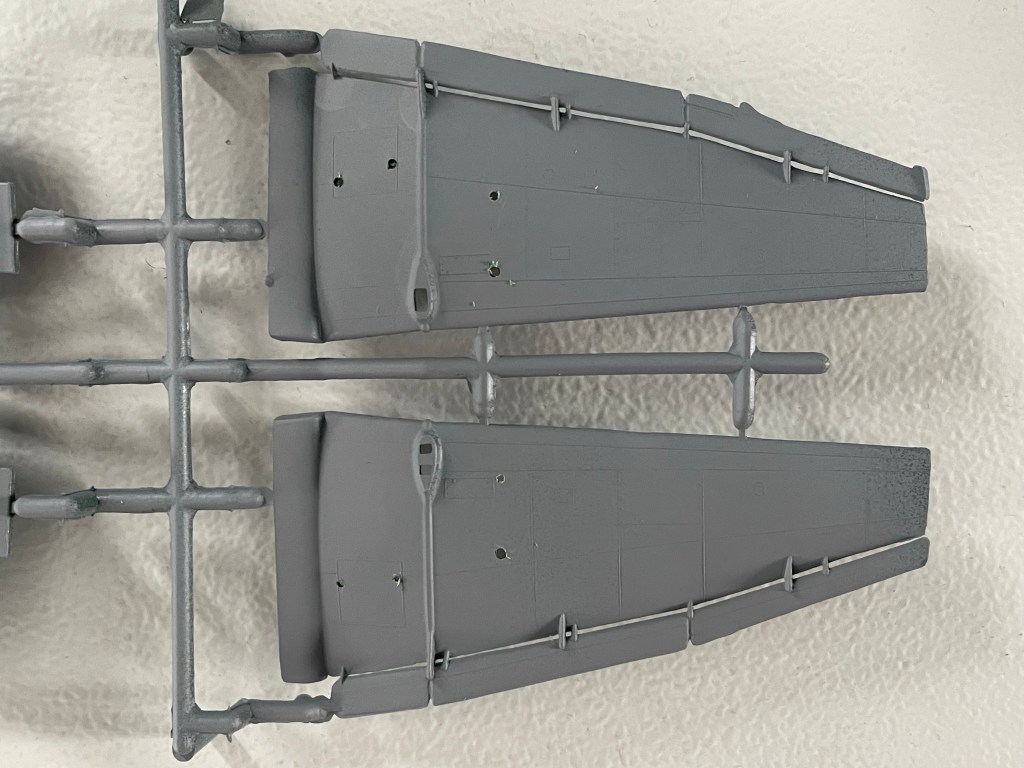
The two halves of the wings needed clamping together.

There was a little more filling to be done where the wings meet the fuselage, and on the bottom of the fuselage.

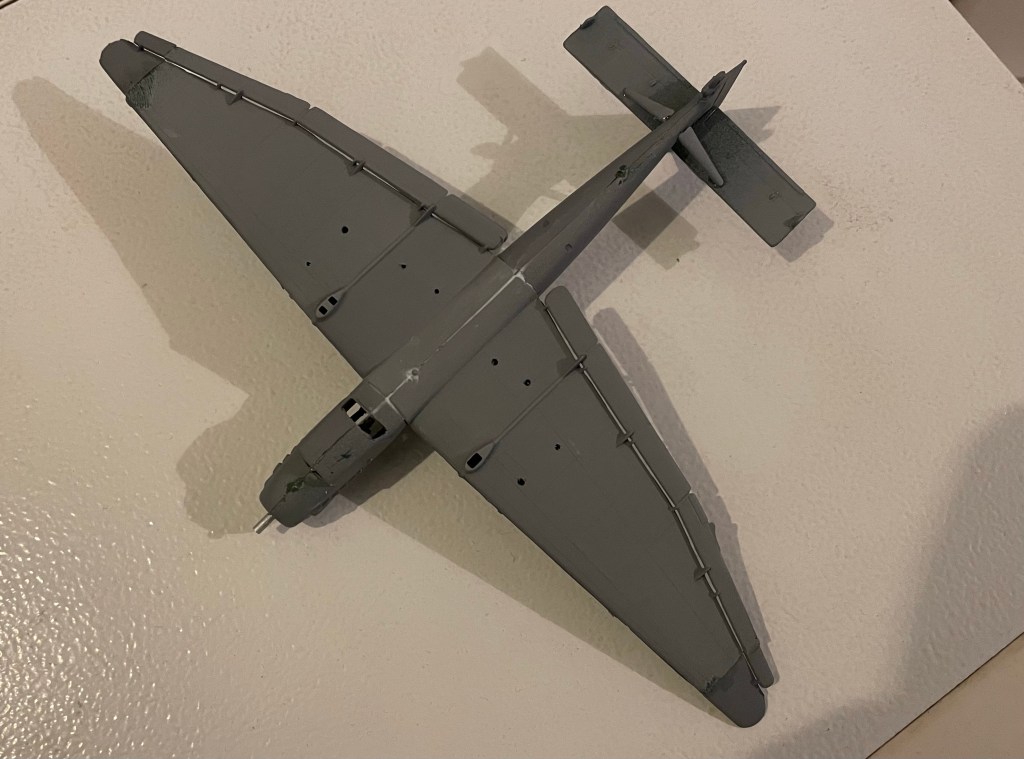

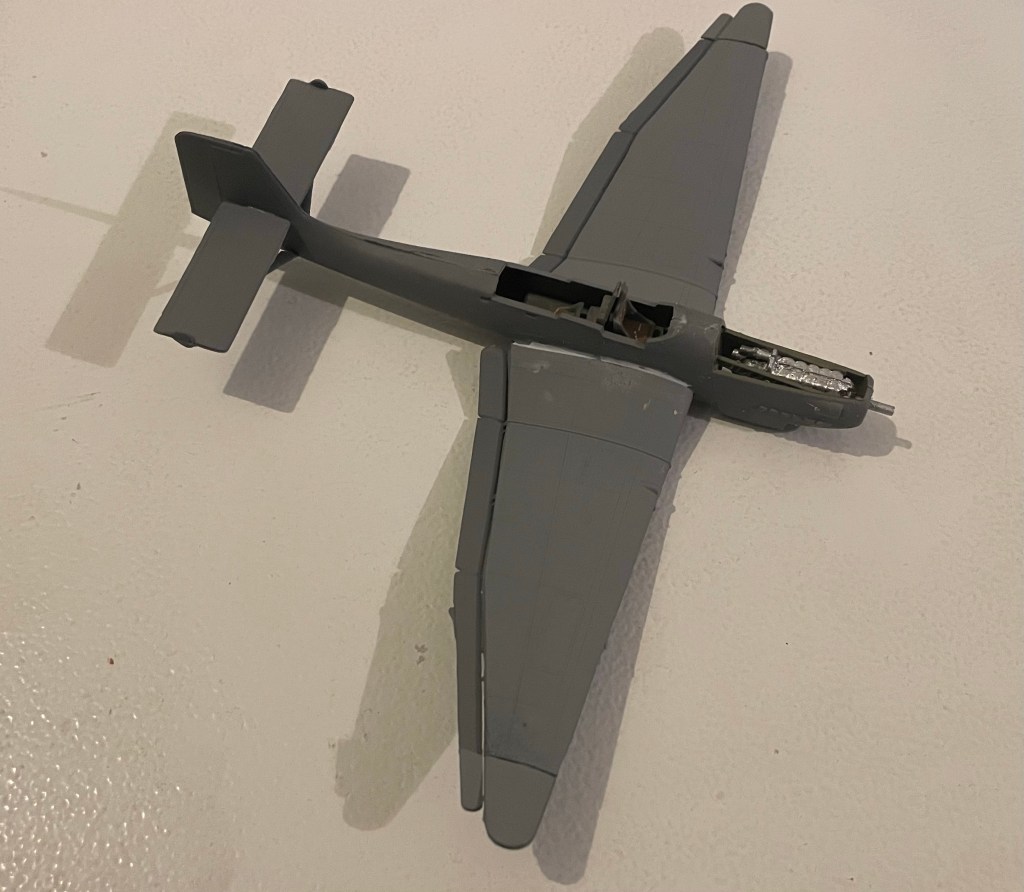
Telling which landing gear goes on which side is made easy. One side has two small squares and the other one has a long rectangle. These correspond with the holes on the bottoms of the wings.

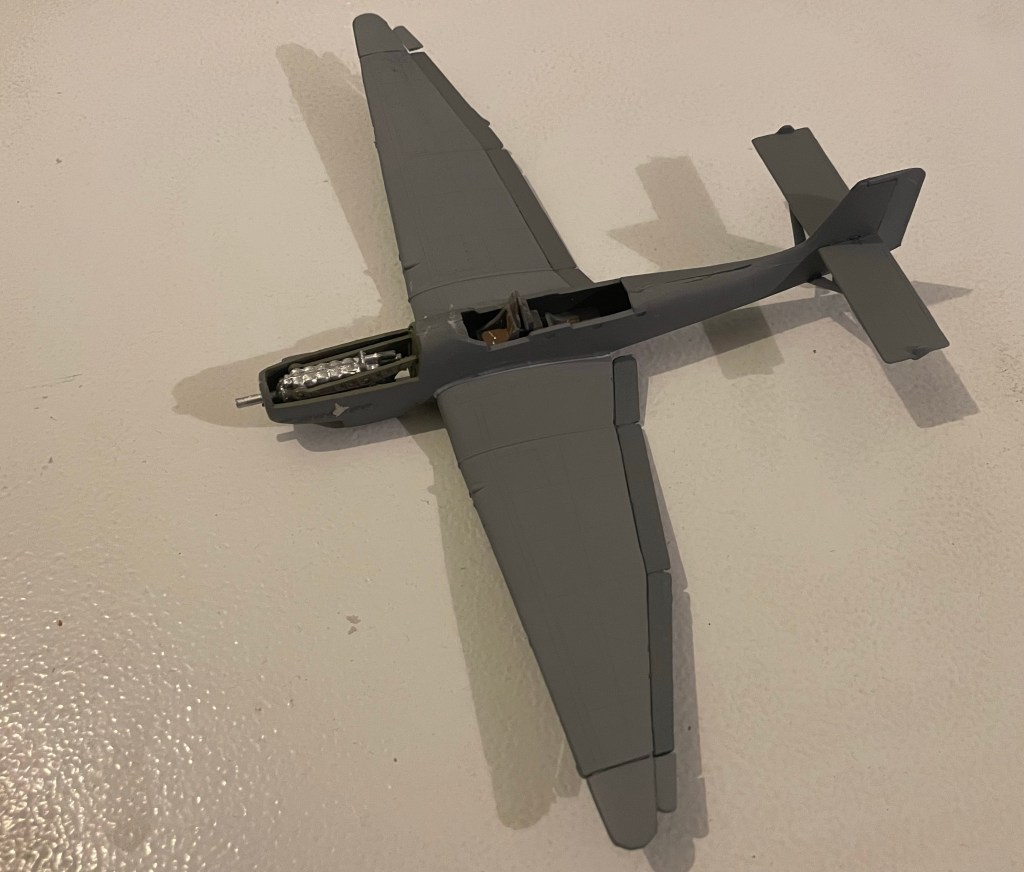
Next it was time to make and fit the guns. Twin Bordkanone Flak 18 3.7cm auto cannons.
These guns saw use on a number of German ground attack aircraft to great success.
Although a 3.7cm diameter round sounds relatively small for an anti-tank weapon – especially by late 1944 – The guns were absolutely huge!
Shown here is a OO gauge railway fireman (OO is 1:76 and this kit is 1:72 so they’re about the same scale) next to them!

I didn’t know at the time, but it is worth noting that the magazines are inverted. So the gun on the right wing would feed from the right and the gun on the left wing would feed from the left. I’ve built them identically which isn’t right.
Speaking of magazines, each gun would only hold 6 shots. 12 shots in total doesn’t really leave the pilot much room for error.
Now it’s time for the scary bit! Paint!

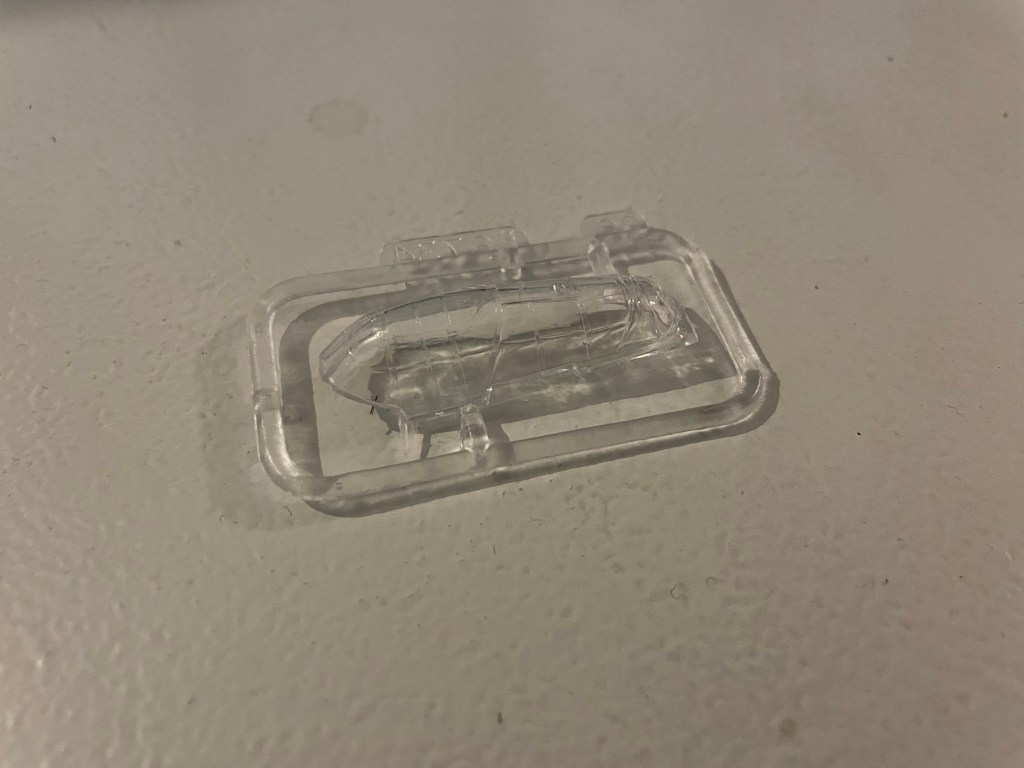
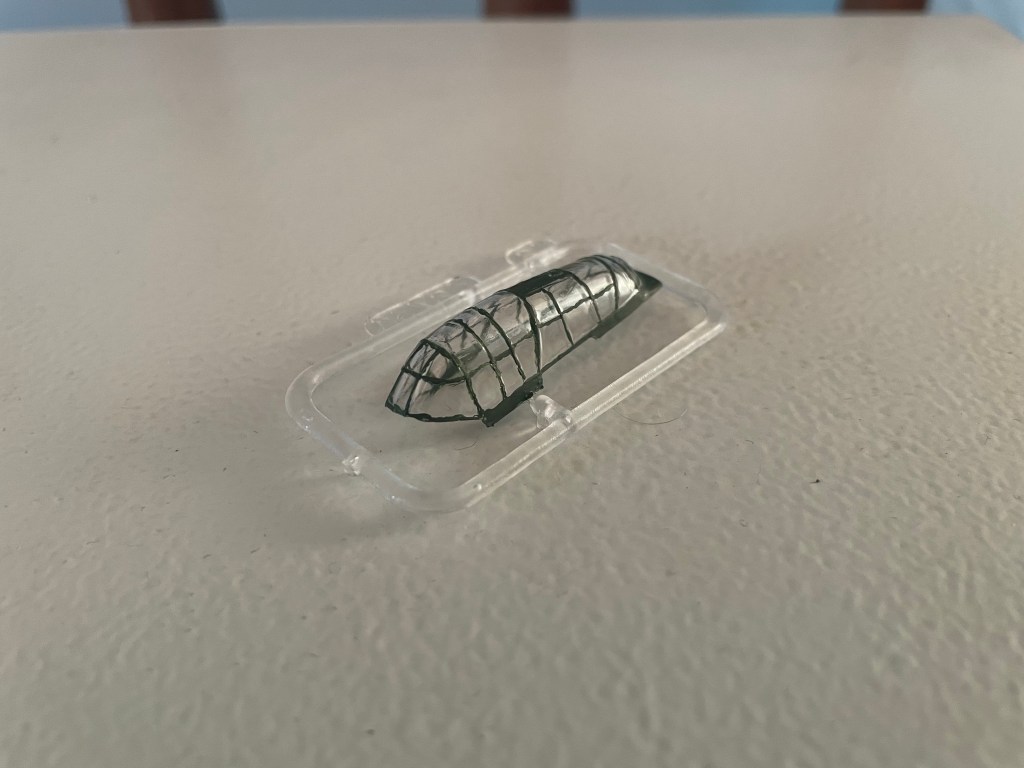
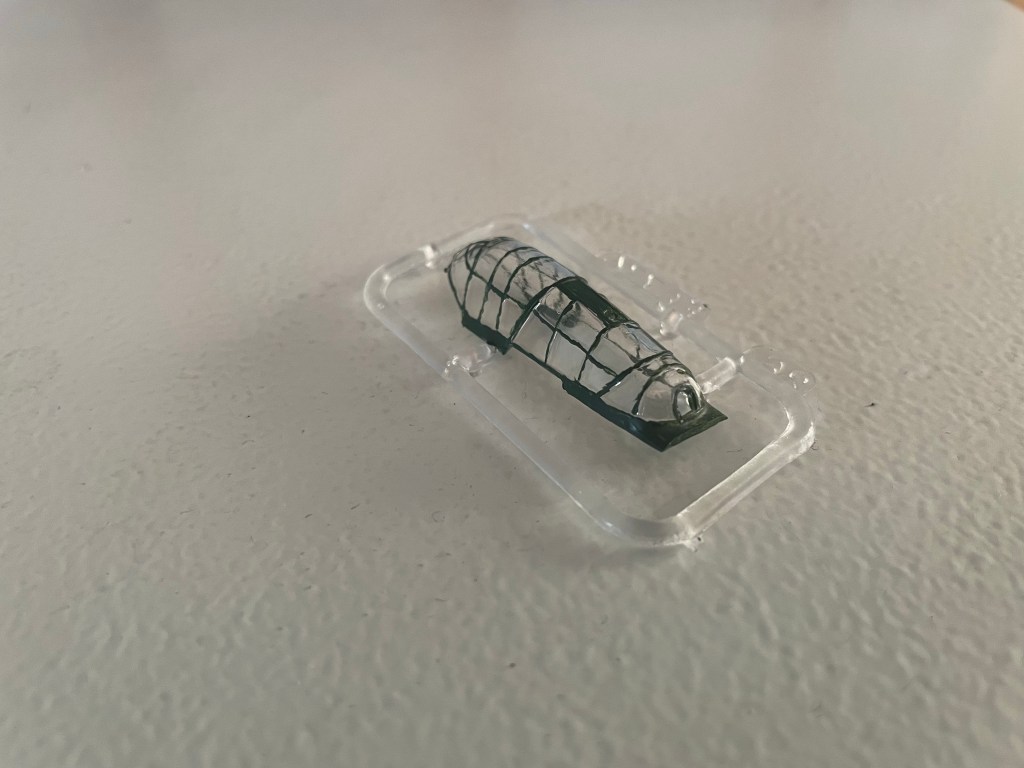
Painting the canopies is one of the hardest part of doing small scale aircraft.
Some people use liquid mask to blank off the areas that you don’t want painted, but I’ve never had much success with doing that.
I simply use Army Painter’s Insane Detail brush and take my time. I know it’s not perfect, but it’s the best way I’ve found so far.
Then things seemed to progress quite quickly!

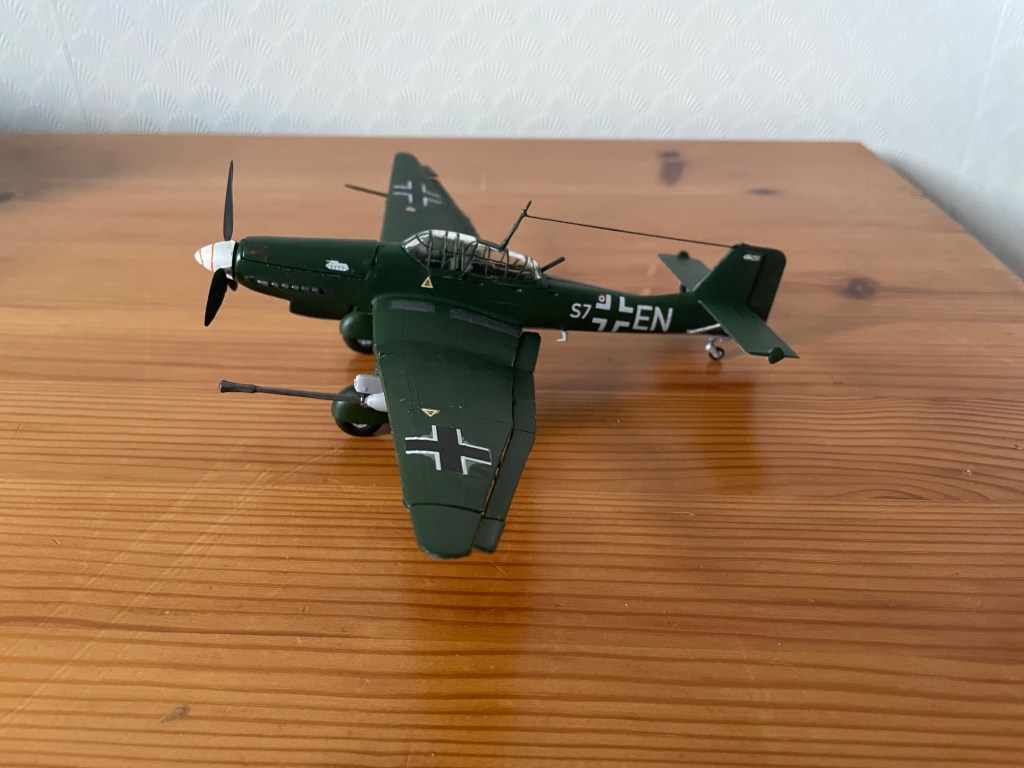
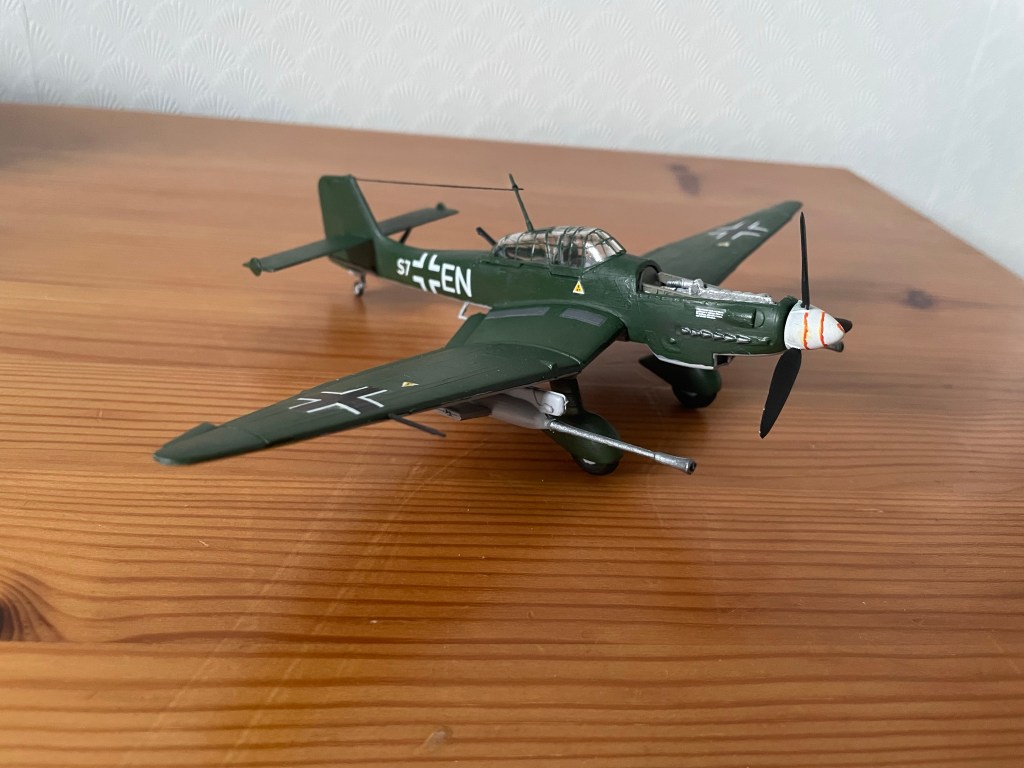

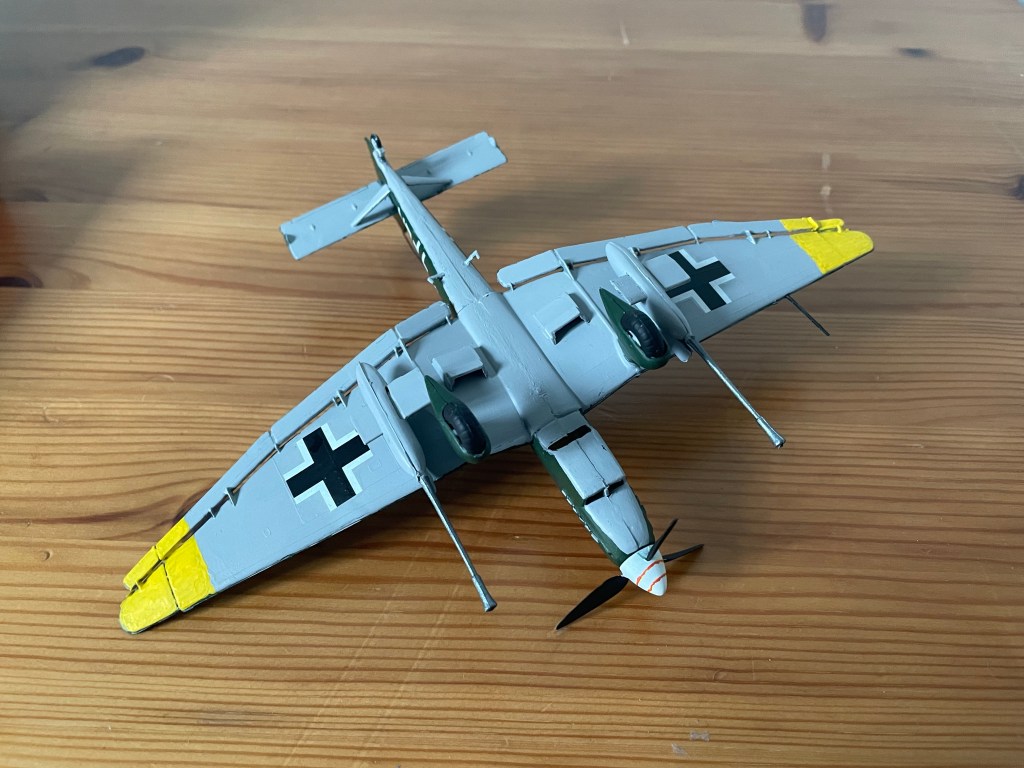
The paint scheme for this was pretty straightforward. Luftwaffe Camo Green on top, Sky Grey underneath with yellow wing tips.
Does anyone know of a good brush on yellow? I’m using Vallejo Deep Yellow and it’s great for small detail work but hard to get good coverage on larger areas with it.
The decals went on really nicely which was a nice surprise considering how old they are and what conditions they were kept in.
The spiral on the nose cone was meant to be a red decal. On the box set for the plane the spiral was yellow, so I painted that on but it looked too subtle. In the end I took a little artistic licensing and made the spiral orange.
The aircraft modelled – tail number 494231 – Josef Blümel who was born 15/08/1920 in Czechoslovakia.
On the 9th September 1944 Blümel flew a mission between 9:20 and 10:00am which brought him his 60th kill. At 11:20 – on his second mission of the day – his aircraft was heavily damaged by Soviet ground fire and he had to crash land near Kekava (18km South of Riga), Latvia.
Blümel and his Bordfunker Hermann Schwärzel were captured by the Russians and executed (Blümel had not long turned 24).
They were both buried with military honours 3 days later when found by a rescue party, and posthumously decorated on the 29th September 1944
Thanks for reading. If you would like to stay up to date with all my blog posts please subscribe to the blog via email (from the box at the bottom of the page).
Follow me on the following social media platforms:
Facebook: www.facebook.com/motorsportformentalhealth/
Linkedin: www.linkedin.com/in/richard-francis-b45025137/
TikTok: @richardfrancismsfmh
Twitter: @richardmsfmh
Instagram: @motorsport4mentalhealth
Youtube: www.youtube.com/channel/UCQ-j8broFg4i2rWIBy6W82Q
By Richard Francis
Good job, really cool little kit. I enjoyed reading about the pilot, it was a good idea to put some historic contest in the post.
Thank you!