

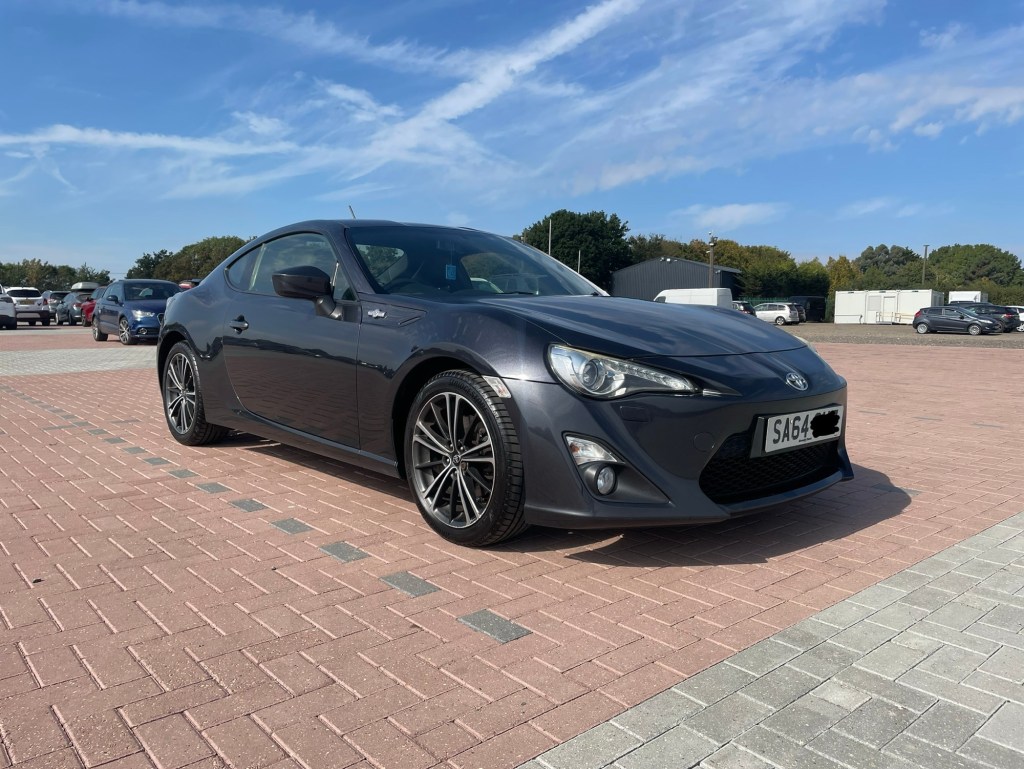
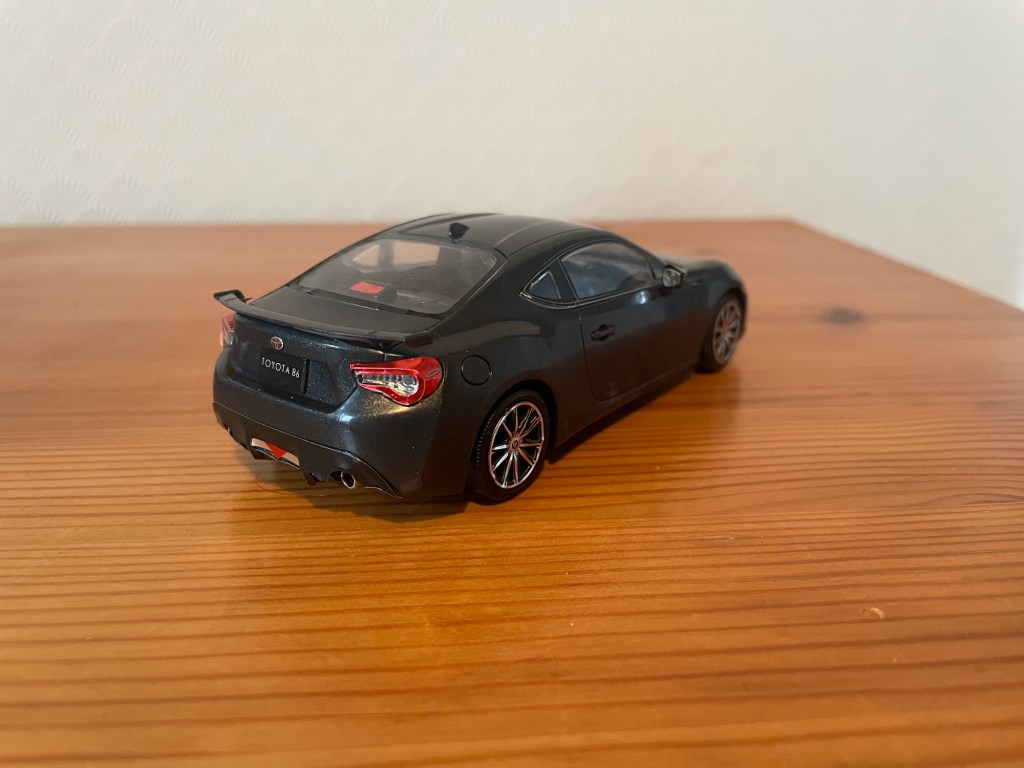
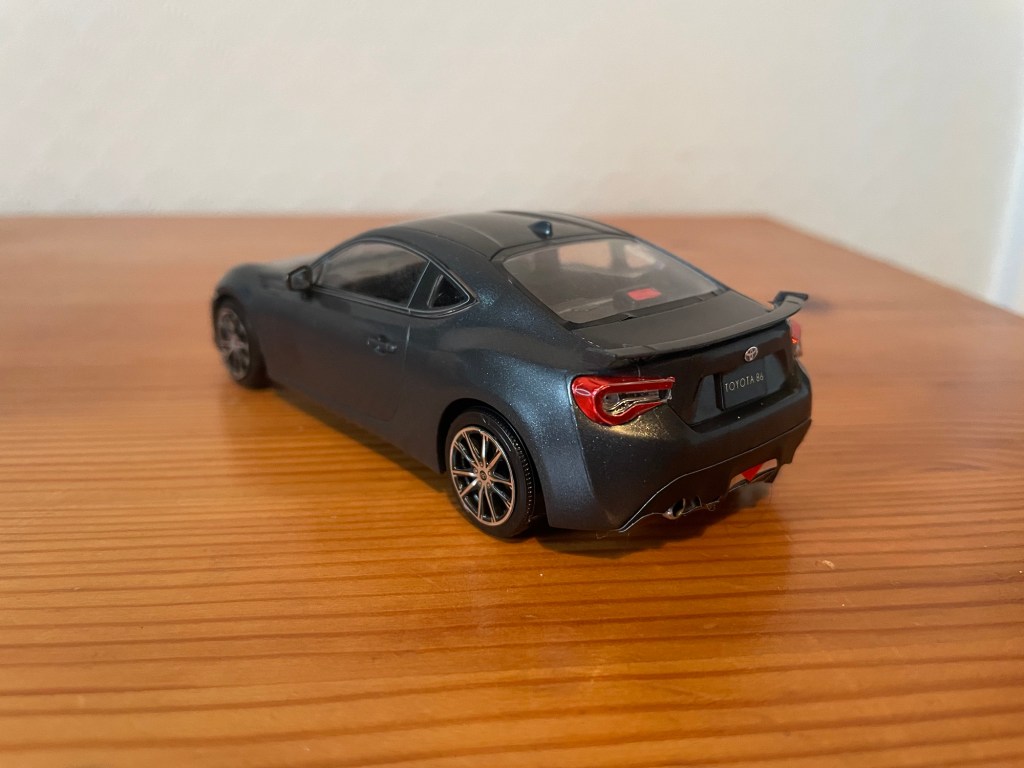
For Christmas this year my Dad brought me a Aoshima Snap-Fit GT86 in gunmetal grey to match my full size car.

I know it’s a little simpler than the slot car builds and other model car builds I do on here. It’s also a lot simpler than the war-gaming builds I put on Instagram. I’m really pushing myself with that hobby!
However, this blog is for everyone. I want people of all ages, skill levels, budgets etc to find this website and feel inspired to give either doing something with a full size car or model making a go. If I constantly post complicated stuff I worry that people might think that it’s beyond them.
Though most of the packaging and instructions are in Japanese, Aoshima have made it clear that you don’t need any paint or glue to build this kit and honestly, you don’t. Everything fits together beautifully!

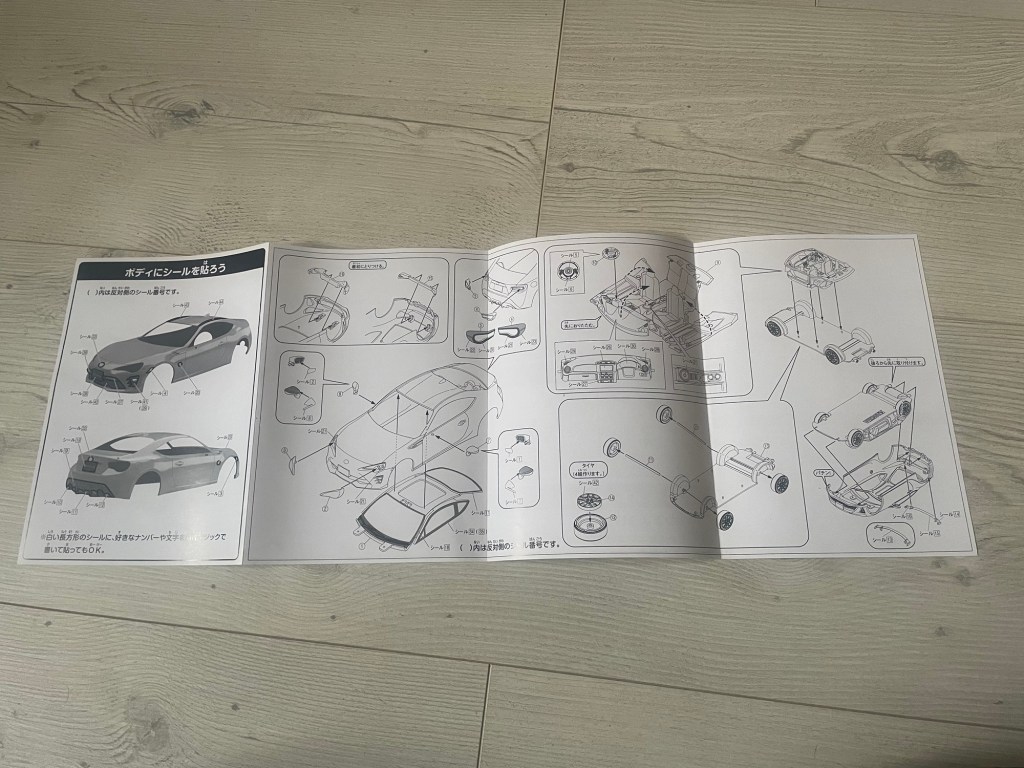
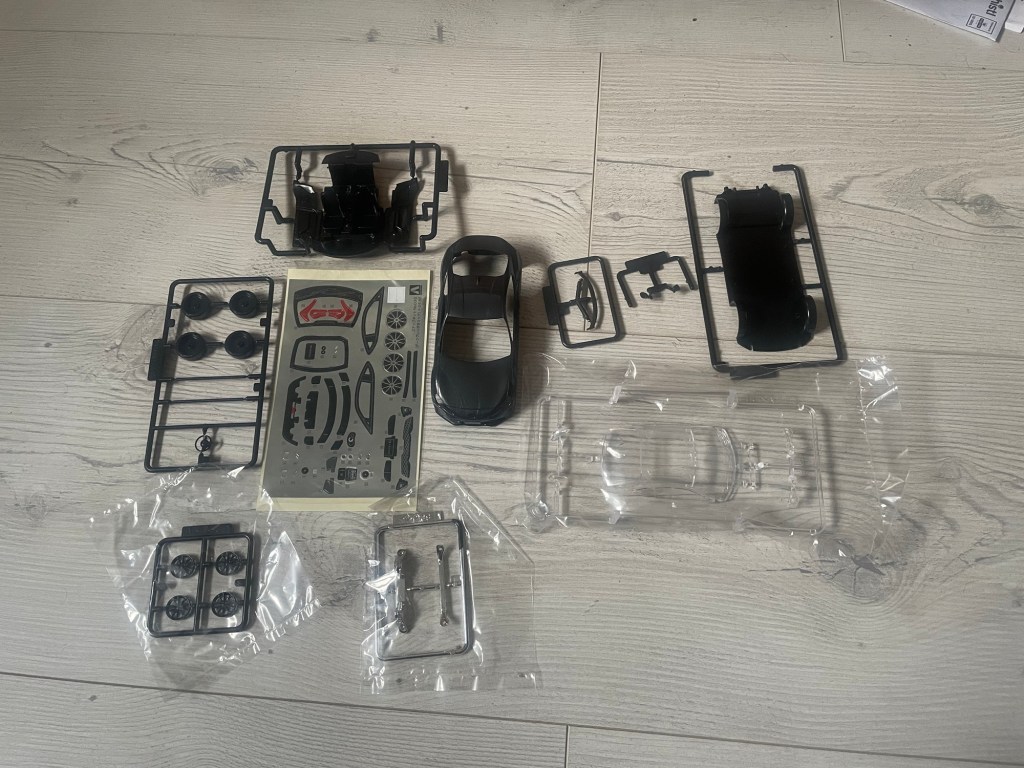
The only tool you’ll need is a pair of side cutters to cut the components from the sprue.
I would recommend having a scalpel to hand just to clean off any excess plastic from where you cut the components from the sprue.
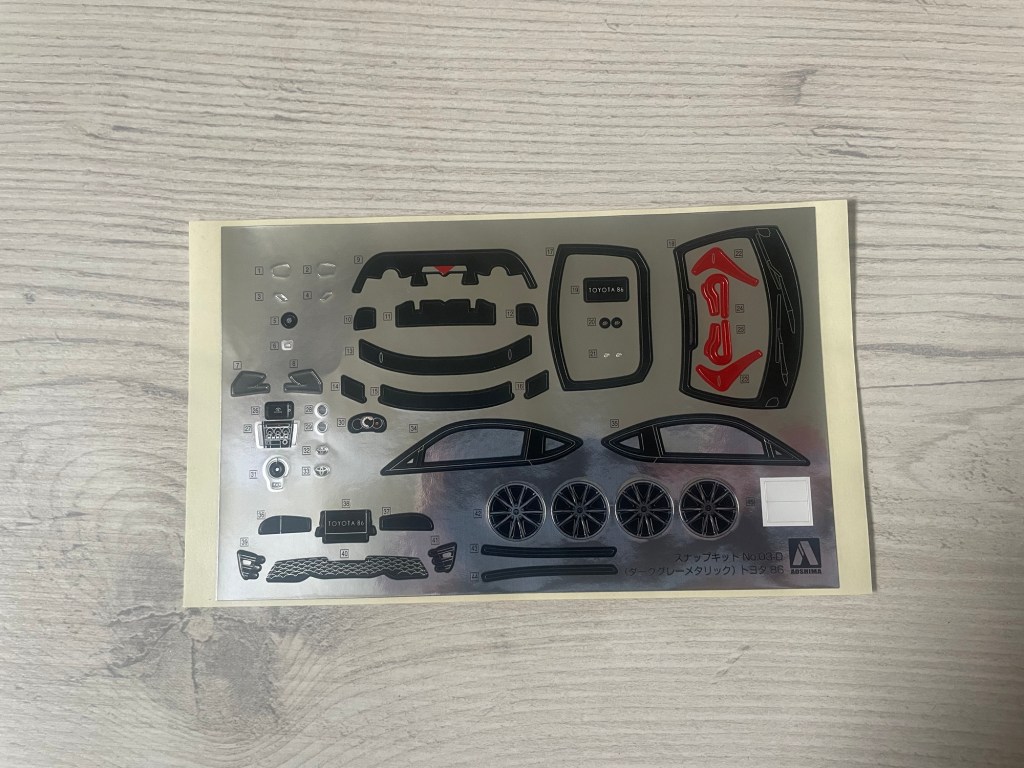
The sticker sheet provided has some really tiny stickers. I found the tip of the scalpel really useful for getting them off the sheet and applying them to the model.
The casting of the body and interior are actually really nice, so if you wanted to you could paint in all the details rather than using the stickers. It’s a quick Christmas Day build though so I’m going to use the stickers!
I found it easiest to put all the stickers on the body of the car and the windows before assembly.
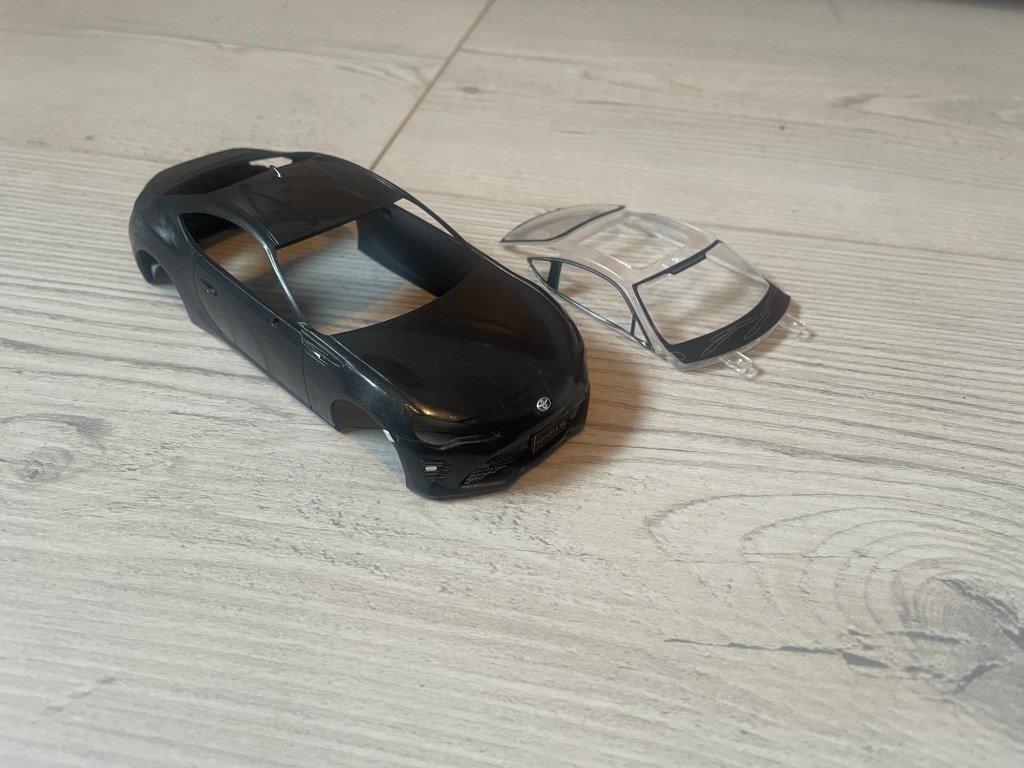
The lights comprise of chrome bits of plastic that slot into the body. A clear lens is then applied from the outside.


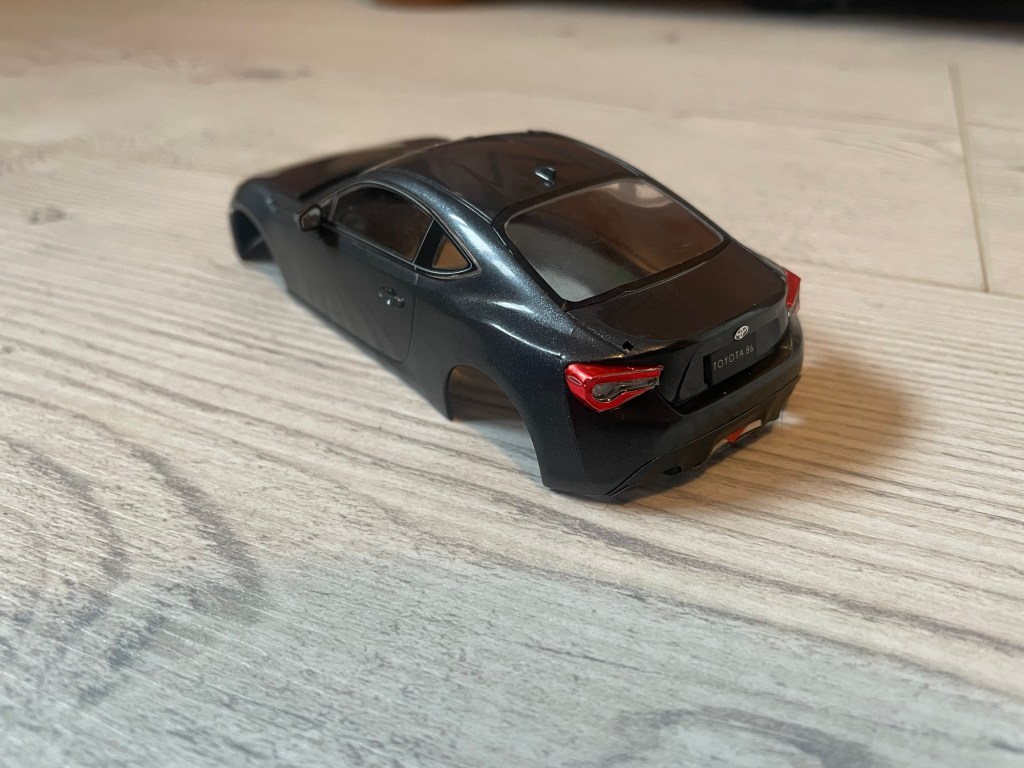
The rear lights then have red stickers to go over them. These are a little bit fiddly. There was a little bit of excess sticker. Using the tip of the scalpel I was able to tuck that excess between the light lens and body.
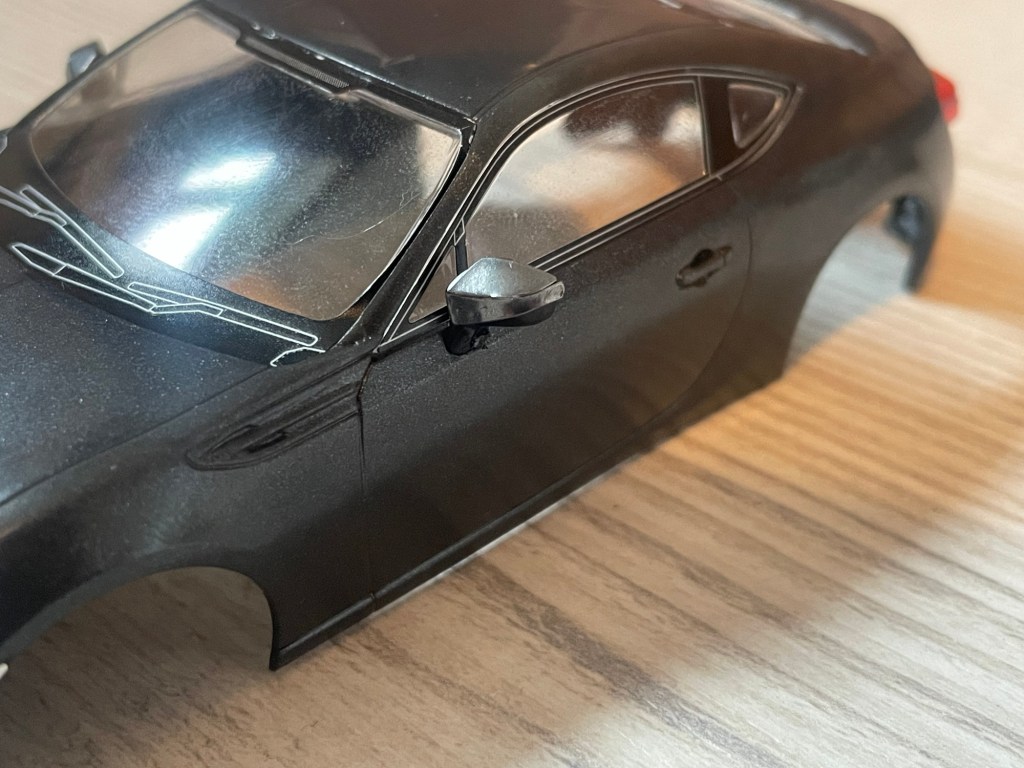
The decals for the mirrors were also a little fiddly. It’s a lot less fiddly than actually vinyl wrapping something this size though! The sticker material is also very forgiving so you’ll be fine.
The interior is all one price that folds up. Now I have a confession – I made a bit of a mistake here. The third brake light in the back window on my W202 had a big red lens. The one on my GT86 just has a thin red slit housing the lights. I got the two confused and painted the third brake light on this 86 red. It should be mostly black.
A little tip for all the new model makers out there. Always do your research and never assume anything haha!
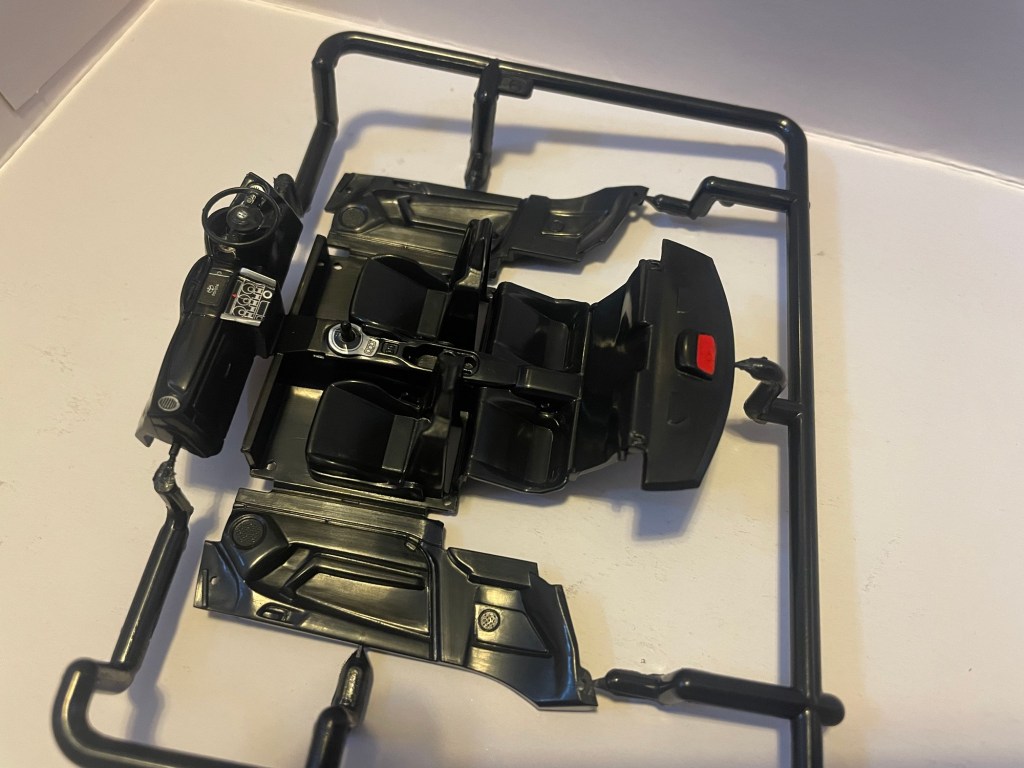

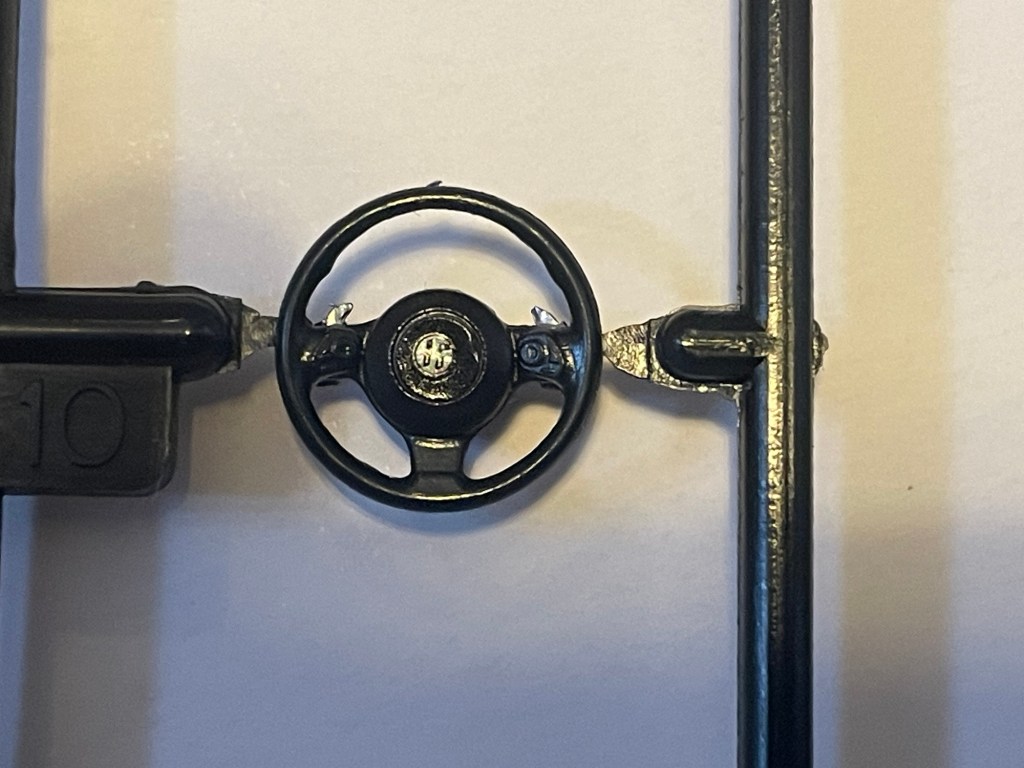
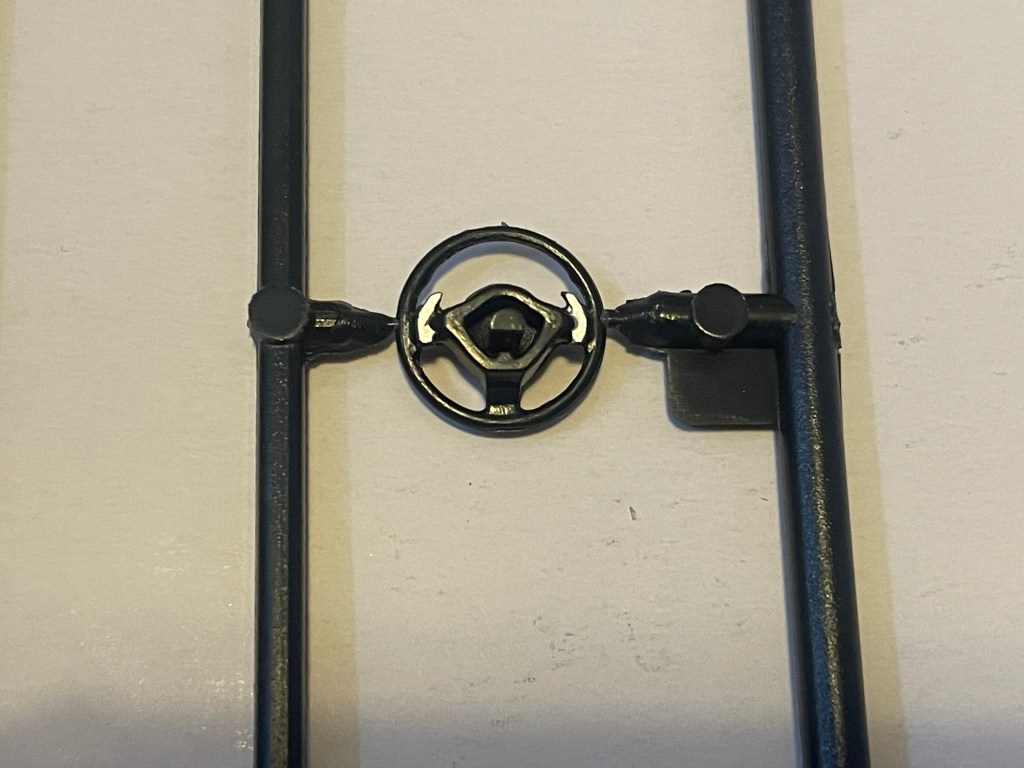
I did also touch on the paddles on the back of the steering wheel with silver paint. That actually is correct to my real car haha!
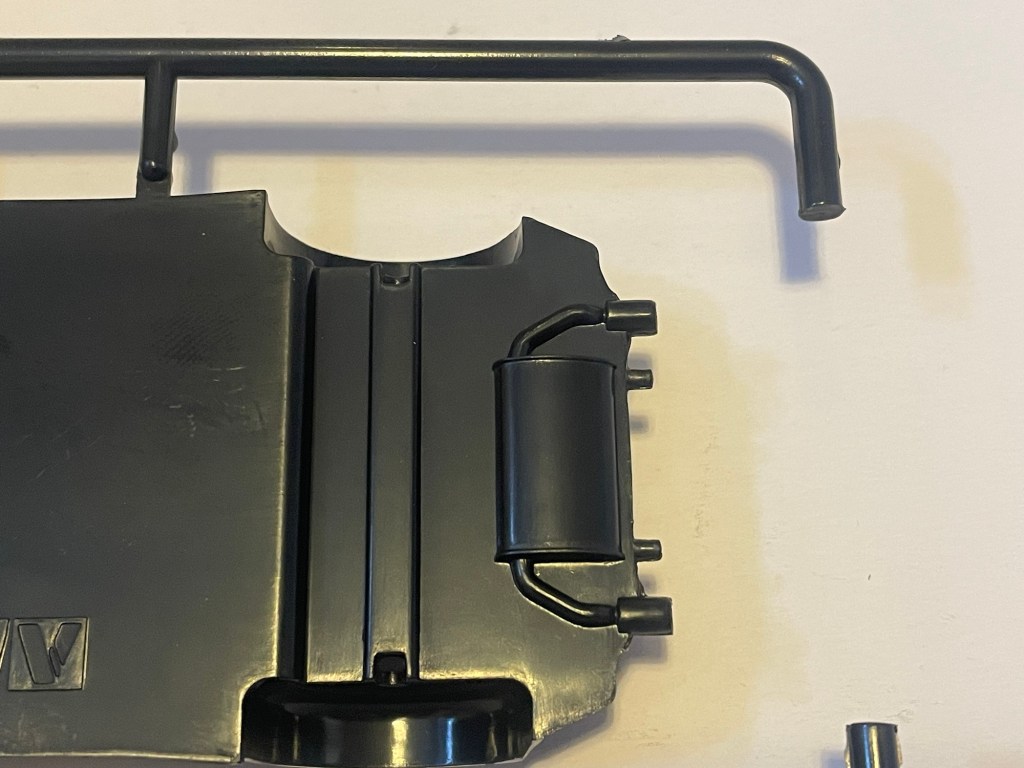
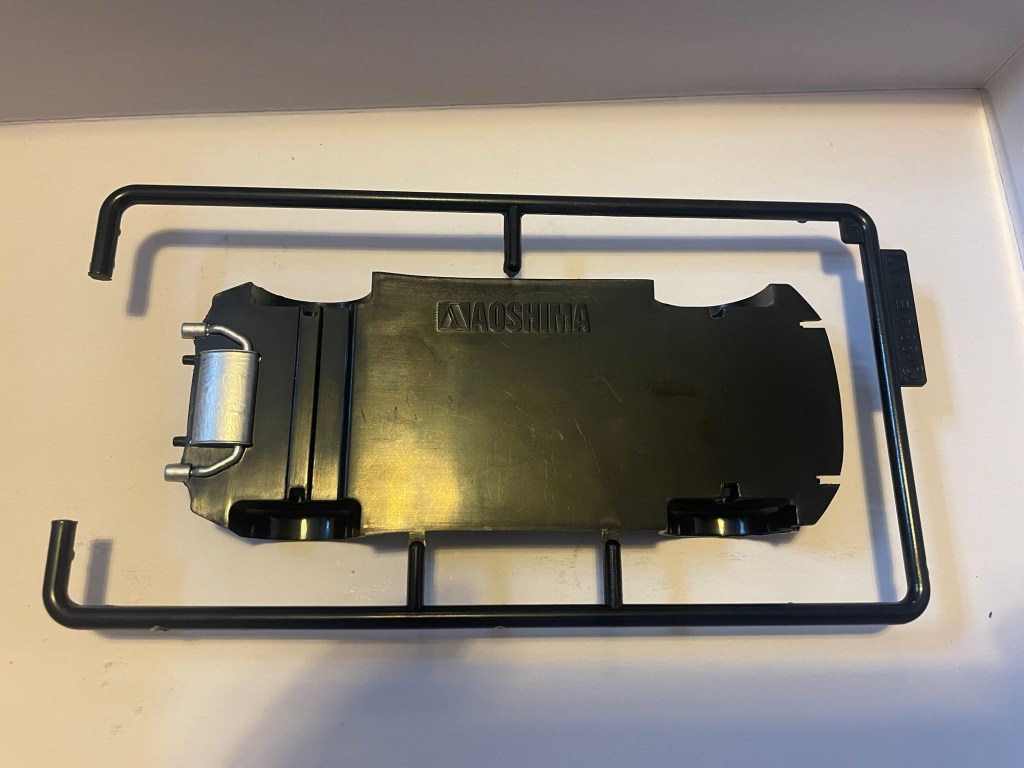
There isn’t much detail on the chassis, but the exhaust back box and tips are represented so I touched them in with a bit of silver paint too.
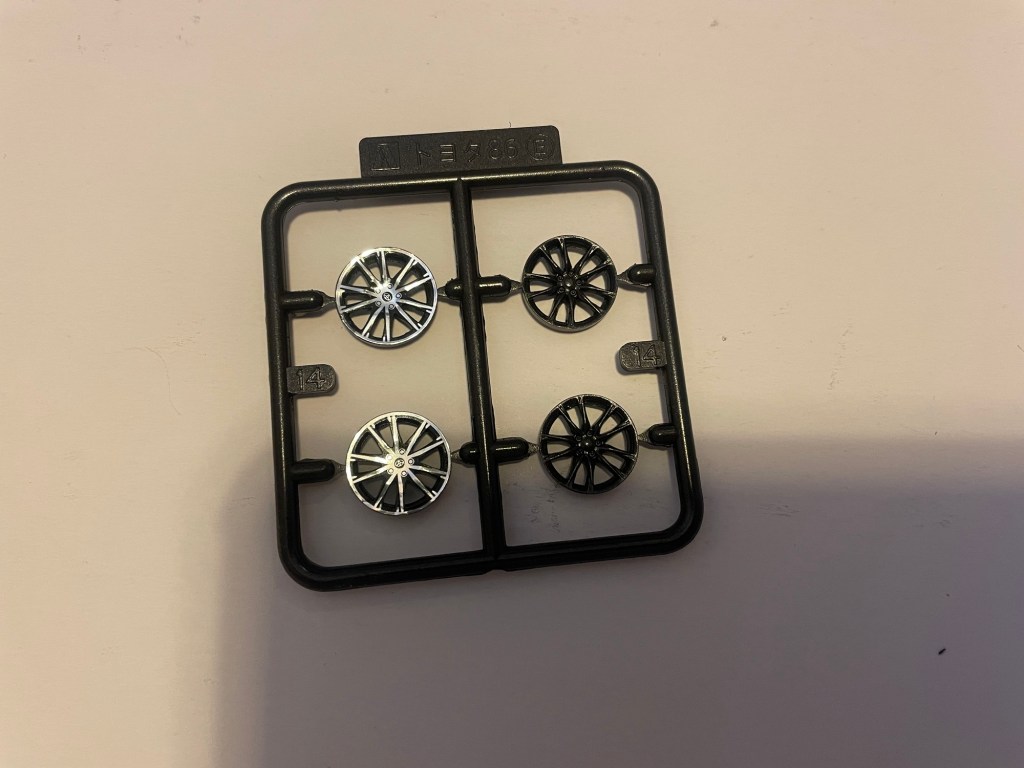
The wheel faces also have silver decals that go over them. When the sticker sheet was cut, the black space between the spokes was left in. It makes life a lot easier if you weed that excess material out before trying to remove the stickers from the sheet.
Job done!


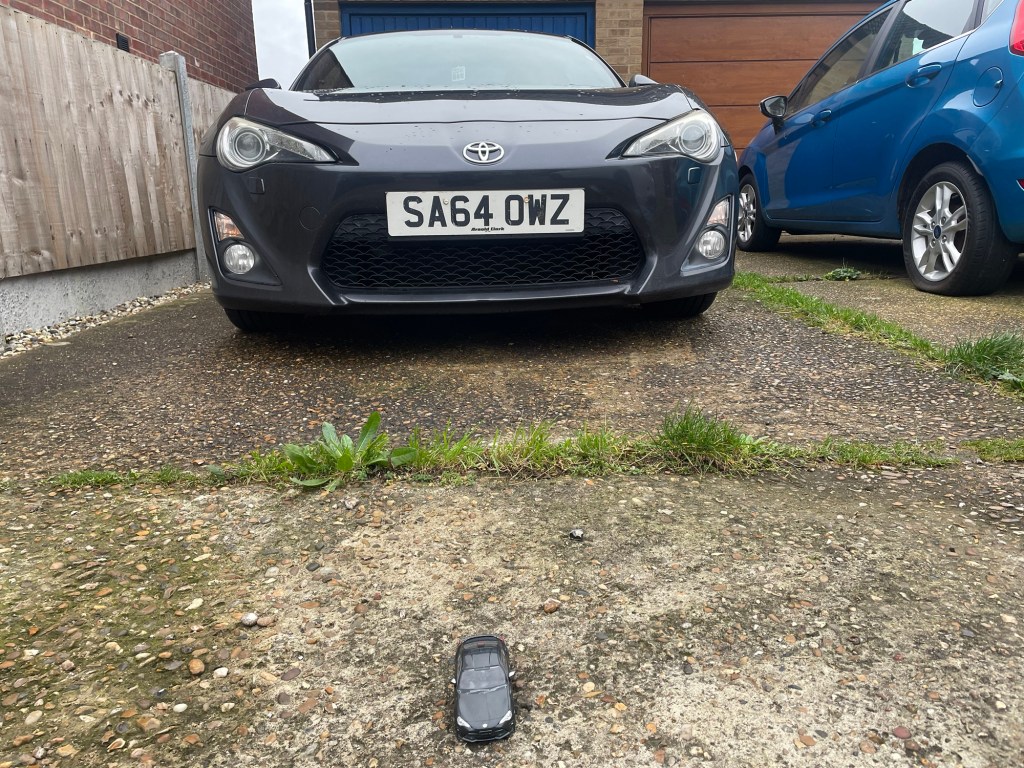
Next to its big brother!
Thanks for reading! I hope you enjoyed!
If you would like to stay up to date with all my blog posts please subscribe to the blog via email (from the box at the bottom of the page).
Follow me on the following social media platforms:
Facebook: www.facebook.com/motorsportformentalhealth/
Linkedin: www.linkedin.com/in/richard-francis-b45025137/
TikTok: @richardfrancismsfmh
Twitter: @richardmsfmh
Instagram: @motorsport4mentalhealth
Youtube: www.youtube.com/channel/UCQ-j8broFg4i2rWIBy6W82Q
By Richard Francis
That is a very nice kit. I remember when Revell used to produce snap kits of 1950s American cars.
I also got a 1:32 plastic kit this Christmas, a WWI Spad French fighter.
I will soon post some pictures of the building process.
Ooh I’m looking forward to seeing the Spad! What company made the kit?
The company is Revell. It is an old (unopened) kit from 1992 that I found on eBay.
Unfortunately, it is a poor-quality kit, with lots of plastic excesses from the casting. This was a surprise to me since I built quite a few 1:32 Revell kits when I was young and the quality was pretty good.
Oh, sorry. I meant to say that my Spad kit is 1:72, not 1:32.
Huge difference.
😂😂 1:72 aero kits are the perfect size in my opinion!