

Changing the wheels and tyres and adding weighted portal covers to the front of my FCX24 really improved the way it drove (you can read about that here: https://motorsportformentalhealth.com/2025/04/06/fms-fcx24-stage-1-upgrades)
Another upgrade available for these are high clearance metal chassis links and metal steering links.
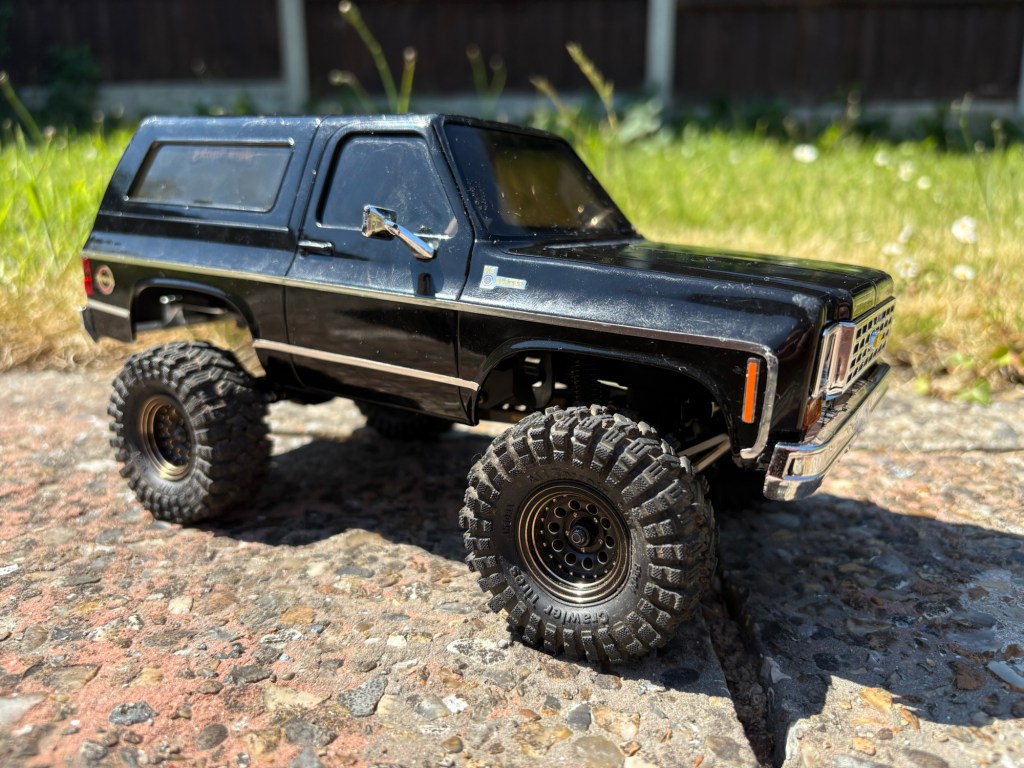
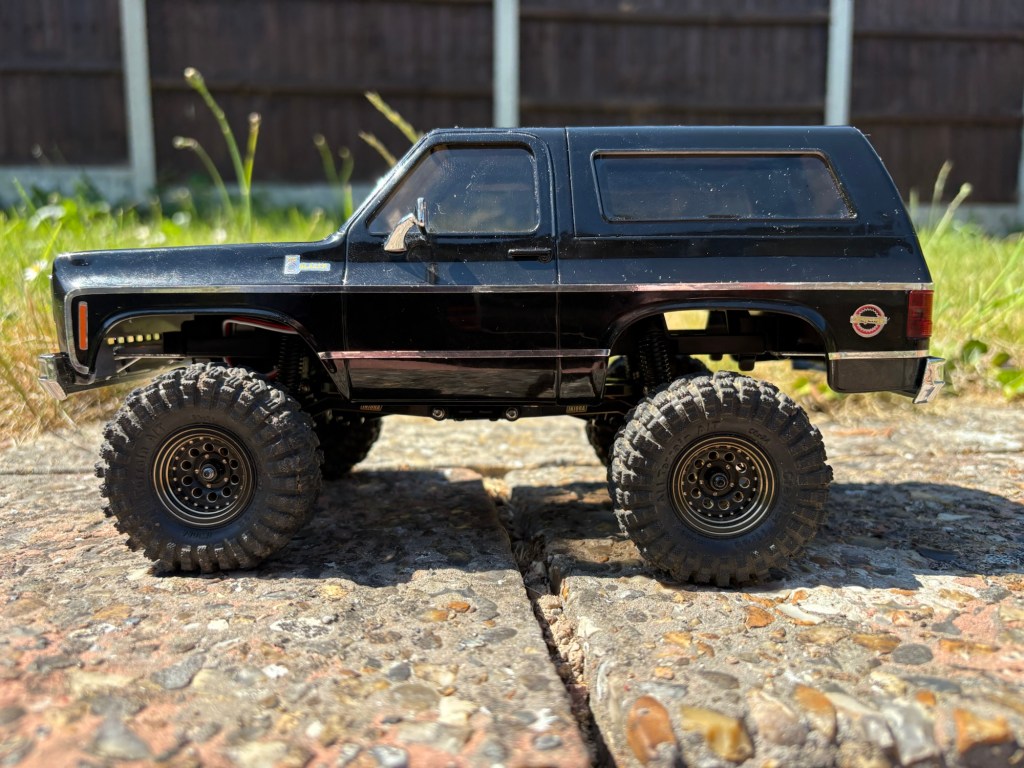
I’ll be honest, the standard components are absolutely fine. I’ve been using the truck a lot and it’s not really grounded out on the factory links, not have I found the steering to be particularly floppy. However, these bits are black and brass – they really suit the truck – therefore I had to have them.
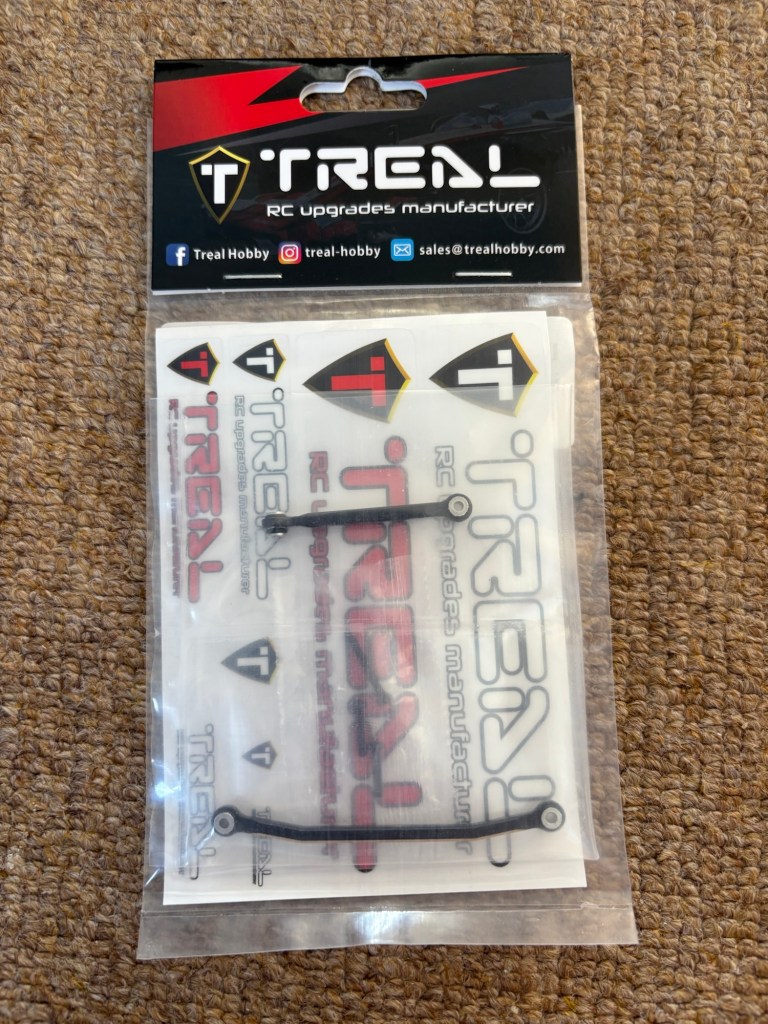
The steering links I used are by Treal. The bushings are all premade and the little kit came with replacement screws.
It’s a very simple little install. You’ll need a 1.5mm Allen key and a few minutes. It’s easy!
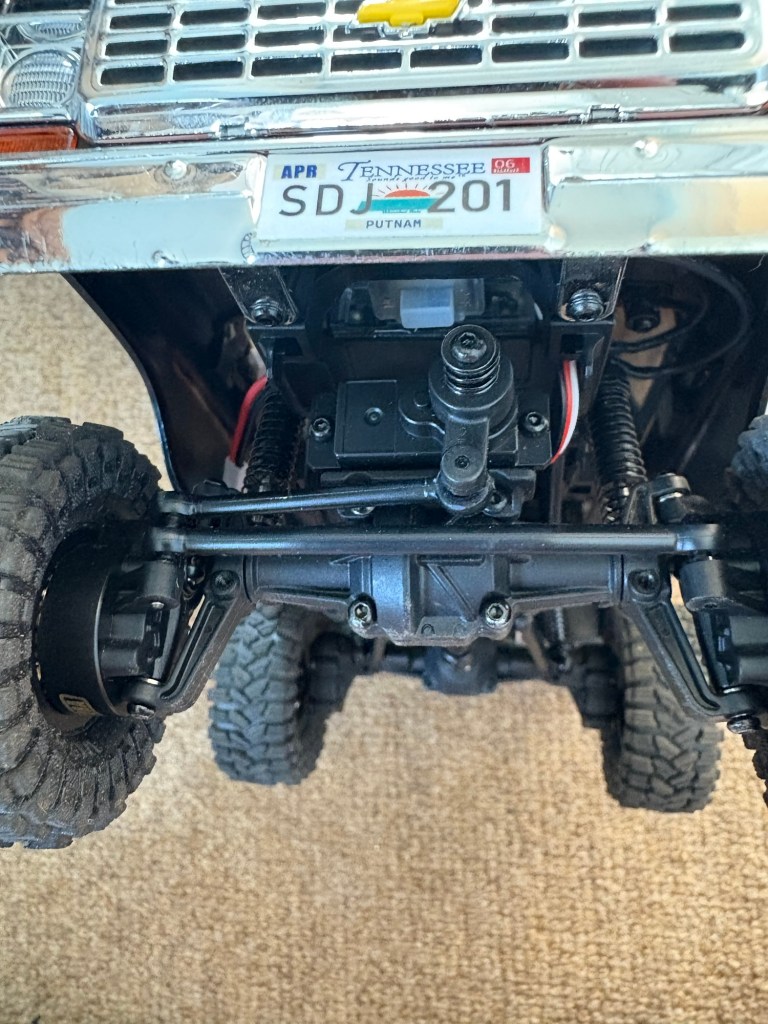
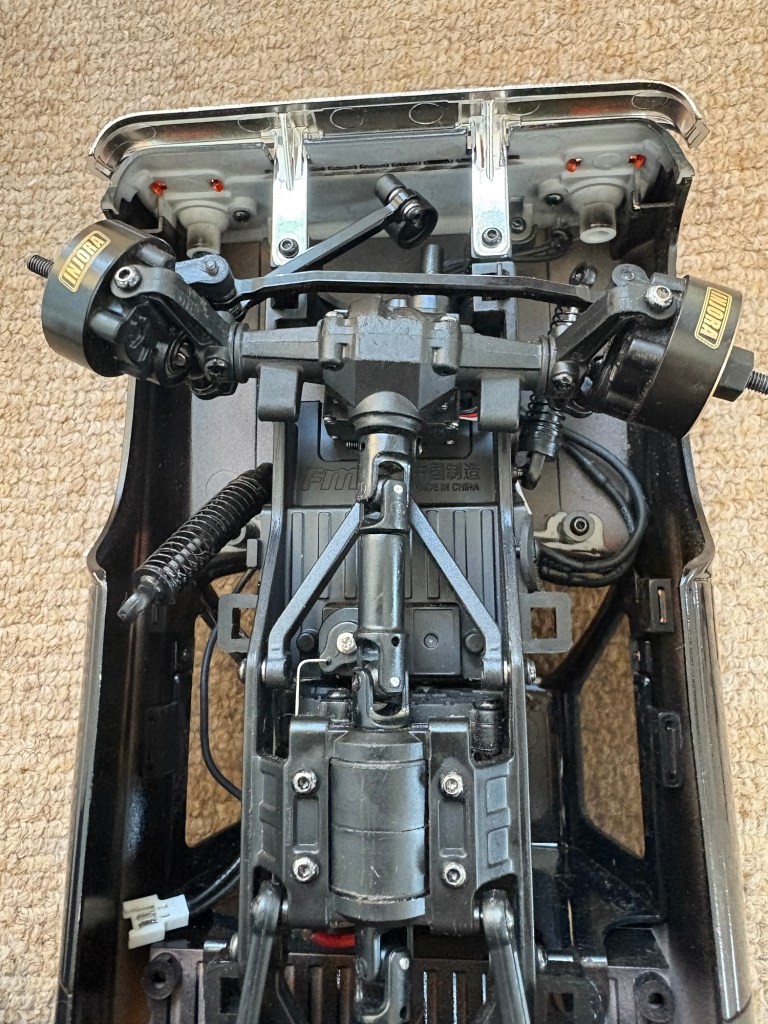
Before:
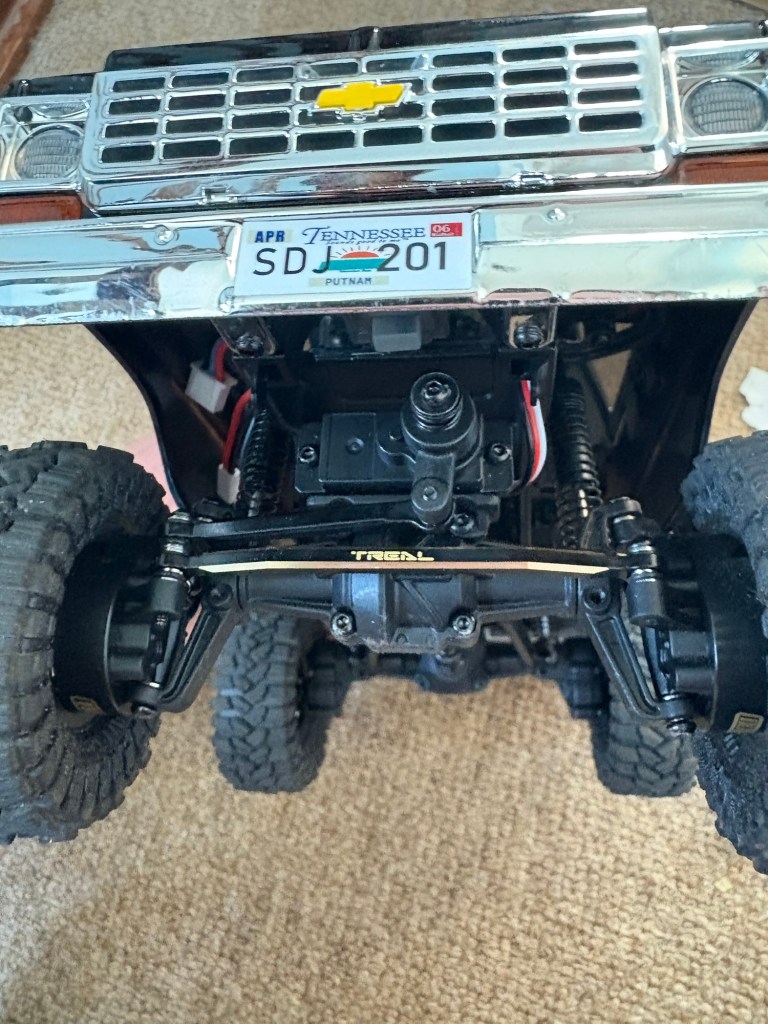
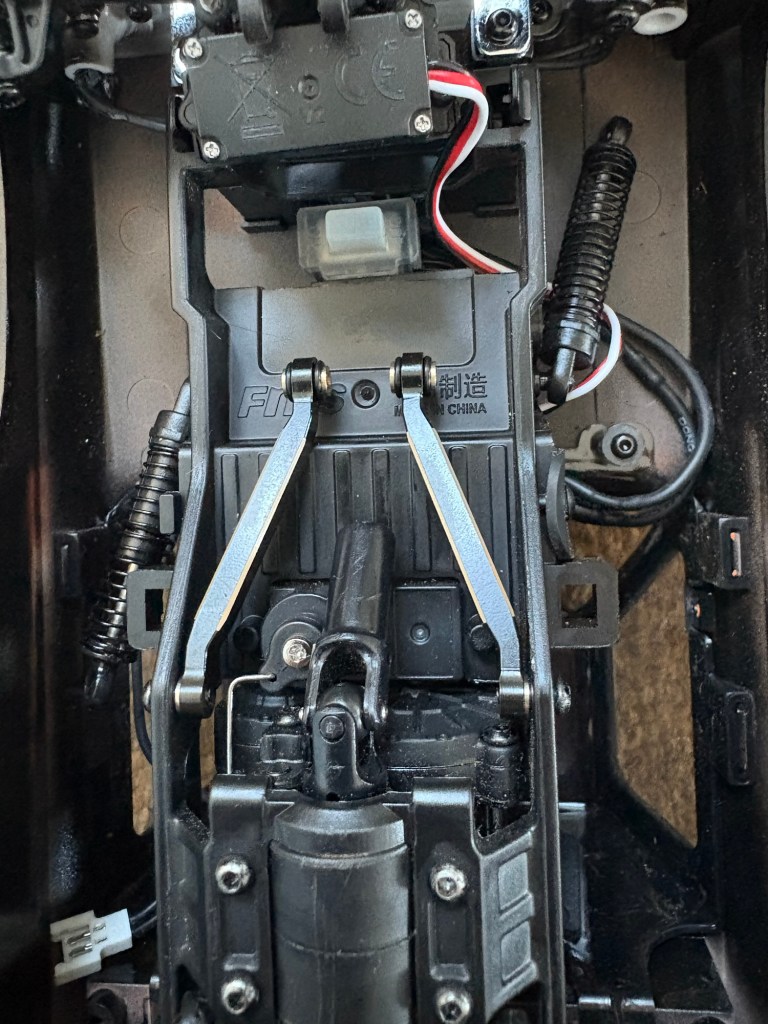
After:
Make sure that you really tighten the little screw that holds the servo saver onto the servo. Mine backed out and I unfortunately lost it over the woods.
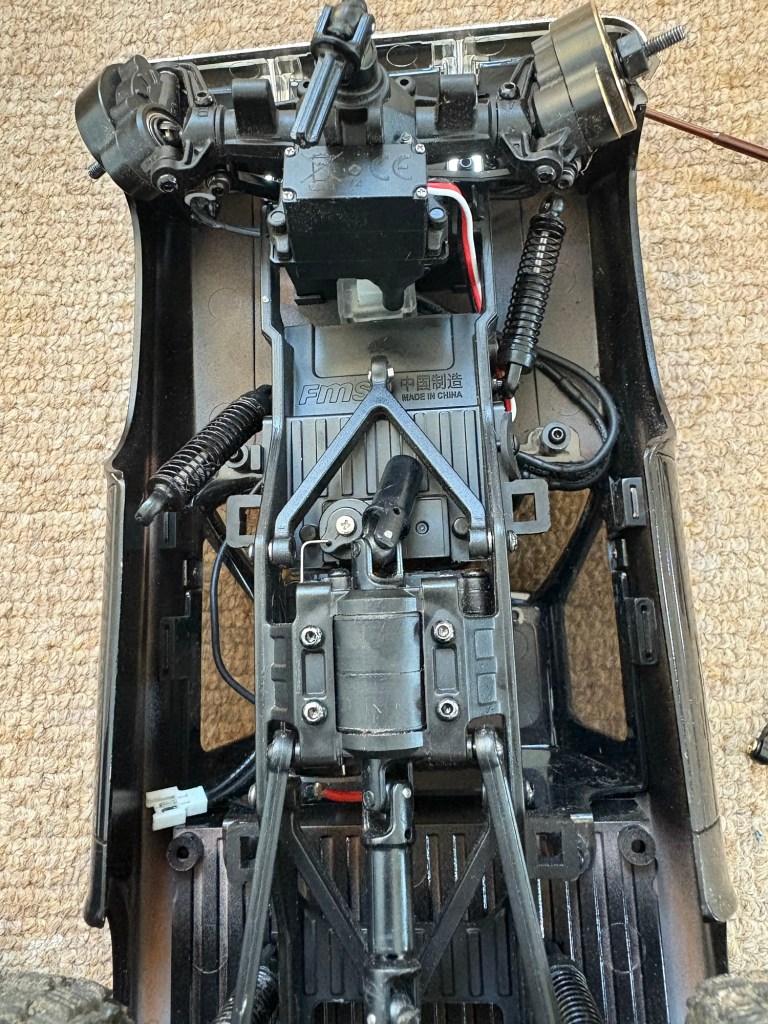
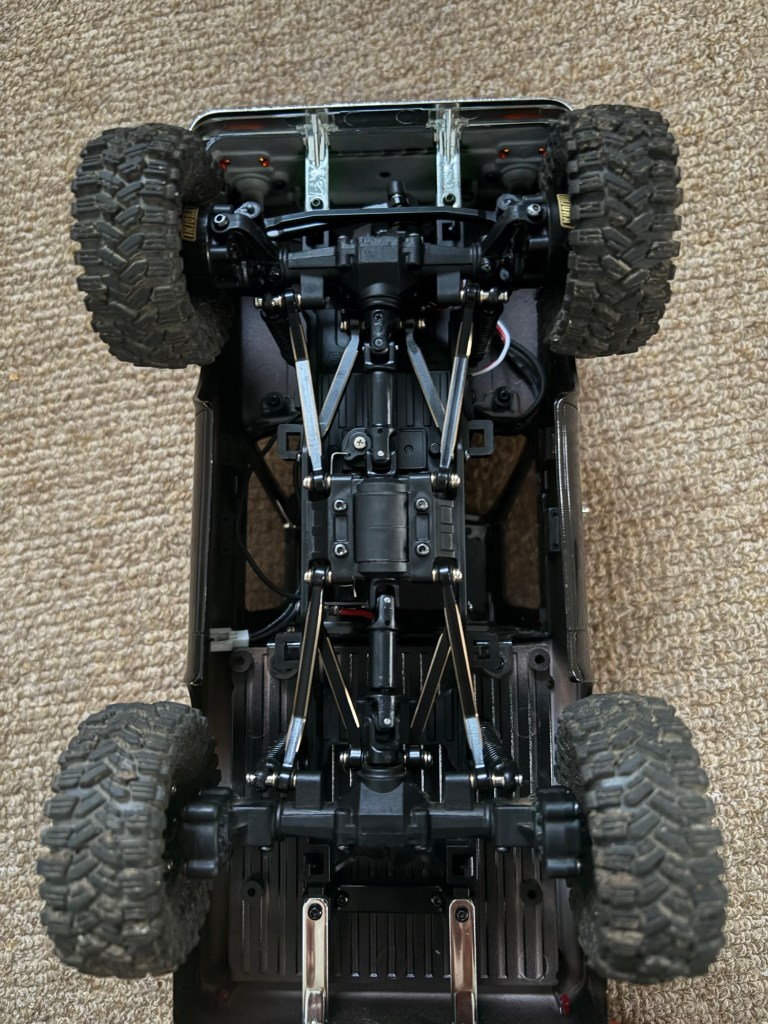
The chassis links are a bit more in-depth.
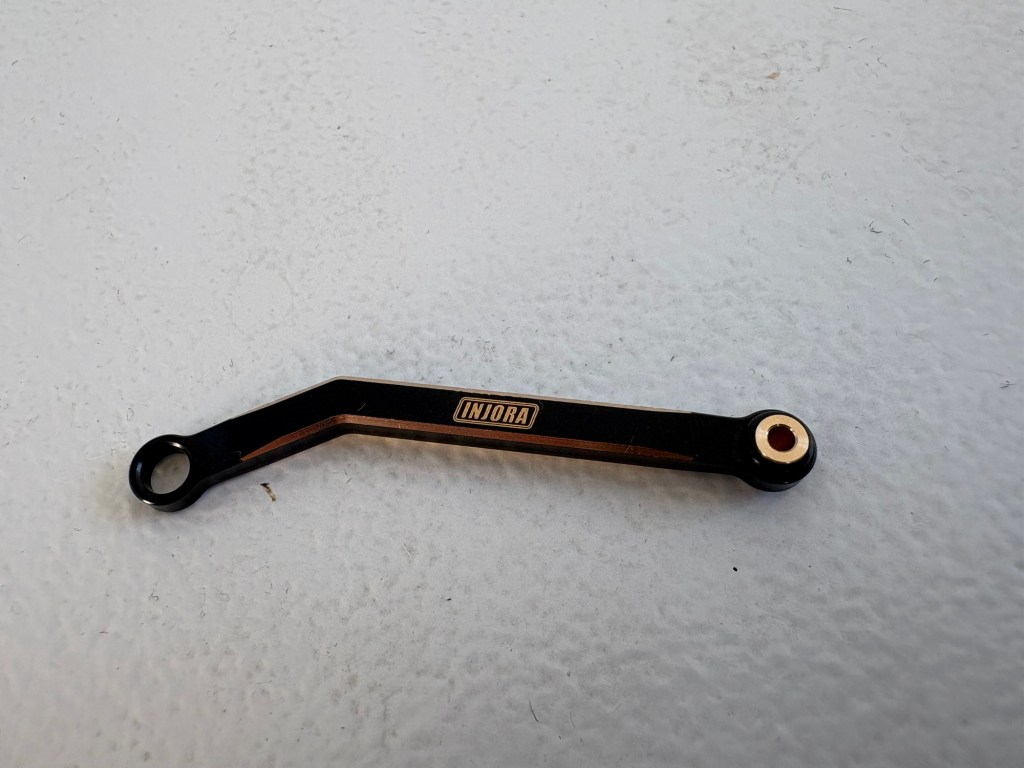
I got the inner and outer set from Injora.
The inner set replaces the chicken wishbone looking arm with two links and the outer set is a direct replacement for the factory part.
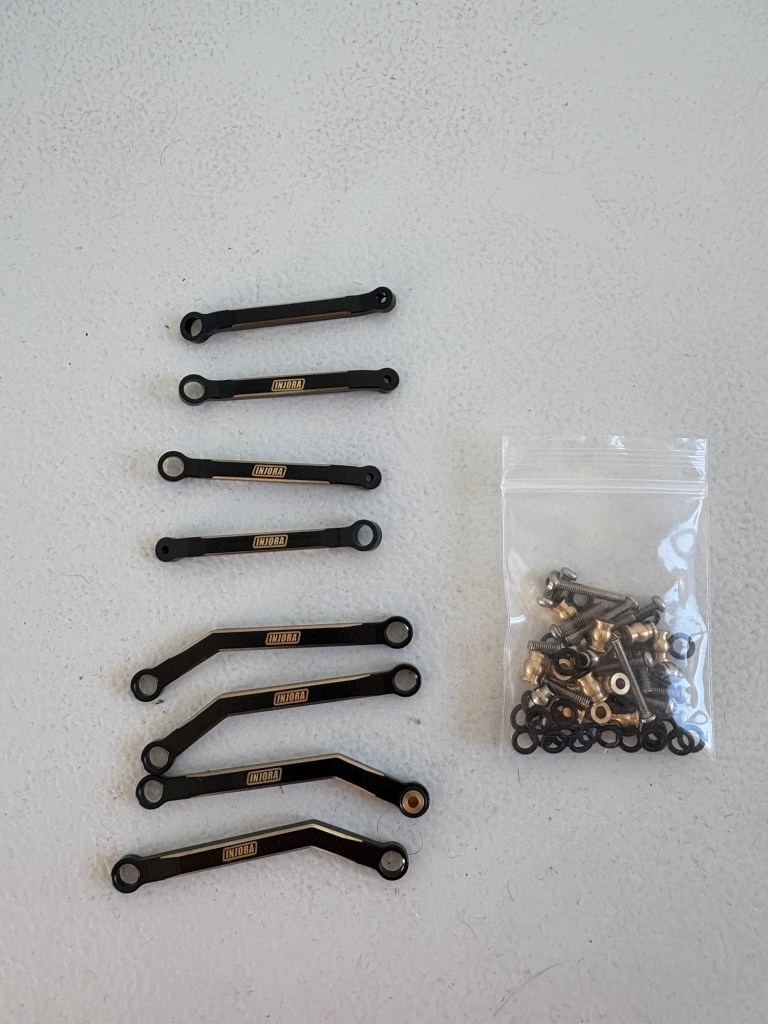
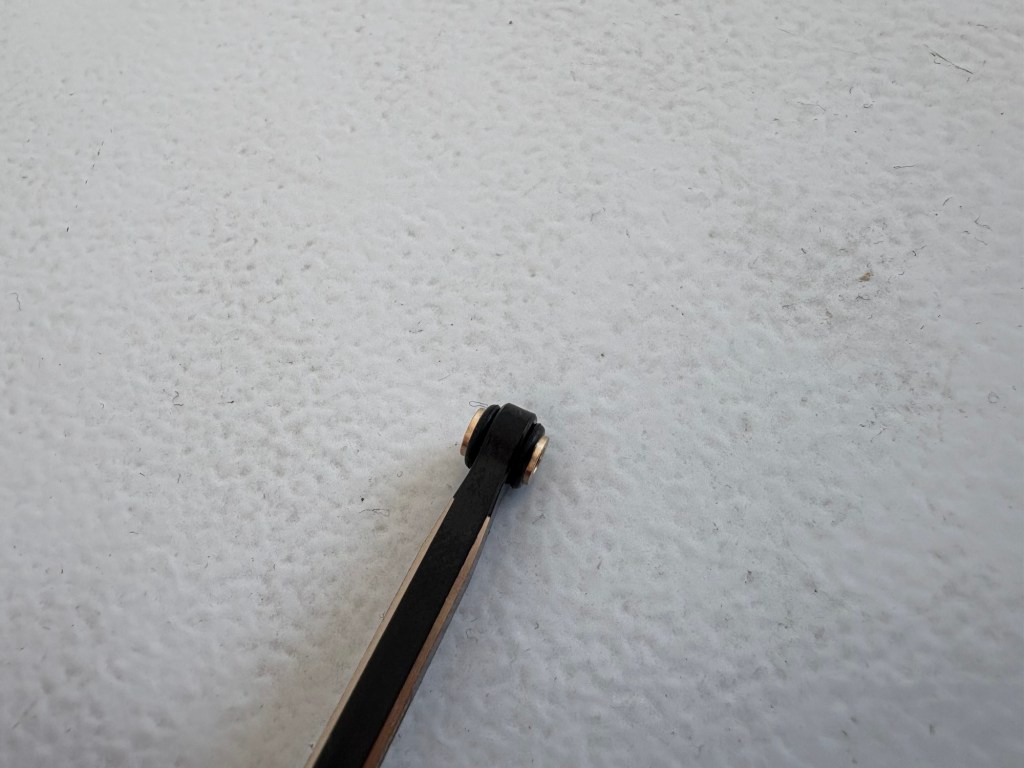
You have to build the bushings with these.
What I didn’t realise is that one side of the bushing is slightly thicker then the other, and you want the thicker side on the outside to stop the little O rings from pinging off when the arm moves. So it’s best to build them as you go.
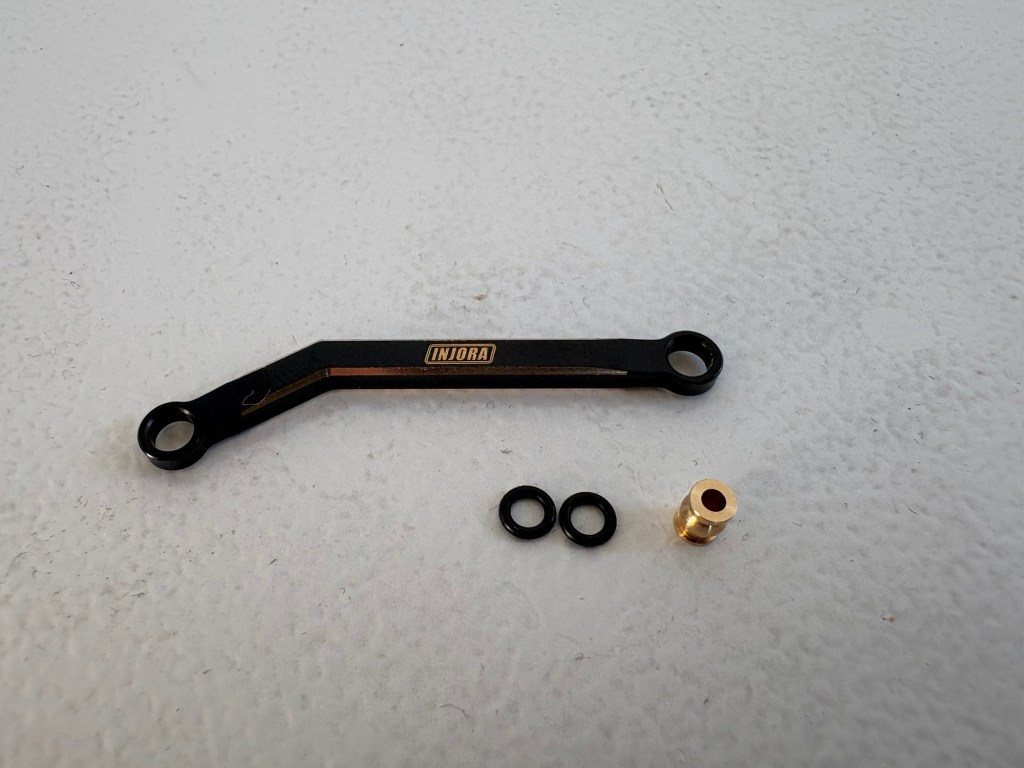
Simply put an O ring on one side of the brass bushing, pop it through the hole on the end of the arm and then put the other.
A before shot:
Starting at the front we are going to remove the wheels. I also remove the plastic hex they sit on and the metal pin that passes through the axle because it’ll keep falling out as you move the truck around and it’s a pain.
Pop the bottom of the shock absorber off of its ball mount. These can be a pain. I have a pair of old needle nosed pliers wrapped in material, so I can grip the bottom of the shock and pull it off without damaging it.
If you’re clever and properly tighten the screw that holds the servo saver to the servo, you won’t have the steering arms flipping about, which would be nice. Thankfully it’s fixed now.
The front axle should now be free of the car. The propshaft is in two parts, pull them apart and move the front axle out of the way. This will give you access to the inner link.
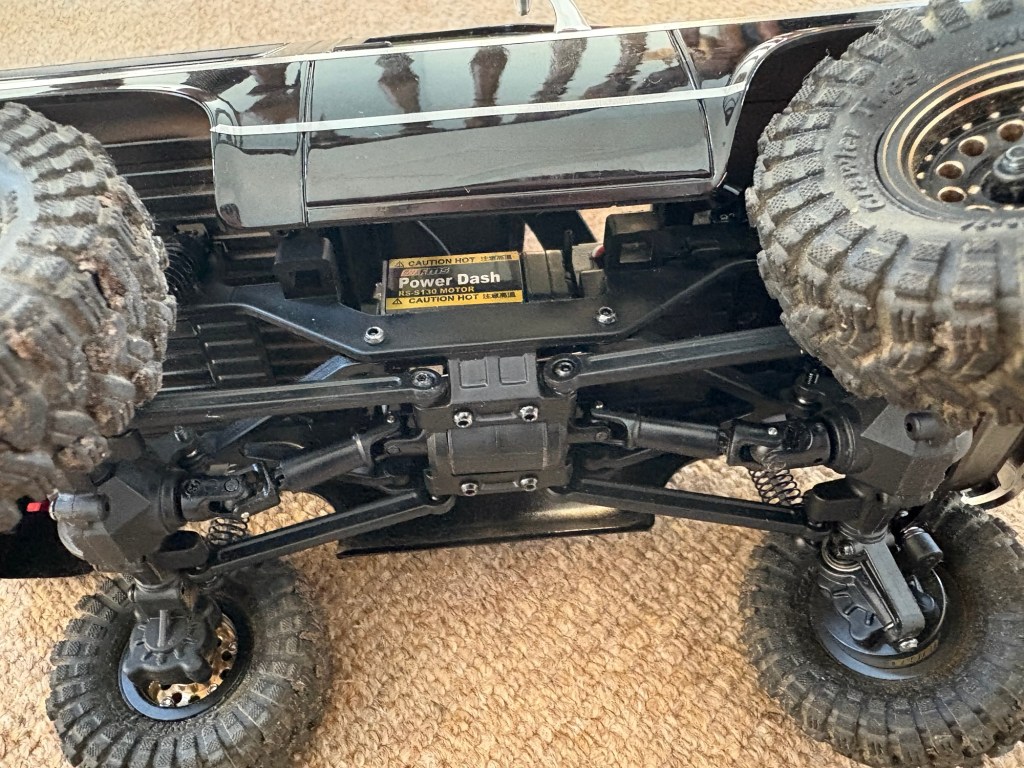
The Injora links are mounted with the non-bushed side going to the chassis rail (the chassis rail actually has a little turned bushing in it) and the bushed end goes to the axle.
For some reason these Injora mount to the outside of the mounting point on the axle rather than the inside like the original wishbone shaped piece. I guess it’s to give it a bit more articulation? I’m honestly not sure.
The outer links are direct replacements. The Injora links have a little Injora logo etched into them. Just make sure that the logo is on the outside and the right way up as you’re fitting them.
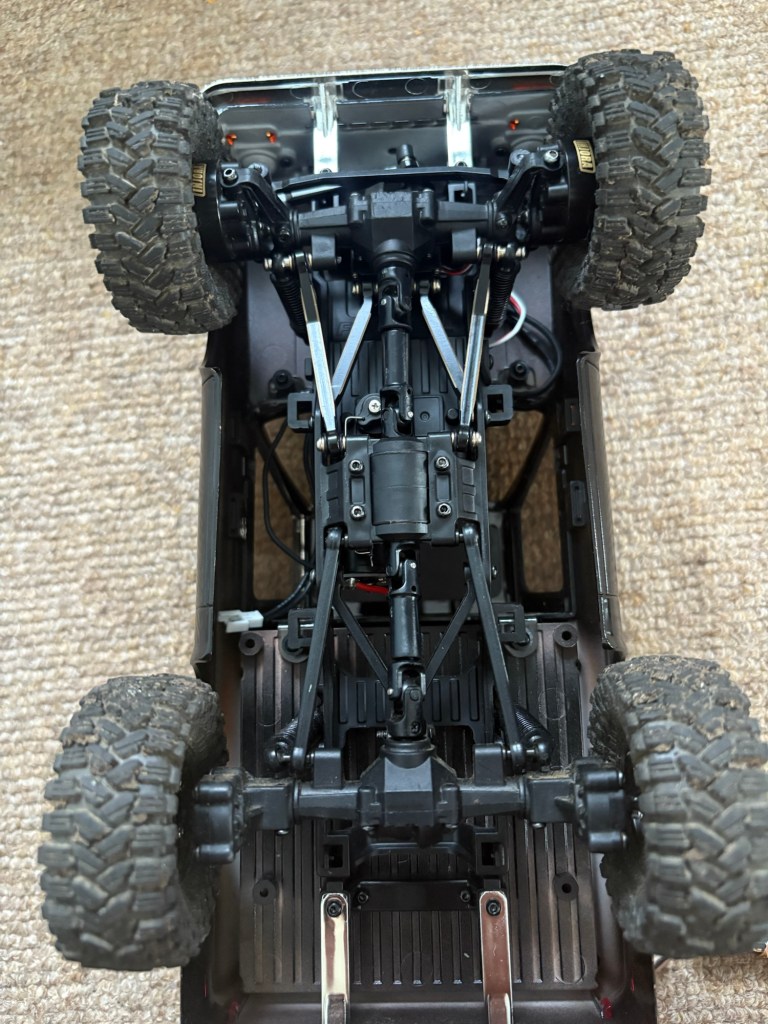
The back is exactly the same as the front.
It’s a bit fiddly, and performance wise I doubt it’ll do very much, but these metal links look so much better in my opinion!


Job done!

Thanks for reading!
If you would like to see more please subscribe to the blog via email (from the box at the bottom of the page).
Follow me on the following social media platforms:
Facebook: www.facebook.com/motorsportformentalhealth/
Linkedin: www.linkedin.com/in/richard-francis-b45025137/
TikTok: @richardfrancismsfmh
Twitter: @richardmsfmh
Instagram: @motorsport4mentalhealth
Youtube: www.youtube.com/channel/UCQ-j8broFg4i2rWIBy6W82Q
By Richard Francis.