

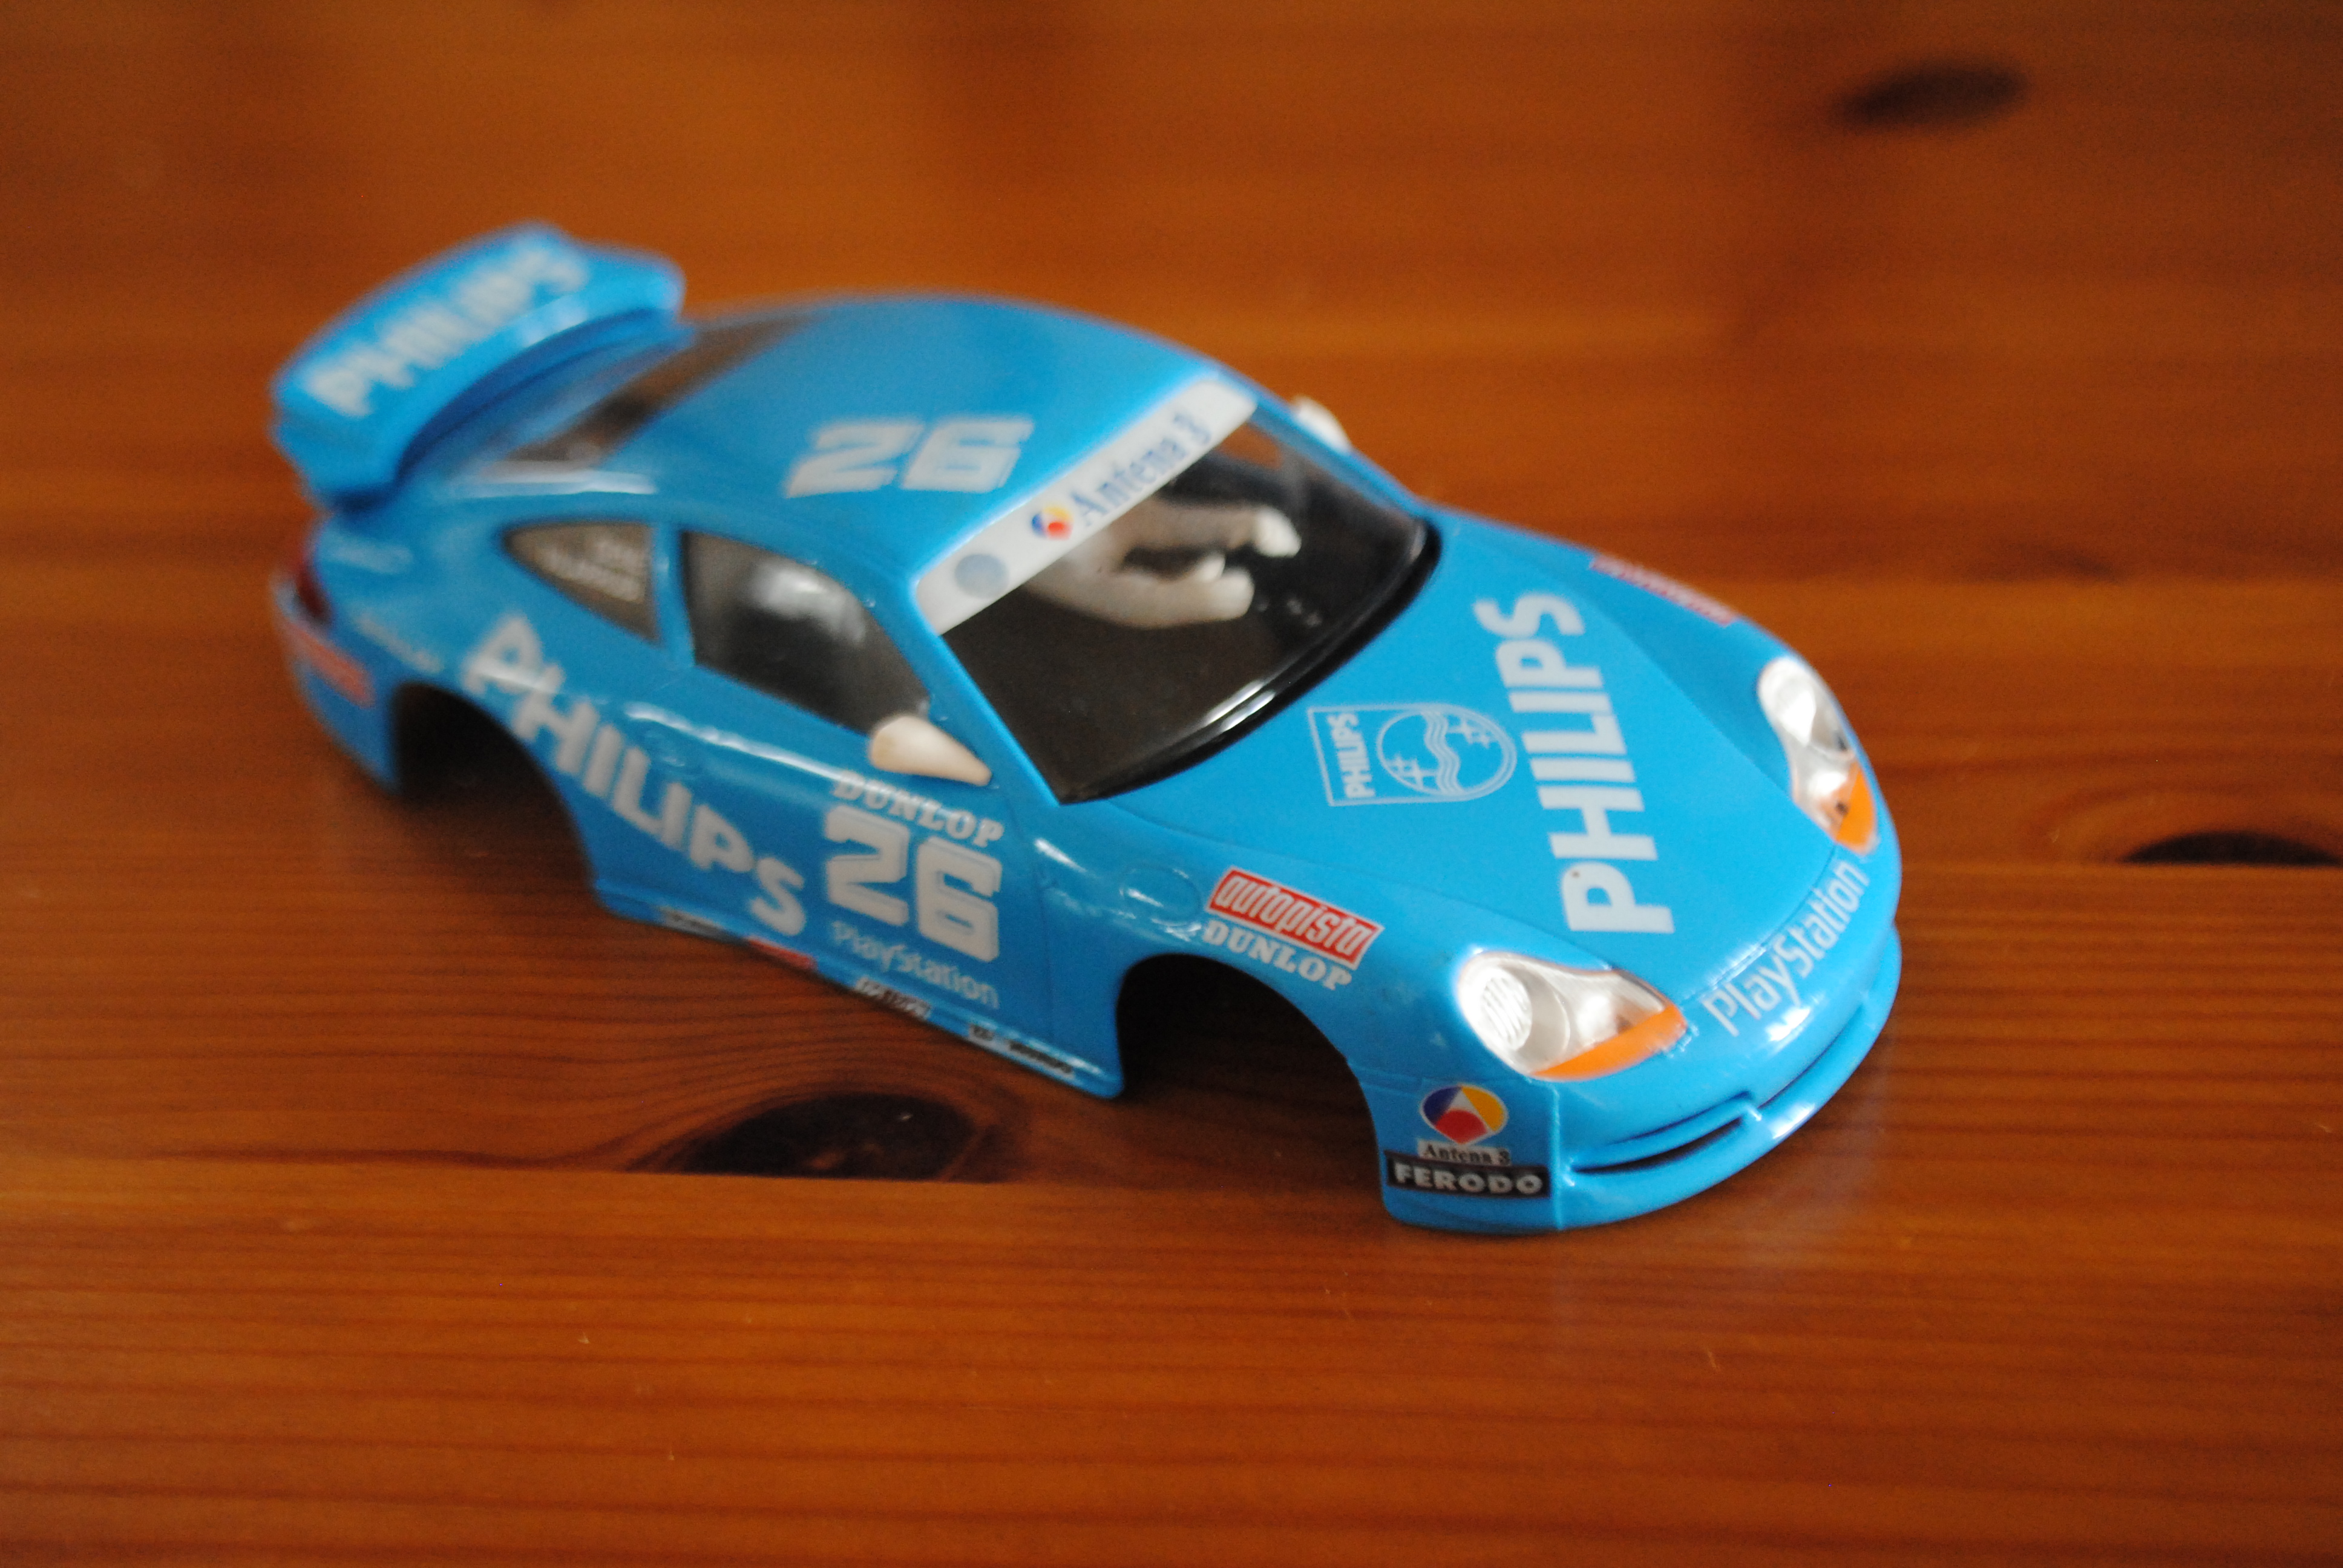
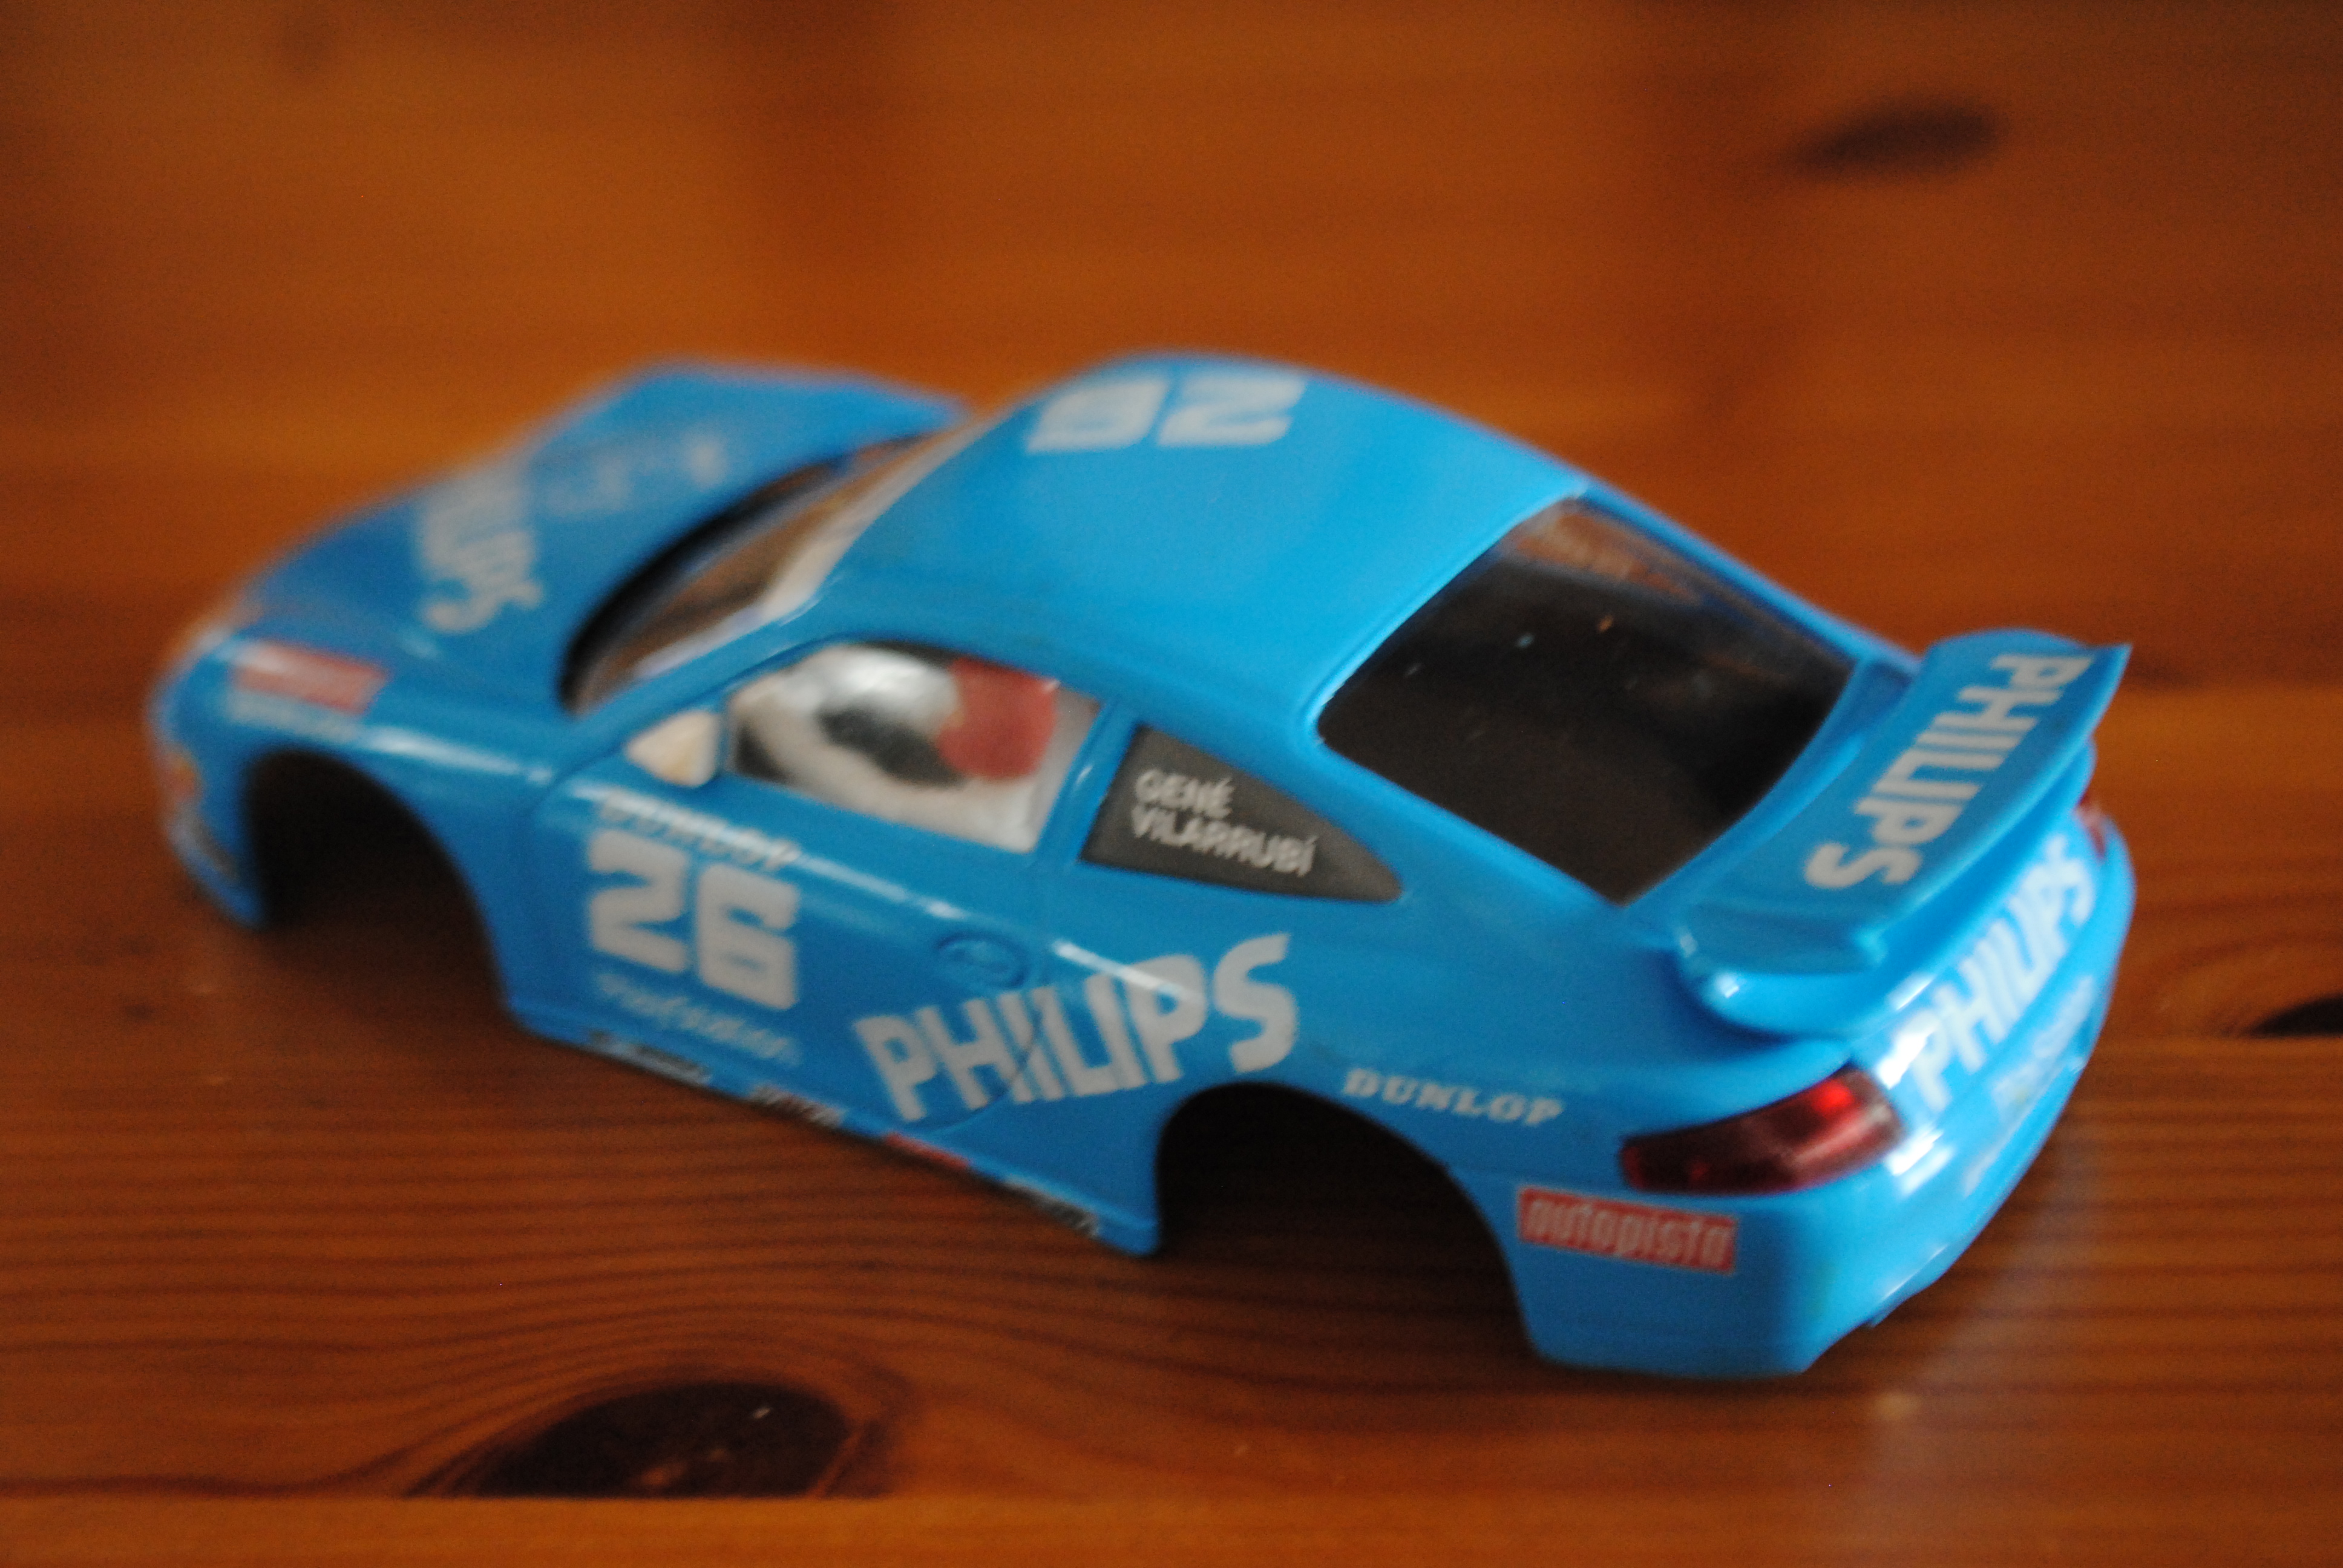
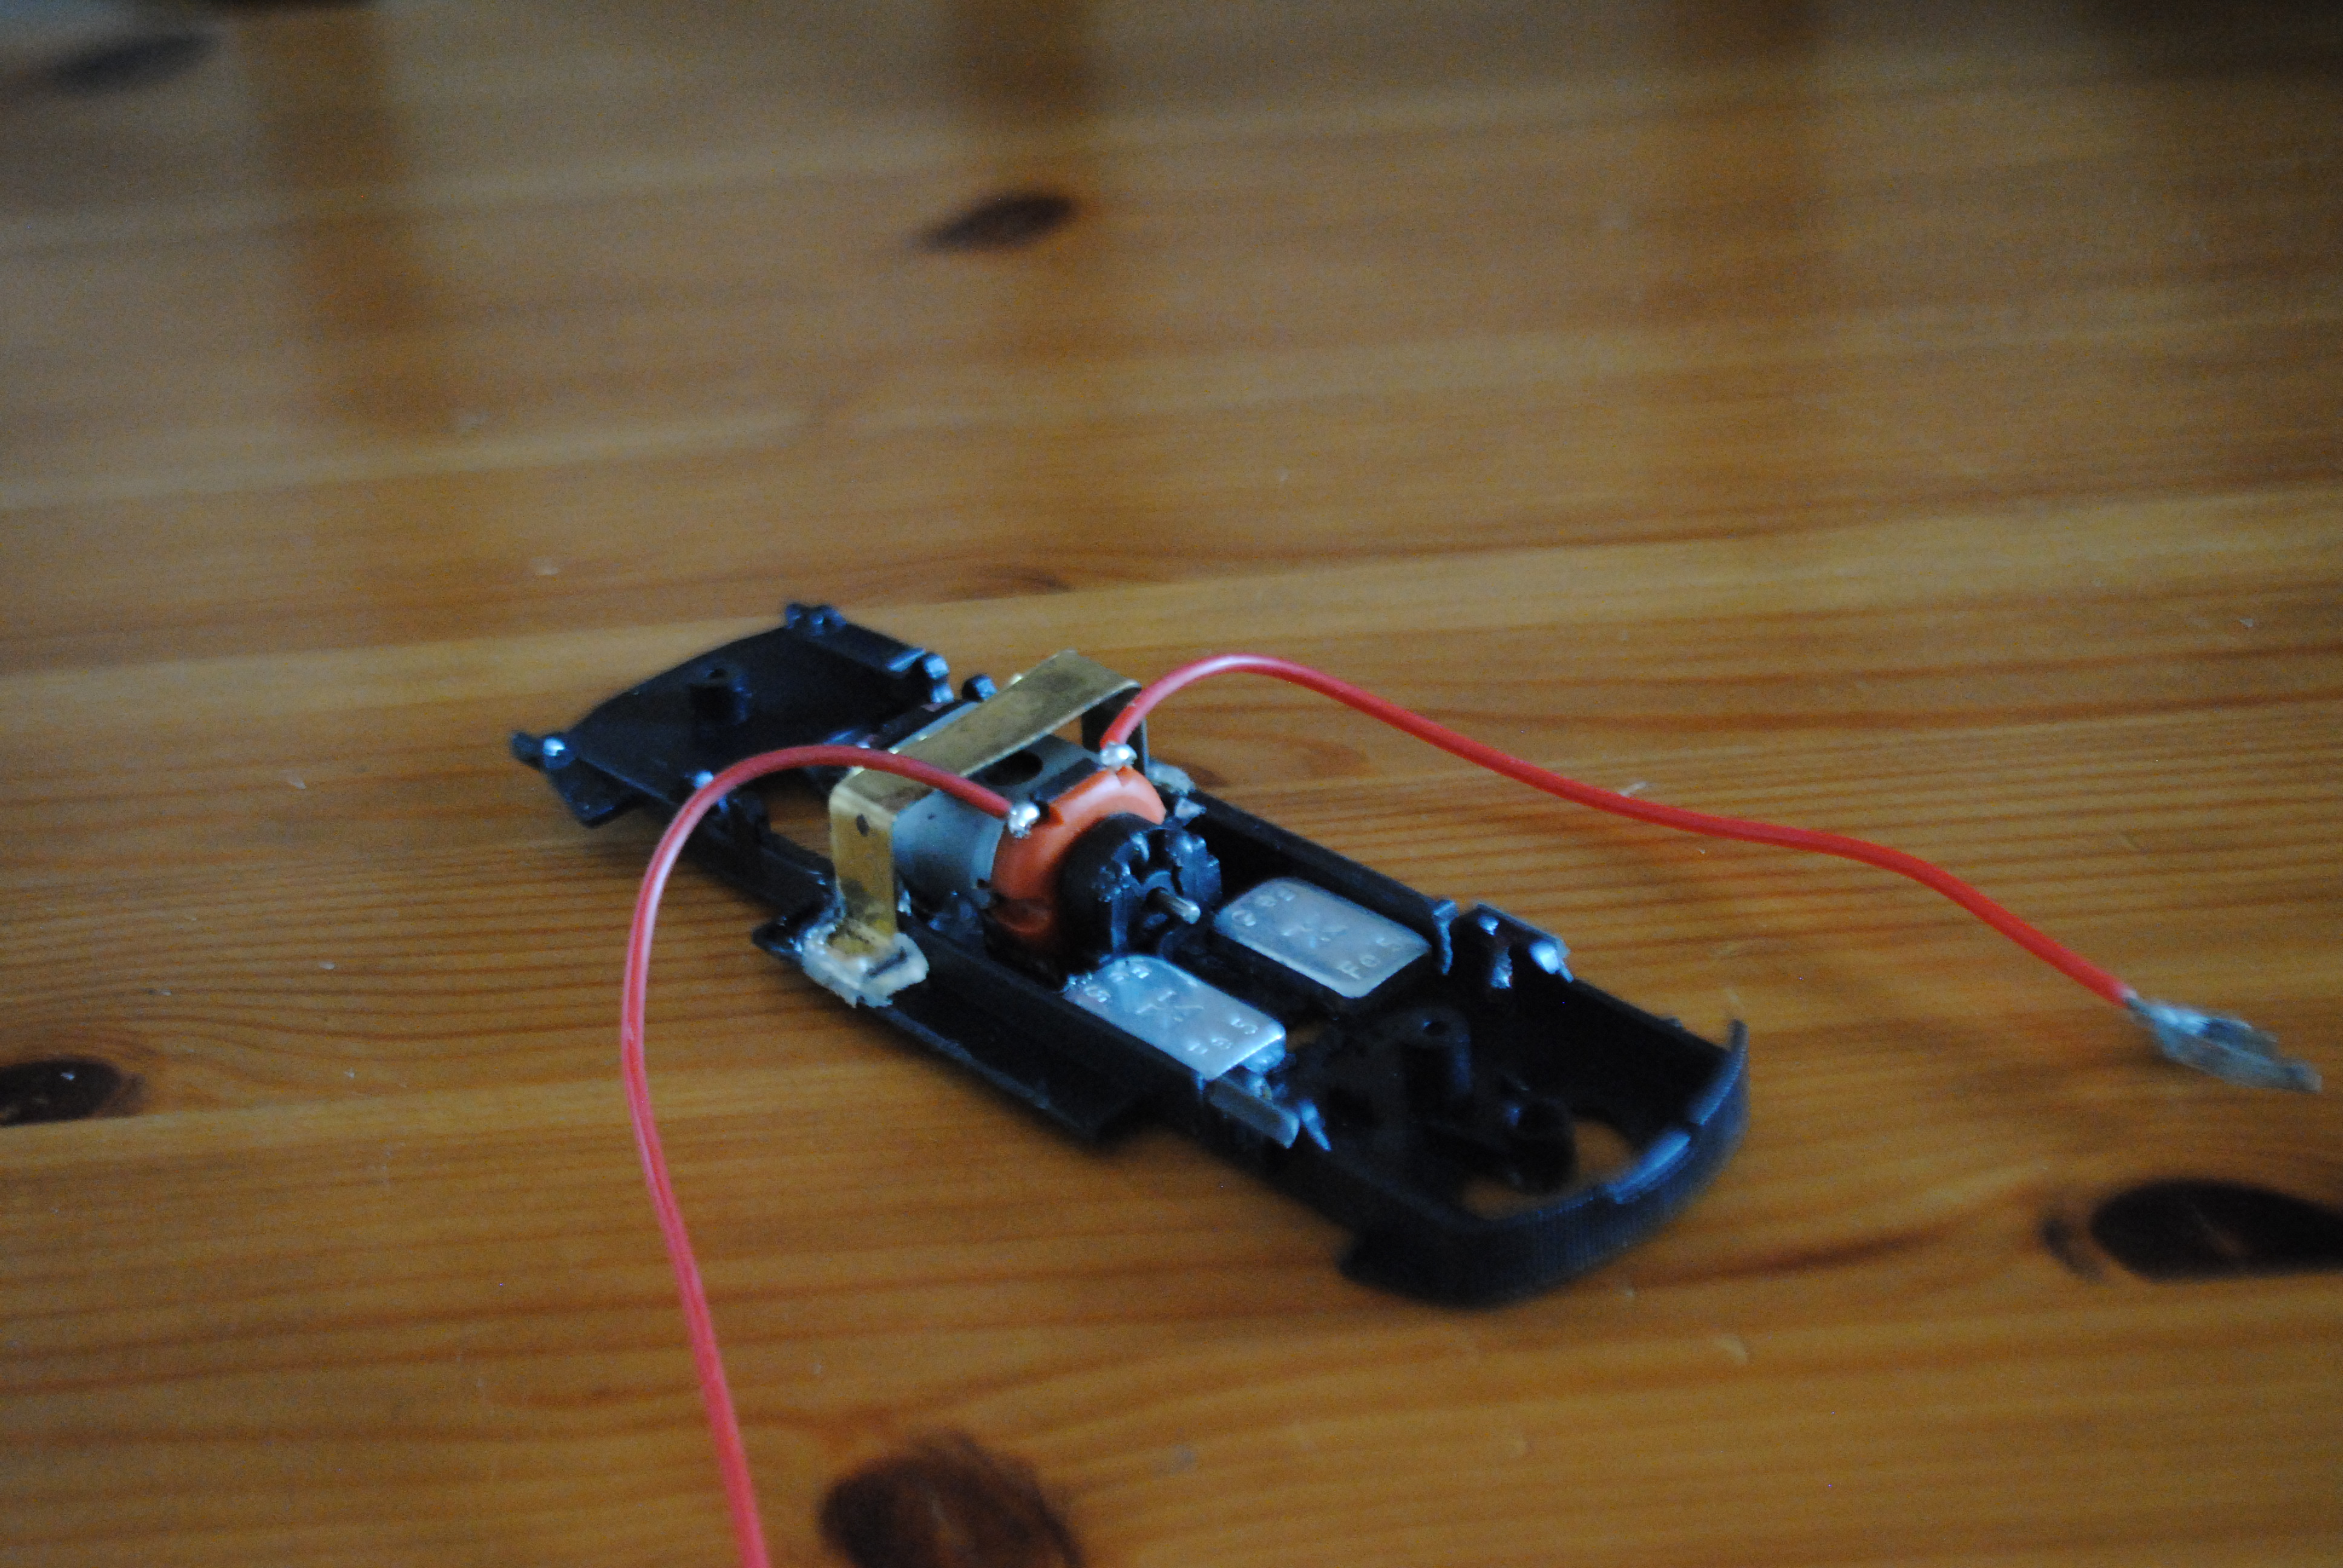
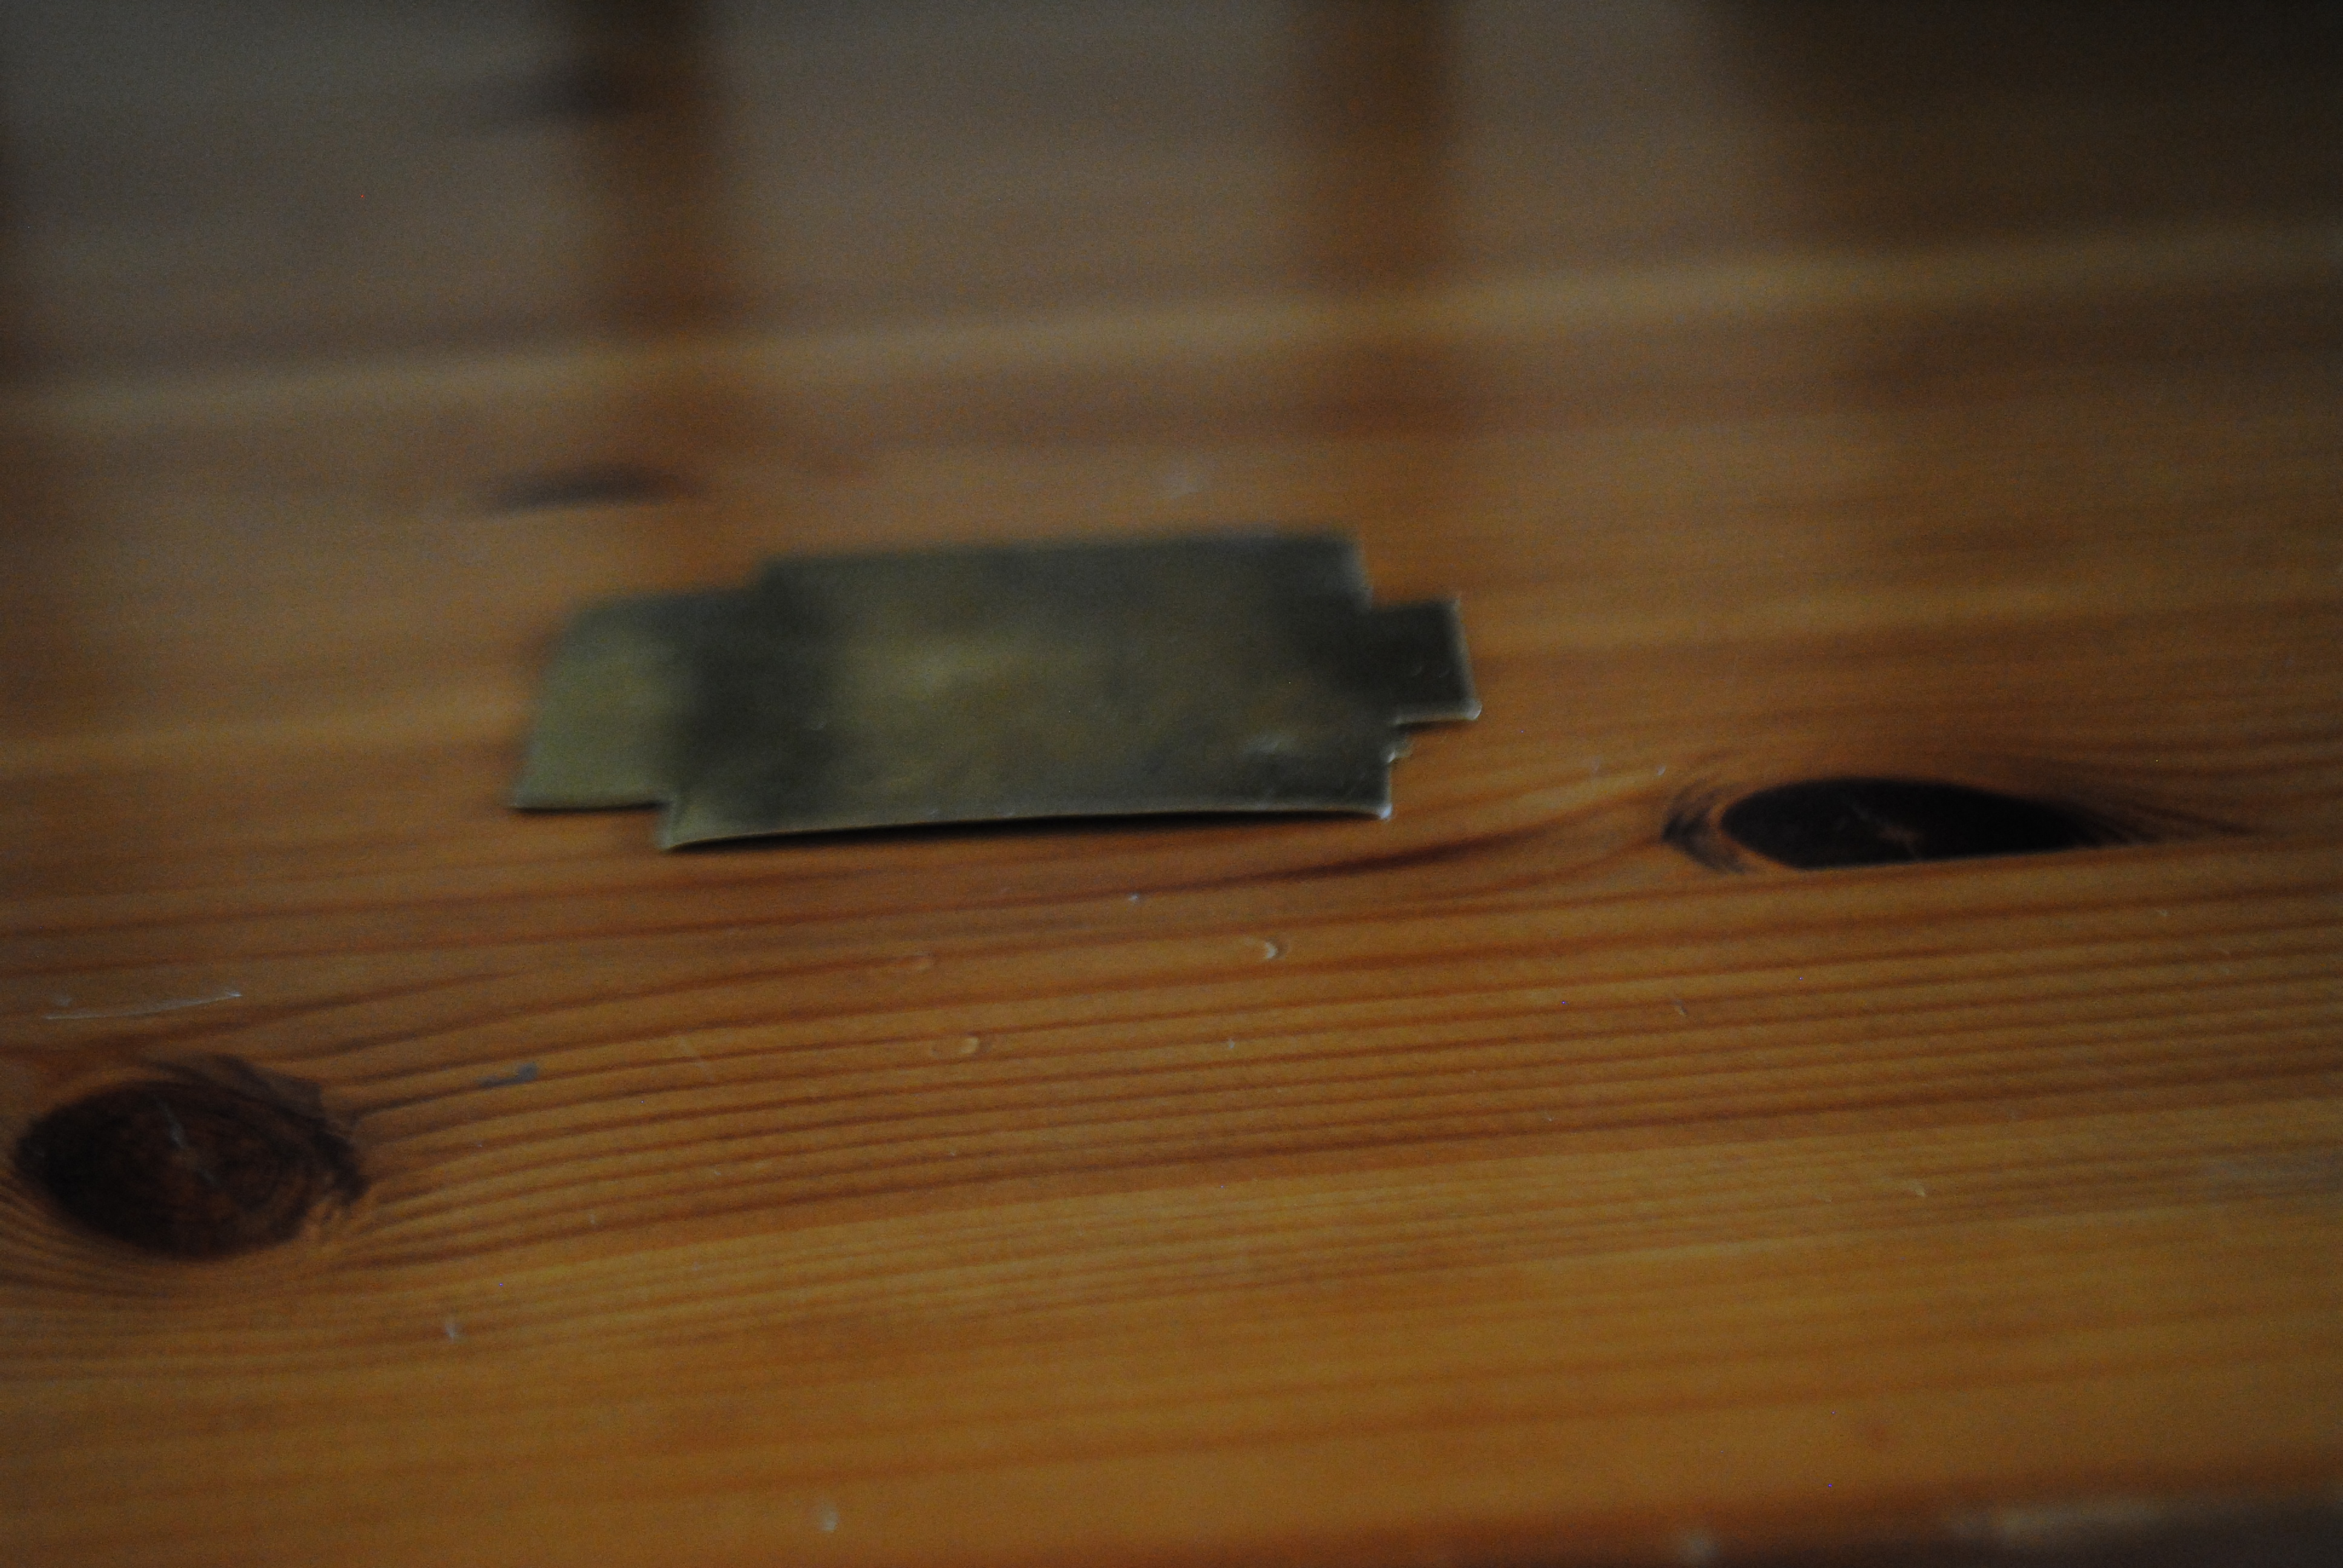
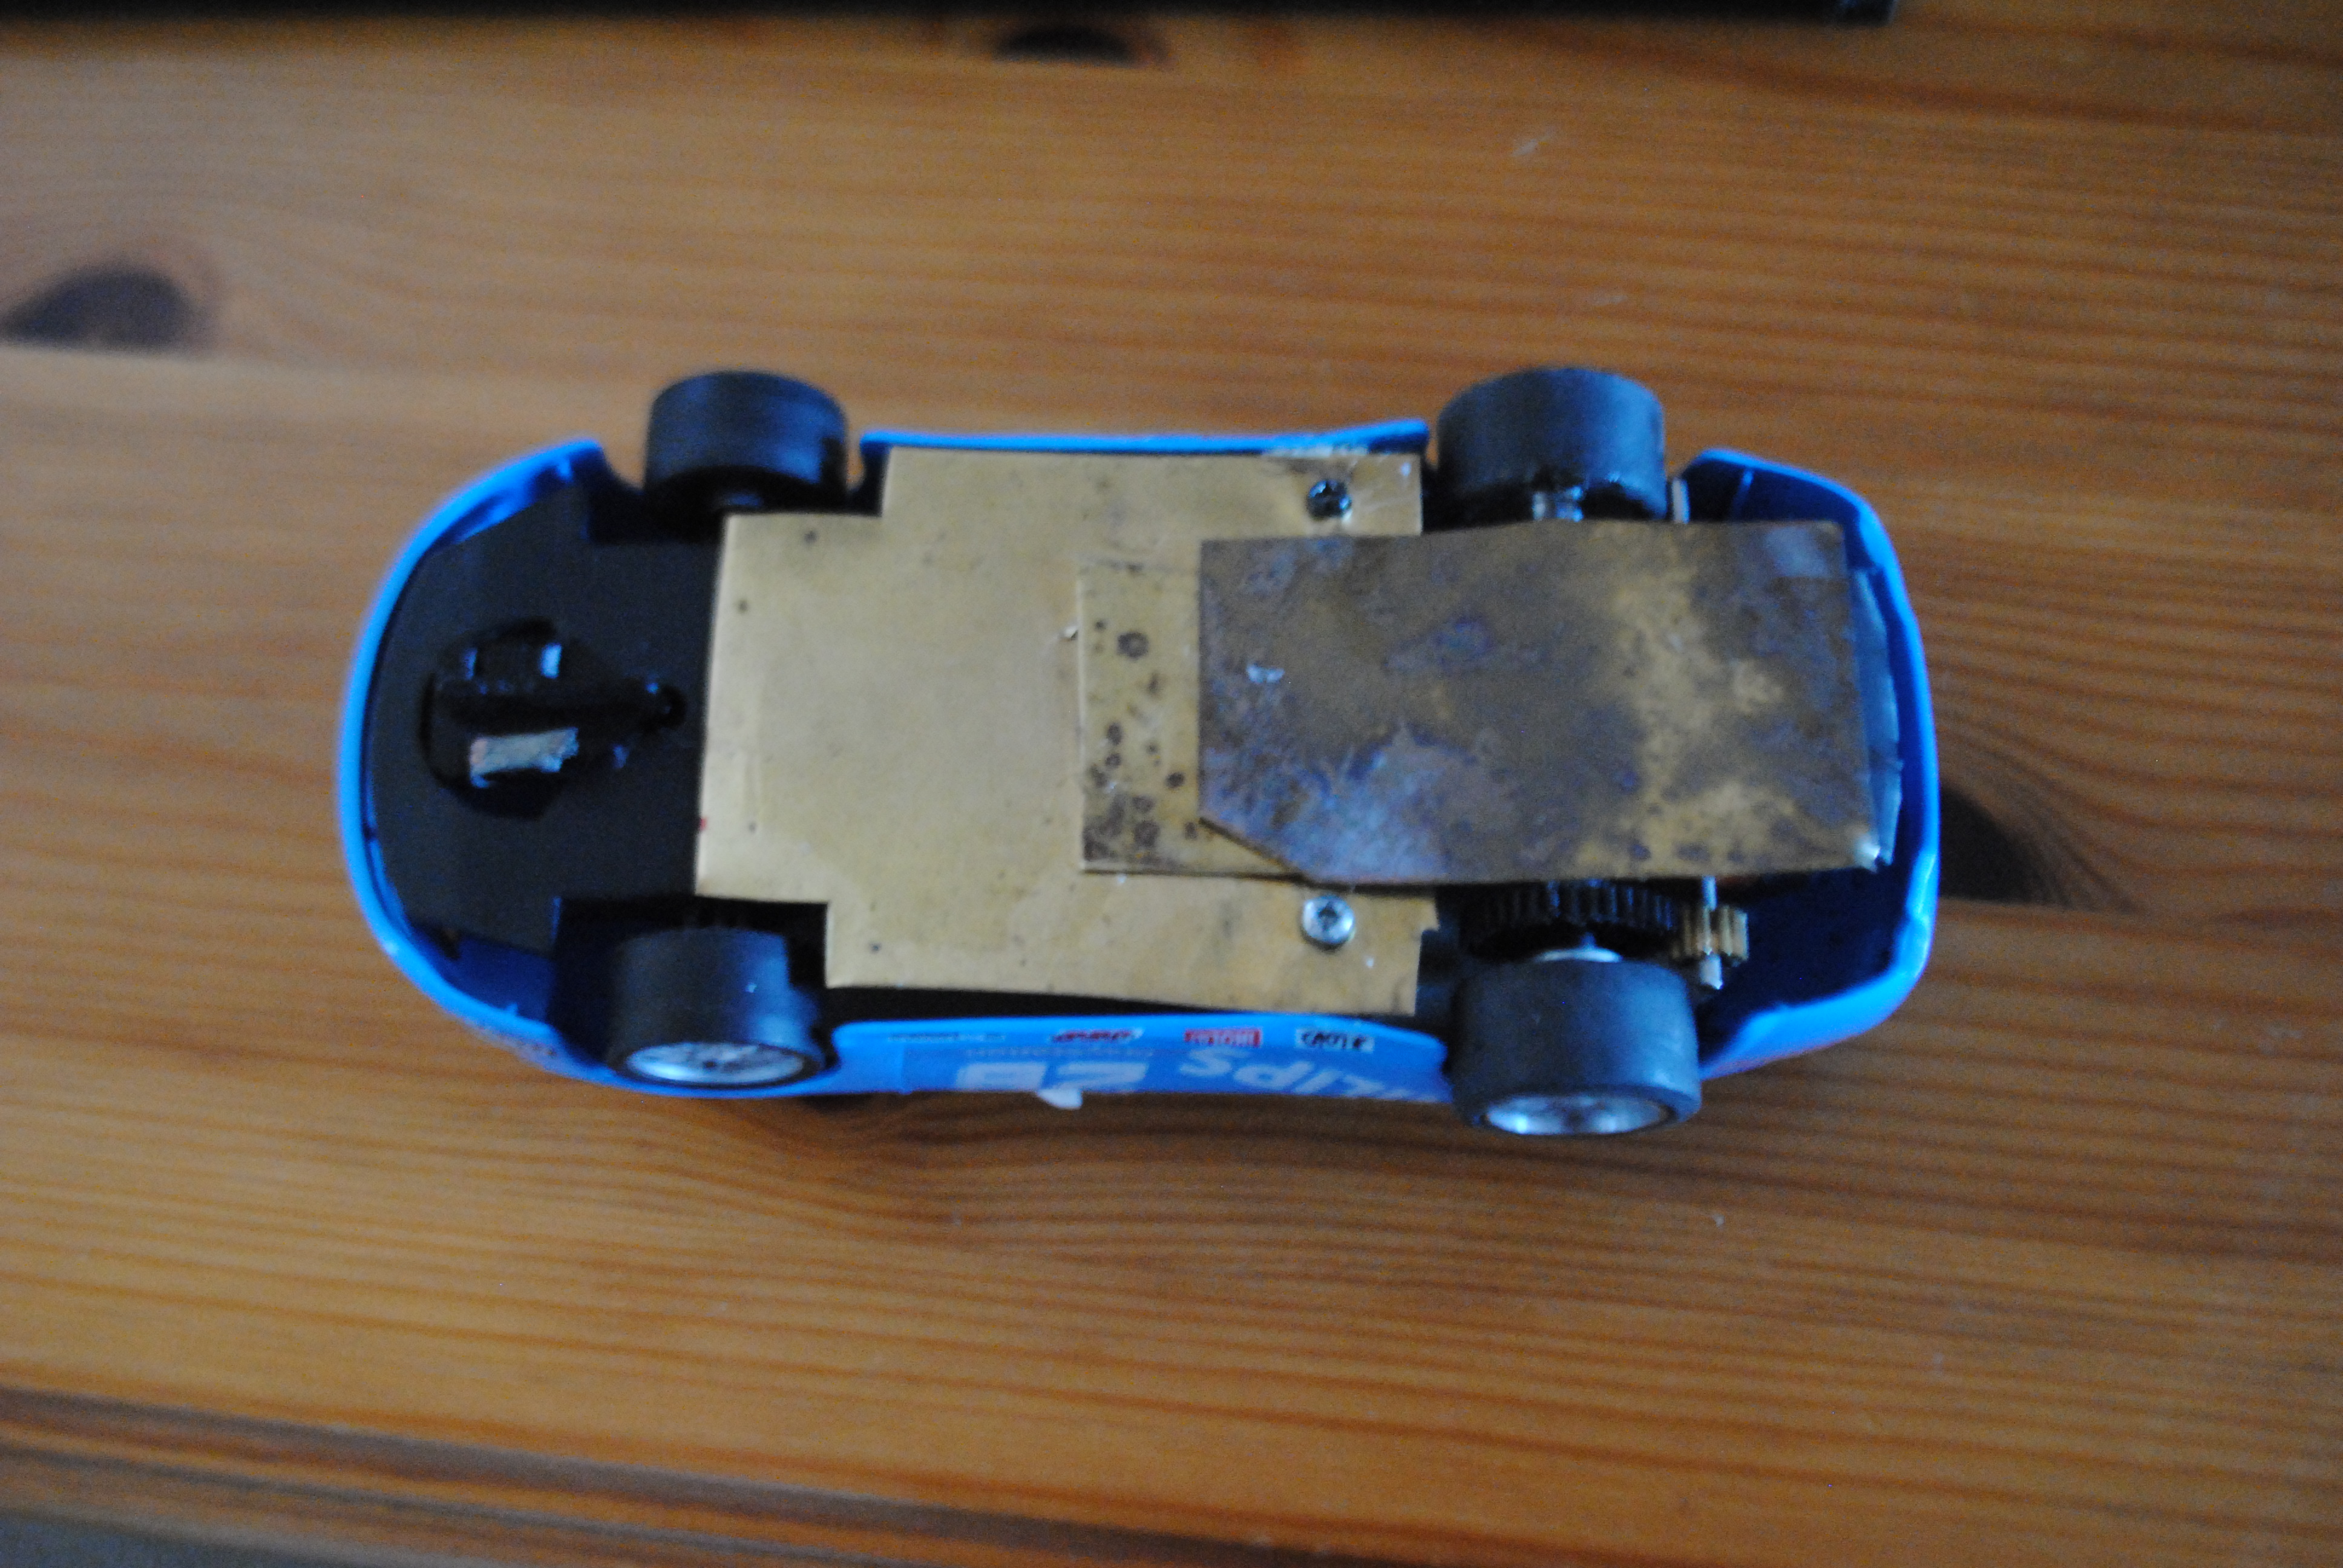
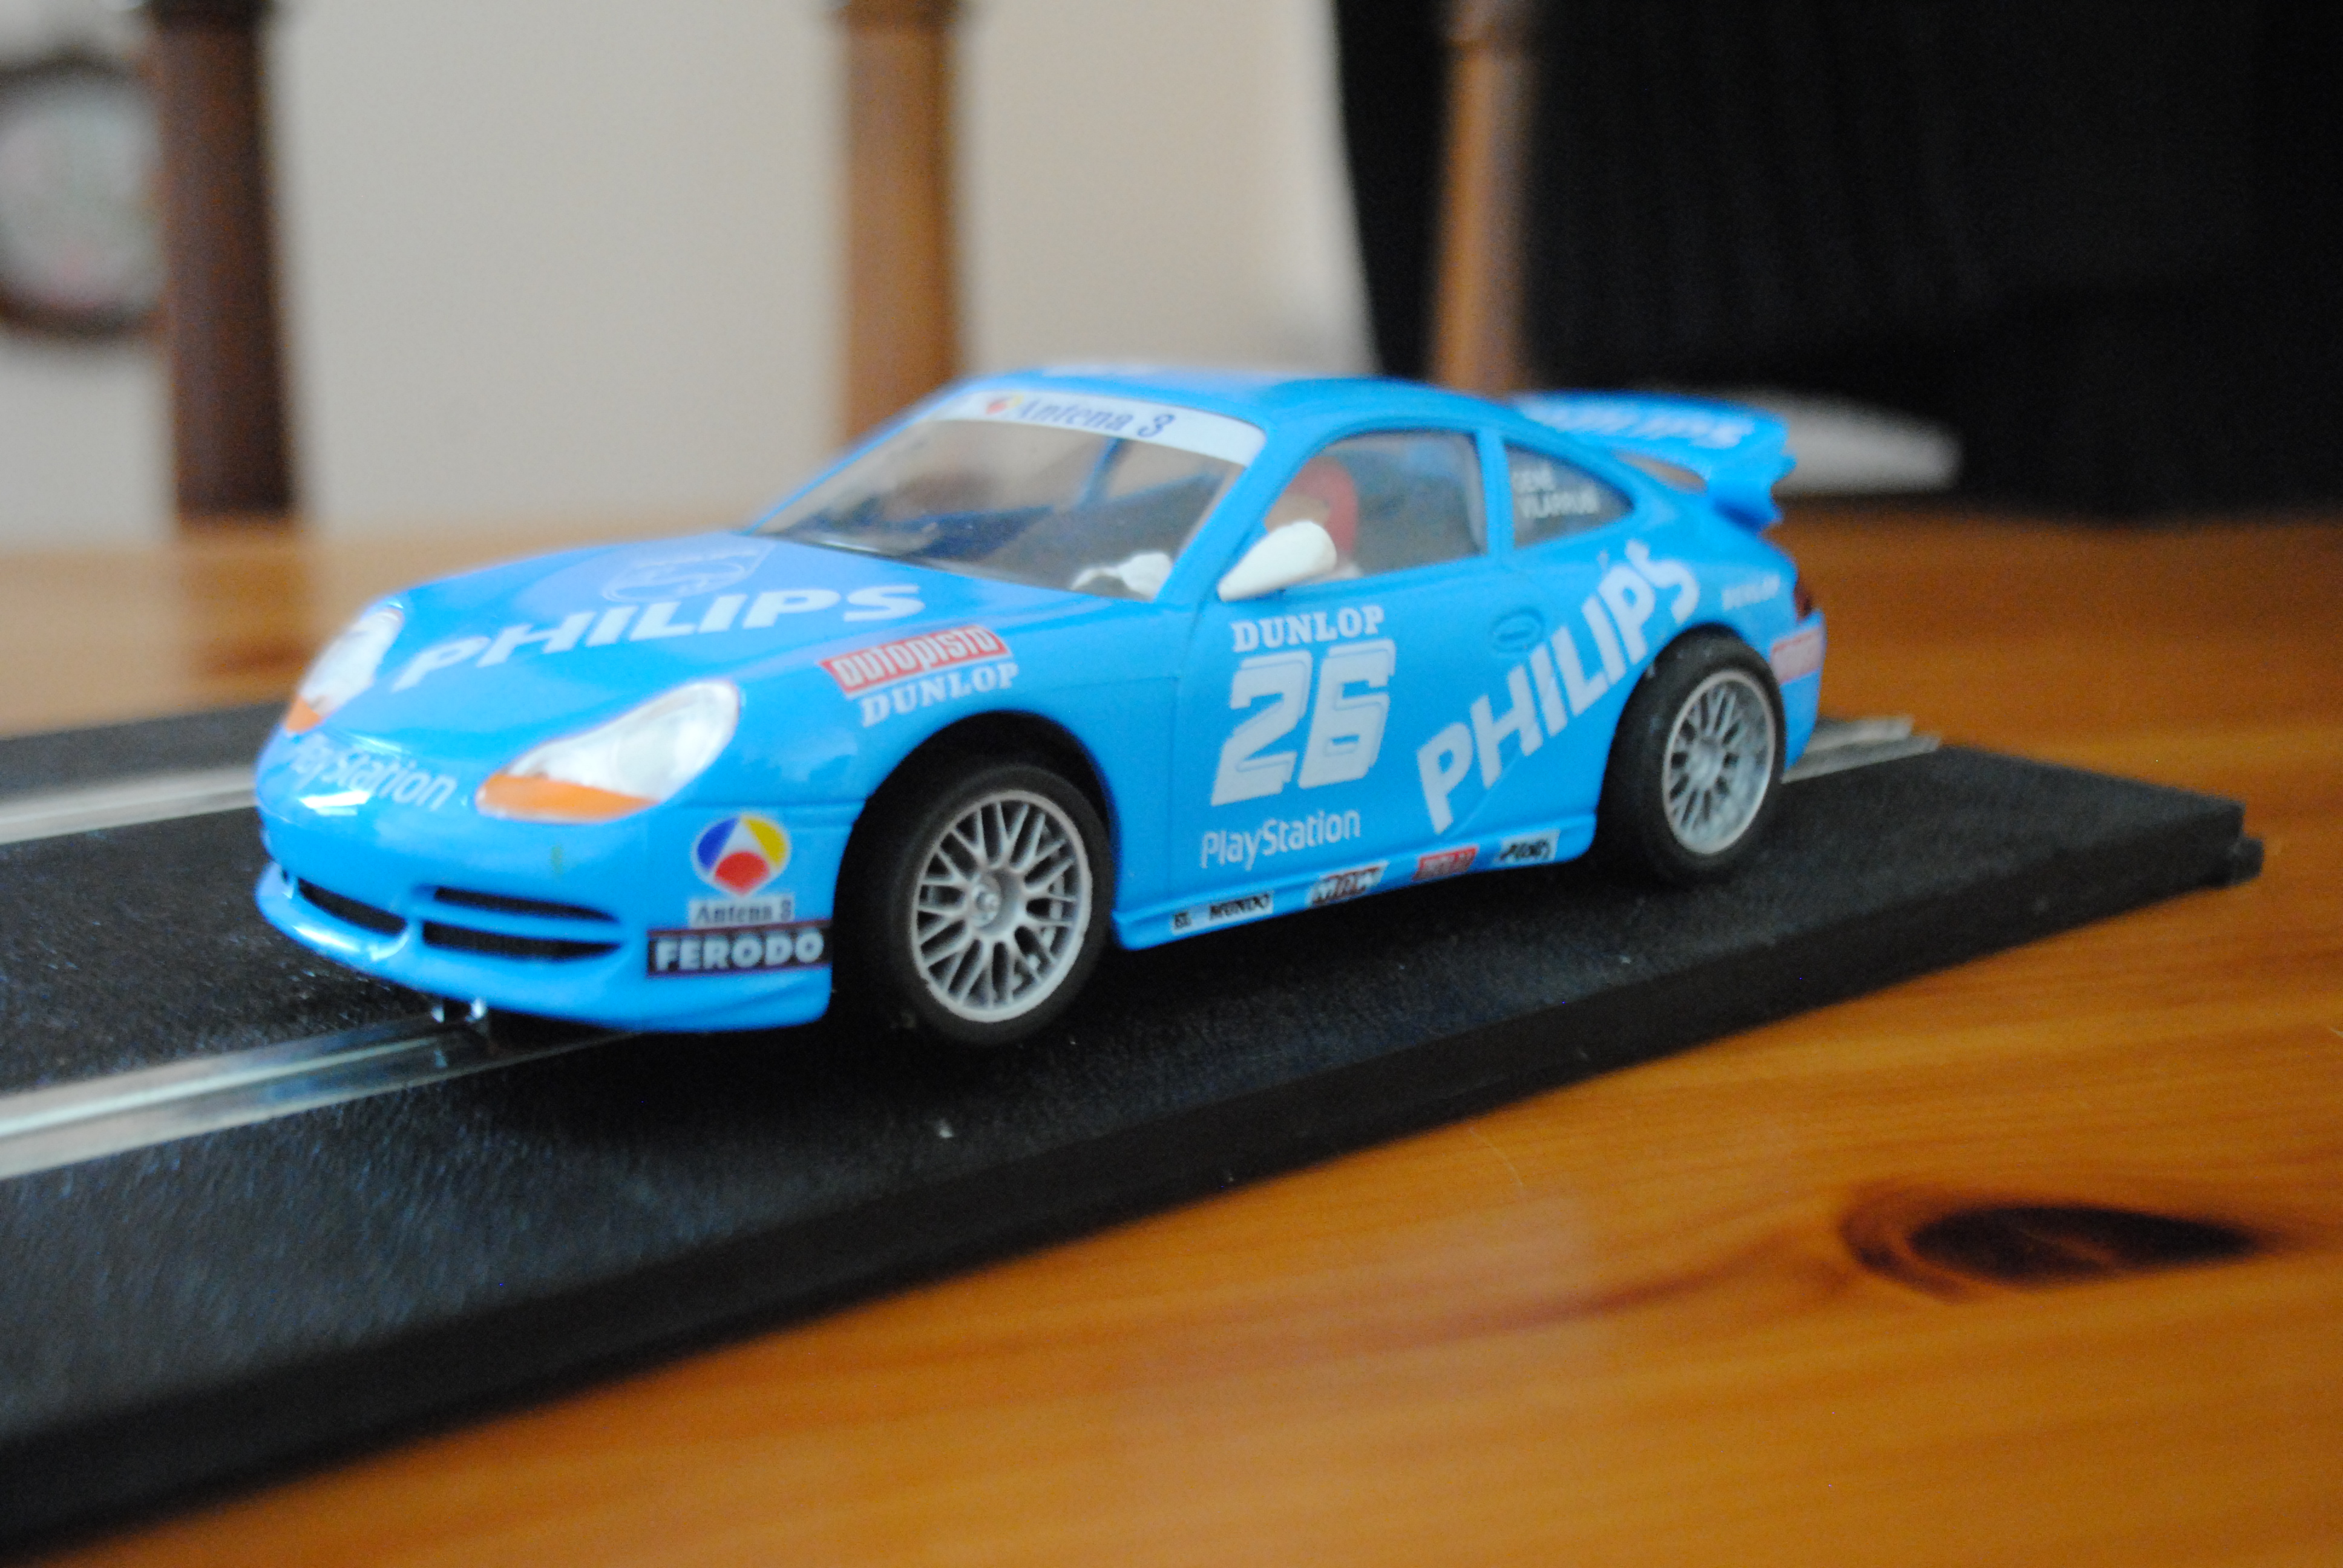
Back in the day when we were racing slot cars at club level by Dad used this Ninco Porsche for modified GT. It was an incredibly pretty body but the chassis was weak and suffered what was known as ‘the Ninco hop’ which sort of meant it couldn’t be used as a competitive car. As you can see in the third picture he tried to strengthen the chassis with a brass strut bar but to no avail.
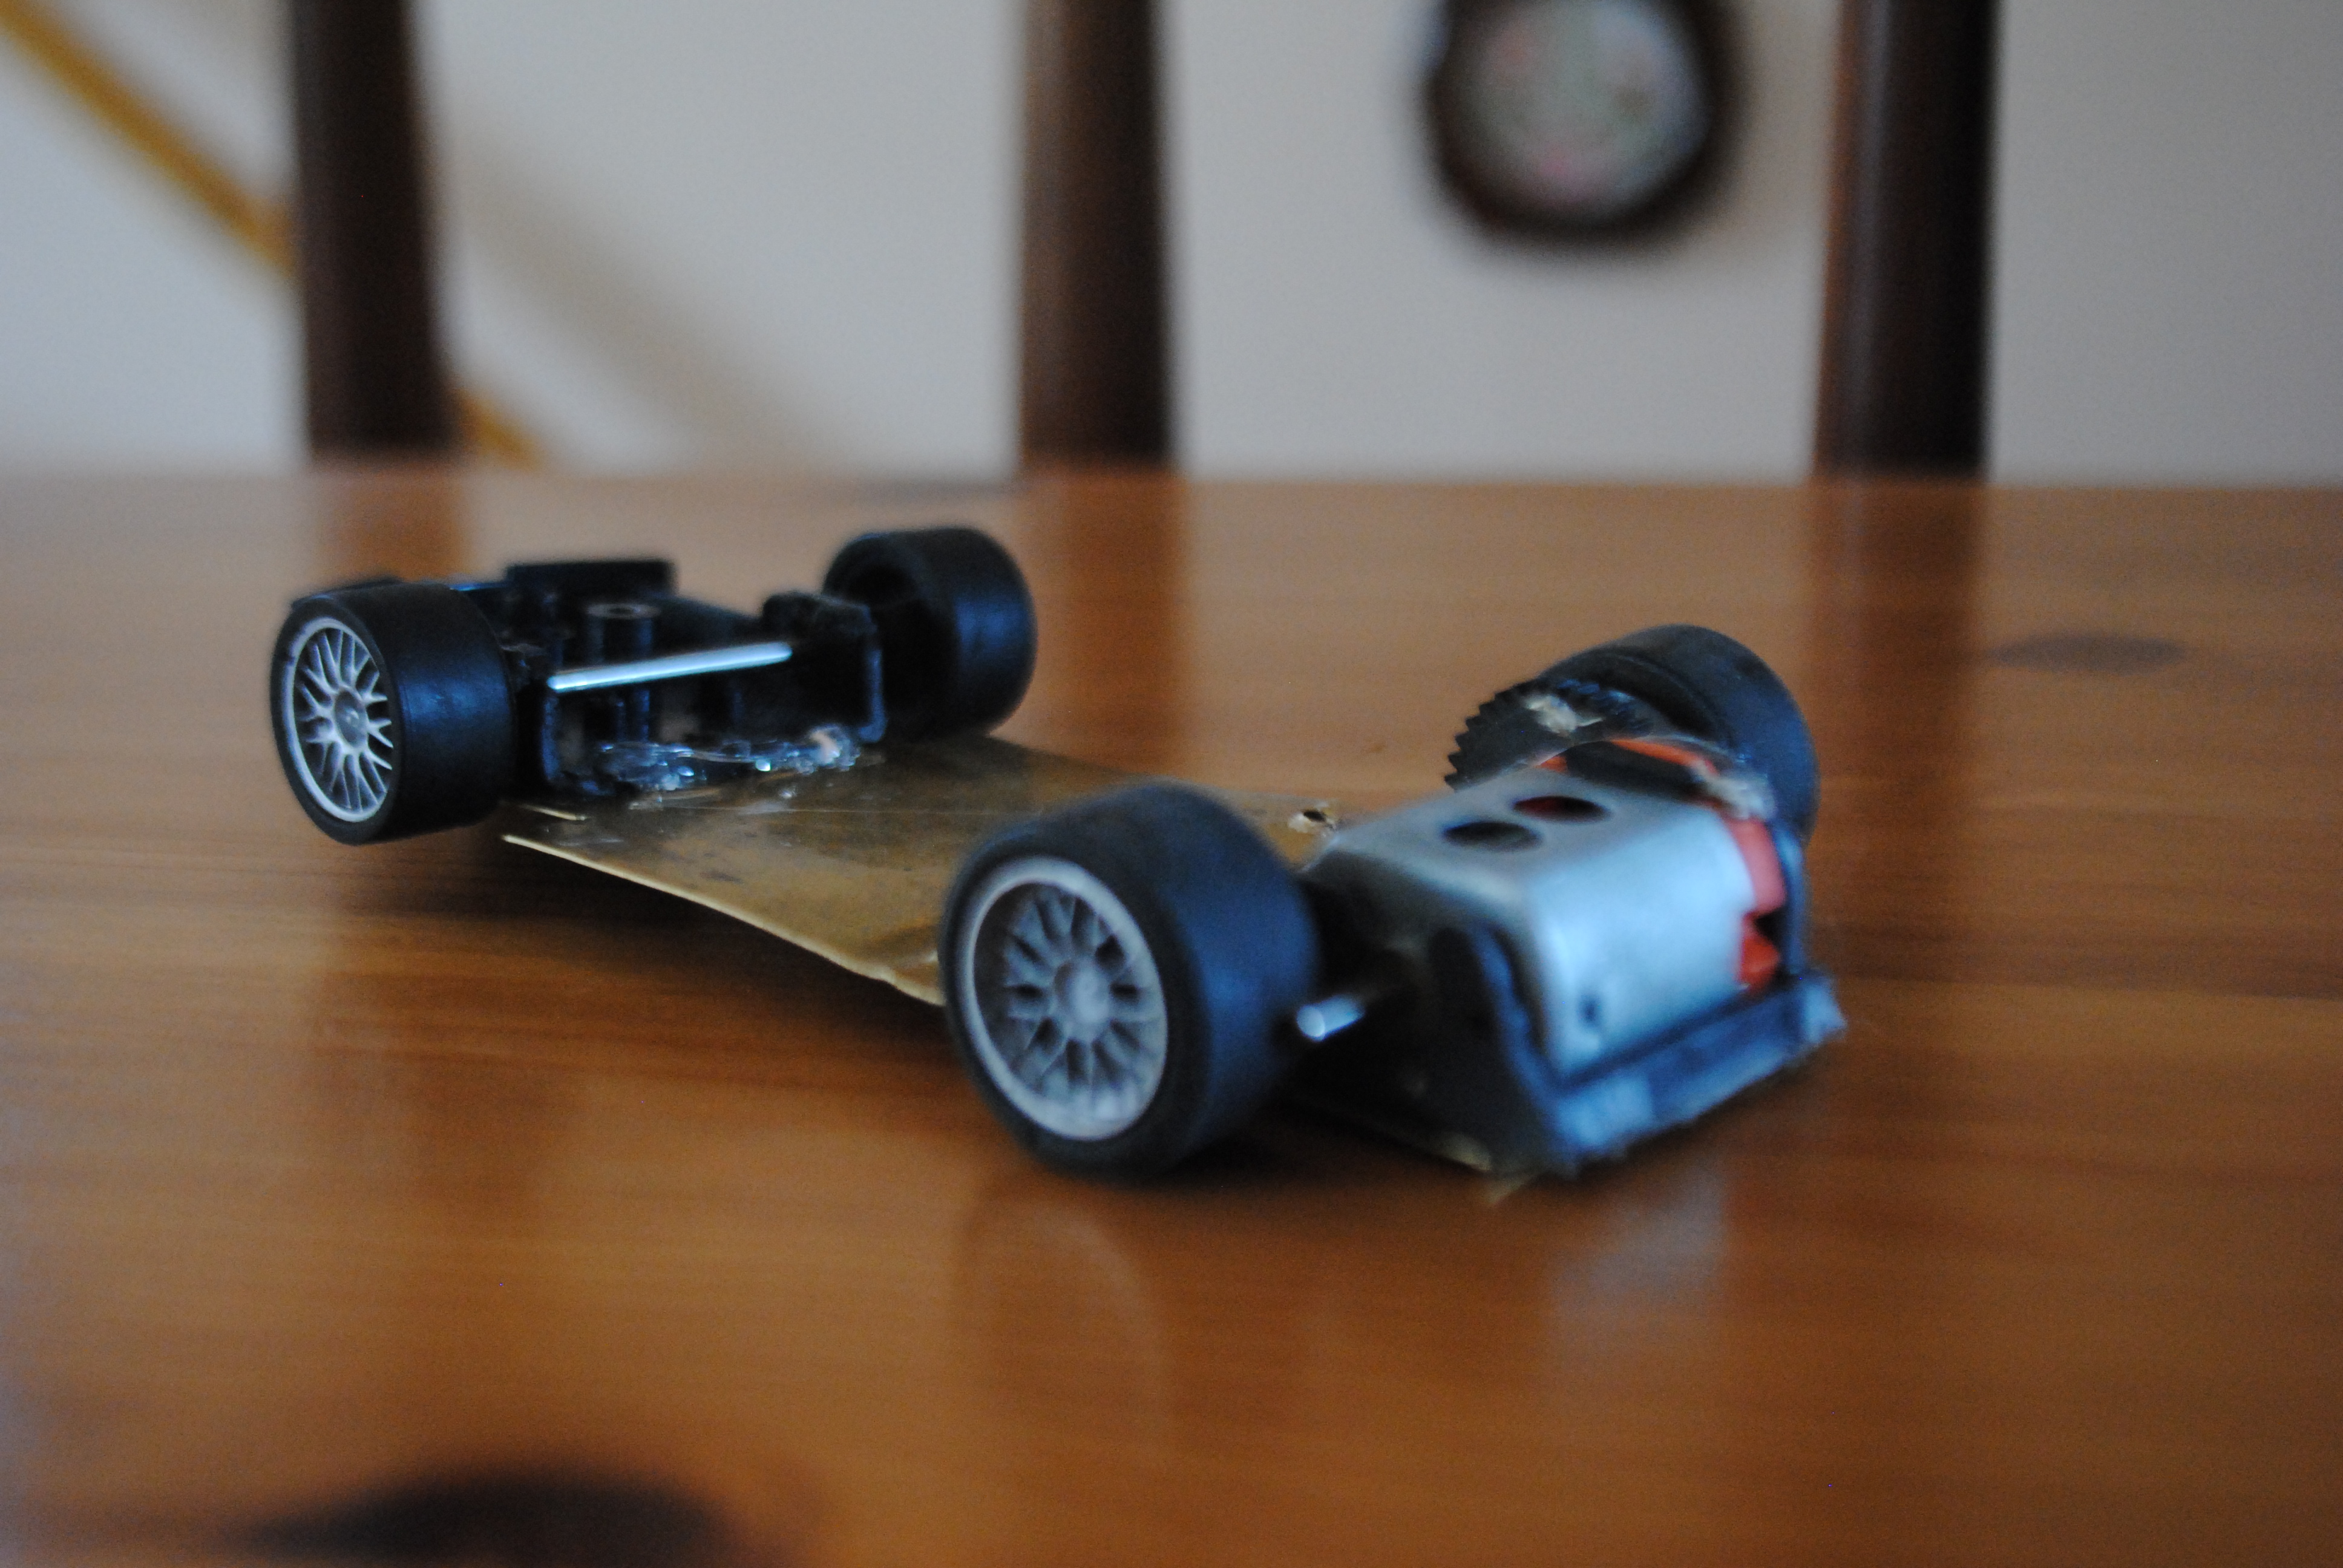
My original plan was to simply put an adjustable Slot It chassis beneath the body and be done with it. The transverse motor mount would mean it’s a little bit closer to it’s full size counterpart too! But it wasn’t enough for me. A standard slot it ‘side winder’ motor pod places the motor ahead of the rear axle whereas in a proper Porsche the motor is behind the rear axle… Thus a rough idea began forming in my head. Although I’m quite competent with building slot car kits I really want to begin scratch building things and this was the perfect excuse to begin!
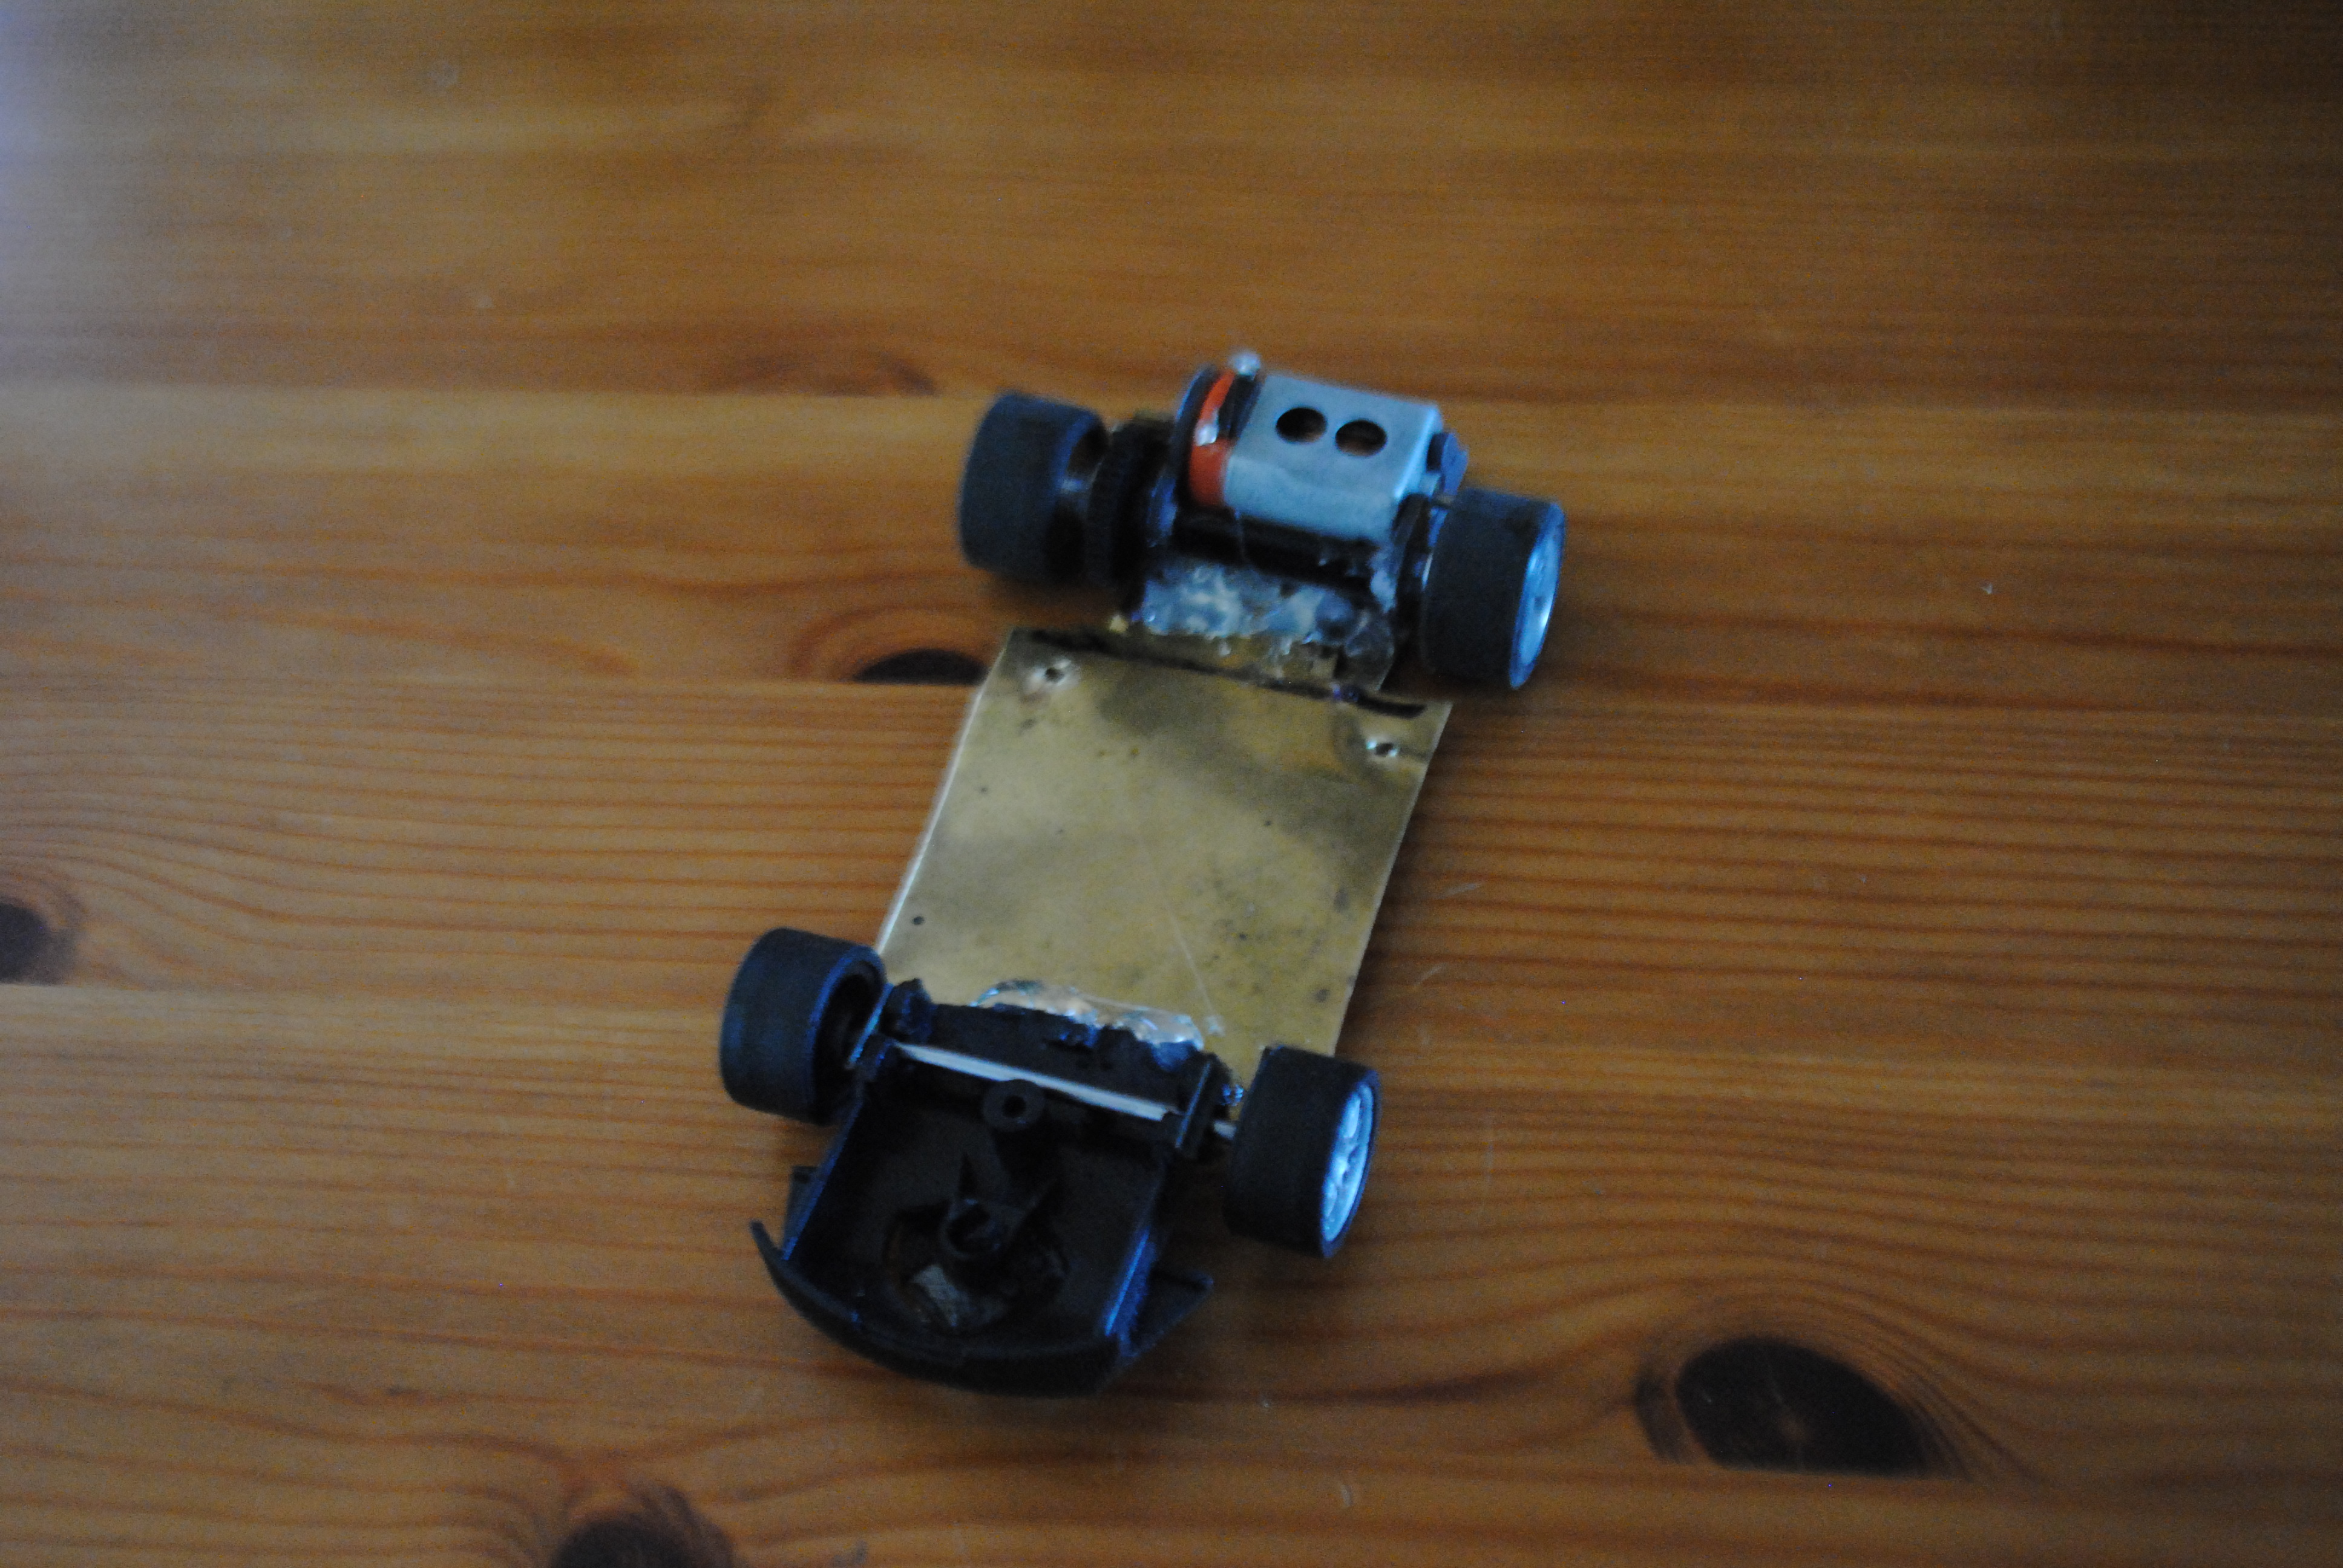
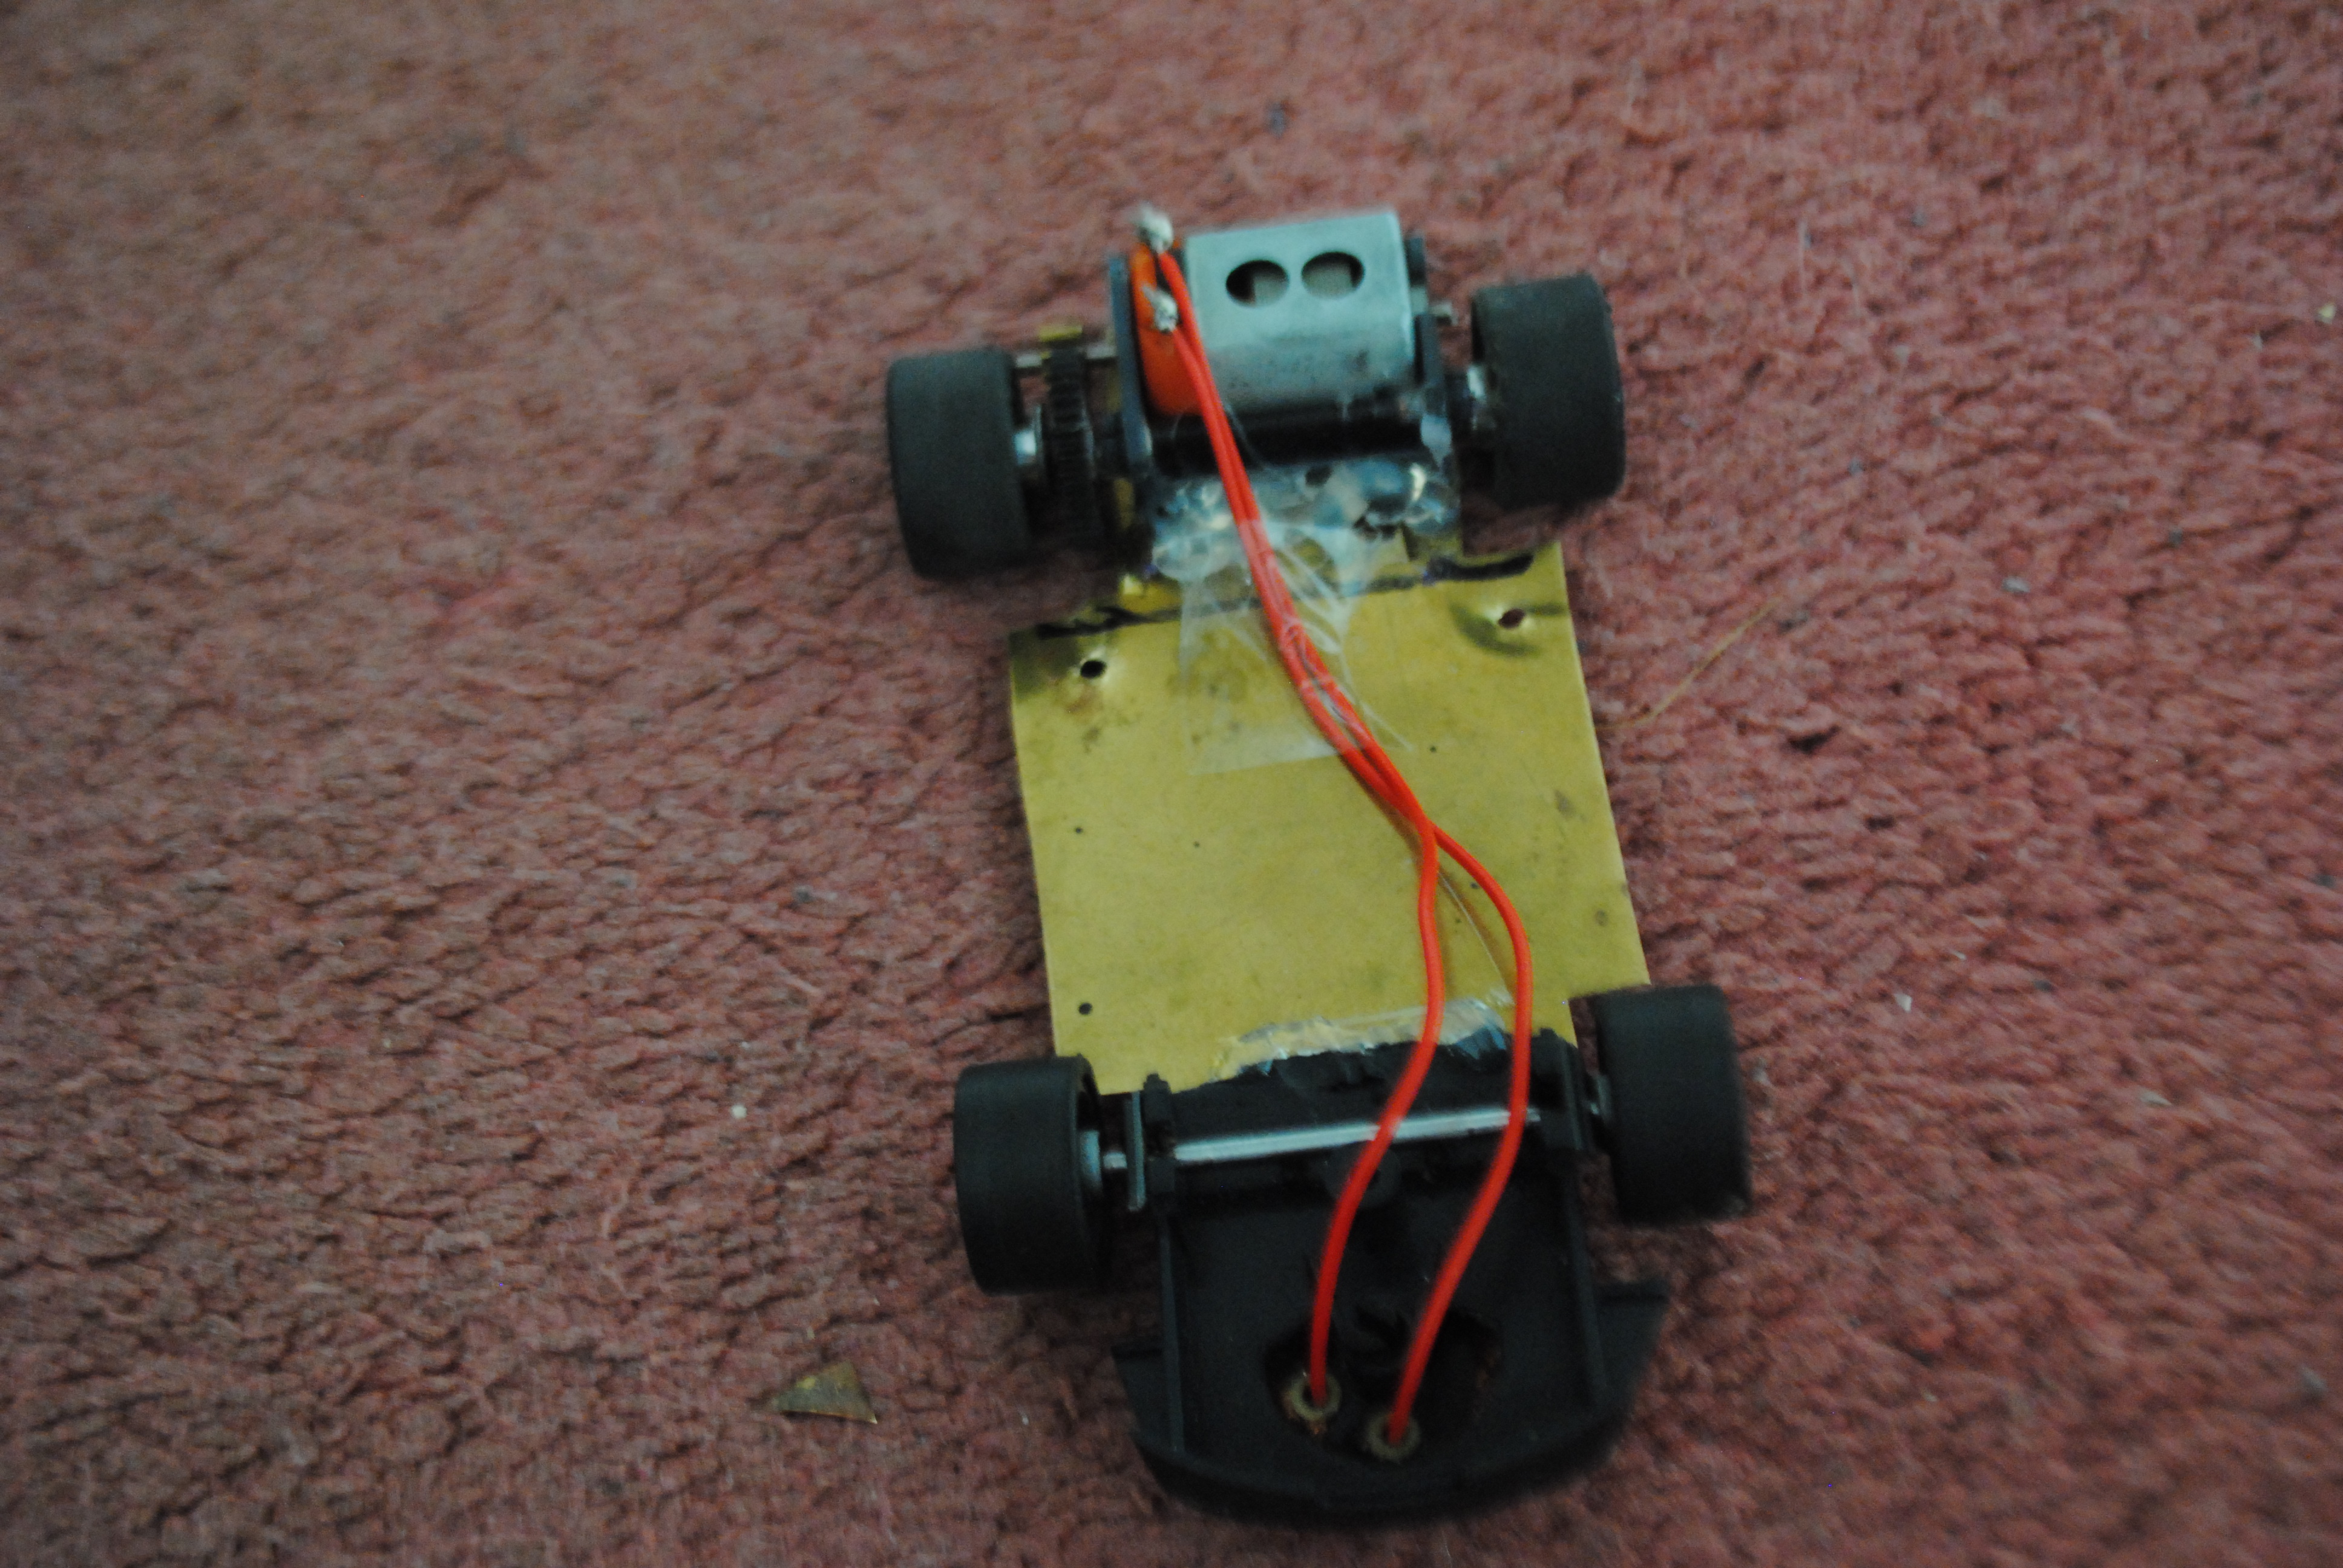
The theory was simple enough, as was the execution really, it just looks a little messy as you will see later on. I would use the front section of the original chassis with the guide mount and the mounts for the front axle. If I used that then I could keep the original grills as well and keep the car looking somewhat original from the front. The chopped down Slot It motor mount would sit at the back and the pair would be bridged together with a section of brass sheet (kindly provided by my Dad)
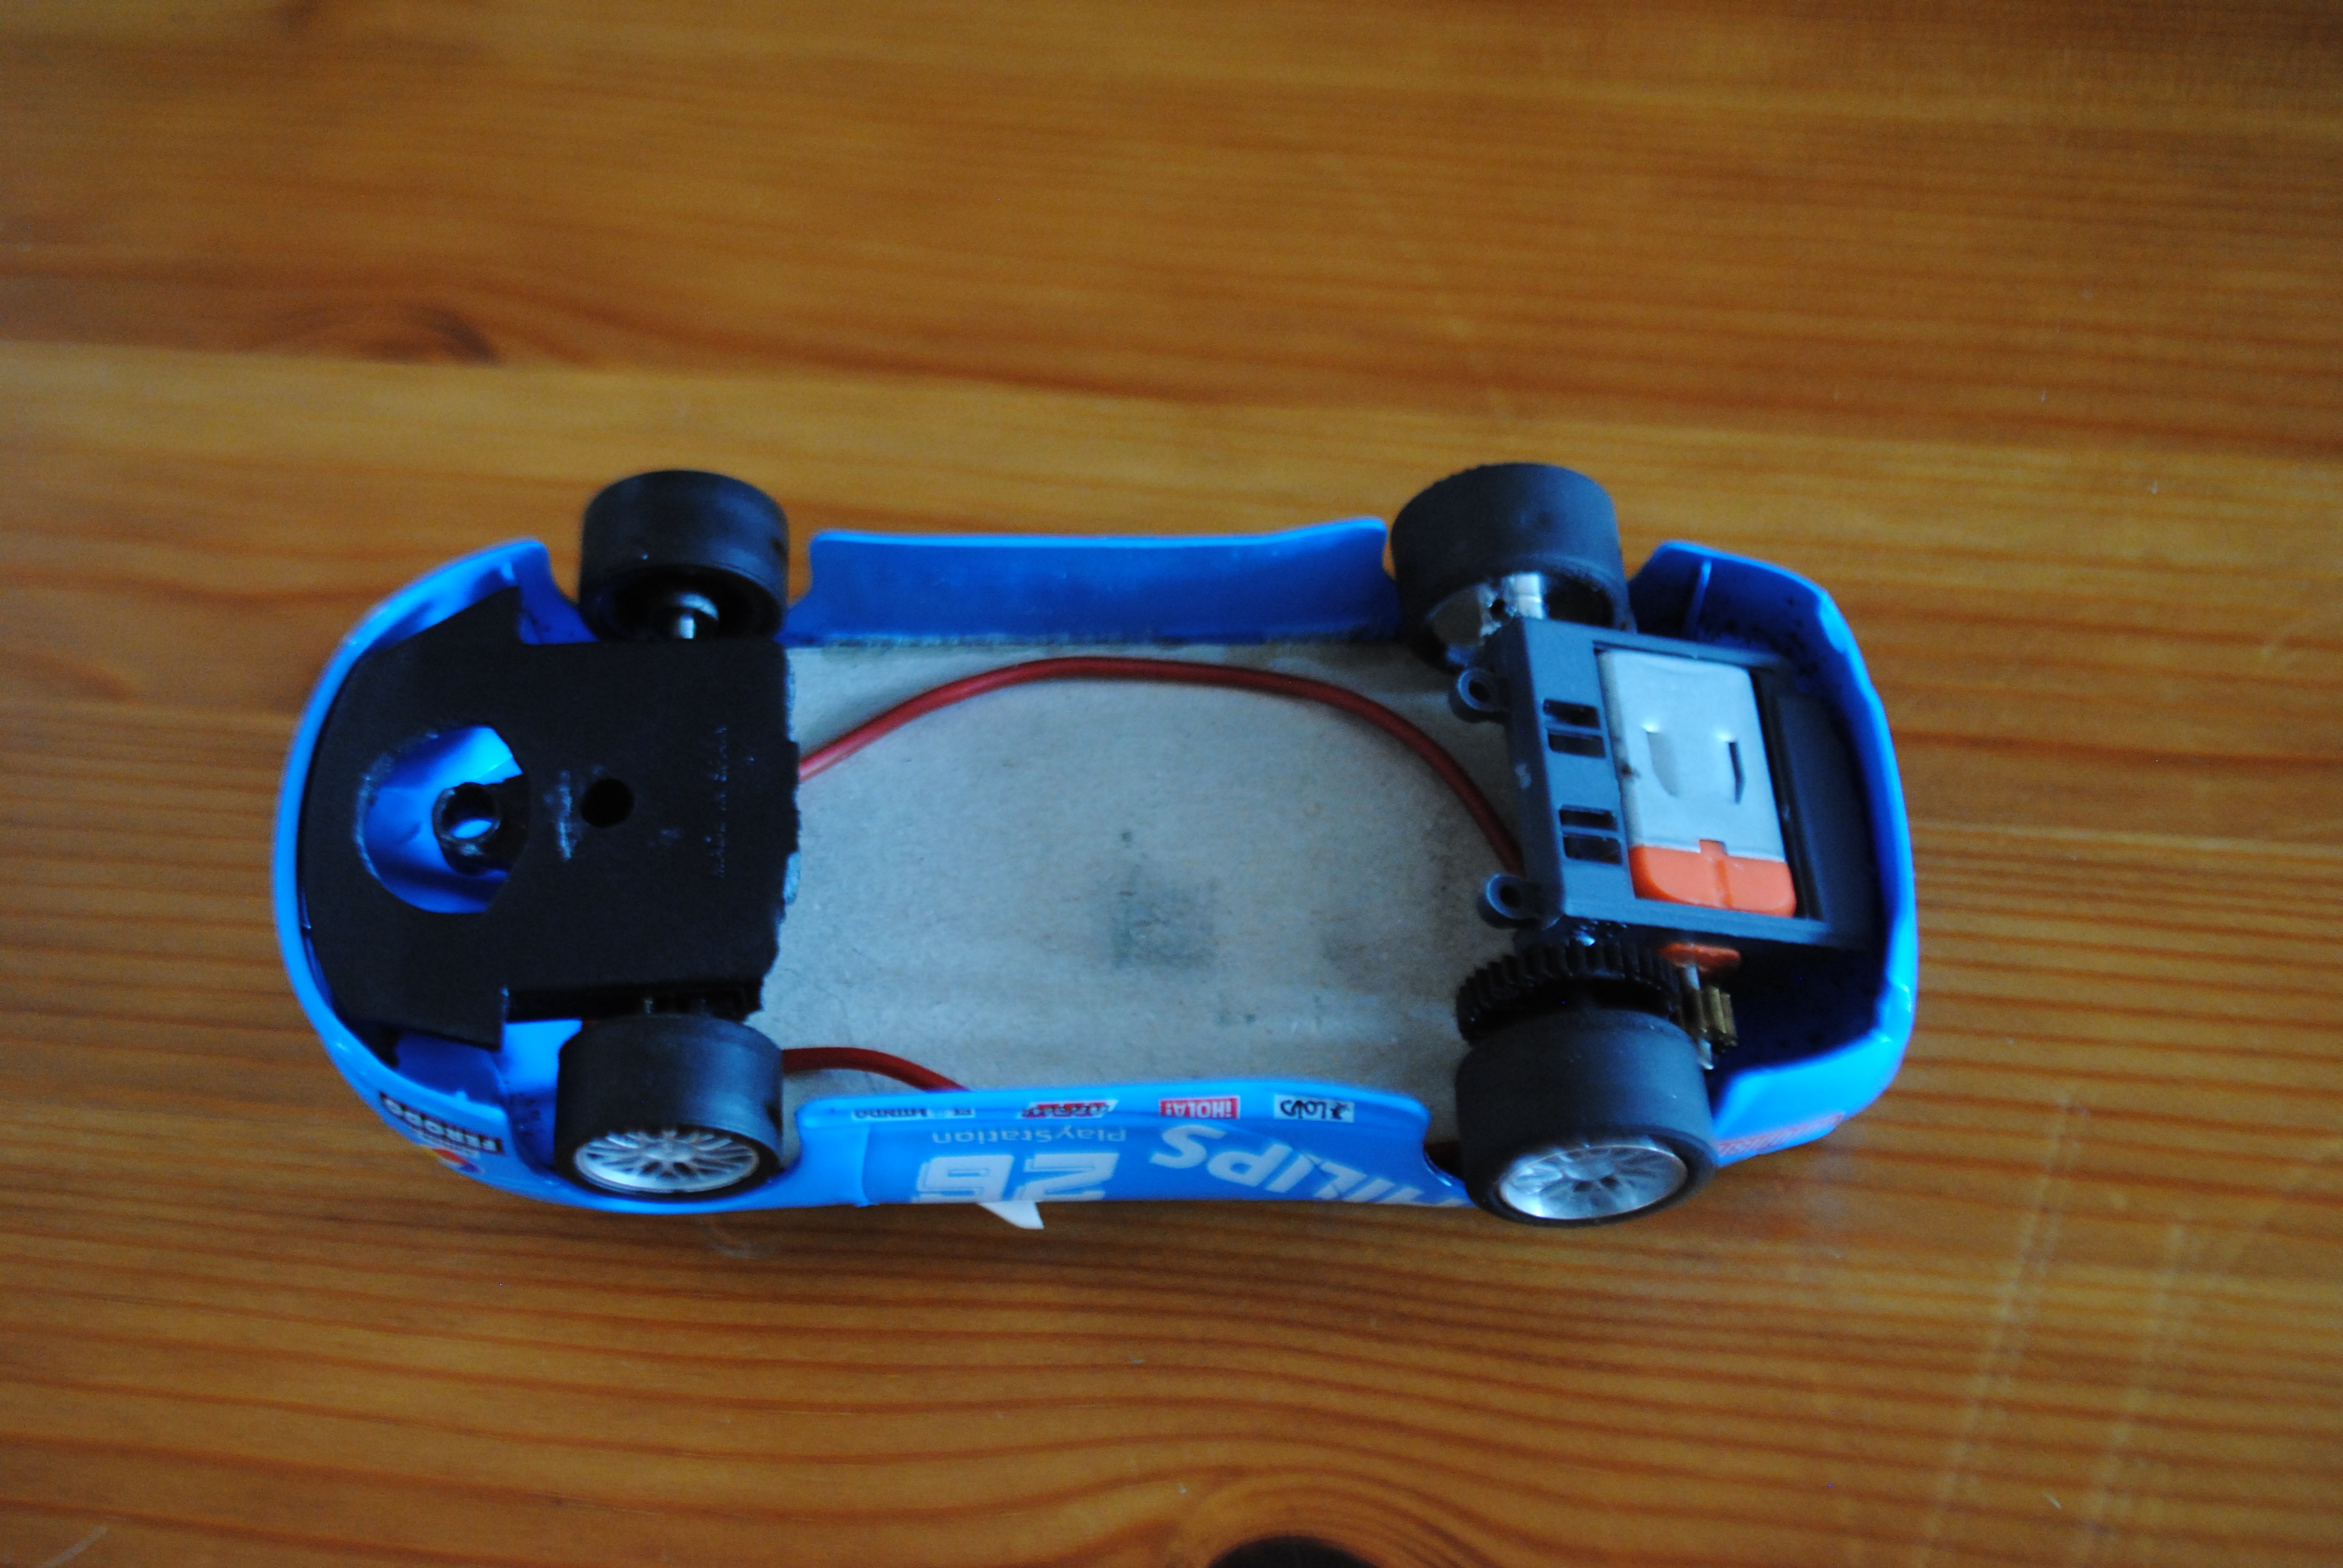
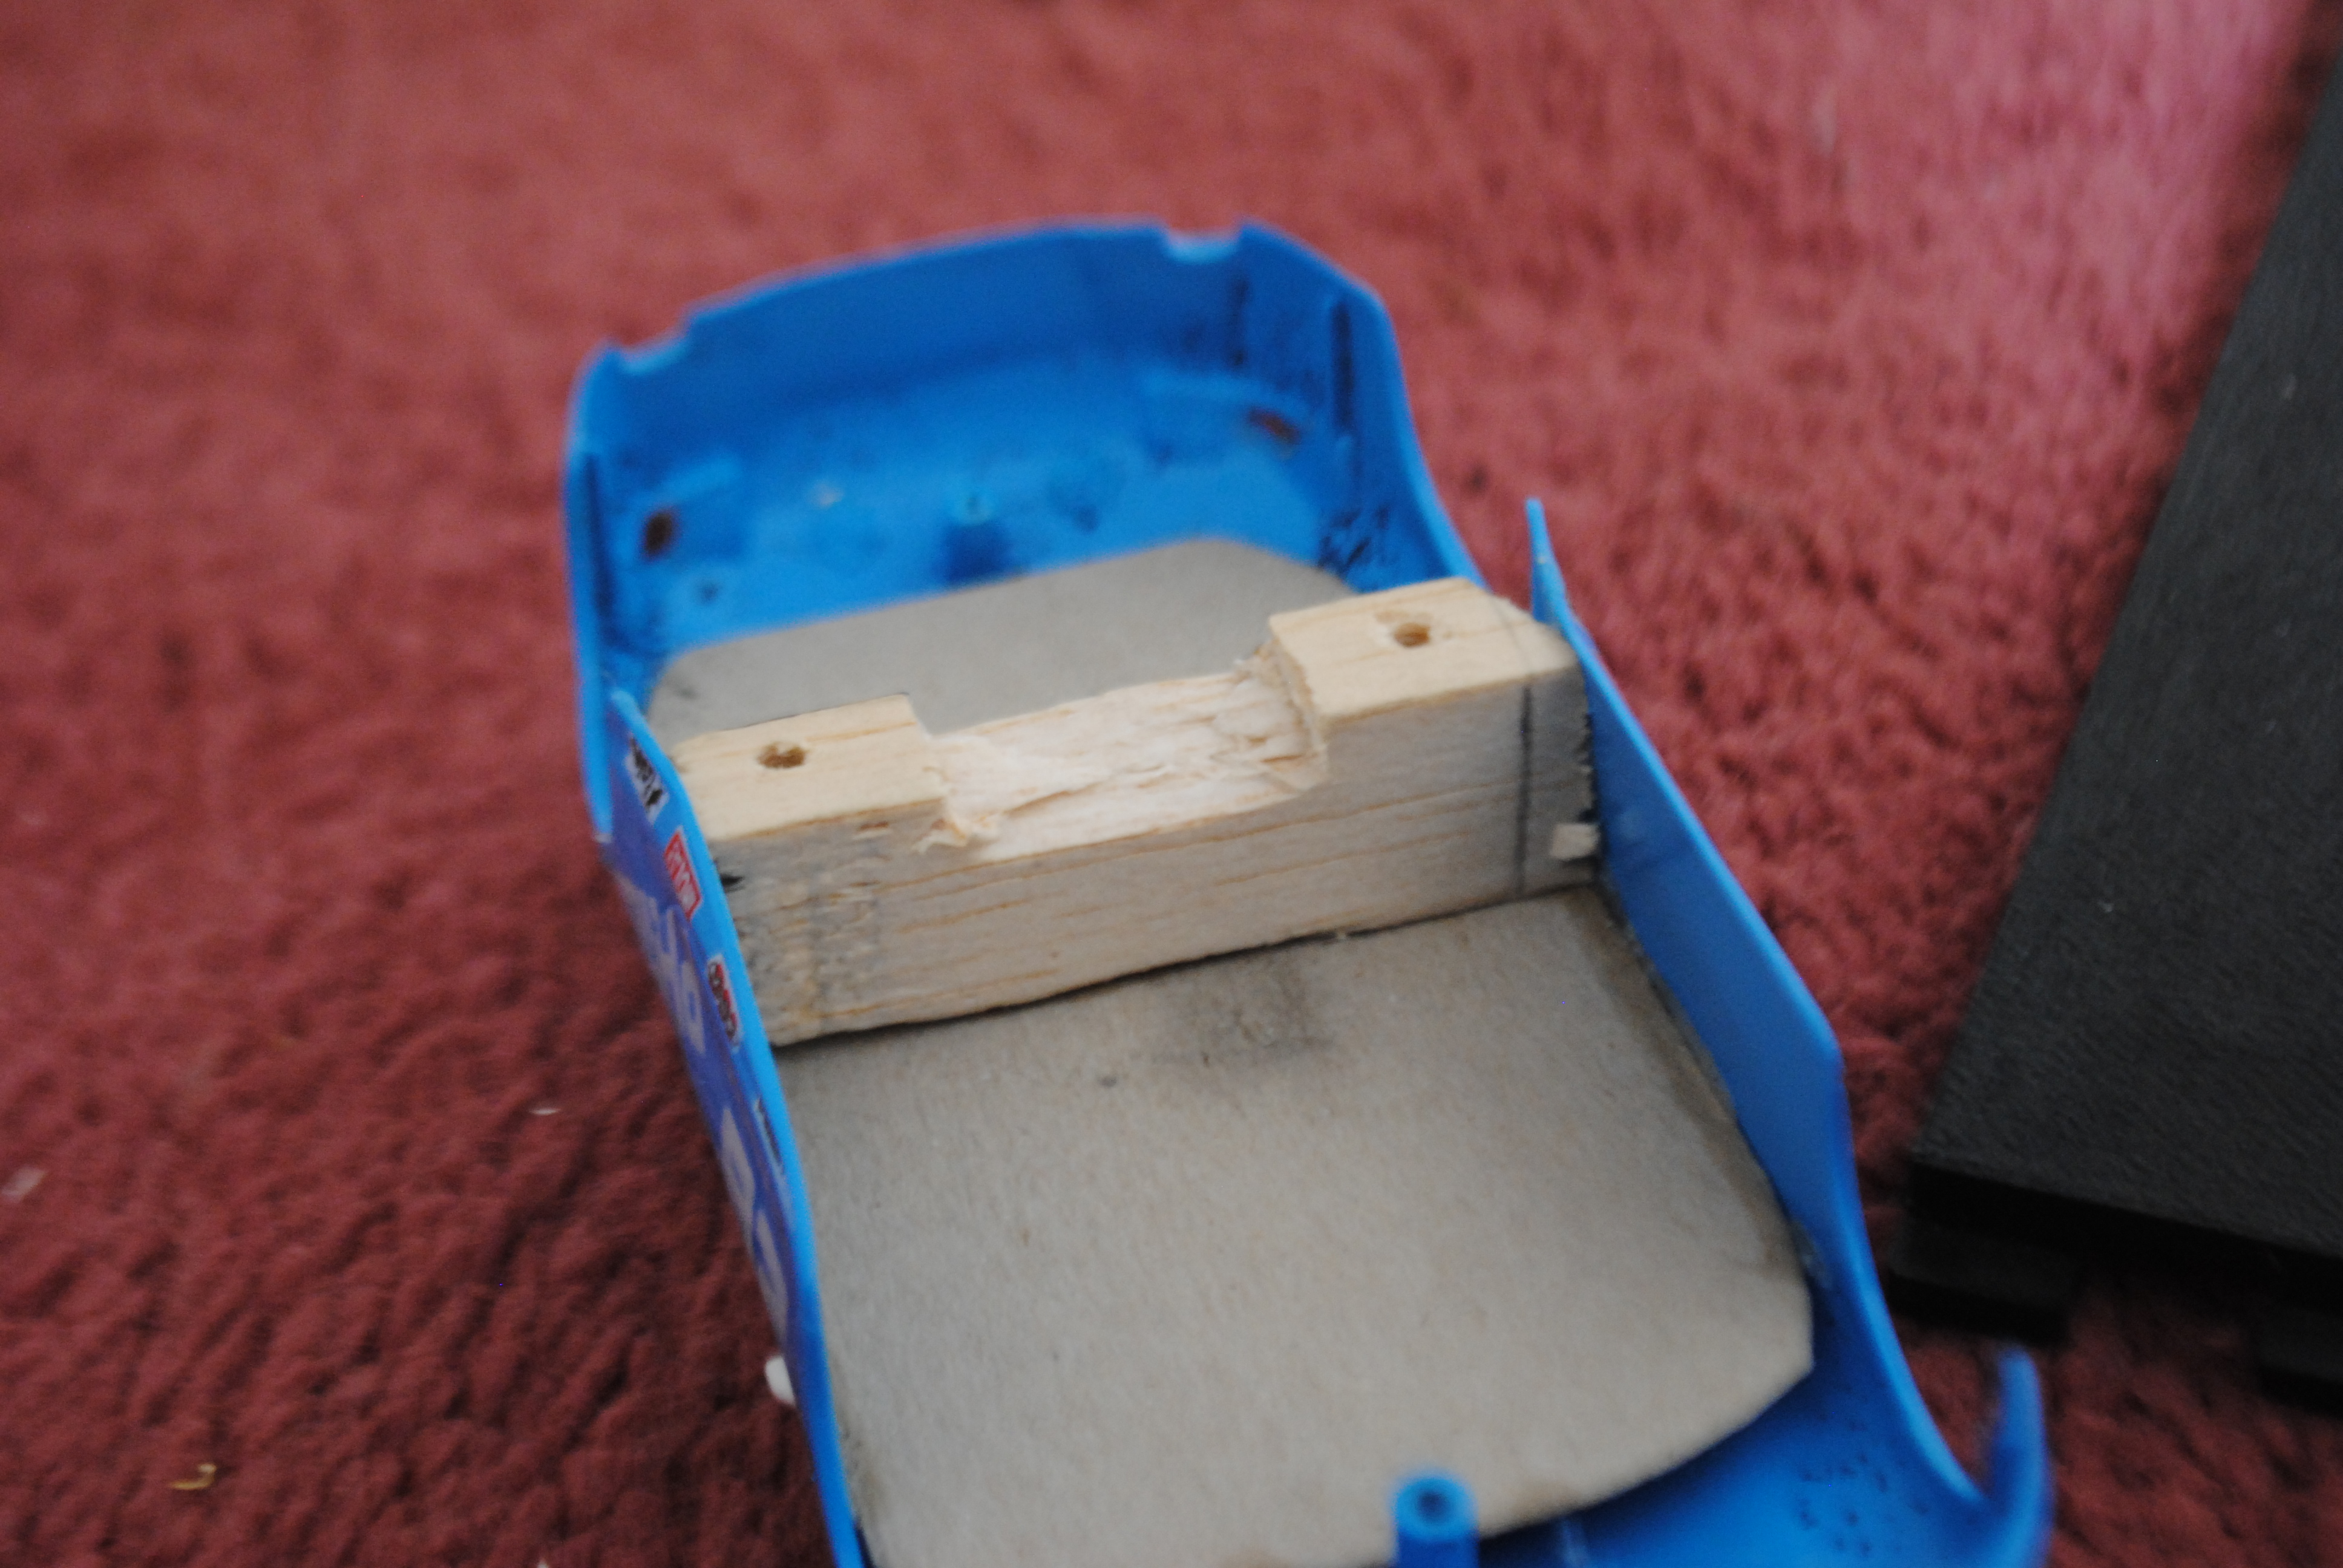
The rear end of the chassis would be mounted on a bit of wood which I made to go as close to the motor as I can to try to stop the brass section from acting like a spring board as the motor put it’s power down

Next step was cutting the brass to shape. It would over lap the front section so I could stick the pair together and then the original screw holes on the slot it motor mount would slot over the brass so I could screw them together.
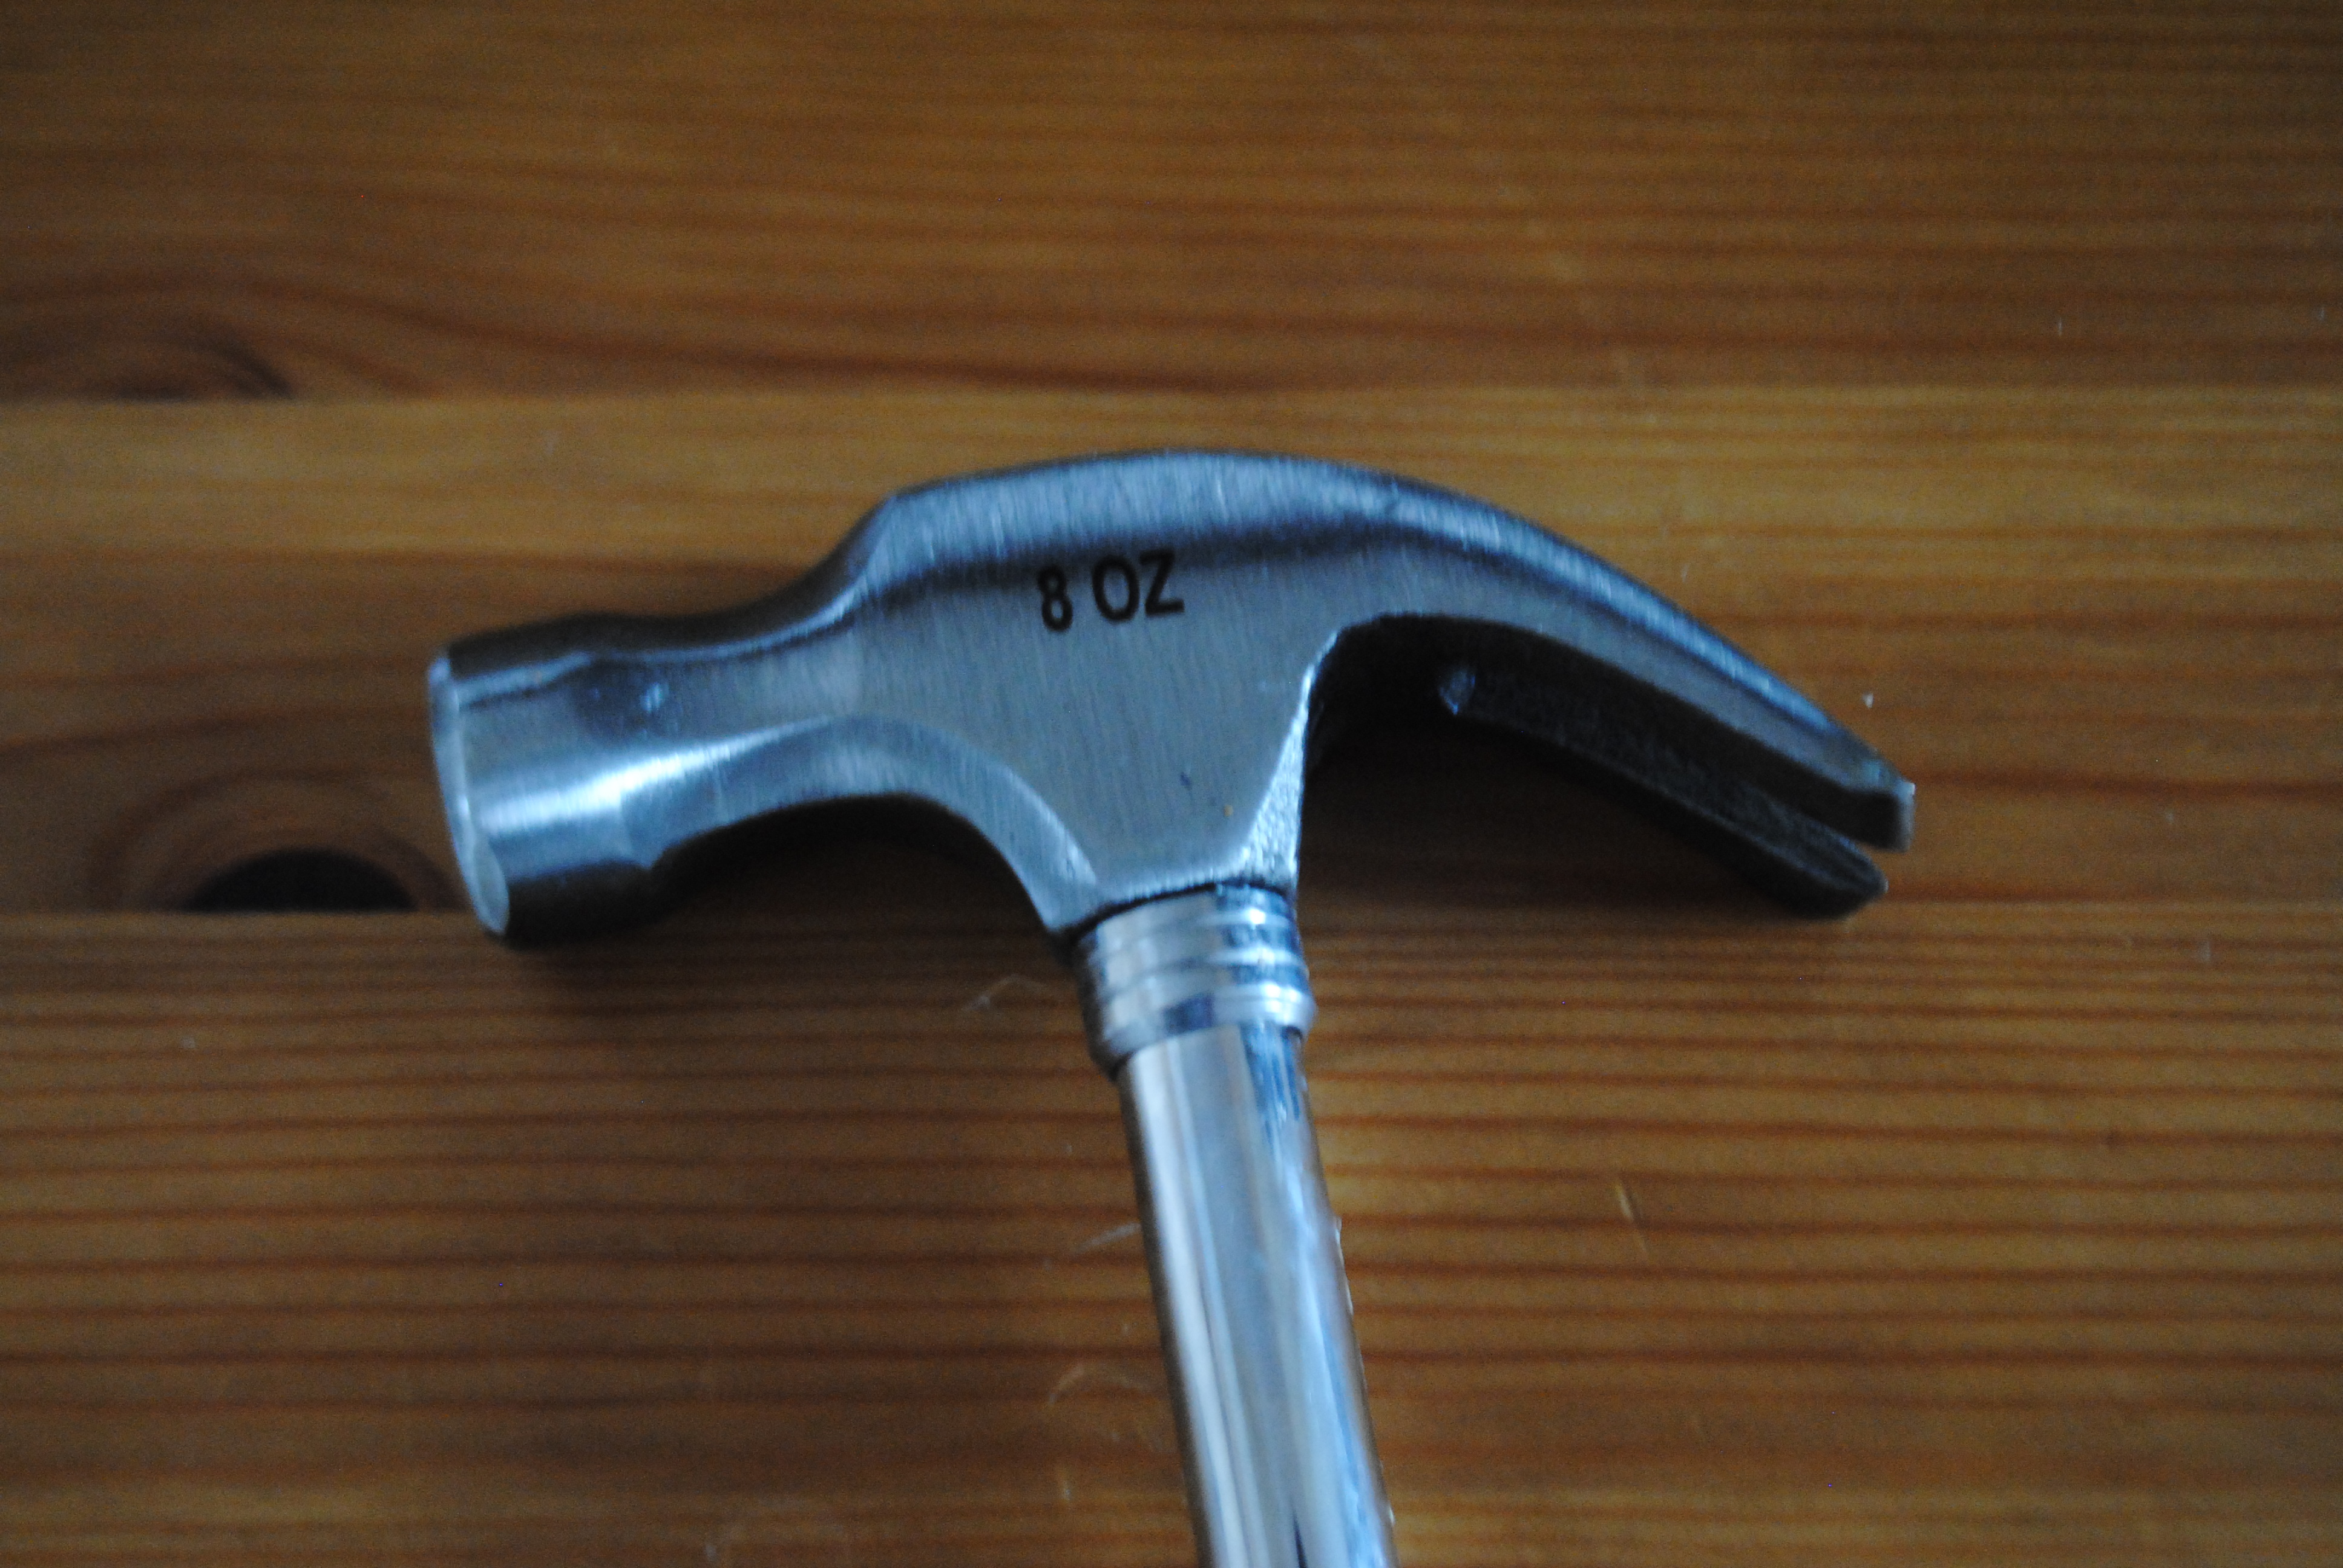
As you can see it wasn’t quite straight. Nothing my specialist tool couldn’t fix 😀
anddddd chassis and body together!
I put the motor mount up to the back of the chassis so I could find where to drill the holes for the mount to attach to the chassis. Even with screws though I don’t think it would be strong enough to hold the car together. So I used another section of brass to hold the motor to the chassis. Hopefully the double layering will give it a little bit more rigidity as well.
Messy, but it holds together. I needed it strengthening with a proper two part epoxy though.
Next job was to cut that can side motor shaft down to stop it rubbing on the tyre. Easy done, and it broke the connection between two of the sheets of brass which allowed to get in there to tidy it up before sticking them back together.
All that was left to do to get it running was wire it. Because that block of wood sat between the motor and the guide I had to cut a notch into it to allow the wires to pass through.
Easy enough. To make sure the wires would pass through the gap I simply sellotaped them to the floor pan of the car.
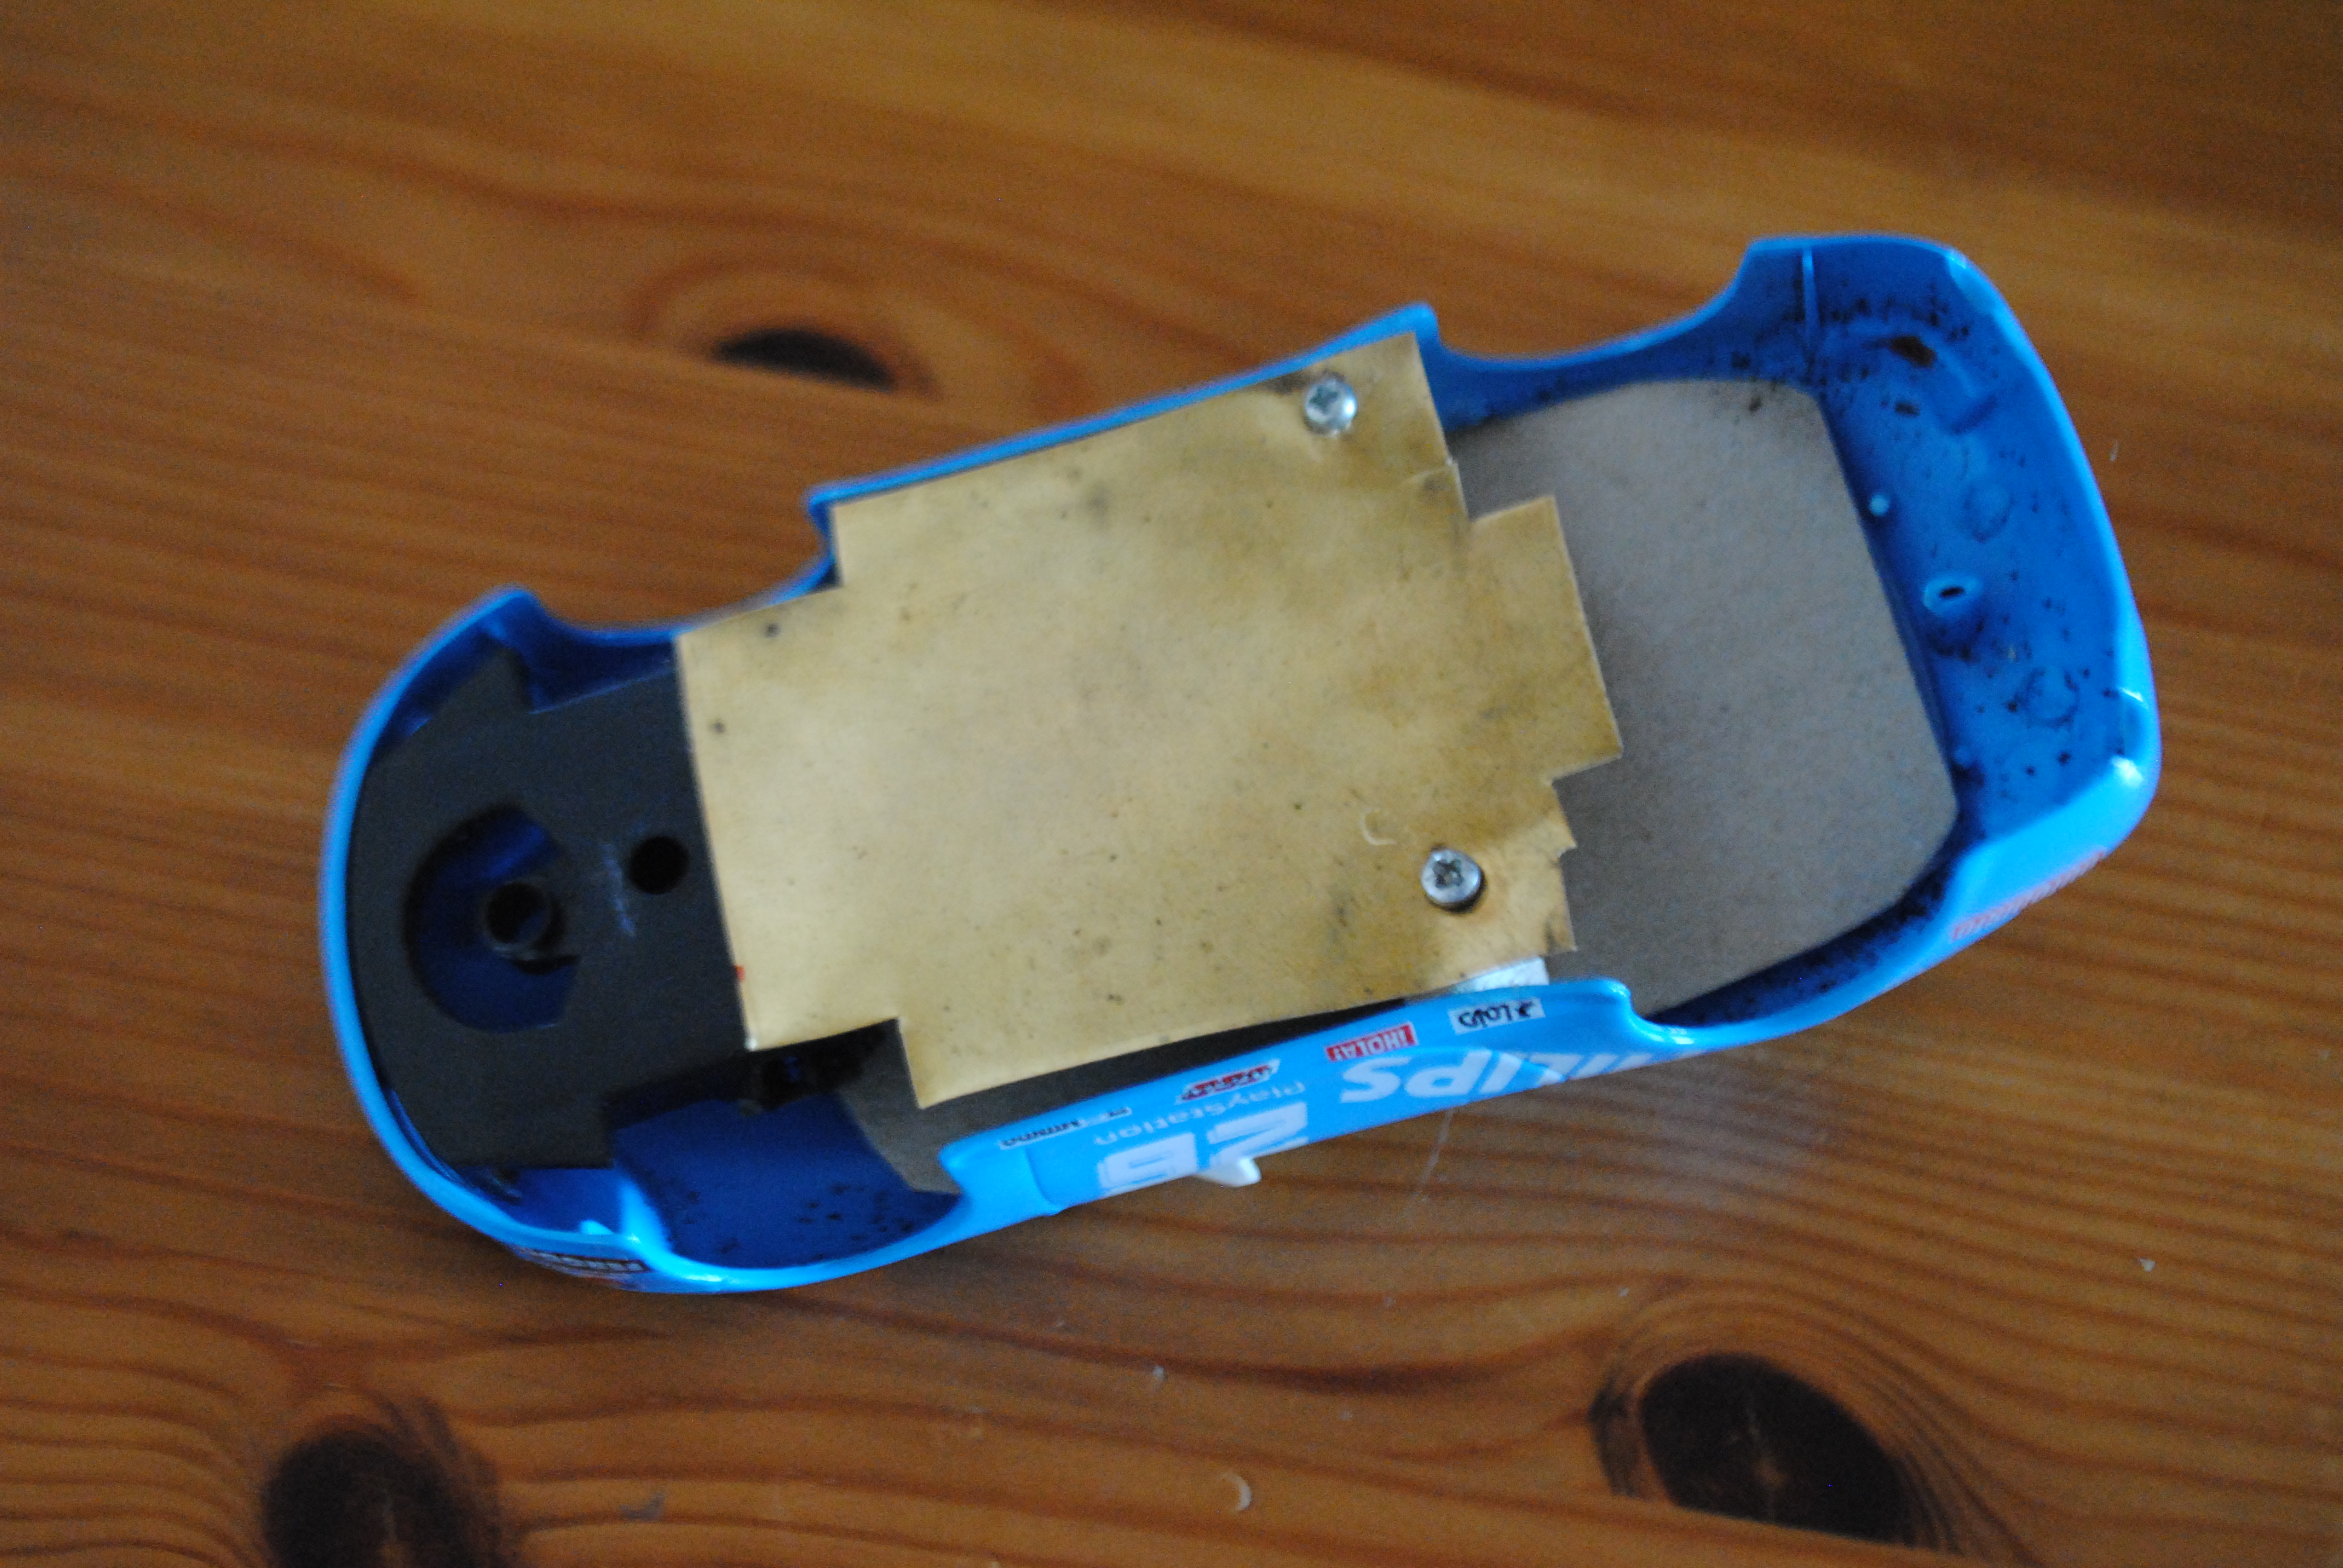
All that was left to do was to screw to chassis onto the body and that would be the initial build complete!
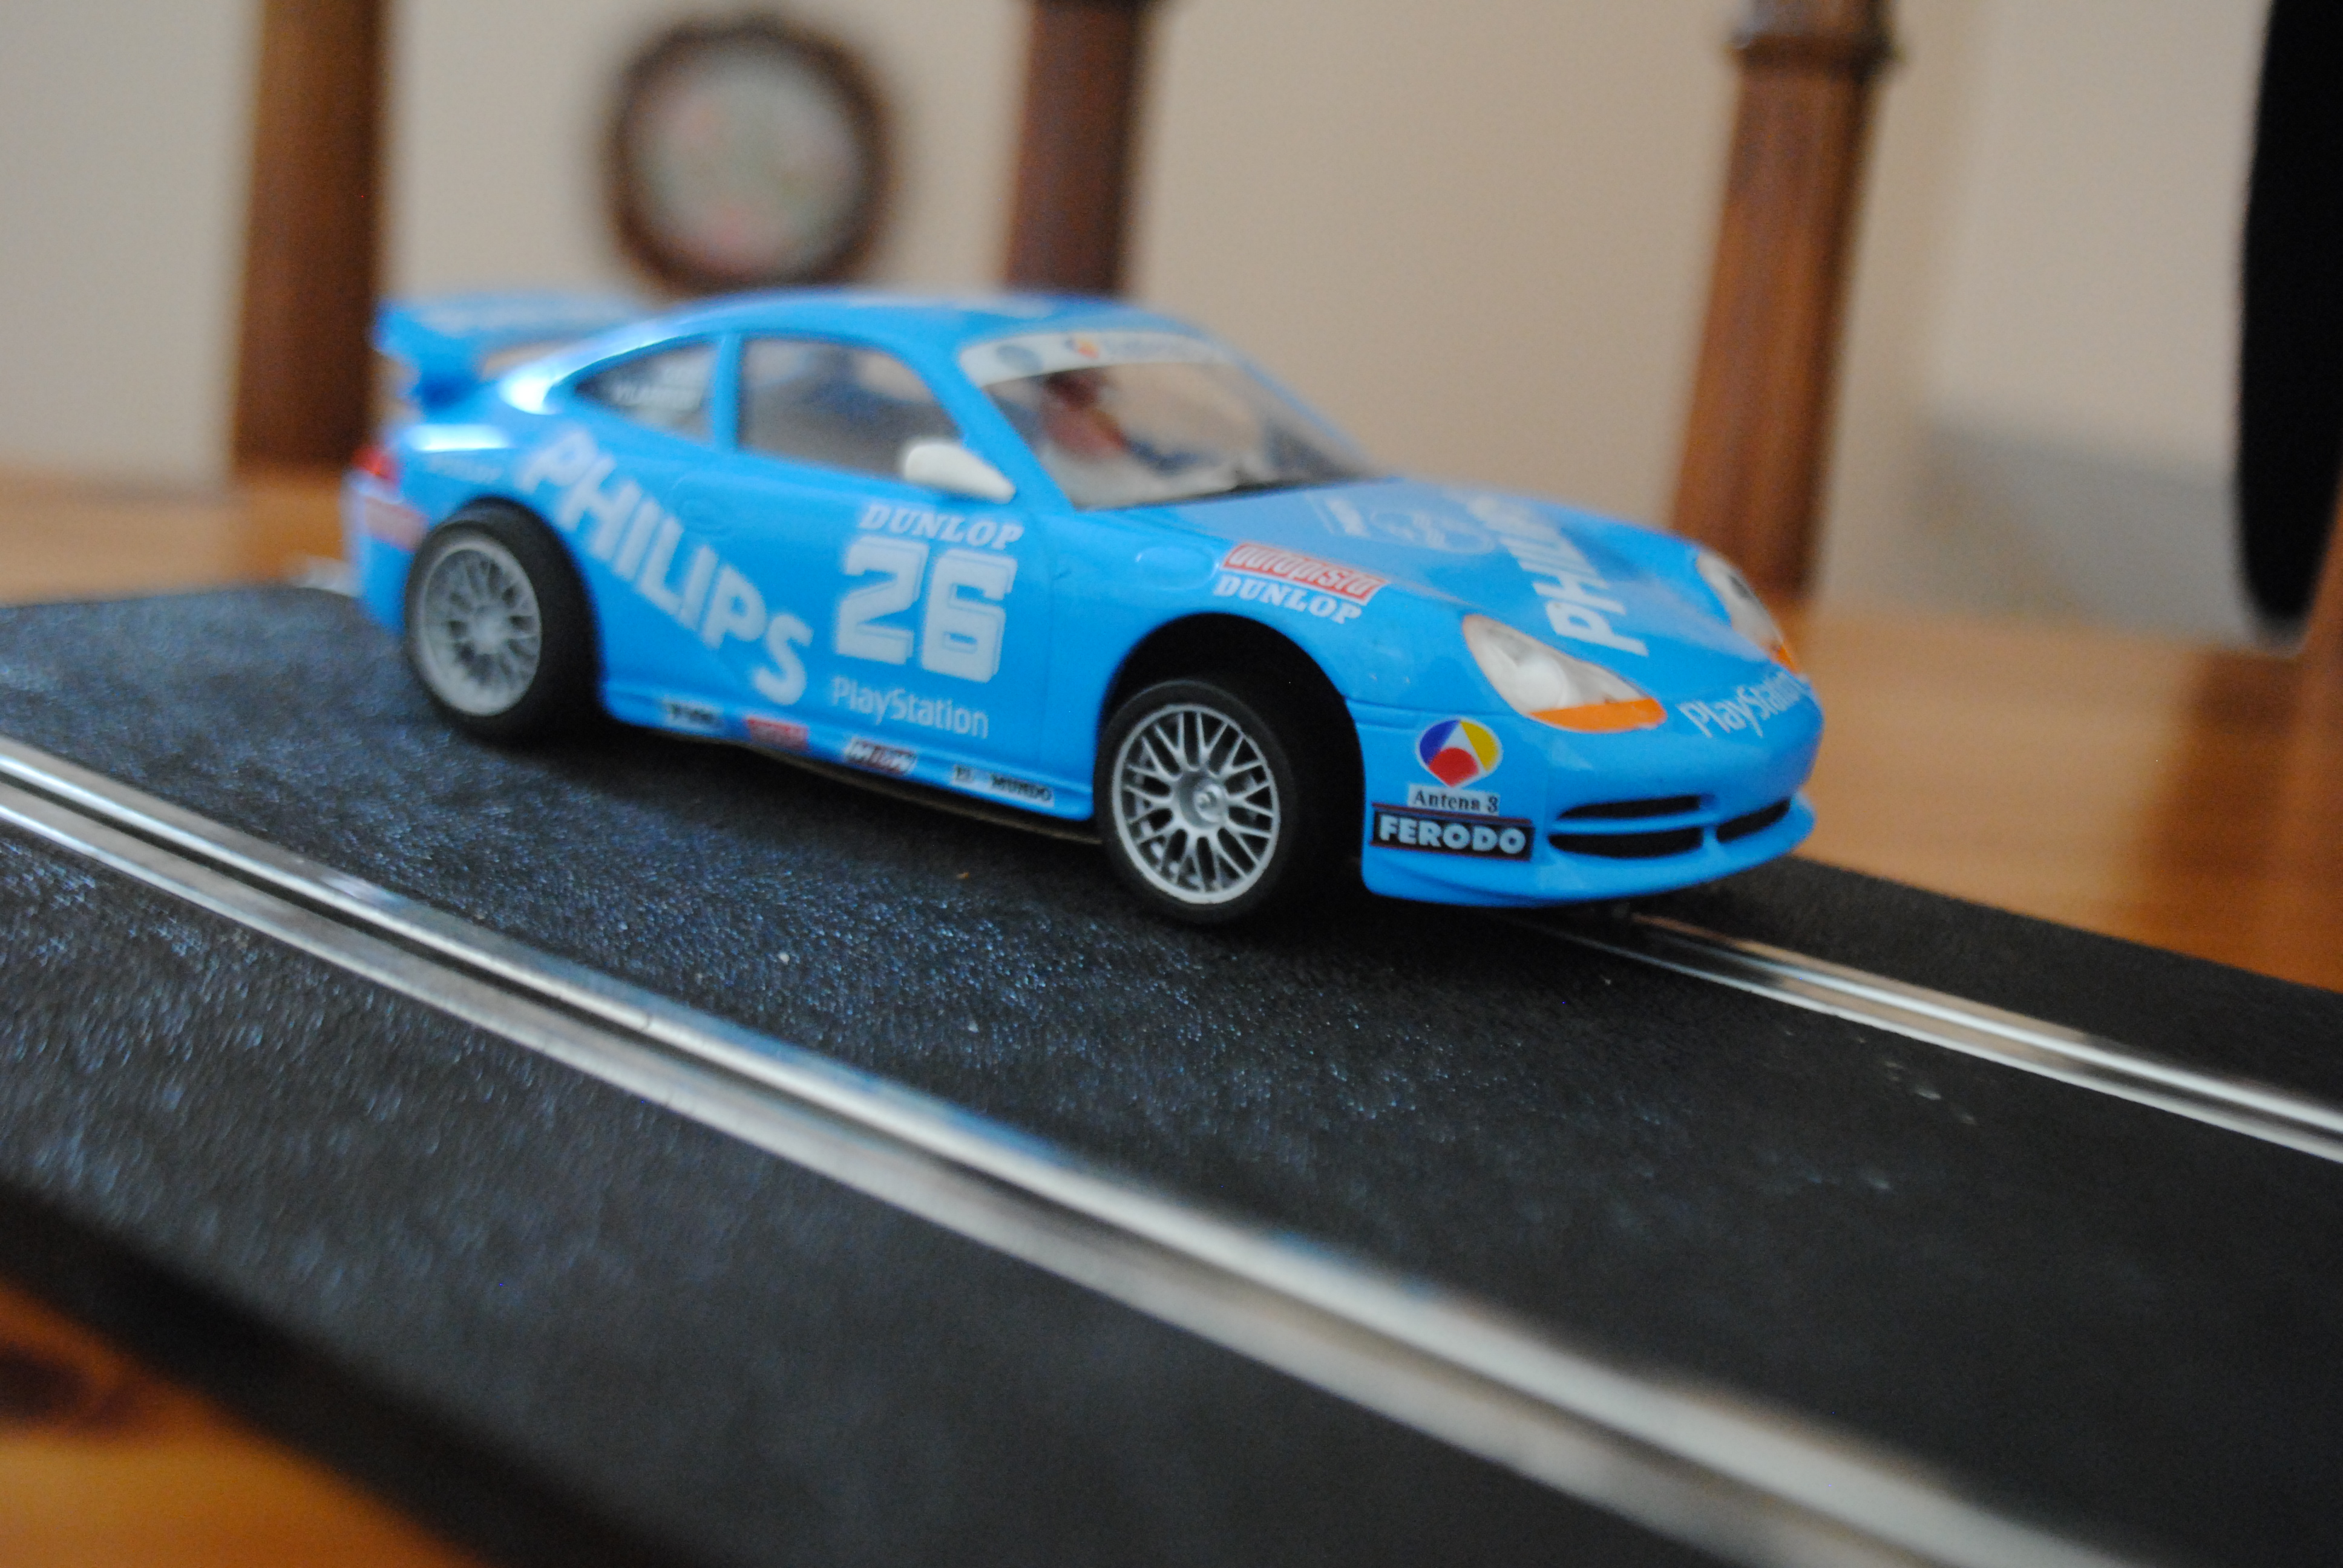
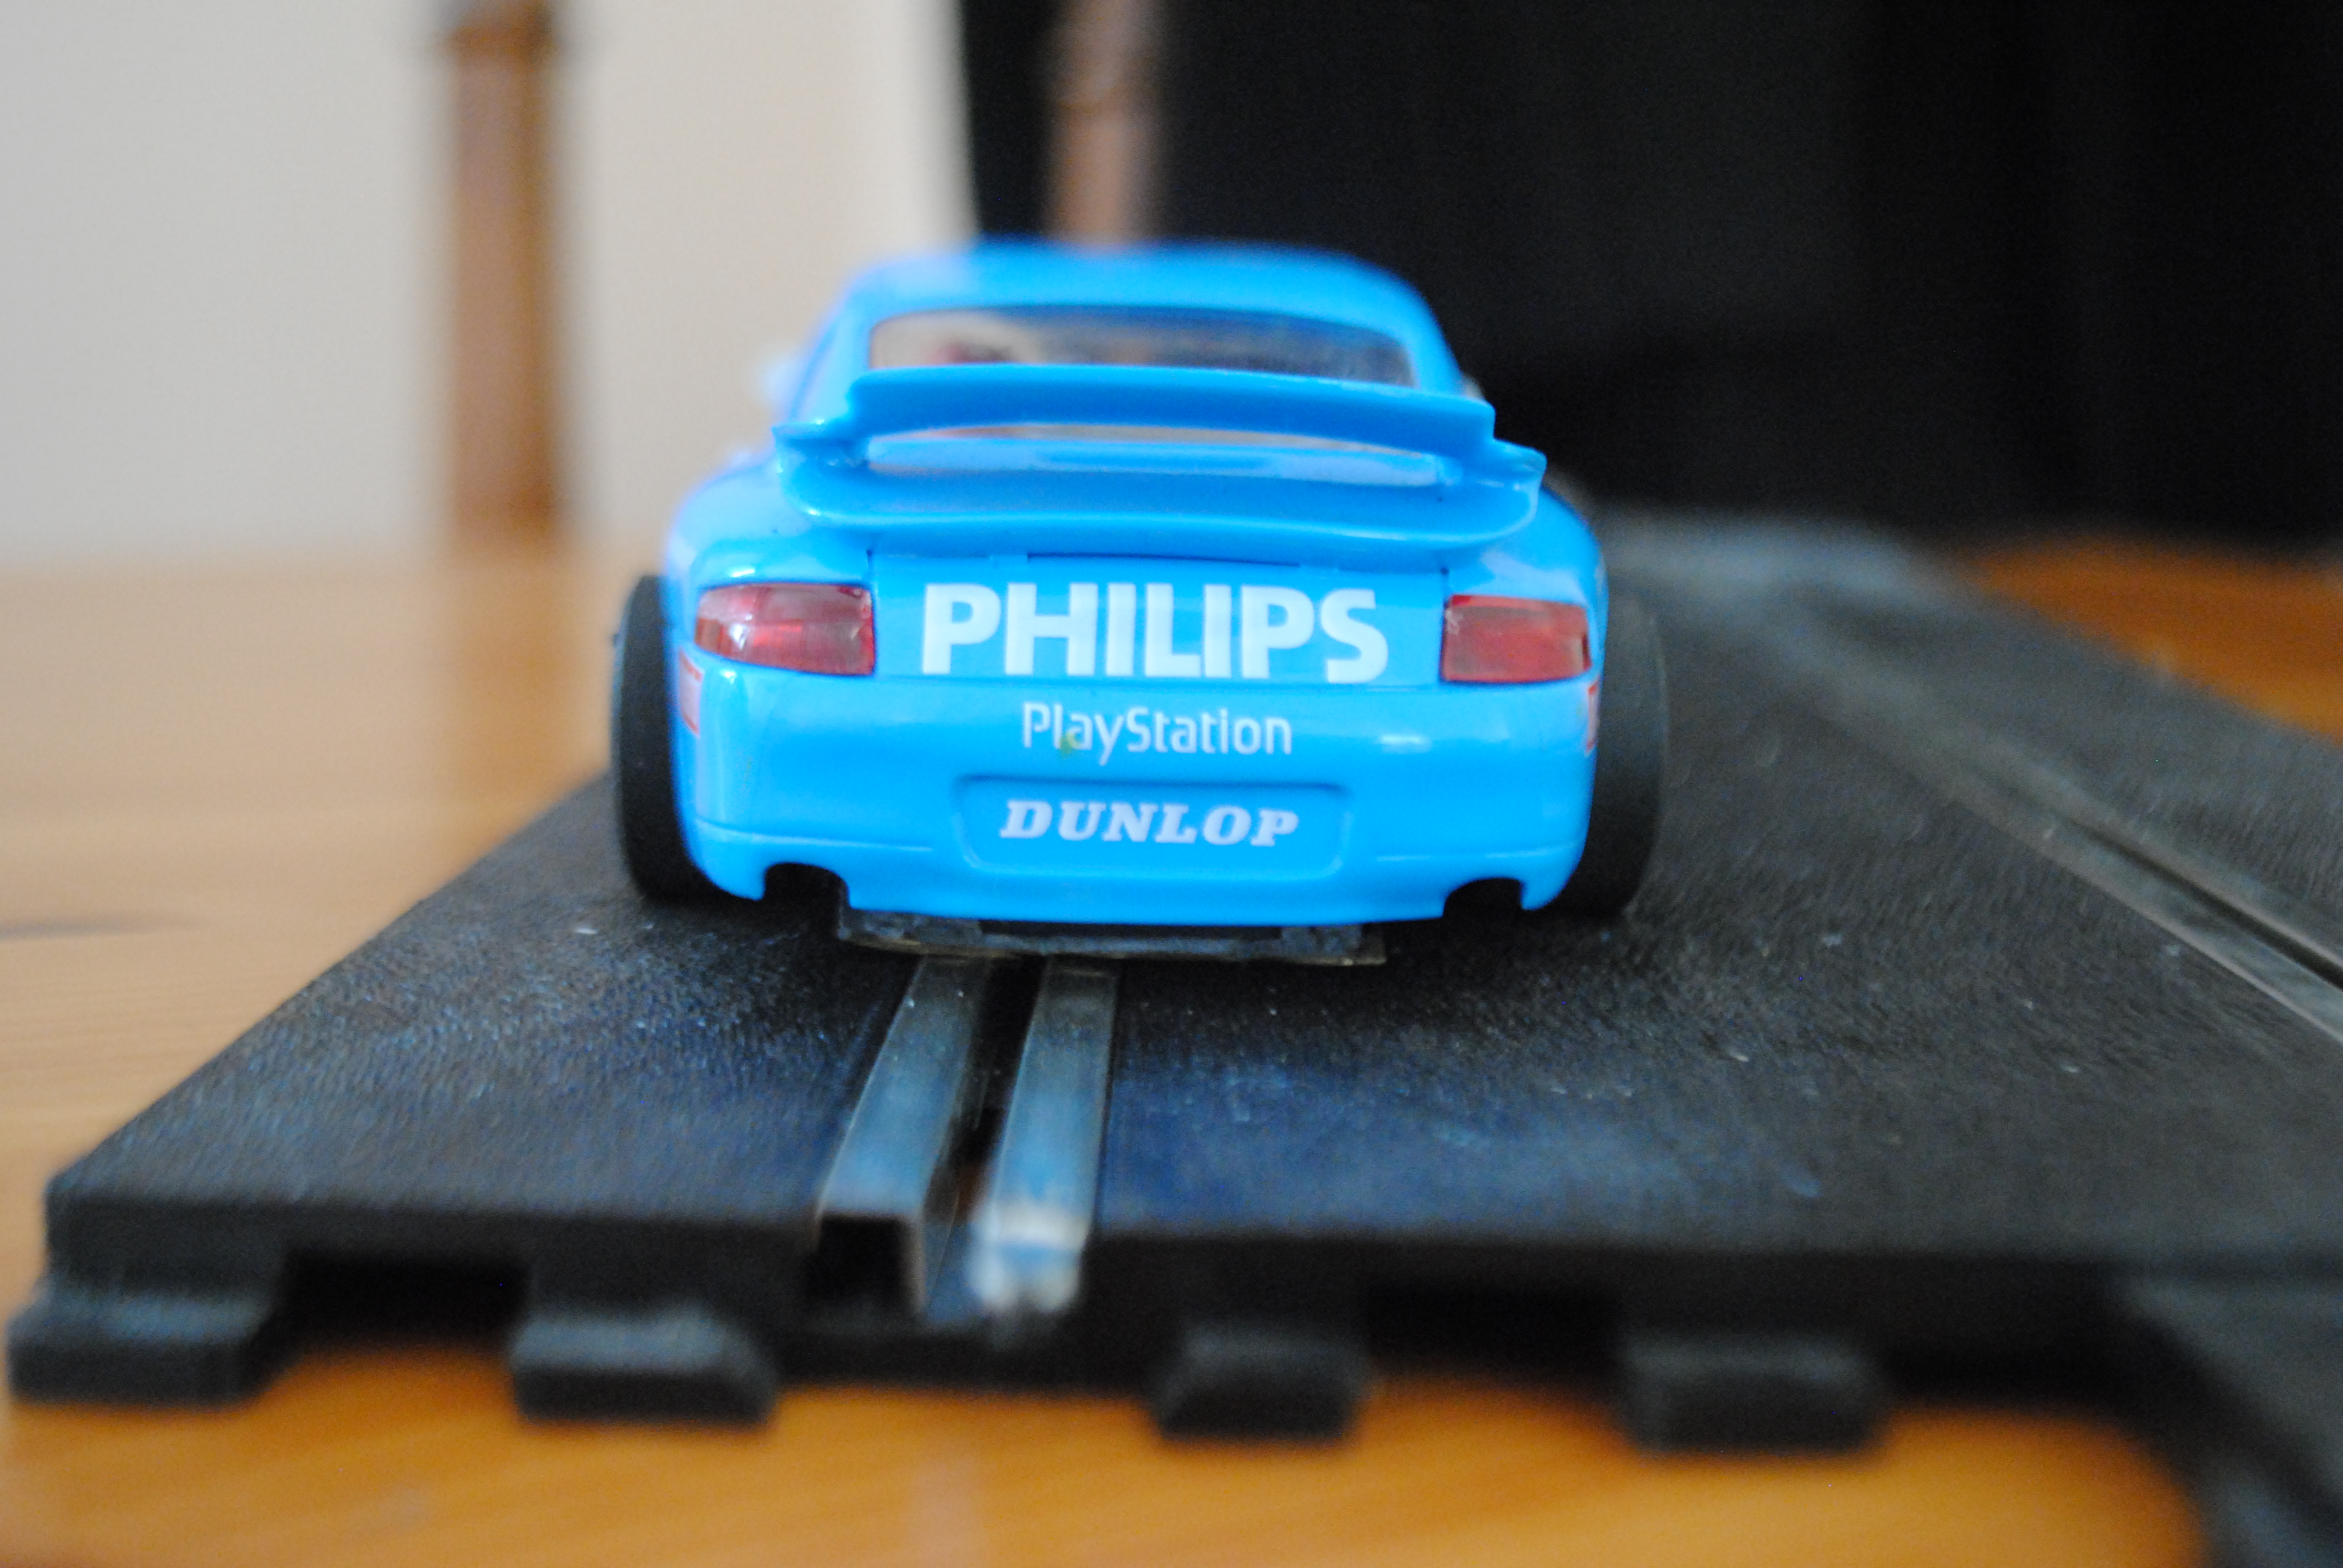
As you can see the front end is very light. I’ll add a couple of 5g lead weights in the front of the car to hopefully pull the front down a bit. I’ll go back over the joins between the brass sections of the chassis preferably with JB weld or silver solder. I’ve not learnt to weld with silver solder before so this might be a good excuse! Silver solder is super important to making proper space frames for scratch built slot cars and, although my first attempt at scratch building hasn’t been great I would like to get better at it! The kits are fun but scratch building is the way forward.
1 Comment