

W.O Bentley was one of those chaps who believed there was ‘no replacement for displacement’, if he needed a faster car he would simply build a bigger engine. In his own words “To supercharge a Bentley engine was to pervert it’s design and corrupt it’s performance”. However, the majority of teams across Europe were finding you could achieve better performance with a smaller, super charged engine in a smaller and lighter platform whilst The Bentley Boys were racing in these massive 6.5 litre Bentley Speed Sixes. Ettore Bugatti once famously referred to the Bentleys as the “world’s fastest lorries”.
The Bentley Boys were a large group of upper class enthusiasts who would race Bentleys across the continent with the support of the factory. One of The Bentley Boys, Tim Birkin approached Bentley with the idea of supercharging a 4.5 litre car. Bentley refused and so Birkin took to developing the car himself.
The car Birkin produced first raced at the Essex 6 hour race at Brooklands but was unreliable. W.O was certainly not impressed but financial pressure from a majority shareholder and another one of The Bentley Boys, Woolf Barnato, forced Bentley into producing the 50 cars required to allow a car to race at LeMans.
In the end Birkin produced 5 racing cars. The original Brooklands car was further developed and 3 more road going cars were modified for LeMans with a 4th as a reserve car.
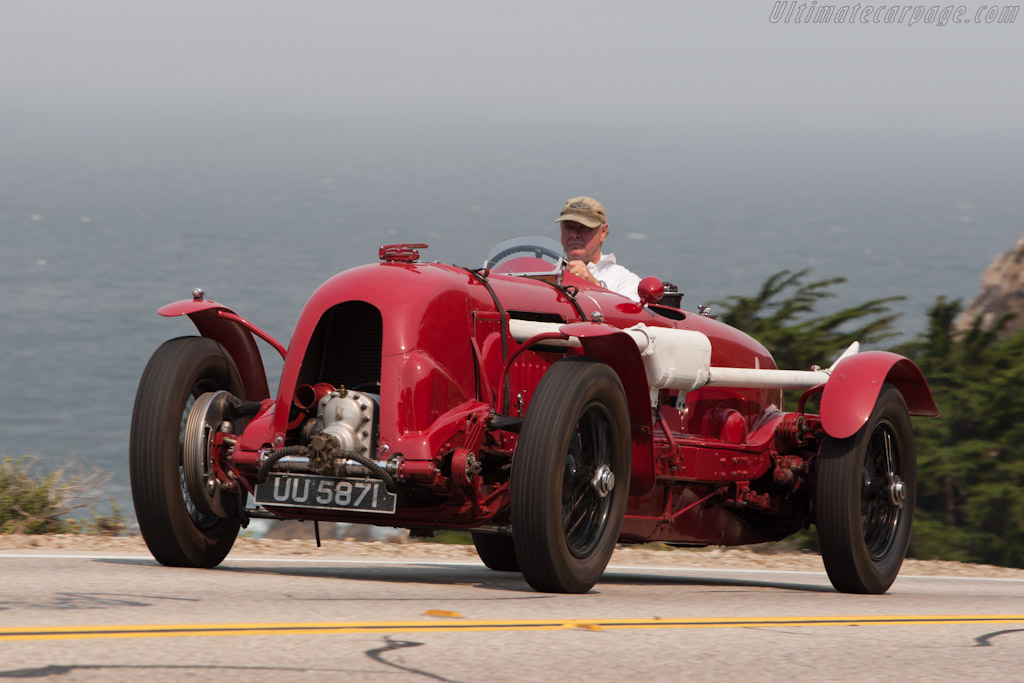
(photo credit Ultimate Car Page)
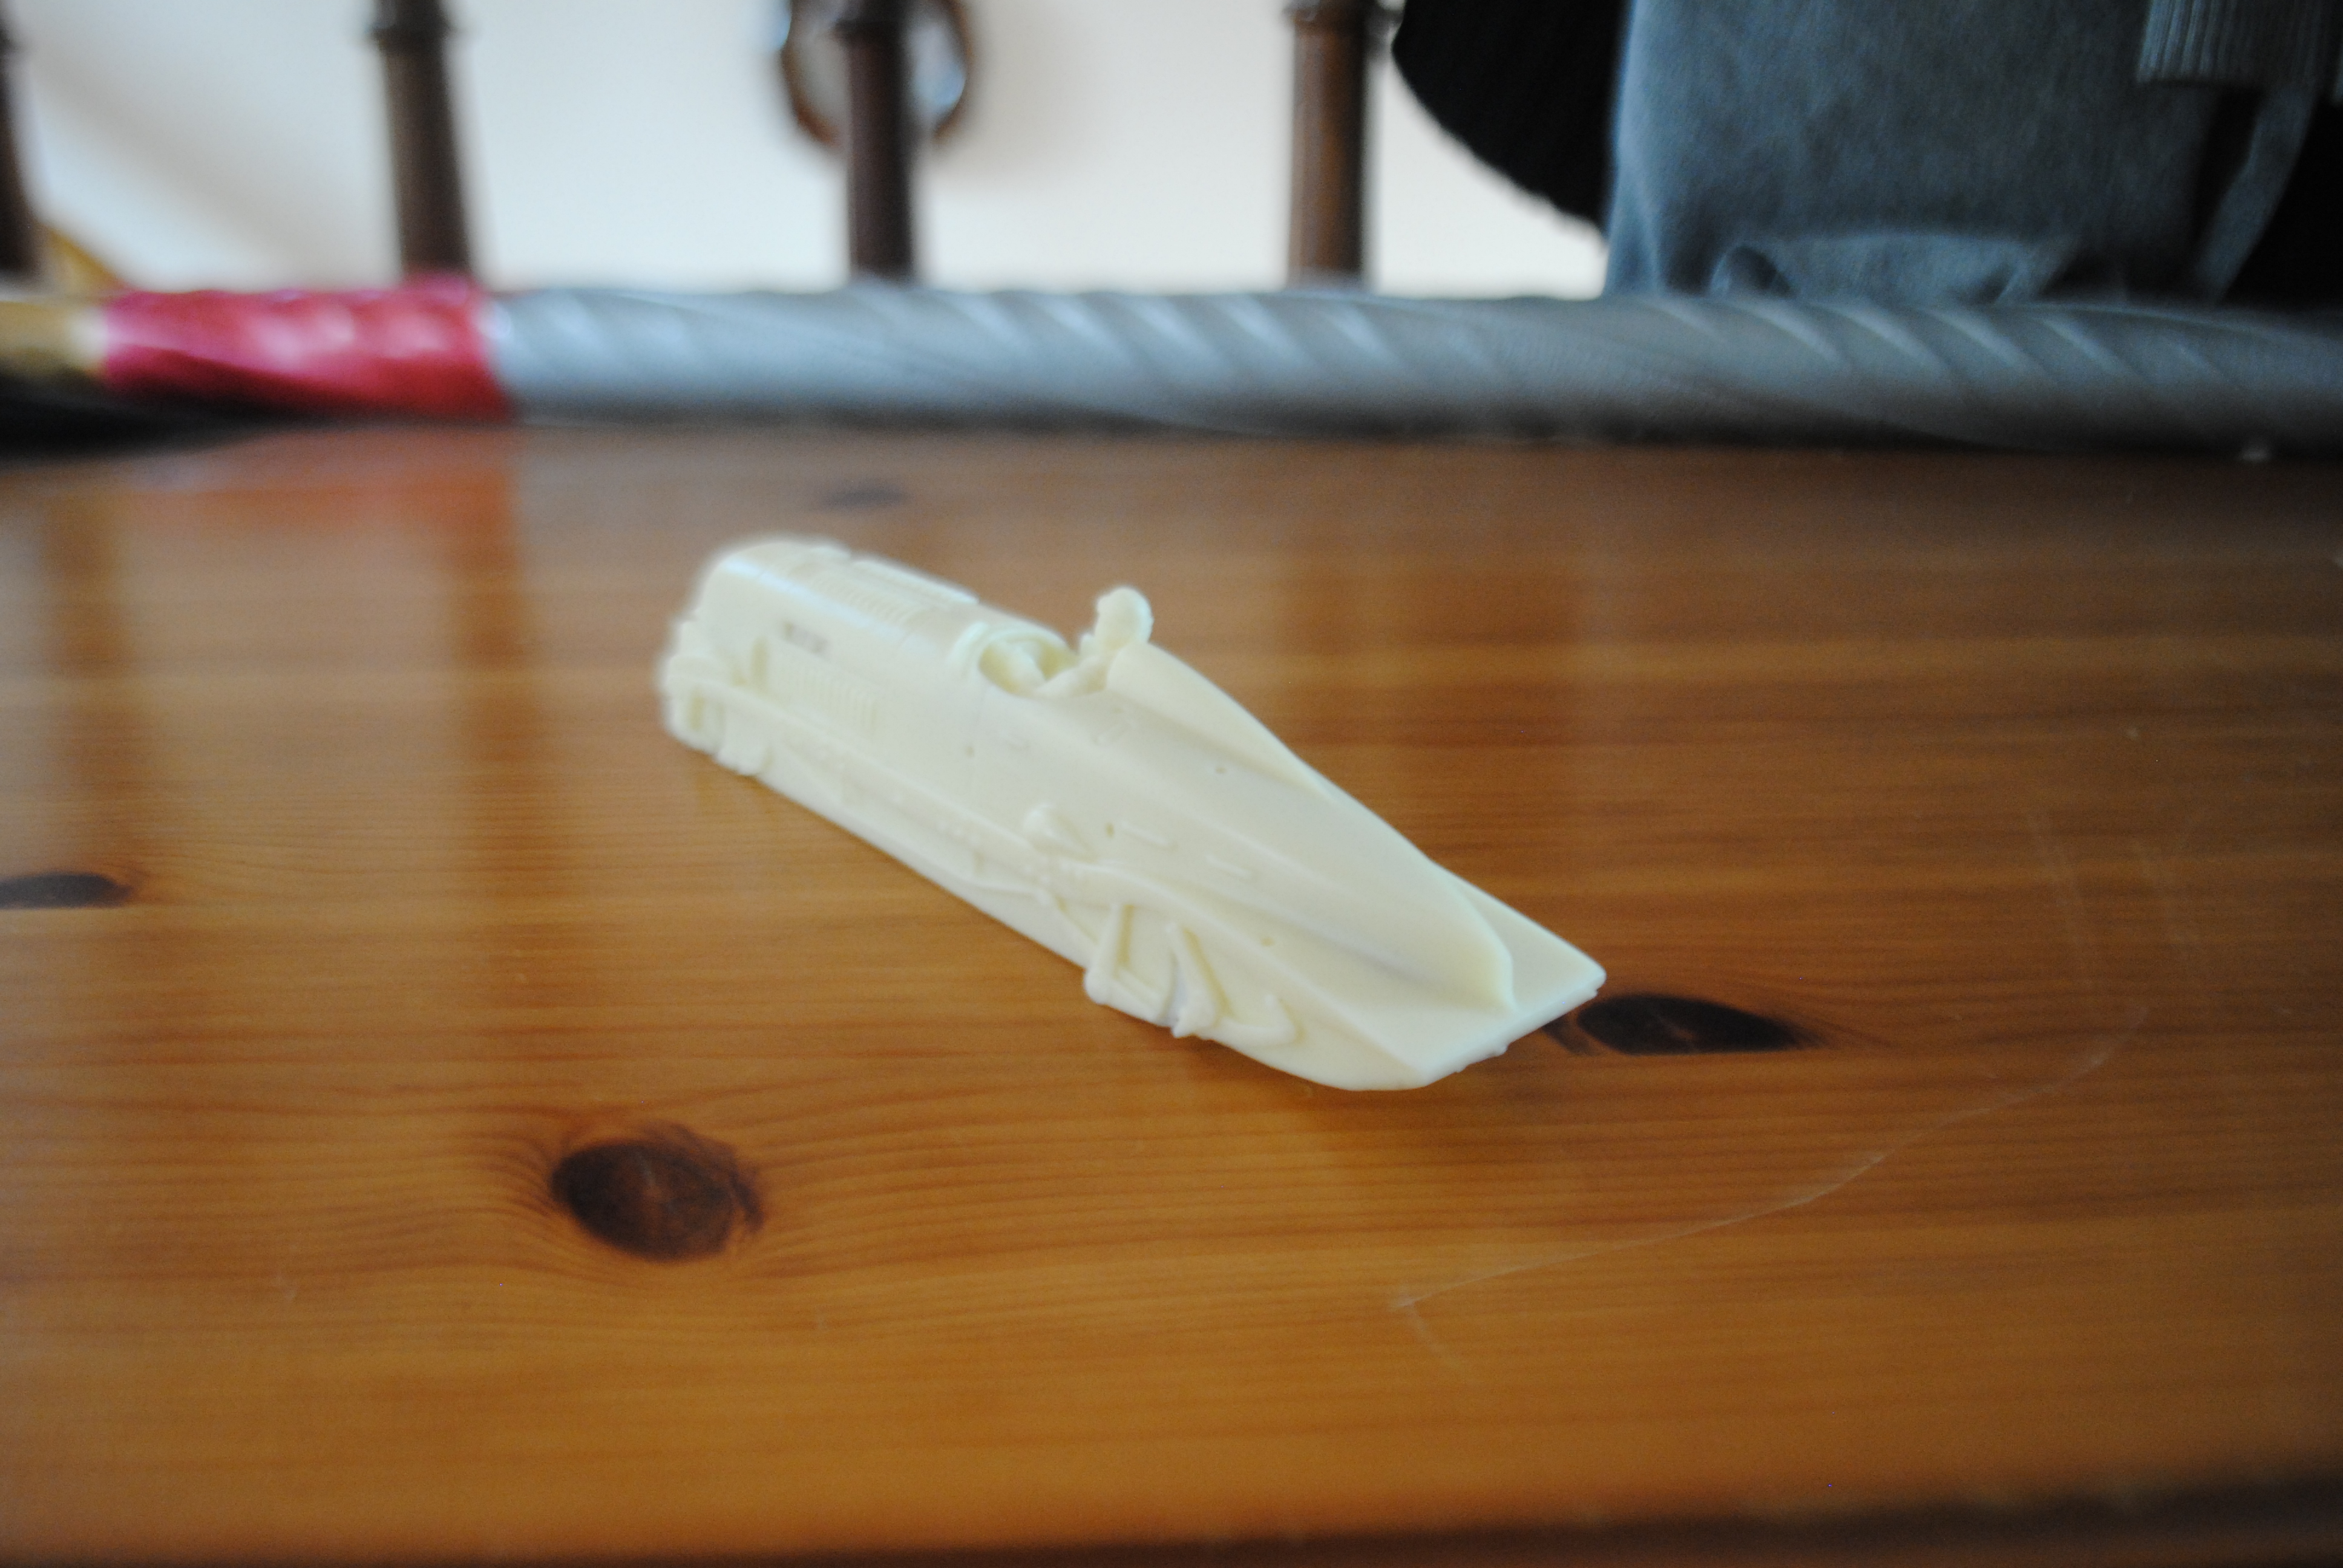
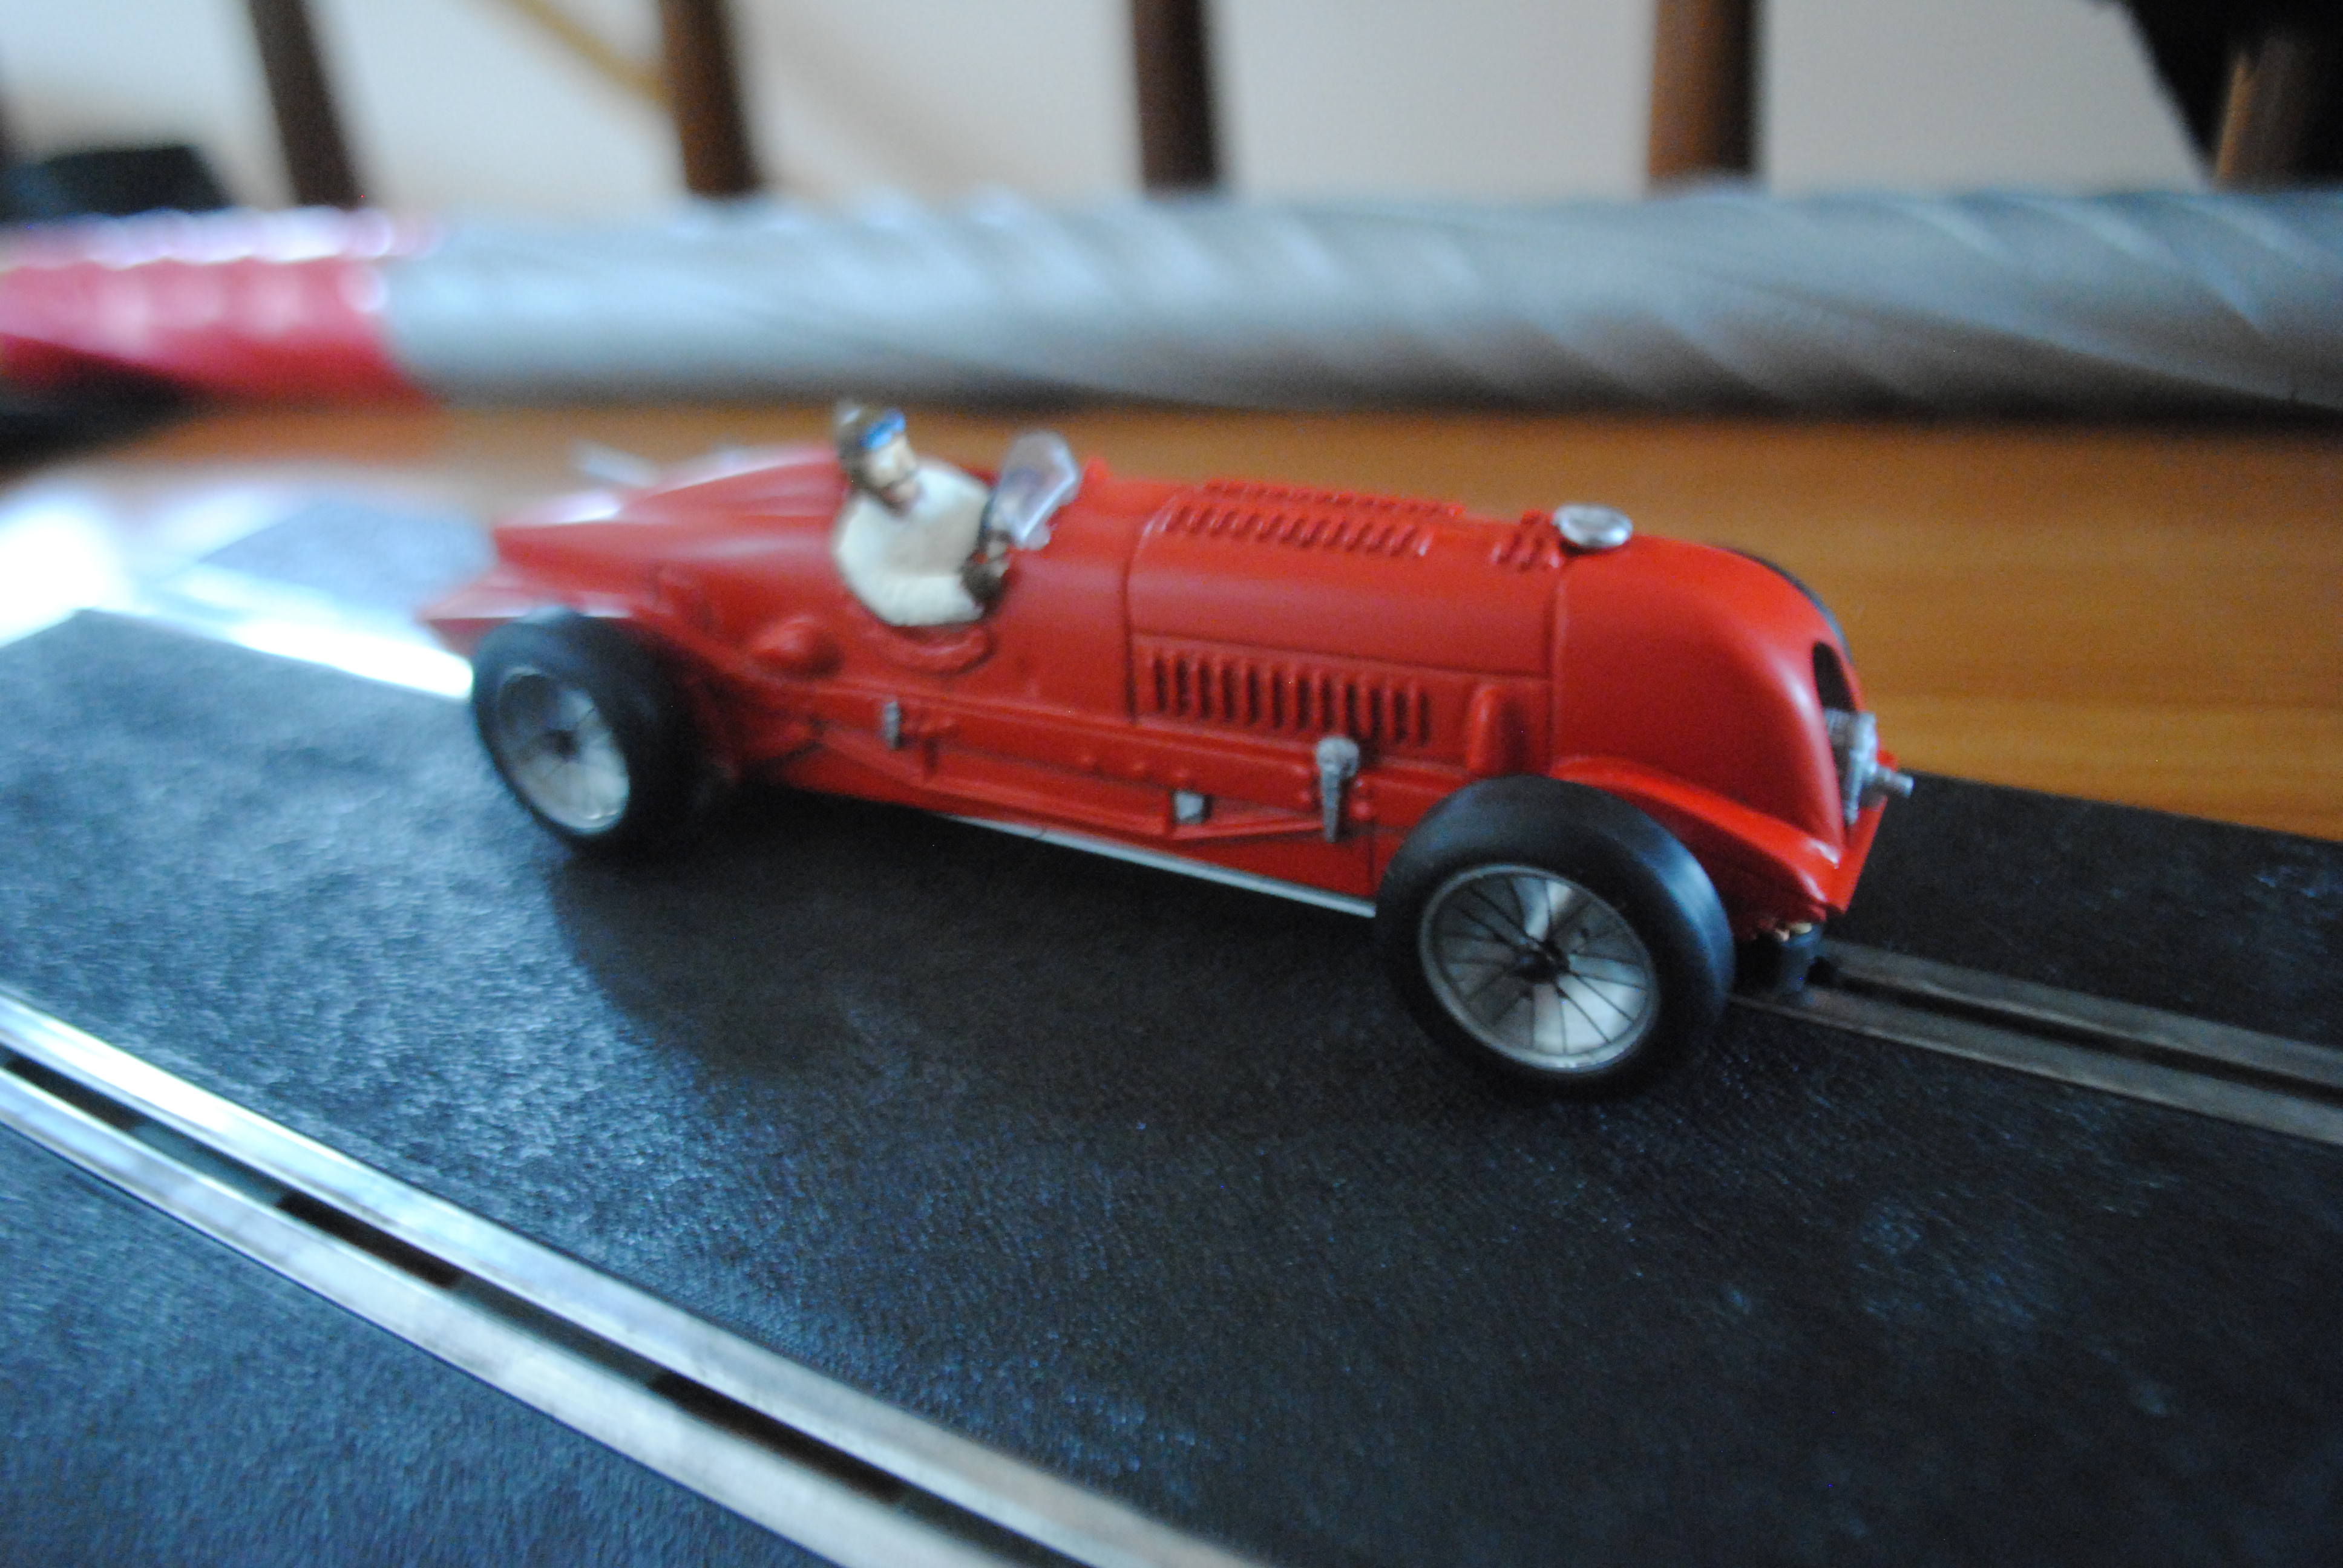
Slot car manufacturer Penelope Pitlane has created kits of both the Brooklands car and the LeMans car(s). Today we will be building the Brooklands car!
As with all Penelope Pitlane kits the car is made of resin with a brass fold up chassis, alloy wheels and with addition of white metal details such as the supercharger and exhaust.
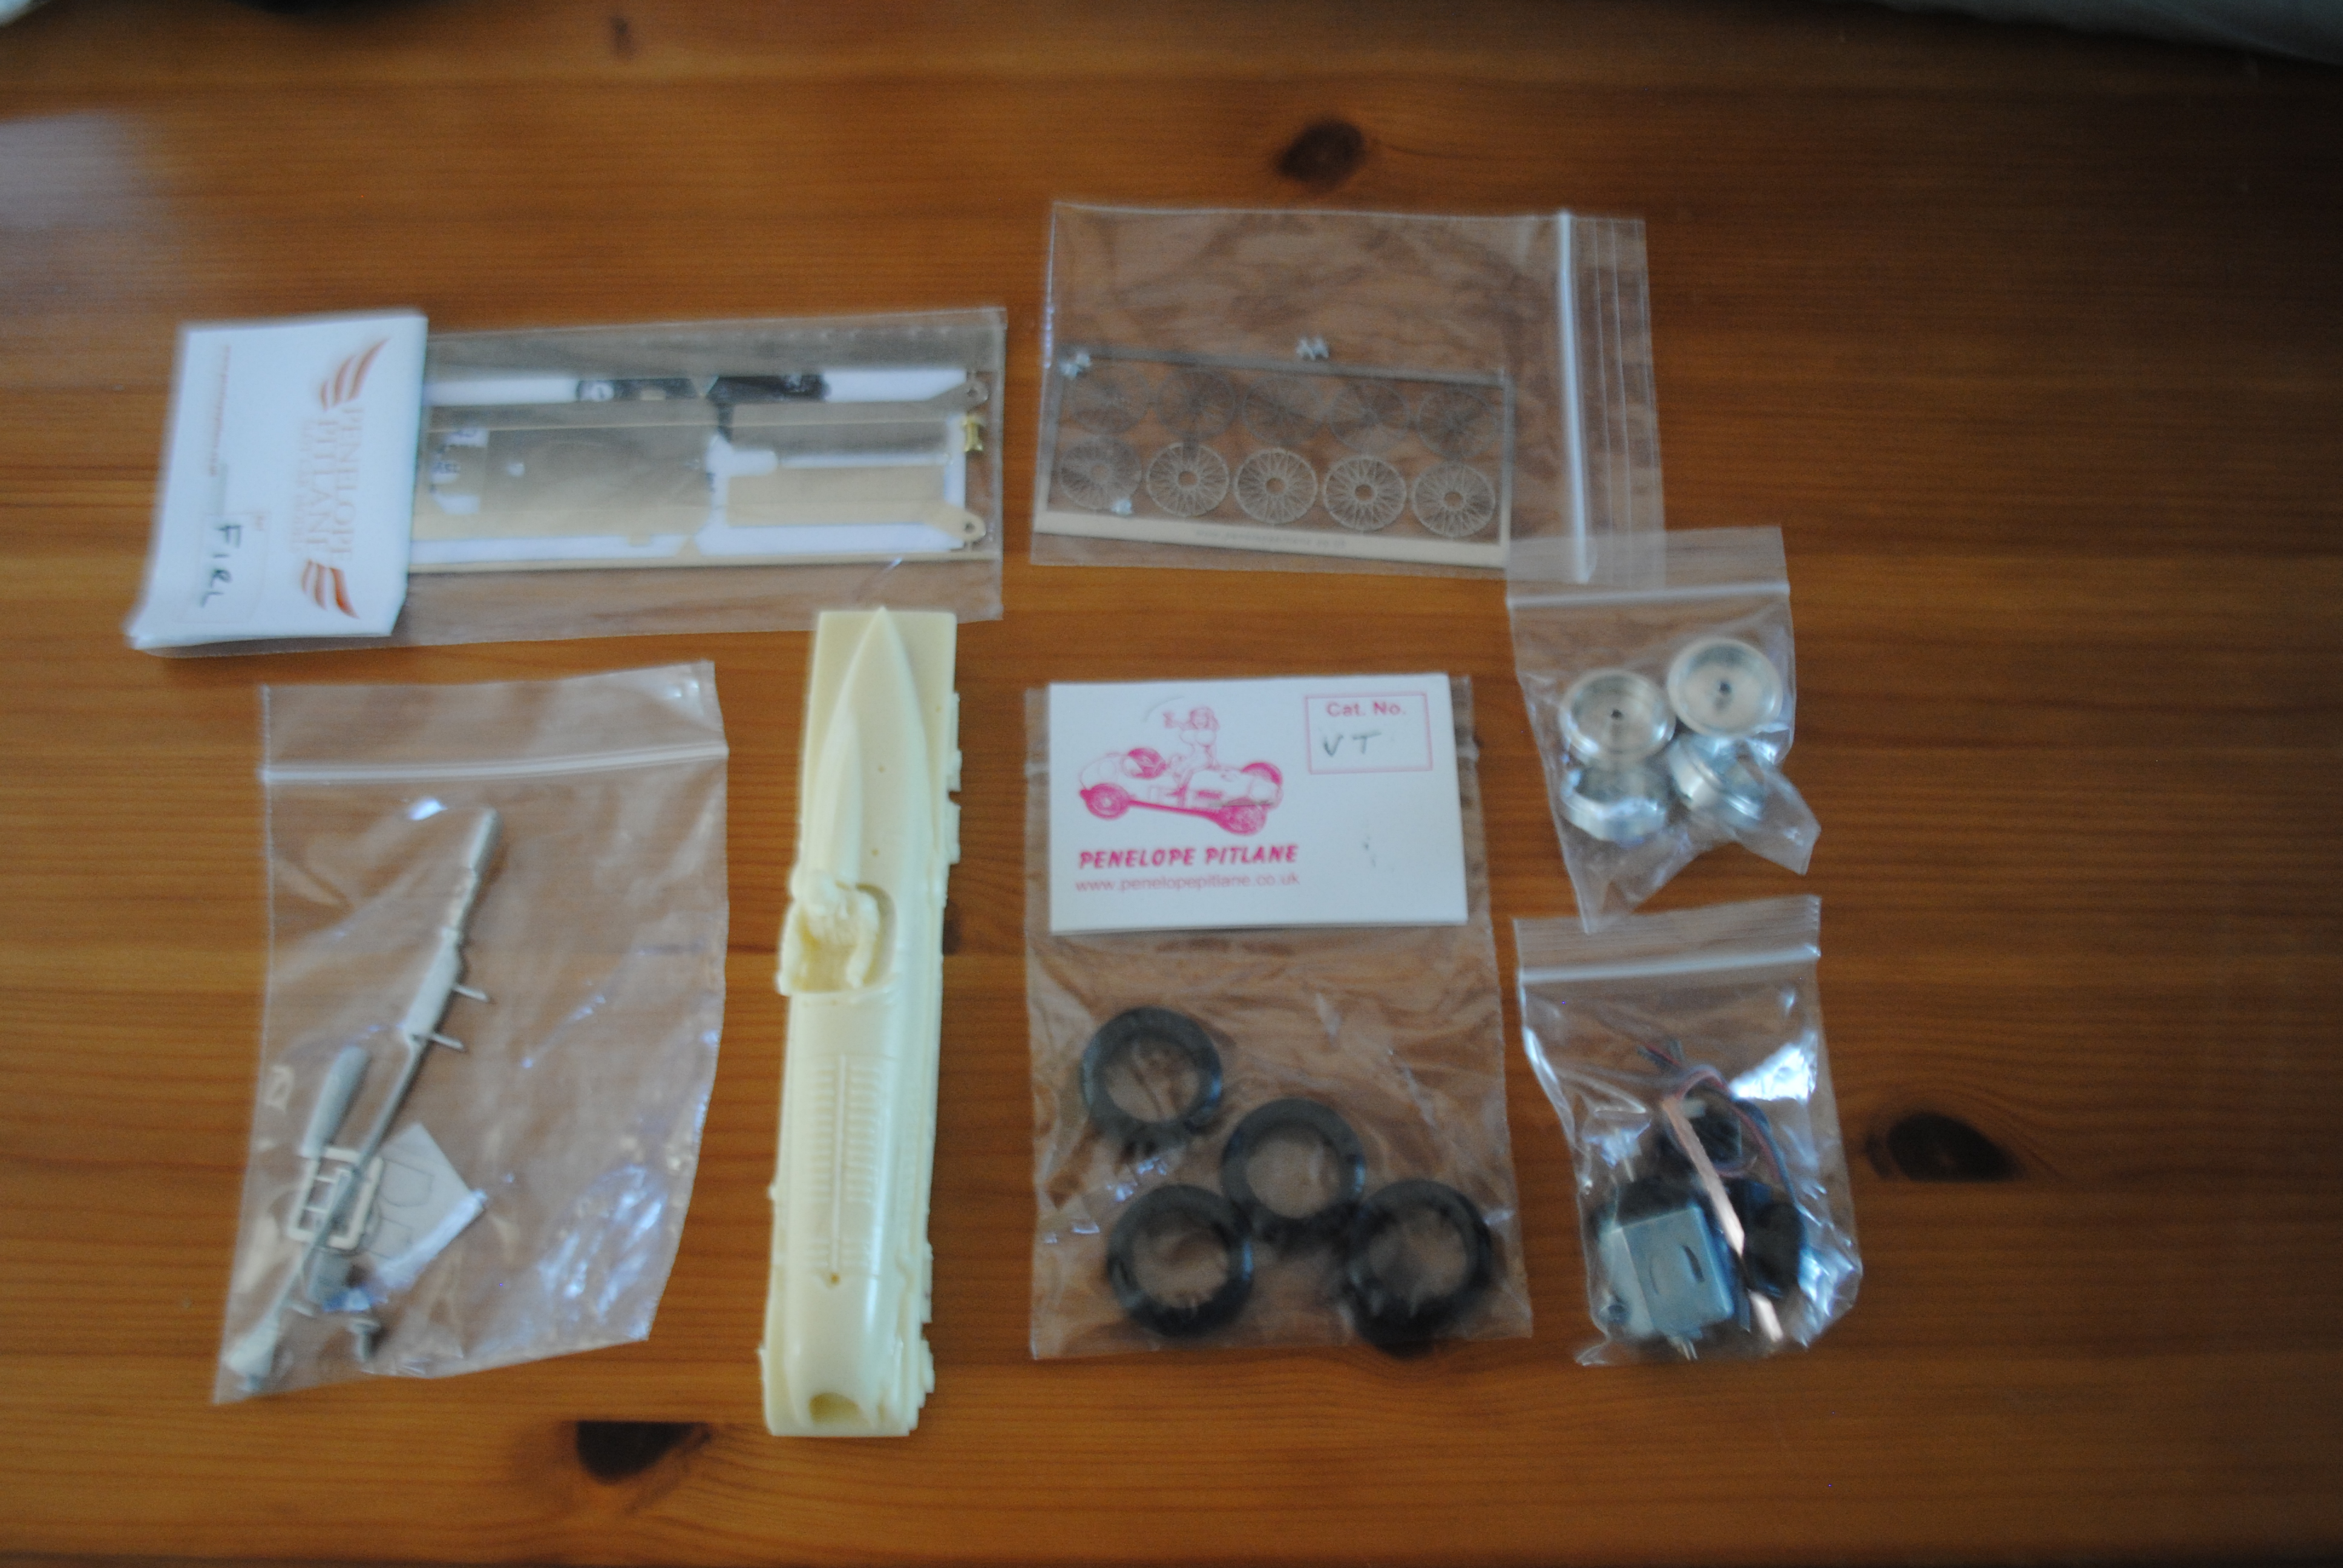
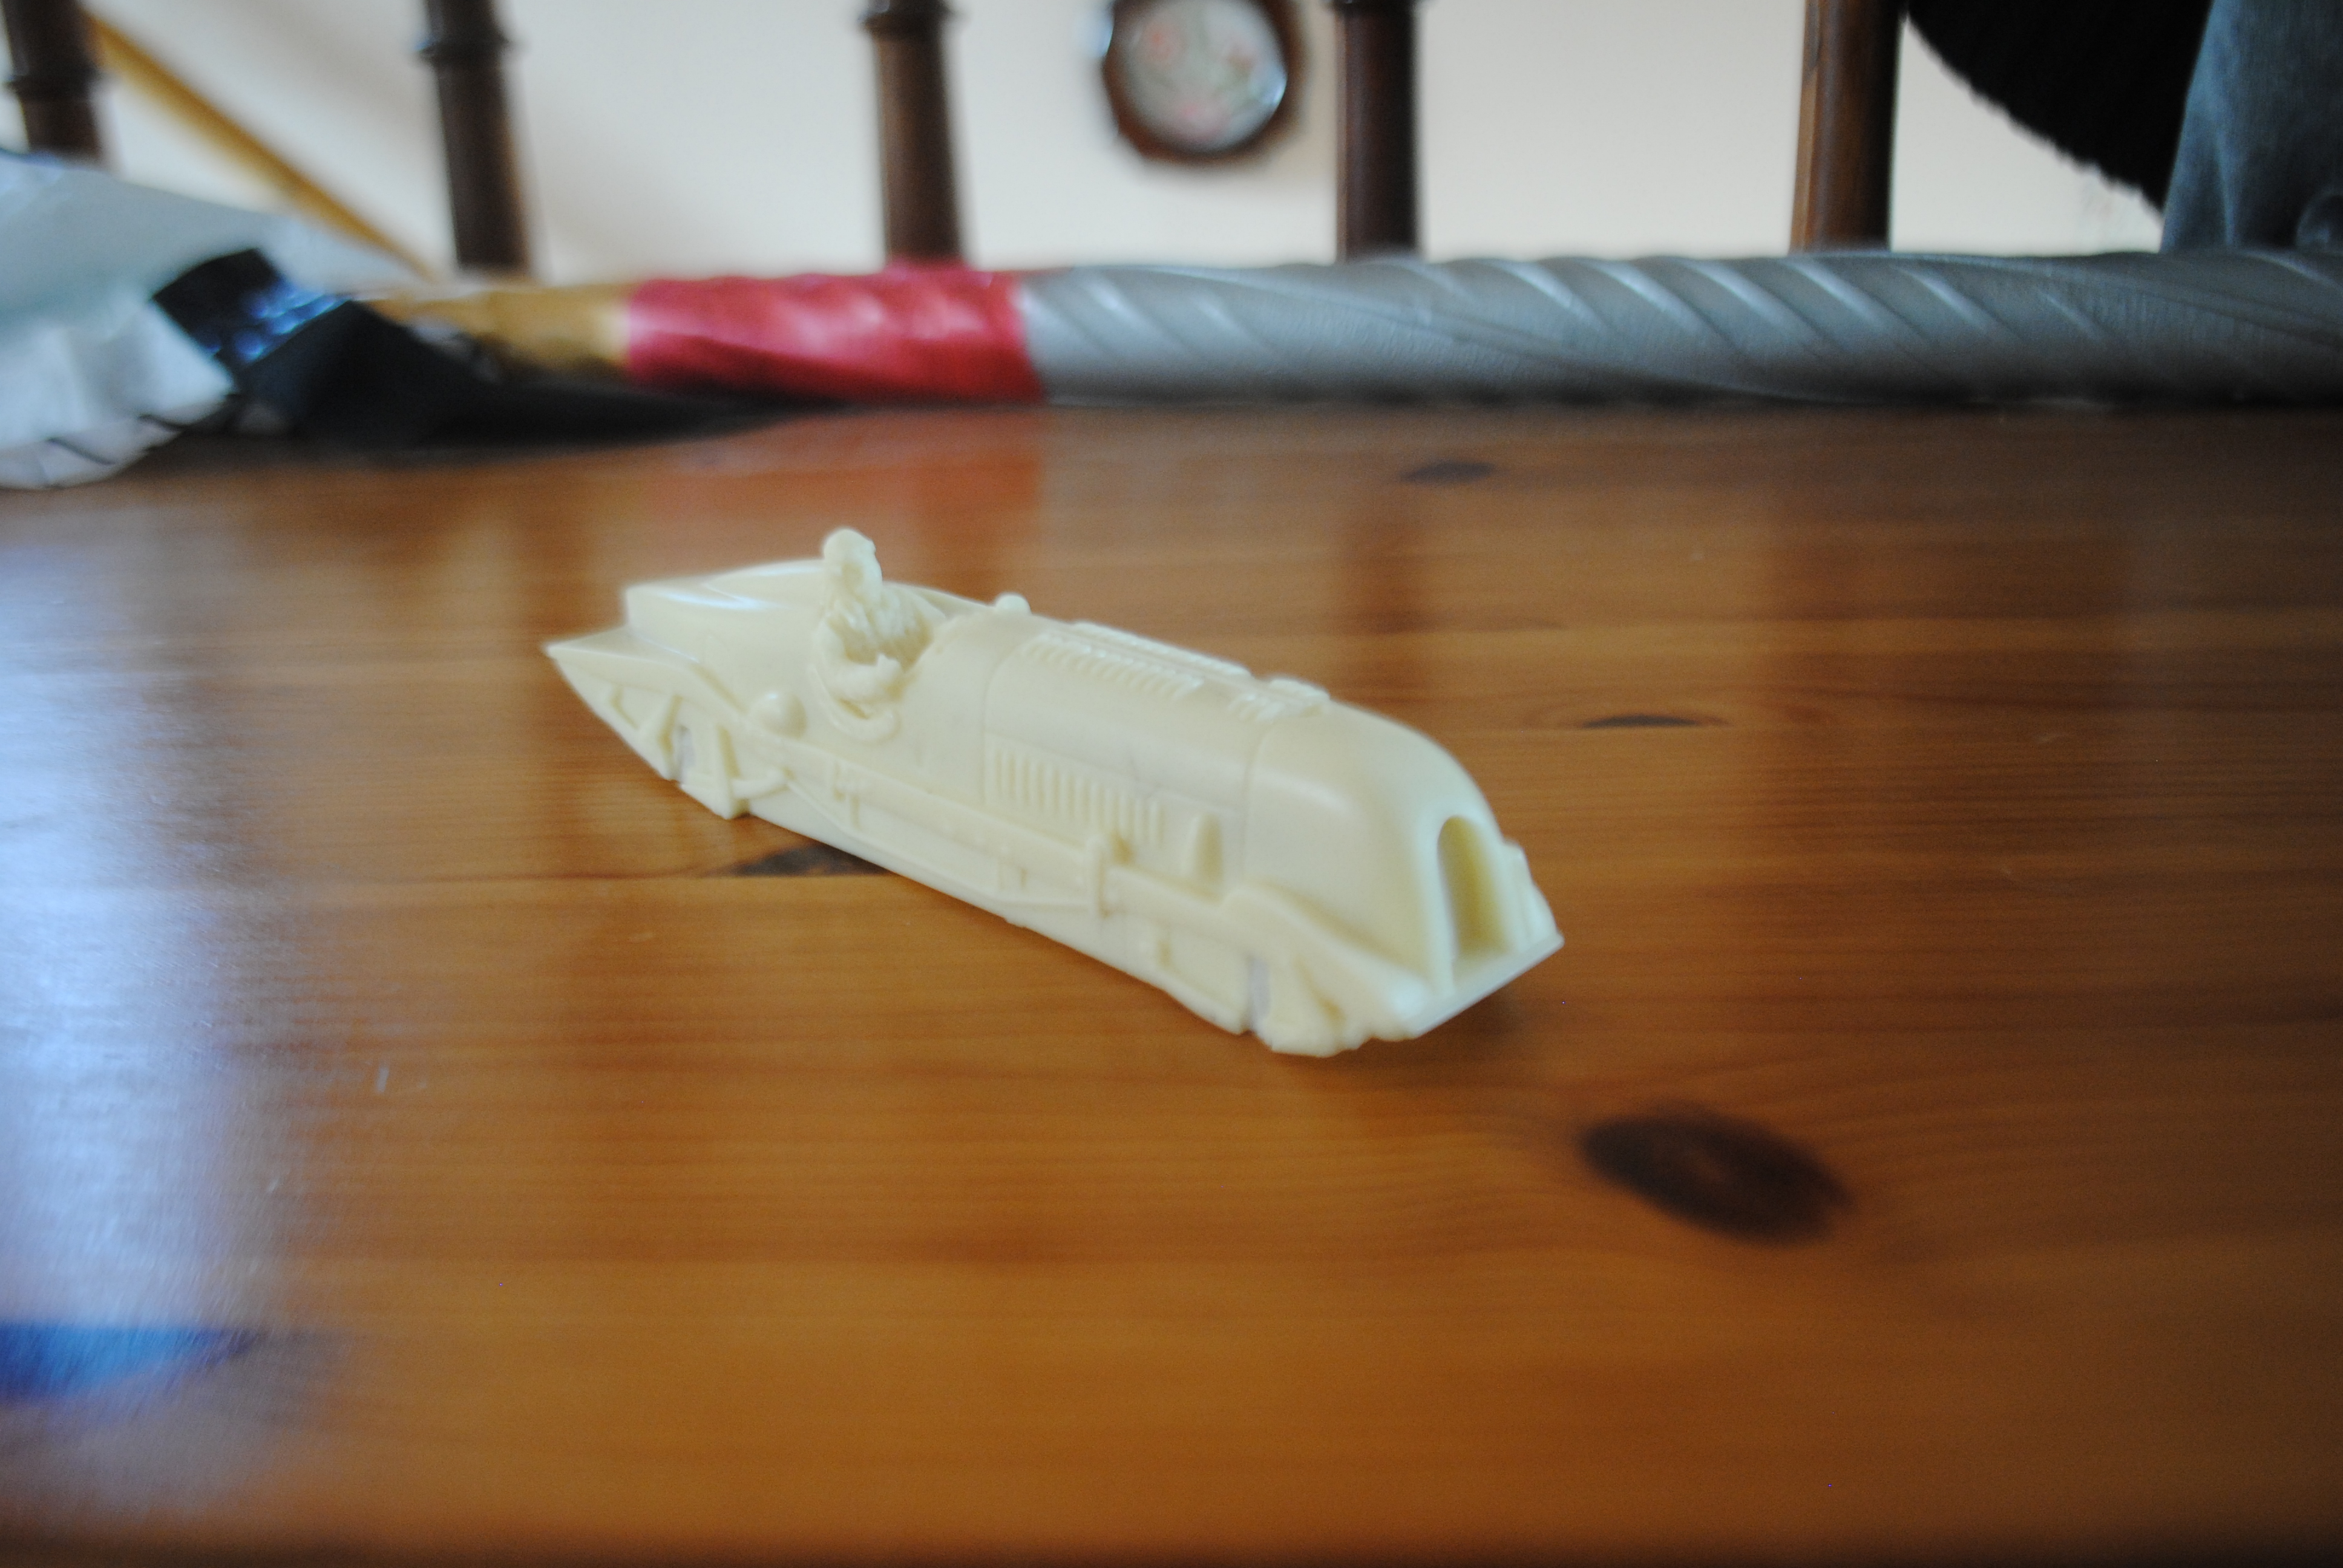
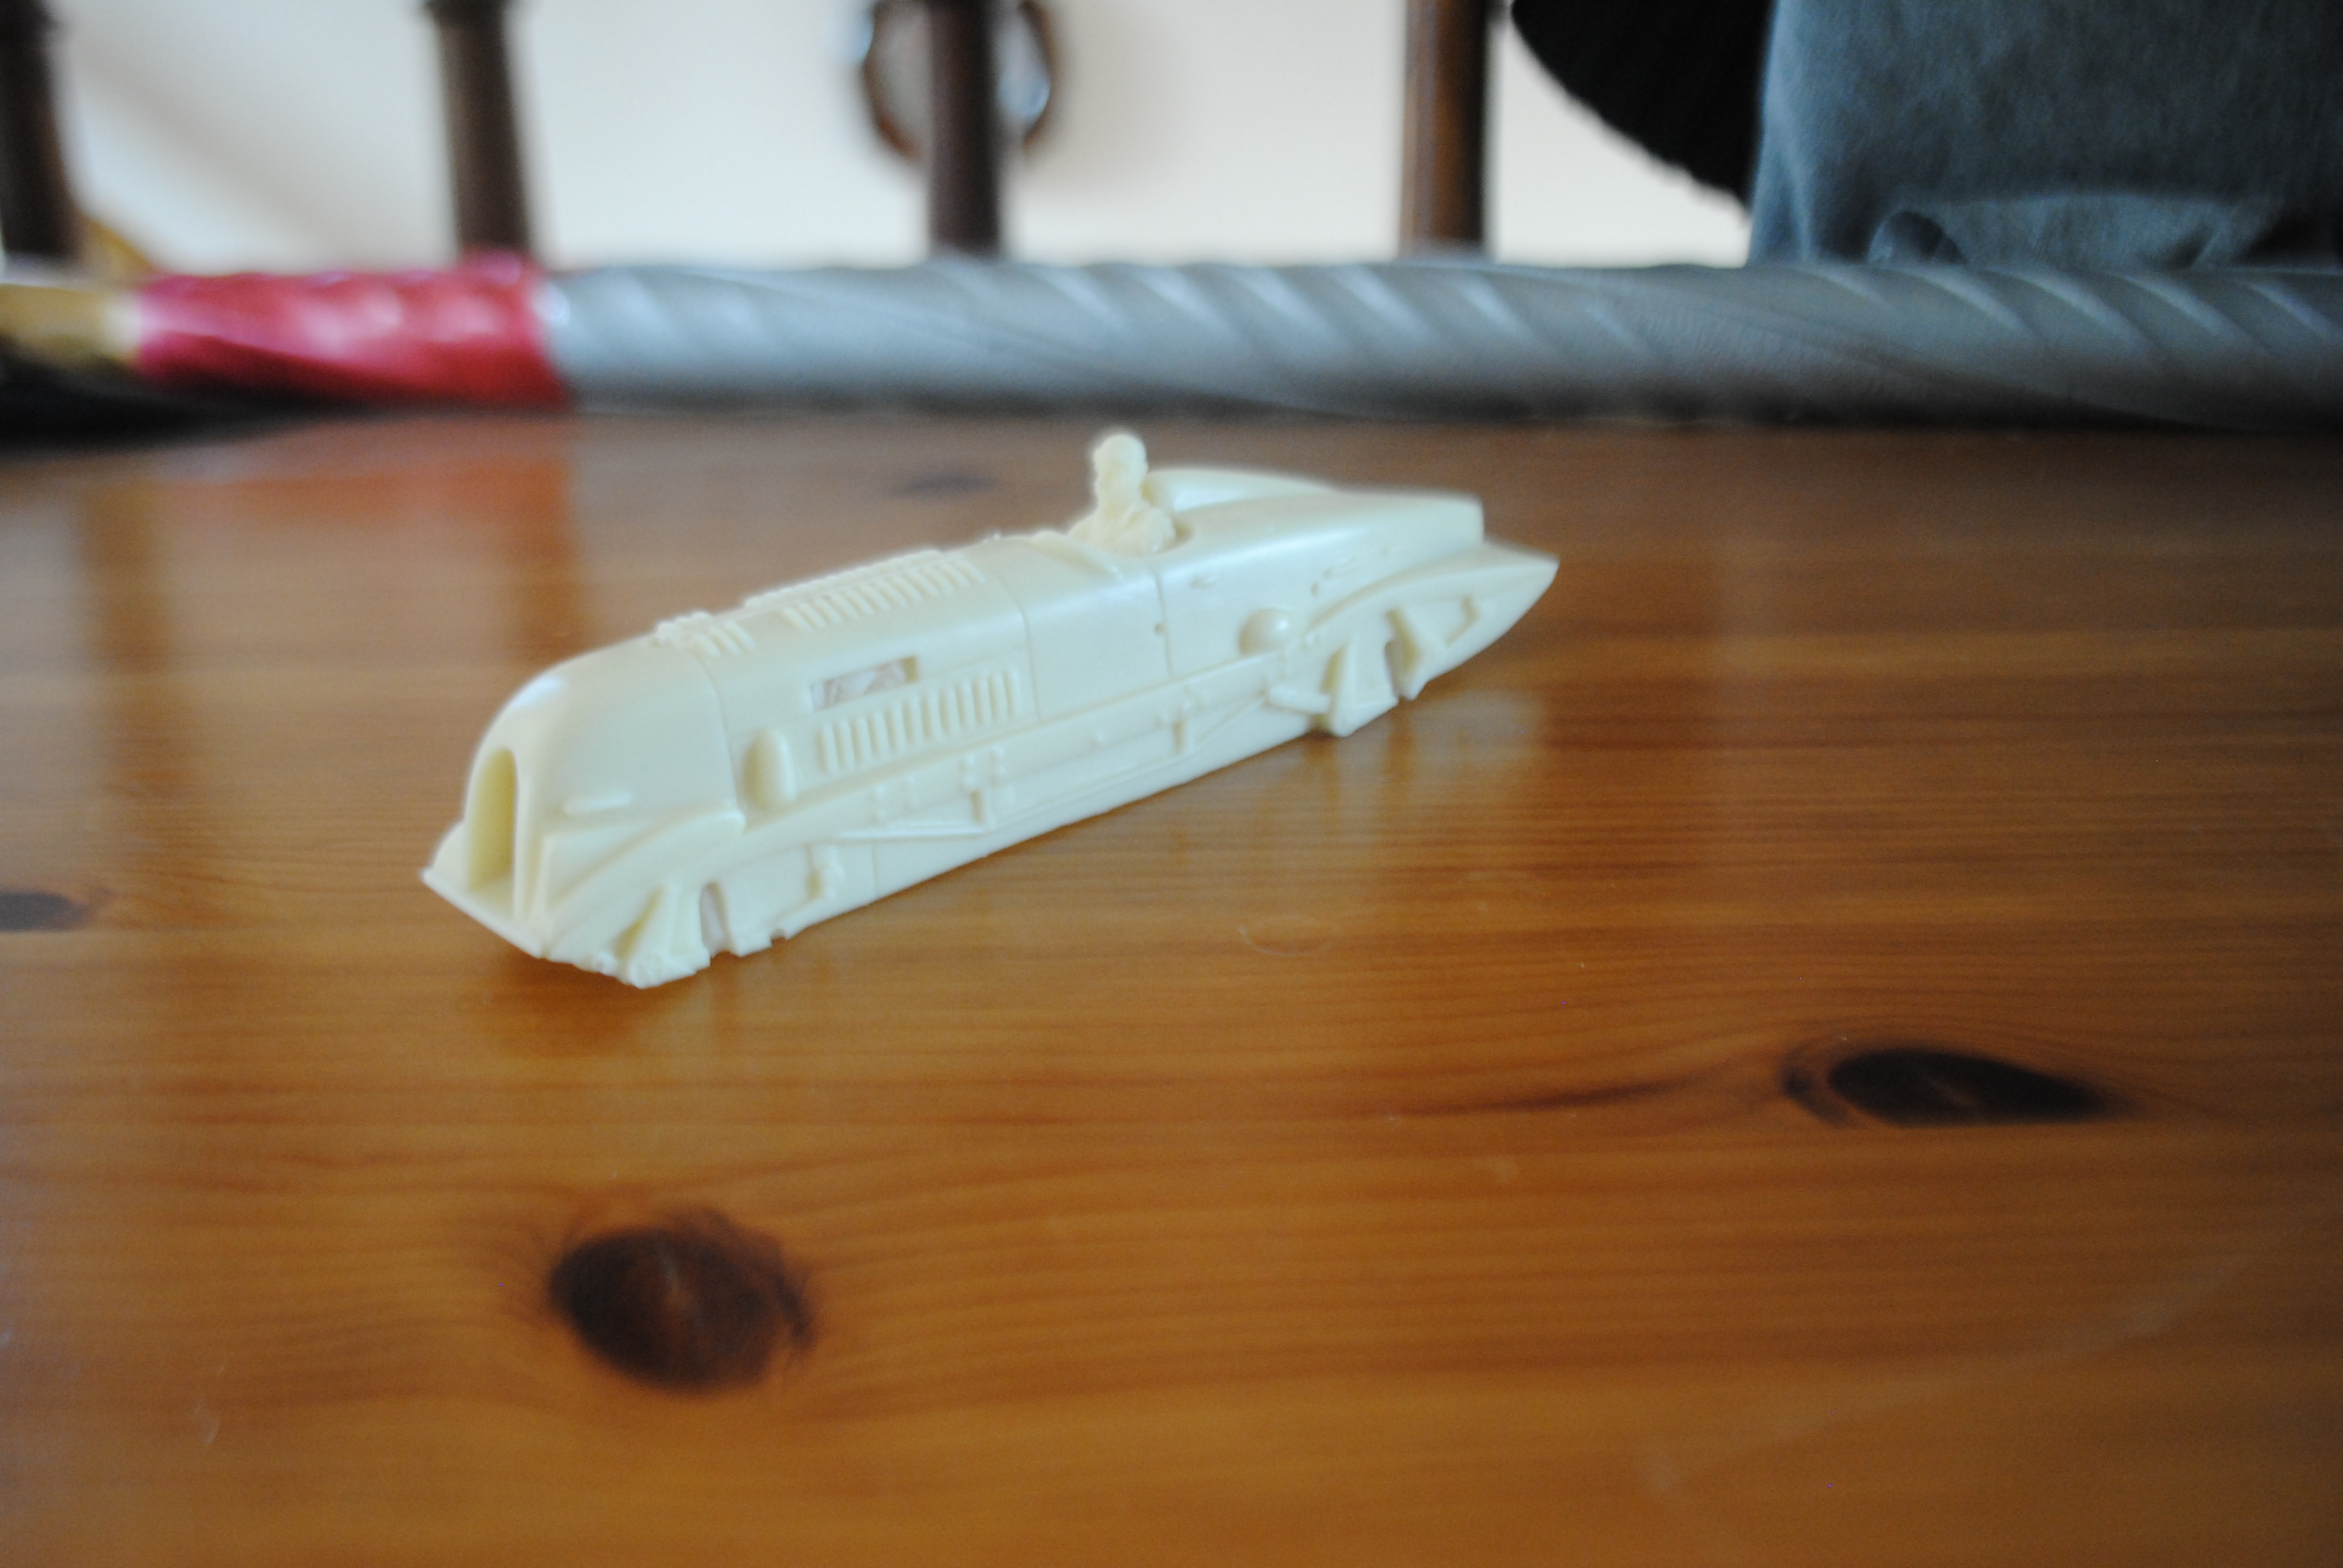
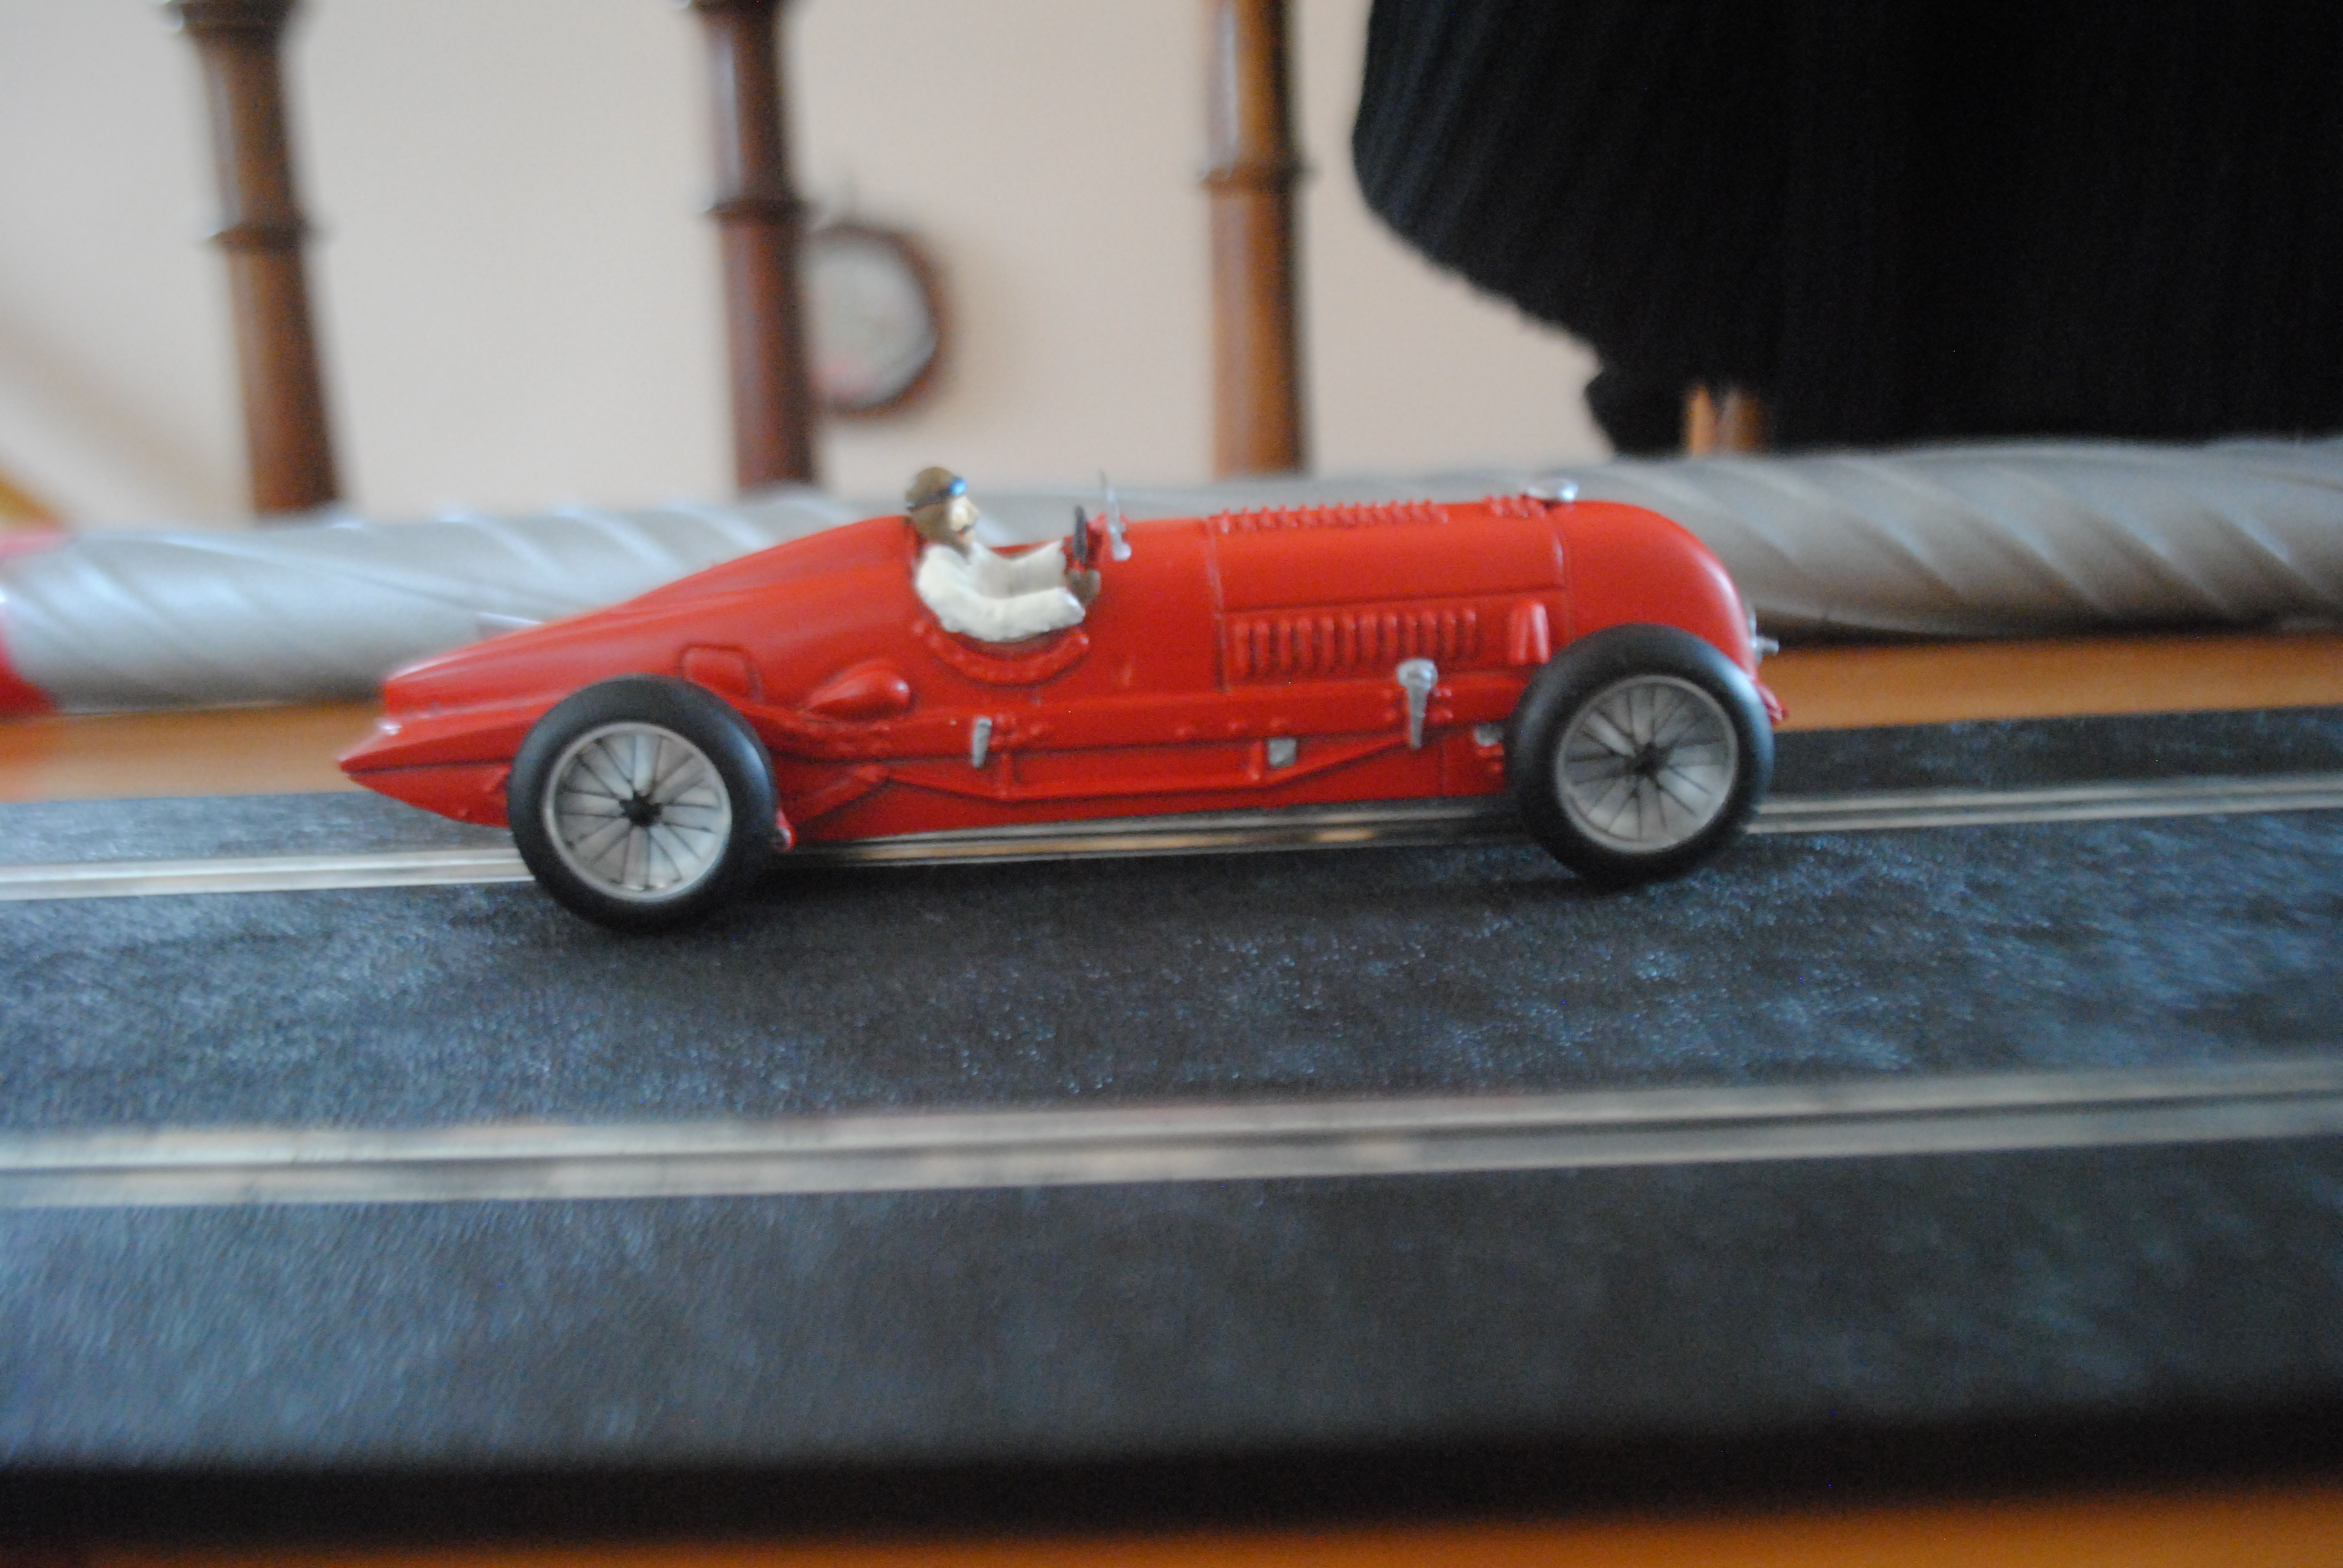
As one has come to expect from Penny Pitlane the detail in the shell is fantastic. The car has both front and rear leaf springs and adjusters present along with rivets, panel lines and vents in the hood. Tim Birkin and his moustache are also nicely modelled.
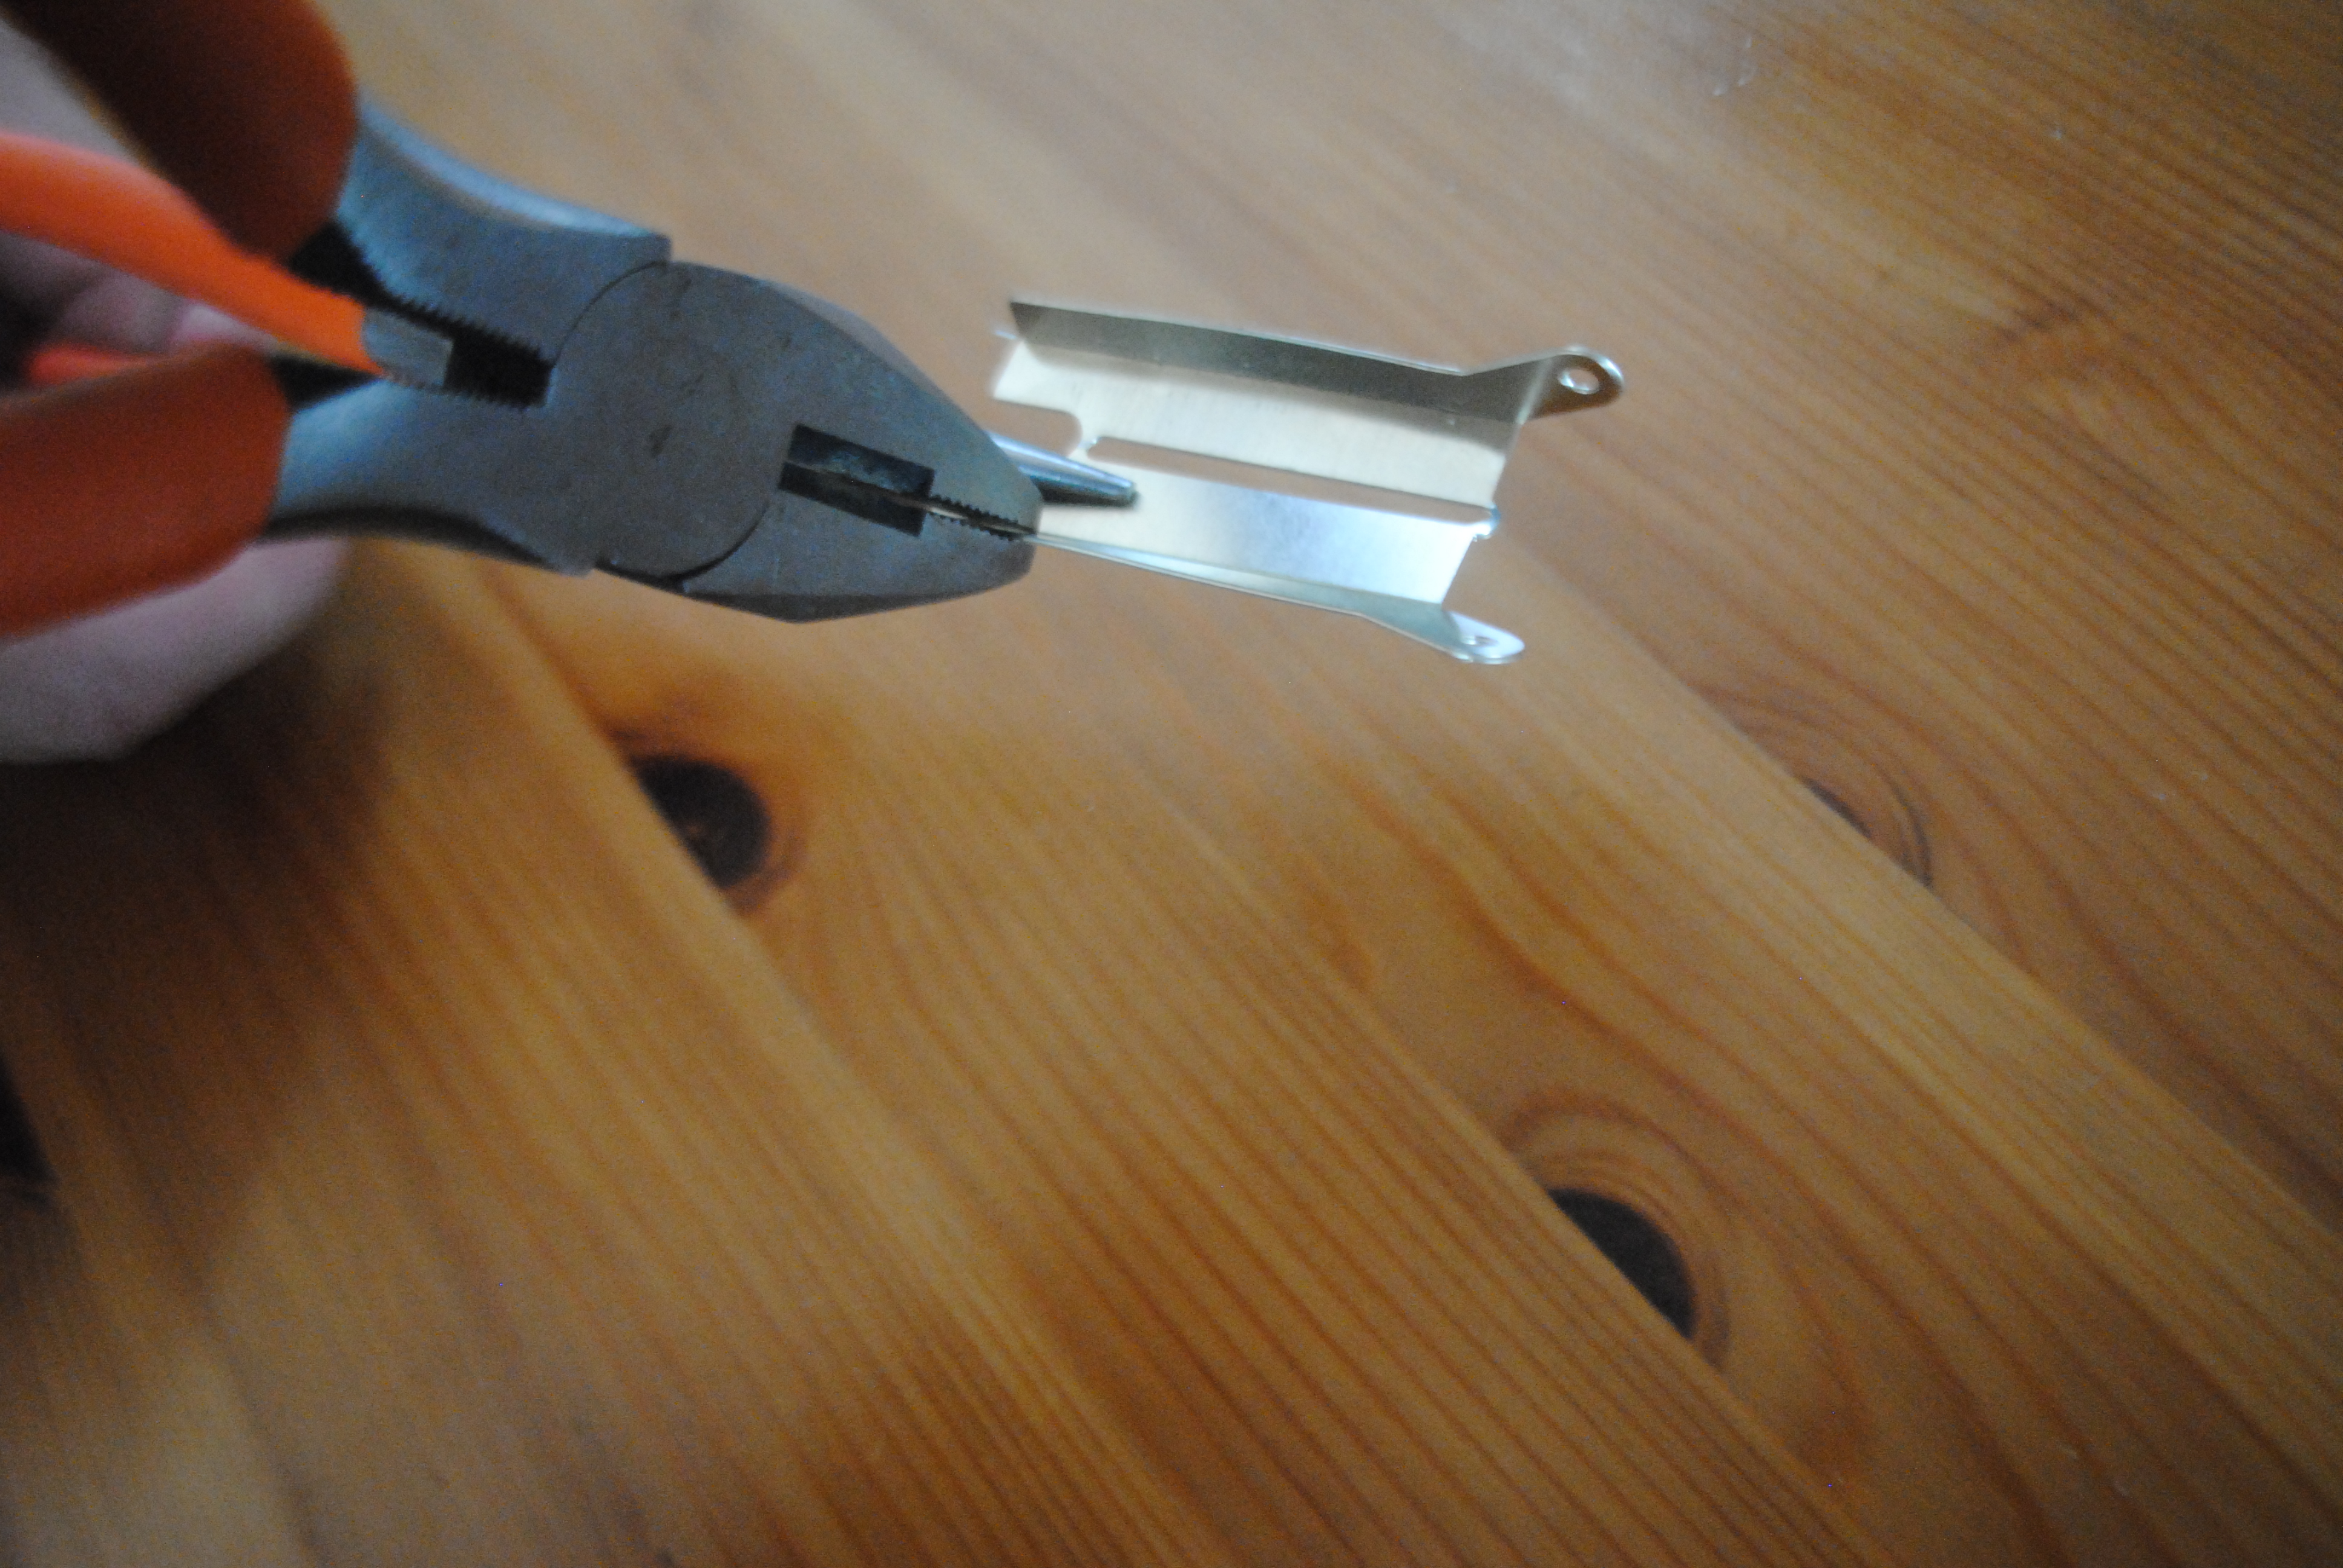
The Penelope Pitlane chassis need to be folded into shape. The way I’ve always done this is with two pairs of thick pliers and some patience. Use a set square to make sure all of your angles are straight and the chassis should be fine.
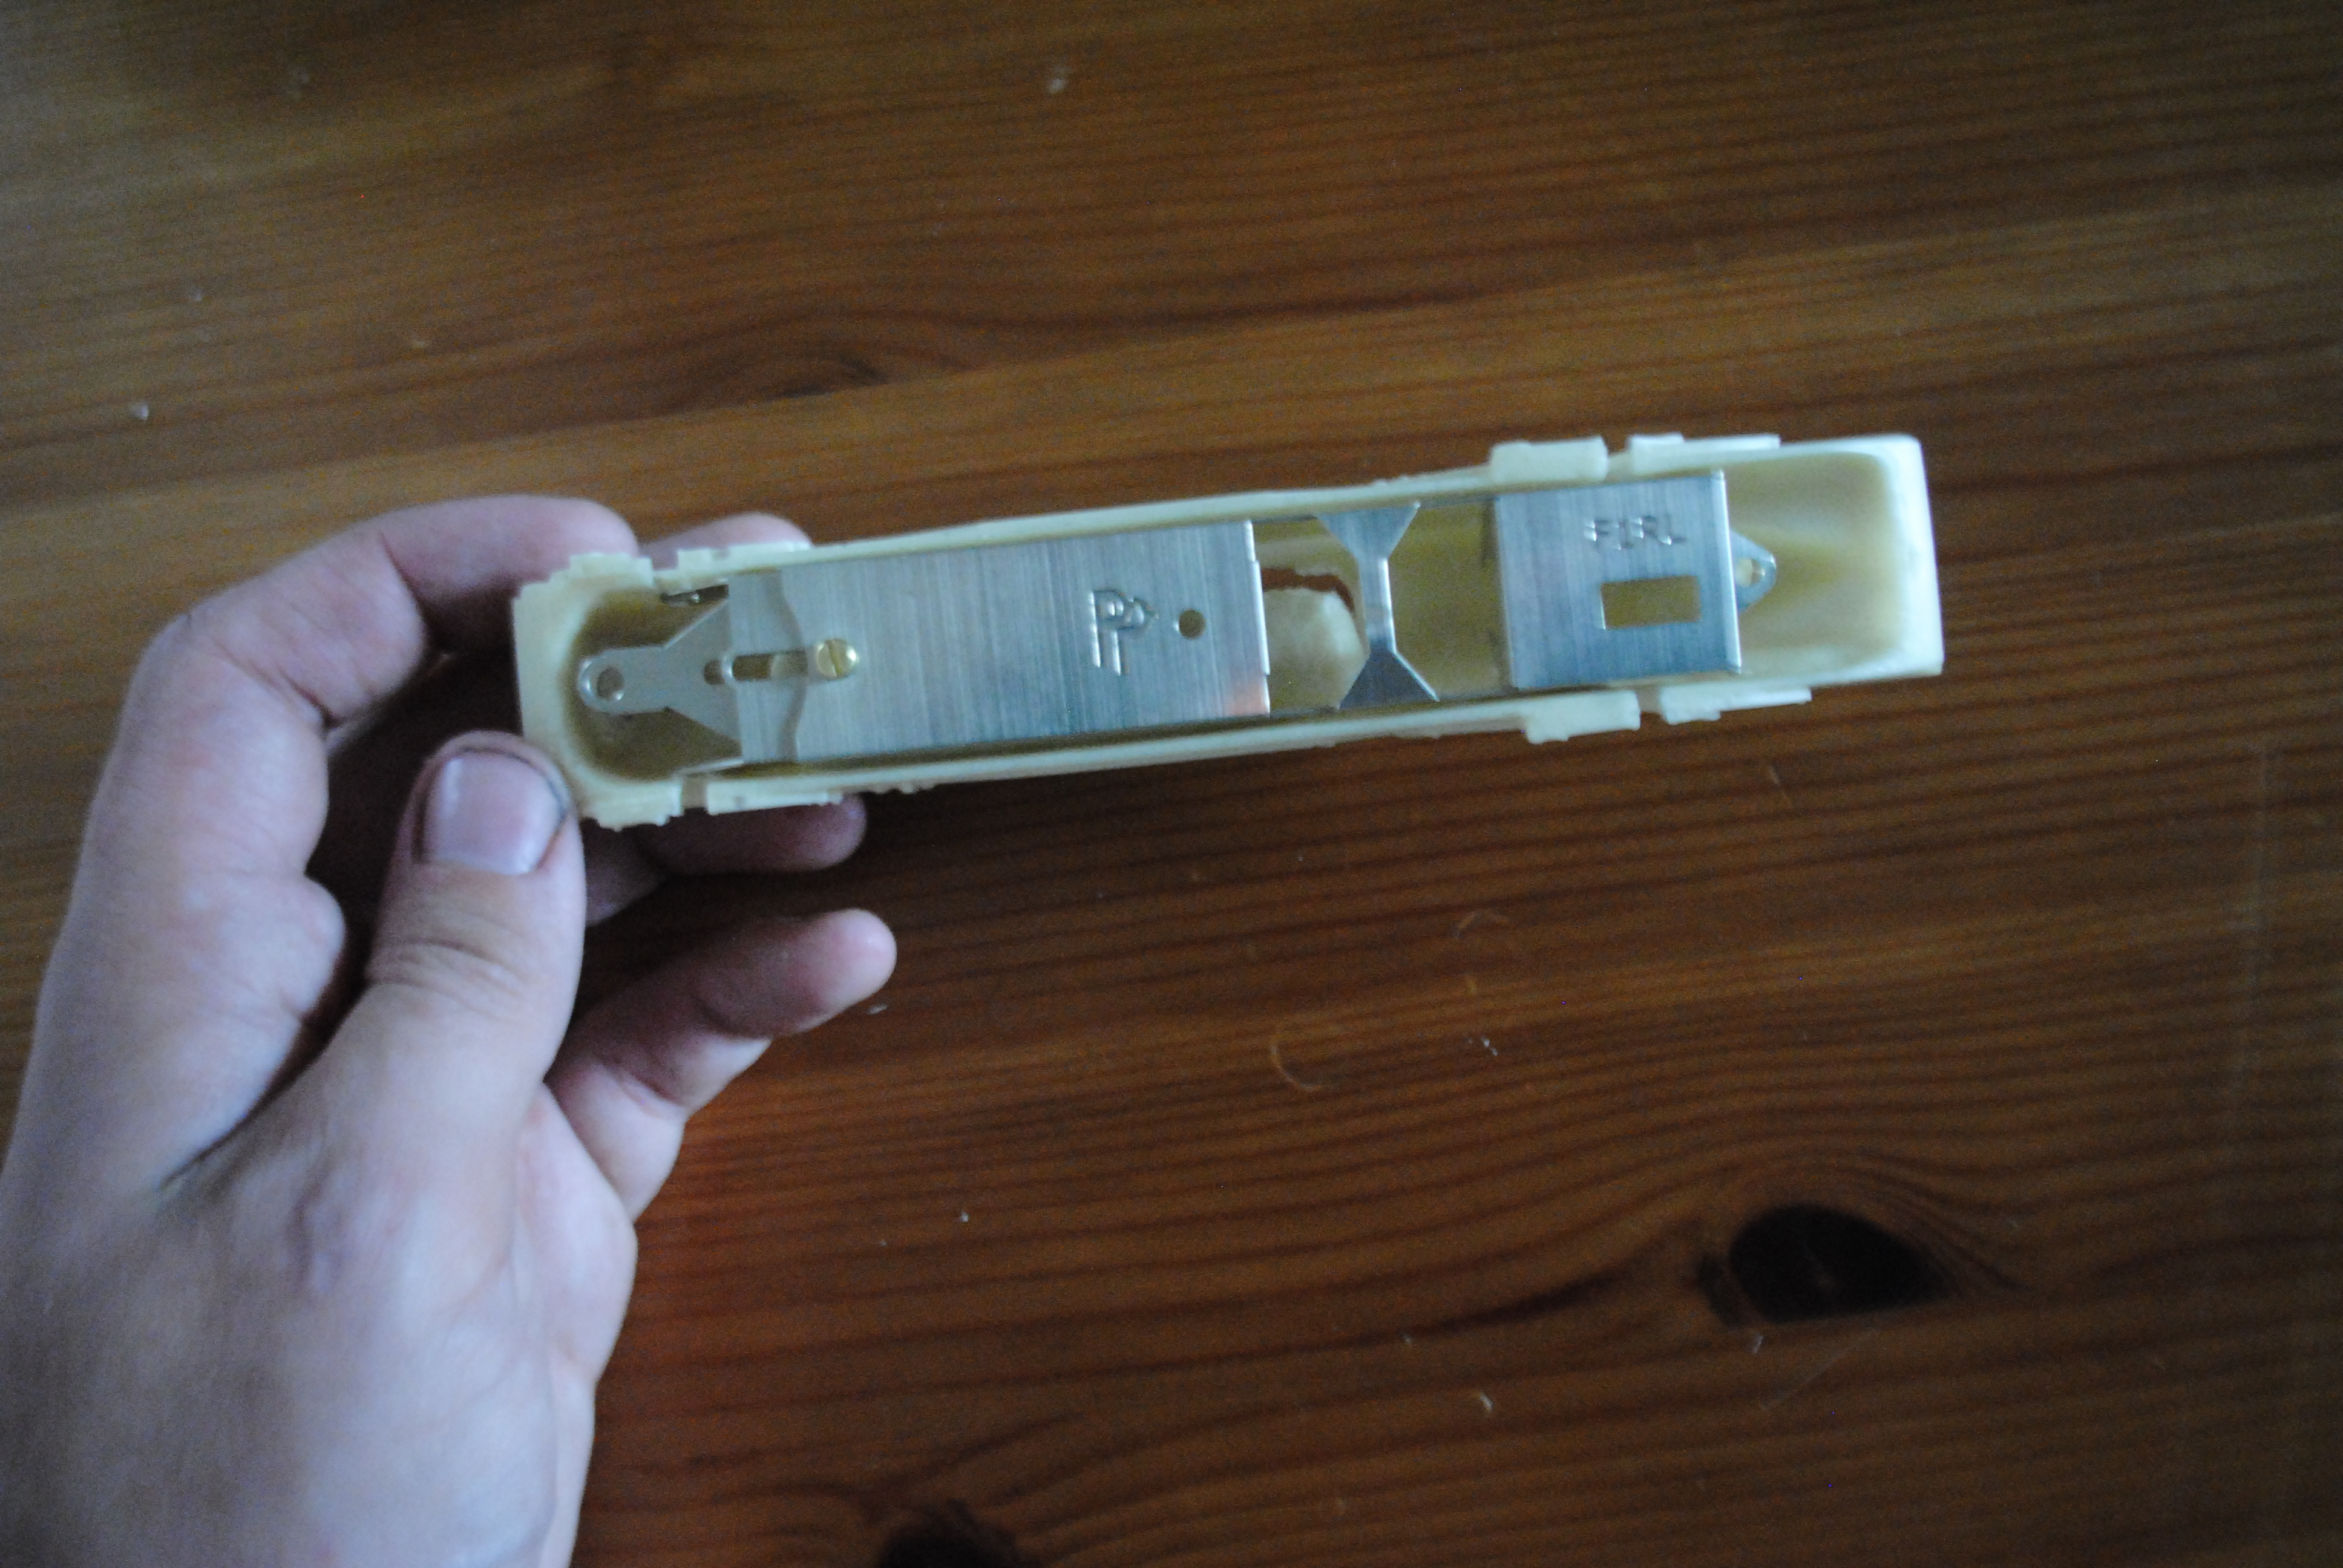
The chassis folds up into three sections…
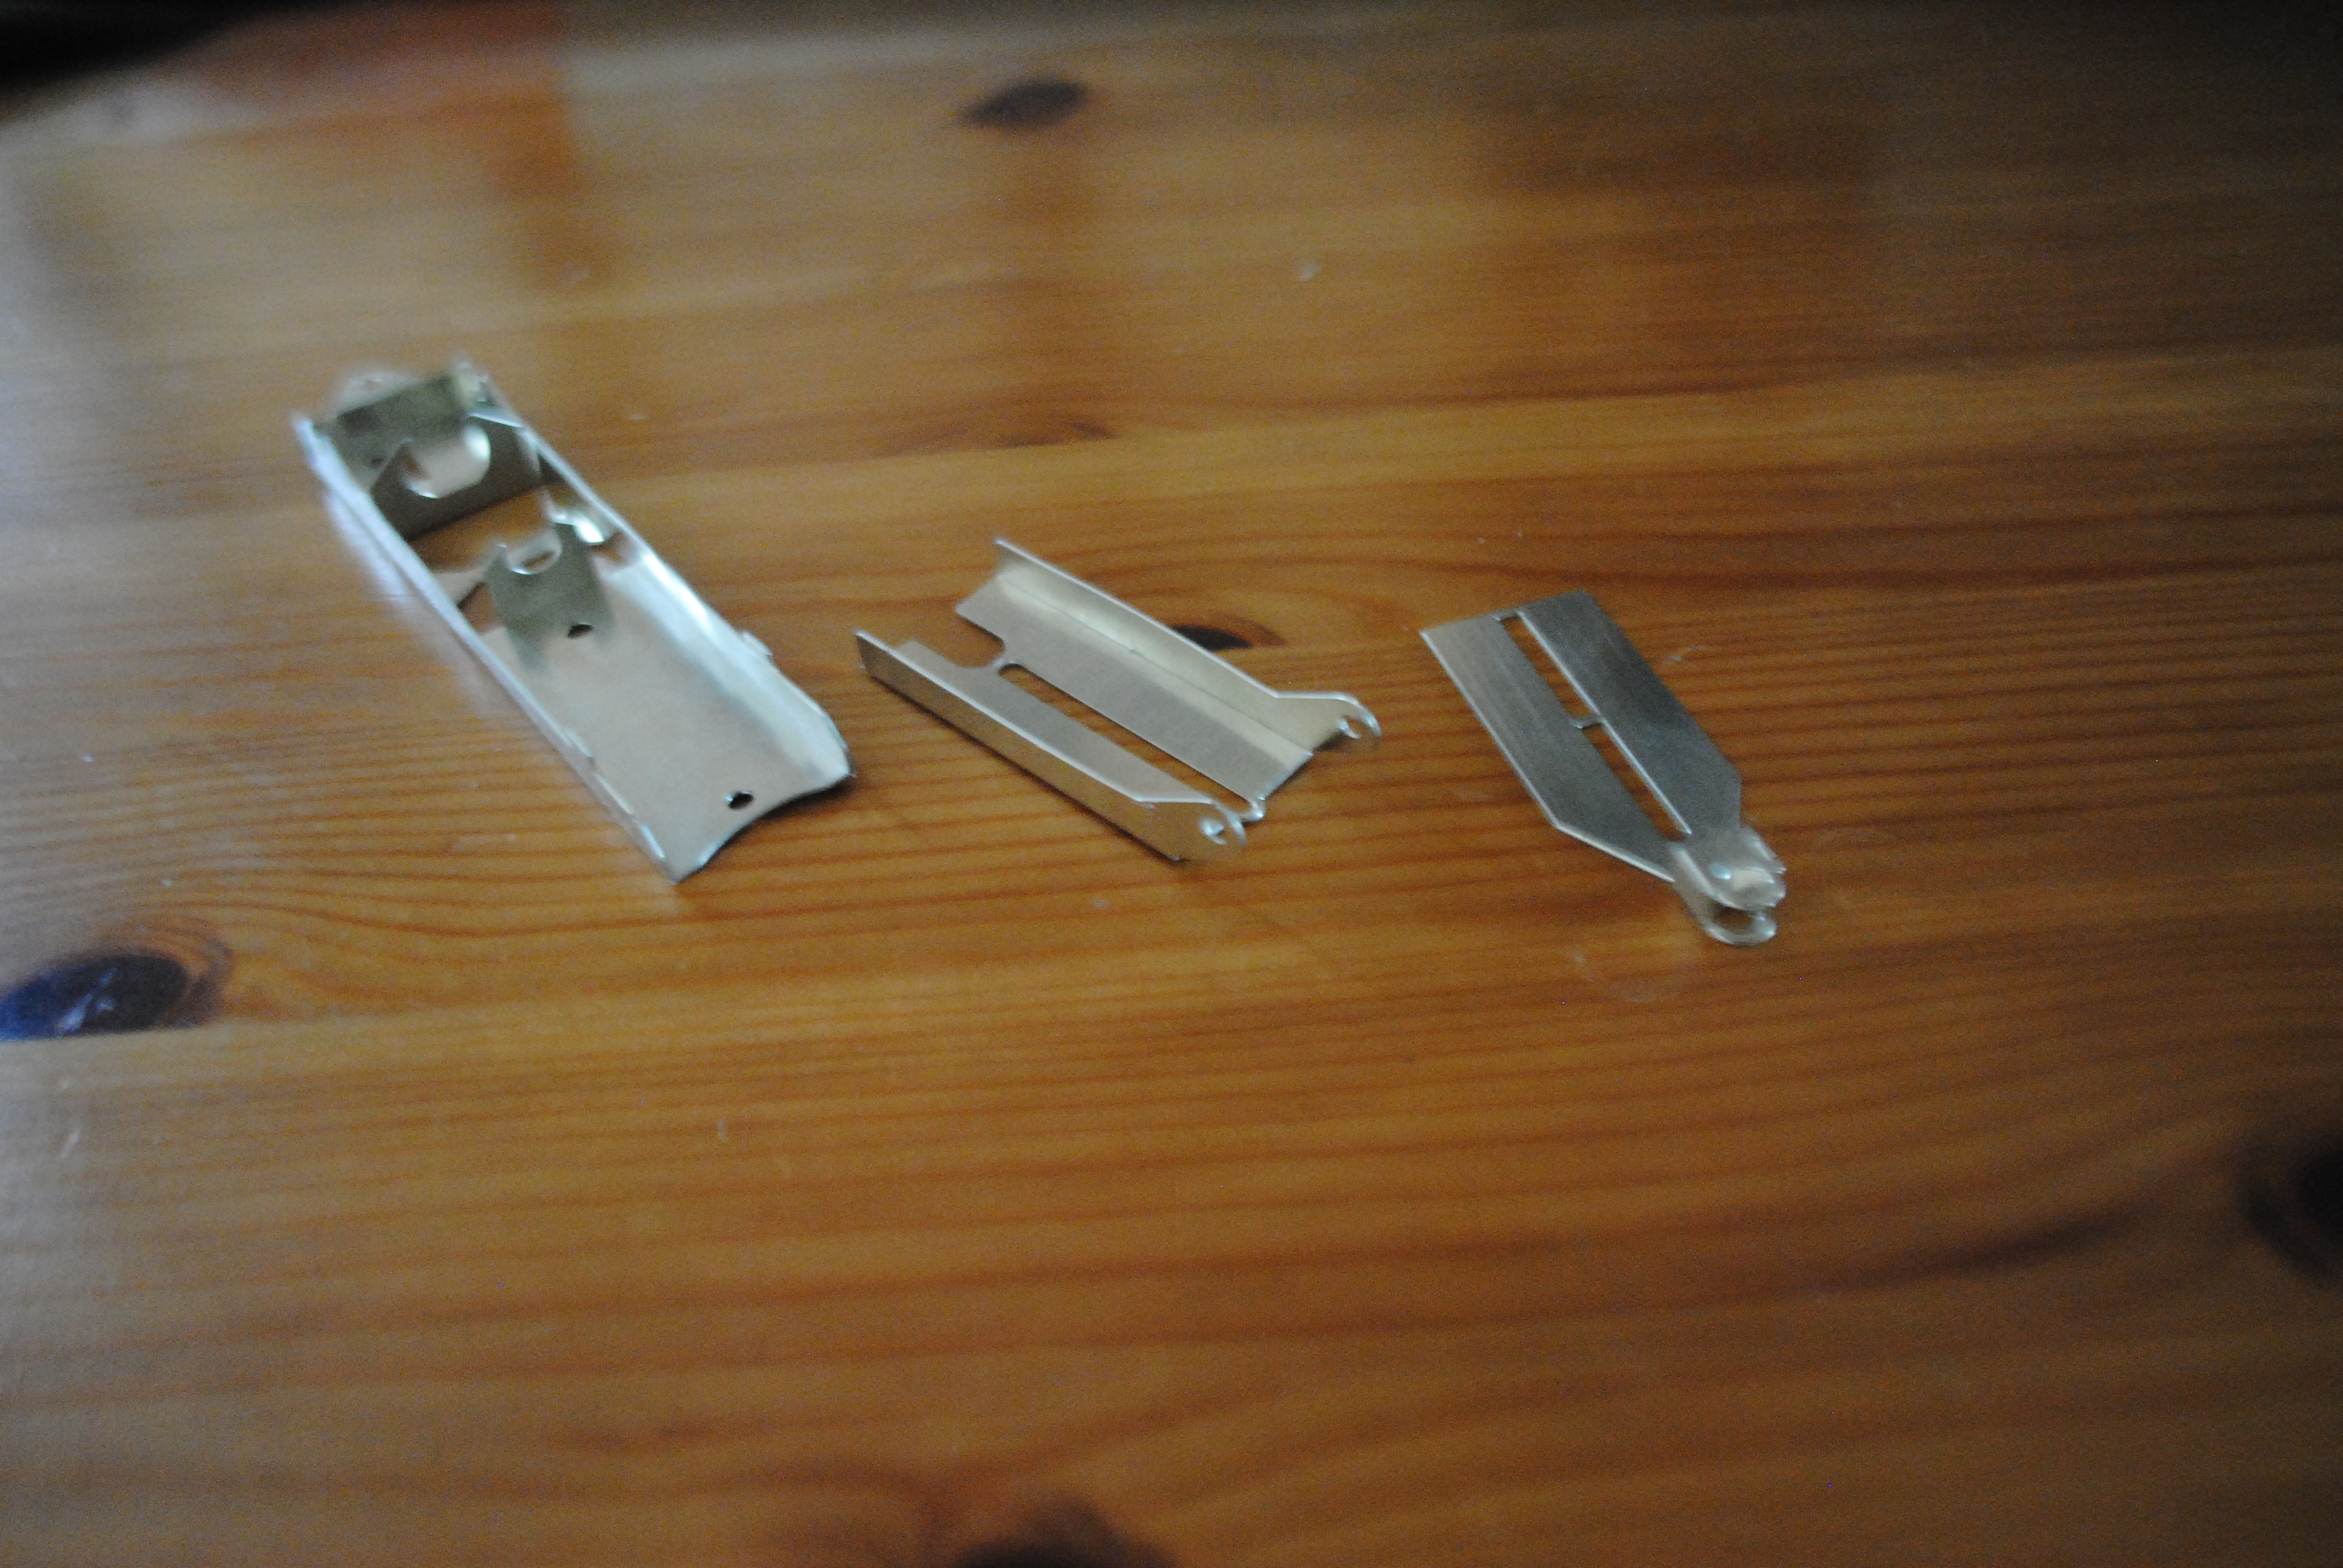
… Which assemble like so.
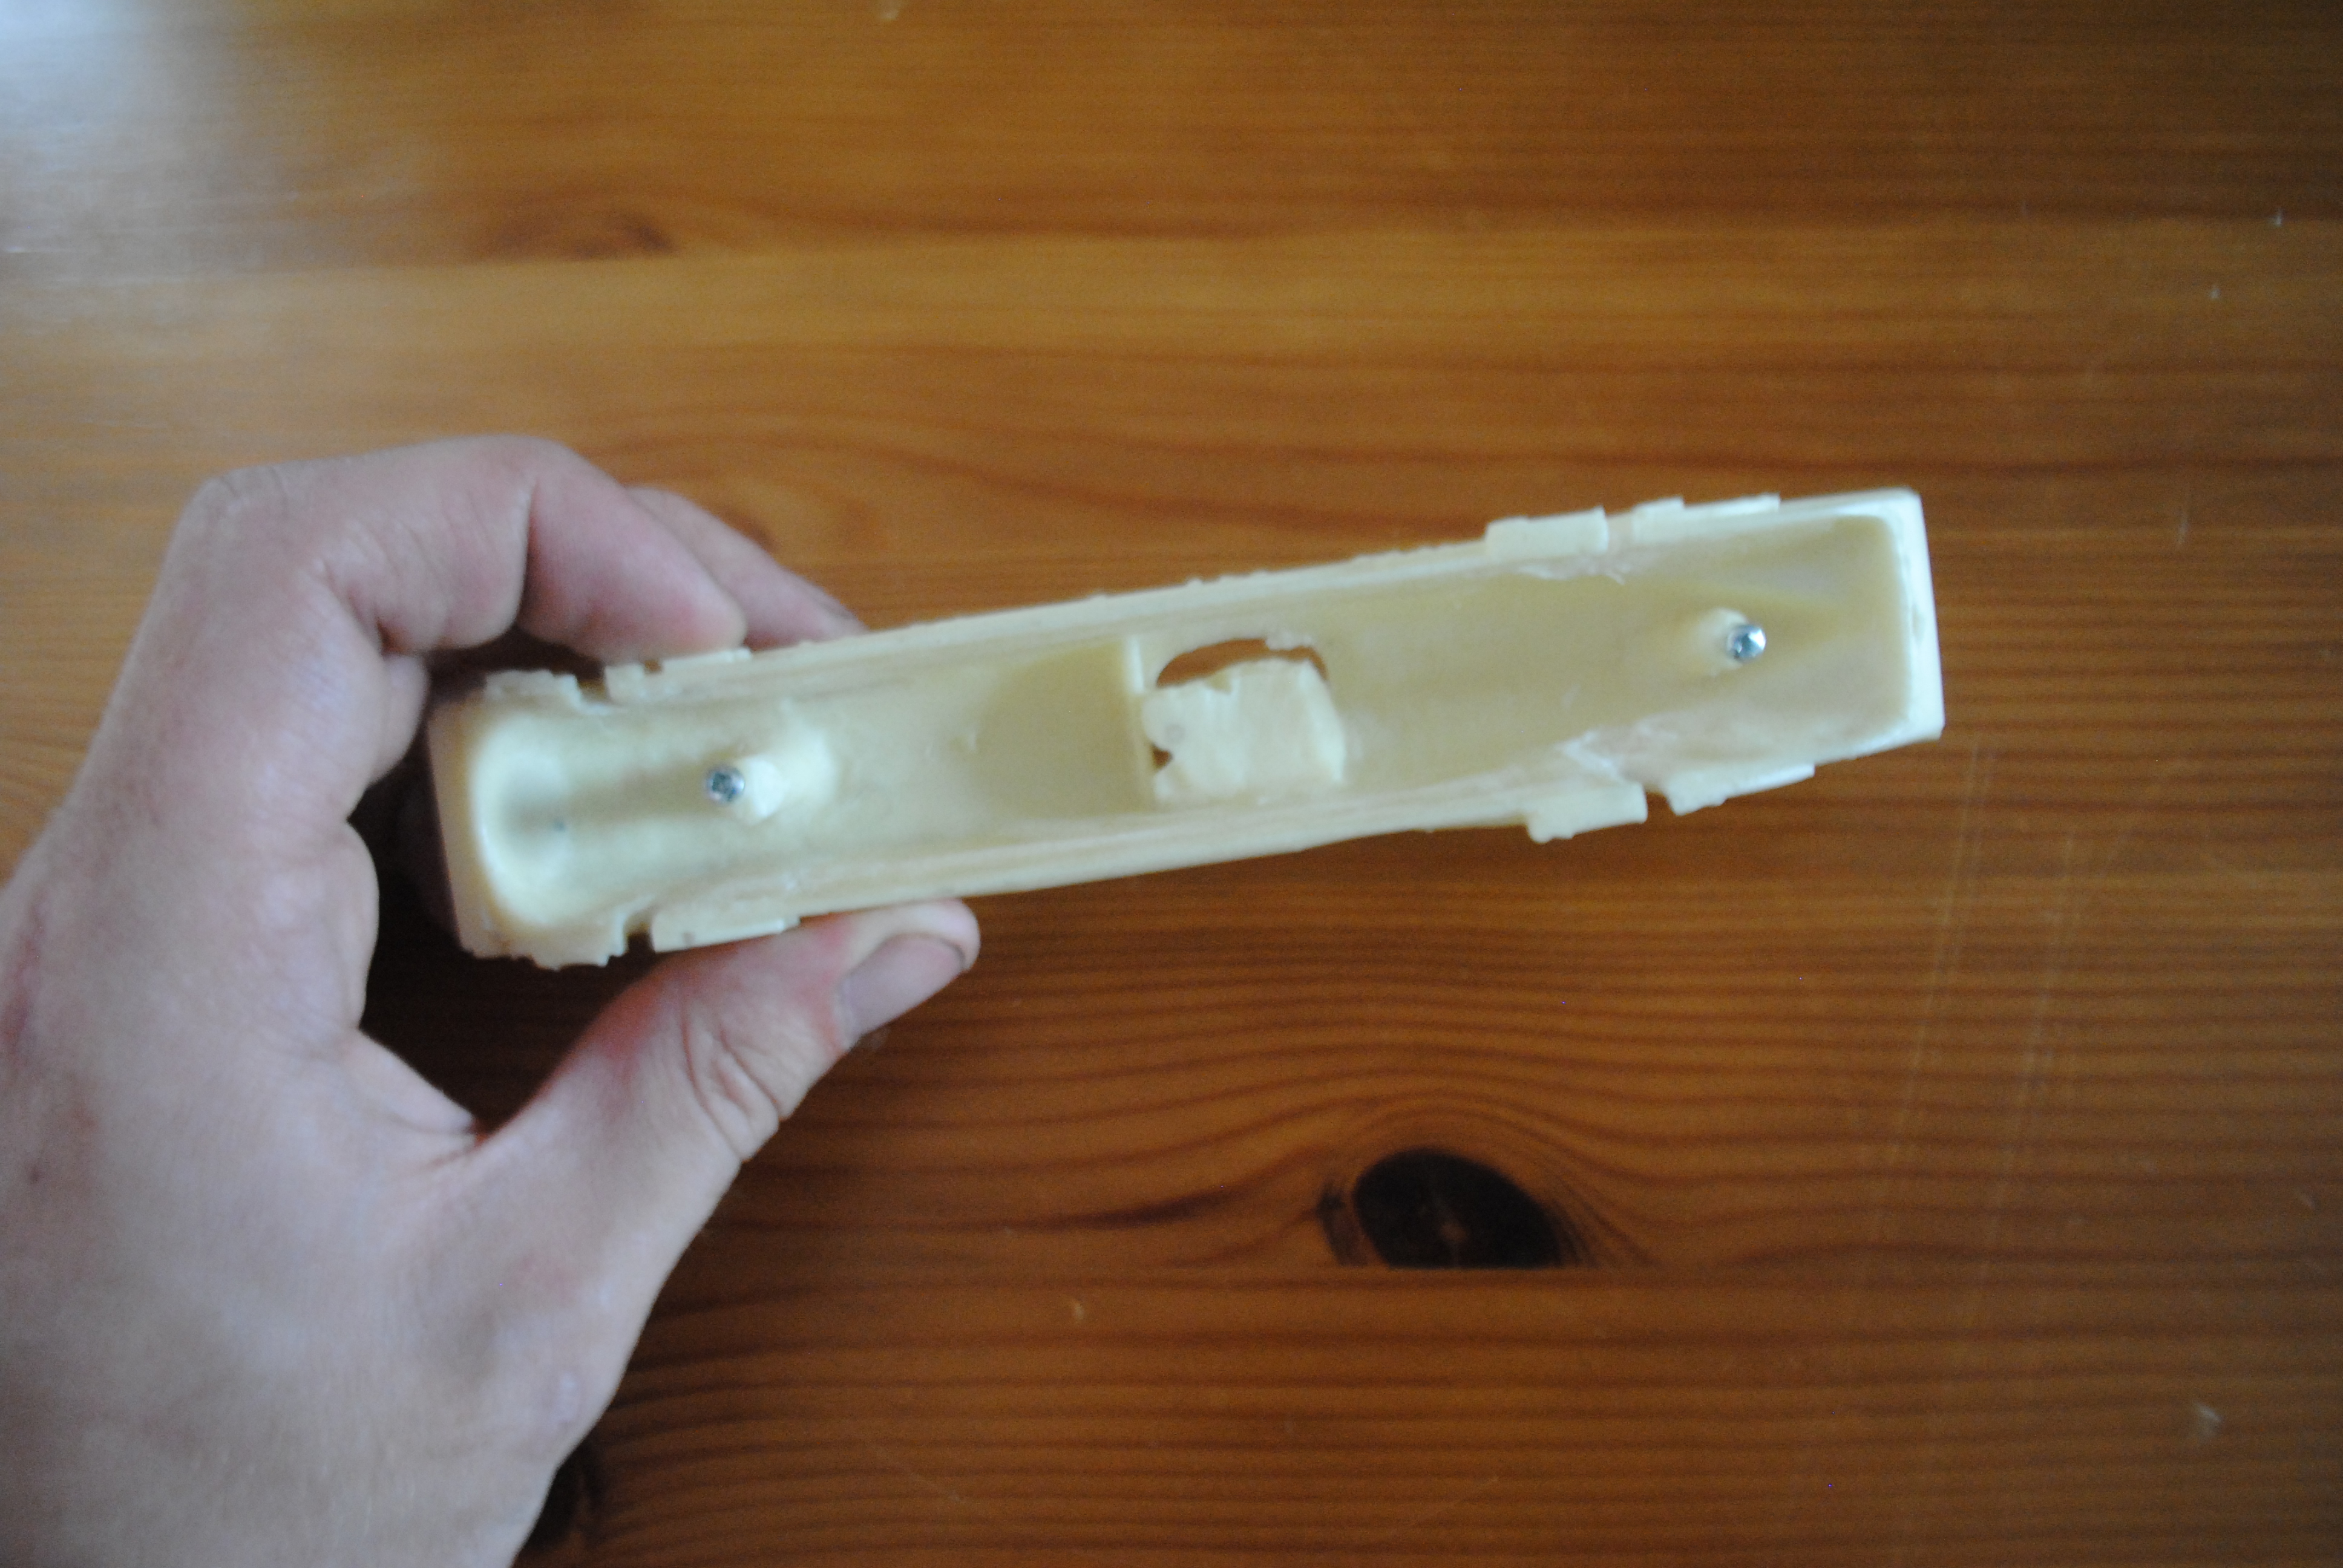
Please note that the guide mount can be used either way up. On cars with the big vintage wheels like this Bentley or my Rolls Royce or my bus I tend to have the raised bit that the guide sits in facing the ground as the guide sits closer to the track. In more modern cars with smaller wheels, where the chassis sots closer to the ground, it is sometimes better to have the raised bit going into the shell of the car.
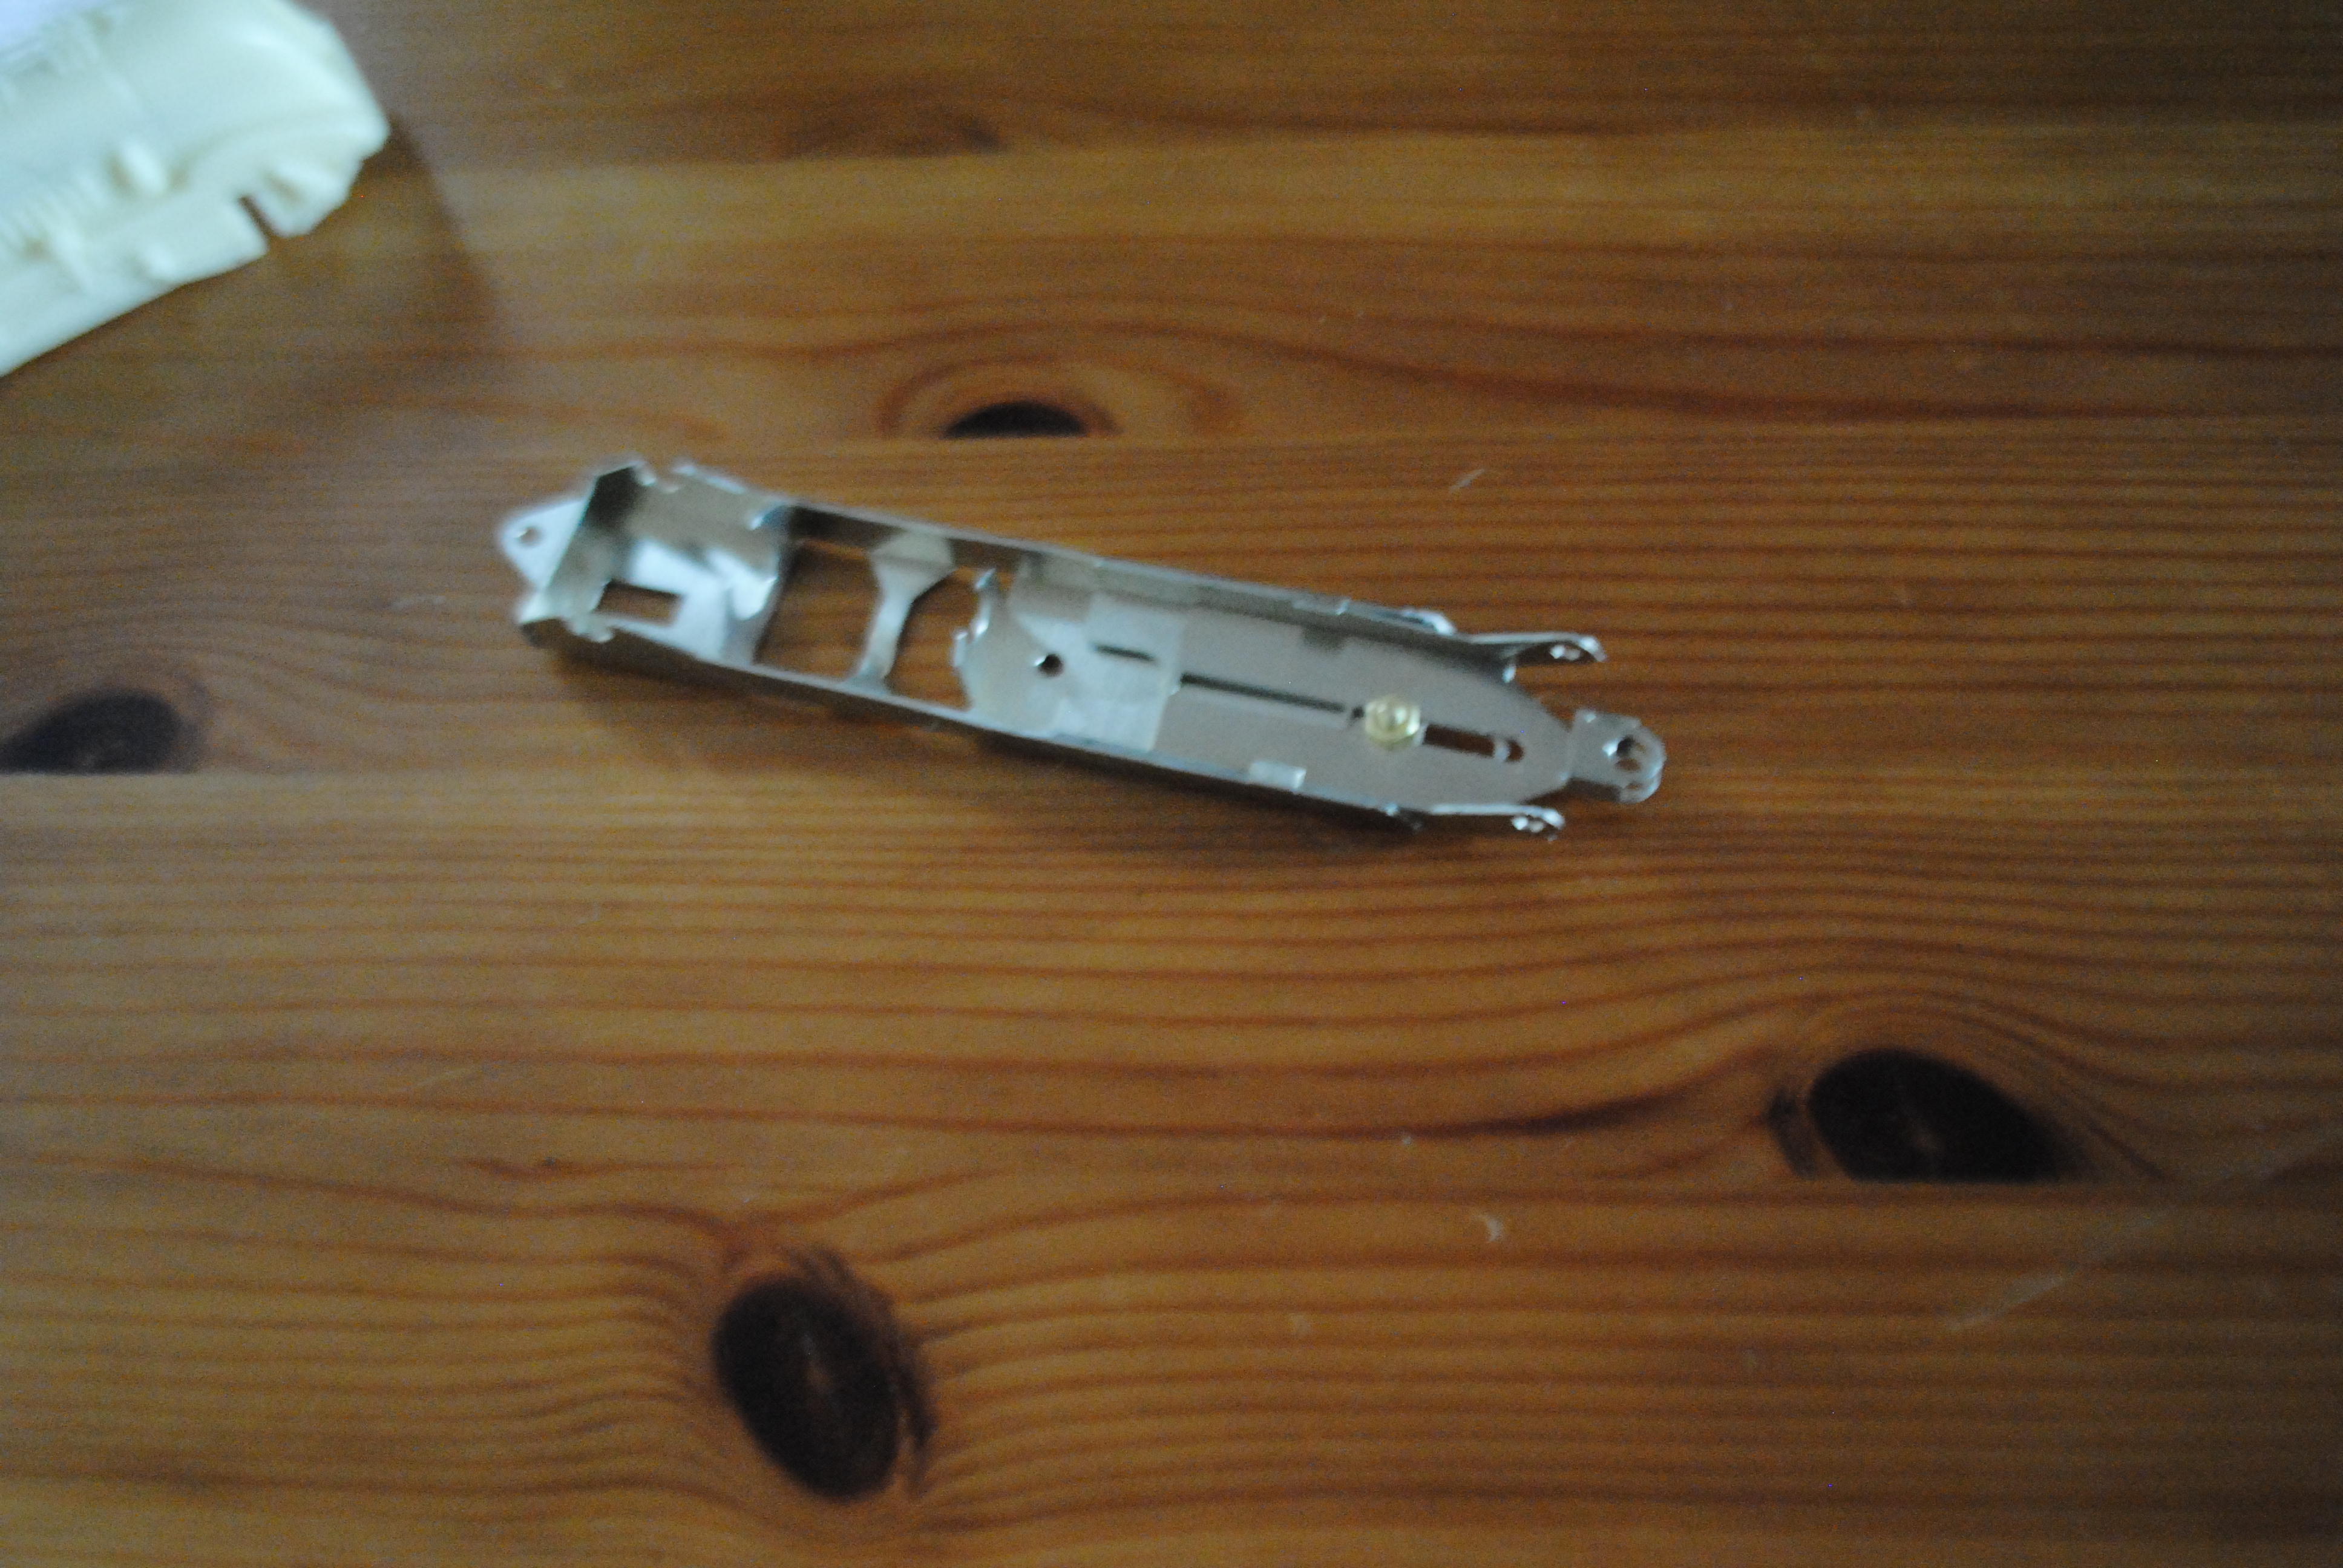
Talking of going into the shell of the car now we must fir the chassis to make sure the wheel base is right and everything clears the shell. This shell did require a lot of sanding to get the chassis to fit correctly.
Because the chassis was such a tight fit I thought it best to mock up the wheels and axles as there would be a tight fit between the shell and the bearings. It was lucky I did as I had managed to tweak the chassis! I’ve honestly never done that before!
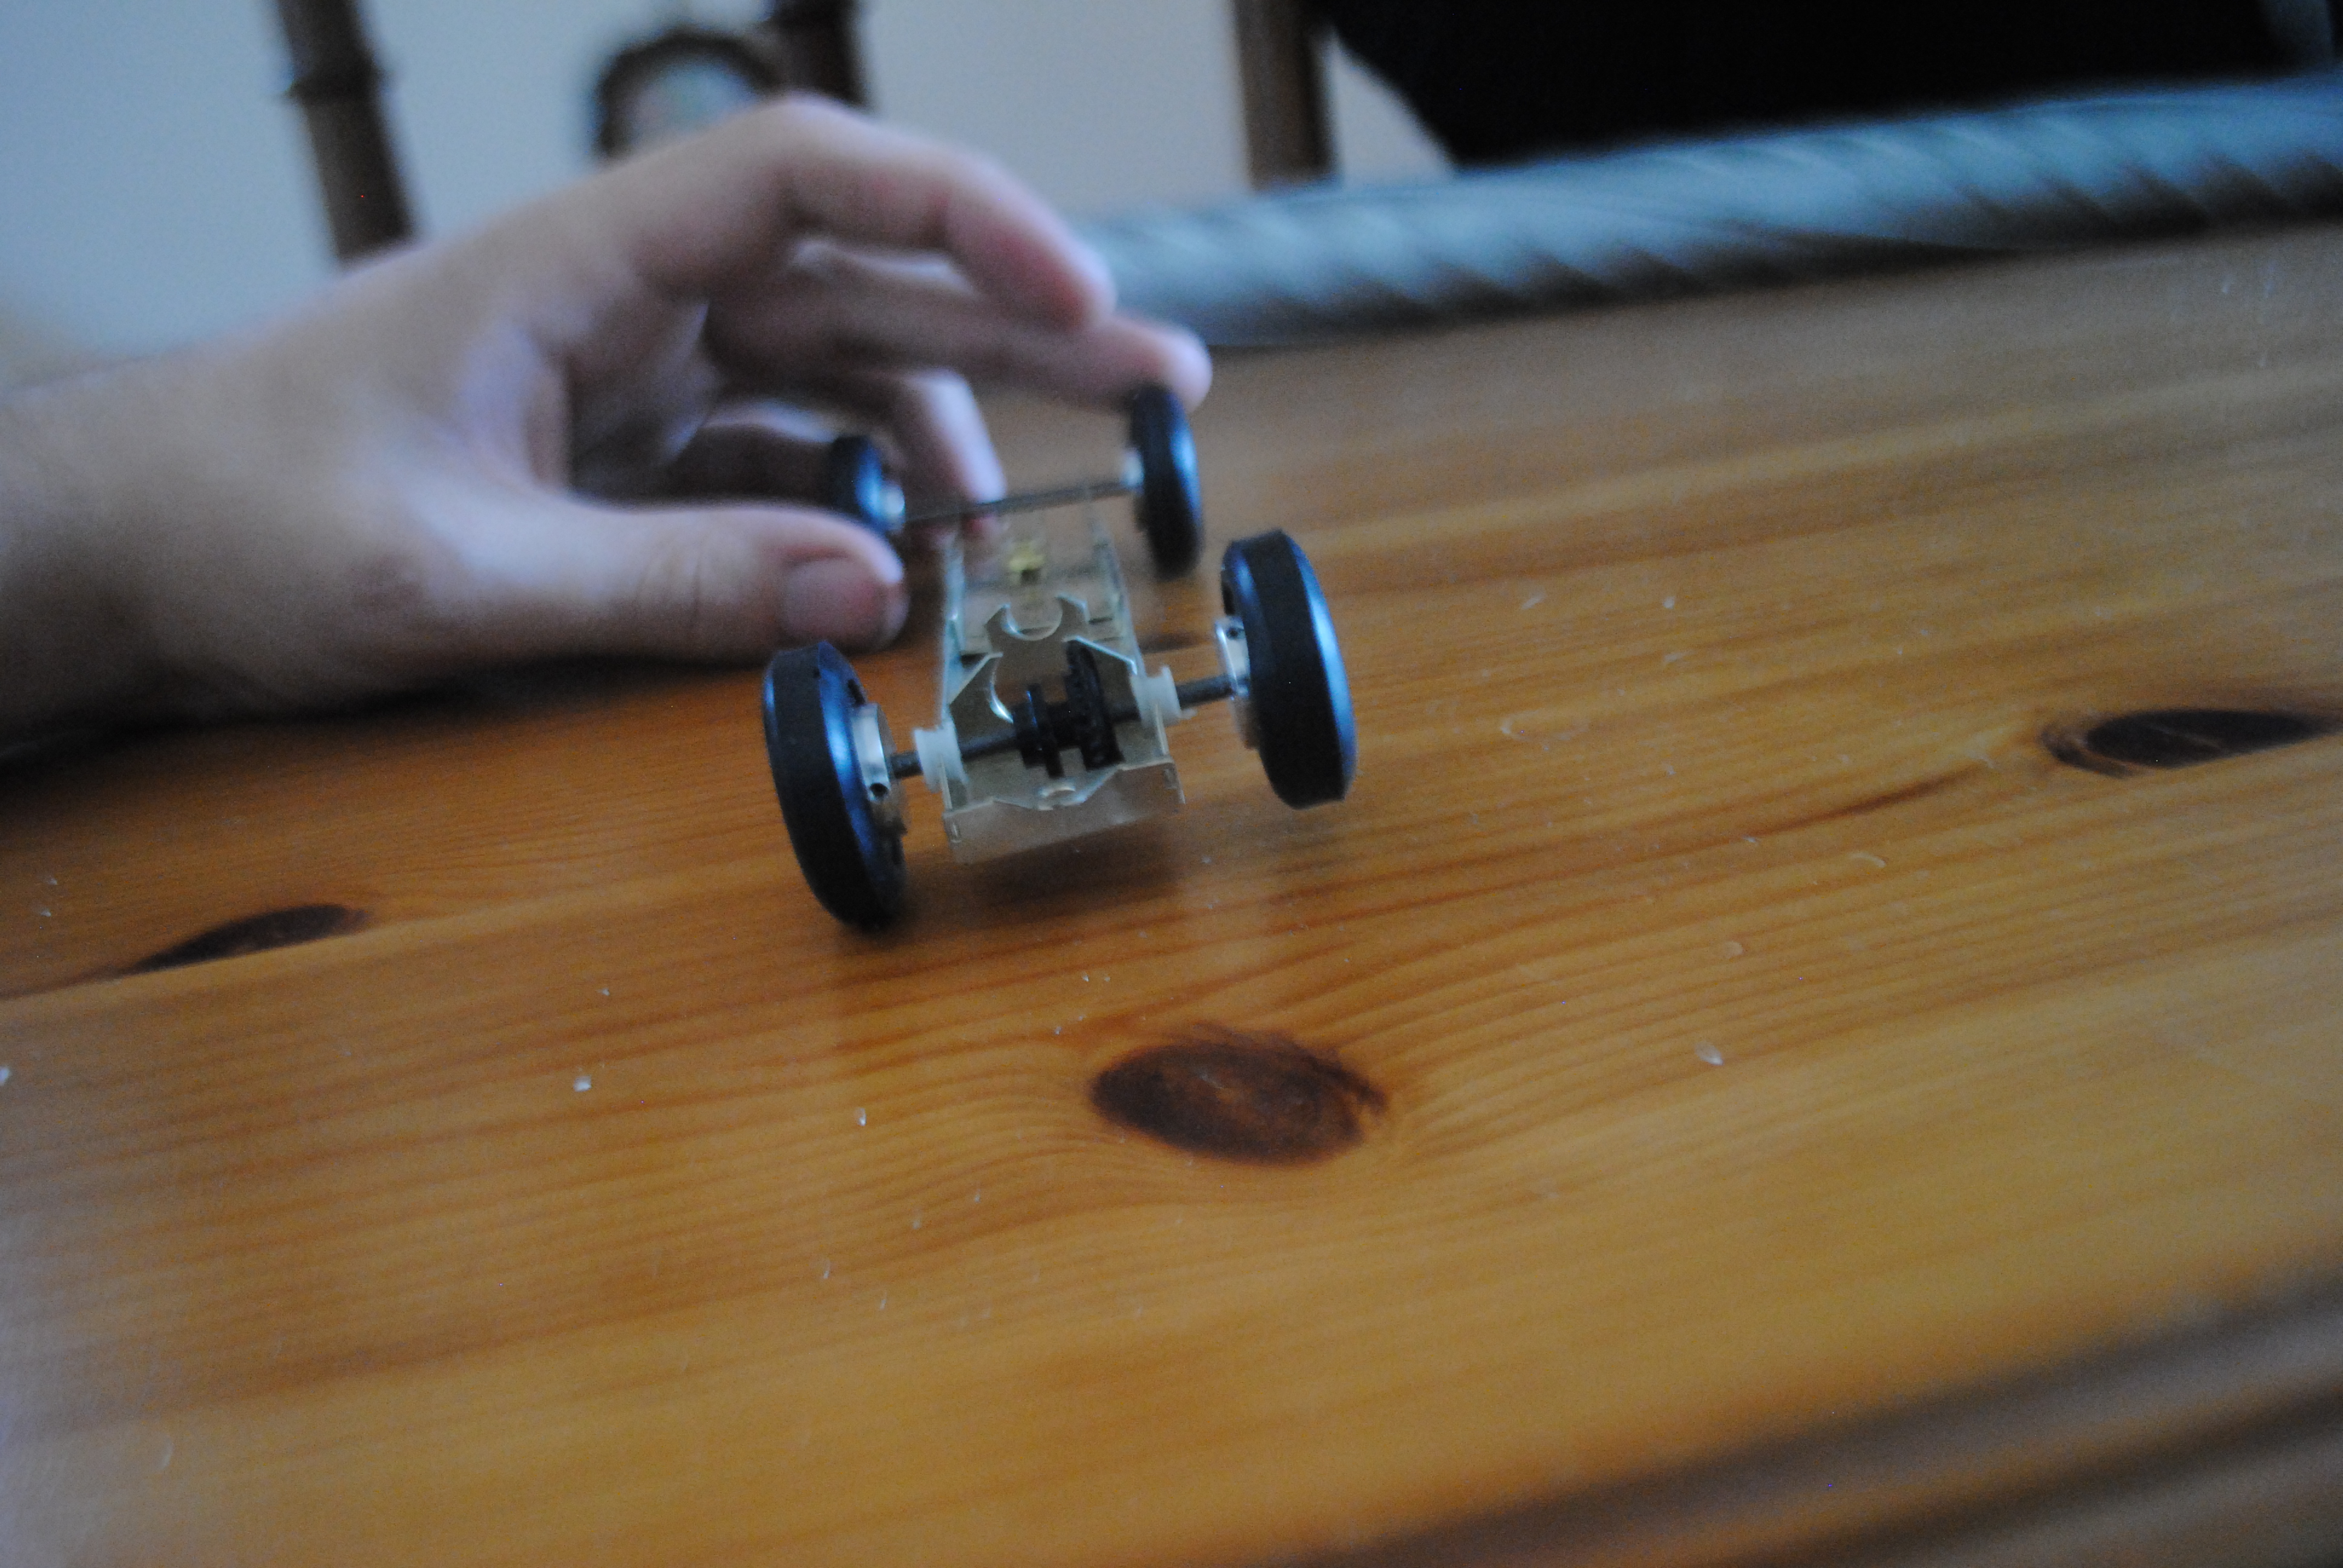
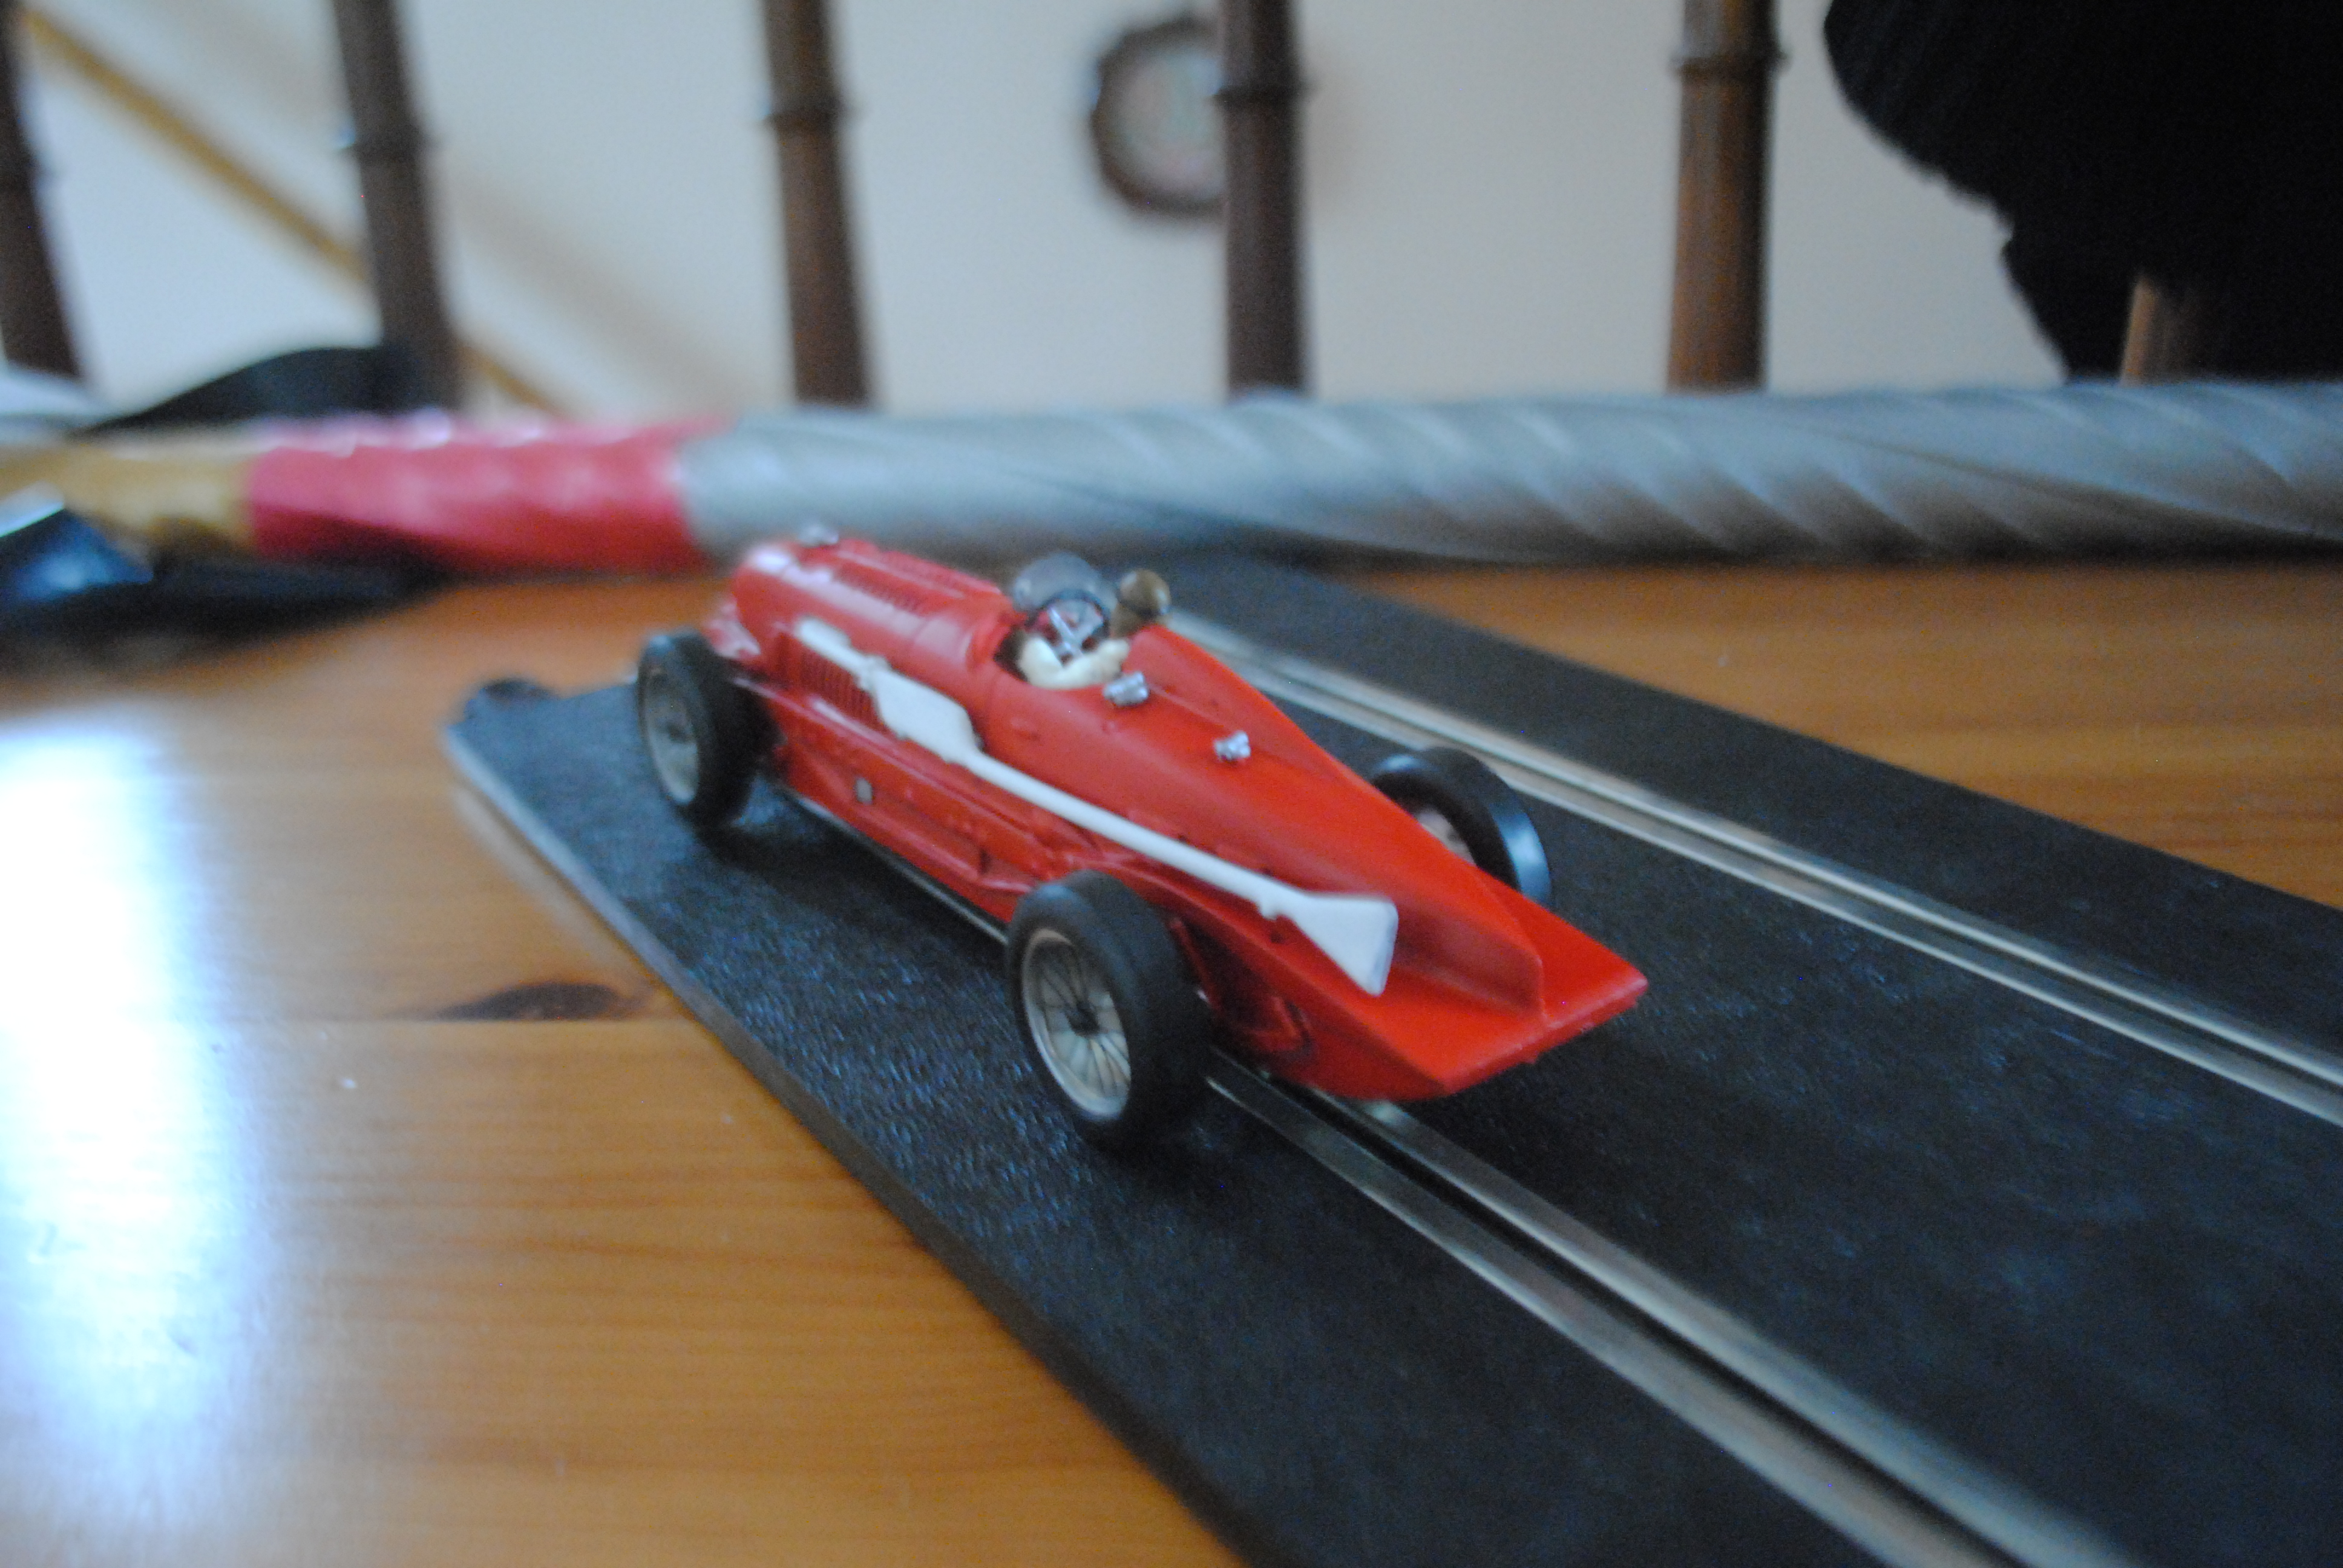
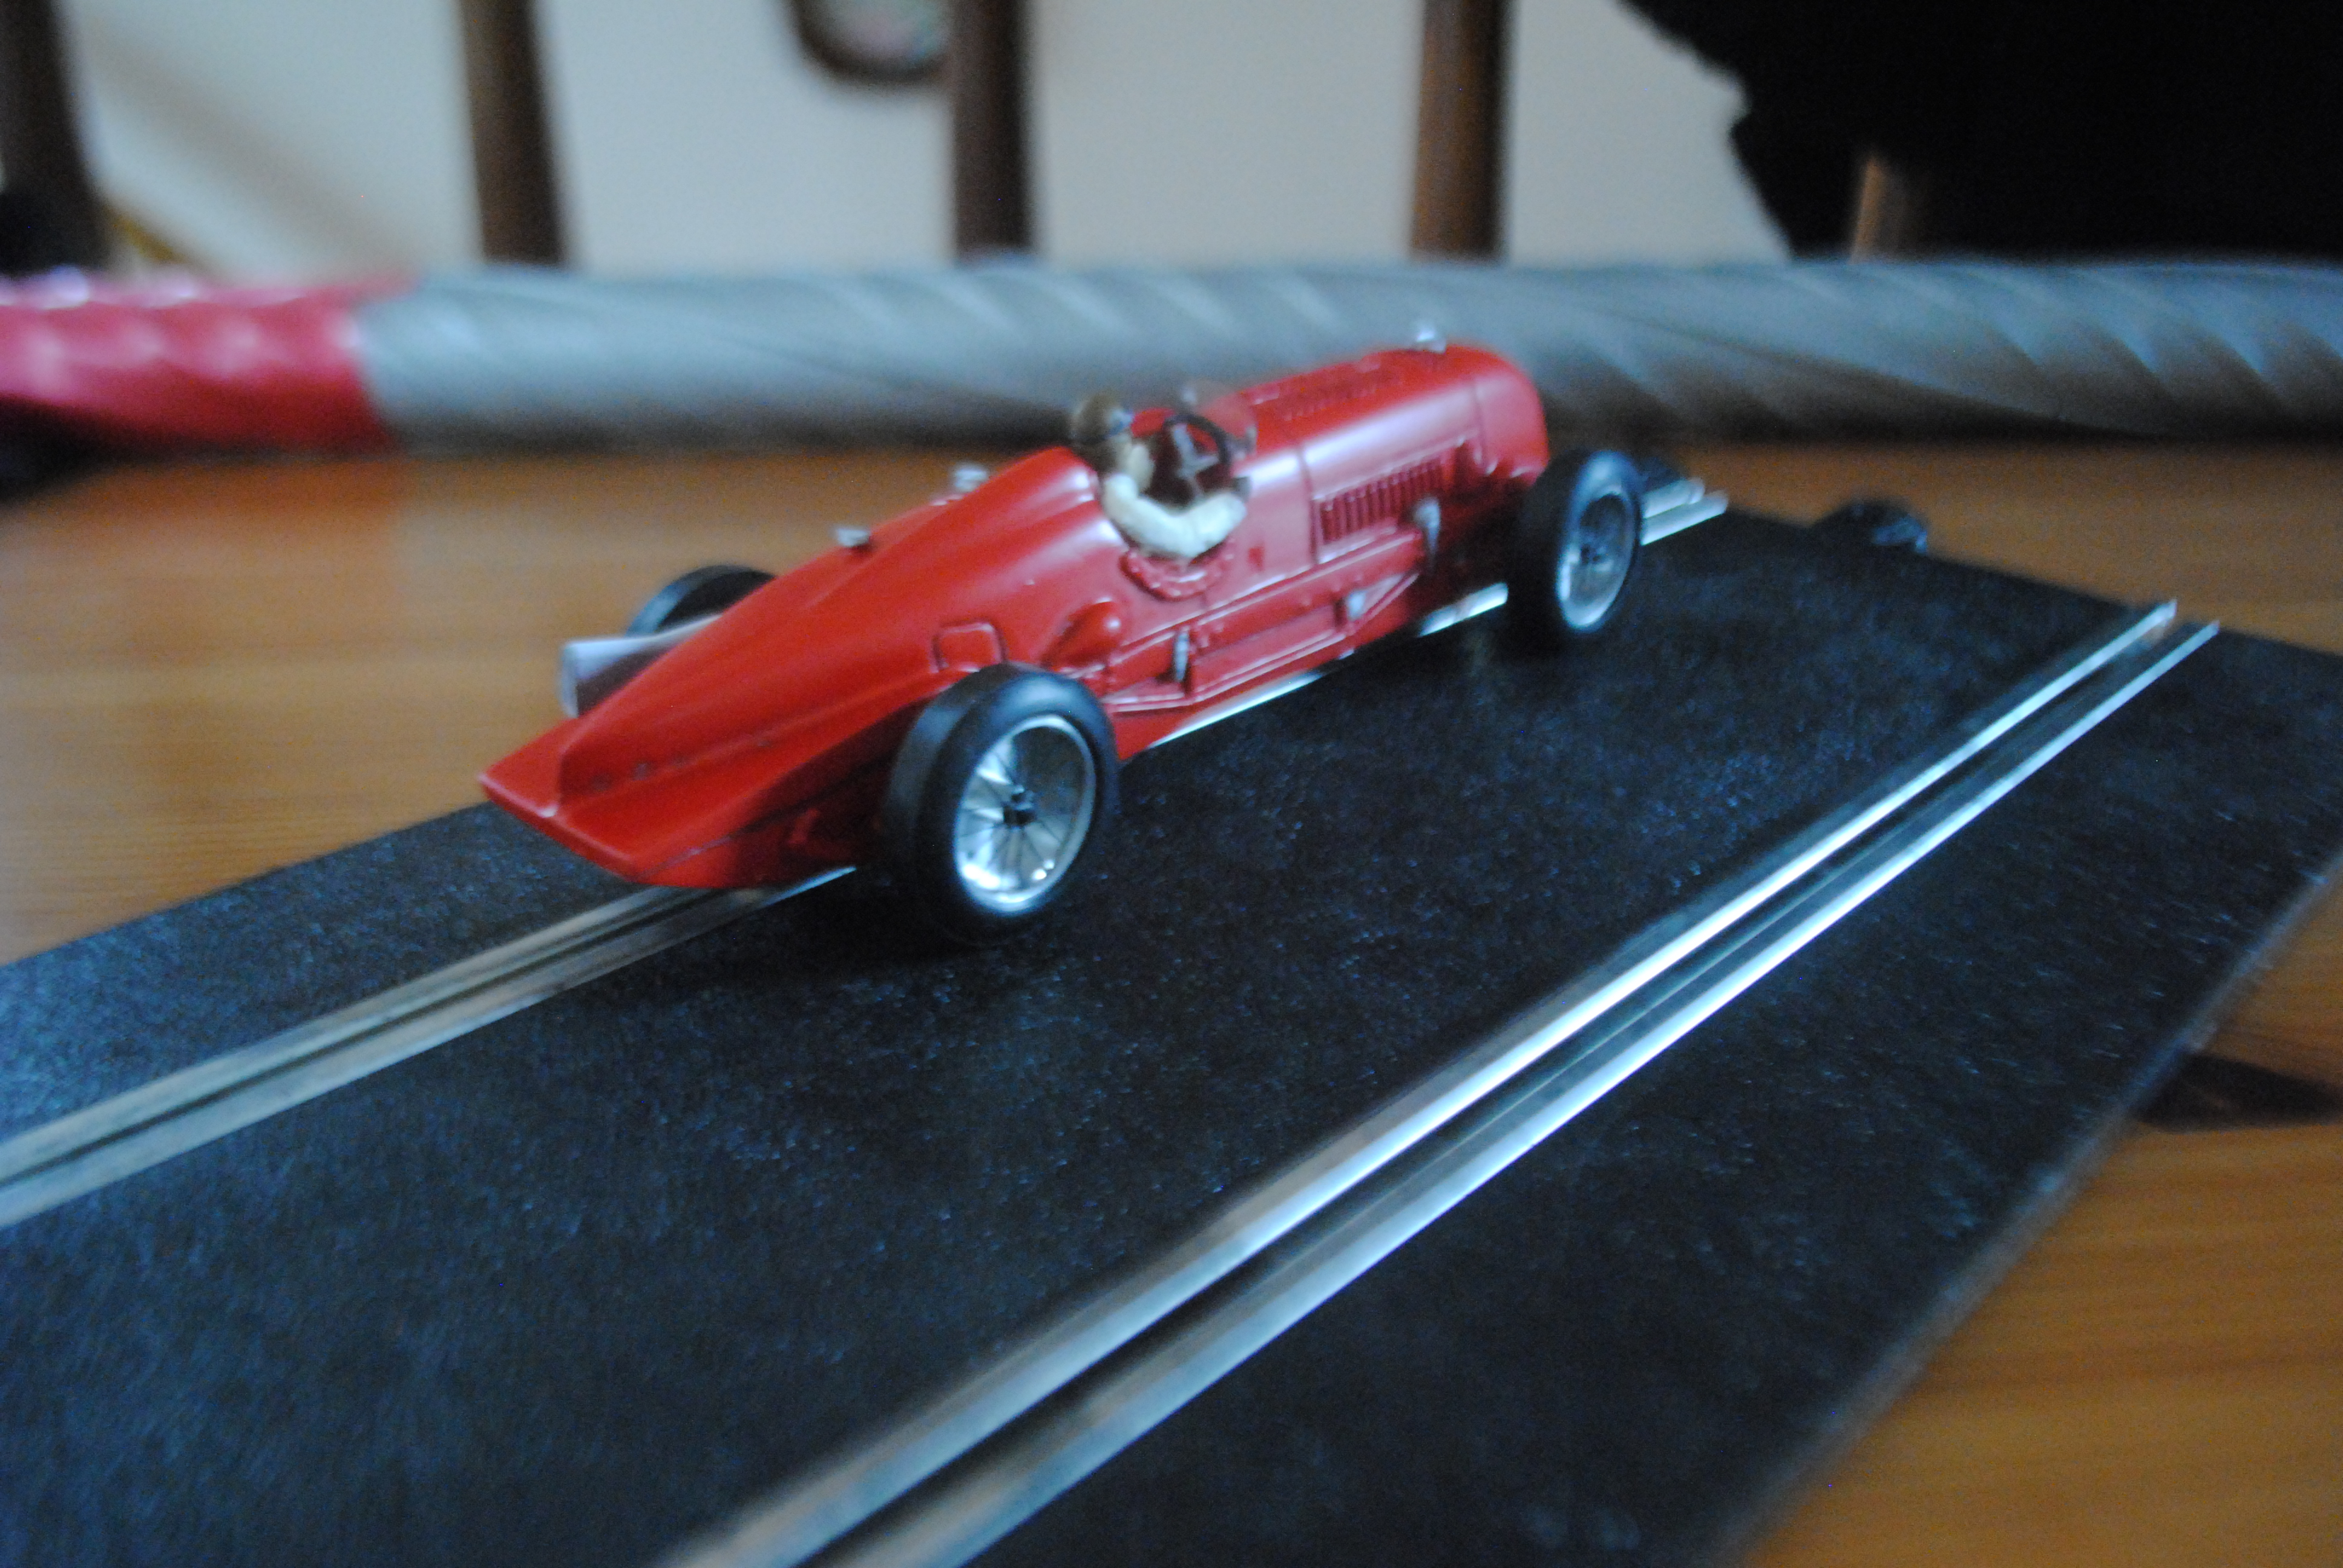
I managed to straighten it, again with some pliers and some patience. I also put the guide on to see how it would sit on the track.
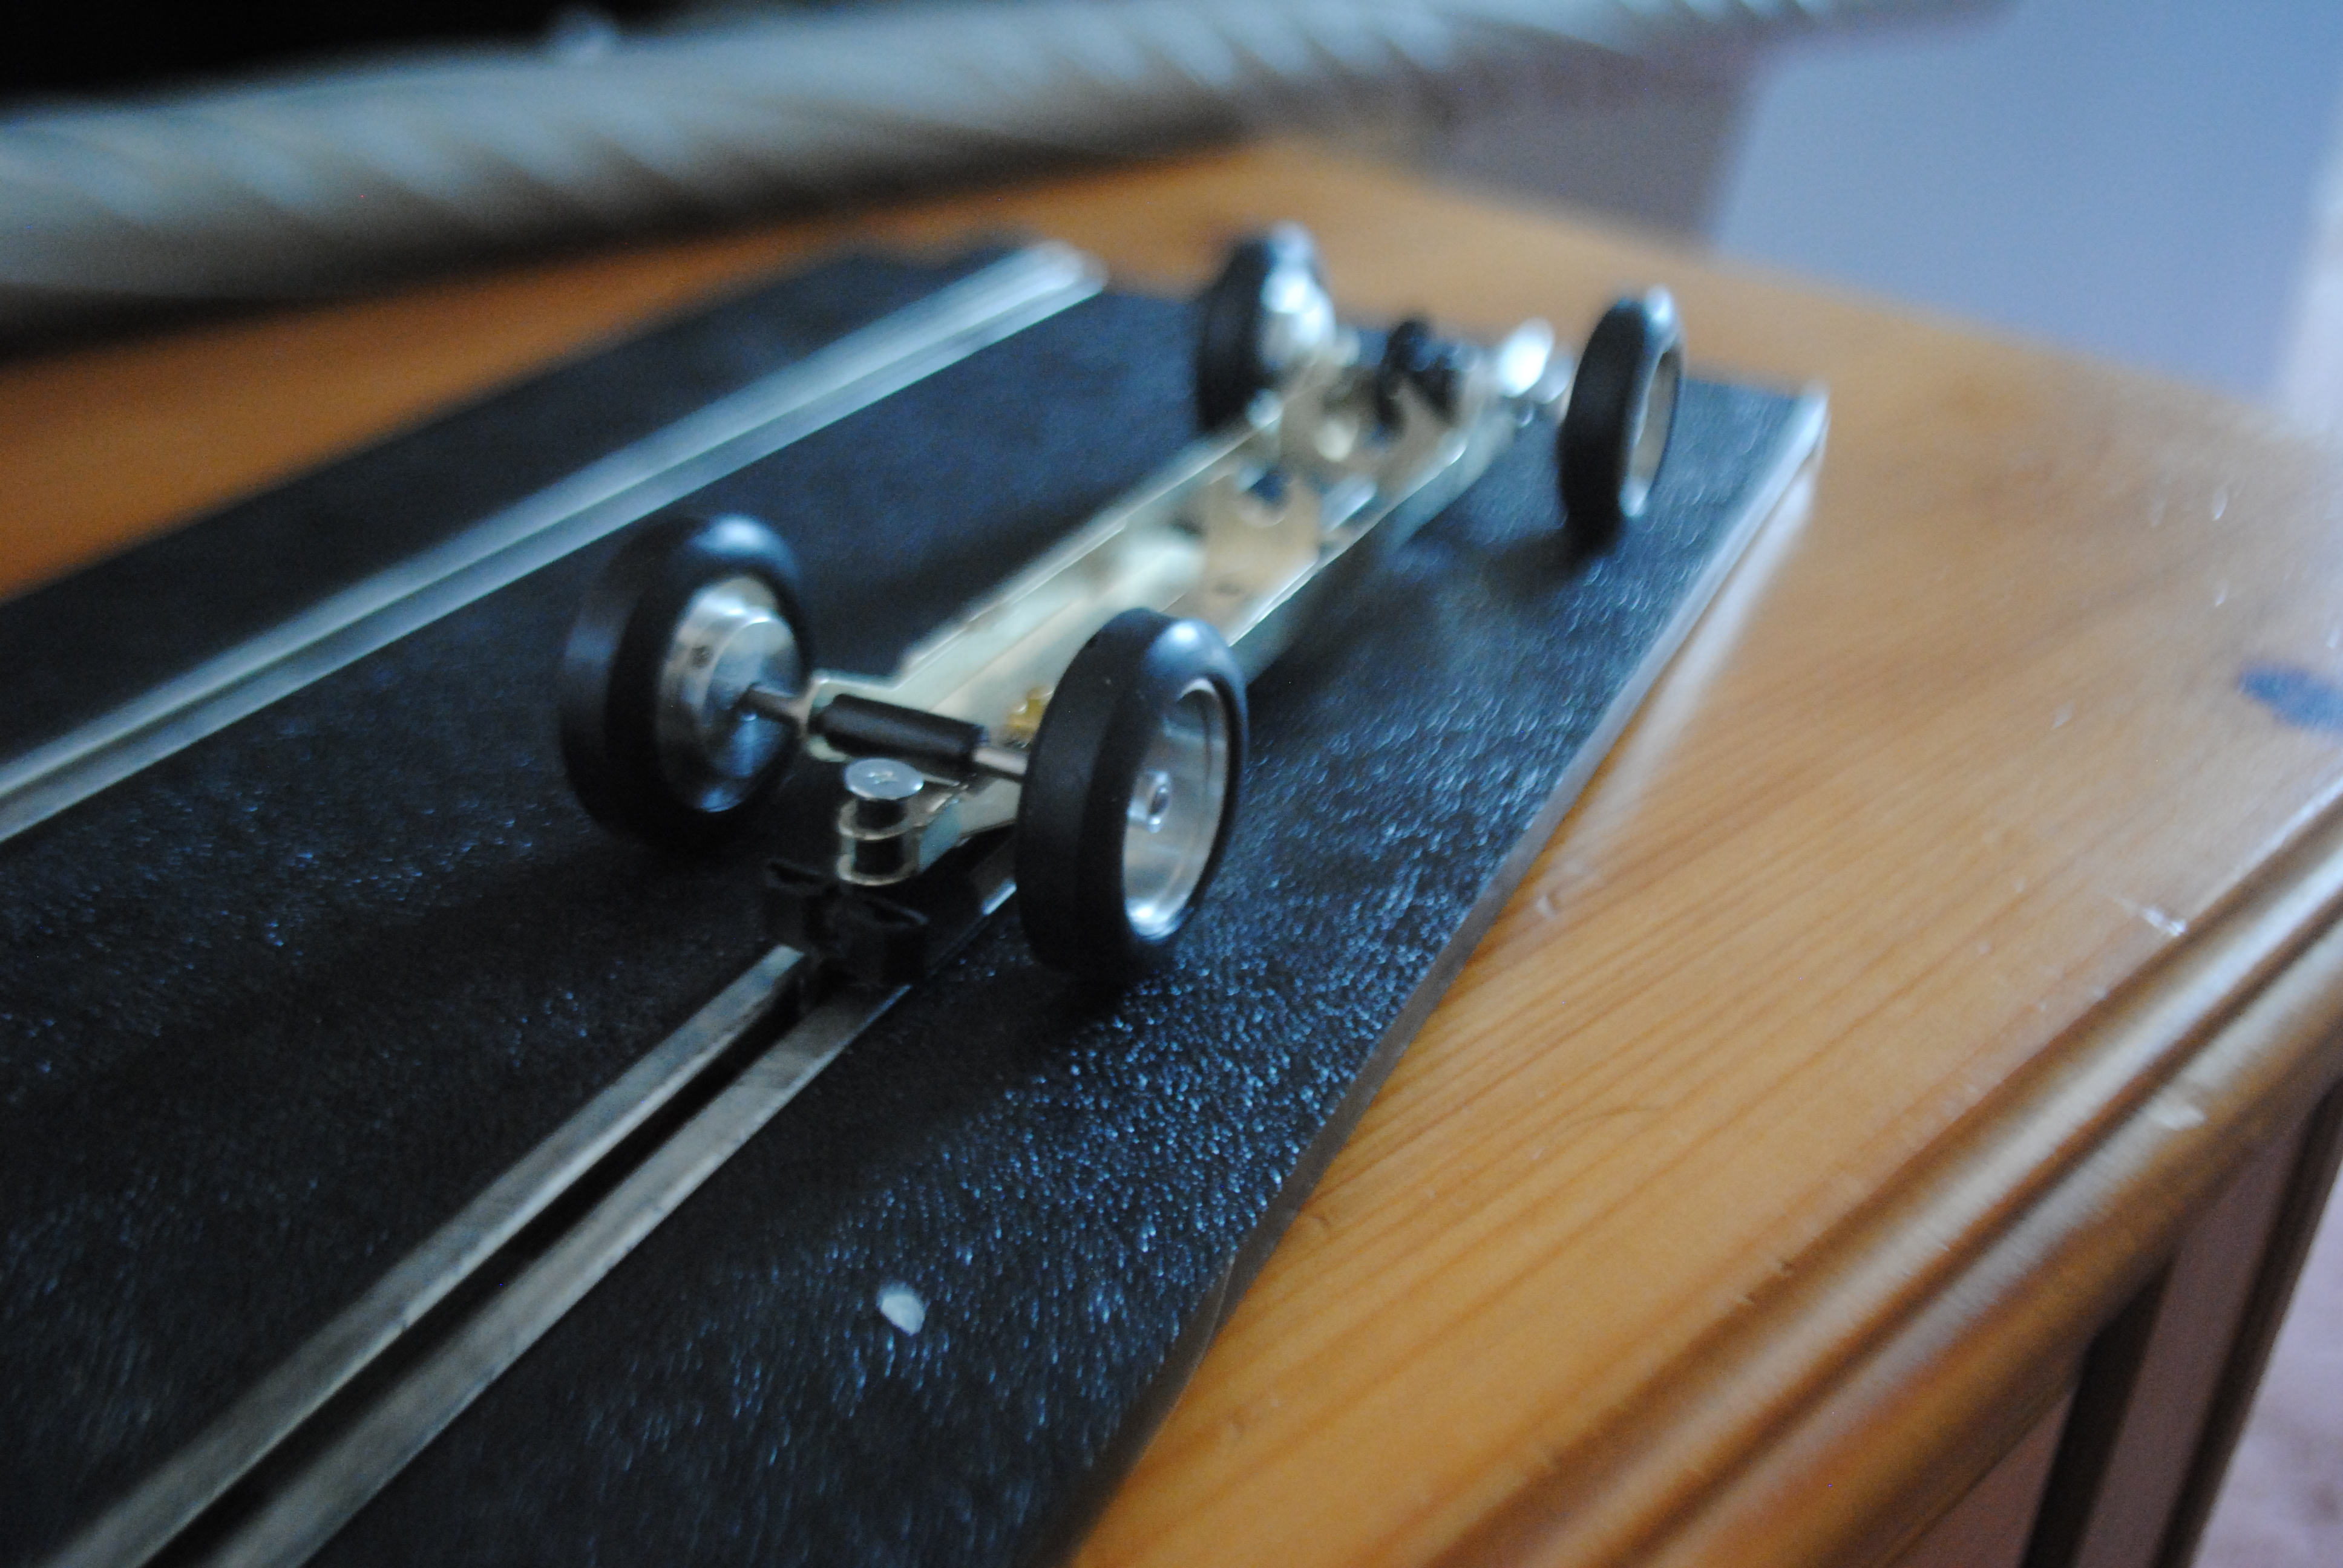
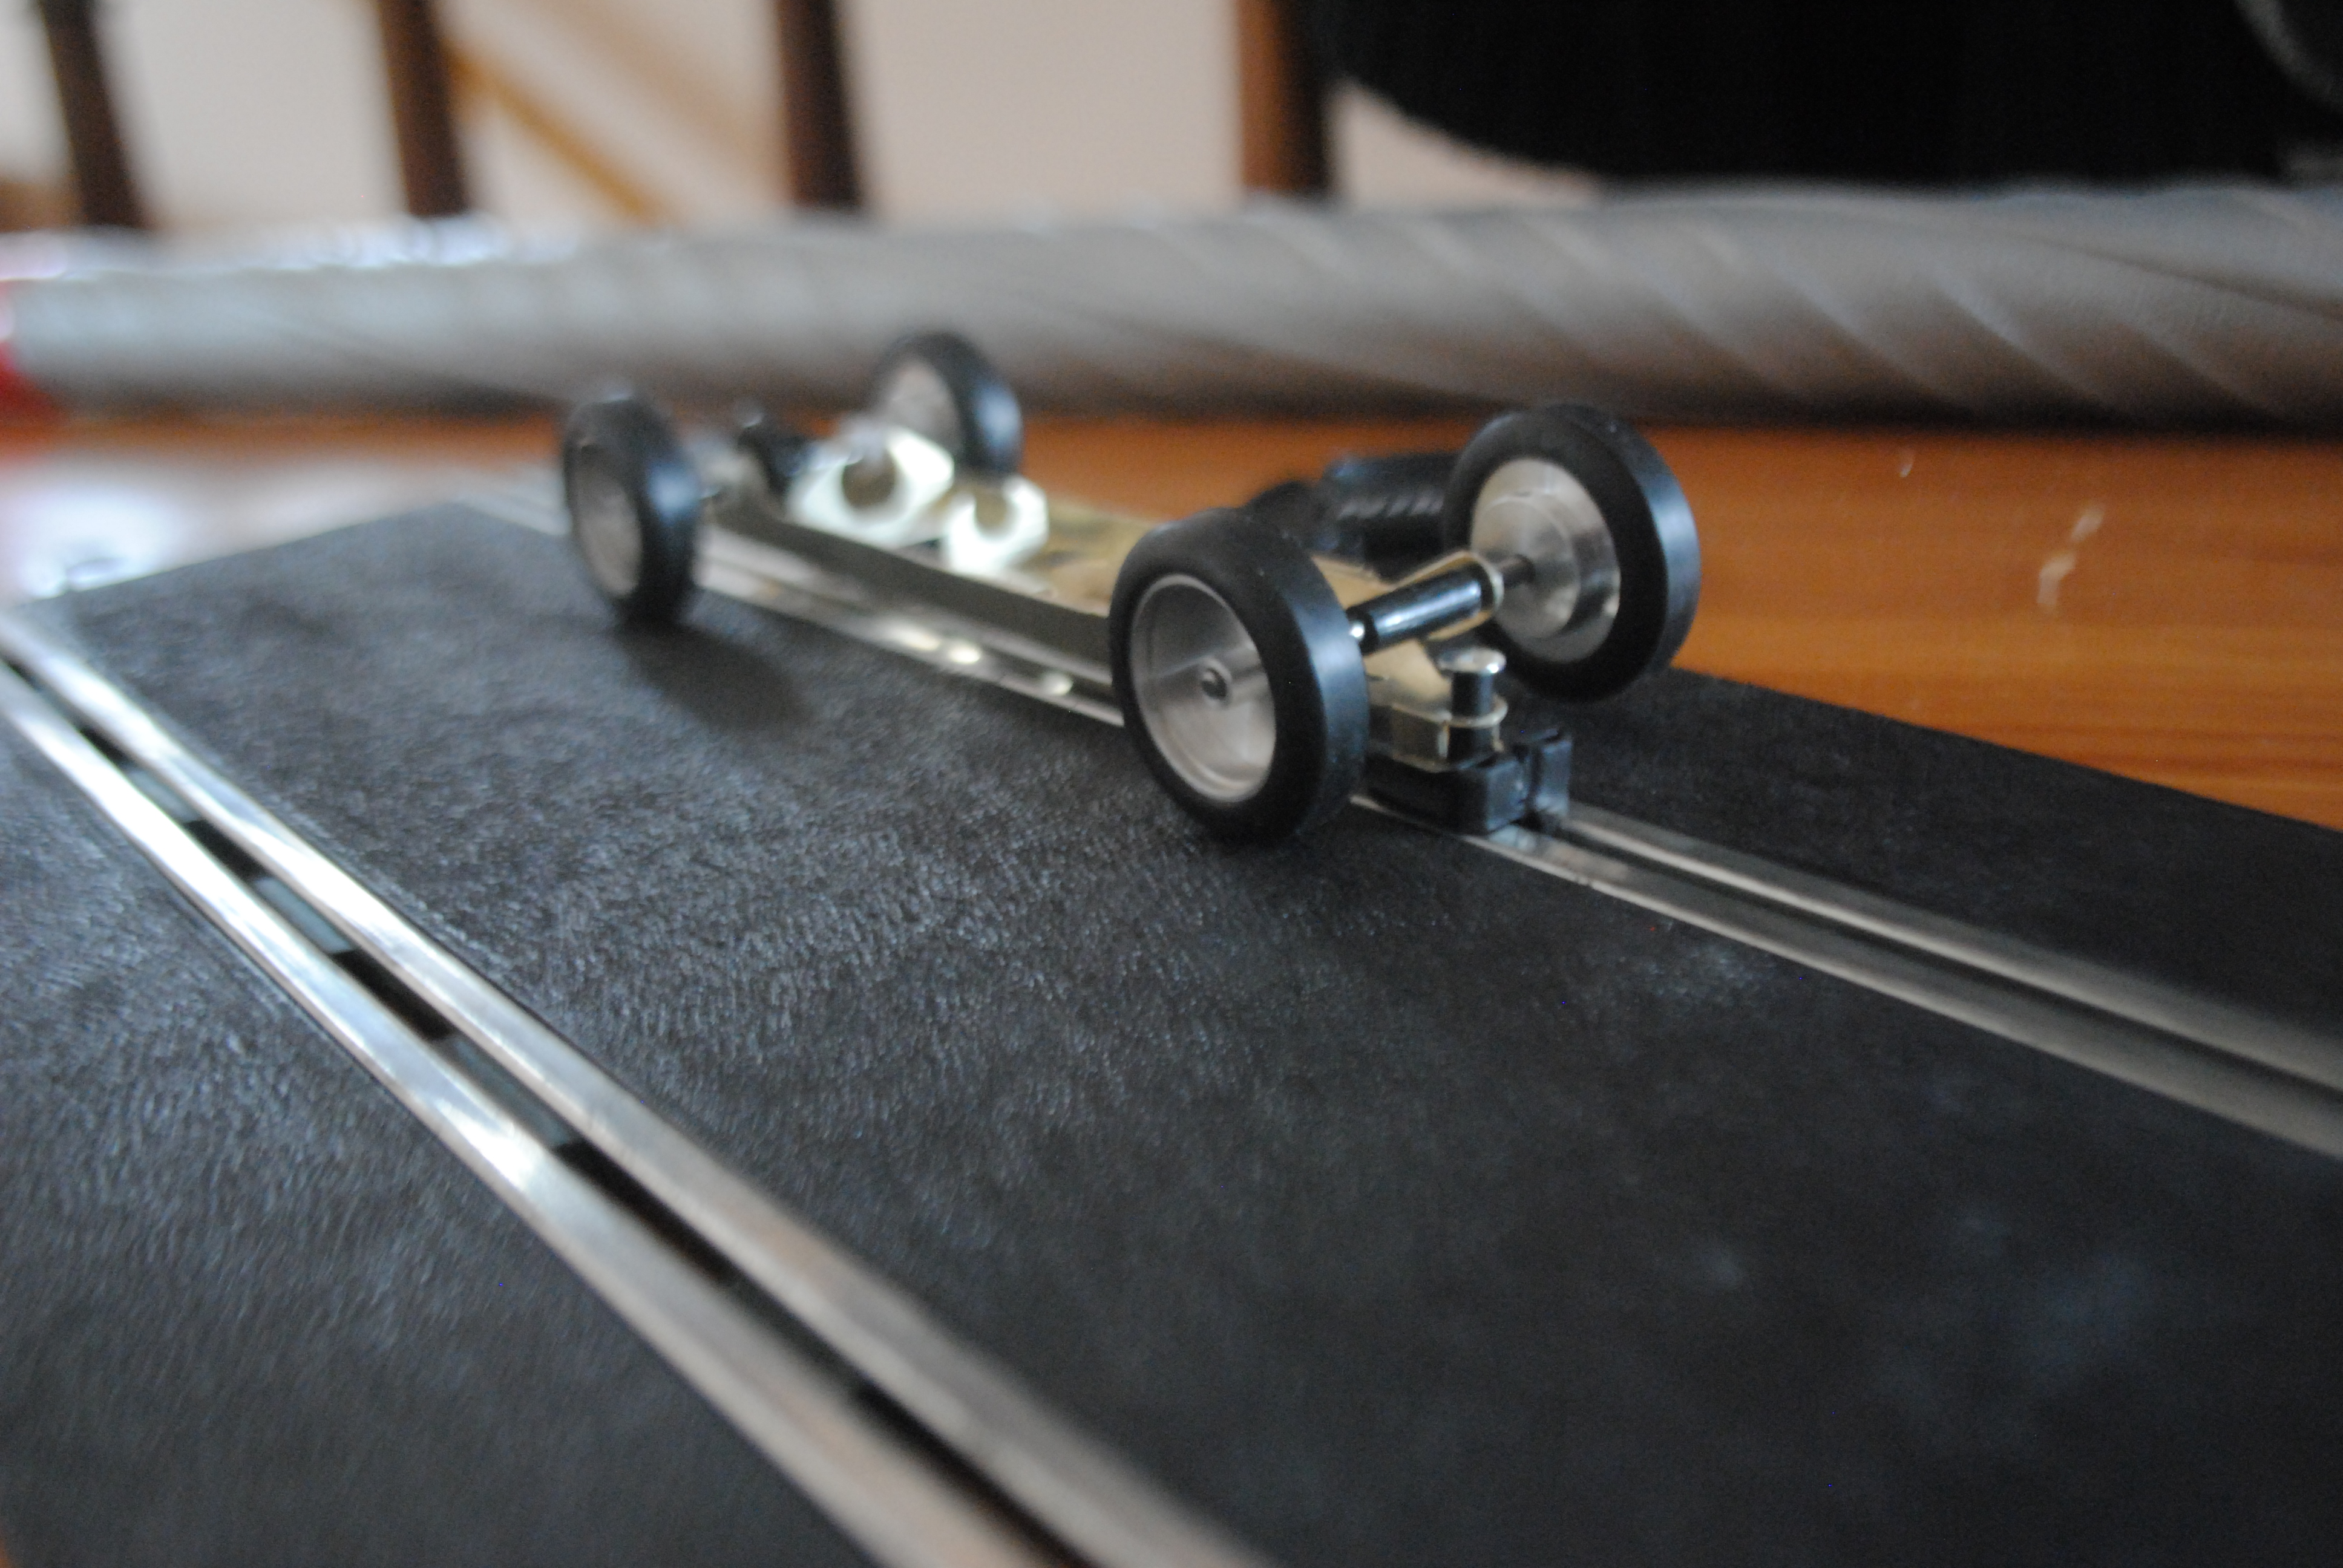
The eagle eyed amongst you will notice that the front wheels are very slightly off the ground. A slot car uses it’s guide to steer, the front wheels are on a solid axle, s the front wheels will always want to roll in a straight line as there is no differential. at speed the front wheels wanting to go straight and the guide wanting to turn can cause deslots or just give unwanted resistance in turning at slower speeds.
Now the chassis is straight and everything clears the body shell the last thing to do before painting is to make the holes for the screws.
I start the process by drilling into the body posts with a very small dremmel bit. I then use the screws as self tappers to calve their own thread. Once that is done I can take them back out and the painting process can begin!
Now, I must confess at this juncture that I am a terrible blogger and didn’t photograph the process of painting the car. The shell is undercoated with two thin coats of Halfords grey primer. Yes there are finer primers on the market but I find that this gives good adhesion and in thin coats does not have an adverse effect on the finish of the model. The top coat is Volkwagen Mars Red II as that’s the closest match I could find on the shelf and the driver and detail work was done with Vallejo acrylic brush paint.

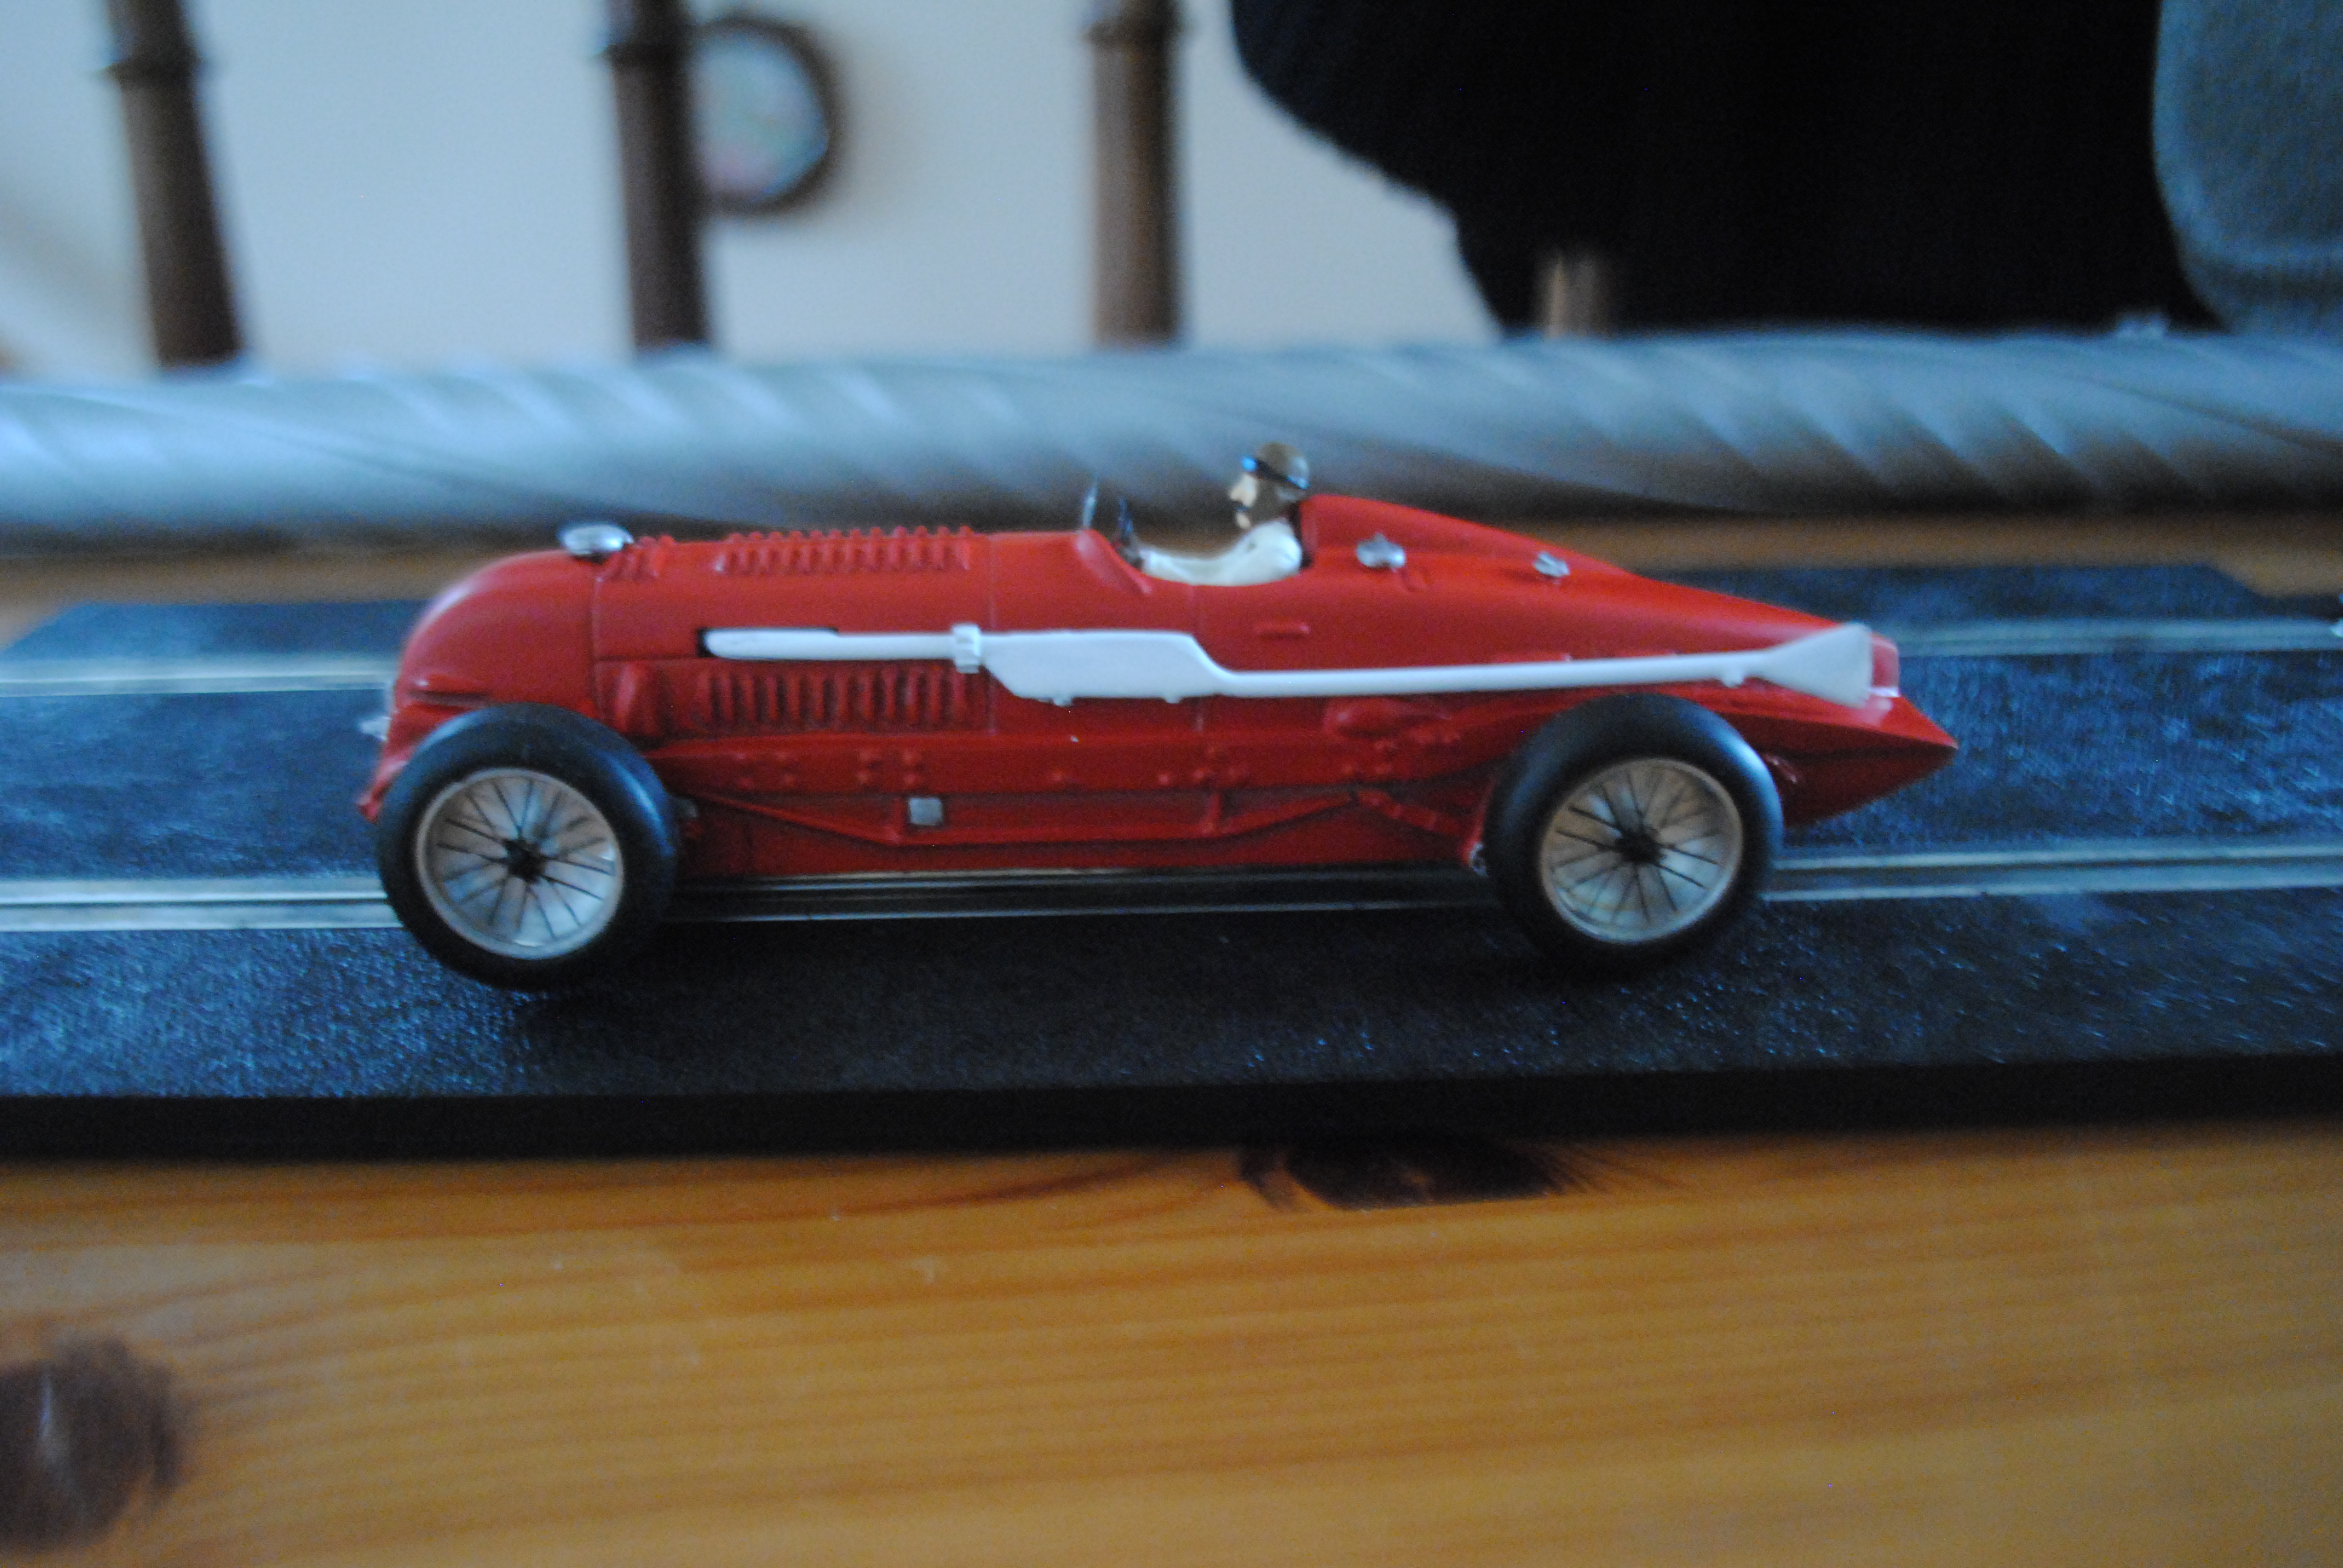
With regards to the wheels, Penelope Pitlane wheels are made of three sections, the hub, an inner set of spokes and the outer set of spokes.

I’m sure you’ve seen them on my Omnibus, and they do look good complete. For some strange reason i struggled with them this time and b*ggered two of them up. So for now I have just put on the outer set and knock off caps. They are just press fitted though, another set of wheel inserts have been ordered so they will be fixed and looking proper in due course!
All in all it’s been a fun build of a very interesting car. I’m happy with the way my modelling is progressing at the moment and I hope to build some more of these pre-war cars in the very near future!

Thanks for reading, I hope you enjoyed! If you would like to help me make even better quality content on a more regular basis please join my Patreon here: http://www.patreon.com/motorsportformentalhealth
If you would like to stay up to date with all my blog posts please subscribe to the blog via email or follow me on the following social media platforms:
Facebook: www.facebook.com/RFrancisGarageR/
Twitter: @Garage_RFrancis
Instagram: @motorsport4mentalhealth
Youtube: www.youtube.com/channel/UCNBY-2P5EuEFotY4RVjpvnw