

Hi guys,
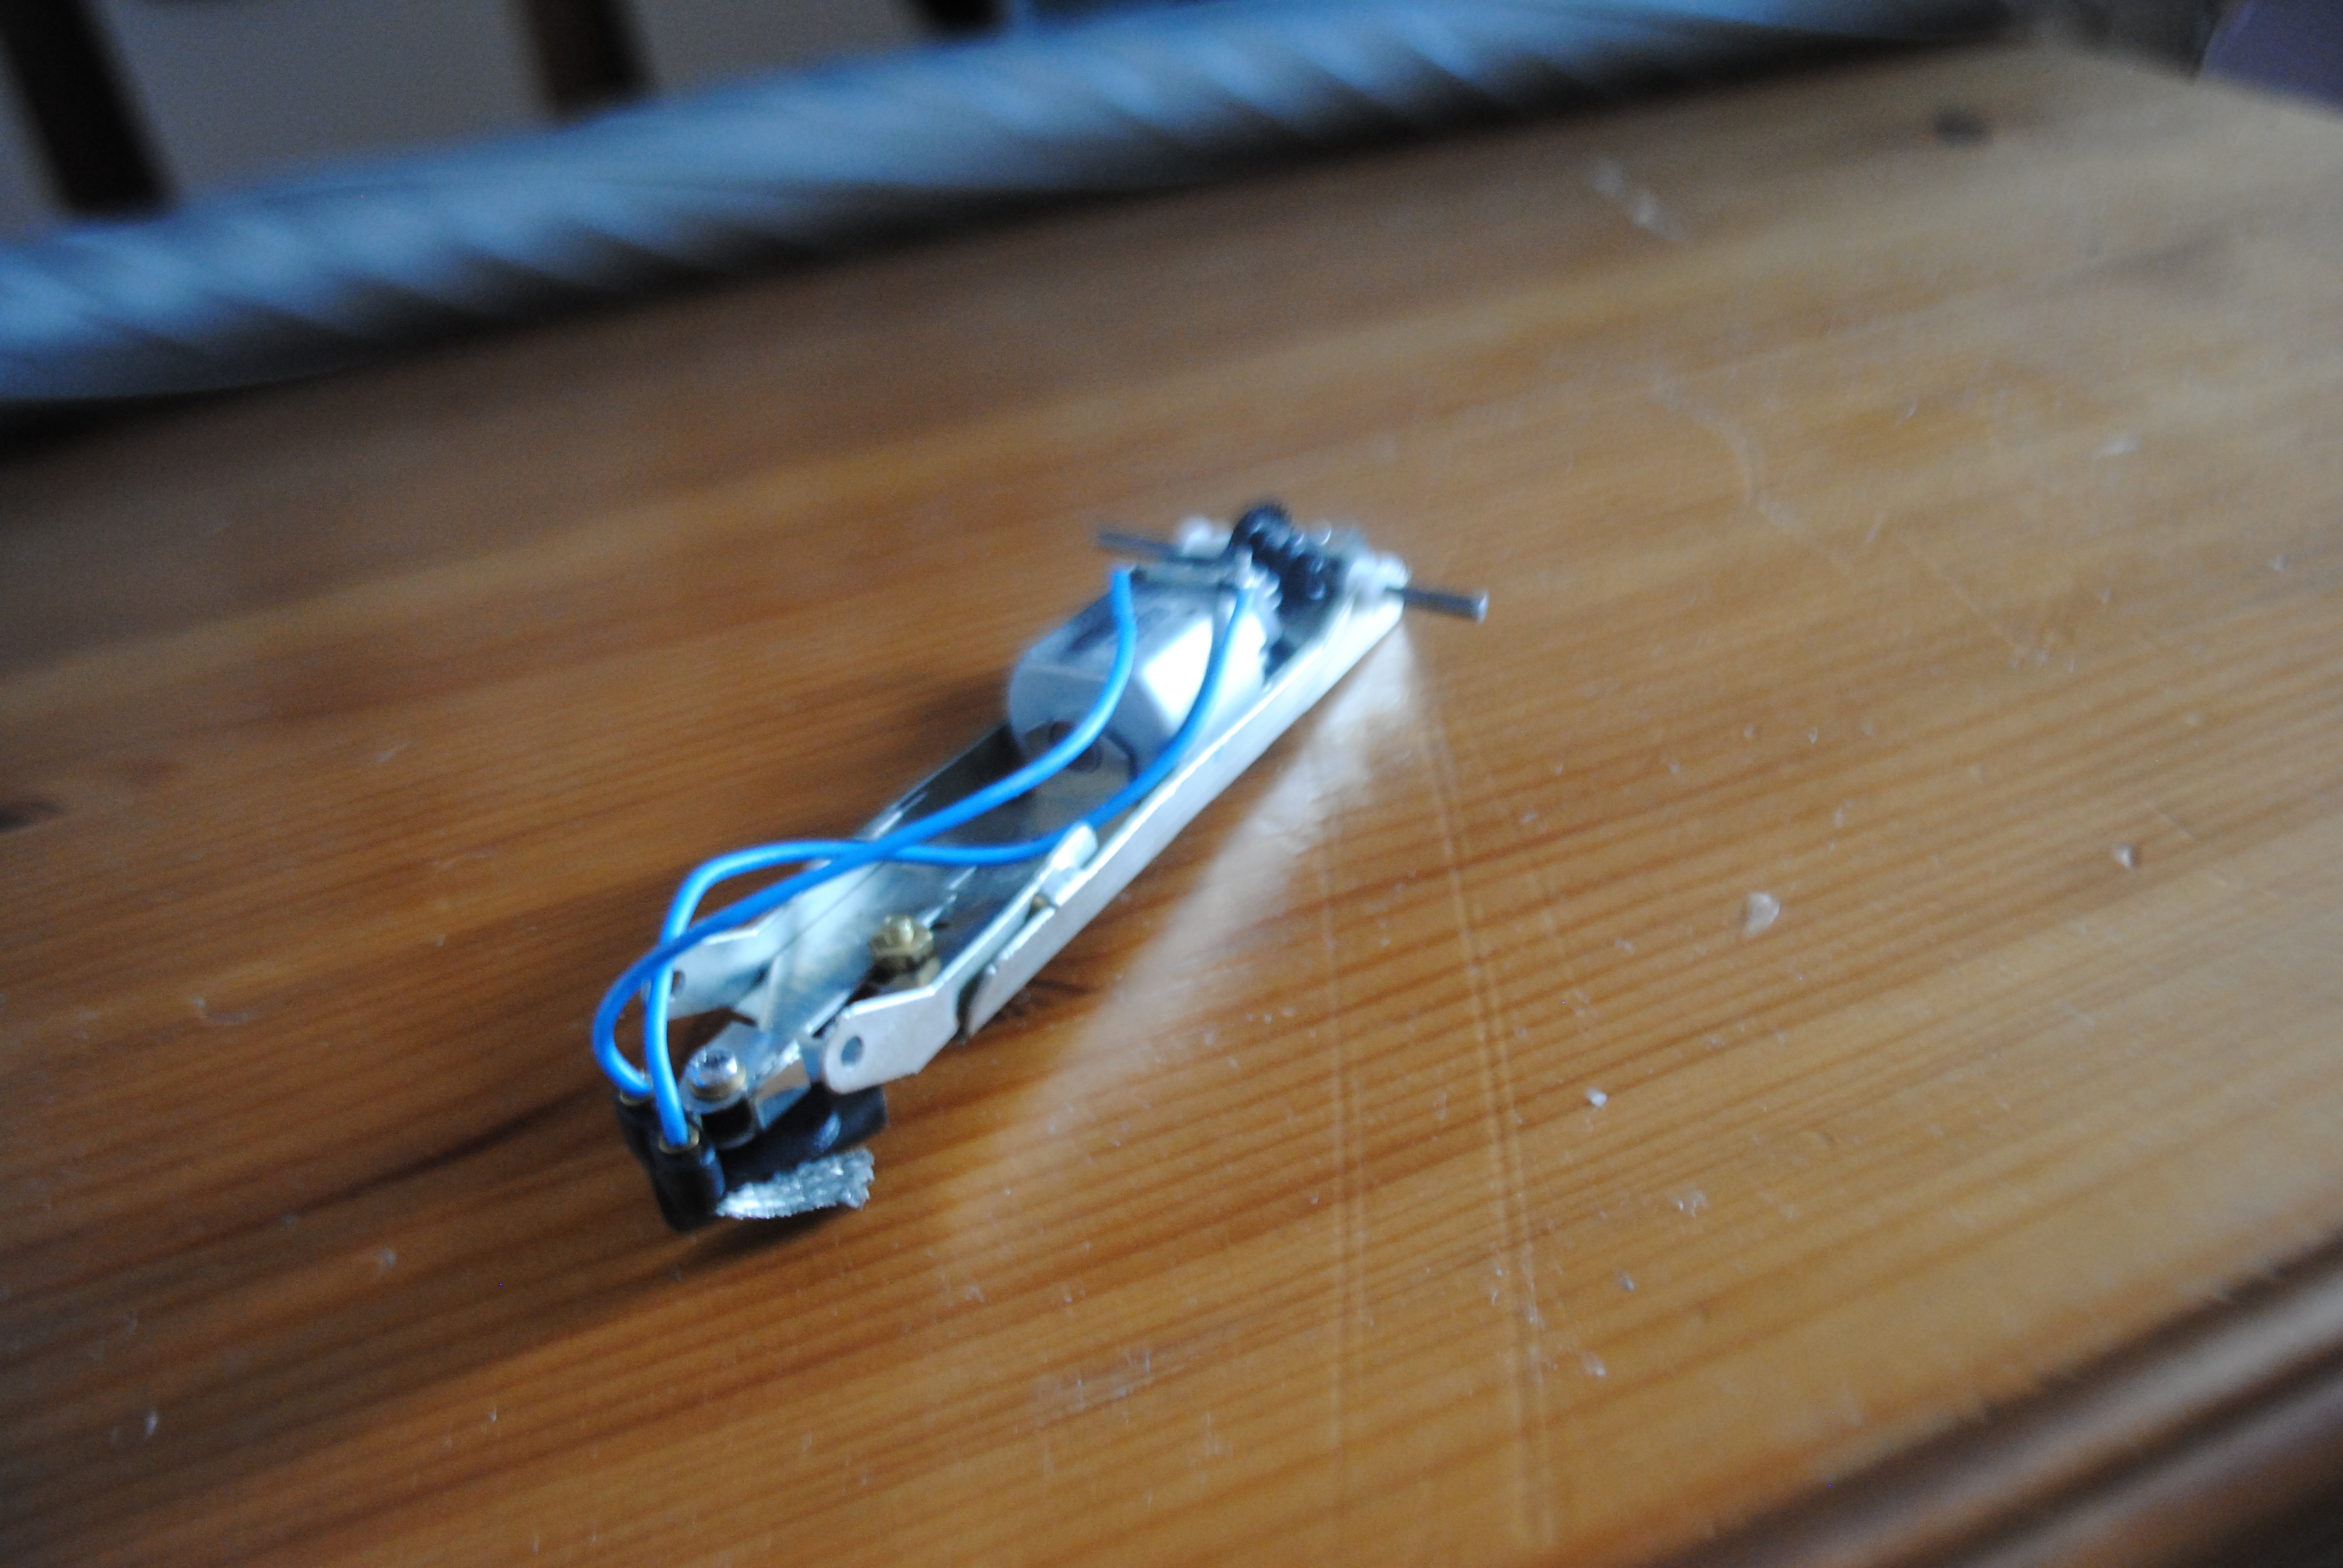
So I was having a bit of a clear out the other week and there were a couple of my early slot car kits that I just simply wasn’t happy with and decided to break for parts. One of which left behind this perfectly good Penelope Pitlane chassis. I needed to find a home for it!
My Dad had a Jaguar shell for a number of years just sitting in a box doing nothing. It was from our club racing days. The original builder sadly passed away and his slot car collection was brought to the club to be sold on. This old resin Jaguar was a bit of a state; it had a big crack in the rear quarter, the poly-carbonate moulded windows were broken, most of the paint had chipped away etc etc. It did have a working Penelope Pitlane chassis under it however and my Dad restored it for club use.
The car lasted a few meetings but when we retired from club racing when I got ill he pulled the chassis out of it to put under an Airfix Aston Martin DB5. I’d had my eye on the shell for a while as a banger and with not a lot of persuasion at all got him to part with it.
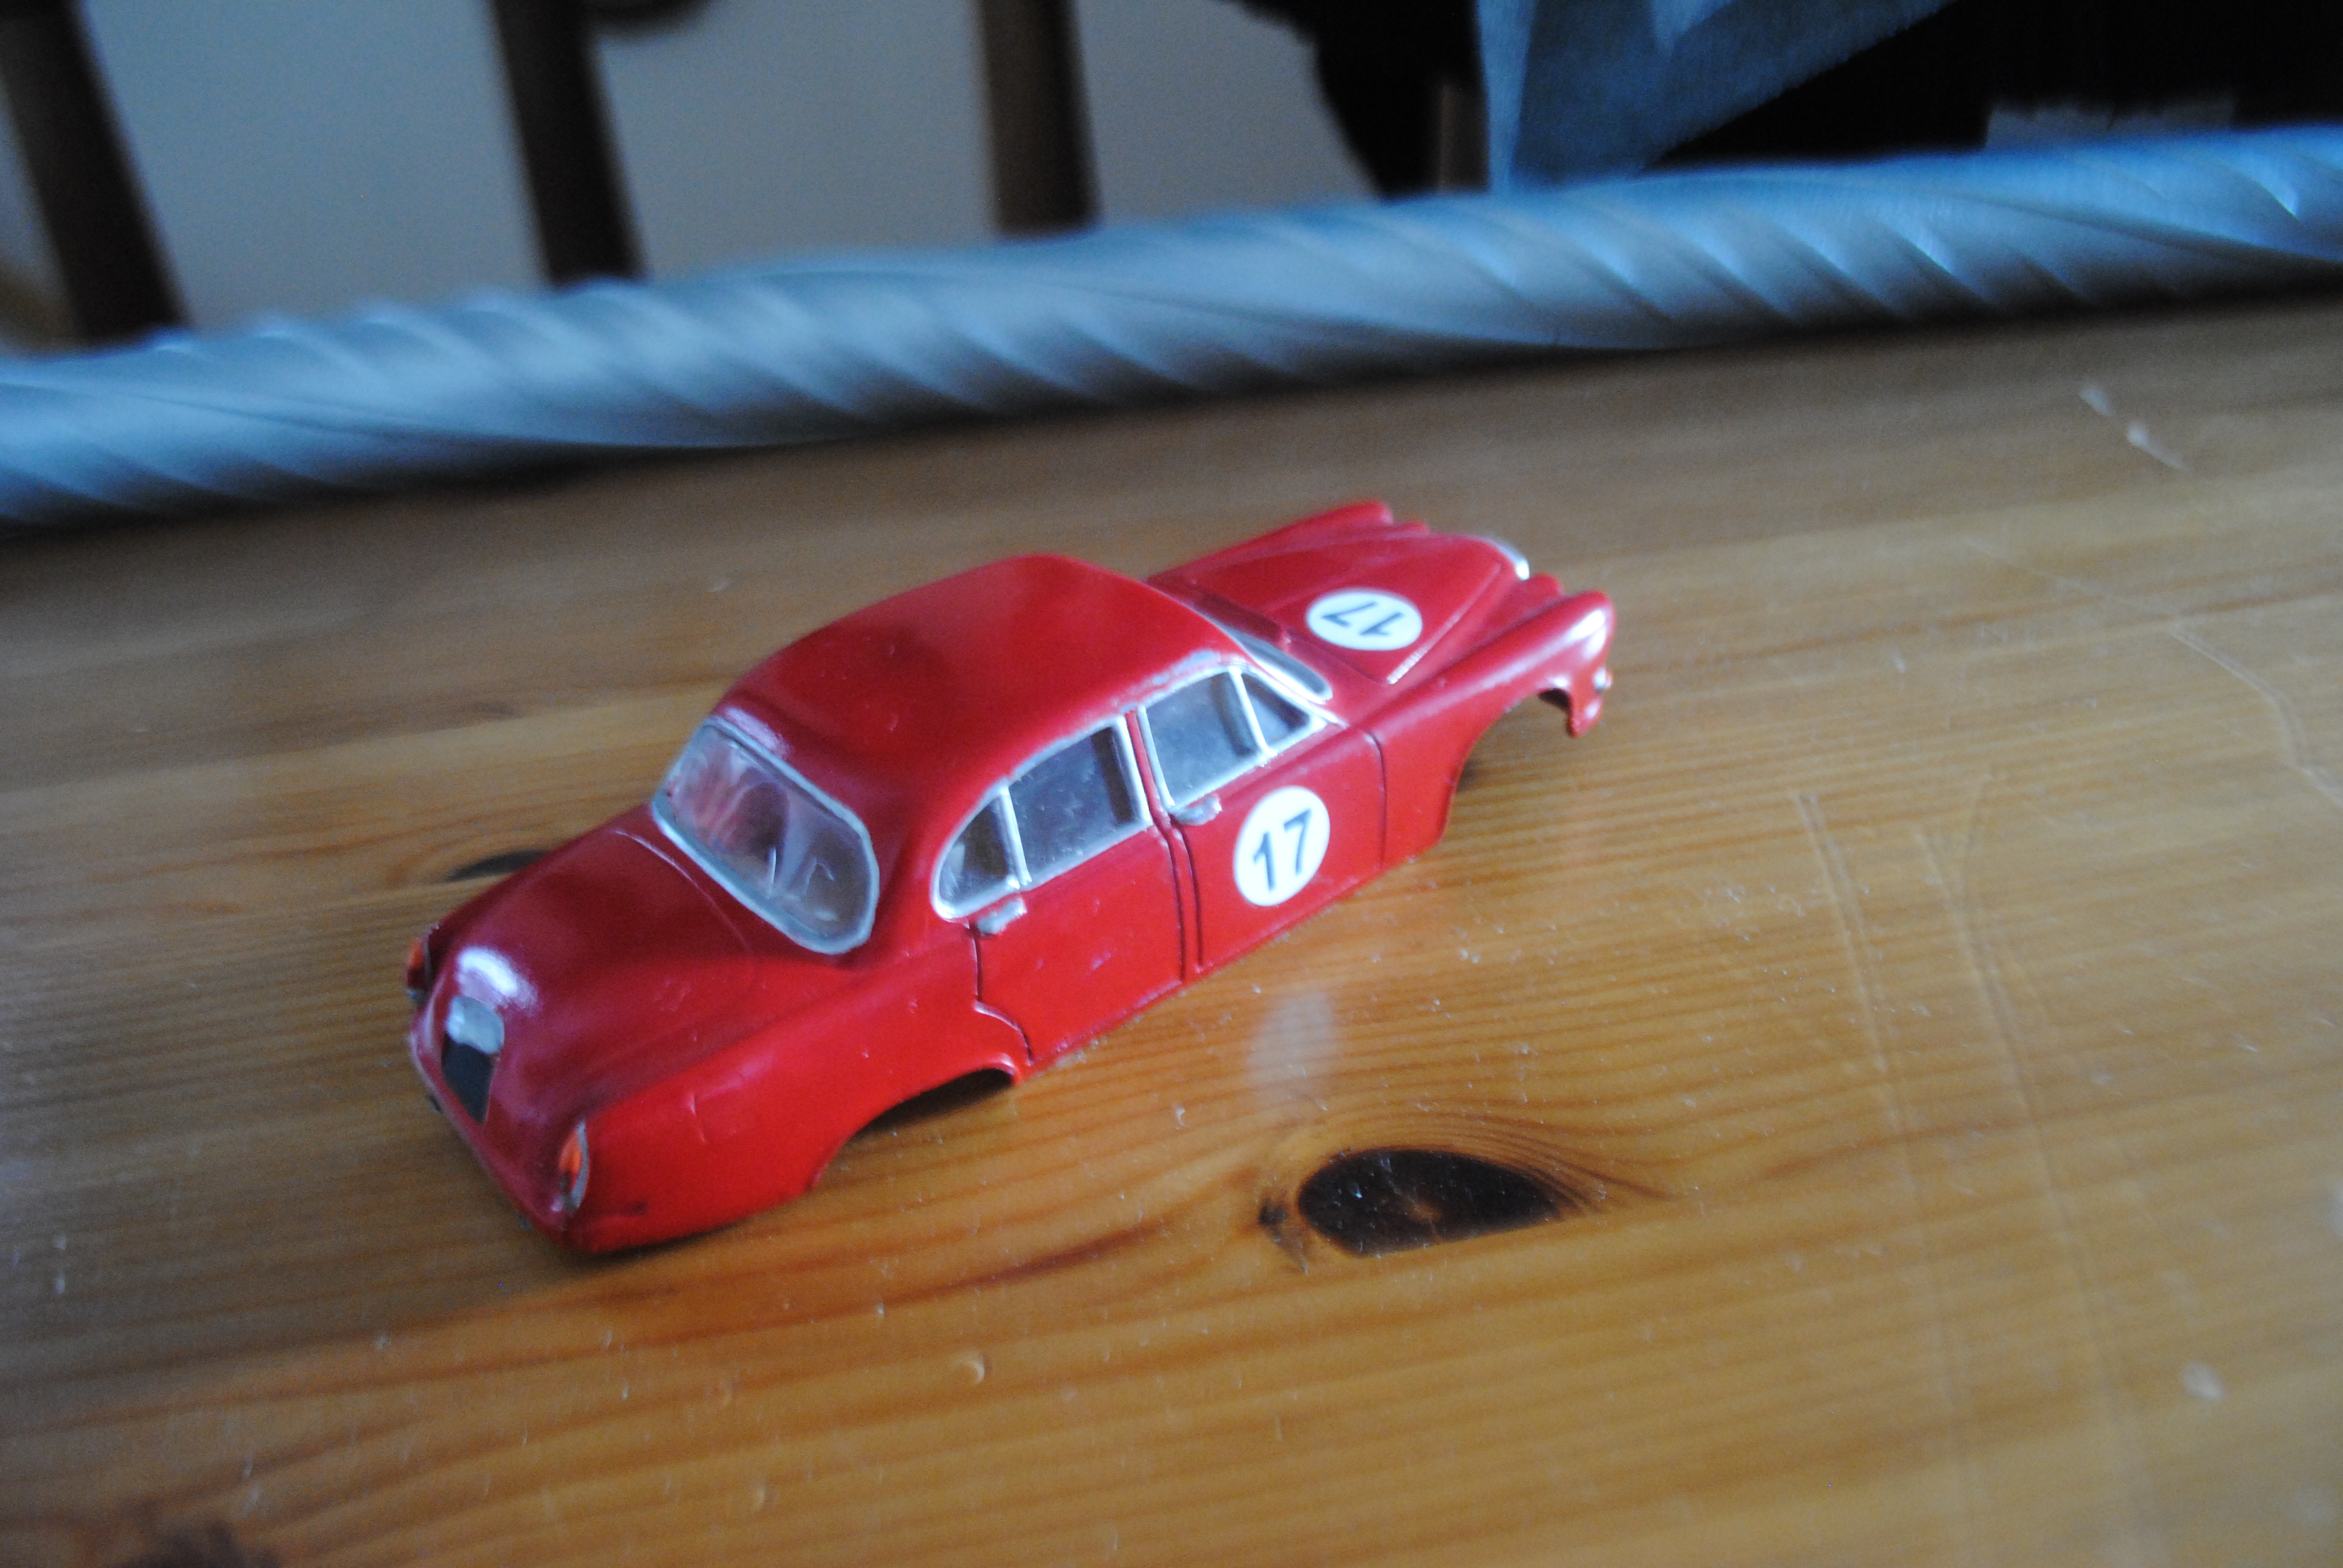
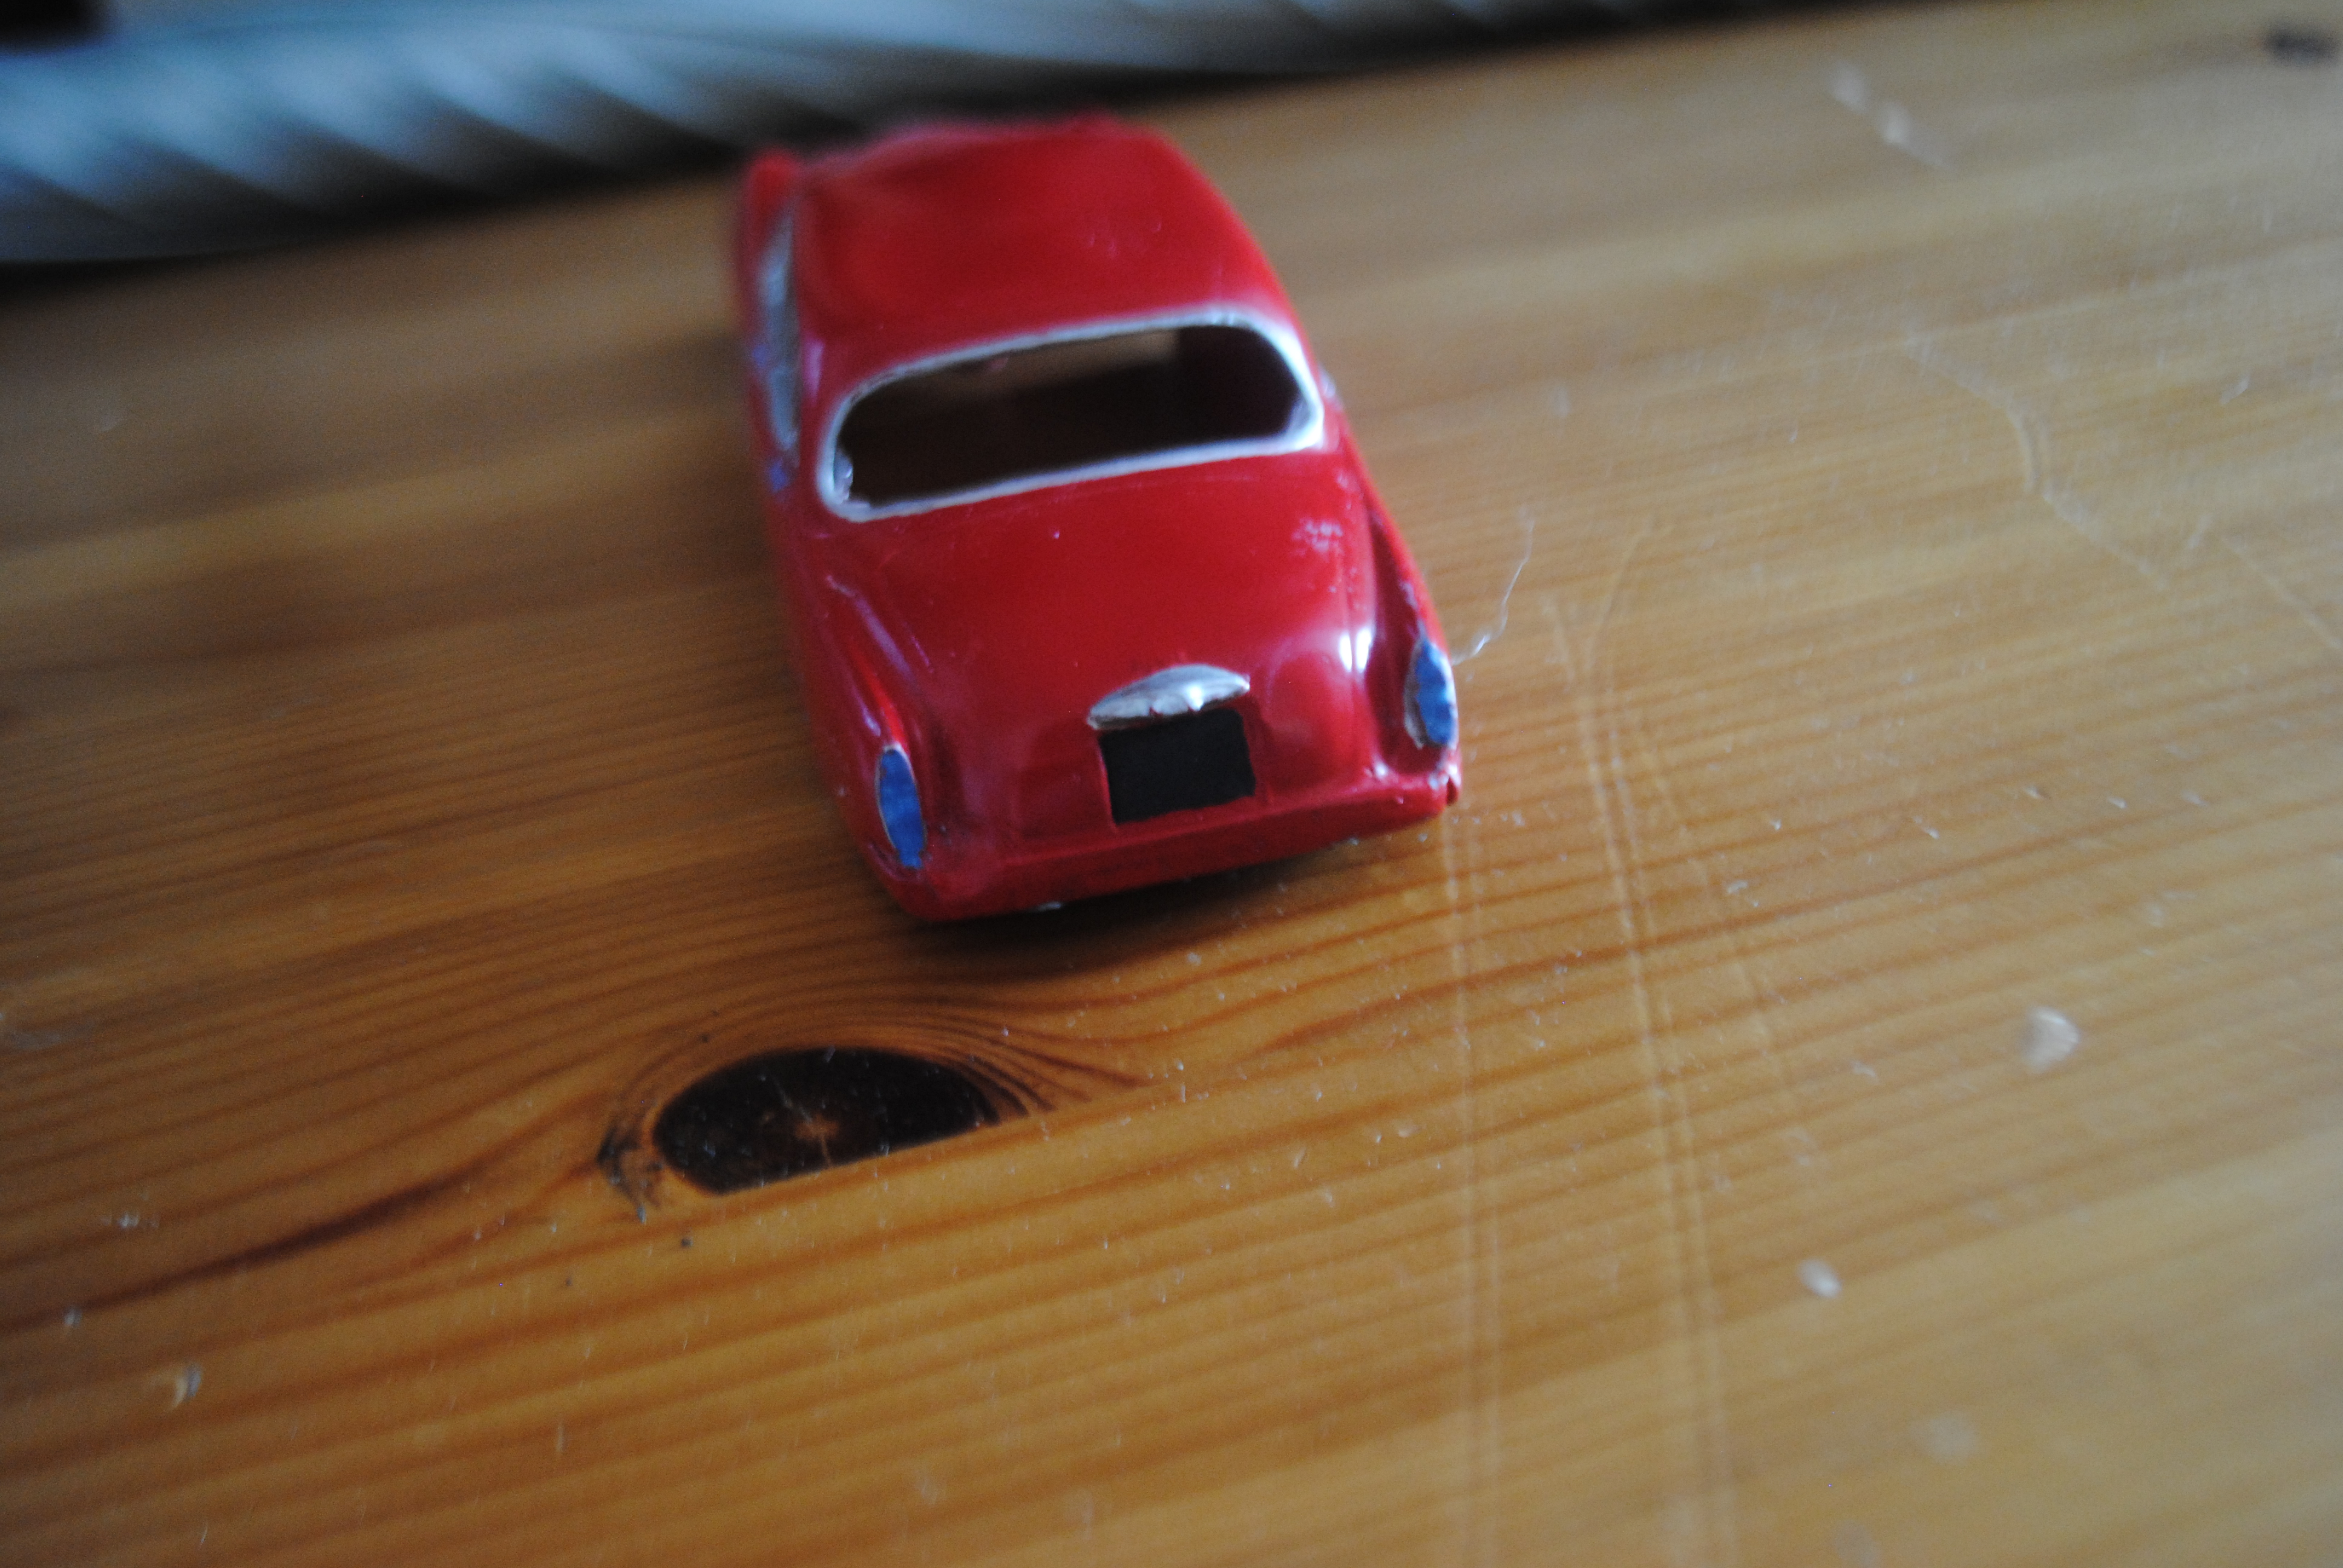
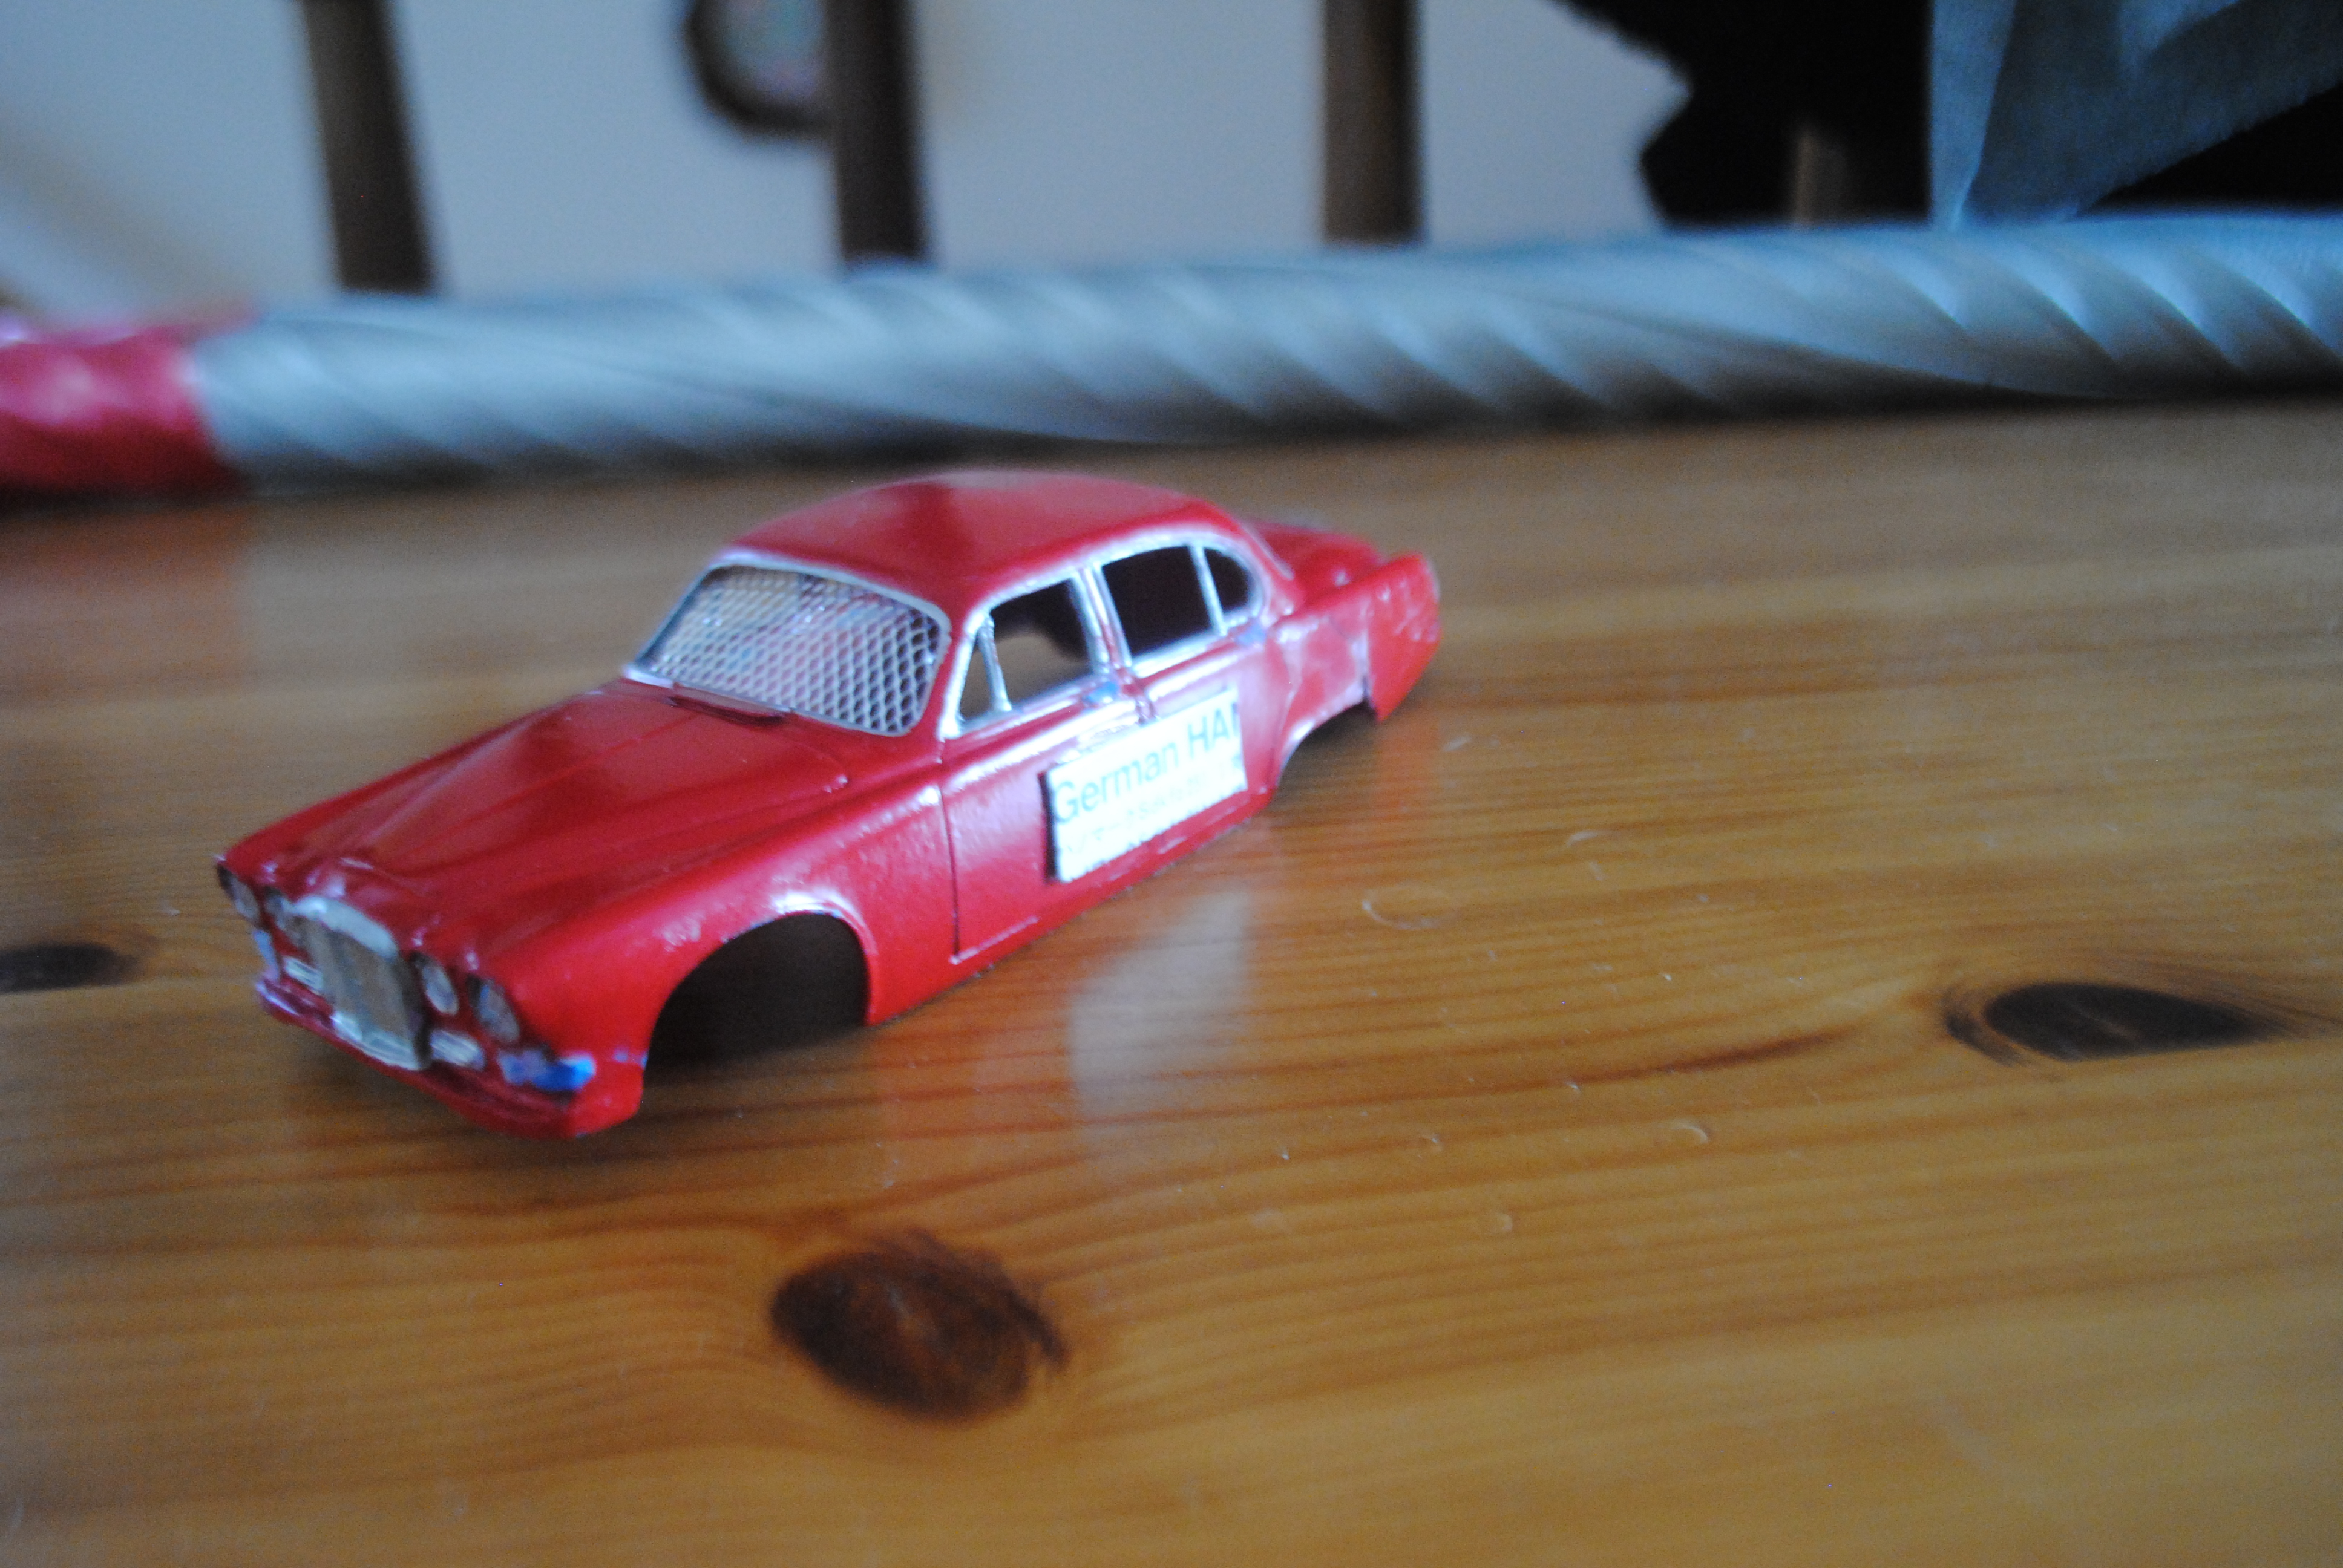
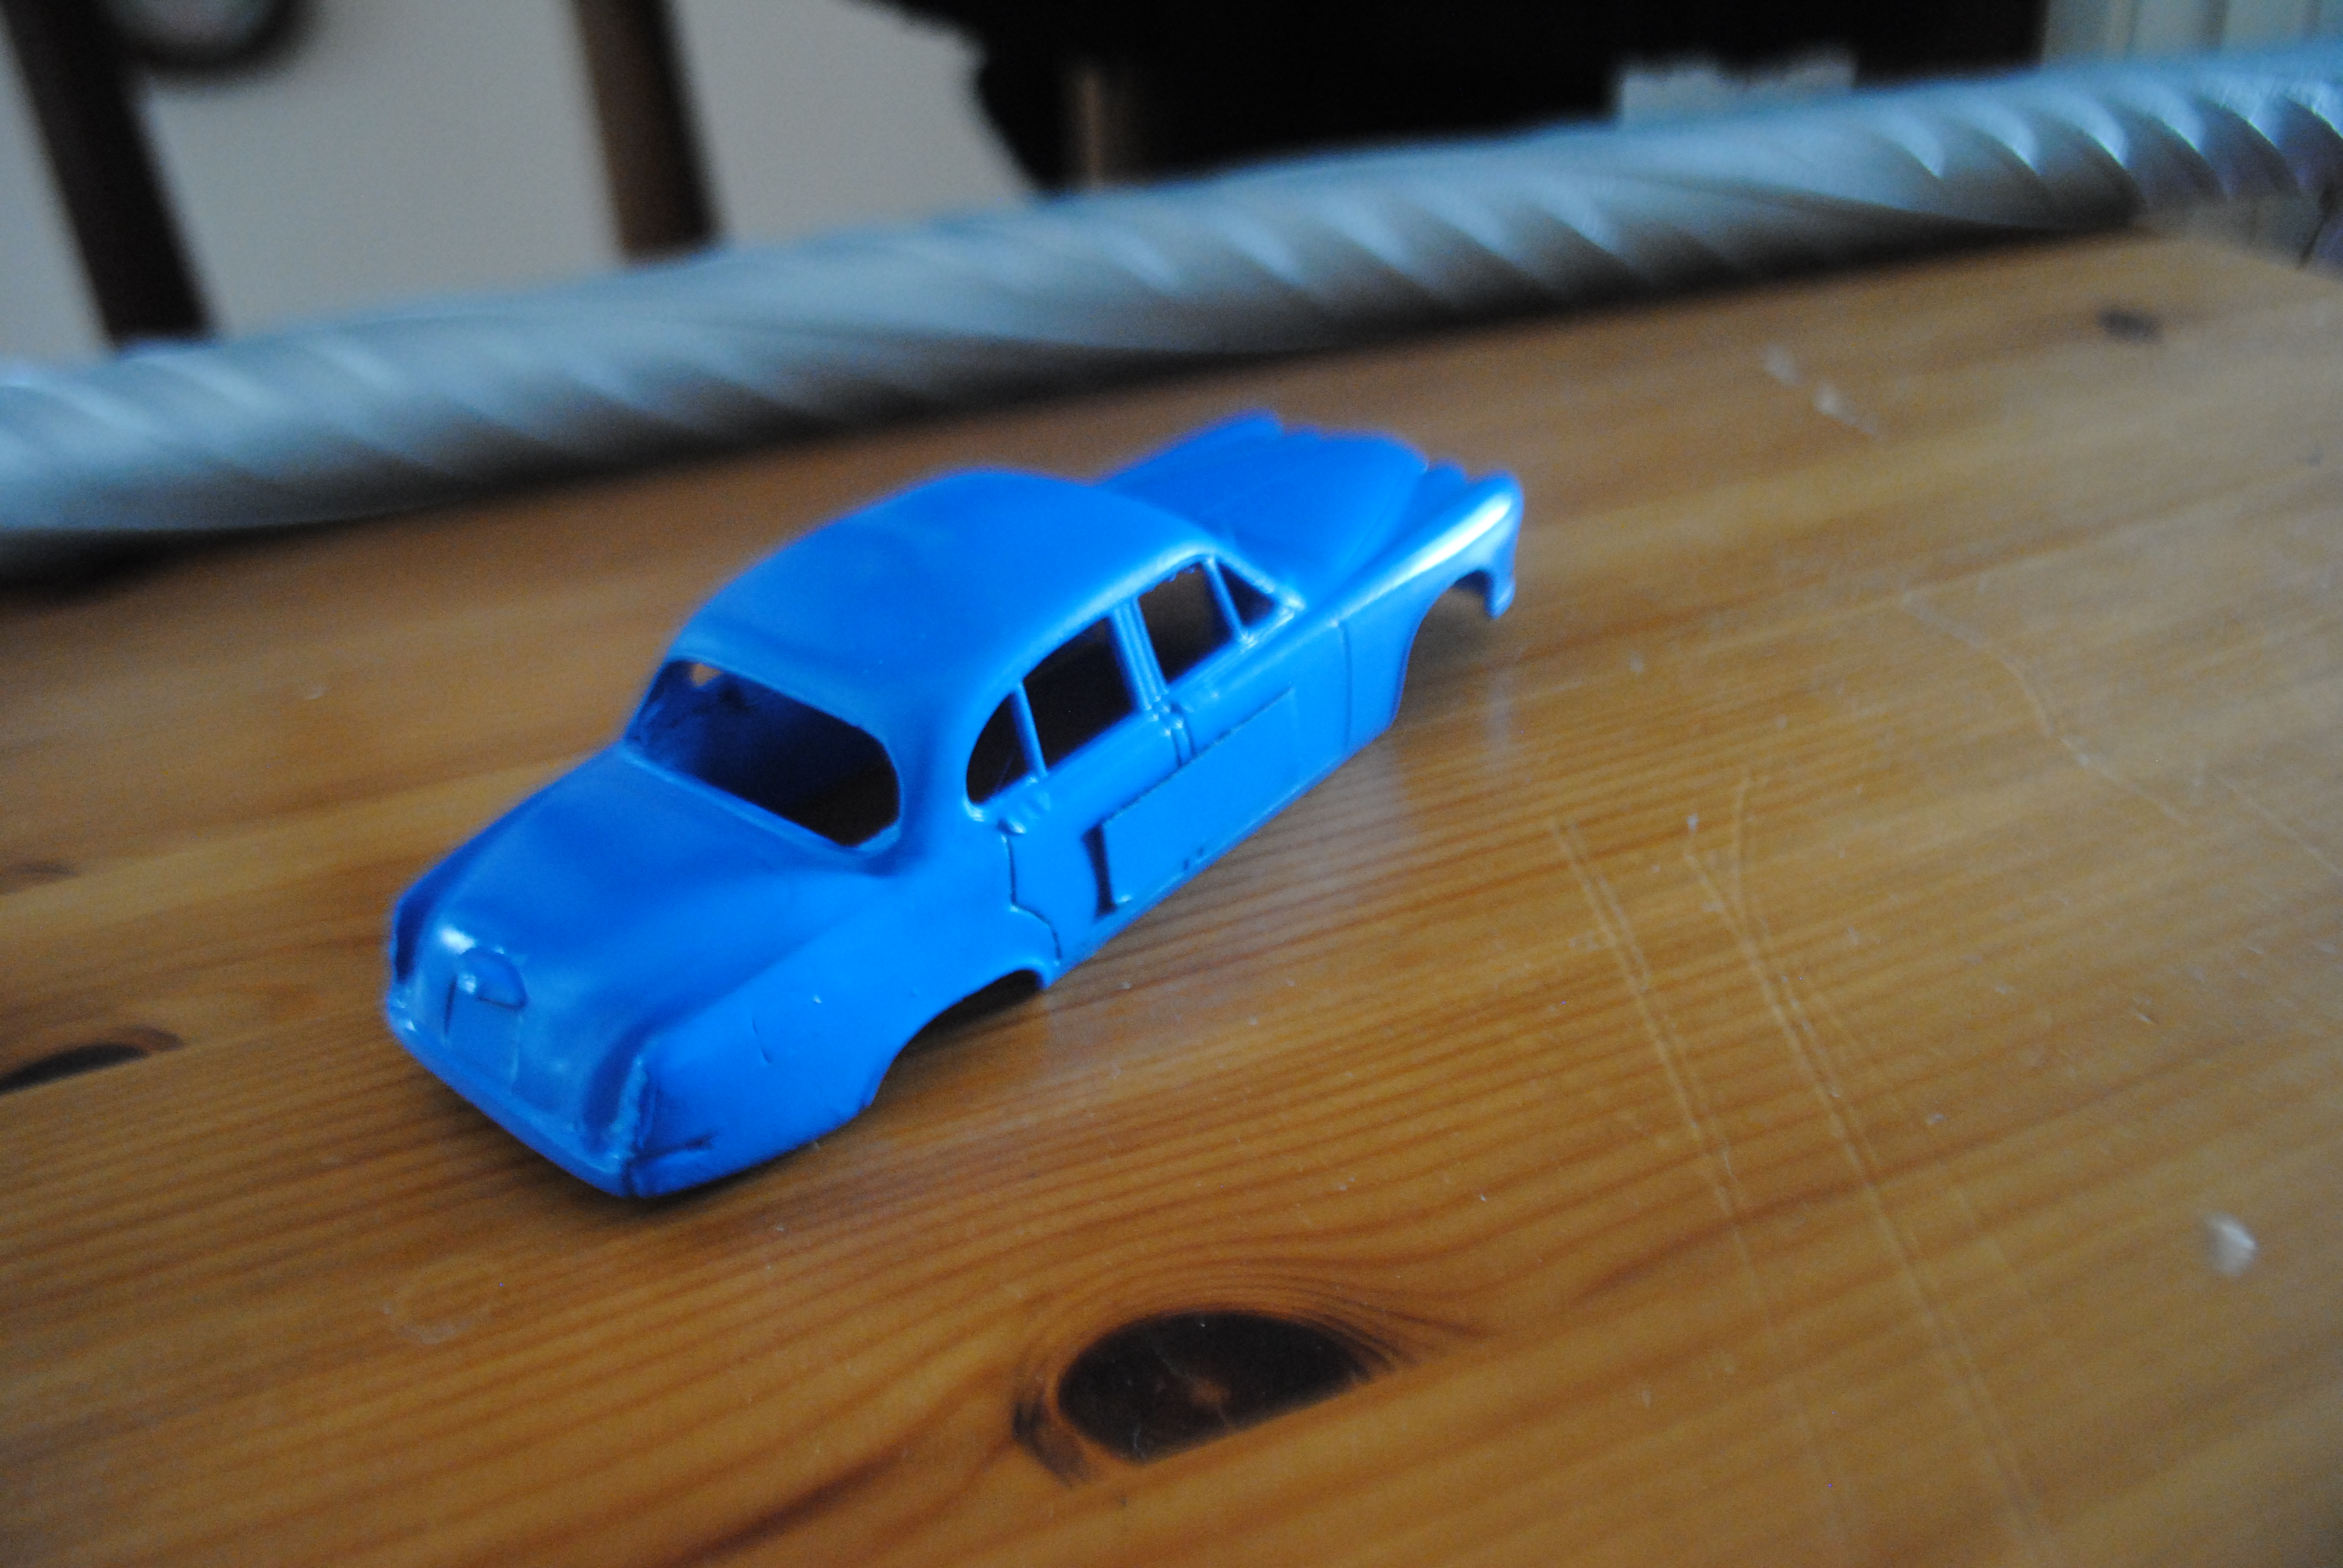
This is how it arrived back at my house:
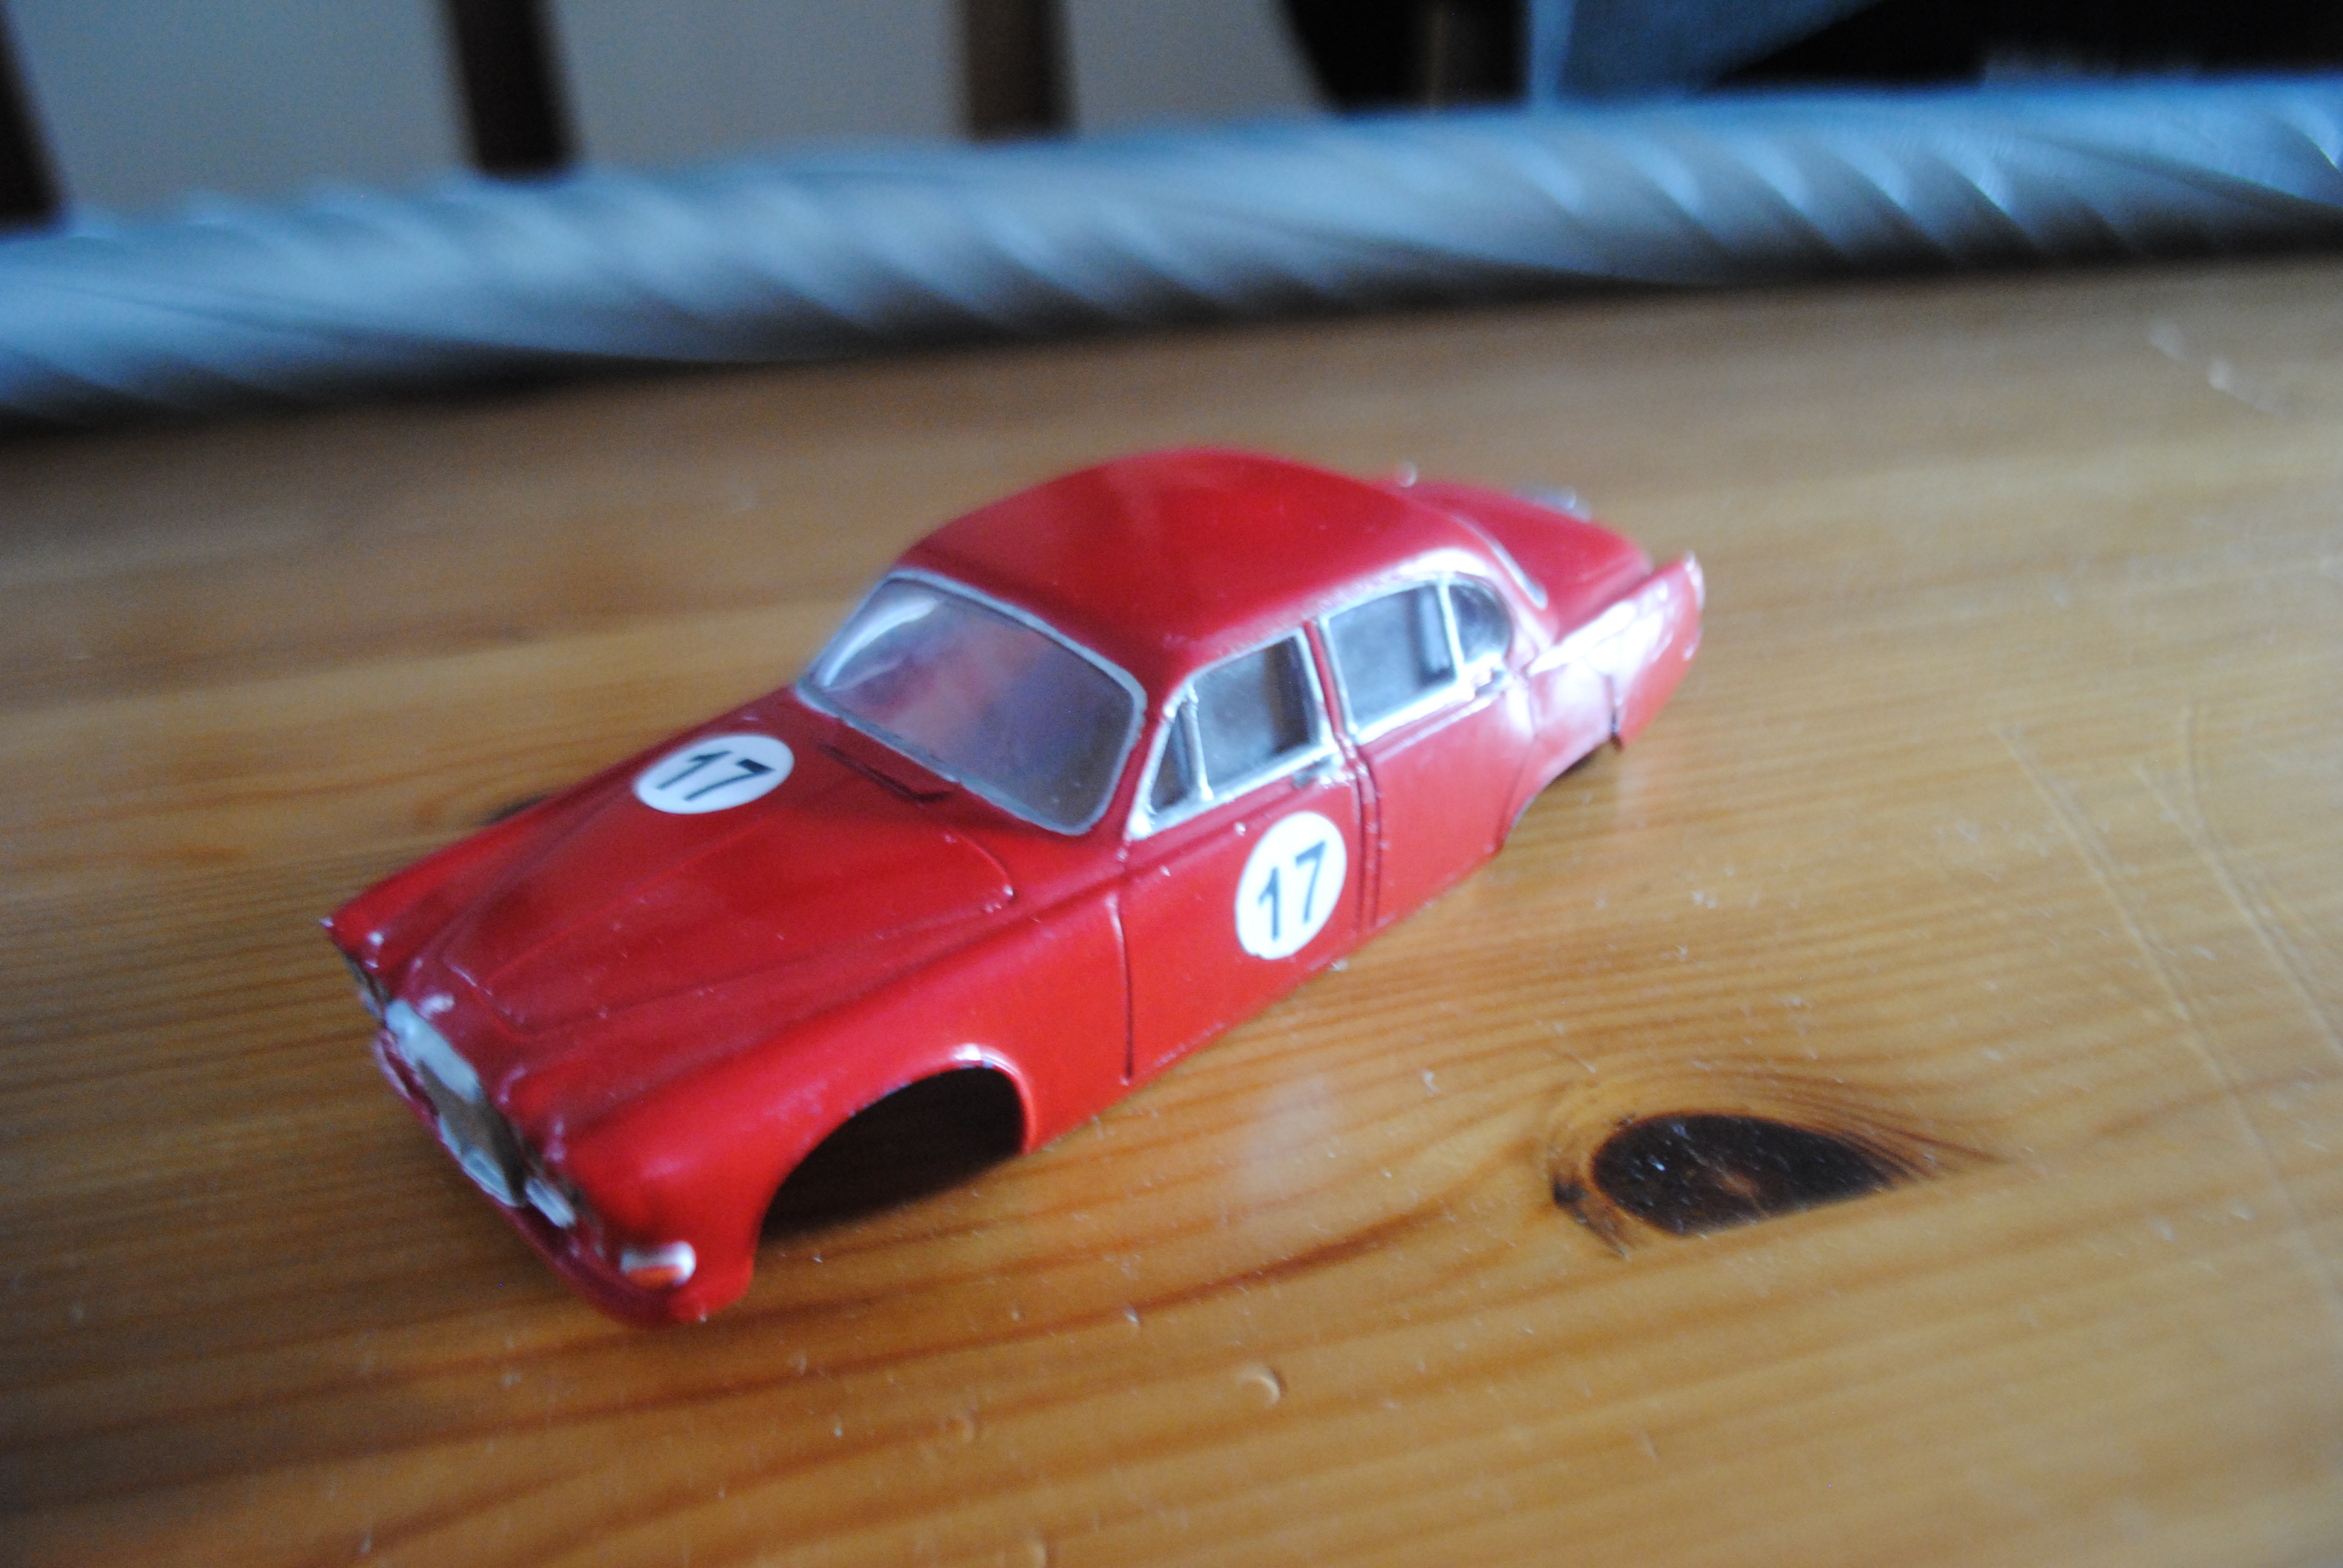
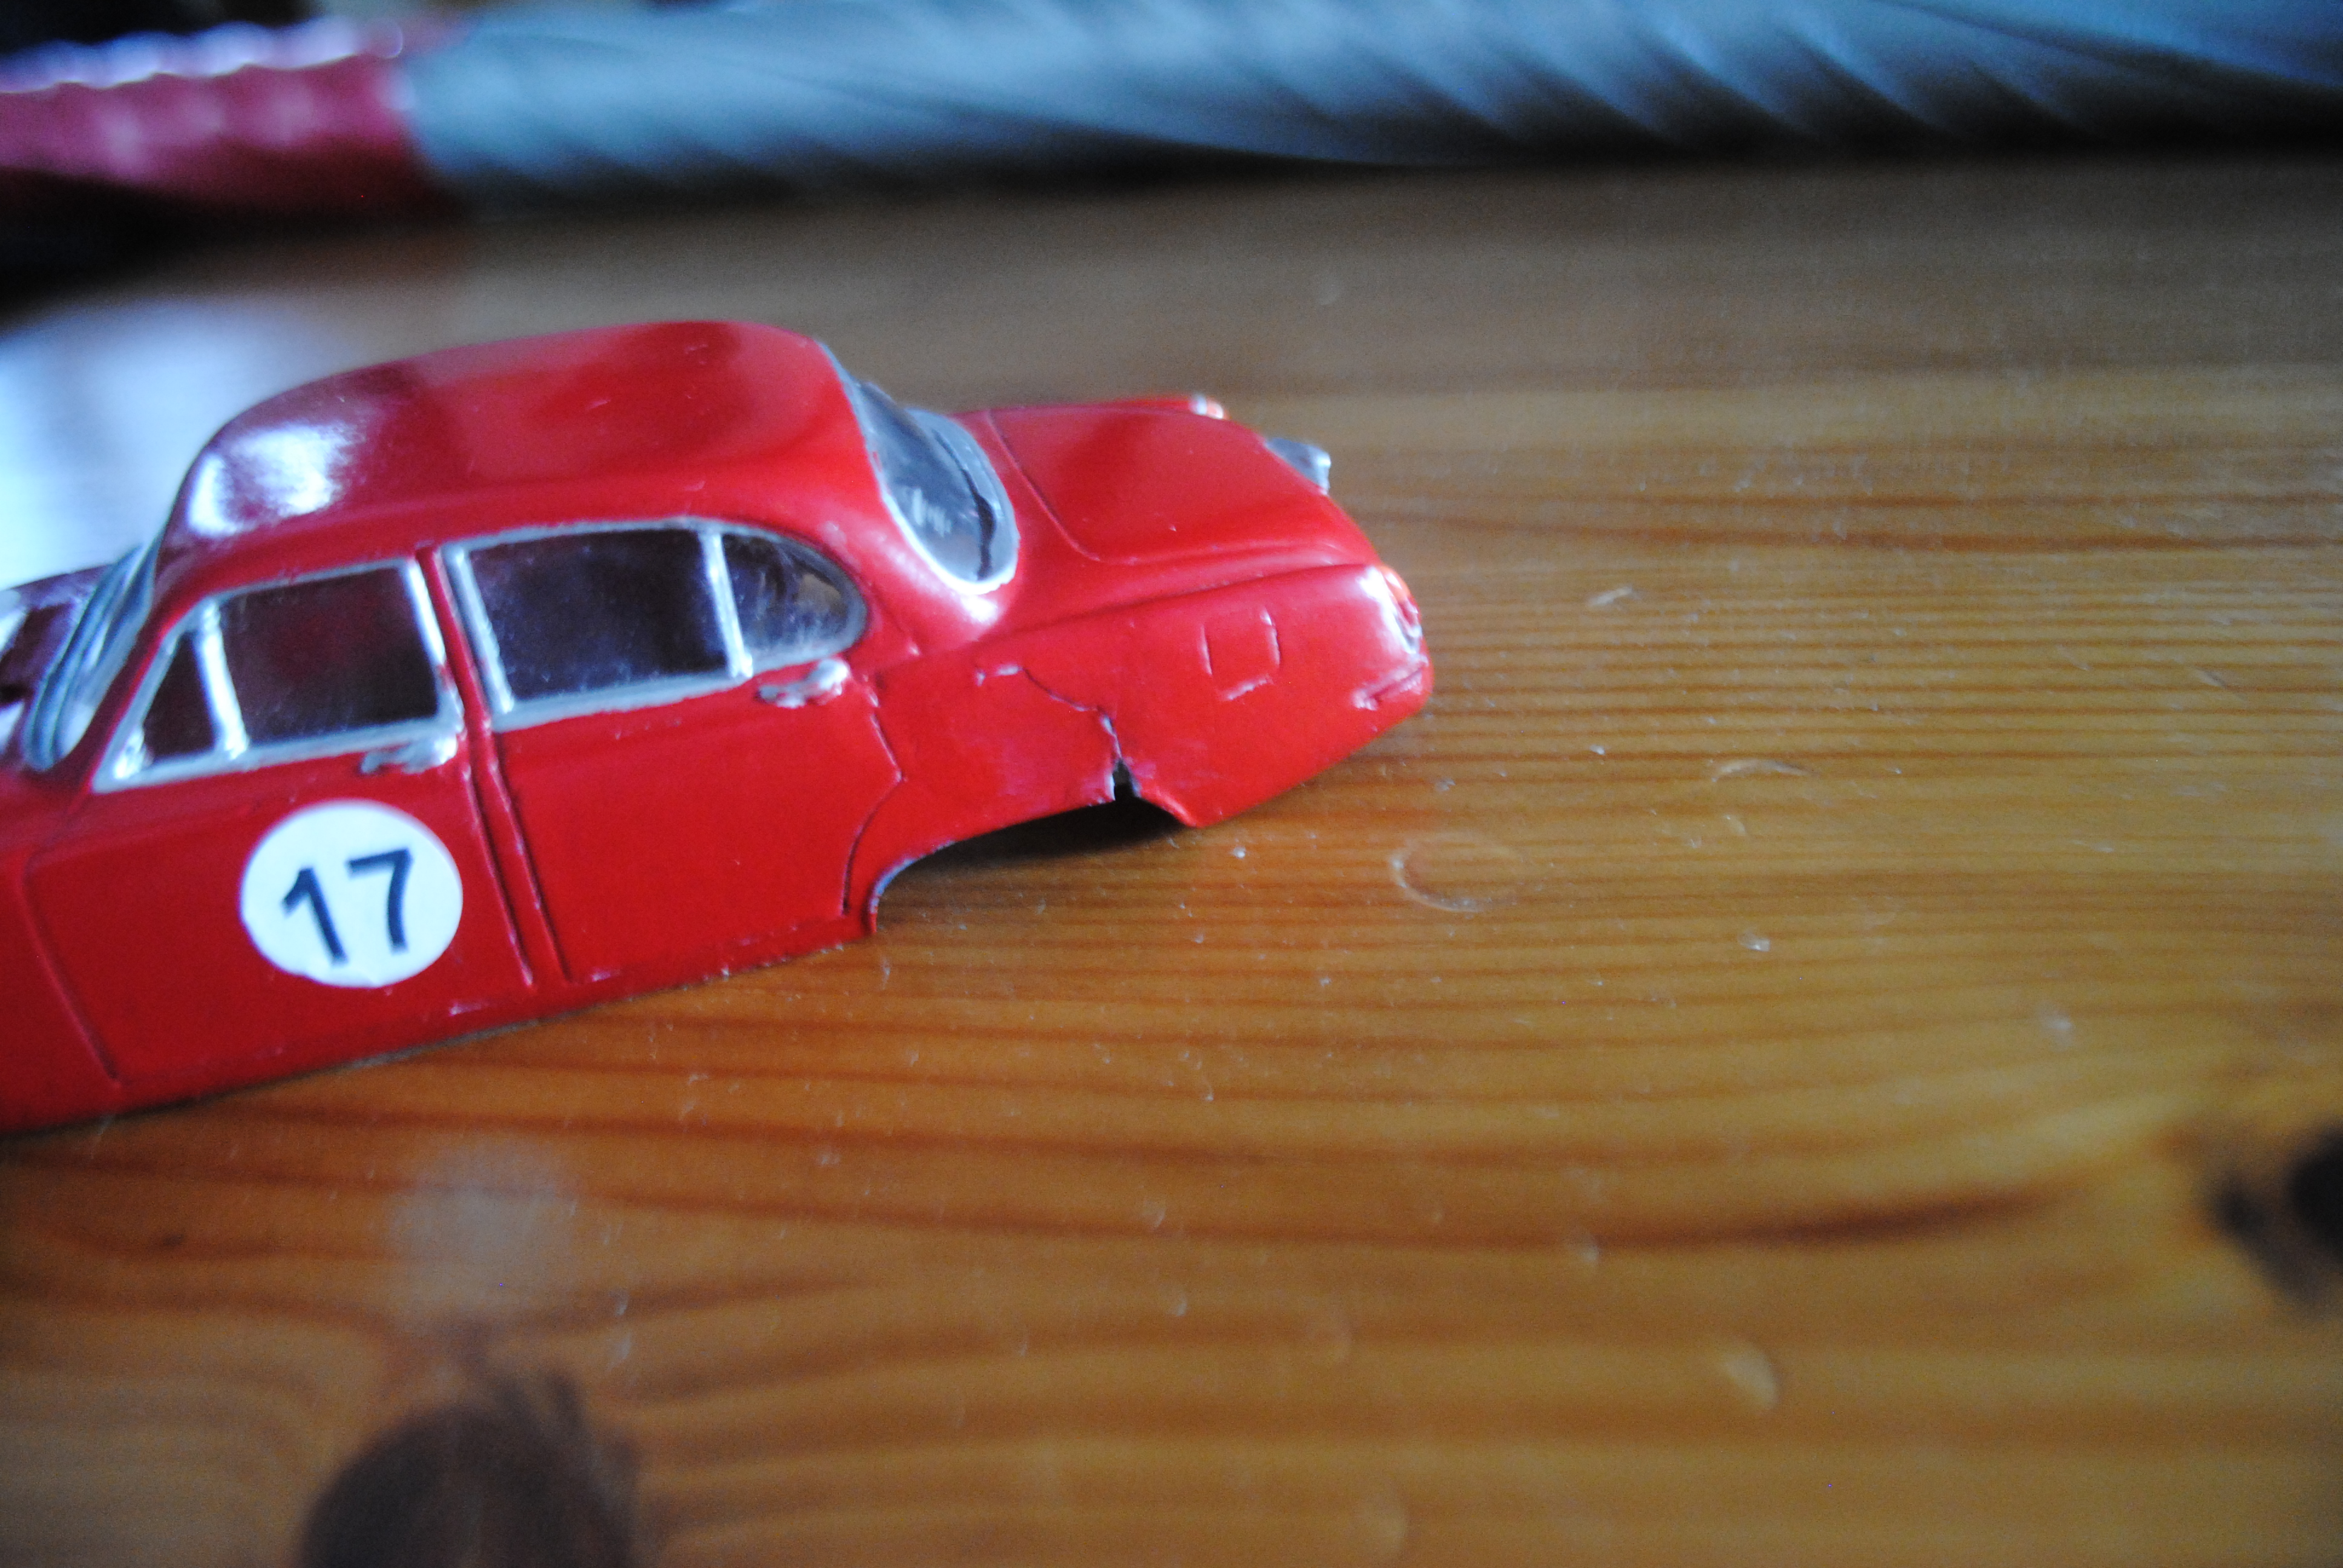
As you can see however that rear crack was very prominent…
The windows had certainly seen better days haha!
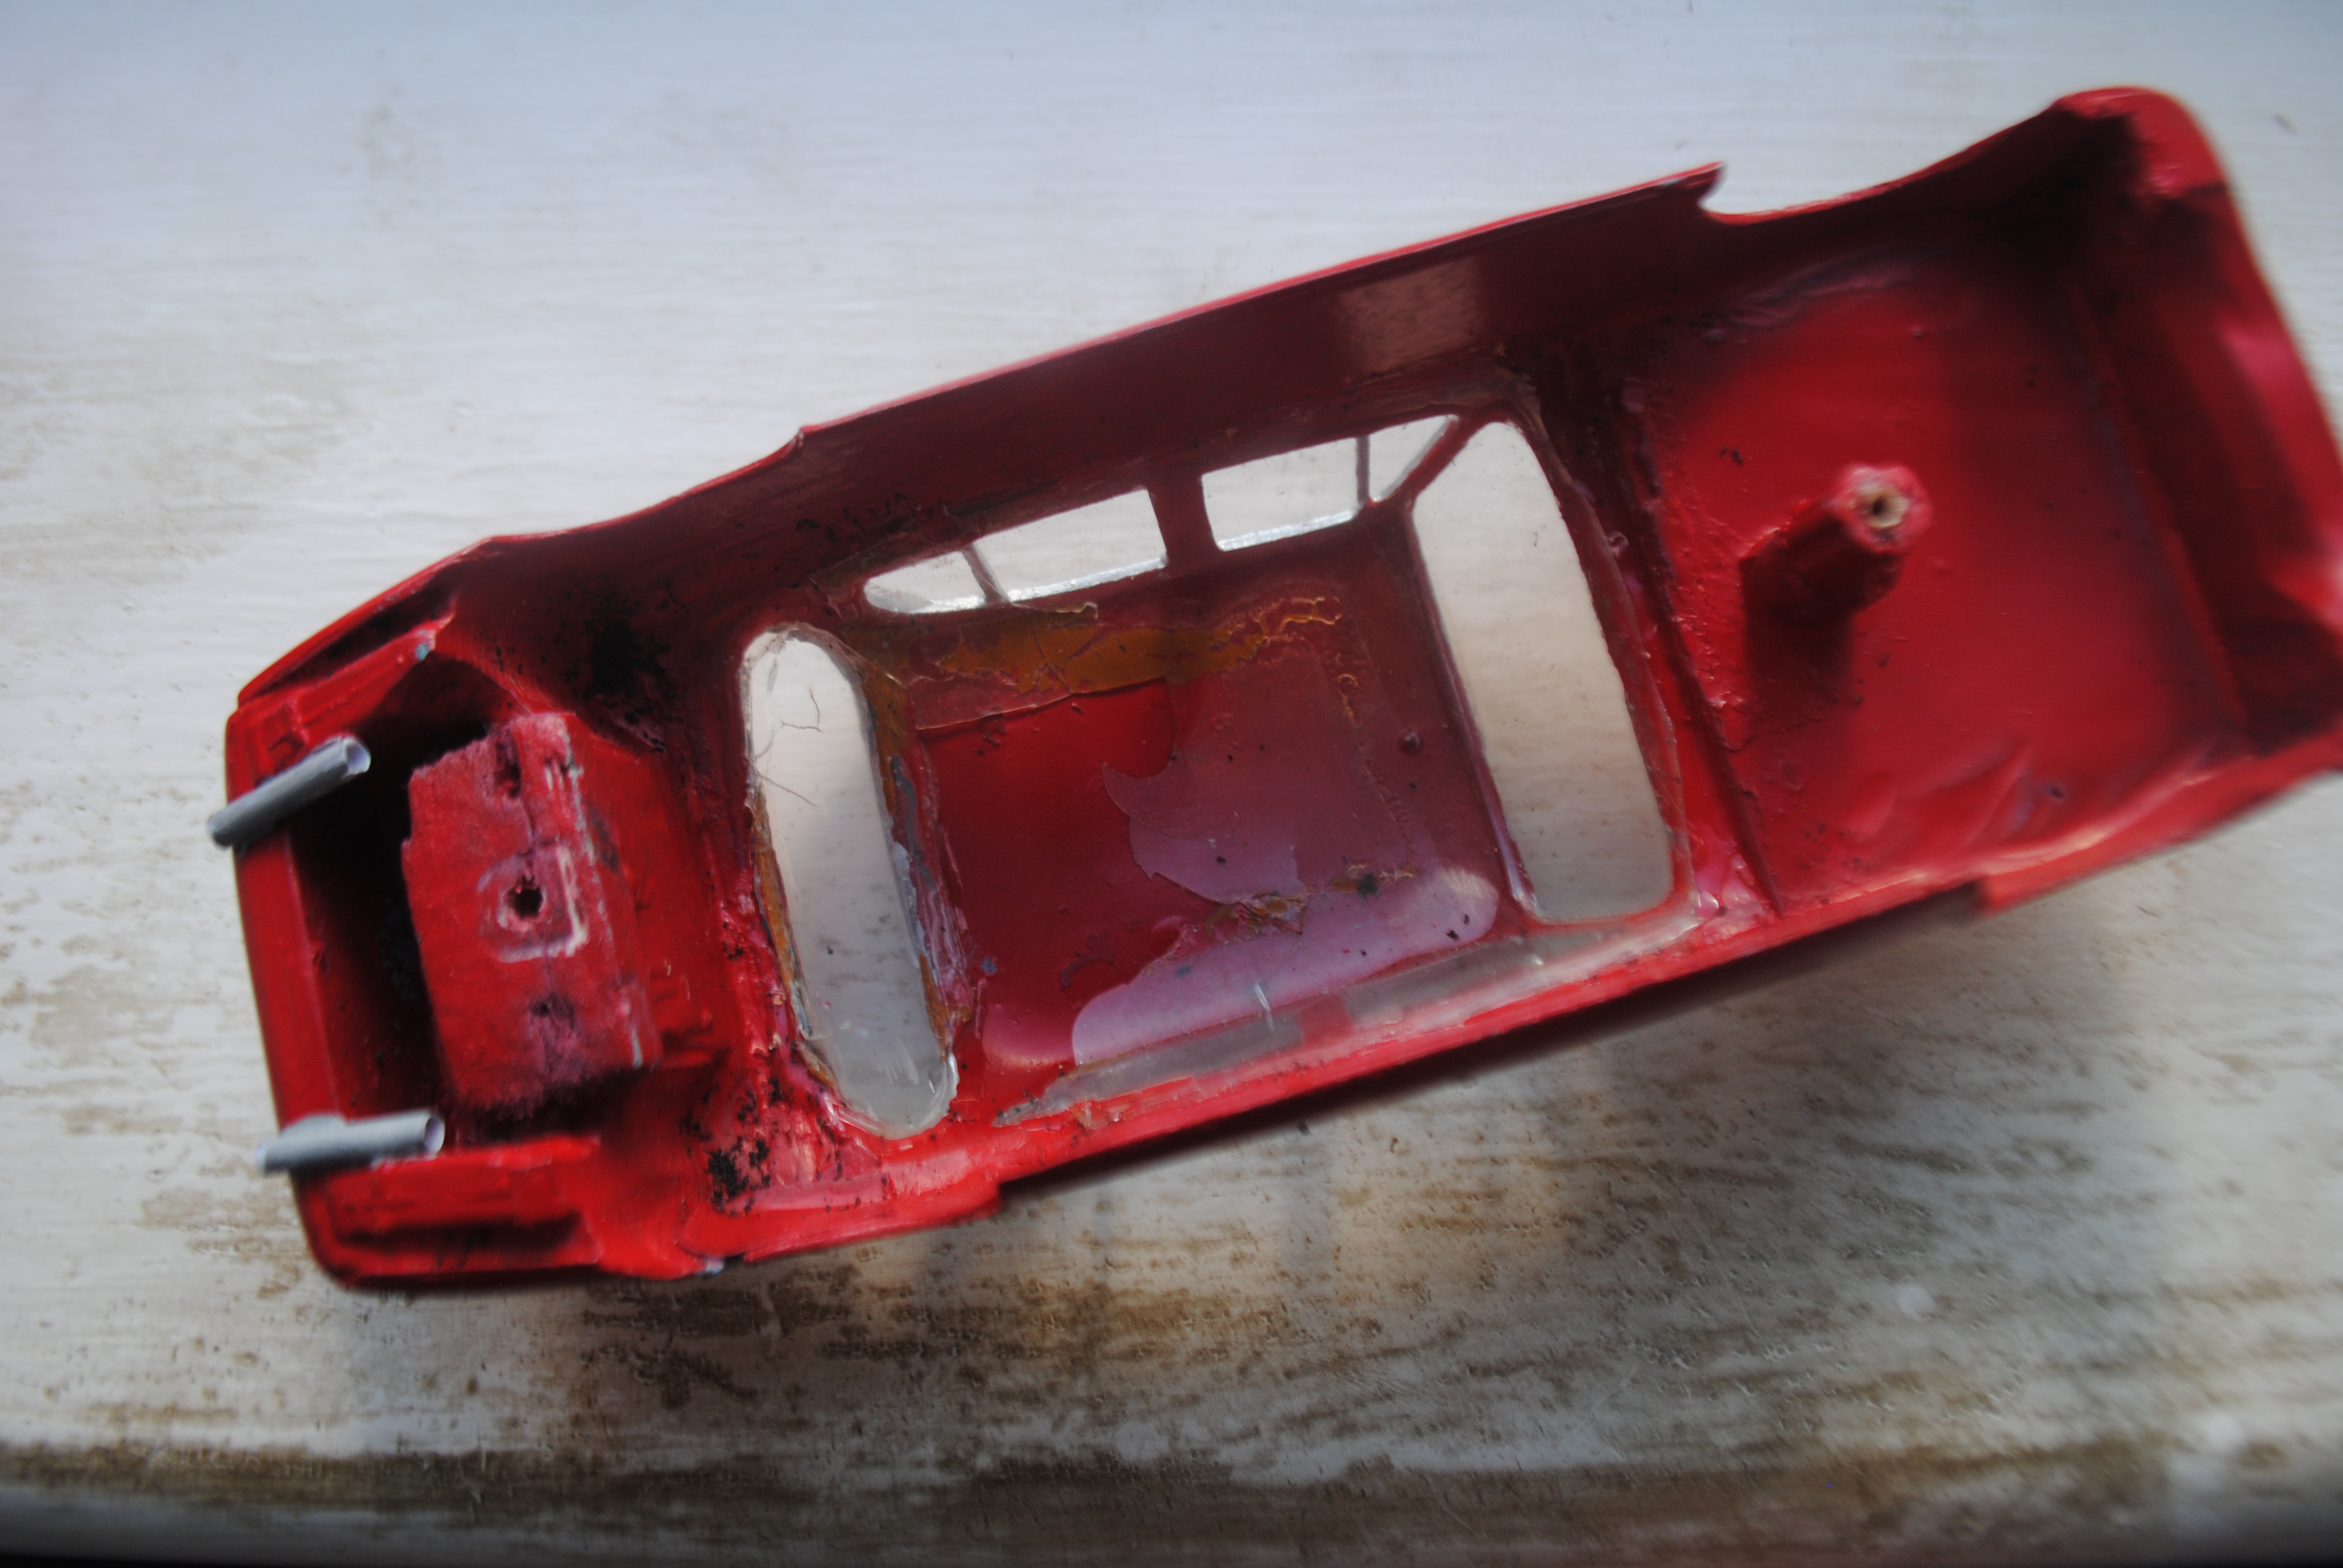
My Penelope Pitlane chassis slotted right in! The wheelbase length didn’t even changing. It was like it was meant to be!

So the conversion can begin!!
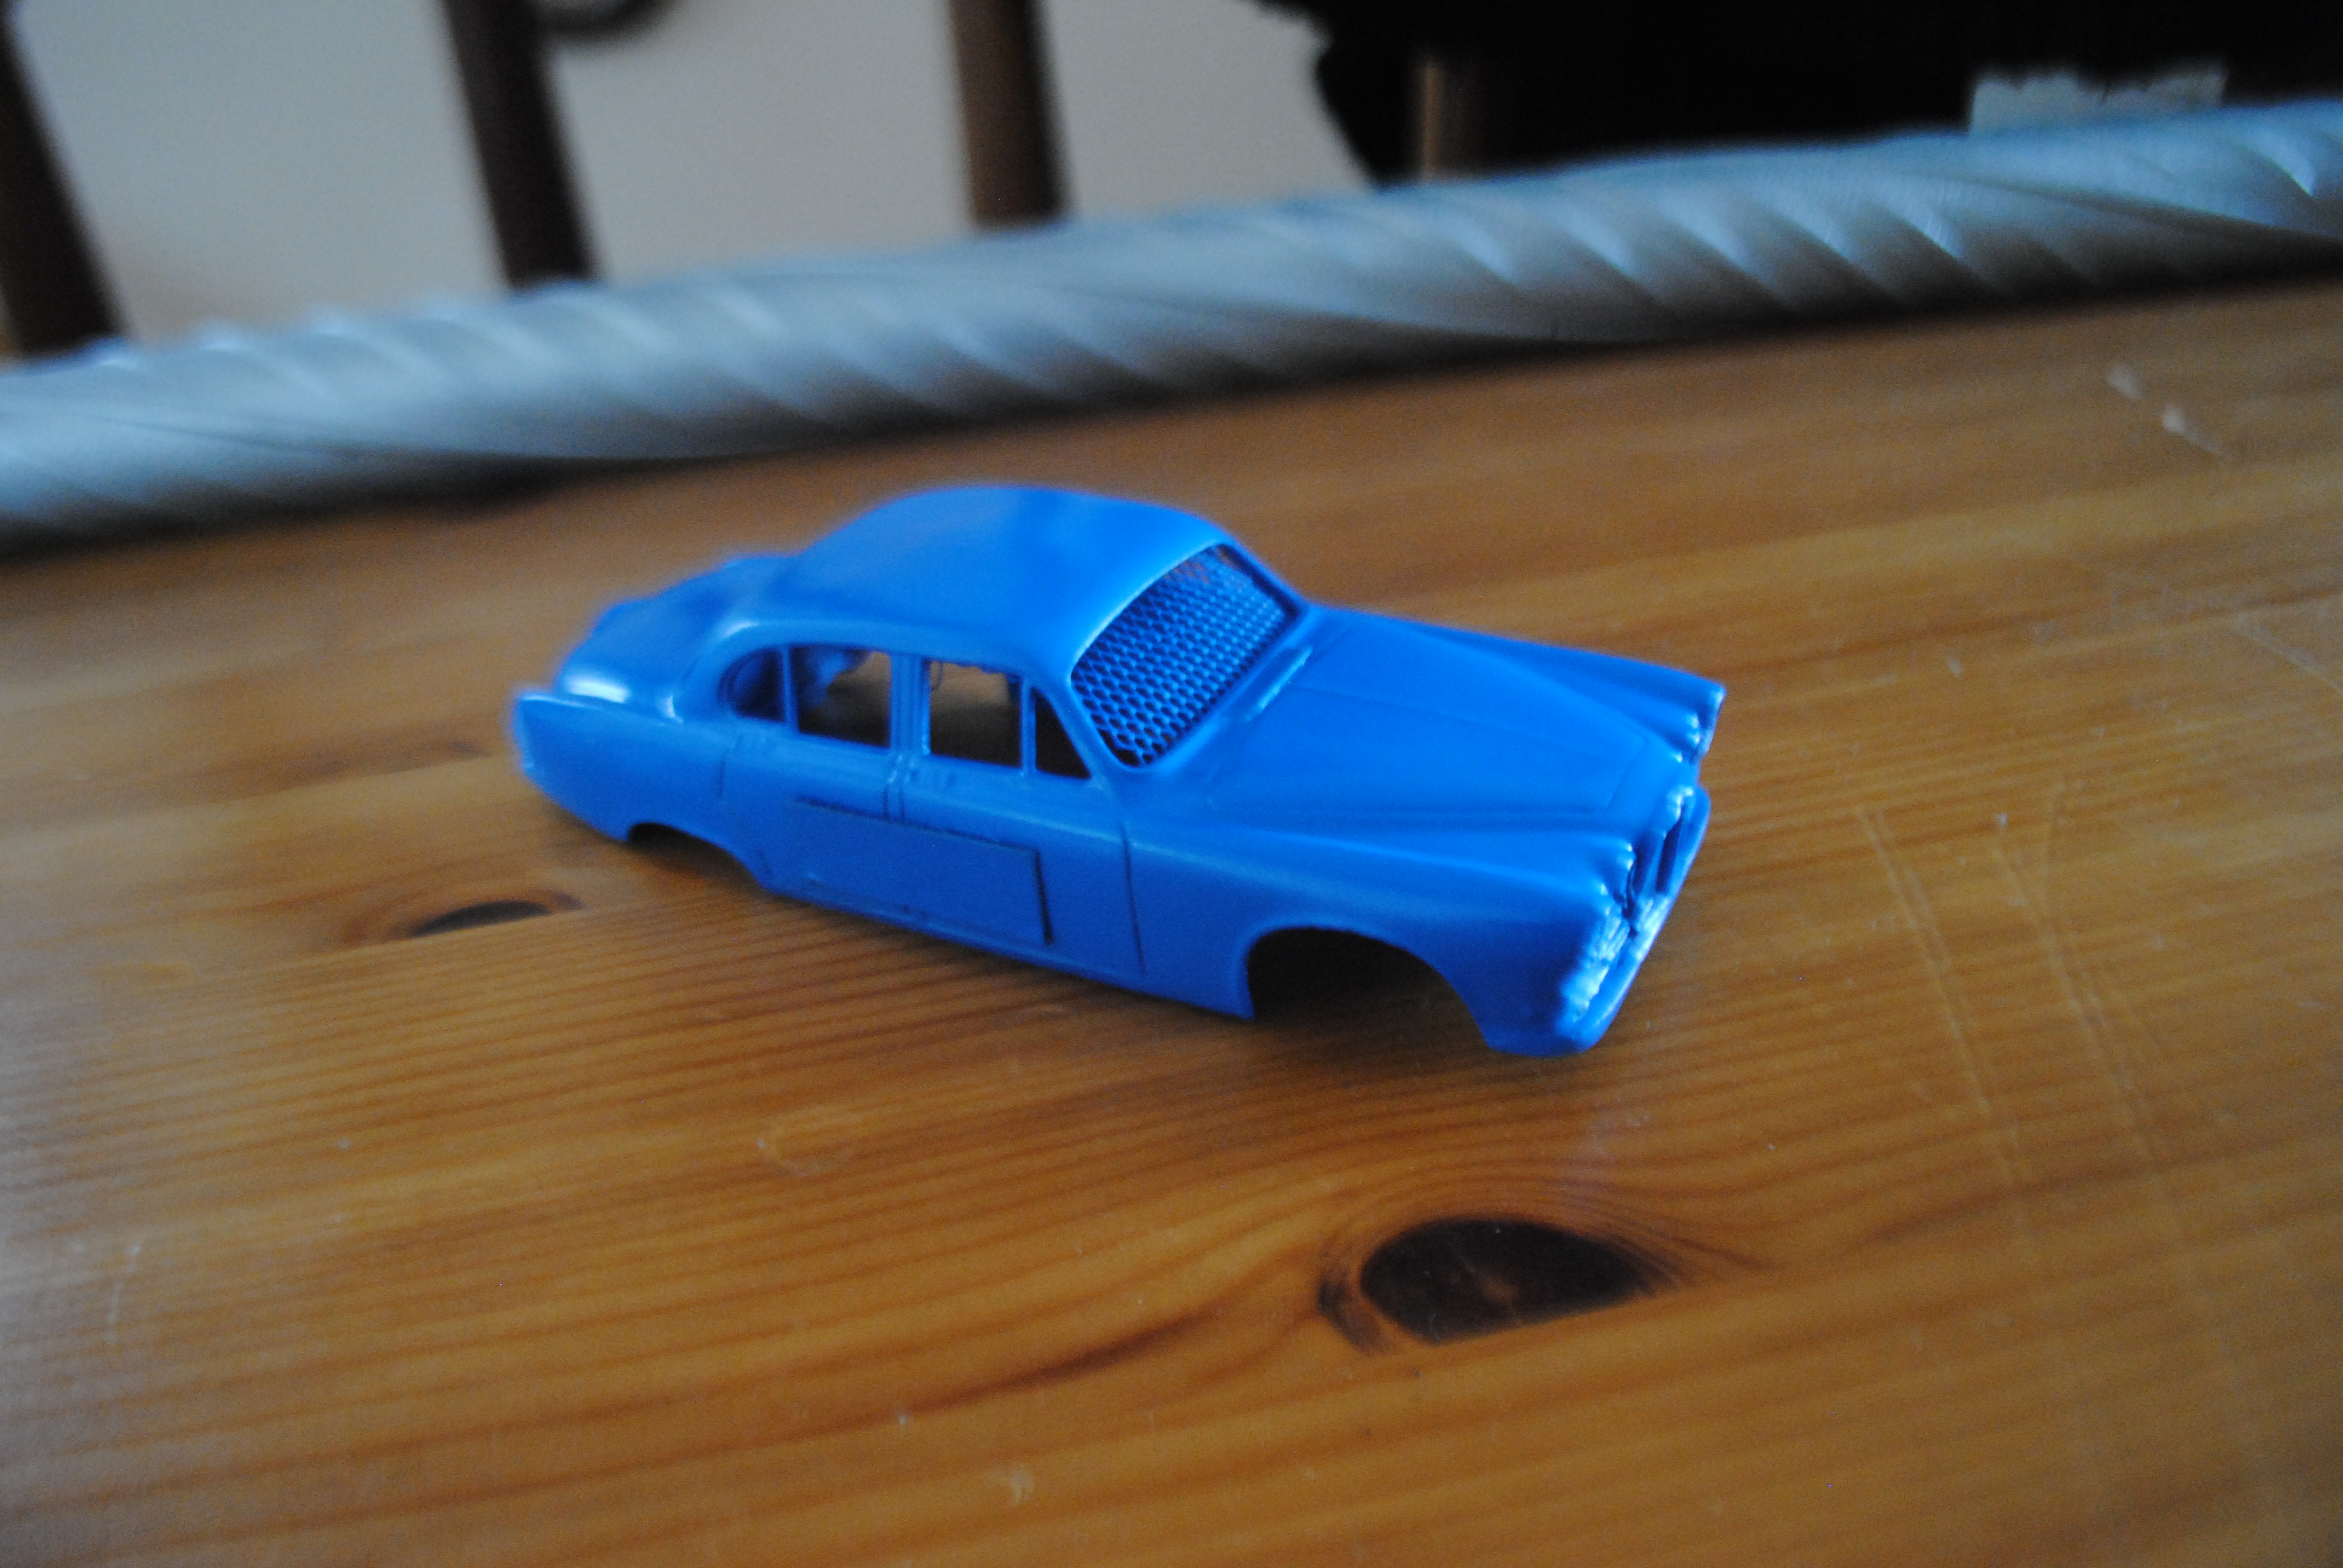
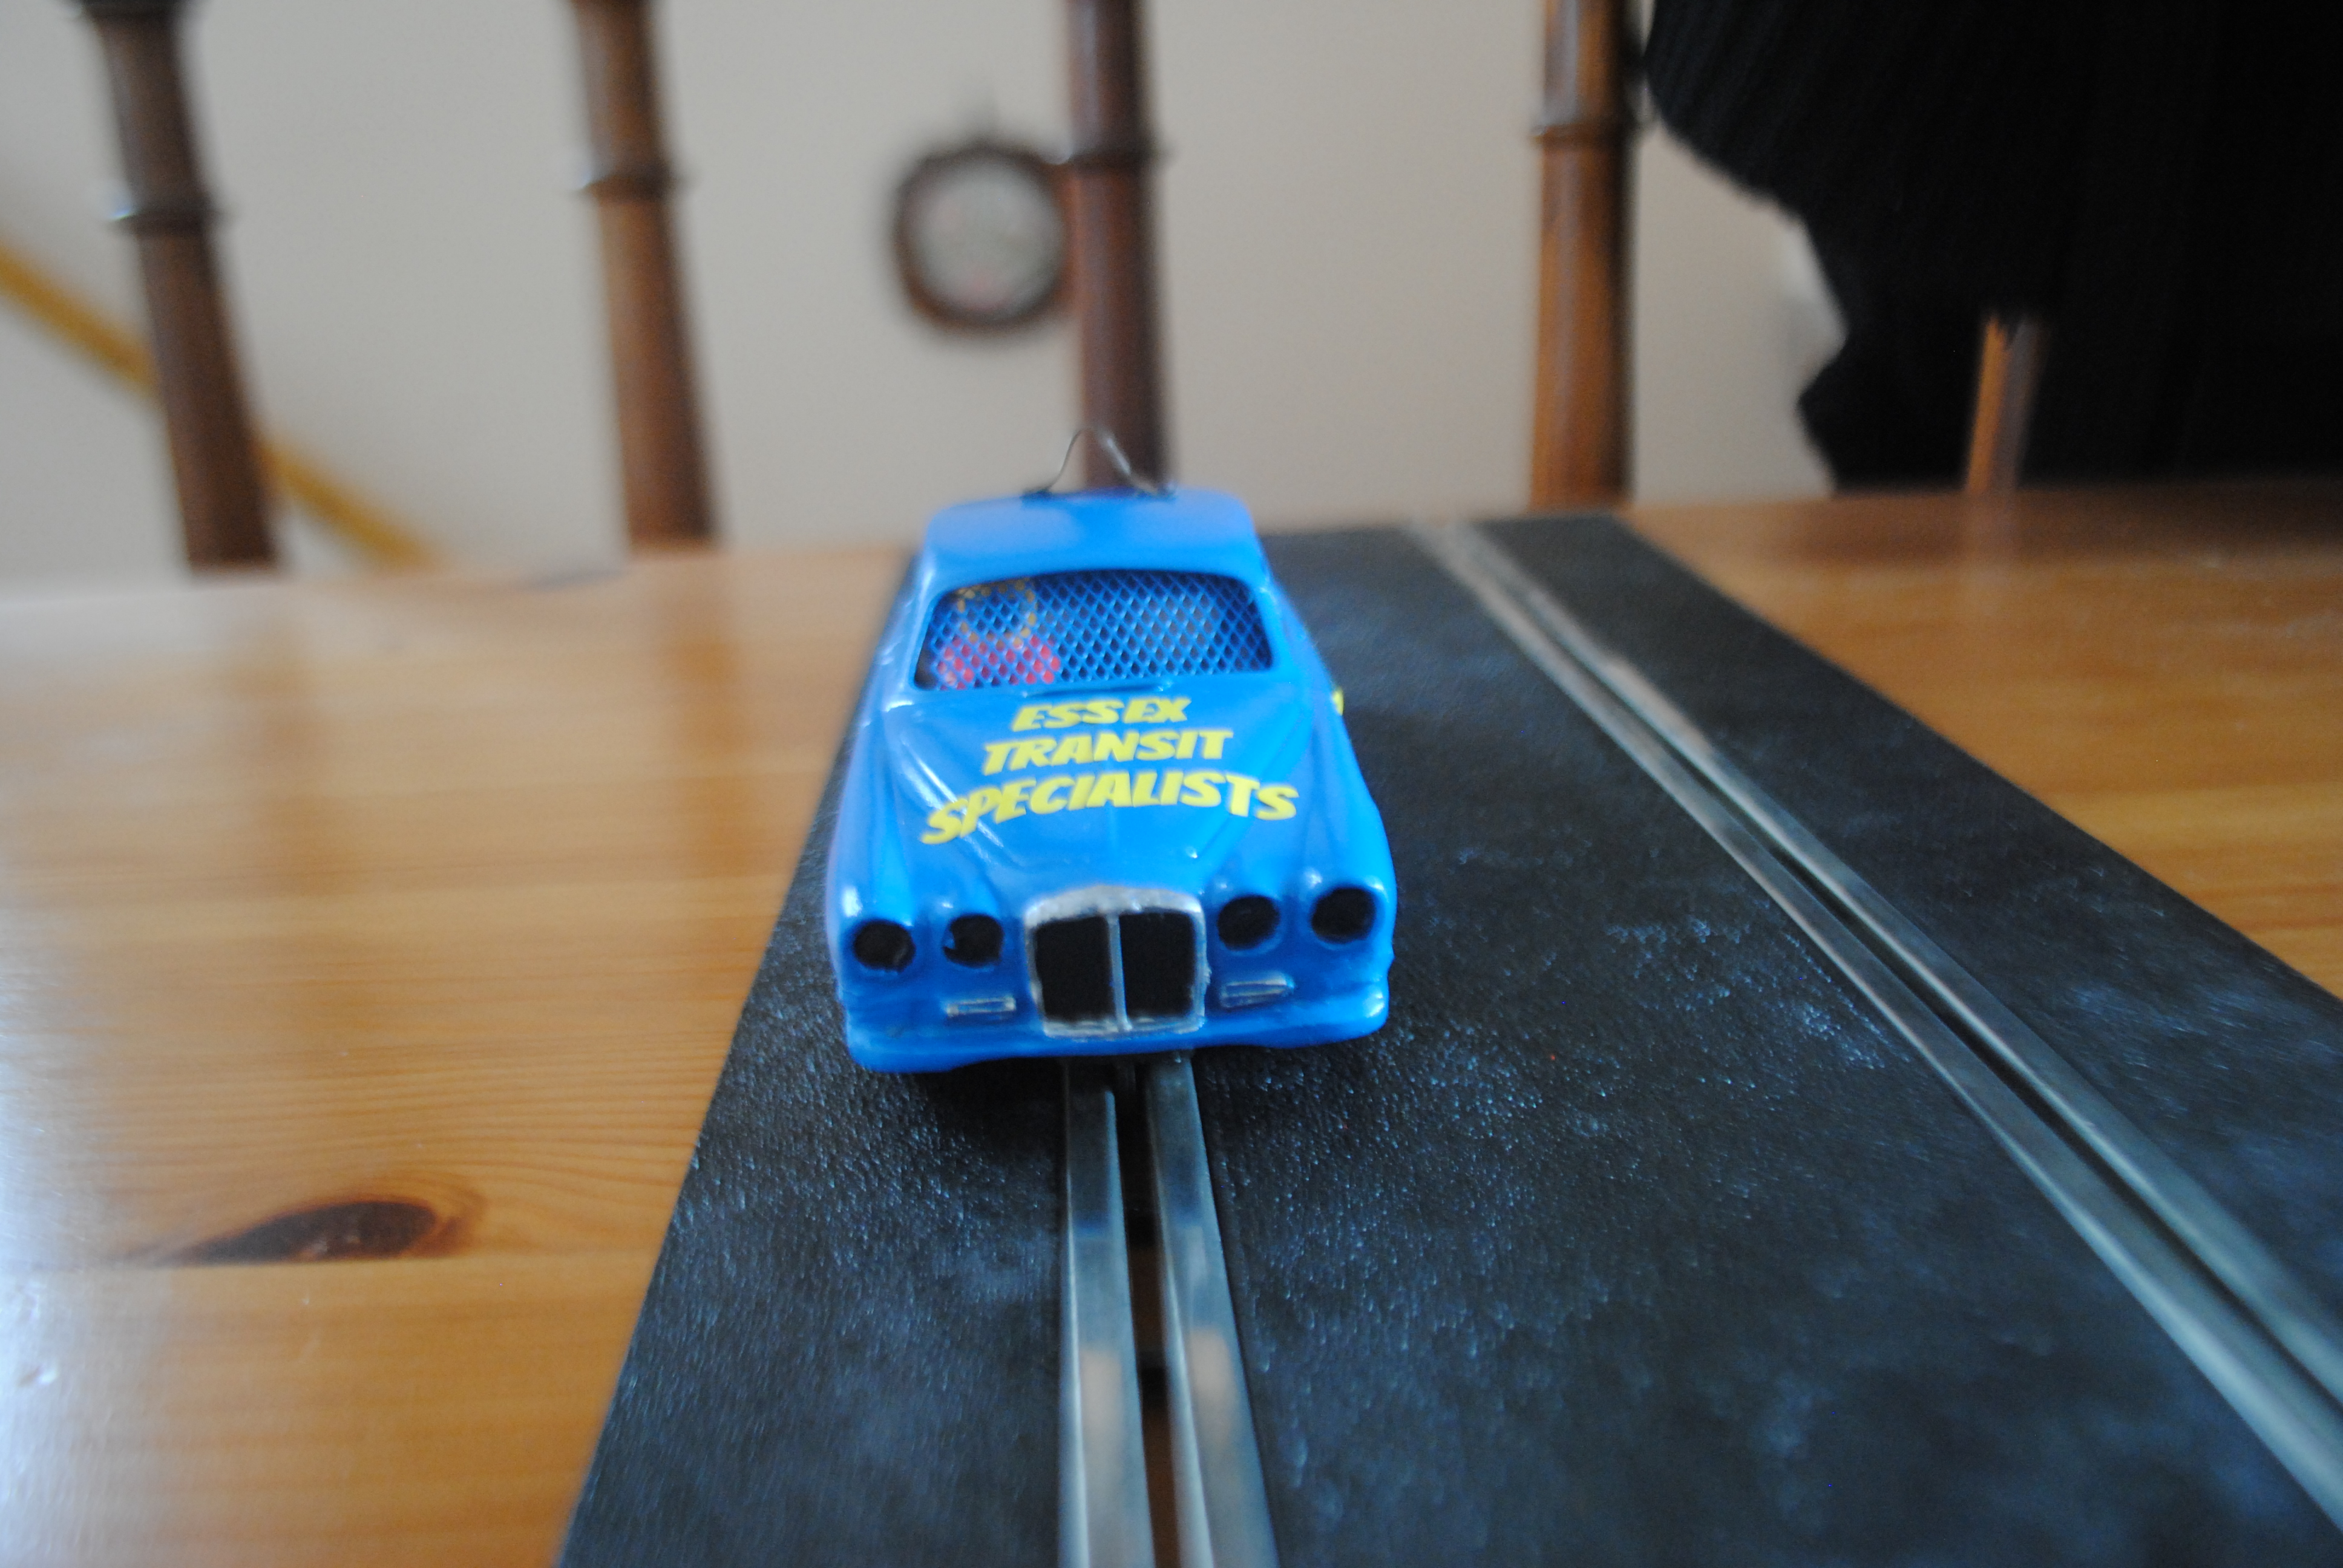
First job was obviously peeling the windows out. I scraped the decals off and then sprayed them with WD40 to get rid of the remnants. External fittings such as door handles and indicator lenses were then sanded flat as they would be removed from a full size banger. I also sanded down the rear light lenses too to make it look as if they had been removed.


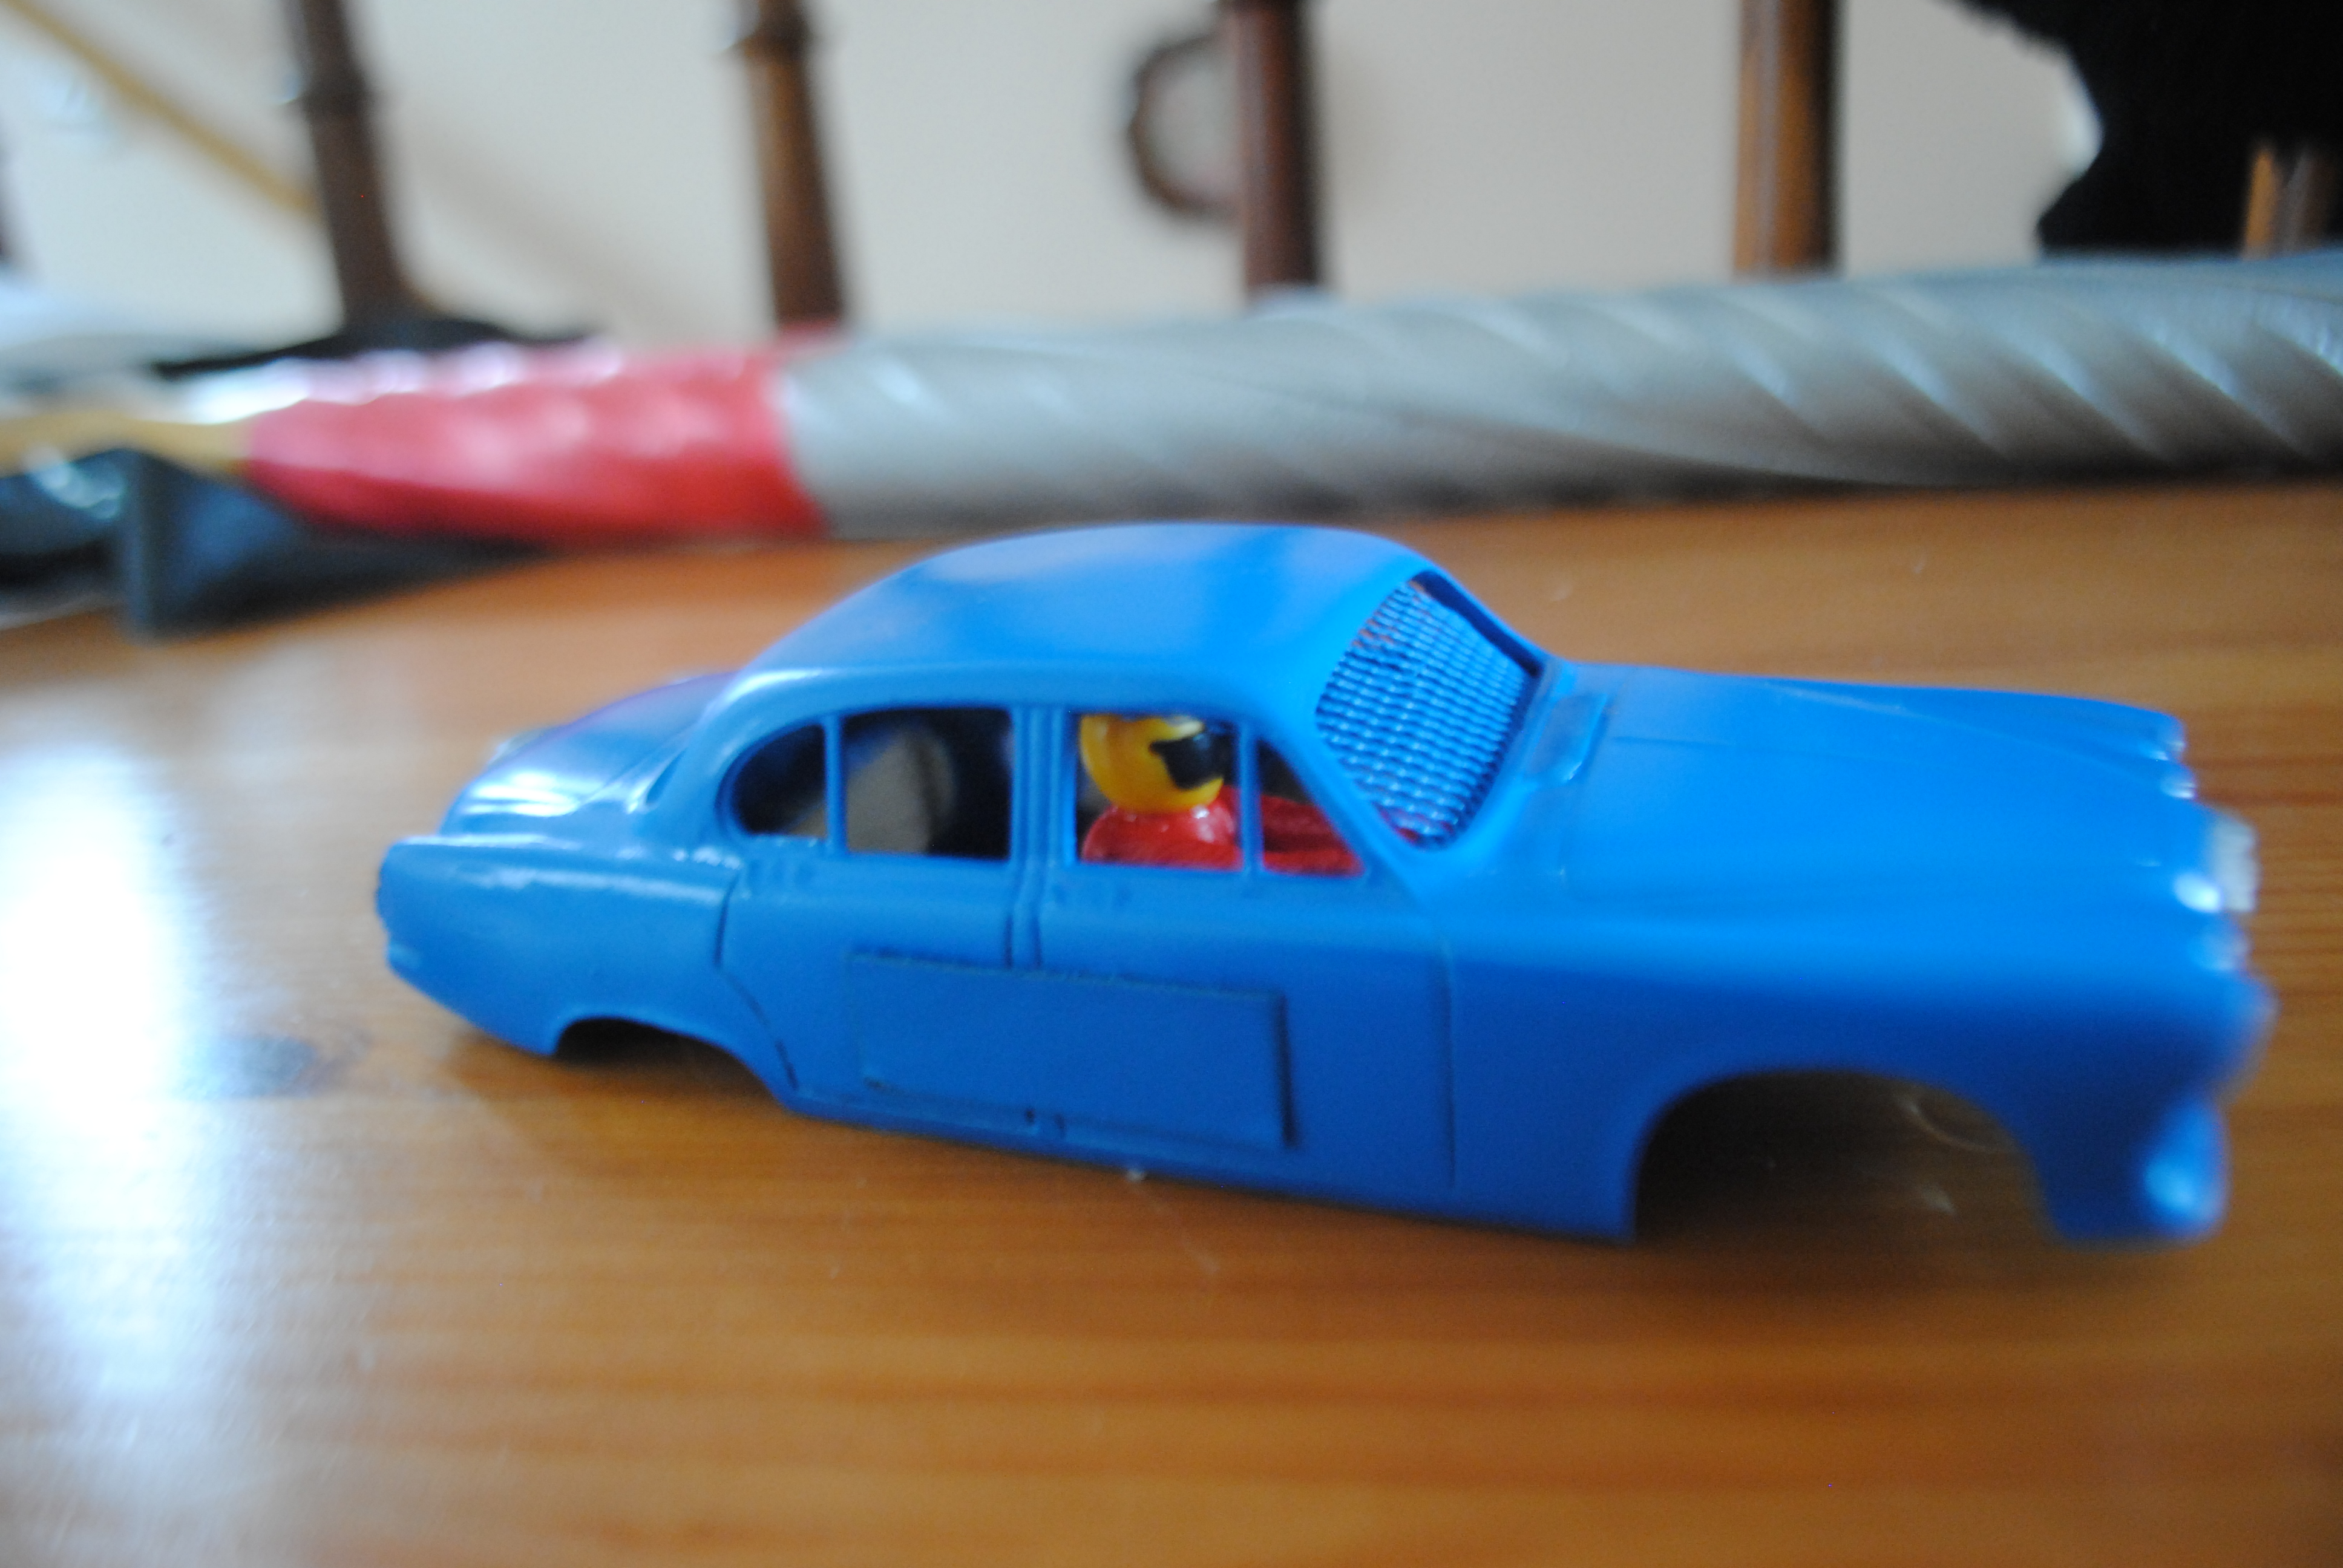
Next up was the mesh for the windscreen and door plates. The mesh was simply made out of aluminium mesh! The fine stuff one uses as a base for filler when a car has big holes in it haha! The door plates are just cardboard stuck to the body of the car with UHU.

The shell was then primed with Halfords grey primer and shot over with Rover Pageant Blue. Of course since this is just a quick build and finish really doesn’t matter on this it came out really well haha!

The interior simply consists of a 1980s-2000 Scalextric driver stuck to a bit of cardboard that has been painted black. If a kit or car doesn’t come with an interior that is typically what I do. A credit card sized bit of cardboard normally does the trick! Train tickets are perfect if you live in the UK.
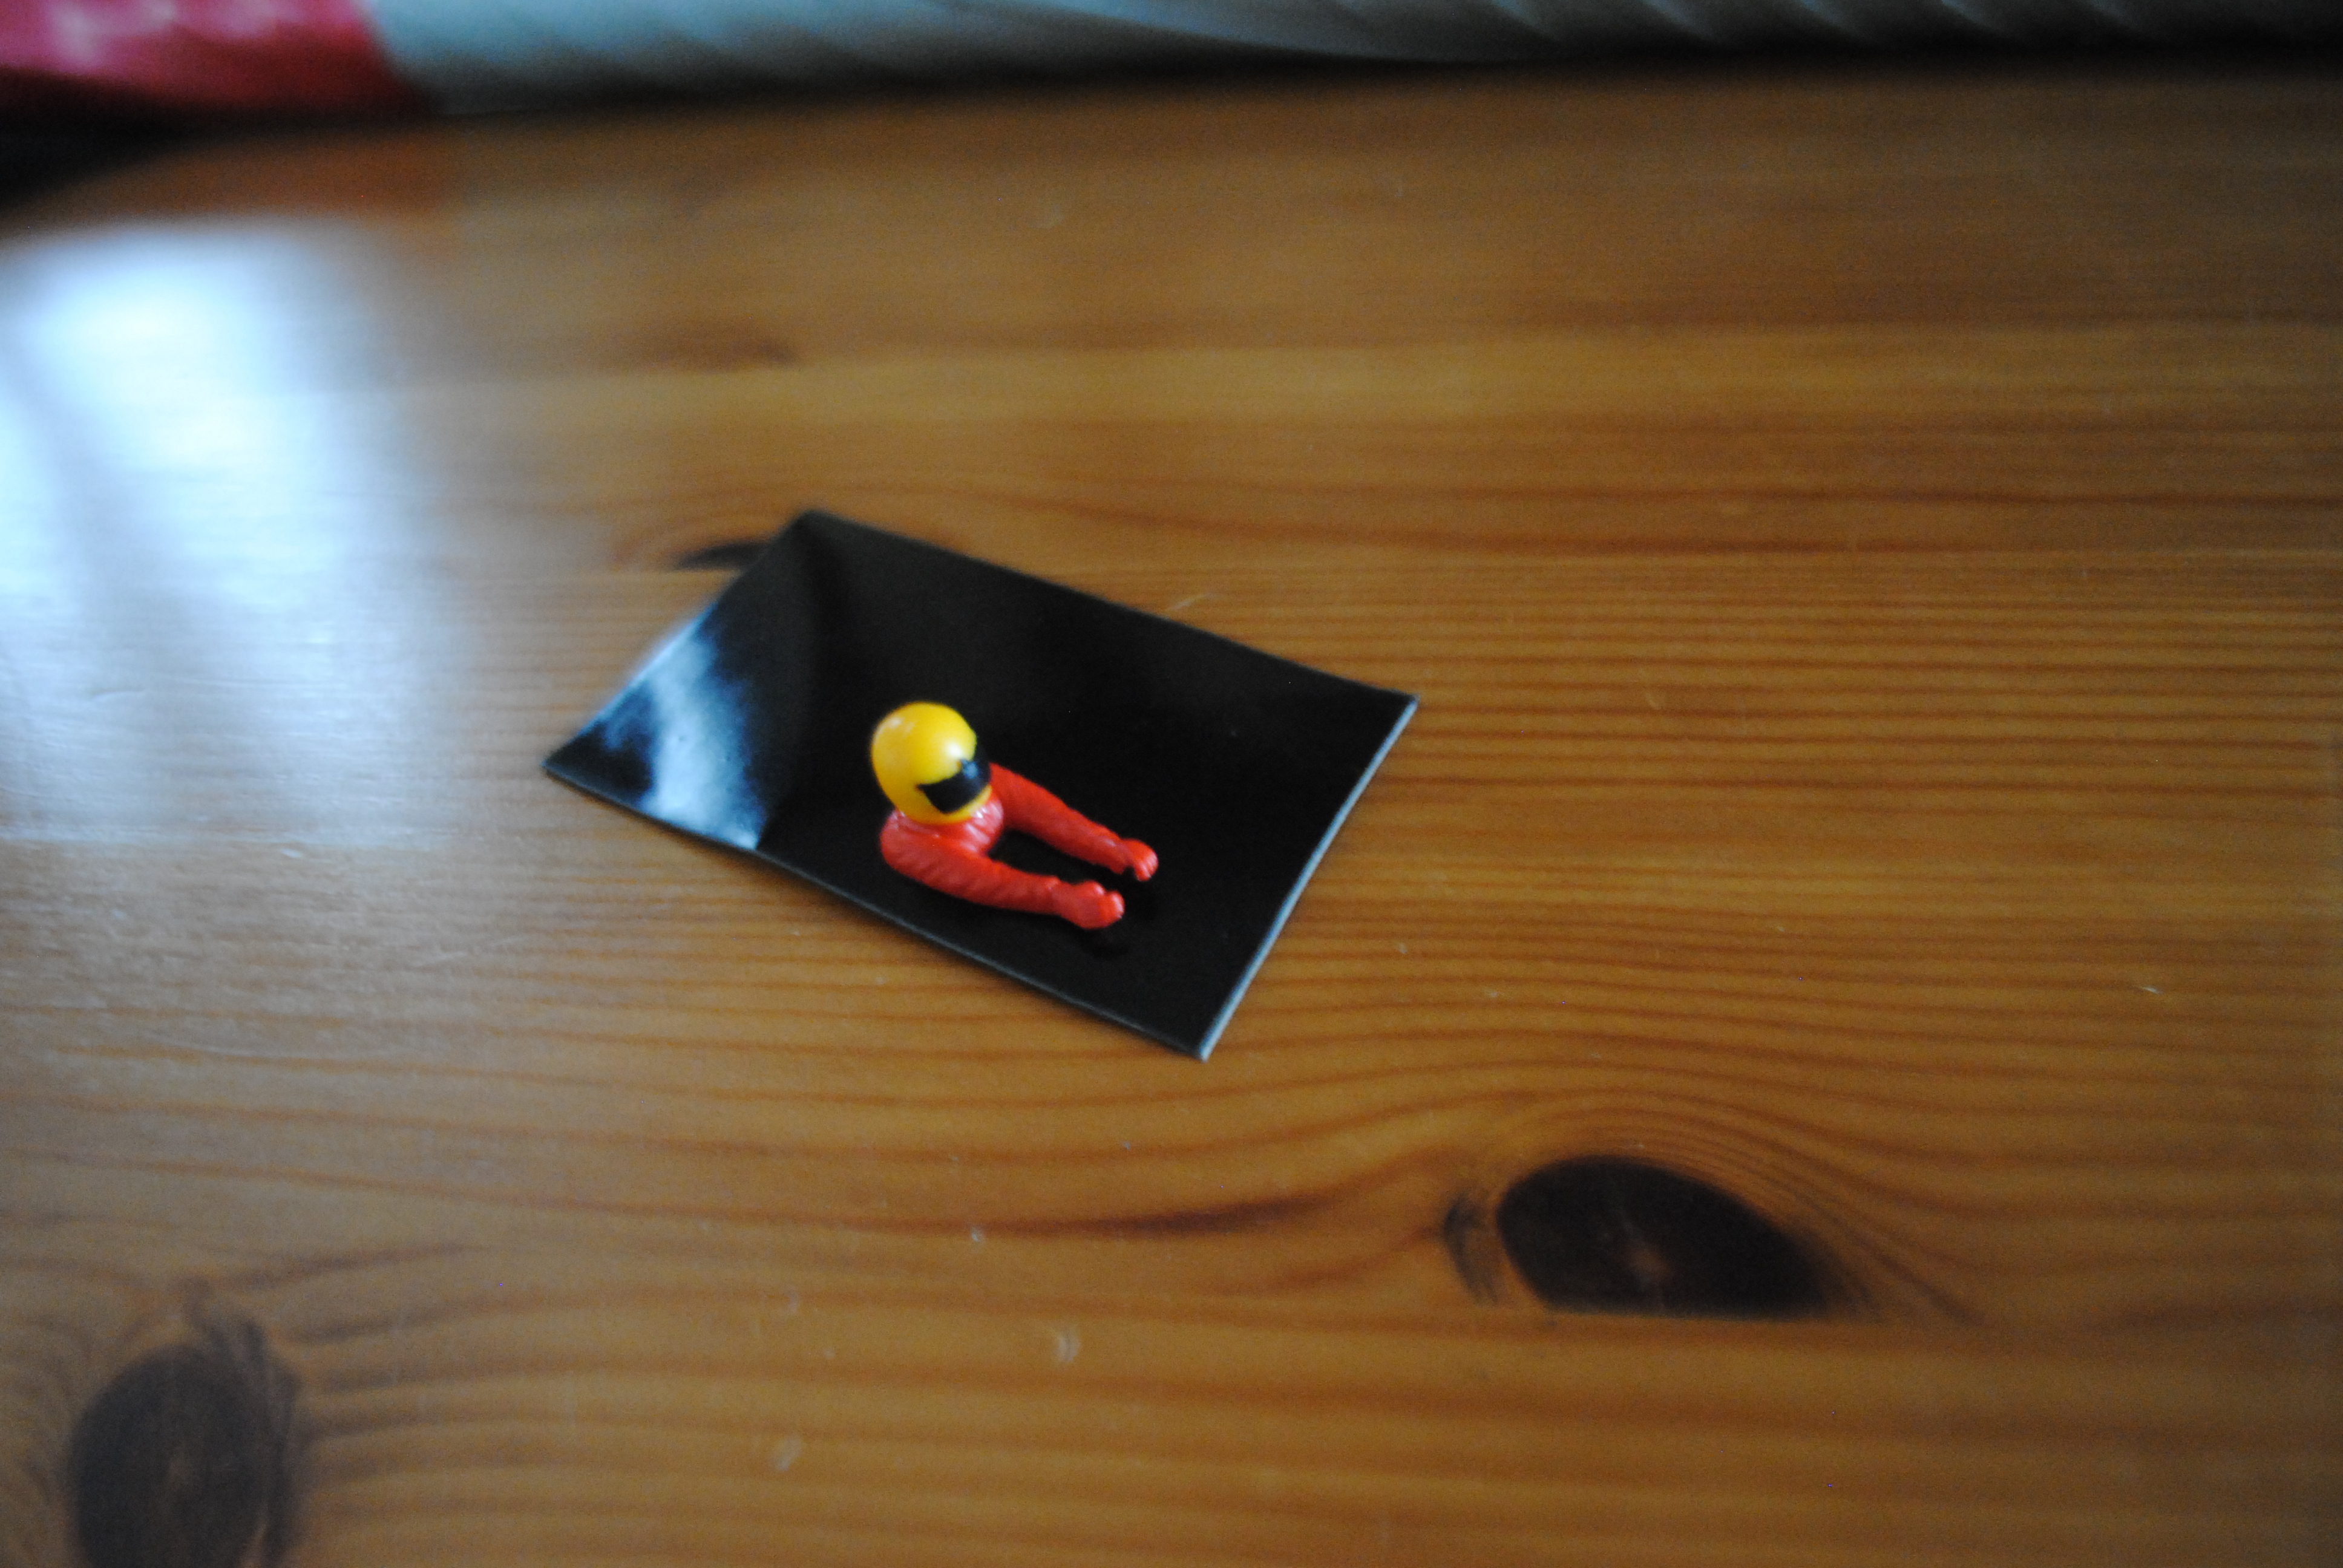
The bit of card is then hot glued into the body. If you don’t have a hot glue gun I highly recommend getting one. They are so cheap and are super handy. Useful for all sorts of different hobby/car/house stuff.
The final detail was a roof fin. Bangers and other oval track cars in the UK have to display a roof fin with a number on it. This was just made up out of a piece of folded brass…
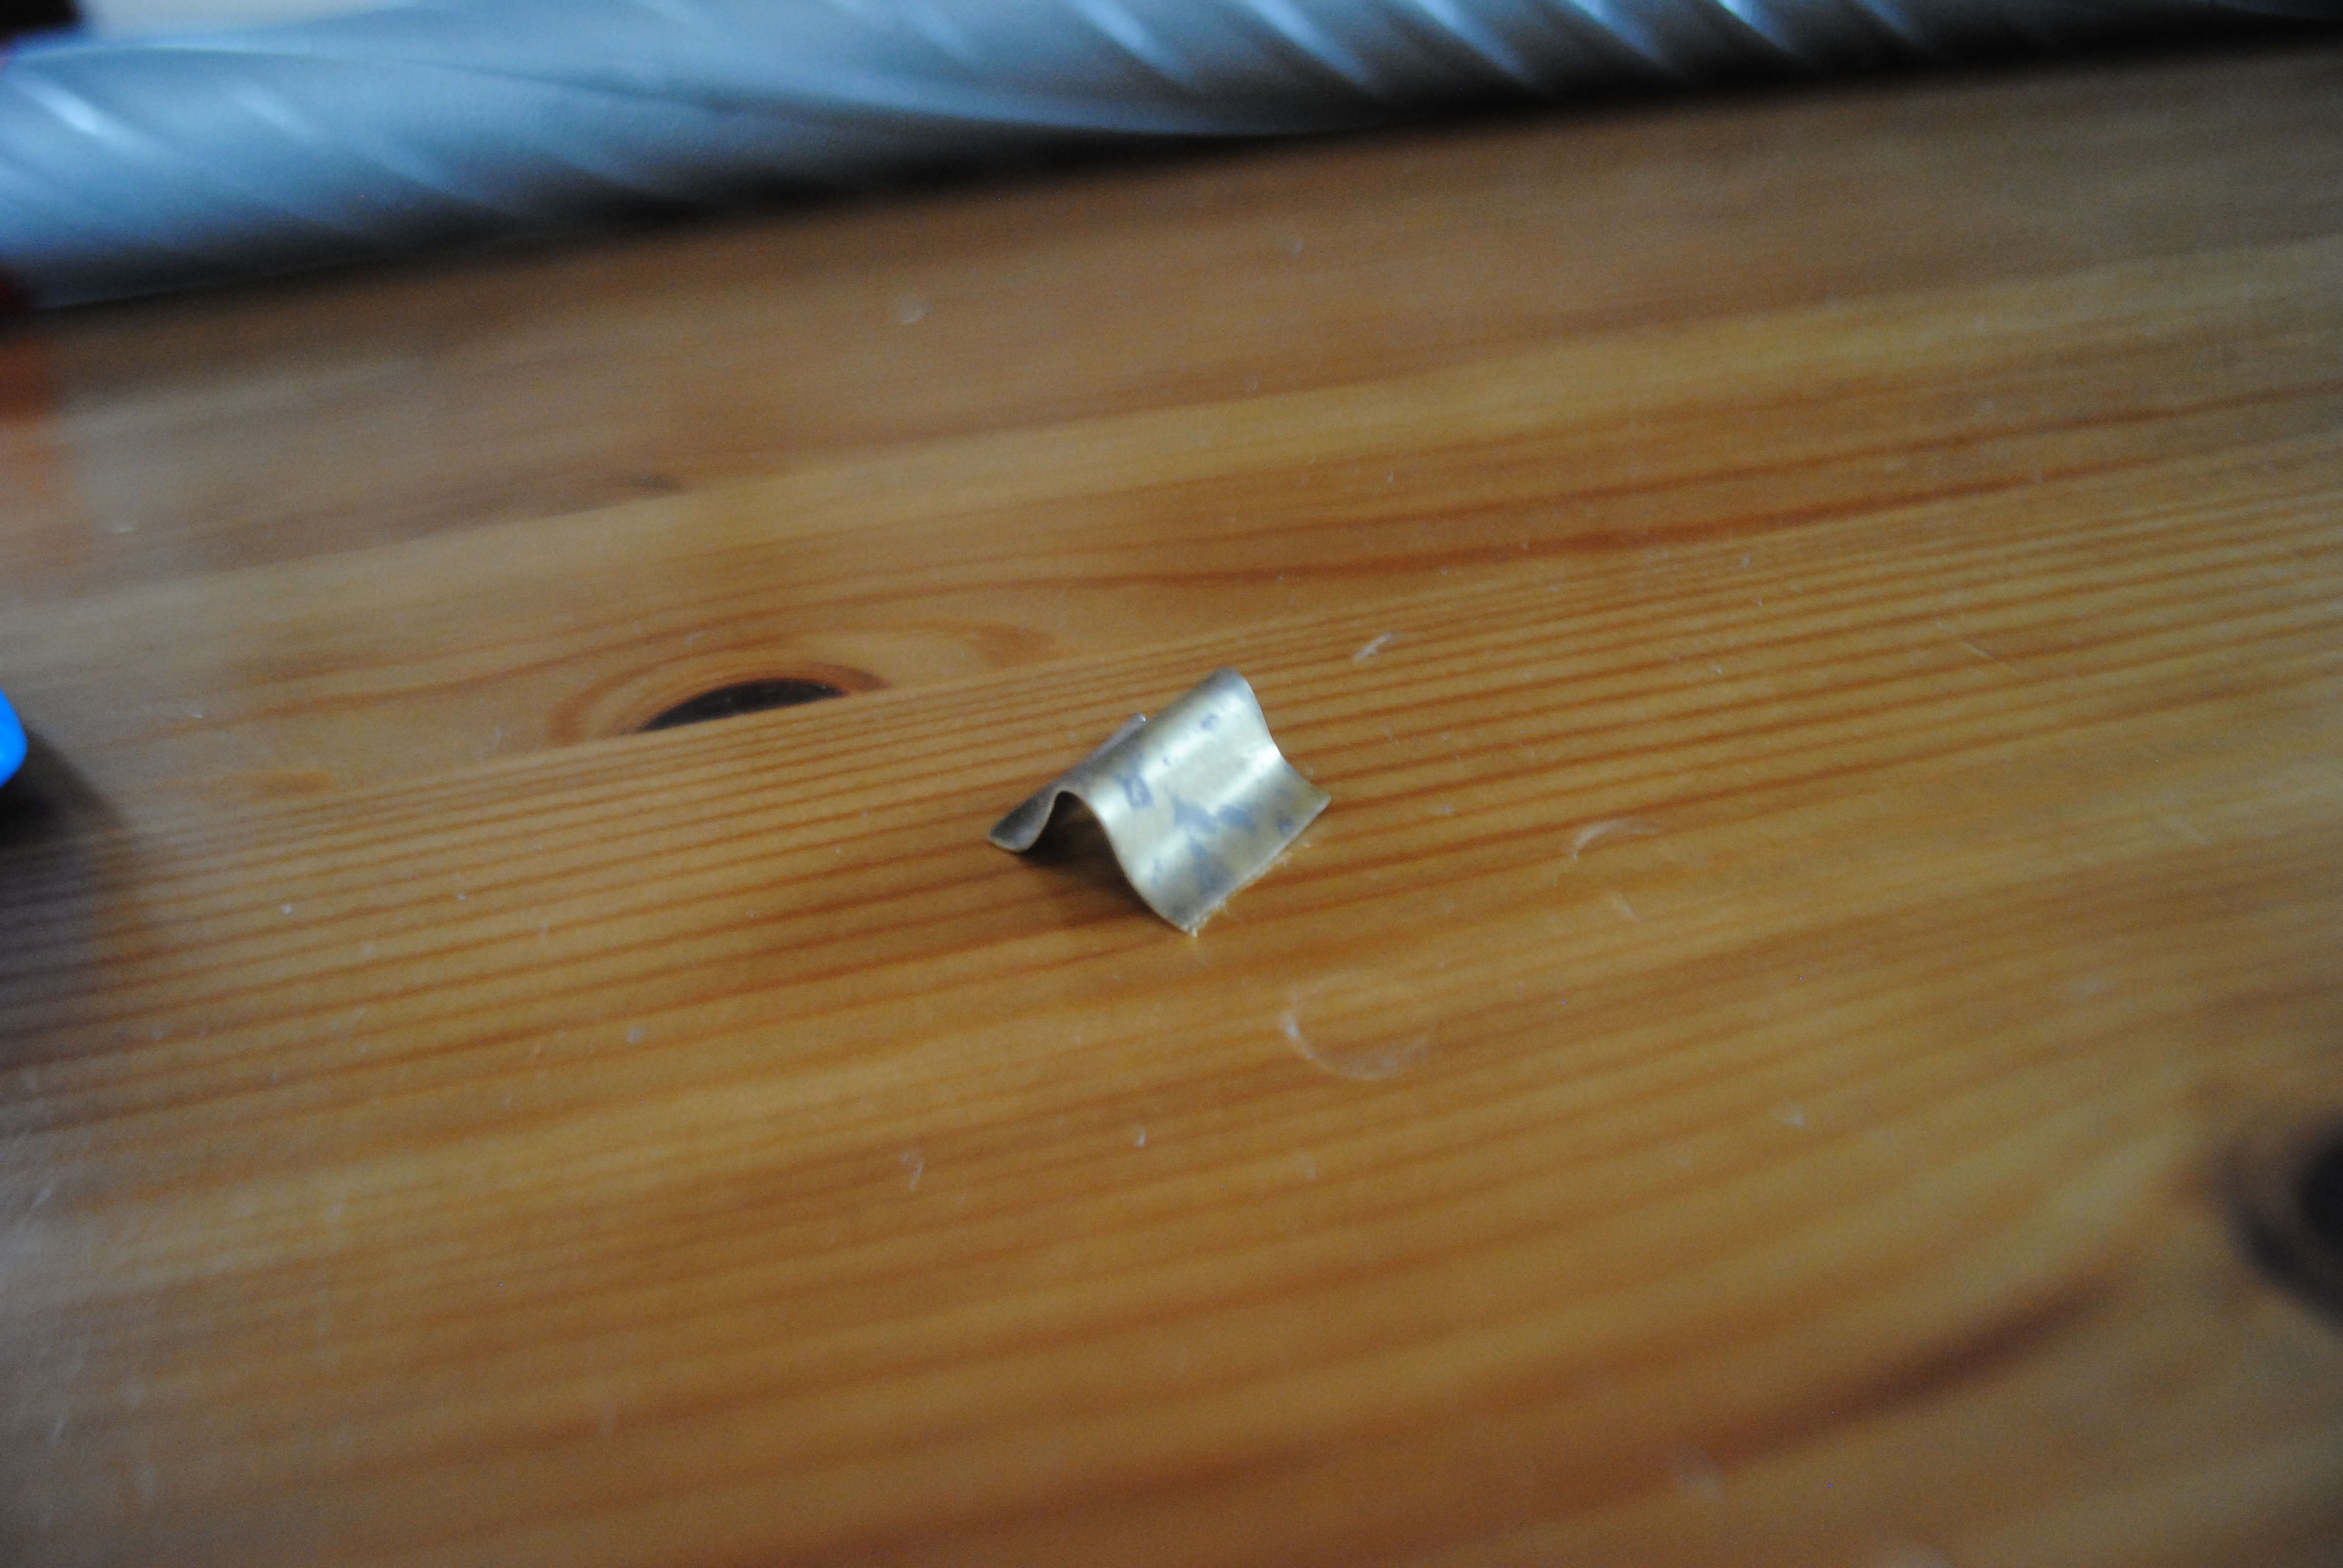
…Which was then stuck to the roof…

Now for the bit I like which is making it pretty!

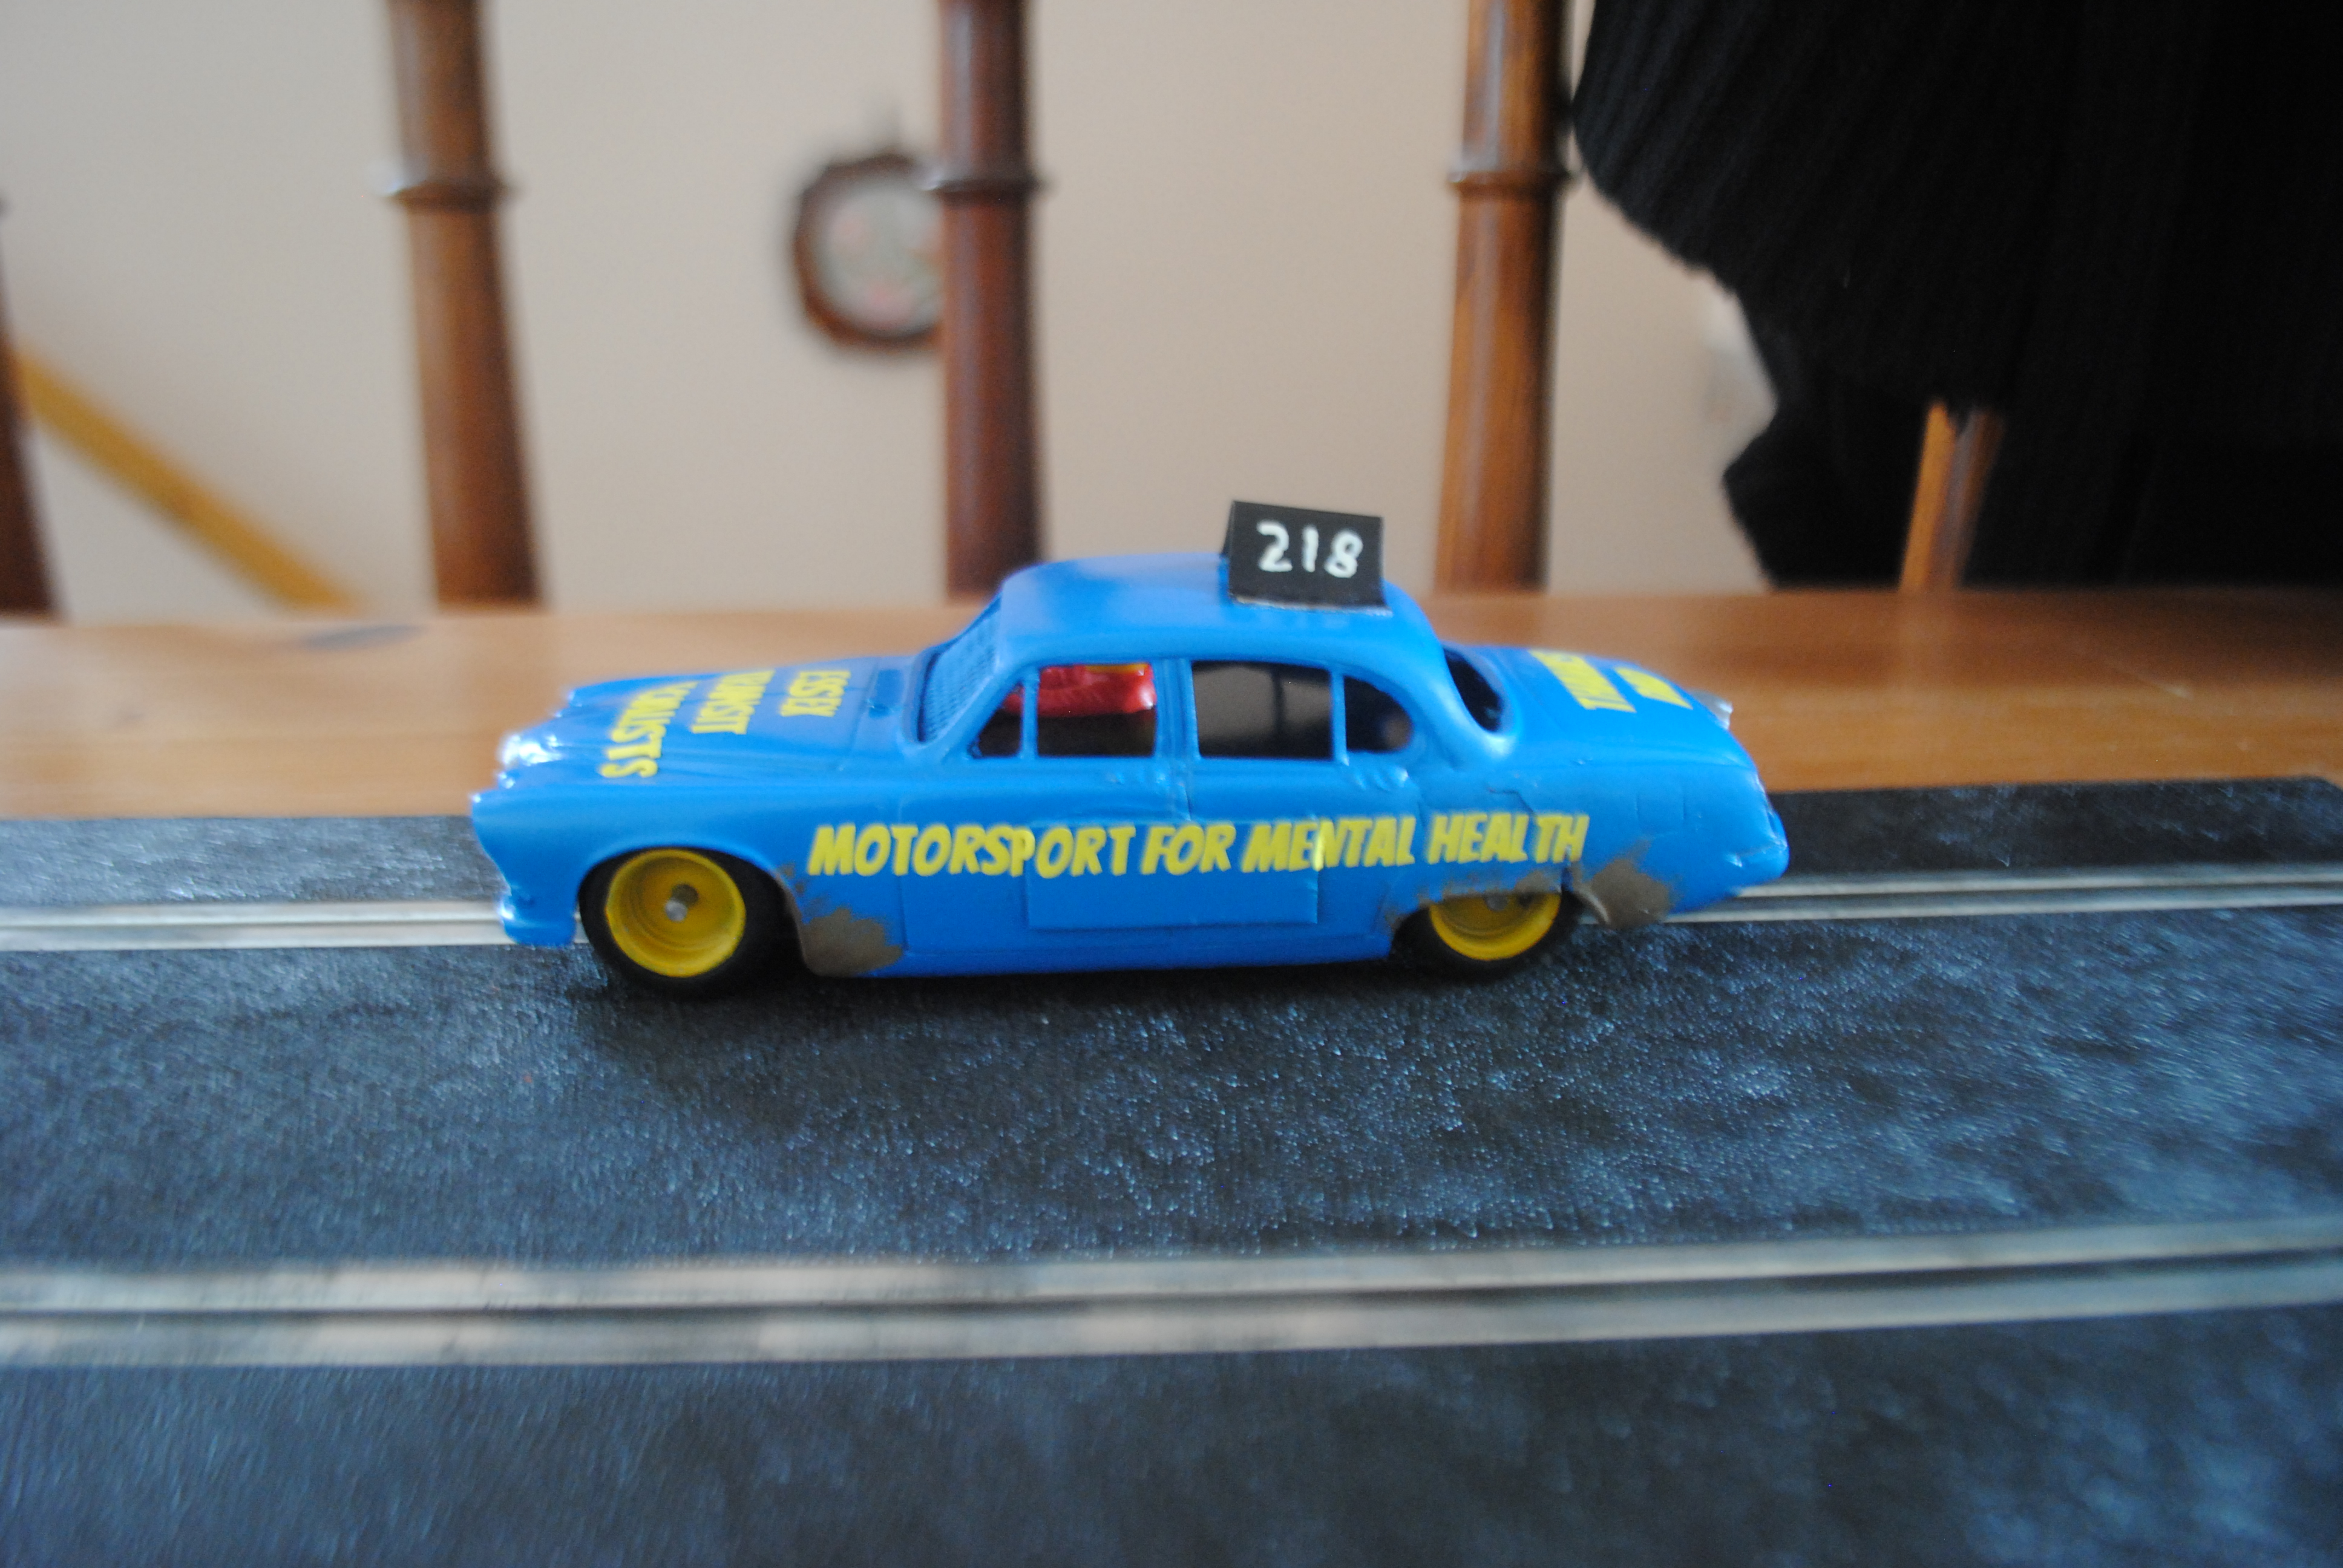

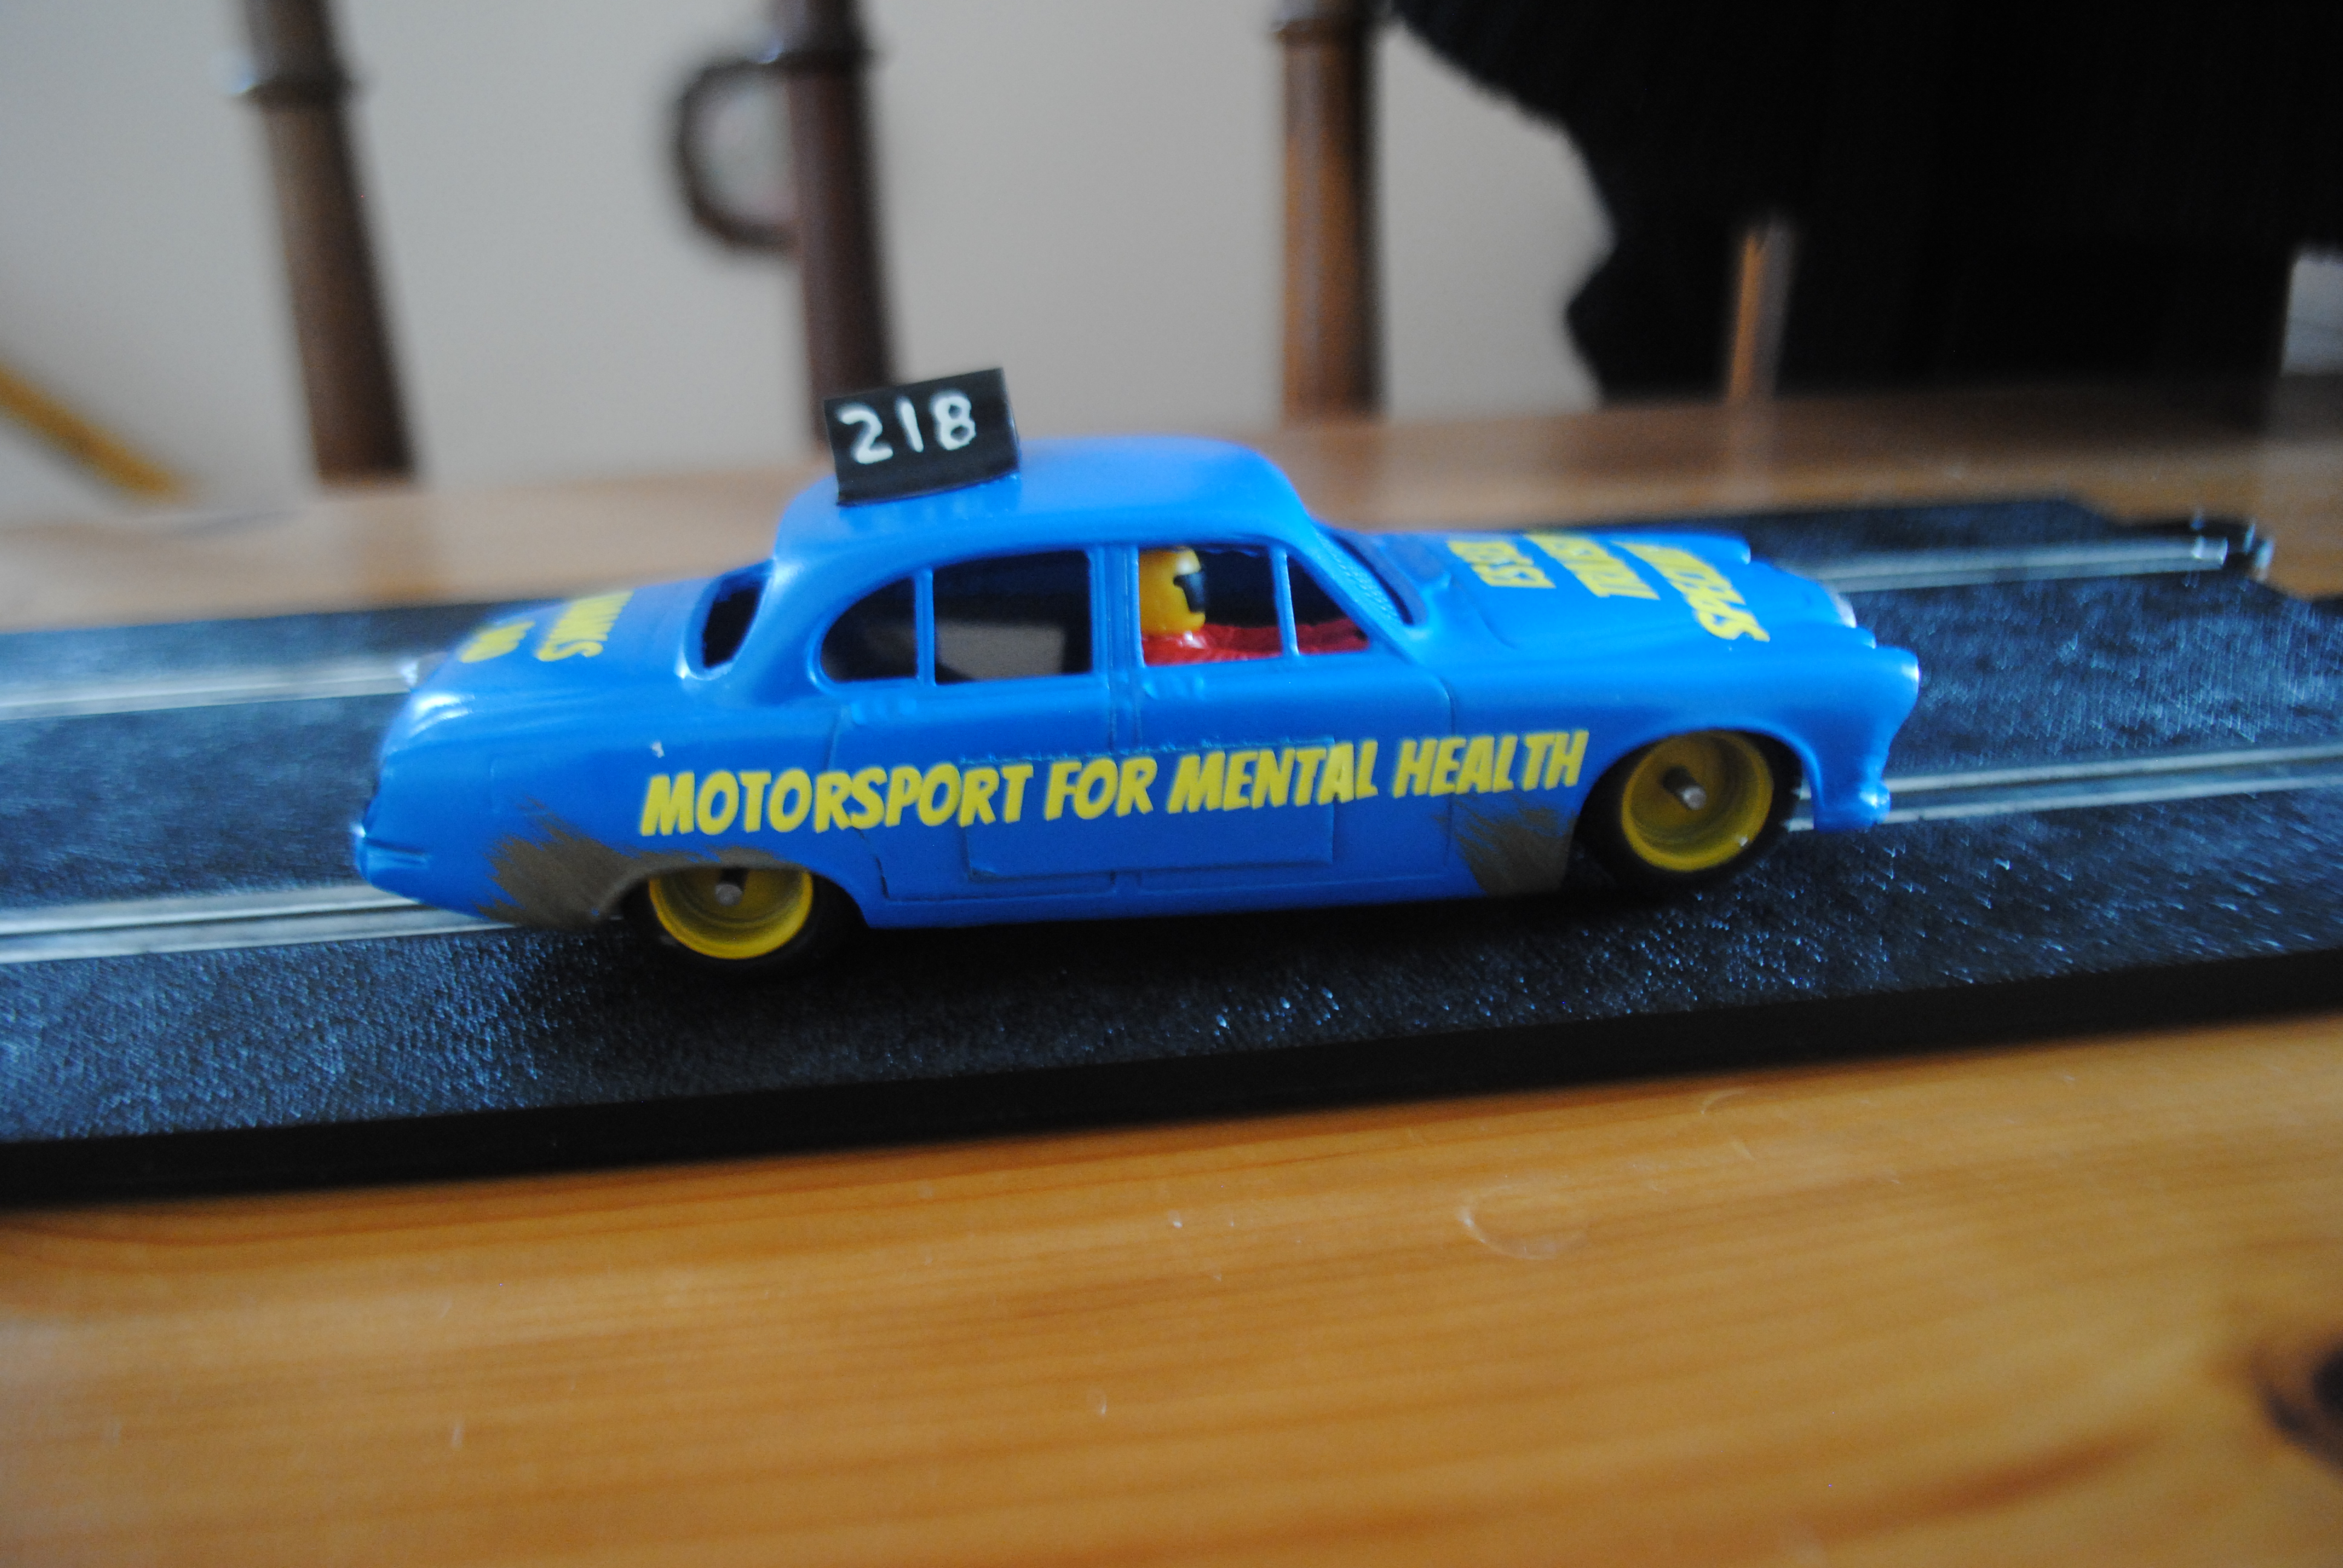
The wheels were sprayed Rover Inca Yellow. No inserts or anything fancy I’m afraid as I just had these laying around. All the other details were done using Vallejo acrylic paints and the sign writing was done by me on my vinyl plotter!
Thanks for reading, I hope you enjoyed! If you would like to help me make even better quality content on a more regular basis please join my Patreon here: http://www.patreon.com/motorsportformentalhealth
If you would like to stay up to date with all my blog posts please subscribe to the blog via email or follow me on the following social media platforms:
Facebook: www.facebook.com/RFrancisGarageR/
Twitter: @Garage_RFrancis
Instagram: @motorsport4mentalhealth
Youtube: www.youtube.com/channel/UCNBY-2P5EuEFotY4RVjpvnw