

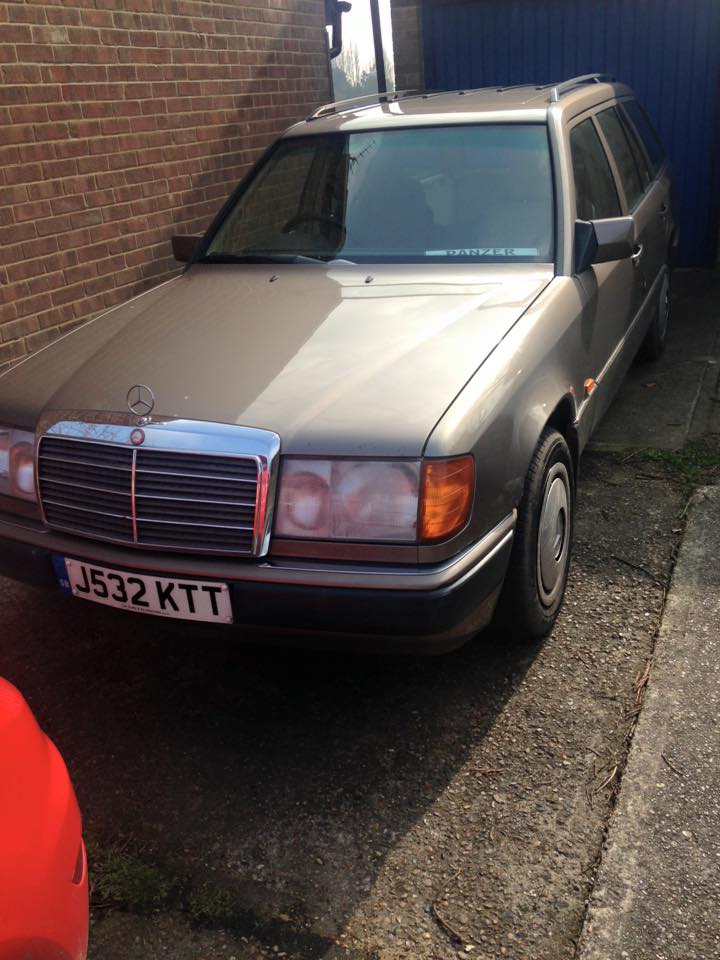
My beloved ‘Panzer’, my W124 estate has been used a lot this week for things that a classic car should really not be used for. It has hauled wheels to Arena Essex for drift practise, it has move furniture and has been used as a delivery van for things that I have sold. More often than not the places that I have taken it to throughout the week have been comparable to the Somme, just without the artillery, so suffice to say it needs a good wash!
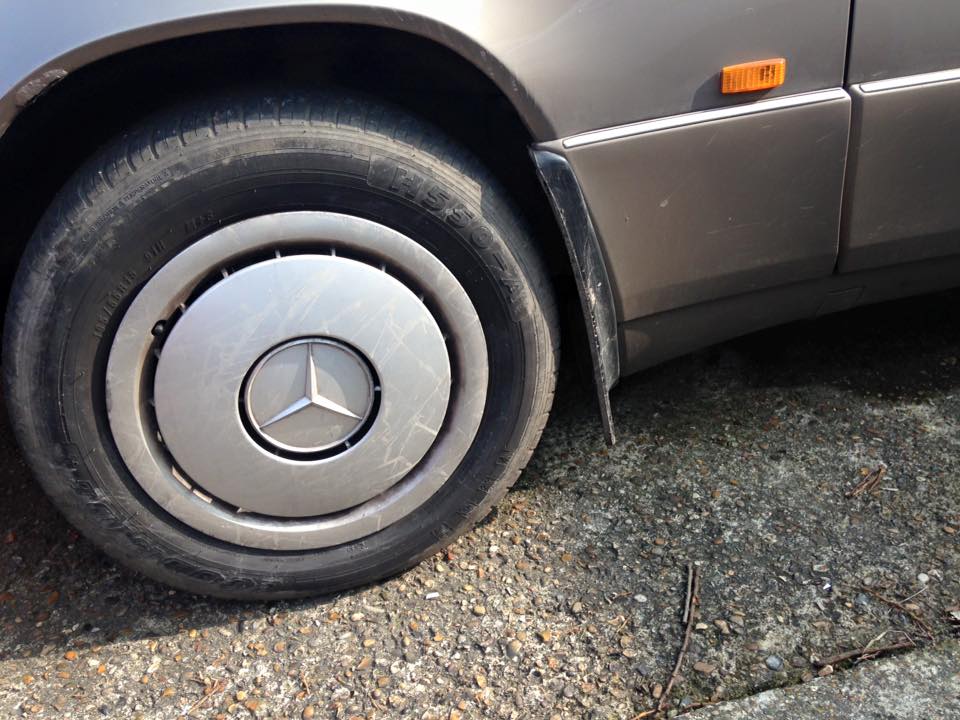
Yuck!!
I’m sure that many hard-core classic car enthusiasts would turn their noses up at the thought of a W124, especially an estate, being considered a classic and I would have to argue that these and the Volvo 240 and 940 are some of the best, most spacious and solidly built estate cars ever made and deserve to be saved and restored! This particular car I picked up for very little money just over a year ago after it had been used as a kids play area and a rubbish bin. It was disgusting but with a lot of love it has been brought back to being a serviceable, reliable, lovely old car that I use often. It is most unlike me to let it get in such a sorry state!
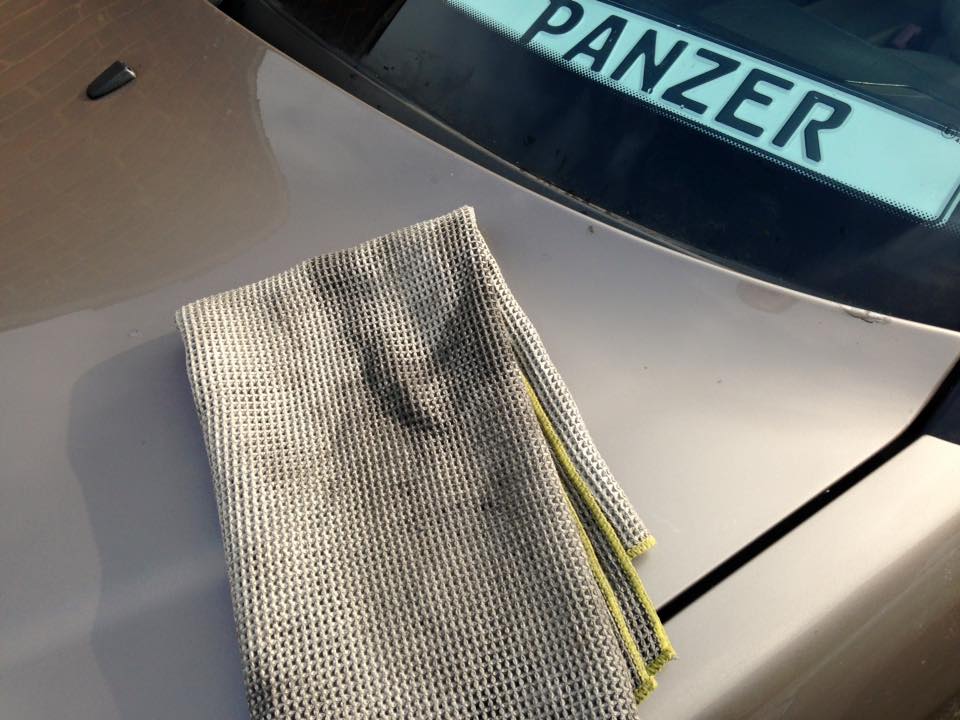
Of course being such a loved car a wash isn’t exactly a quick once over with a jet-wash. I use the two bucket method, a wash mitt and Autoglym Shampoo followed by either Autoglym Resin (once a month) or the product in the gold bottle which is called ‘extra gloss protection’ which I use in the weekly wash as a top up for the resin. All modelled rather splendidly atop my drift car. (Don’t worry, it’s a BMW; a much lesser car to the Mercedes ;))

The two bucket method is the most sterile way to clean a car. One bucket is the clean bucket and the second is a dirty bucket. The clean bucket you put your shampoo into and take water from, then you clean a section of the car, and rinse the mitt off in the dirty bucket so the dirt isn’t simply transferred around the car.
The shampoo I use is Autoglym. My Dad was forever going on about how good Autoglym products are when I was a child so when I brought my first car three years ago I brought a bottle of it to see what it was like. I am still using that same bottle now! That’s a long life as I wash my cars weekly and often have more than one car to wash haha! Just a little makes it all nice and suddy like this: 
Now it’s important to wash a car from the top to the bottom as the majority of the dirt is obviously towards the bottom of the car as it is closest to the road. Start from the roof and work your way down in horizontal movements to make sure you don’t miss anything. Once that is done be sure to dry the car with a microfibre towel or you will get swirls.
After I had been over it with the towel I left it to dry in the sun for a short time as well. Not something I would normally do but I thought I’d see why there was water getting into the light… Turned out someone didn’t put the cover back on properly after they changed a bulb!

With the light now properly assembled and the car properly dry it was now time to use the Extra Gloss Protection. This is slightly different to the regular resin which you apply while you buff. This you have to put on lightly and then leave for an hour to dry into a film and then you buff the car. Some people have a special buffing machine but because I’m a peasant I use a microfibre cloth attached to my Mk1 hand.
And voilà! All nice and clean again! I hope you enjoyed reading!
